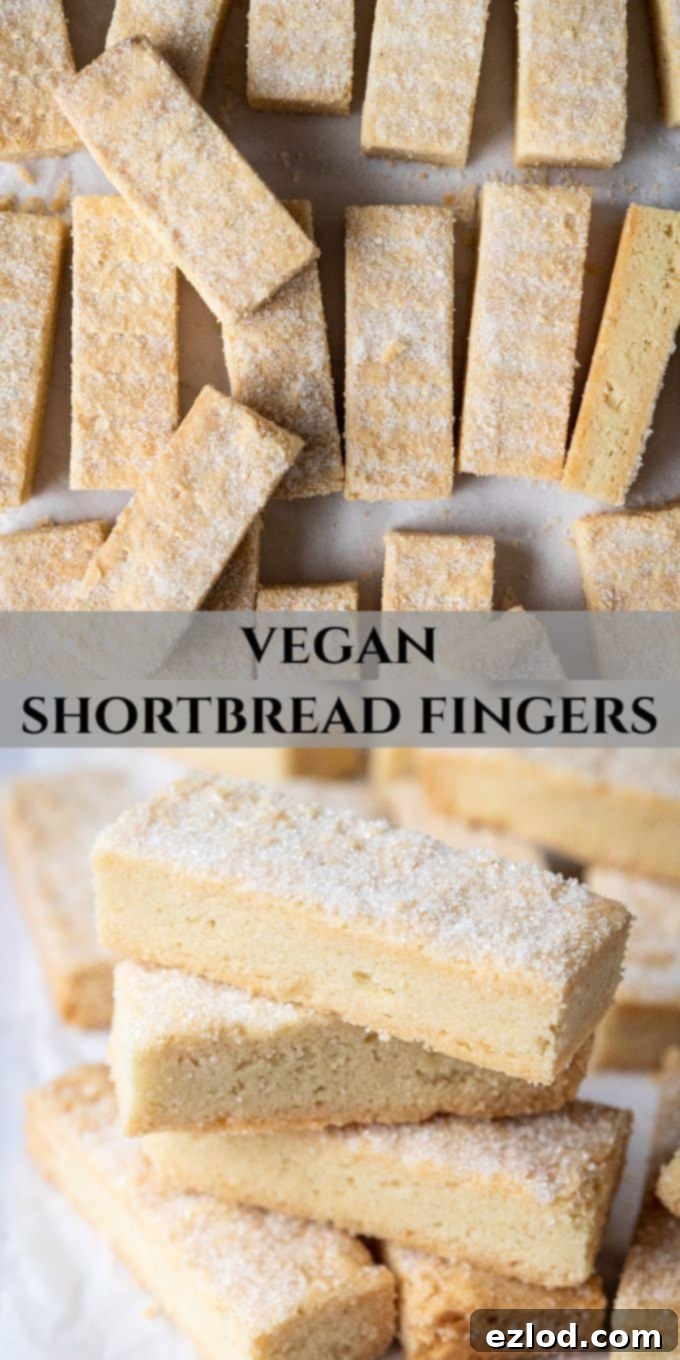
Buttery, Crumbly, and Irresistible: The Ultimate Vegan Shortbread Fingers Recipe
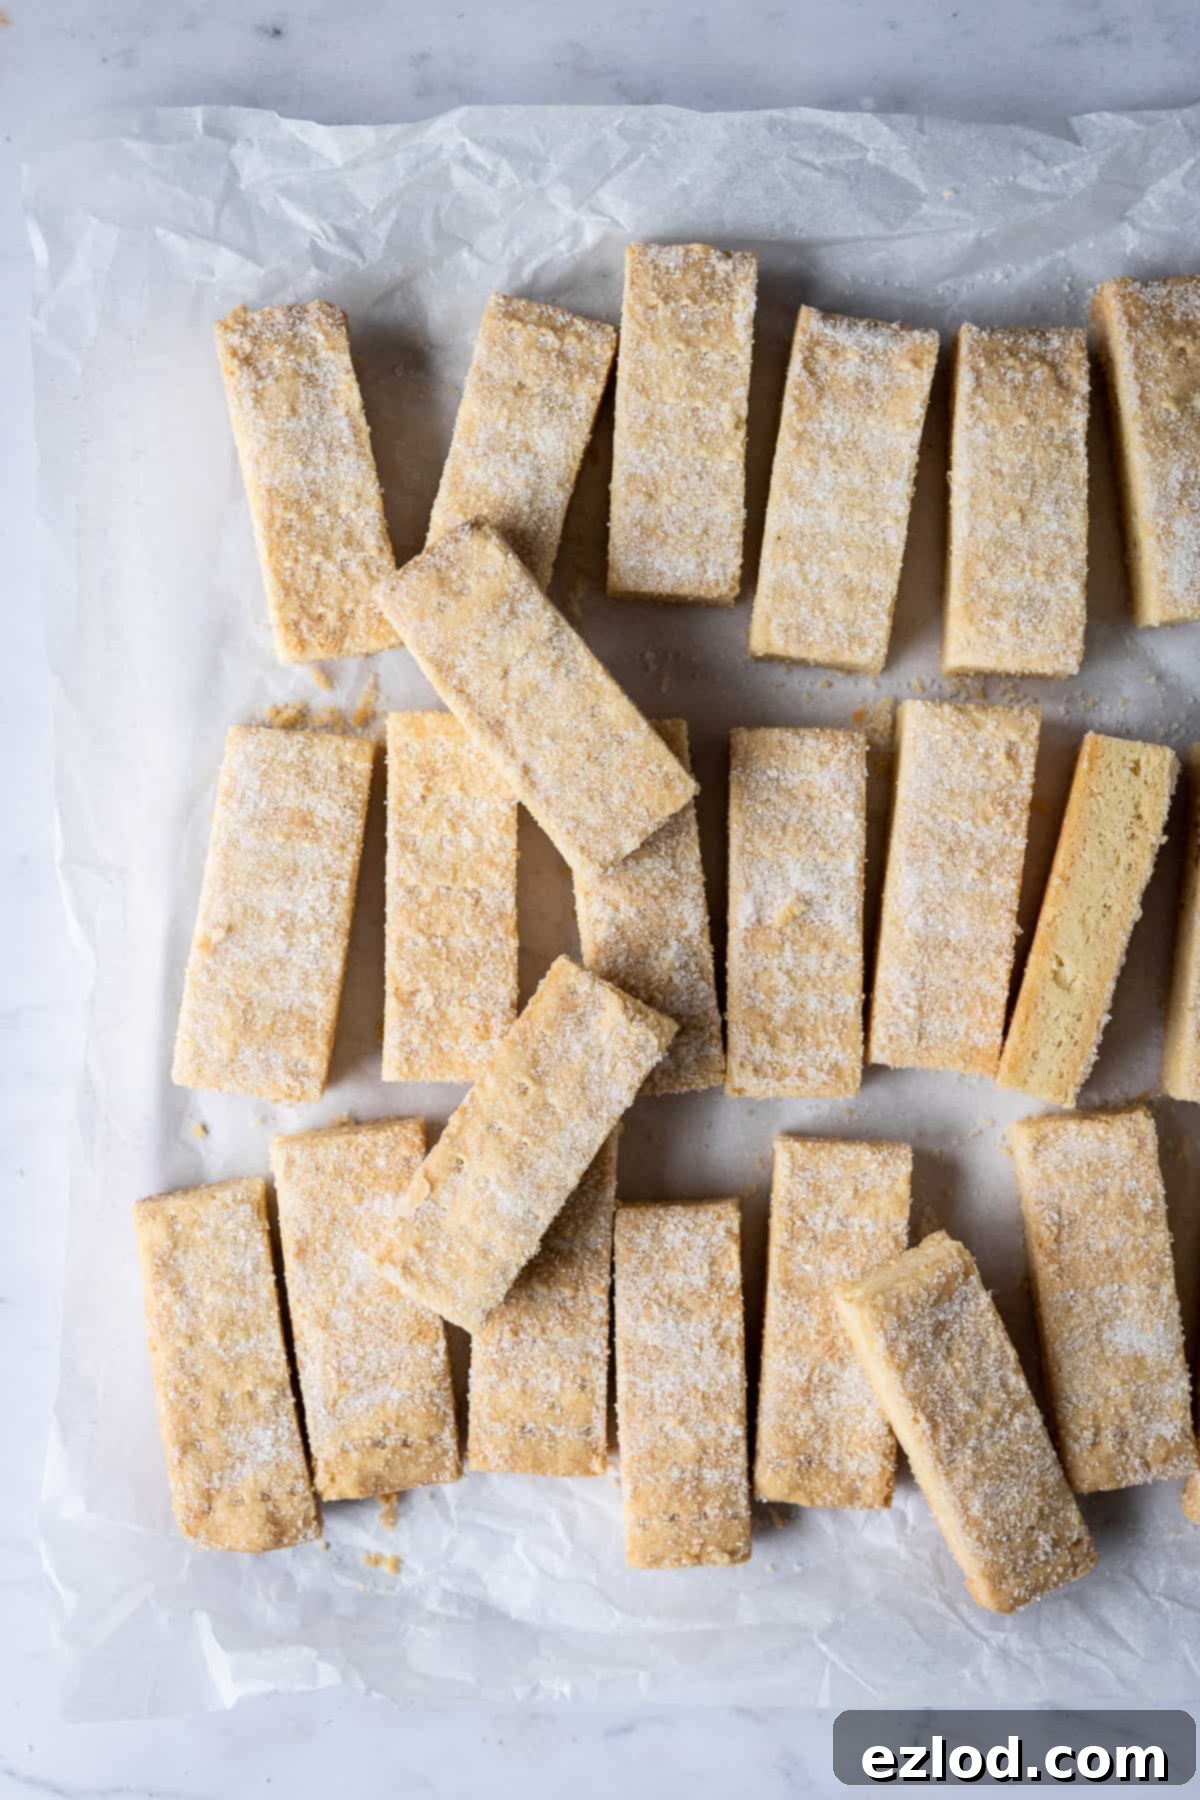
Prepare to indulge in the classic delight of Scottish shortbread, reimagined for a vegan diet! These vegan shortbread fingers are the epitome of buttery, crumbly perfection, offering an utterly delicious treat that’s surprisingly simple to make. Crafted with just a few basic ingredients, this recipe ensures that everyone, regardless of dietary choices, can savour the melt-in-your-mouth experience of traditional shortbread. Forget missing out – your new favourite dairy-free biscuit is here.
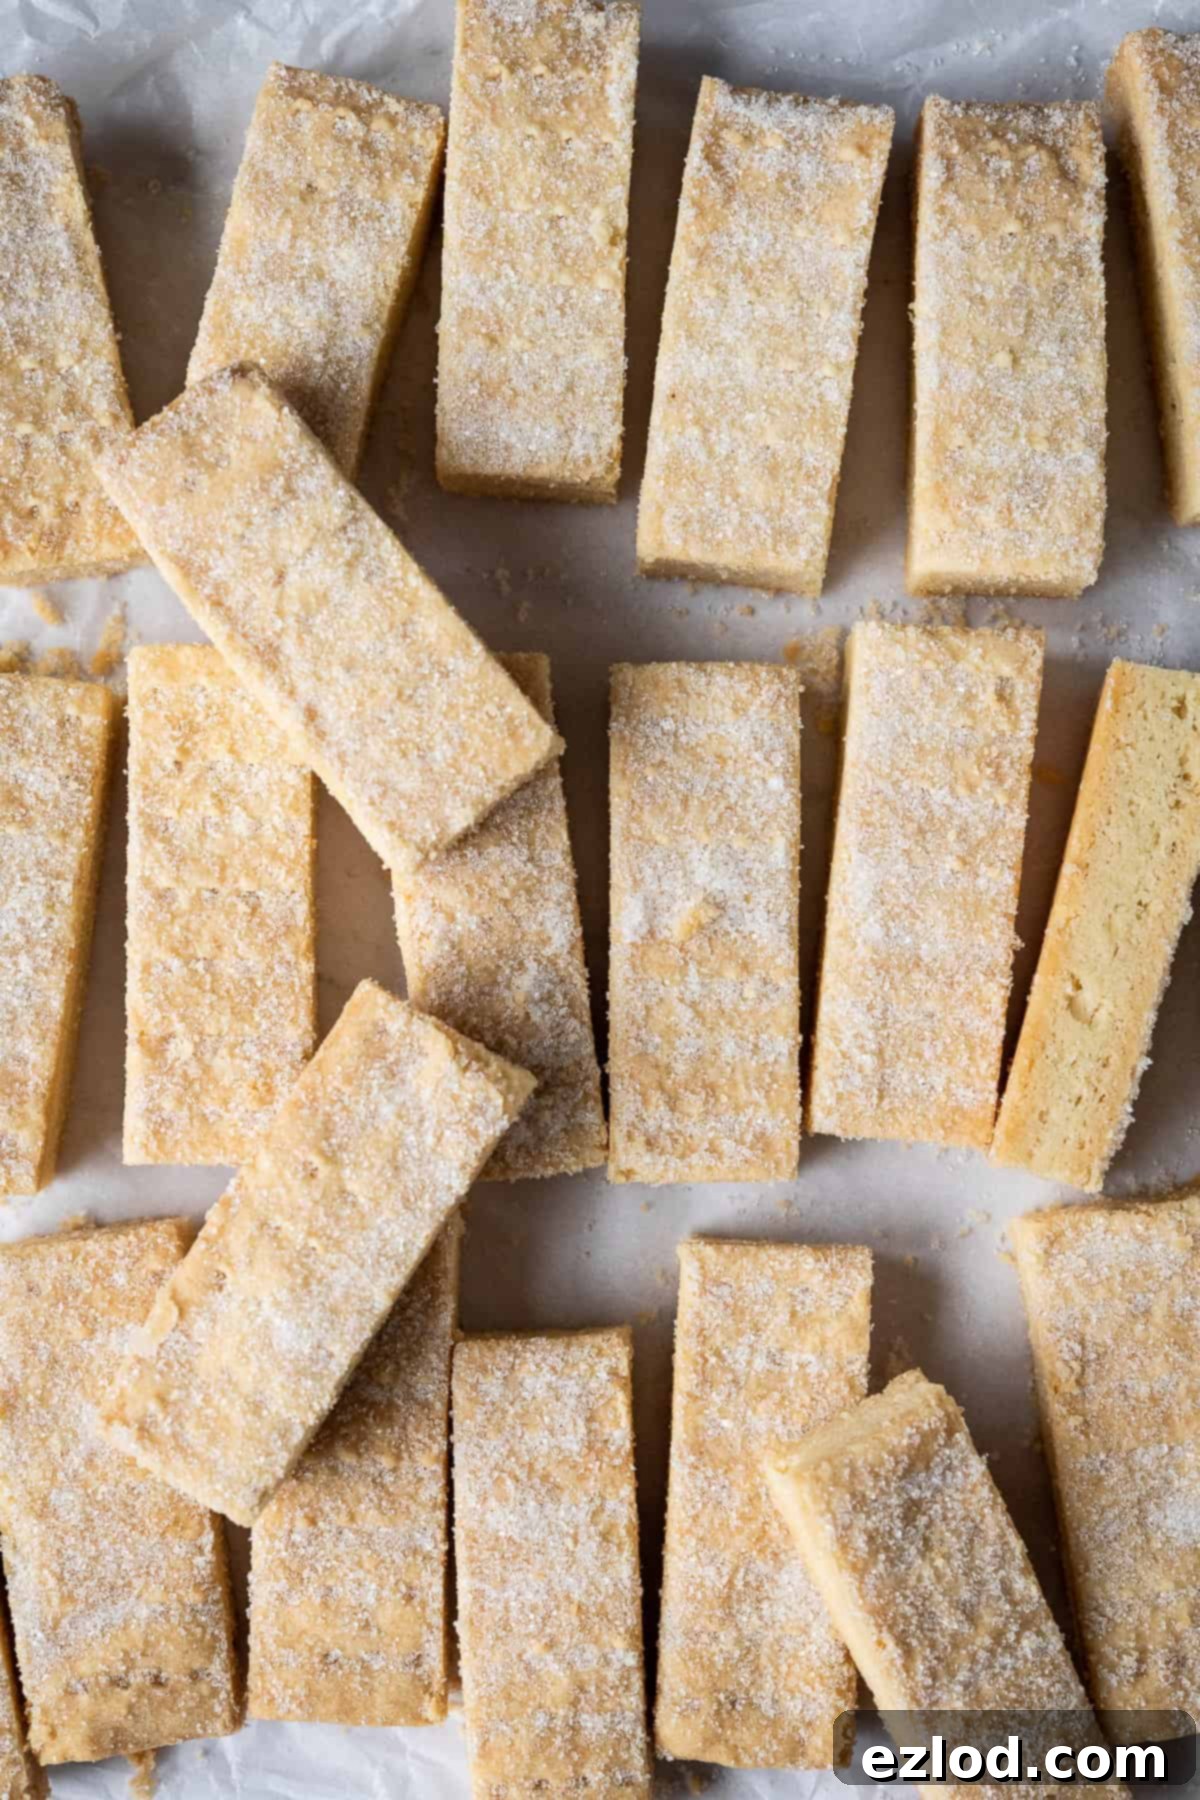
Shortbread holds a special place in the hearts of many as one of the most enduring and universally loved biscuit recipes. Its charm lies not only in its delightful texture and rich flavour but also in its inherent simplicity. Historically, this iconic Scottish treat was defined by a straightforward 1-2-3 ratio: one part sugar, two parts butter, and three parts flour. While our vegan adaptation introduces a couple of minor tweaks to achieve that authentic crumbly texture without dairy, it proudly adheres to the spirit of that classic proportion, ensuring a result that’s remarkably close to the original.
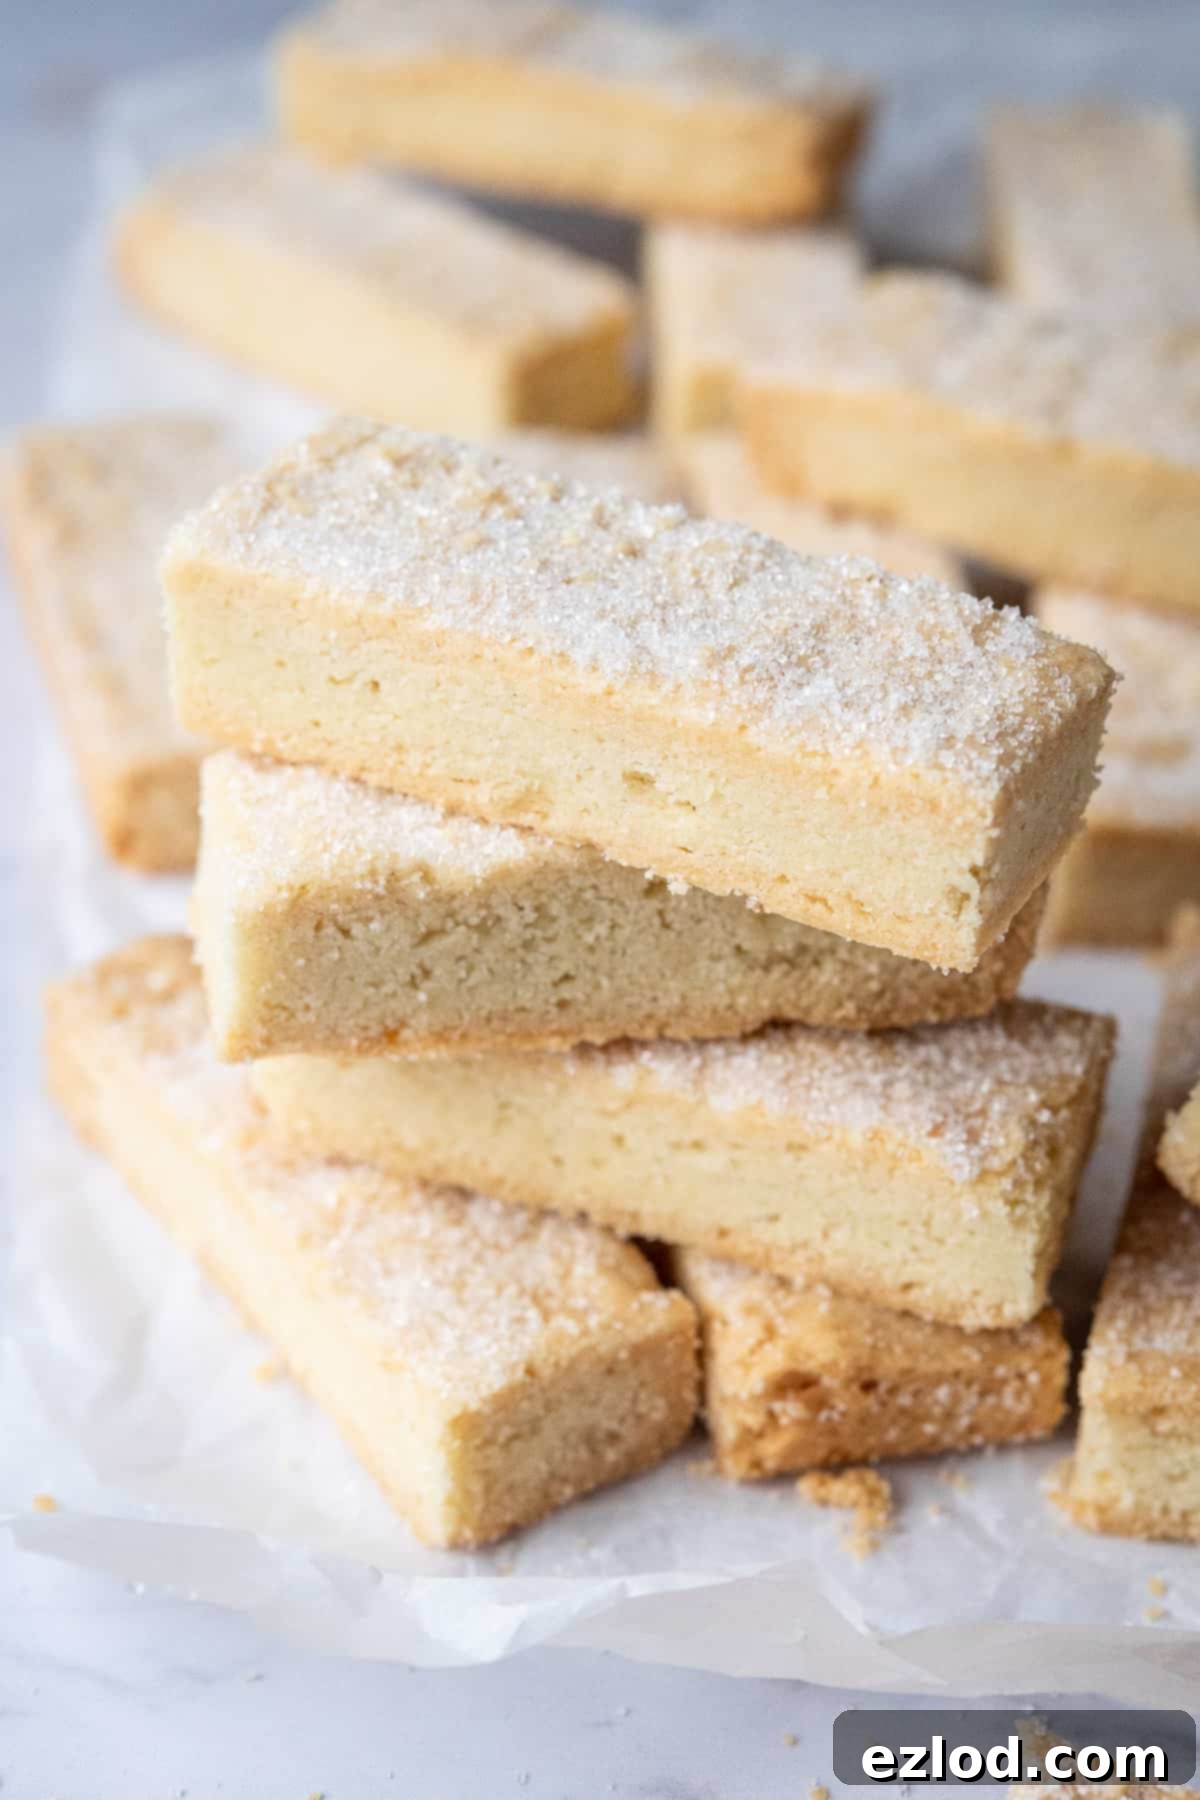
The characteristic ‘short’ or crumbly texture of shortbread is a direct result of its high butter content. Traditional shortbread, laden with dairy butter, naturally doesn’t fit a vegan lifestyle. However, the good news is that swapping dairy butter for a high-quality vegan alternative is incredibly easy, yielding a shortbread that we believe is every bit as delicious and satisfying as its traditional counterpart. This recipe proves that you don’t need dairy to achieve that rich, melt-in-your-mouth sensation that makes shortbread so beloved.
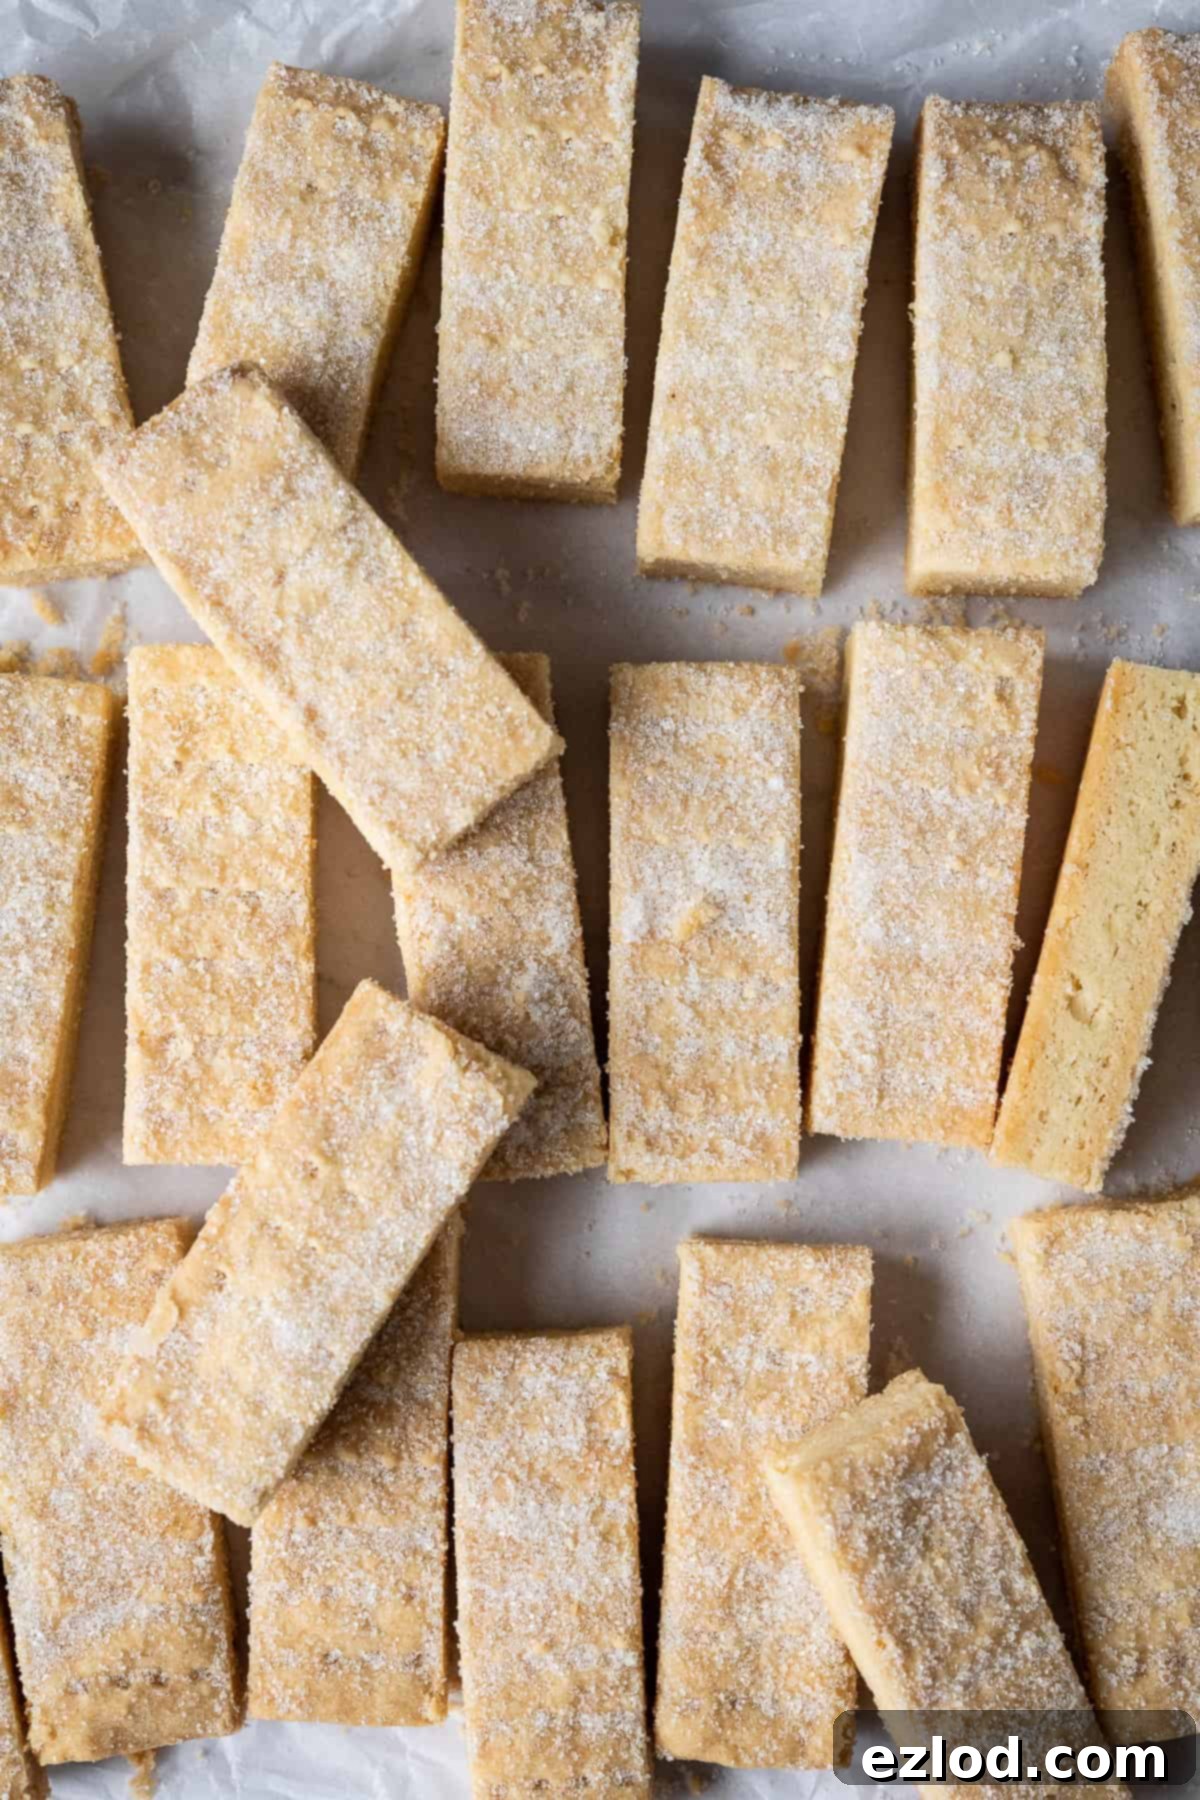
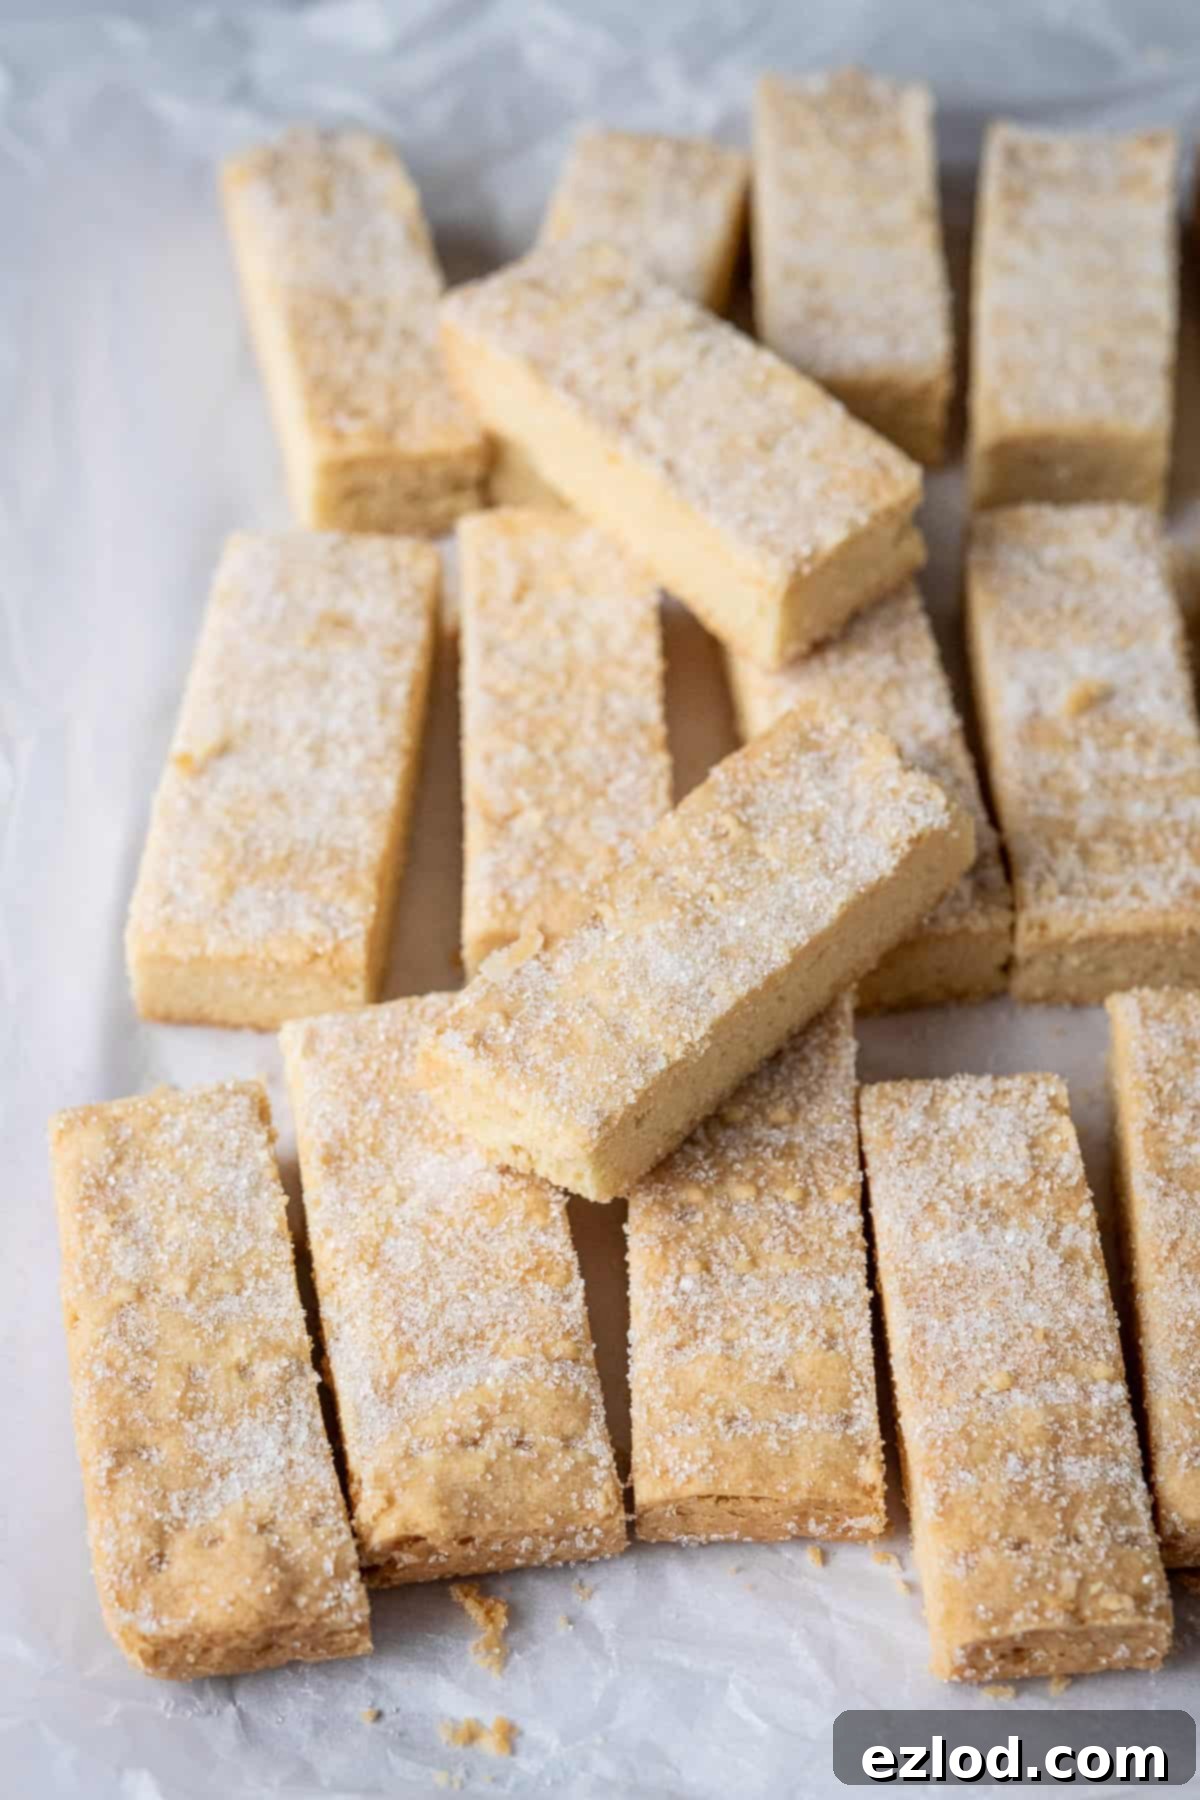
Shortbread is traditionally presented in one of three classic shapes. You might encounter it as a large, round biscuit, intricately decorated and then sliced into wedges, famously known as “petticoat tails.” Alternatively, it can be baked as individual round biscuits, perfect for a single serving. For this particular recipe, we’ve opted for the popular “fingers” shape, where the shortbread is baked in a slab and then sliced into neat, rectangular pieces. These fingers are ideal for dipping, sharing, or simply enjoying one by one.
Essential Ingredients for Your Vegan Shortbread Fingers
Creating perfect vegan shortbread relies on selecting the right ingredients. Each component plays a vital role in achieving that signature buttery taste and crumbly texture. Here’s a detailed look at what you’ll need and why:
Plain Flour (All-Purpose Flour): The Foundation of Texture
For these shortbread fingers, regular plain (all-purpose) flour is your best choice. It provides the ideal structure and delicate crumb needed for shortbread. We highly recommend sticking to plain flour as experimenting with other flour types might significantly alter the final texture, potentially making your shortbread less ‘short’ and more chewy.
Cornflour (Cornstarch): The Secret to Melt-in-Your-Mouth Goodness
While basic shortbread recipes traditionally call for only three ingredients (flour, butter, and sugar), we’ve found that incorporating a small amount of cornflour (cornstarch) elevates the shortbread to a new level. This addition results in a much finer, more tender crumb and that desirable melt-in-your-mouth quality that truly sets exceptional shortbread apart. If you prefer a slightly more sandy or rustic crumb, you can substitute the cornflour with an equal weight of fine semolina or rice flour, but for ultimate tenderness, cornflour is key.
Vegan Block Butter: The Heart of the Flavour and Texture
This is perhaps the most crucial ingredient in vegan shortbread. It is absolutely imperative to use a solid block of vegan butter or margarine, rather than the spreadable varieties that come in tubs. Spreadable margarines contain more water and less fat, which will prevent your shortbread from achieving that signature ‘short’ and crumbly texture, often leading to a chewier, less satisfying result. Since shortbread has so few ingredients, the flavour of your chosen vegan butter truly shines through. Opt for a brand whose taste you genuinely enjoy. We’ve had excellent results with Naturli Vegan Block, and Flora Plant block or Stork block are also reliable choices that perform well in this recipe.
Sugar: Sweetness and Structure
We use caster sugar (superfine sugar) in this recipe. Its fine granules blend seamlessly and more readily with the vegan butter compared to granulated sugar, ensuring a smooth, even dough and preventing any grainy texture in the baked shortbread. While golden caster sugar can be used for a slightly richer caramel note, we do not recommend substituting with other types of sugar or sugar substitutes, as they can drastically affect the texture and flavour. Traditionally, shortbread fingers are dusted with granulated sugar immediately after baking to provide a delightful crunch and extra sweetness. For an even more pronounced texture, a sprinkle of demerara sugar makes an excellent alternative topping.
Vanilla Extract: Enhancing the Vegan Butter Flavour
Traditionally, shortbread is unflavoured, with all its deliciousness stemming from the pure taste of butter. However, as vegan butter, while excellent, doesn’t quite replicate the exact flavour profile of dairy butter, we like to add a touch of vanilla extract. This isn’t to make the shortbread taste overtly vanilla-like; rather, it subtly rounds out the overall flavour, adding depth and complexity that makes these vegan shortbread fingers truly extra delicious and satisfying.
Salt: A Pinch for Perfection
A small pinch of salt is optional, but highly recommended. It acts as a flavour enhancer, balancing the sweetness and bringing out the rich, buttery notes of the shortbread, making every bite more profound.
How To Make Irresistible Vegan Shortbread Fingers: A Detailed Guide
(For a concise list of ingredients and full step-by-step instructions, please refer to the recipe card located below.)
Making vegan shortbread fingers is a straightforward process, but paying attention to each step ensures a perfect result every time. Follow these detailed instructions to achieve deliciously crumbly shortbread:
- **Prepare Your Tin:** Start by greasing a 23 cm / 9 inch square cake tin and lining it with baking parchment. This crucial step prevents sticking and makes it easy to remove your baked shortbread later.
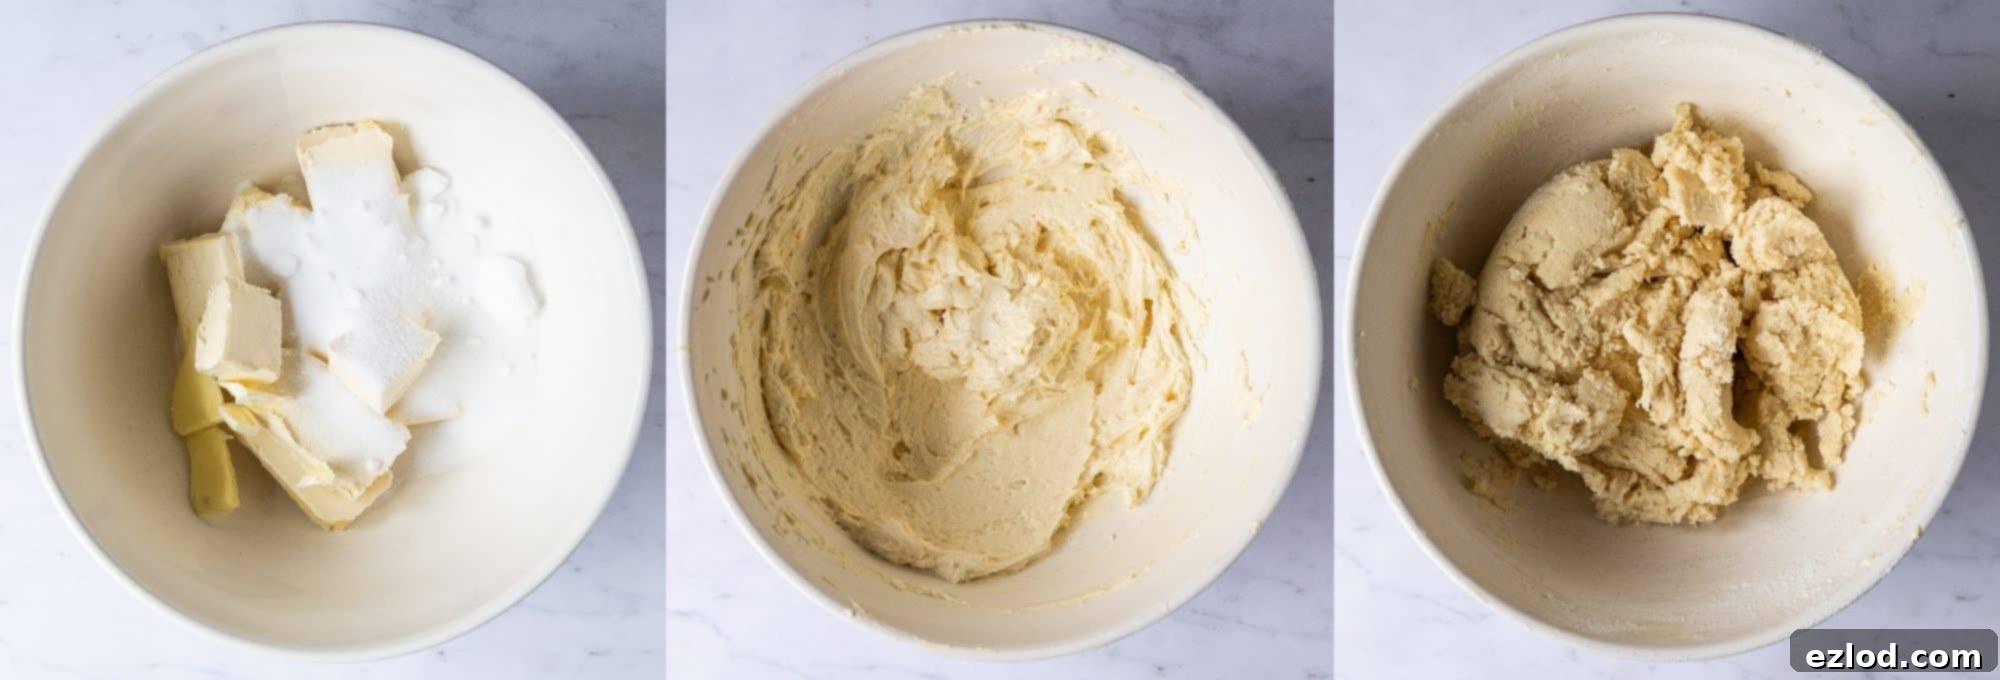
- **Cream the Butter and Sugar:** In a large mixing bowl, combine the slightly softened vegan block butter and the caster sugar. Use an electric mixer to whisk these two ingredients together until the mixture becomes wonderfully light, pale, and fluffy. This aeration process is essential for a tender shortbread. Once fluffy, whisk in the vanilla extract and a generous pinch of salt. Ensure everything is well combined.
- **Combine Dry Ingredients:** In a separate bowl, sift together the plain flour and cornflour (cornstarch). Sifting helps to remove any lumps and incorporates air, contributing to a lighter texture.
- **Form the Dough:** Gradually add the sifted flour mixture to the creamed butter and sugar. Using a spatula, gently stir until a cohesive dough begins to form. At first, it might seem like there’s too much flour and the mixture is too dry, but persist! It will eventually come together. The key here is to mix just until combined – avoid overworking the dough, as this can develop the gluten in the flour, leading to tough or chewy shortbread instead of crumbly.
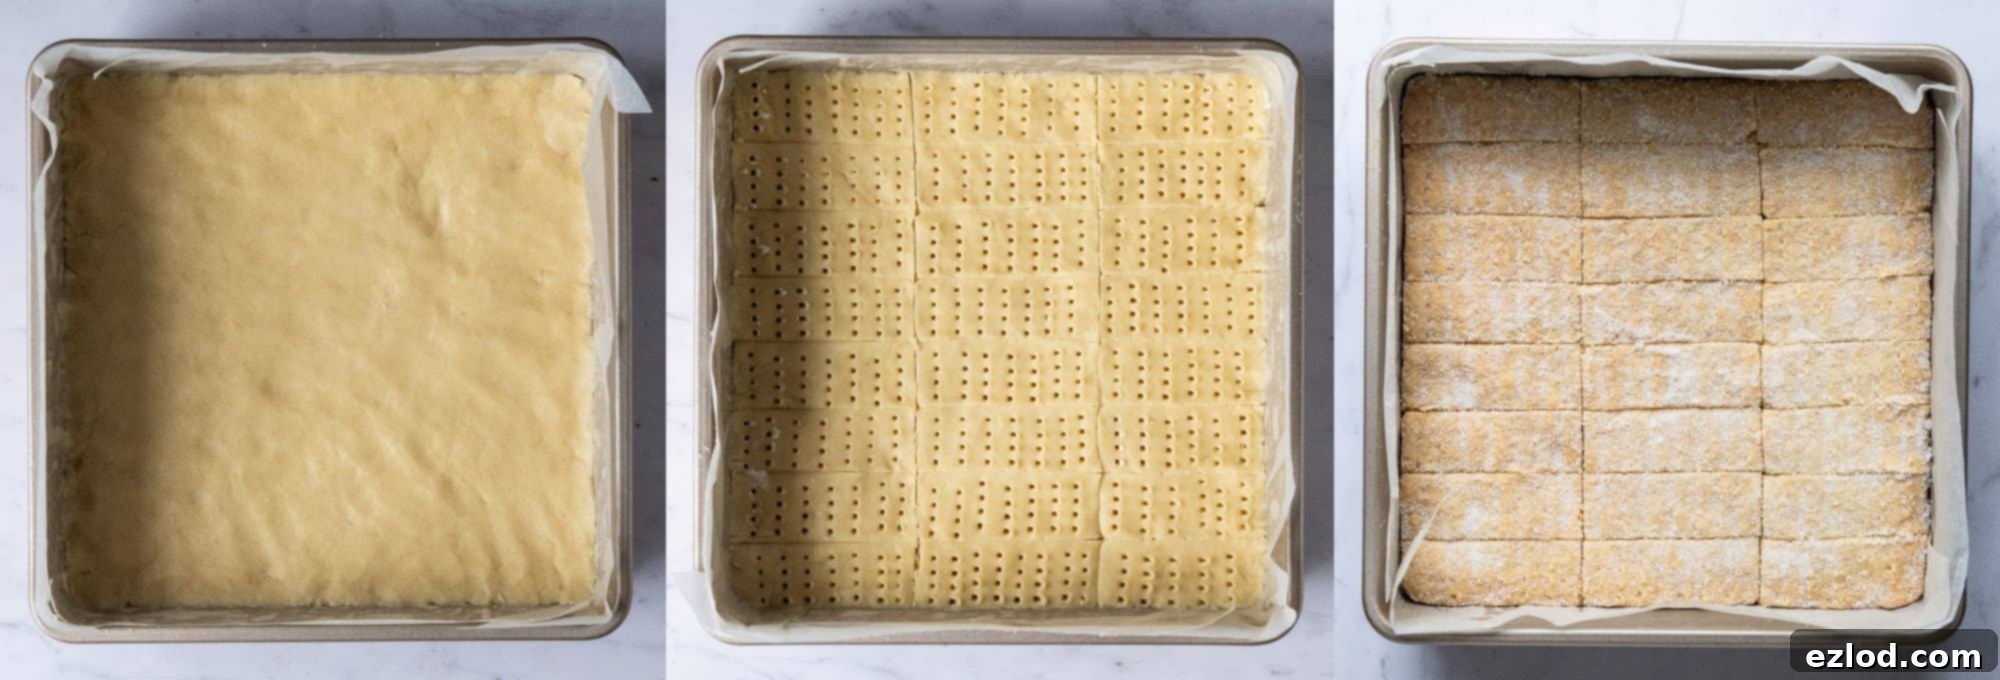
- **Press into the Tin:** Transfer the shortbread dough into your prepared square cake tin. Using your hands, firmly and evenly press the dough into the base of the tin. The goal is to create a compact, uniform layer. If the dough is a bit sticky, lightly flour your hands. The more evenly you press it, the more consistent your shortbread fingers will be.
- **Score and Prick:** With a sharp knife, carefully score the dough into individual shortbread fingers. Don’t cut all the way through yet; simply make clear indentations where you intend to slice later. Then, take a fork and prick each finger several times. This decorative pricking also helps to prevent the shortbread from puffing up excessively during baking, maintaining its classic flat appearance.
- **Chill the Dough:** Place the tin containing the scored dough into the refrigerator to chill for at least half an hour, or until the dough is firm to the touch. This chilling period is vital as it helps the shortbread hold its shape better during baking and contributes to a more tender crumb. While it chills, preheat your oven to 170°C/150°C fan/325°F/gas mark 3.
- **Bake to Perfection:** Bake the shortbread for approximately 45 minutes to 1 hour. Baking time can vary depending on your oven, but typically, it takes about an hour. The shortbread should emerge pale golden around the edges and firm when gently touched. It should not be deeply browned.
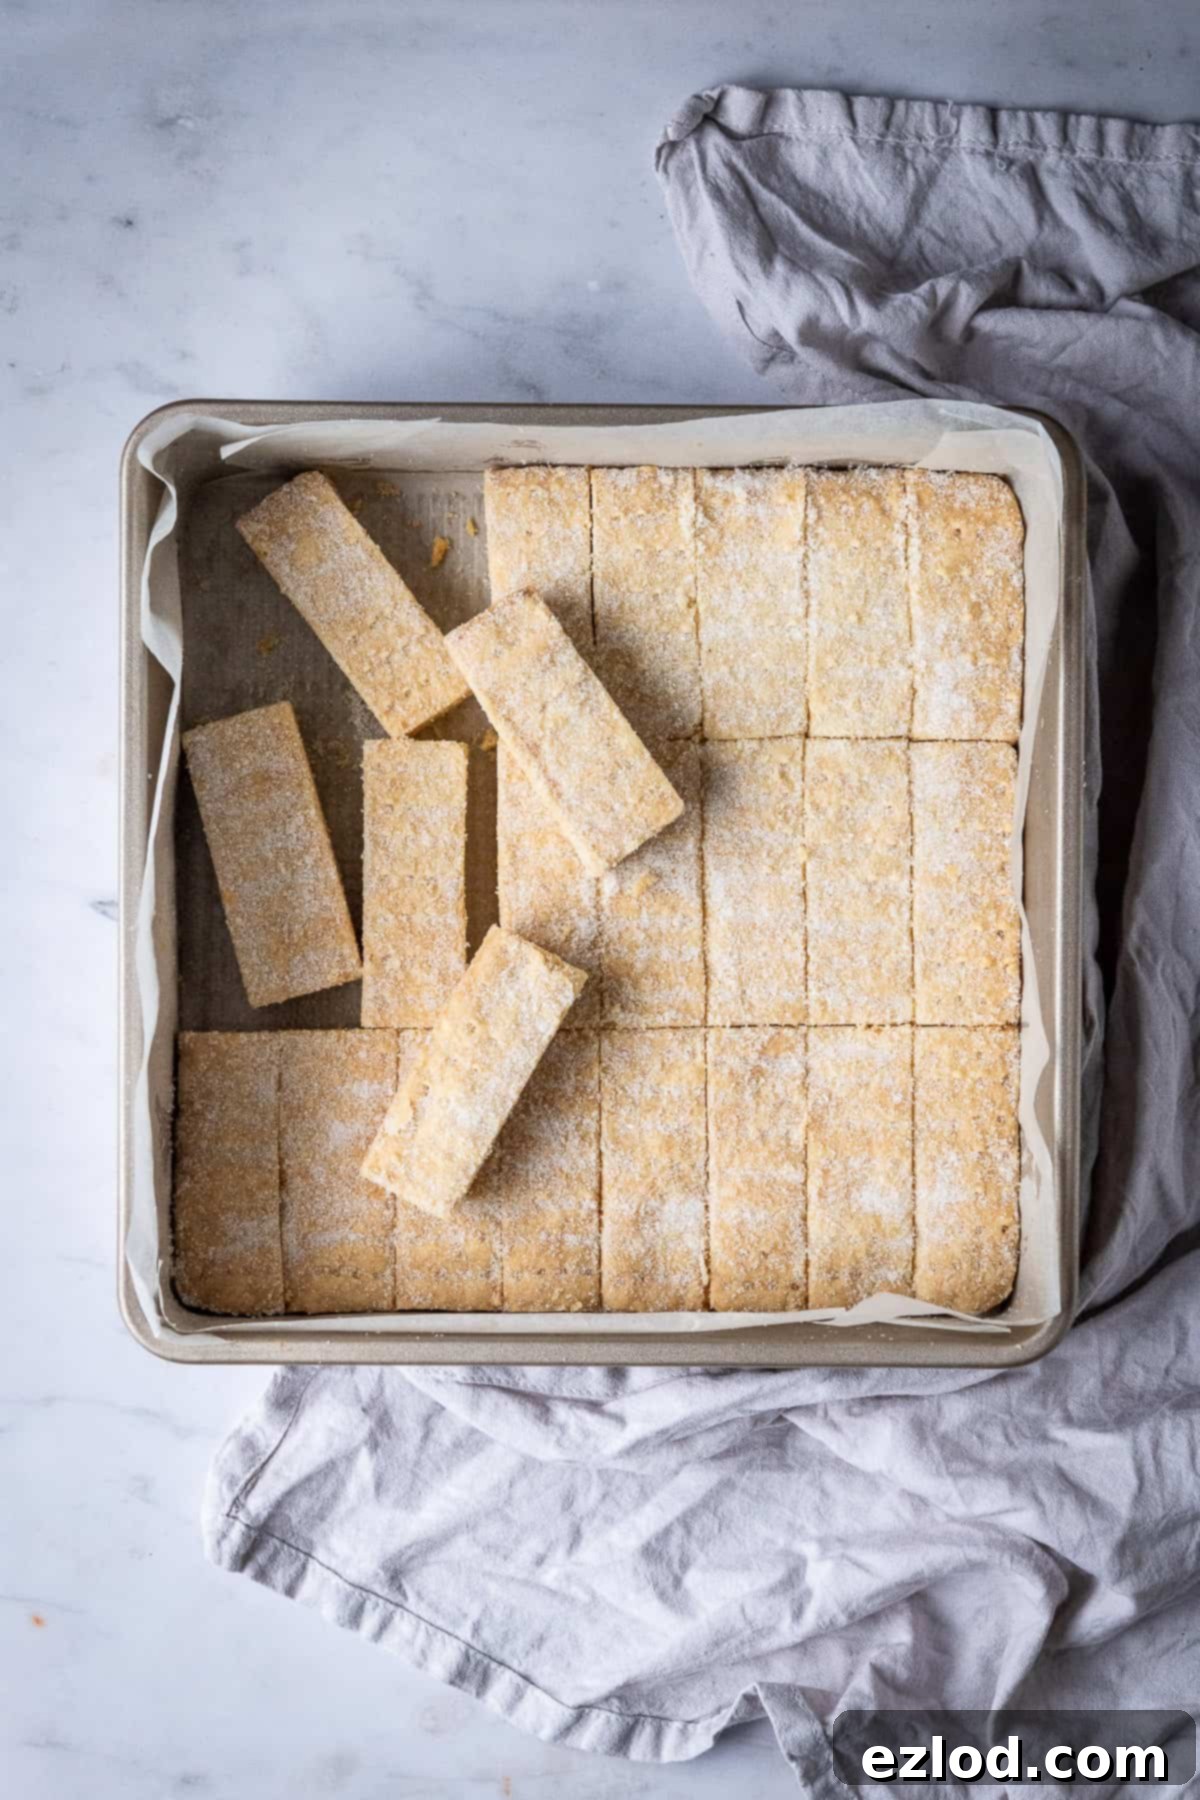
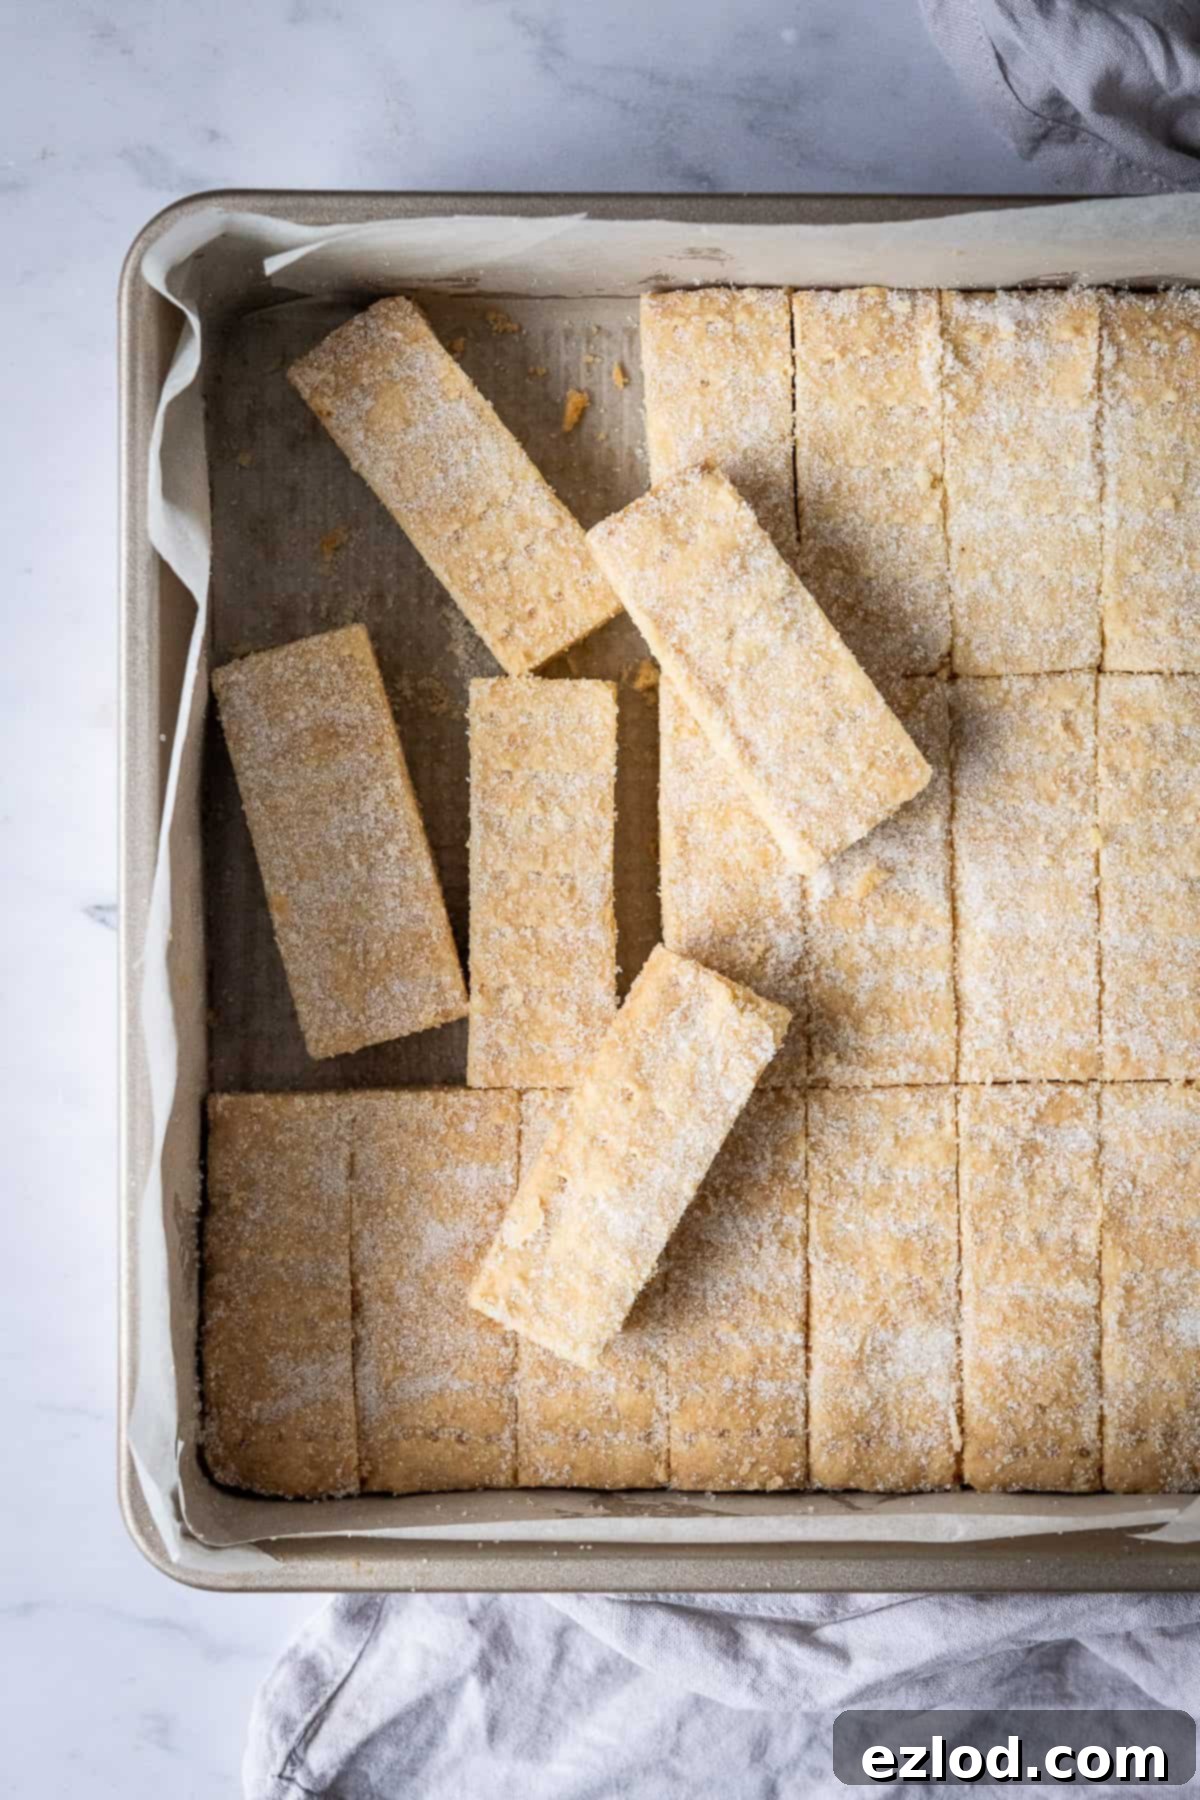
- **Sugar Sprinkle and Re-slice:** As soon as you remove the shortbread from the oven, while it’s still piping hot, immediately sprinkle it generously with granulated sugar (or demerara sugar for extra crunch). Let the shortbread cool in the tin for about 10 minutes. Then, using a very sharp, pointy knife, carefully re-slice along the original scored lines. Doing this while warm prevents the shortbread from crumbling when fully cooled.
- **Cool Completely:** Once re-sliced, carefully lift the shortbread slab out of the tin using the parchment paper. Transfer the individual shortbread fingers onto a wire rack to cool completely. Allowing them to cool fully ensures they firm up and develop their crisp, crumbly texture.
- **Store:** Once completely cool, store your delicious vegan shortbread fingers in an airtight container to maintain their freshness.
Expert Tips for Perfect Vegan Shortbread Every Time
Achieving shortbread perfection is within your reach with these helpful tips:
- **Measure with Precision (Use a Digital Scale!):** For all baking, and especially for a delicate recipe like shortbread with its precise ratios, we strongly recommend using metric measurements with a digital kitchen scale. Cup conversions, particularly for flour and sugar, can be wildly inaccurate due to variations in how ingredients are packed. A scale provides far more consistent and reliable results, and often makes for an easier, less messy baking experience!
- **Stick to the Recipe:** Shortbread is a minimalist biscuit. With so few ingredients, any substitutions or significant changes can dramatically impact the taste and, more importantly, the texture. For your first attempt, we highly advise following the recipe exactly as written to ensure you experience the intended perfect buttery, crumbly outcome.
- **The Importance of Block Butter:** Reiterating this crucial point: always use a solid block of vegan butter or margarine. Avoid the softer, spreadable varieties that come in tubs. The higher water content in spreadable products will lead to a tough, chewy shortbread rather than the desired ‘short’ crumbly texture.
- **Butter Temperature Matters:** Your vegan butter should be slightly softened, but not warm or melted. It should be just soft enough that if you gently press it with a finger, it leaves a slight indentation. If you’re using an electric mixer, you can often use butter straight from the fridge, as the mixing process will soften it adequately. Too warm, and your dough will be oily and difficult to handle; too cold, and it won’t cream properly with the sugar.
- **Do Not Overwork the Dough:** This is a golden rule for shortbread. Once the dry ingredients are added to the butter mixture, mix only until no dry patches of flour remain and the ingredients are just combined. Avoid kneading the dough. Overworking develops the gluten in the flour, which creates elasticity and will result in a tough, chewy biscuit instead of one that crumbles beautifully.
- **Low and Slow Baking:** This shortbread is baked at a relatively low oven temperature (170°C/150°C fan) for a longer duration – typically 1 hour. This extended, gentle bake ensures that the shortbread cooks through evenly and thoroughly without browning too quickly or becoming too dark on the outside. It allows for that delicate, pale golden finish.
- **Slice While Warm:** One of the most common pitfalls is trying to slice fully cooled shortbread. It will be very firm and prone to crumbling or breaking unevenly. Always re-slice your shortbread fingers with a sharp, pointed knife when they are still warm, about 10 minutes after coming out of the oven. This makes for clean cuts and prevents breakage.
- **Consider Baking Powder (Optional, but not in this recipe):** Traditional shortbread, and this recipe, do not use baking powder. This contributes to its dense, crumbly texture. If you were looking for a slightly lighter, cakier biscuit, you might add a tiny bit, but then it wouldn’t truly be shortbread.
Storing Your Delicious Vegan Shortbread Fingers
One of the best qualities of shortbread is its excellent shelf life. These vegan shortbread fingers will maintain their delightful buttery and crumbly texture for at least two weeks, and often even longer, if stored correctly. Simply place them in an airtight container at room temperature. This will protect them from moisture and keep them fresh, ready to enjoy whenever a craving strikes.
Serving Suggestions and Customization Ideas
These vegan shortbread fingers are absolutely perfect on their own, especially with a cup of tea or coffee. However, they are also wonderfully versatile:
- **Dipping:** Their sturdy yet crumbly texture makes them ideal for dipping into hot chocolate, a glass of plant-based milk, or even a vegan custard.
- **Dessert Accompaniment:** Serve alongside fresh berries and a dollop of vegan whipped cream for a simple yet elegant dessert. They’re also fantastic crumbled over vegan ice cream!
- **Flavour Variations:** While we love the classic vanilla, you could experiment by adding a little lemon zest, orange zest, or a pinch of ground cardamom to the dough for a different flavour profile. Just be mindful not to add too much liquid.
- **Chocolate Drizzle:** Once cooled, drizzle melted vegan chocolate over the fingers for an extra indulgent treat.
Frequently Asked Questions About Vegan Shortbread
Here are answers to some common questions you might have:
- **Can I make this recipe gluten-free?** While we haven’t tested this specific recipe with gluten-free flour, shortbread is often successfully adapted. You would likely need a good quality gluten-free all-purpose flour blend, preferably one containing xanthan gum for structure. The texture might differ slightly from traditional shortbread.
- **Can I freeze vegan shortbread?** Yes, baked vegan shortbread freezes beautifully! Once completely cooled, place the fingers in an airtight freezer-safe container or bag, separated by parchment paper to prevent sticking. They can be frozen for up to 2-3 months. Thaw at room temperature before serving. You can also freeze the raw dough, wrapped tightly, for up to a month, then thaw and bake as directed.
- **My shortbread turned out chewy, what went wrong?** This is usually due to overworking the dough, which develops gluten and makes the shortbread tough. It can also happen if you used a spreadable margarine instead of block vegan butter, as spreads have higher water content.
- **My shortbread crumbled too much when I tried to slice it.** This indicates you waited too long to slice it. Shortbread needs to be re-sliced while still warm from the oven, within 10-15 minutes of being removed, before it fully cools and firms up.
We are confident that these vegan shortbread fingers will become a cherished recipe in your baking repertoire. Their simple elegance and comforting taste make them suitable for any occasion, from a casual tea break to a festive gathering. Enjoy the process of creating these delightful treats and the joy they bring to every bite!
More Delicious Vegan Biscuit Recipes to Explore:
Vegan chocolate pistachio biscotti
Vegan gingerbread cookies
Vegan maple biscuits
Vegan biscotti with almonds and cranberries
Vegan Easter biscuits
Vegan cinnamon swirl biscuits
If you tried this recipe, we’d love to hear from you! Please rate it, leave a comment below, or tag @domestic_gothess on Instagram and use the hashtag #domesticgothess to share your creations!
*All images and content on Domestic Gothess are copyright protected. If you want to share this recipe then please do so by using the share buttons provided. Do not screenshot or post the recipe or content in full.*
Print
Vegan Shortbread Fingers
Ingredients
- 235 g (1 cup) vegan block butter (NOT the spreadable kind. I use Naturli Vegan Block)* slightly softened
- 115 g (½ cup) caster (superfine) sugar
- 1 tsp vanilla extract
- a big pinch salt
- 250 g (2 cups) plain (all-purpose) flour
- 100 g (¾ cup + 1 Tbsp) cornflour (cornstarch)
- granulated sugar for sprinkling
Instructions
-
Grease a 23cm / 9inch square cake tin and line it with baking parchment.
-
Whisk together the vegan butter and the caster sugar with an electric mixer until it is light and fluffy, then whisk in the vanilla extract and a good pinch of salt.
-
Sift together the plain flour and cornflour (cornstarch) then add them to the butter mixture. Stir with a spatula until it forms a dough, it may seem like it is too much flour but it will combine eventually. Don’t knead the dough, just mix it until no dry patches remain.
-
Tip the dough into the prepared tin and use your hands to pack it down as firmly and as evenly as possible. You can flour your hands if it is sticking.
-
Use a sharp knife to slice the dough into fingers and prick them several times each with the tines of a fork.
-
Place the tin in the fridge to chill for at least half an hour, until the dough is firm. Meanwhile preheat the oven to 170°C/150°C fan/325°F/gas mark 3.
-
Bake the shortbread for 45 minutes to 1 hour (mine takes 1 hour). It should be pale golden and firm to the touch.
-
Remove from the oven and immediately sprinkle with granulated sugar. Leave the shortbread to cool in the tin for 10 minutes then use a very sharp, pointy knife to re-slice the previous cuts.
-
Carefully lift the shortbread fingers out of the tin and place them on a wire rack to cool completely. Once they are completely cool, store the shortbread in an airtight container.
Notes
- As with all of my baking recipes I really do recommend using the metric measurements with a digital scale rather than the cup conversions. Cups are a wildly inaccurate measuring system and you will get far better, more consistent results using a scale, not to mention that it is also easier and less messy than cups!
- *The butter should be very slightly softened but not warm, just soft enough that if you press it with a finger it makes an indentation. You can even use it straight from the fridge if you are using an electric mixer.
- Because shortbread contains so few ingredients, swapping any of them out will likely have a big impact on the taste and texture of the resulting biscuits. I recommend making the recipe exactly as written, with no changes or substitutes.
- Make sure that you slice the shortbread into fingers when it is still warm. If you leave it to cool first it will be difficult to slice and likely to crumble.
