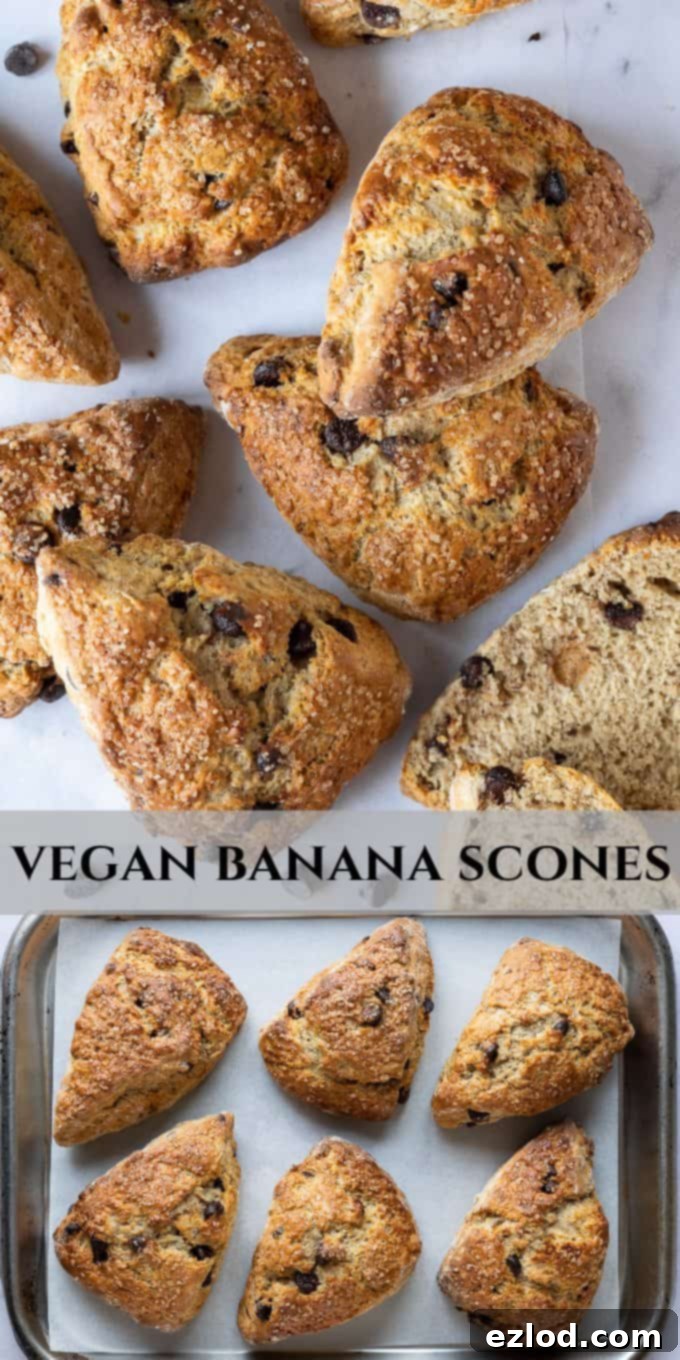
Easy Vegan Banana Chocolate Chip Scones: A Delicious Way to Use Ripe Bananas
Discover the ultimate recipe for easy vegan banana scones, packed with delightful chocolate chips. These fluffy, moist, and perfectly sweet scones offer a fantastic alternative to traditional banana bread, making them the ideal solution for utilizing those forgotten brown bananas. Perfect for breakfast, brunch, or a satisfying snack!
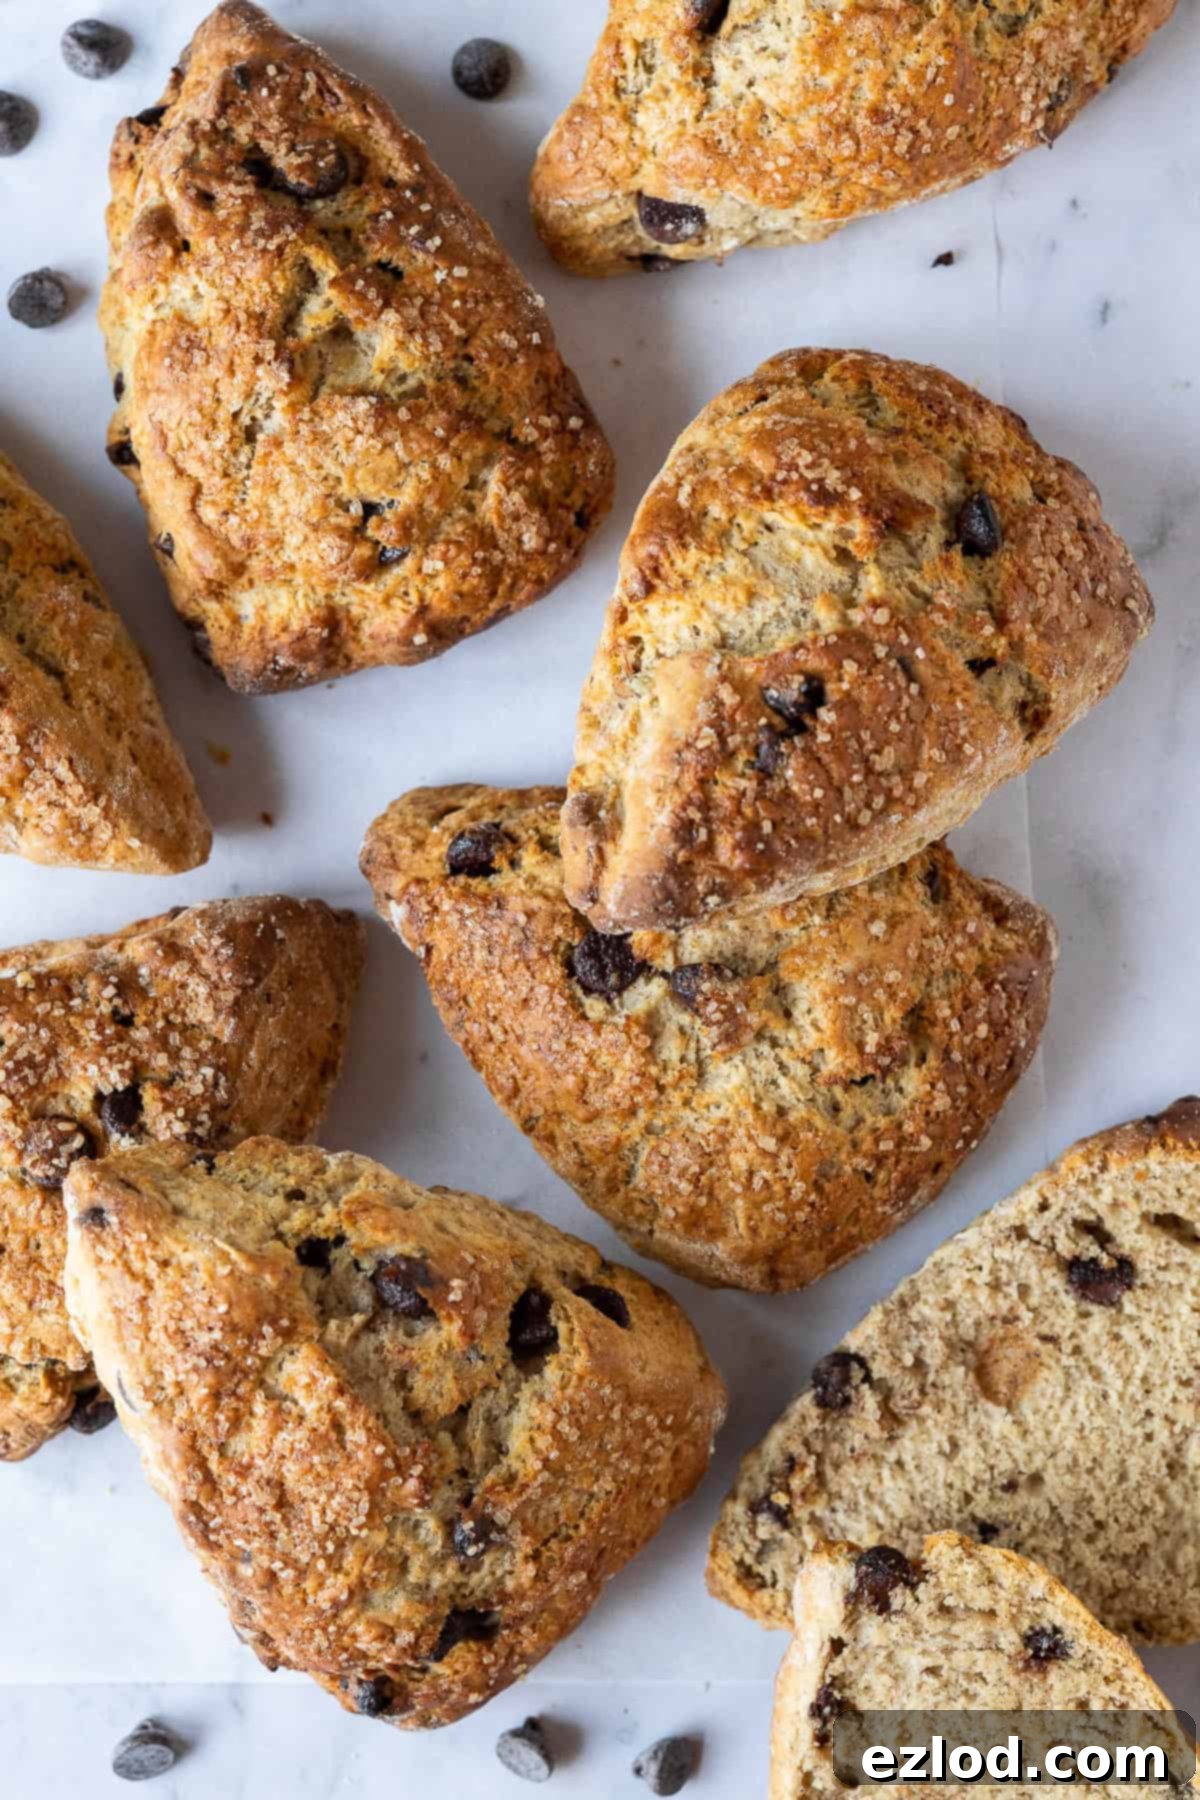
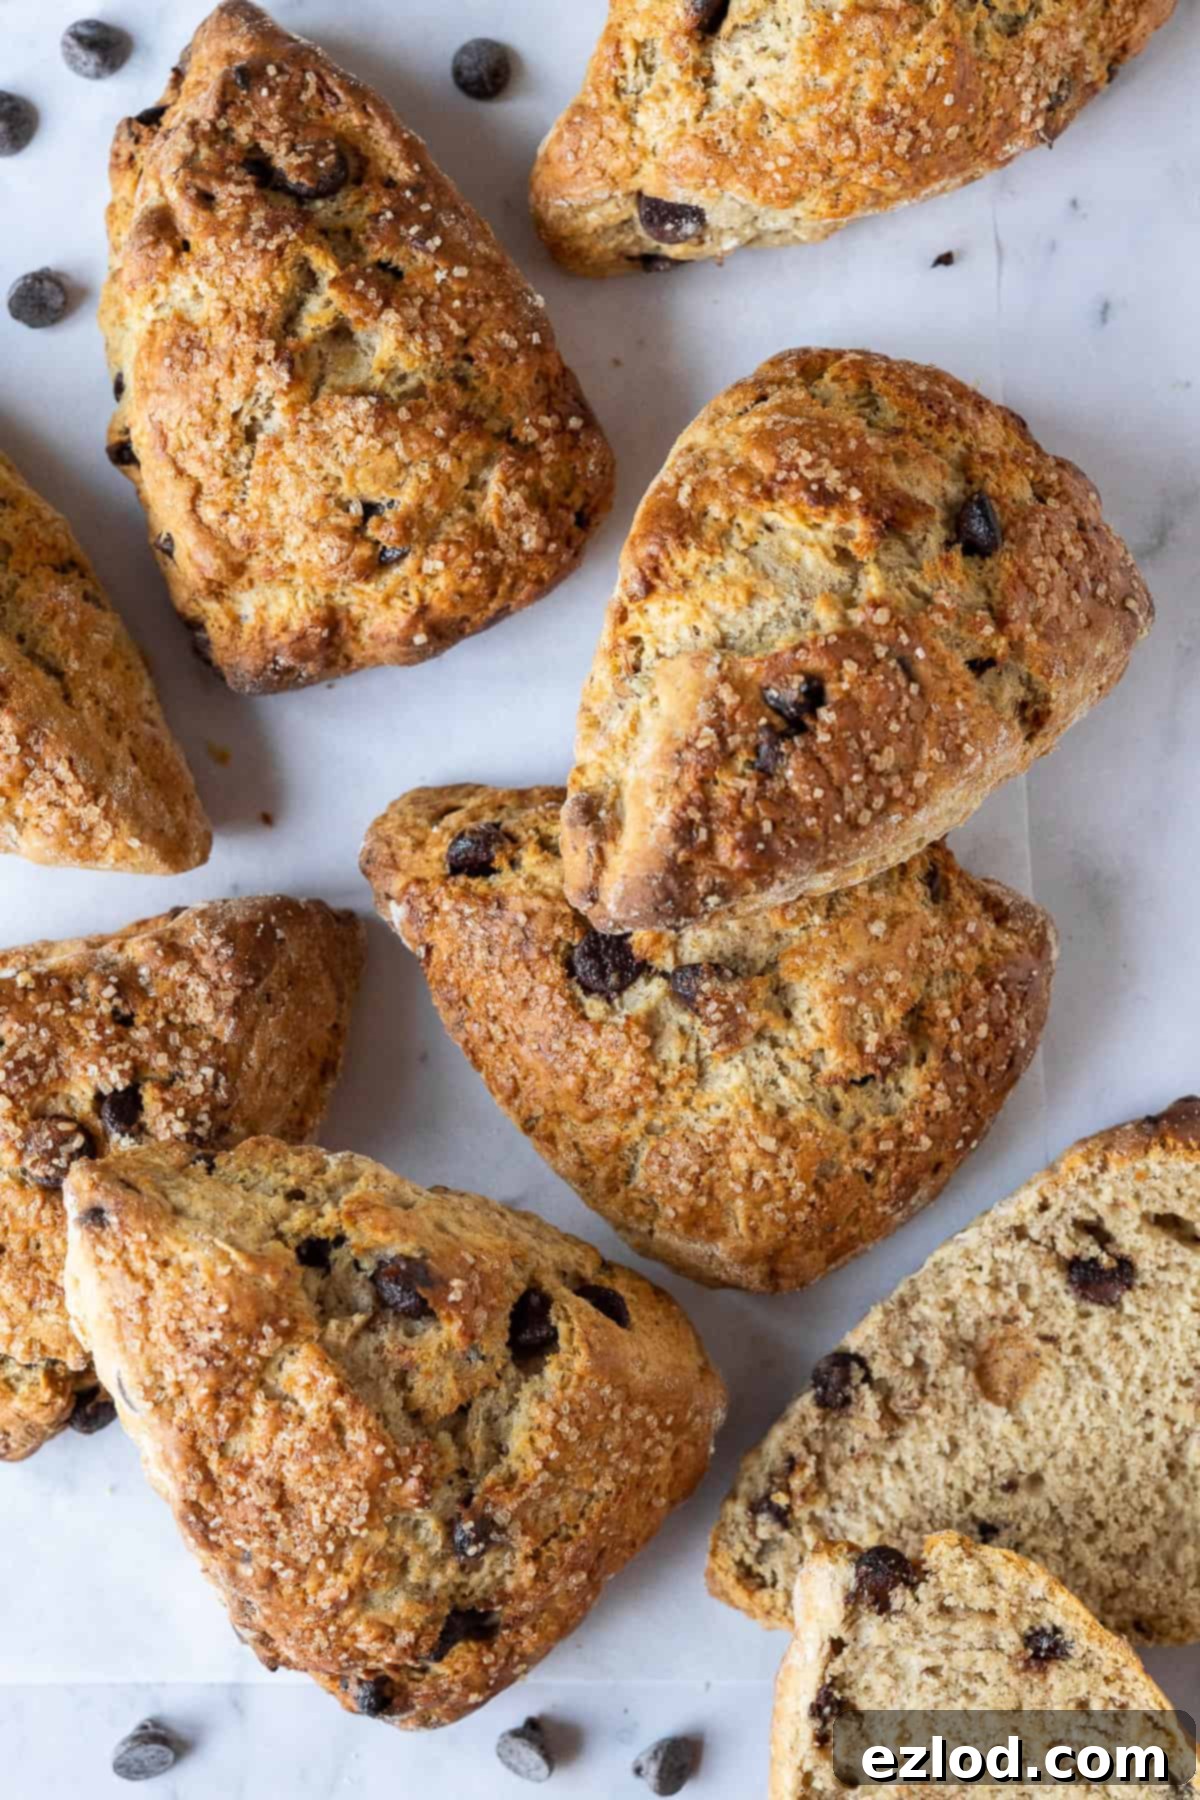
We all know the dilemma: a bunch of perfectly ripe, slightly brown bananas sitting on the counter, begging to be transformed into something delicious. While banana bread holds a special place in our hearts (and kitchens!), sometimes it’s wonderful to explore other equally delightful avenues for those overripe fruits. This recipe for **easy vegan banana chocolate chip scones** offers a fantastic and simple alternative that’s sure to become a new favorite in your **vegan baking** repertoire.
These **fluffy and moist vegan scones** are not only incredibly quick to whip up but also boast a delicate sweetness perfectly balanced by the rich notes of chocolate chips and the natural flavor of ripe bananas. Unlike some dry, crumbly scones you might encounter, our **banana scones** are designed to be tender and melt-in-your-mouth, making them an irresistible **breakfast**, **brunch**, or anytime **snack** option. They utilize two perfectly over-ripe bananas, ensuring none of that fruity goodness goes to waste, and they even freeze beautifully for future indulgence!
Imagine biting into a warm, freshly baked scone, its gentle aroma filling your kitchen. These are American-style scones, which means they are generally a bit sweeter and richer than their British counterparts, making them incredibly satisfying eaten just as they are. However, their versatility shines when you consider the toppings: split them open and spread with a dollop of vegan butter, creamy peanut butter, rich chocolate spread, or your favorite fruity jam. They’re truly a wonderful treat that brings comfort and joy with every bite.
Crafting Your Perfect Vegan Banana Scones: A Step-by-Step Guide
Making these **homemade vegan banana scones** is a straightforward process, even for novice bakers. The key to their incredible texture lies in careful preparation and not overworking the dough. Below, we’ll walk you through each step, ensuring you achieve perfectly **fluffy scones** every time. (For a complete list of ingredients and detailed instructions, please refer to the recipe card below.)
Mixing the Dry Ingredients and Incorporating Cold Butter
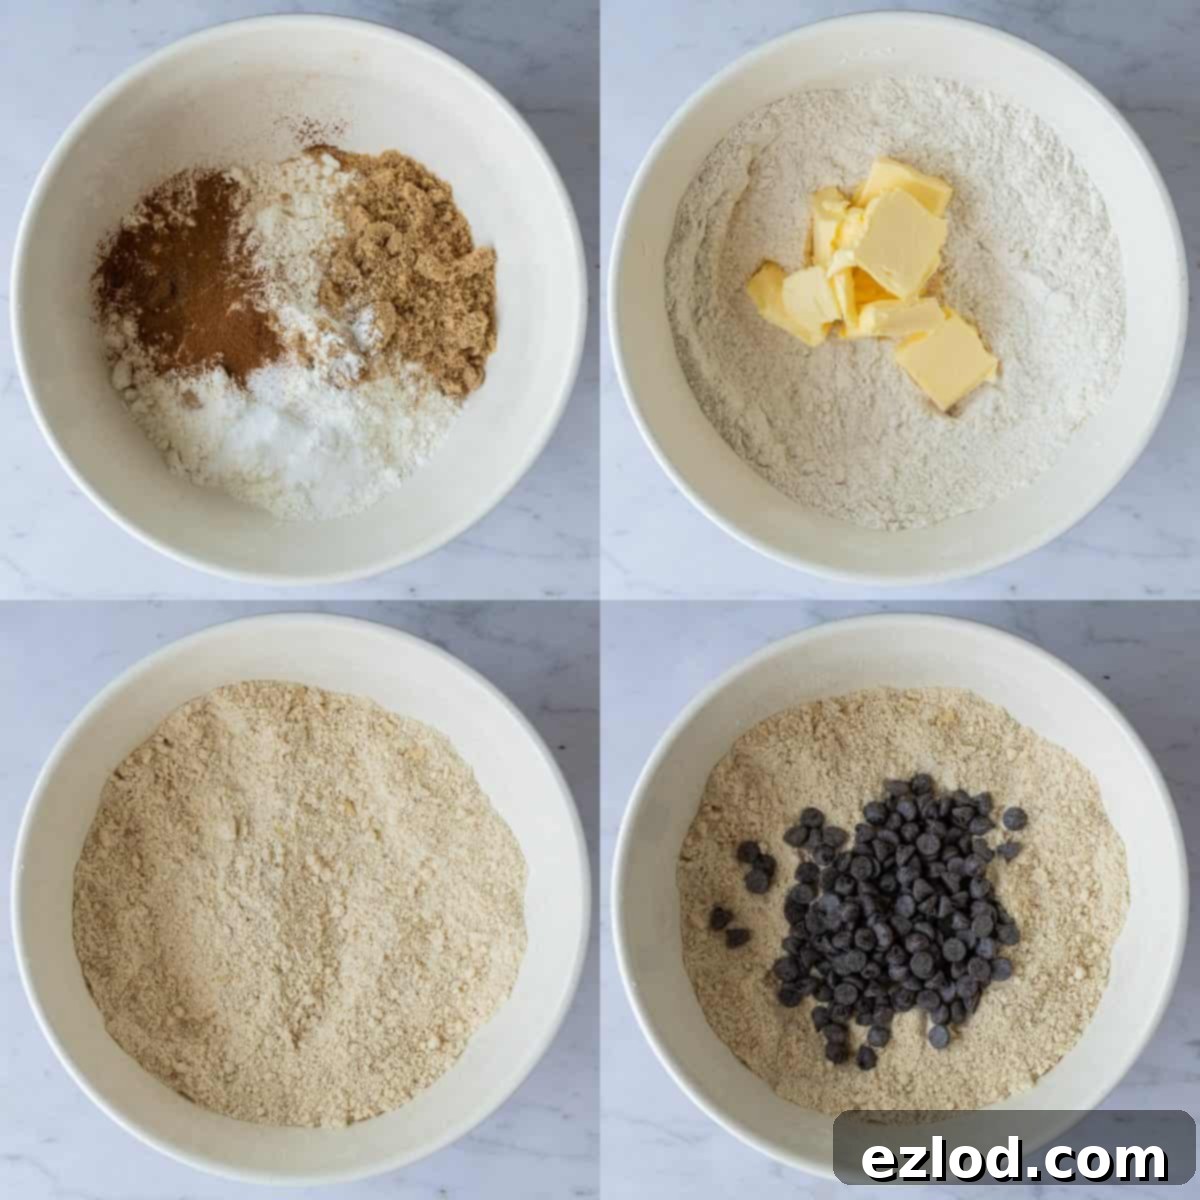
Start by combining your dry ingredients in a large mixing bowl. This includes plain flour, baking powder, bicarbonate of soda (baking soda), warming spices like cinnamon and nutmeg, a pinch of salt, and light brown soft sugar. Mixing these thoroughly ensures even distribution, which is crucial for the scones to rise properly and have a consistent flavor. The baking powder and soda are your leavening agents, while the spices add depth to the **banana scone recipe**.
Next, introduce the cold, cubed vegan block butter or margarine. This is a critical step for achieving that signature flaky texture in your **easy vegan scones**. Using your fingertips, gently rub the butter into the flour mixture until it resembles fine breadcrumbs. The goal here is to coat the flour particles with fat without melting the butter, creating small pockets of steam during baking that contribute to the scones’ lift. Ensure no large lumps of fat remain. Once the butter is incorporated, stir in your chosen **chocolate chips** – these add delightful bursts of sweetness and rich flavor.
Adding the Wet Ingredients and Forming the Dough
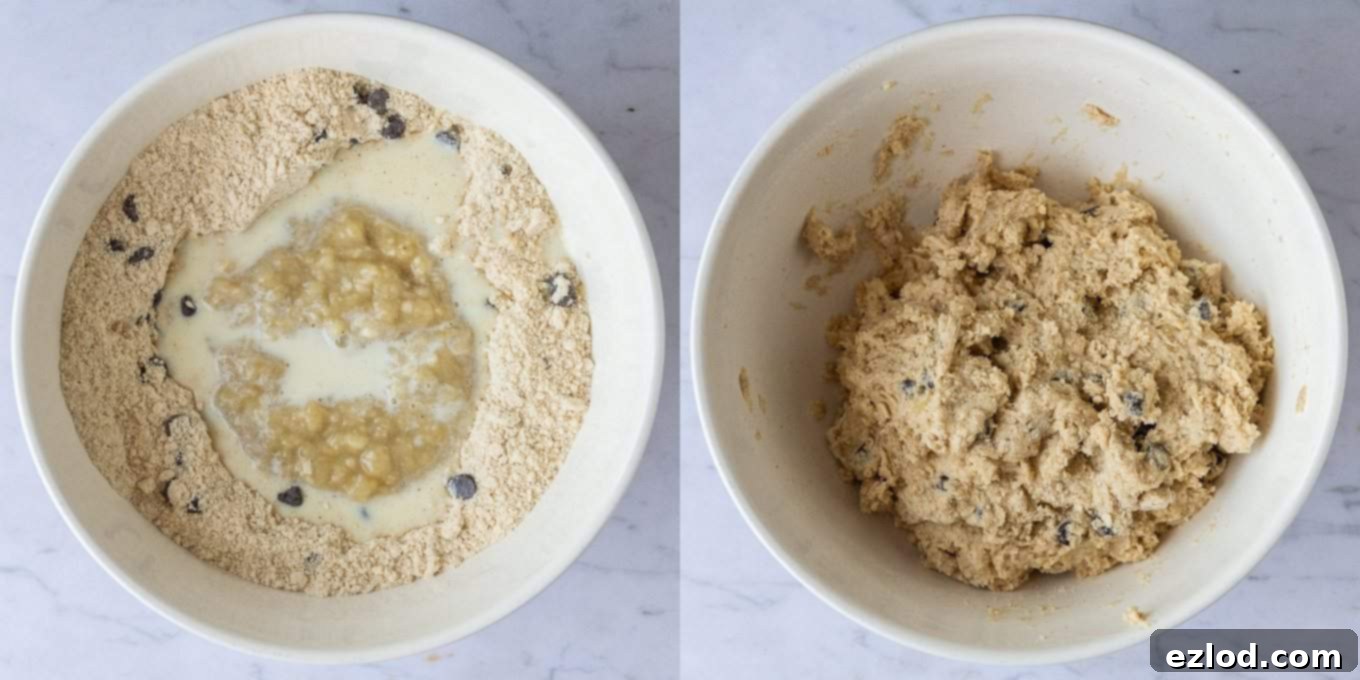
In a separate bowl, mash your ripe bananas thoroughly. The riper the bananas, the sweeter and more flavorful your scones will be. To this, add a little cider vinegar (or white wine vinegar/lemon juice) and vanilla extract. The acidity from the vinegar reacts with the bicarbonate of soda to help the scones rise, and it also subtly enhances the banana flavor. Add this mashed banana mixture to your dry ingredients, along with about half of the cold non-dairy milk. We recommend using soy milk as it tends to be richer and helps achieve a better texture.
Gently stir the mixture to moisten the flour. Gradually add more non-dairy milk, a tablespoon at a time, until a soft, slightly sticky dough forms. Be careful not to add too much liquid; the dough should be just wet enough to come together without being overly sticky or runny. The exact amount of milk can vary based on the size of your bananas and the flour’s absorbency, so trust your judgment and the dough’s consistency.
Shaping and Slicing Your Scones
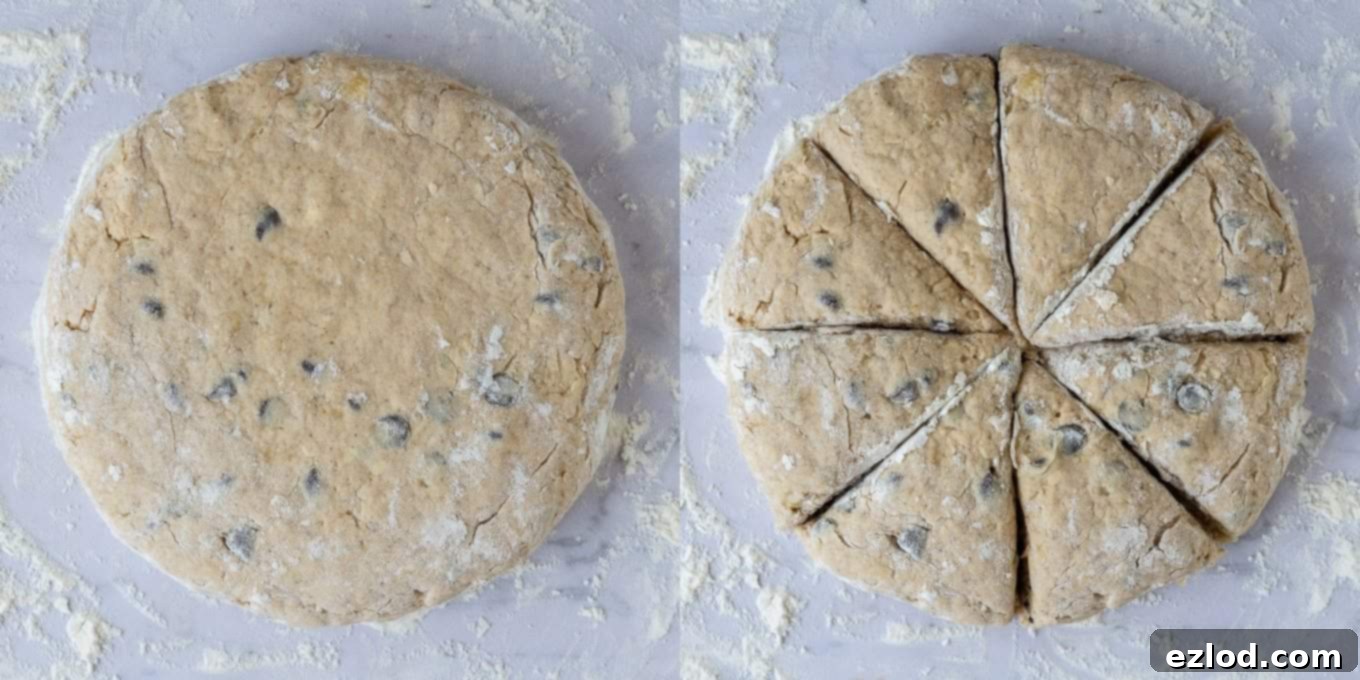
Turn your soft dough out onto a lightly floured surface. Crucially, resist the urge to knead it like bread. Overworking the dough will develop the gluten, resulting in tough, dense scones rather than the desired light and **fluffy** texture. Instead, gently bring the dough together into a rough ball, working it just enough so it holds its shape. Dust with a little more flour if needed, then use your hands to pat it out into a round shape, approximately 5cm (2 inches) thick. This thickness is key for creating substantial, satisfying scones.
Using a well-floured, sharp knife, slice the round into 8 wedges. To prevent the knife from sticking to the dough, dip it in flour again between each cut. The rustic wedge shape adds to the homemade charm of these **vegan banana scones**.
Baking to Golden Perfection
Carefully transfer the scone wedges to a baking sheet lined with parchment paper, ensuring they are well-spaced apart to allow for proper airflow and rising. Because the dough is soft and delicate, it’s a good idea to use a floured spatula or fish slice to help move them. Don’t worry if they get a little squished; you can gently pat them back into shape with floured hands once they’re on the baking sheet.
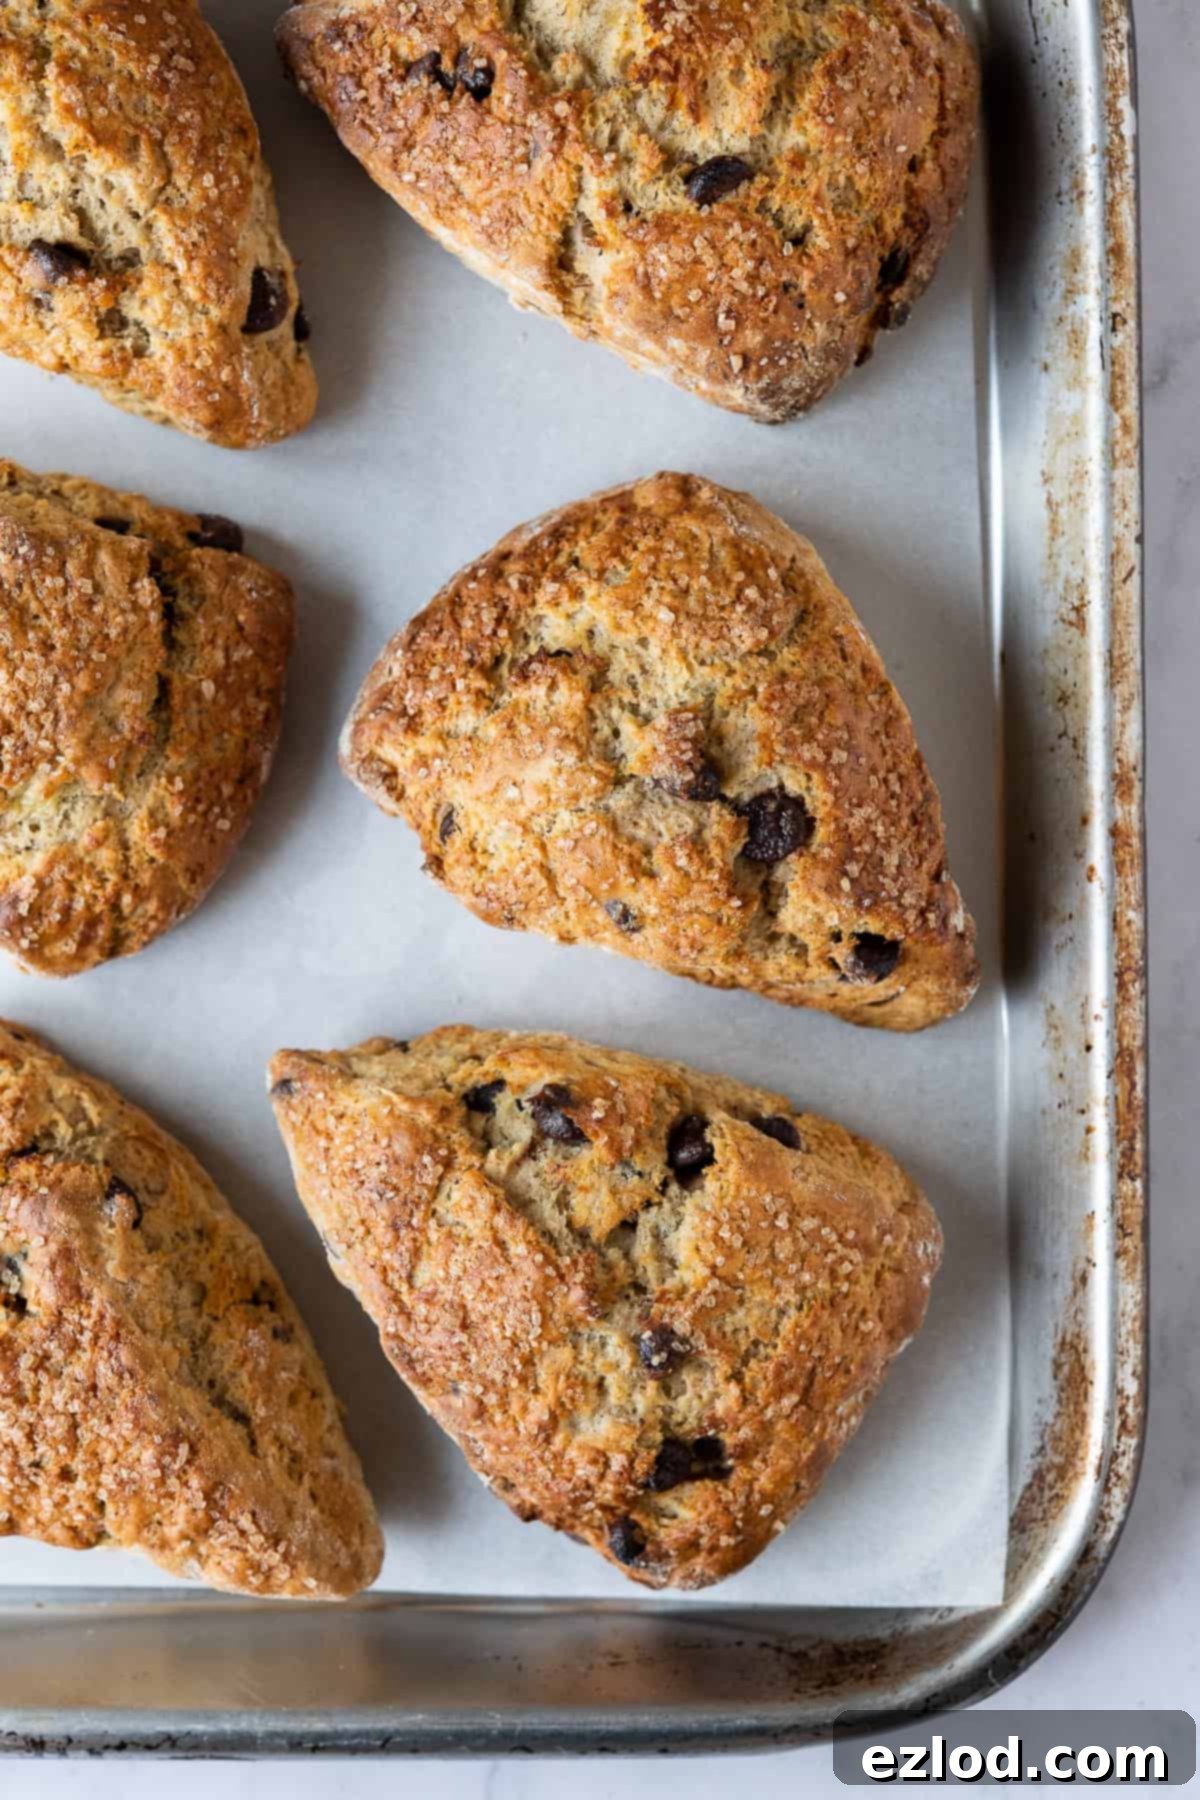
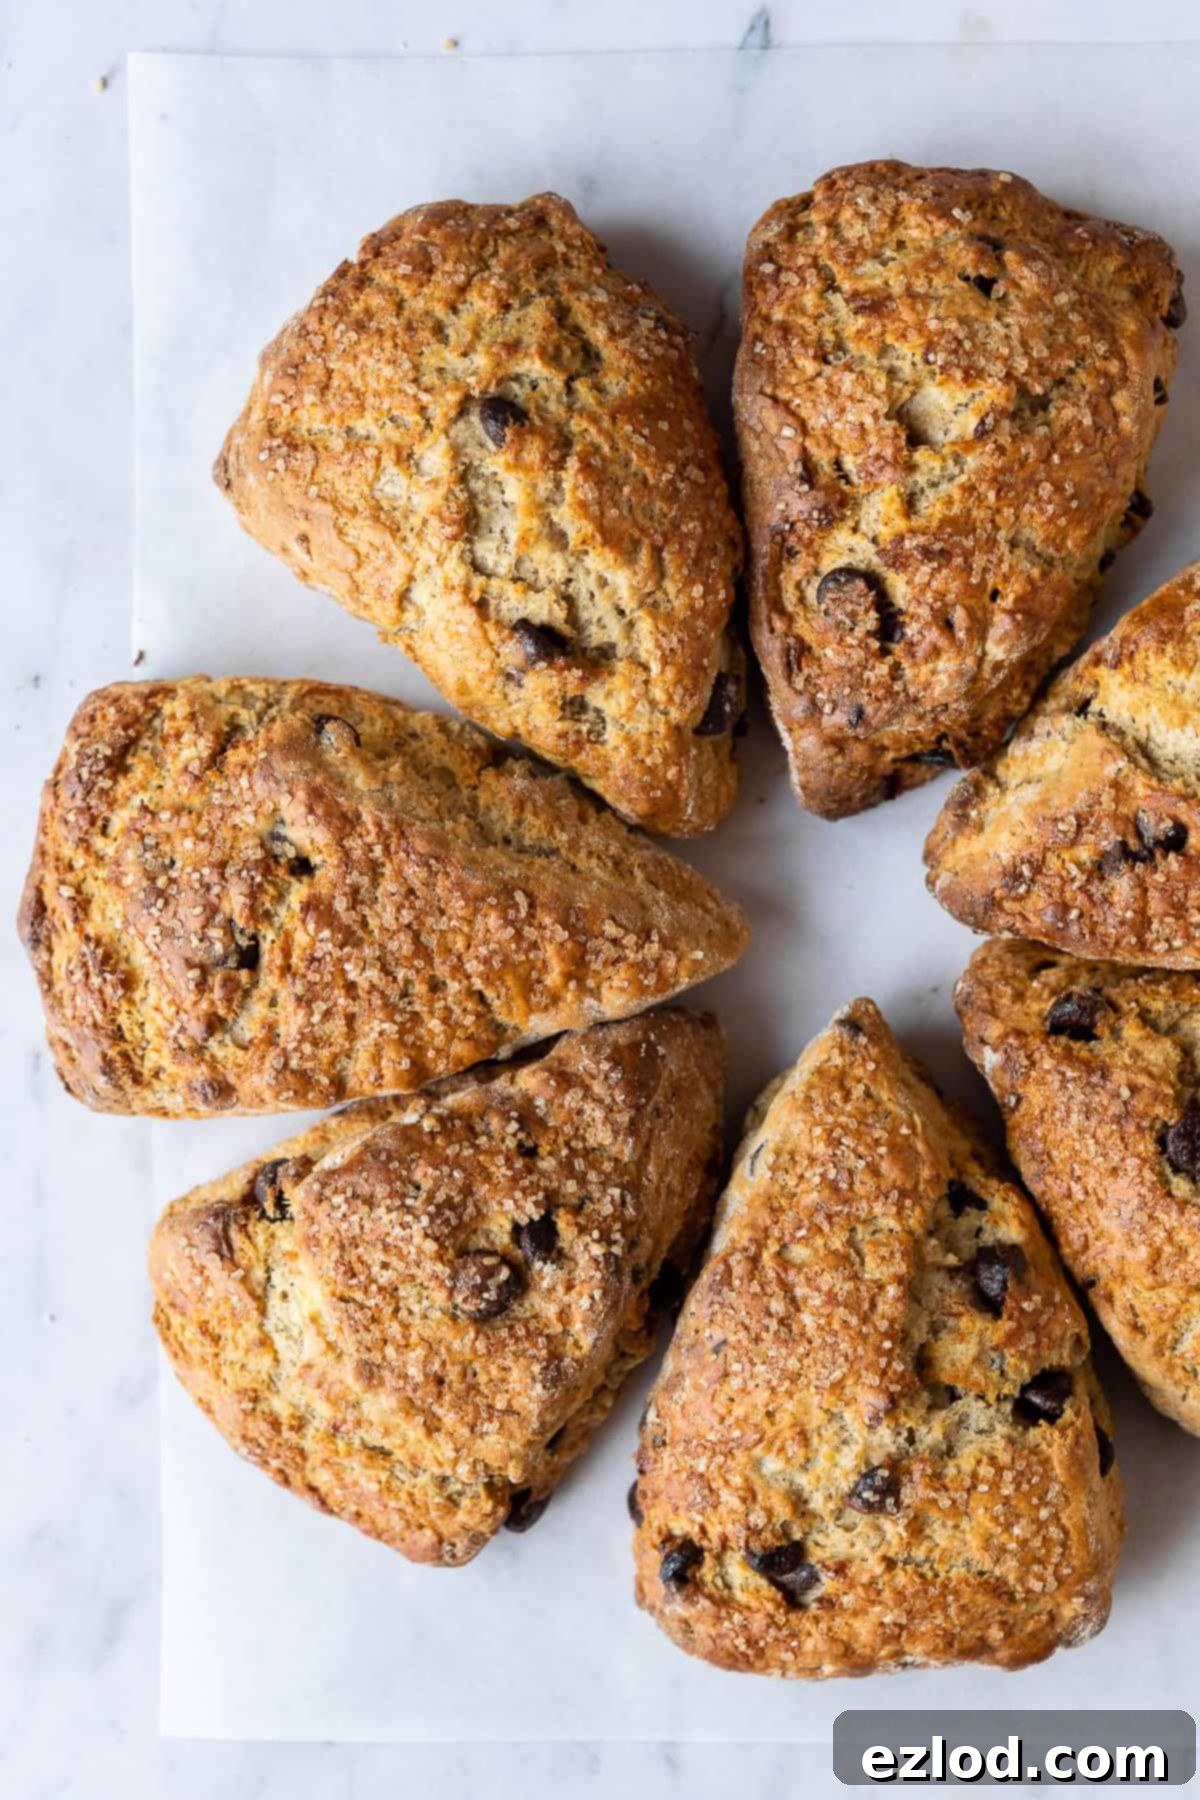
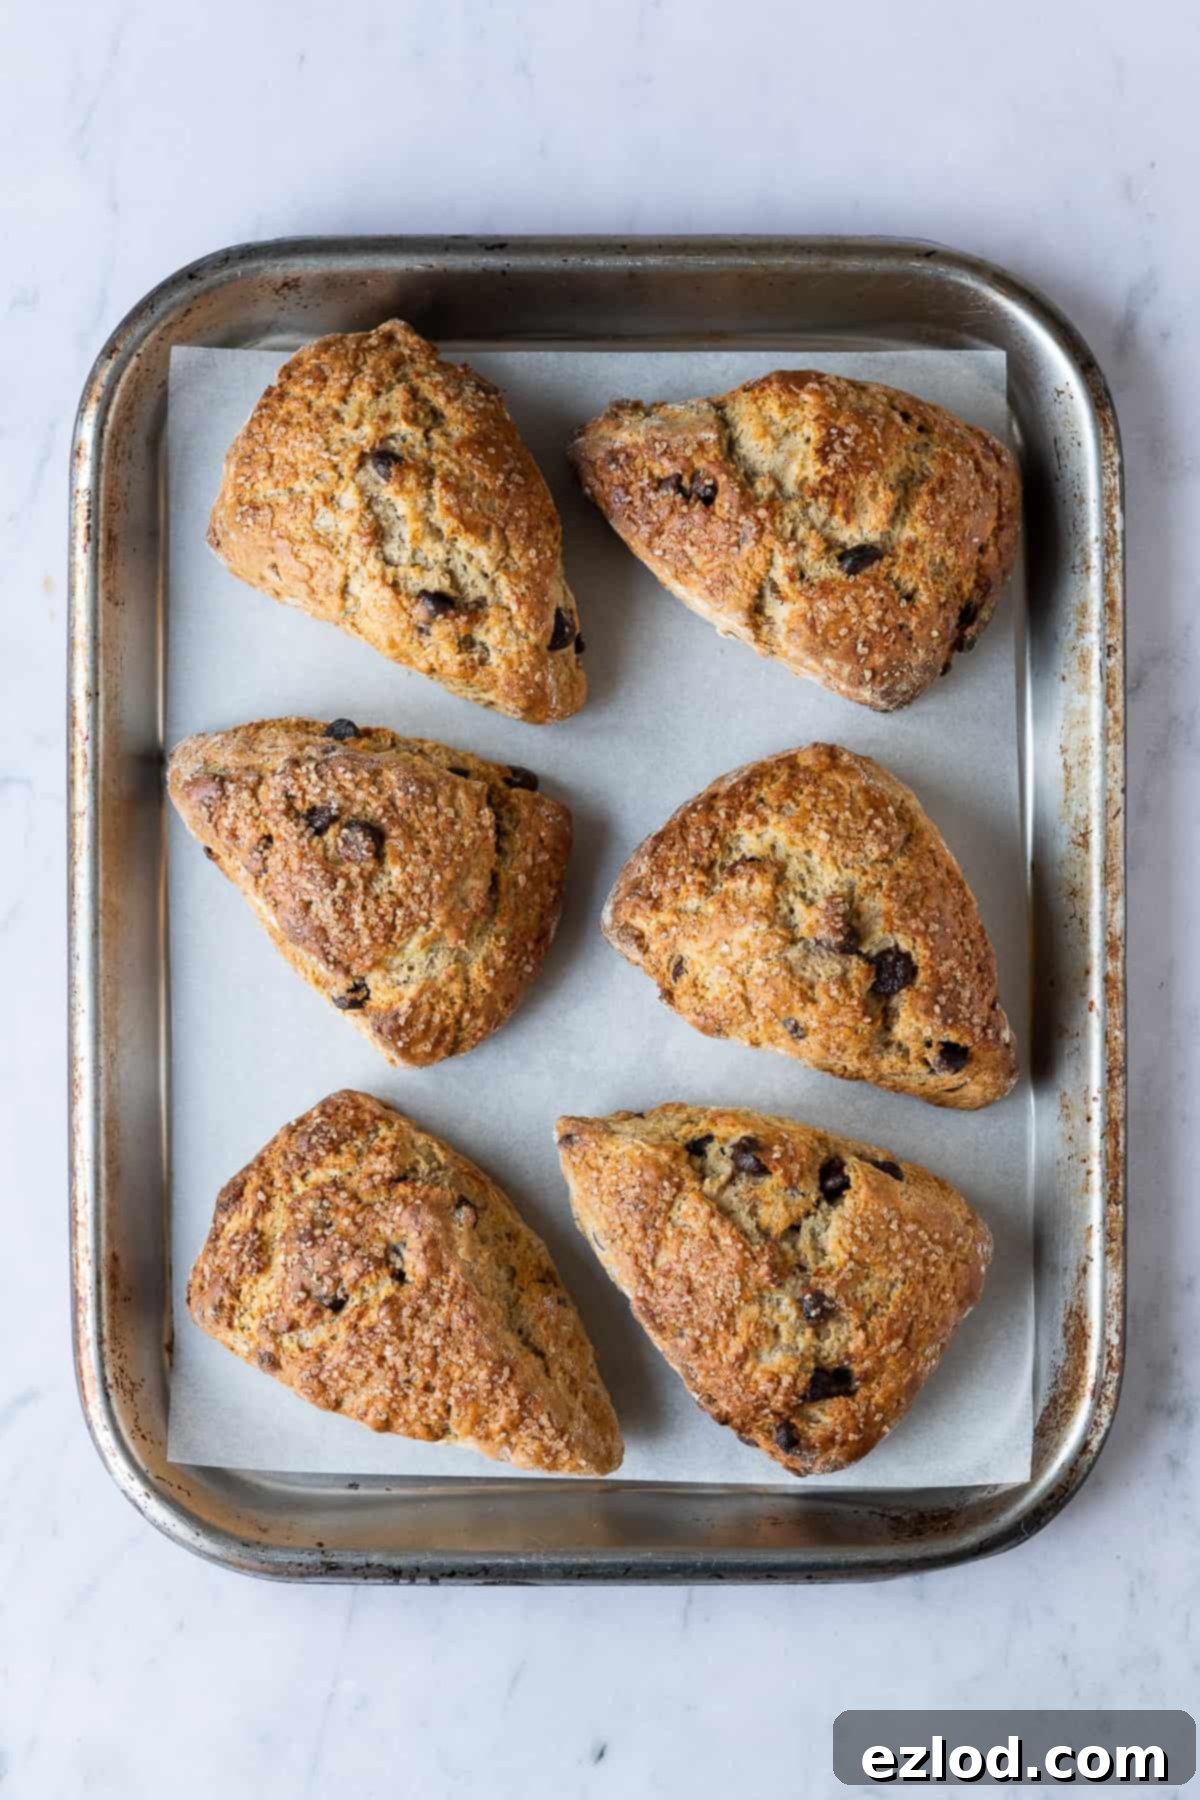
Before baking, gently brush the tops of your **banana chocolate chip scones** with a little non-dairy milk and sprinkle generously with demerara sugar. The milk wash helps them achieve a beautiful golden crust, while the demerara sugar adds a lovely crunch and extra sweetness. Bake for approximately 12-16 minutes in a preheated oven until they are wonderfully risen, golden brown, and firm to the touch. The baking time might vary slightly depending on your oven, so keep an eye on them.
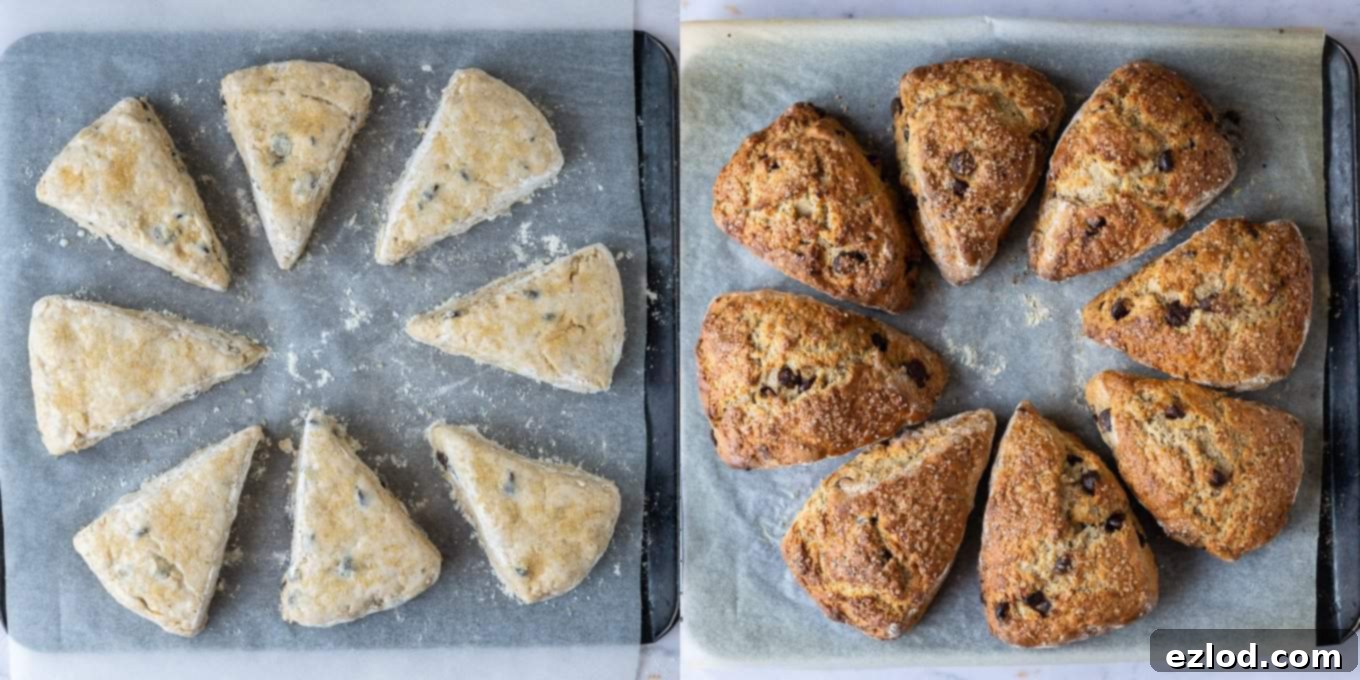
Once baked, transfer the **vegan banana scones** to a wire rack and allow them to cool slightly before serving. While they are delicious cooled, there’s nothing quite like a warm scone, fresh from the oven, especially if it’s an **easy vegan scone** made with love!
Top Tips for Irresistible Vegan Banana Scones
Achieving the best possible **vegan banana scones** relies on a few key techniques and considerations. Follow these expert tips to ensure your baking success and create truly memorable treats:
- **Precision is Key in Baking:** For truly consistent and perfect results, always use gram measurements with a digital scale rather than cup conversions. Baking is a science, and cup measurements can vary wildly depending on how ingredients are packed, leading to inconsistent outcomes. Grams provide accuracy, which is essential for the delicate balance in scone recipes.
- **Choose the Right Vegan Butter:** The type of vegan butter you use makes a significant difference. Opt for a solid block butter or margarine, rather than the spreadable kind found in tubs. Block butter has a higher fat content and a firmer consistency, which is crucial for rubbing into the flour and creating those flaky layers characteristic of excellent scones. Brands like Naturli Vegan Block, Stork block, Tormor, or Earth Balance Buttery Sticks are excellent choices. Crucially, ensure the butter is fridge cold, not at room temperature, when you add it to the dry ingredients. This prevents it from melting too quickly and allows it to create steam pockets during baking.
- **Mastering Dough Consistency:** The amount of non-dairy milk required can fluctuate based on the moisture content of your bananas and the absorbency of your flour. Your goal is a soft, slightly sticky dough that just comes together. Avoid adding too much milk, which can make the dough wet and difficult to handle, leading to dense scones. Add it gradually, observing the dough as you mix.
- **Do Not Overwork the Dough:** This is perhaps the most critical rule for light and **fluffy scones**. Unlike bread, scone dough should not be kneaded. Overworking develops the gluten in the flour, resulting in a tough, rubbery texture. Mix the dough just until it forms a cohesive ball – no more. The scones might look a bit rustic with a slightly craggy surface, but this is a sign of a perfectly tender interior.
- **Customization is Easy:** Feel free to get creative with your additions! If chocolate chips aren’t your preference, you can simply omit them for a plain **banana scone**. Alternatively, swap them for chopped dark chocolate, which can offer a more intense cocoa flavor. For a different twist, consider adding raisins, dried cranberries, or a handful of chopped nuts like walnuts or pecans for extra texture and flavor.
- **Yield and Size Preference:** This recipe is designed to yield eight generously sized, jumbo **vegan banana scones**. If you prefer smaller portions or want to make more for sharing, you can easily divide the dough to make twelve regular-sized scones. I personally find the jumbo scones incredibly satisfying, but the choice is yours!
Storing Your Delicious Vegan Banana Scones
These **easy vegan banana scones** are at their absolute best when enjoyed on the day they are baked, ideally while still slightly warm. The aroma and texture are truly unparalleled. However, they will remain delicious for a day or two if stored properly in an airtight container at room temperature. To prevent them from drying out, ensure the container seals well.
Once your **banana scones** are a day or so old, their texture can become a little firmer. This is where a quick refresh comes in handy! I highly recommend splitting them in half and toasting them lightly. Once warmed, they are fantastic spread with a little vegan butter, your favorite jam, a rich chocolate spread, or my personal favorite: creamy peanut butter. This revitalizes their flavor and texture, making them feel freshly baked again.
Can You Freeze Vegan Banana Scones? Absolutely!
Yes, these **vegan chocolate chip banana scones** freeze exceptionally well, making them perfect for meal prepping or ensuring you always have a delicious treat on hand. For optimal freshness, it’s best to freeze them on the same day they are baked.
Allow the scones to cool completely to room temperature before freezing. Once cool, place them in a freezer-safe ziplock bag or an airtight freezerproof container. This prevents freezer burn and helps maintain their quality. They can be stored in the freezer for up to three months without significant loss of flavor or texture.
When you’re ready to enjoy them, simply take them out of the freezer and allow them to defrost at room temperature for a few hours. If you’re in a hurry, a quick blast in the microwave can speed up the defrosting process. For the best warmed results, refresh the defrosted scones in a low oven (around 150°C/300°F) for 5-10 minutes. This will bring back their tender texture and a hint of that freshly baked aroma, making them incredibly enjoyable.
Explore More Vegan Scone Recipes
If you loved these **vegan banana scones**, you might be interested in trying other delightful scone variations. Expanding your baking repertoire is easy with these plant-based recipes:
- Classic British Vegan Scones
- Vegan Chocolate Raspberry Scones
Delicious Vegan Banana Recipes to Try Next
Have more ripe bananas? Don’t let them go to waste! Here are some other fantastic **vegan banana recipes** from our collection:
- Fluffy Vegan Banana Pancakes
- Banana Bread Cinnamon Rolls
- Easy Vegan Banana Bread
- Vegan Chunky Monkey Ice Cream
- Banana Porridge with Blueberry Compote
- Vegan Chocolate Chip Banana Bread
- Vegan Biscoff Banana Bread
- Vegan Chocolate Banana Bread
- Vegan Banana Nut Muffins
- Vegan Banana Cake with Peanut Butter Chocolate Frosting
- Nutella Swirled Banana Yeast Bread
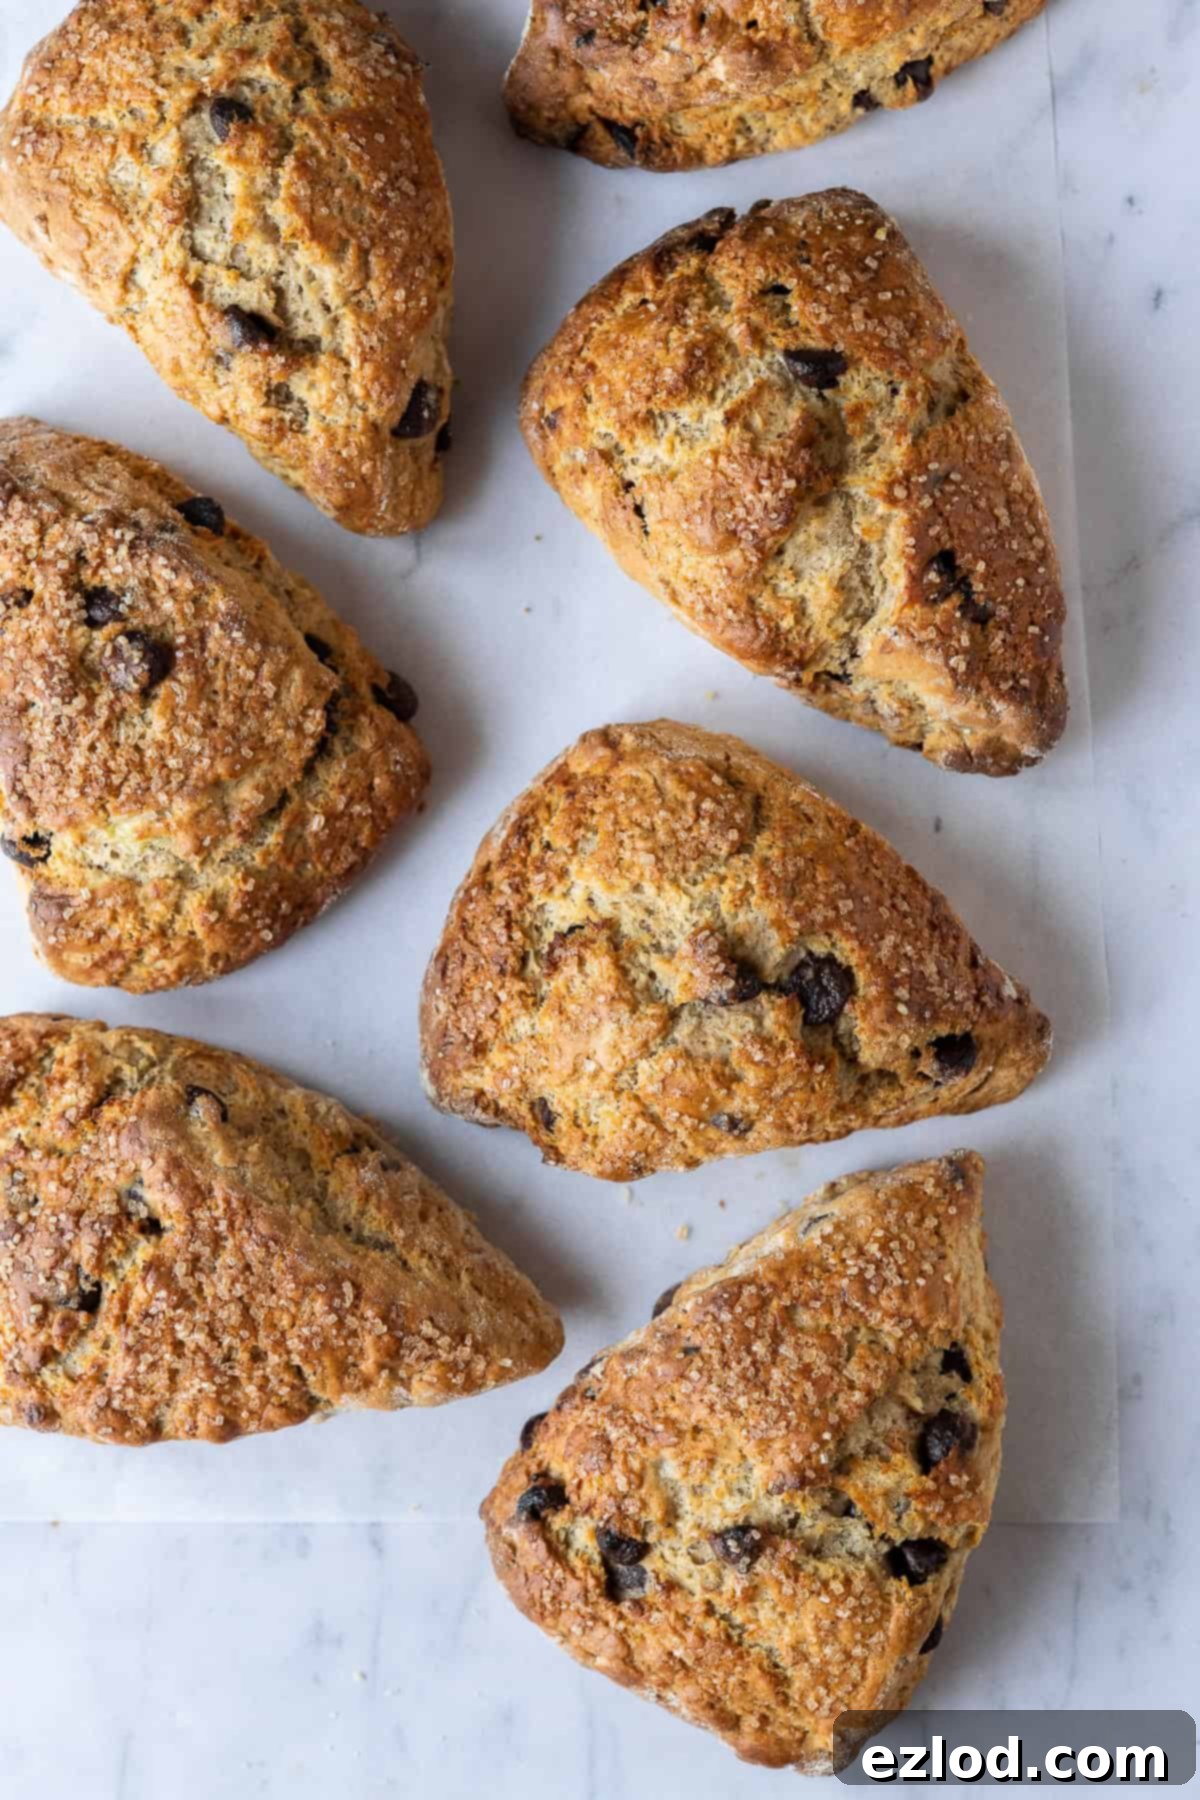
If you tried this recipe, we’d love to see your creations! Tag @domestic_gothess on Instagram and use the hashtag #domesticgothess to share your delicious results!
*All images and content on Domestic Gothess are copyright protected. If you want to share this recipe then please do so by using the share buttons provided. Do not screenshot or post the recipe or content in full.*

Print
Vegan Banana Scones
Ingredients
- 375 g (3 cups) plain (all-purpose) flour
- 1 Tbsp baking powder
- ½ tsp bicarbonate of soda (baking soda)
- 1 ½ tsp ground cinnamon
- ¼ tsp ground nutmeg
- ½ tsp salt
- 60 g (⅓ cup) light brown soft sugar
- 120 g (4 ⅓ oz / ½ cup) vegan block butter/margarine (I use Naturli Vegan Block or Stork block) cold and diced
- 125 g (heaped ½ cup) chocolate chips (vegan friendly; can use chopped chocolate instead)
- 2 medium ripe bananas, about 200g peeled weight
- 1 tsp cider or white wine vinegar or lemon juice
- 2 tsp vanilla extract
- approx 100 ml (⅓ cup + 1 Tbsp) non-dairy milk (soy is best) cold
- milk for brushing
- demarera sugar for sprinkling
Instructions
-
Preheat the oven to 220°C/200°Cfan/425°F/gas mark 7. Line a baking sheet with baking parchment. (You will need two baking sheets if you are making 12 smaller scones rather than 8 big ones).
-
Place the flour in a large bowl along with the baking powder, bicarbonate of soda, cinnamon, nutmeg, salt and sugar and mix to combine.
-
Add the cold, cubed butter/margarine and rub in using your fingertips until the mixture resembles fine breadcrumbs and no lumps of fat remain.
-
Stir through the chocolate chips.
-
Mash the bananas well with the vinegar and vanilla extract and add them to the bowl with about half of the milk.
-
Stir to moistent the flour and gradually add more milk as needed to form a soft, slightly sticky dough. Be careful not to add too much milk, the dough should be sticky but not wet.
-
Turn the dough out onto a well floured surface and bring it together into a rough ball. Don’t knead it, just work it enough to bring it together. Dust with more flour and use your hands to pat it out into a round about 5cm/2in thick.
-
Use a well floured knife to slice the round into 8 wedges. Dip the knife in flour again between each cut to help prevent it from sticking.
-
If you want to make 12 smaller scones rather than 8 big ones then divide the dough in half, shape each half into a ball and pat out into a 5cm/2in round. Use a sharp, floured knife to cut each round into 6 wedges.
-
Gently place the wedges well spaced apart on the baking sheet(s). They will probably be a bit soft and delicate so it is a good idea to use a floured spatula or fish slice to help move them. If they get a bit squished out of shape you can gently pat them back into shape using floured hands once they are on the baking sheet.
-
Gently brush the tops of the scones with milk and sprinkle with demarera sugar. Bake for about 12-16 minutes until well risen, golden and firm to the touch.
-
Transfer to a wire rack and allow to cool a little before serving.
Notes
- For the best results make sure that you follow the recipe closely. As always, I highly recommend using the gram measurements (with a digital scale), rather than the cup conversions. Cup measurements are simply not accurate enough for baking and I cannot guarantee the best results if you use them.
- Using a block butter/margarine rather than the spreadable kind in a tub will give you a much better texture as it has a higher fat content. I use Naturli Vegan Block, but Stork or Vitalite block, Tormor or Earth Balance Buttery Sticks will all work. It is also important that the butter is fridge cold, not room temperature.
- The amount of milk that you need to add will vary depending on the size of your bananas and the absorbency level of your flour. You want to add enough to form a soft, slightly sticky dough, but not so much that it is wet.
- You can omit the chocolate chips if you want, or swap them for chopped dark chocolate if you don’t have chips. You can also swap them for raisins or chopped nuts.
