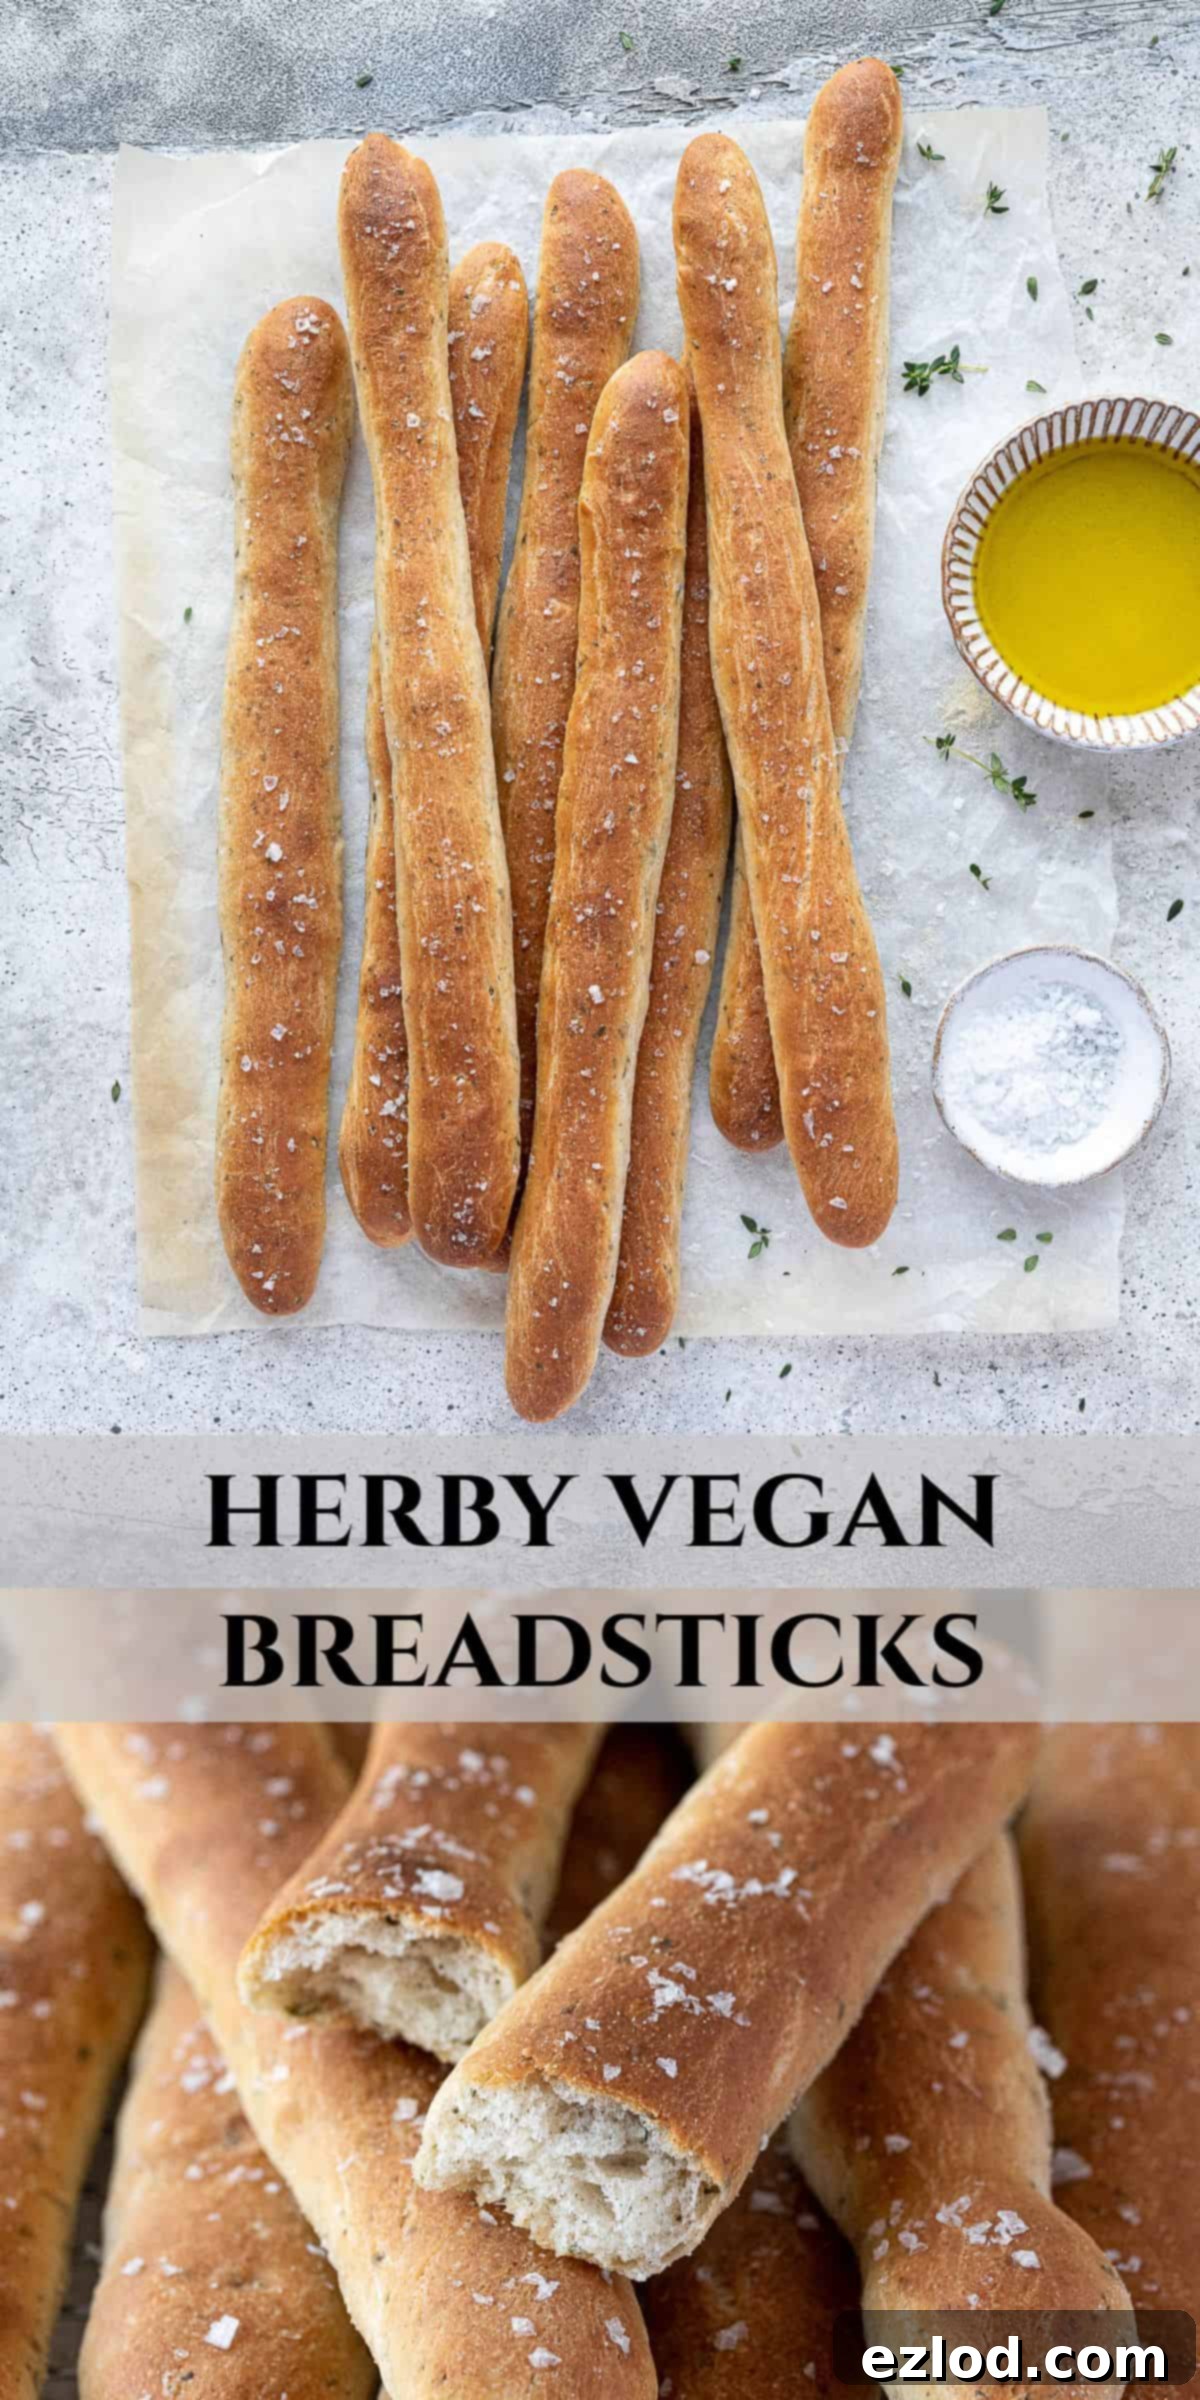
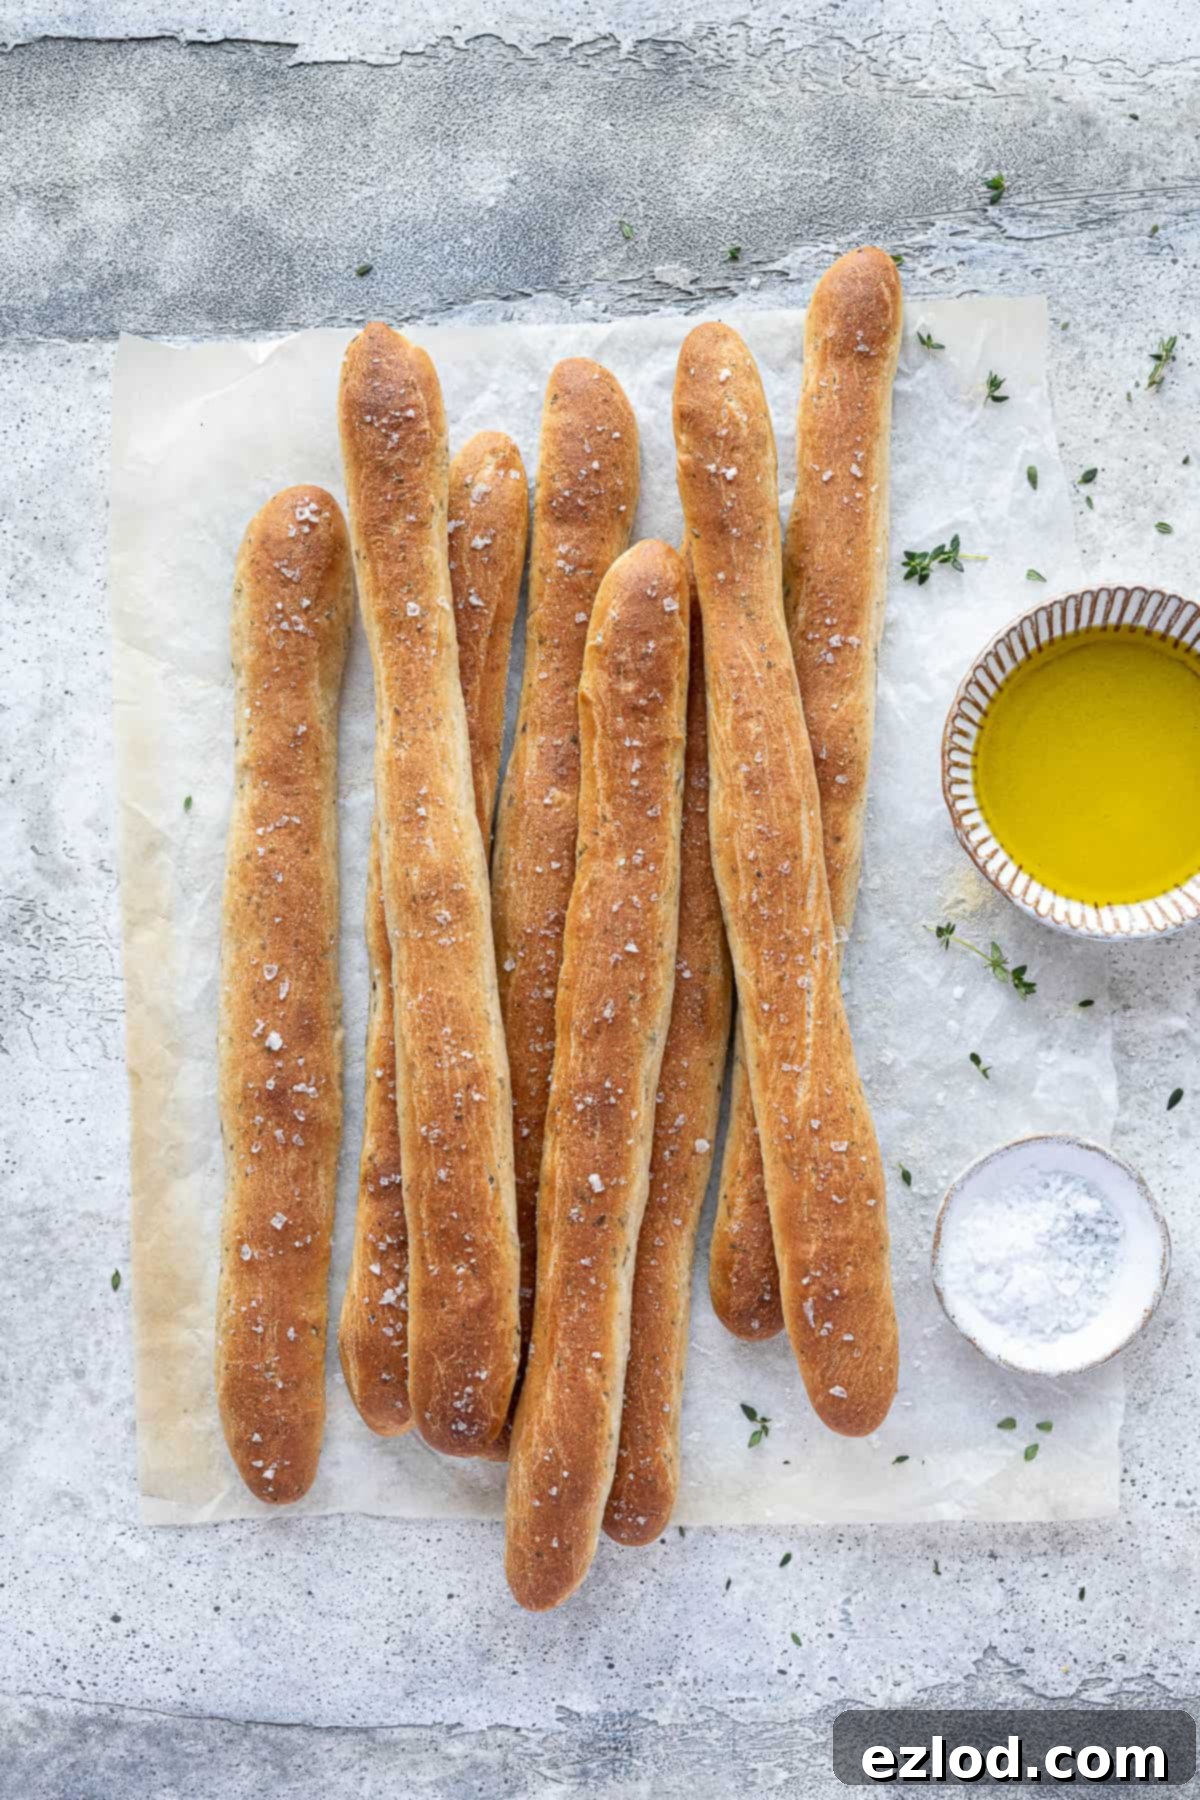
Easy Herby Garlic Vegan Breadsticks: Soft, Chewy, and Utterly Flavorful
Prepare to be amazed by these incredibly easy Herby Garlic Vegan Breadsticks! They boast a wonderfully soft and chewy interior, a perfectly crisp crust, and are infused with aromatic garlic and fresh herbs. Simple to make, these delightful breadsticks are ideal for dipping, pairing with your favorite soups, or serving as a delicious alternative to traditional dinner rolls. Whether you prefer them boldly flavored or as a plain canvas for your culinary imagination, this versatile recipe provides an excellent foundation for experimentation.
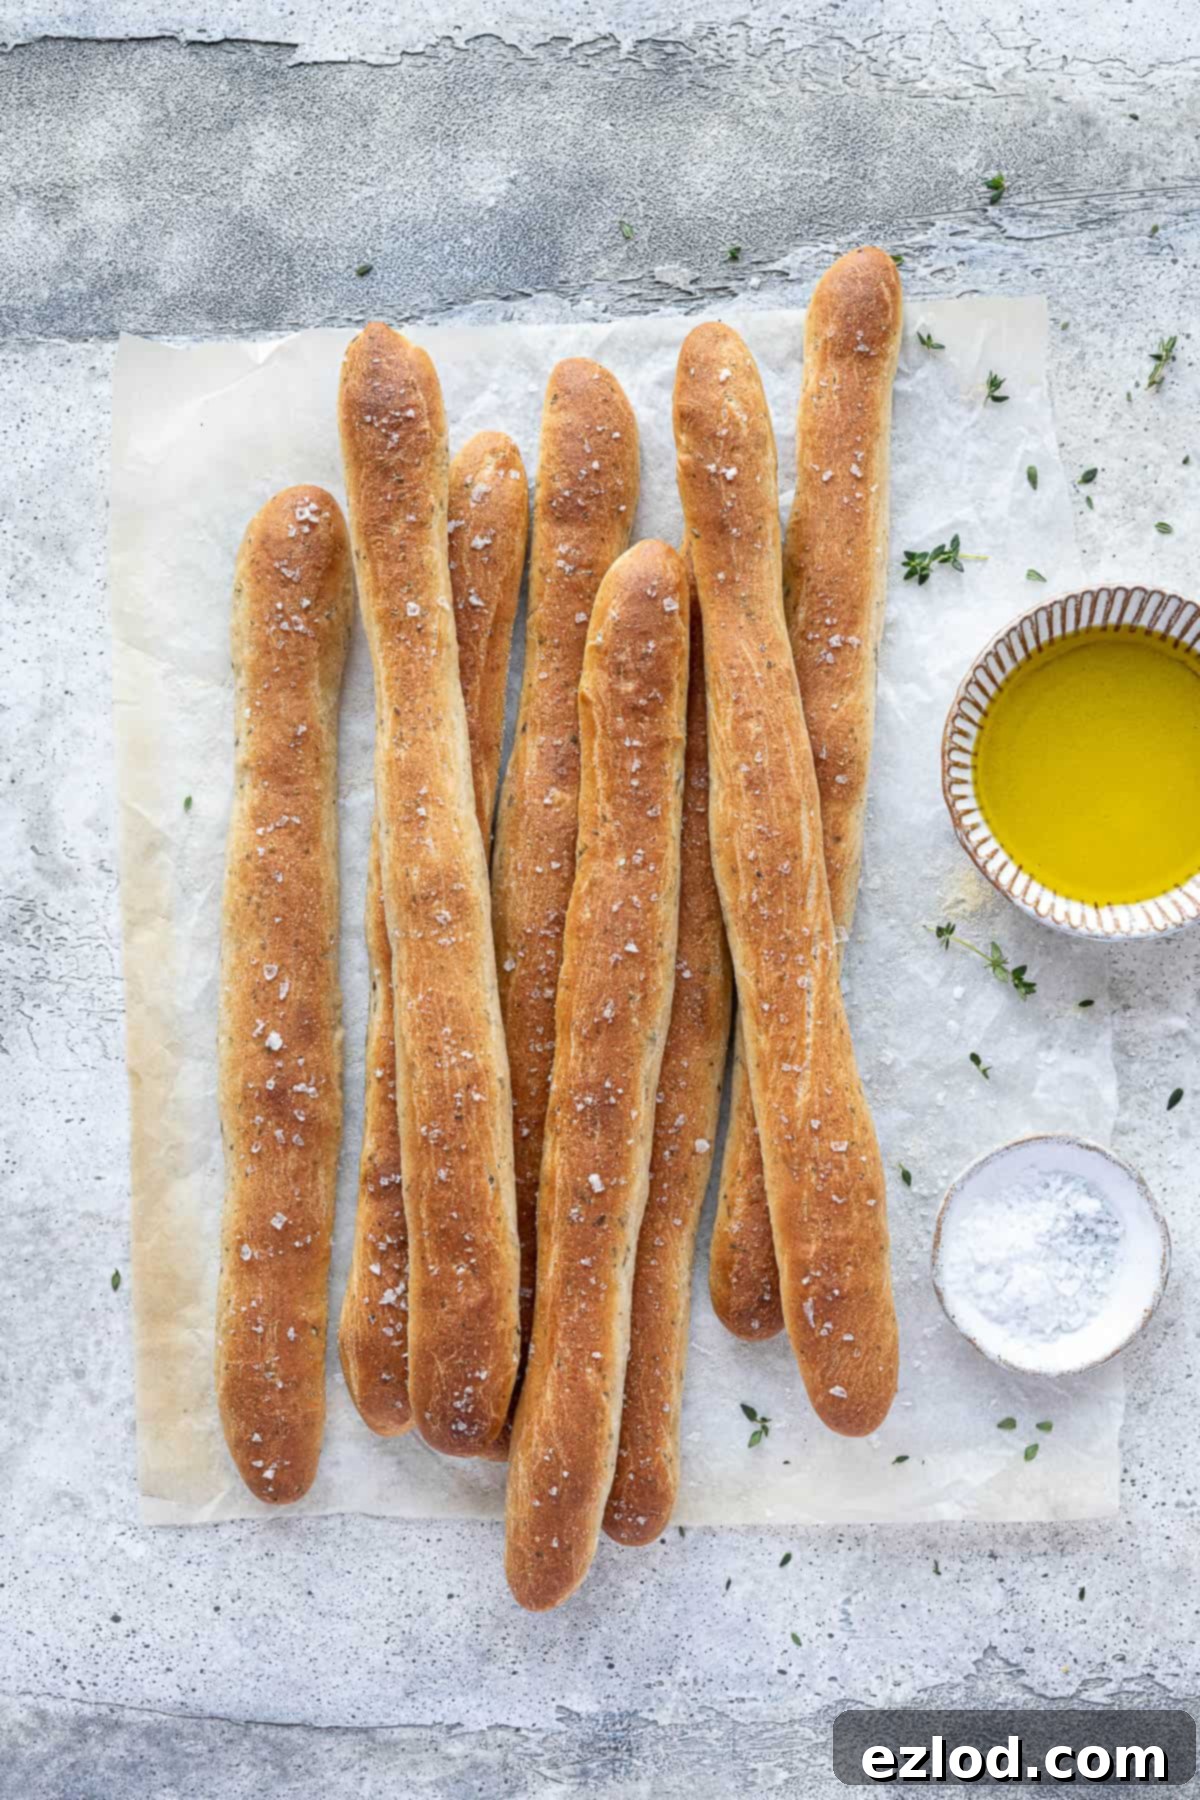
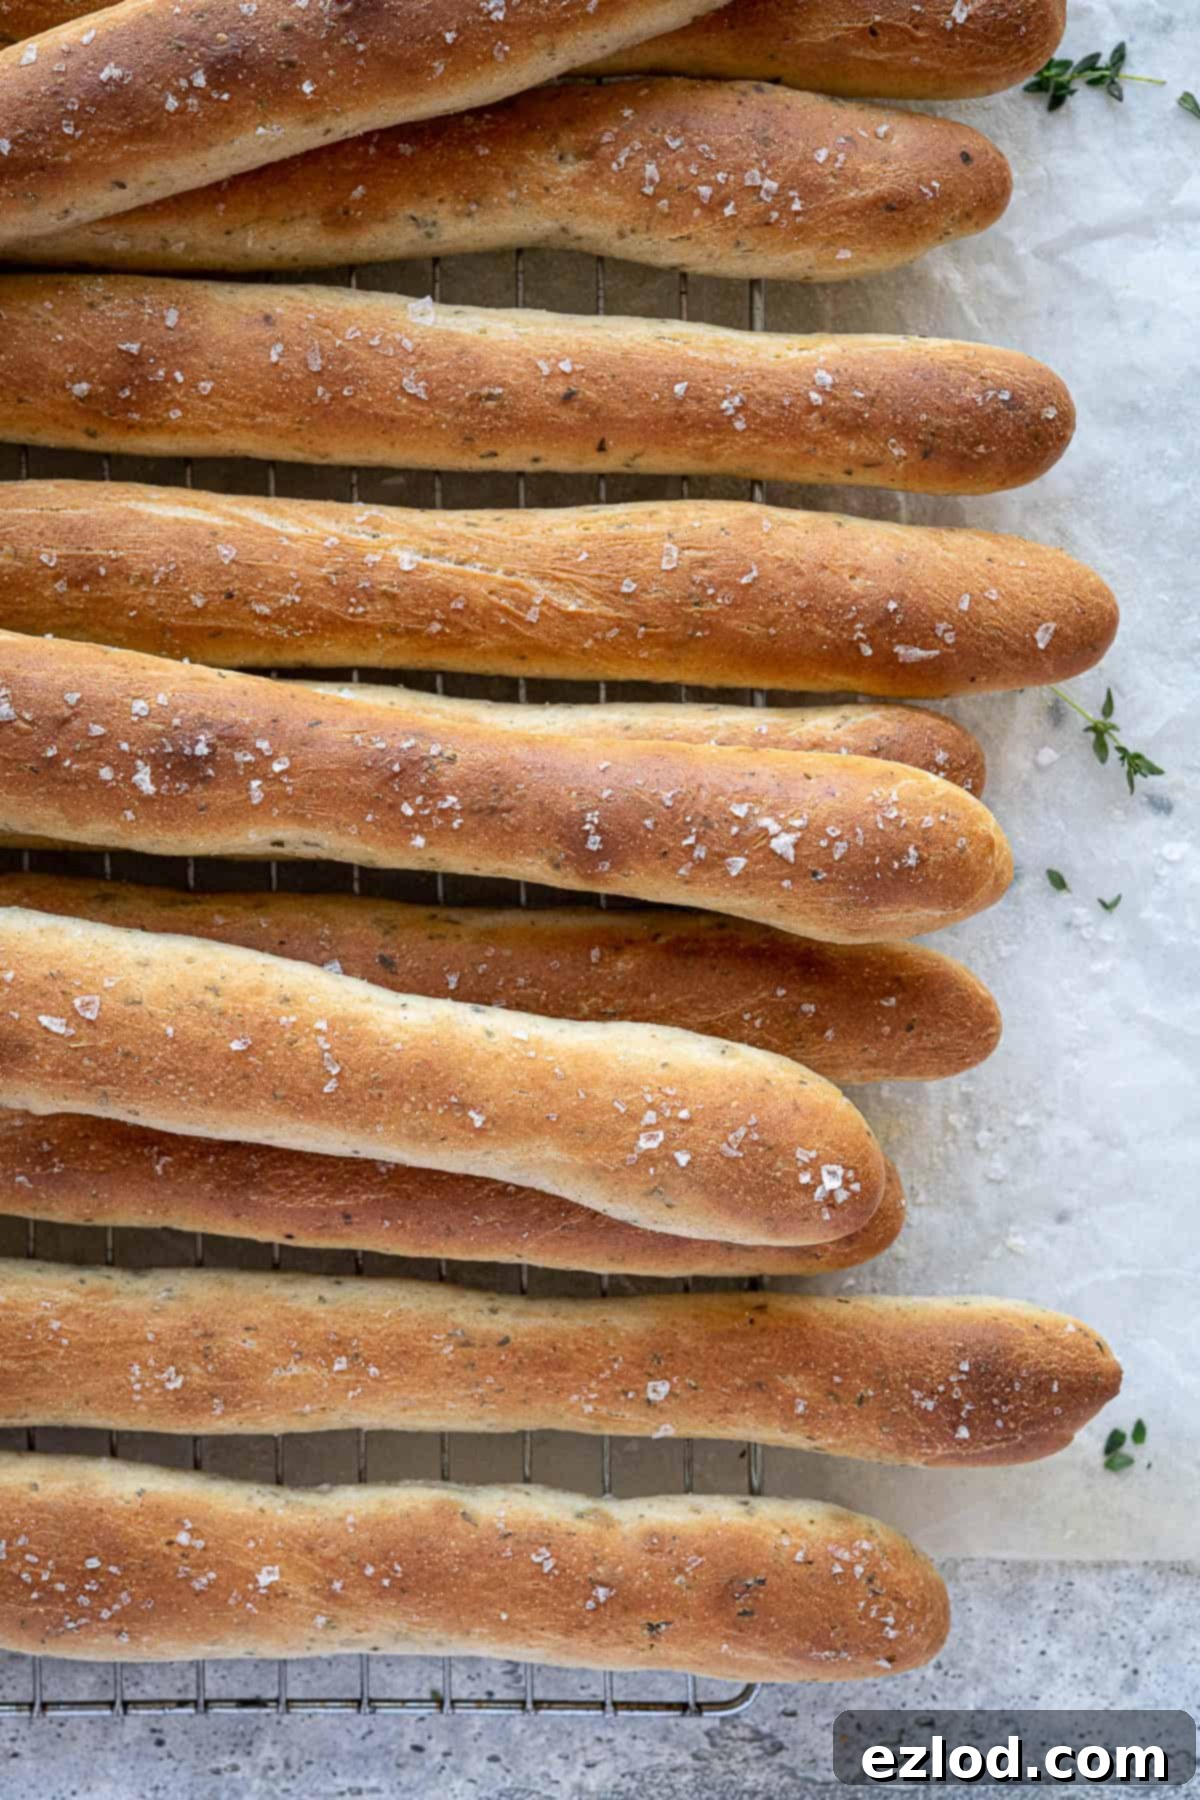
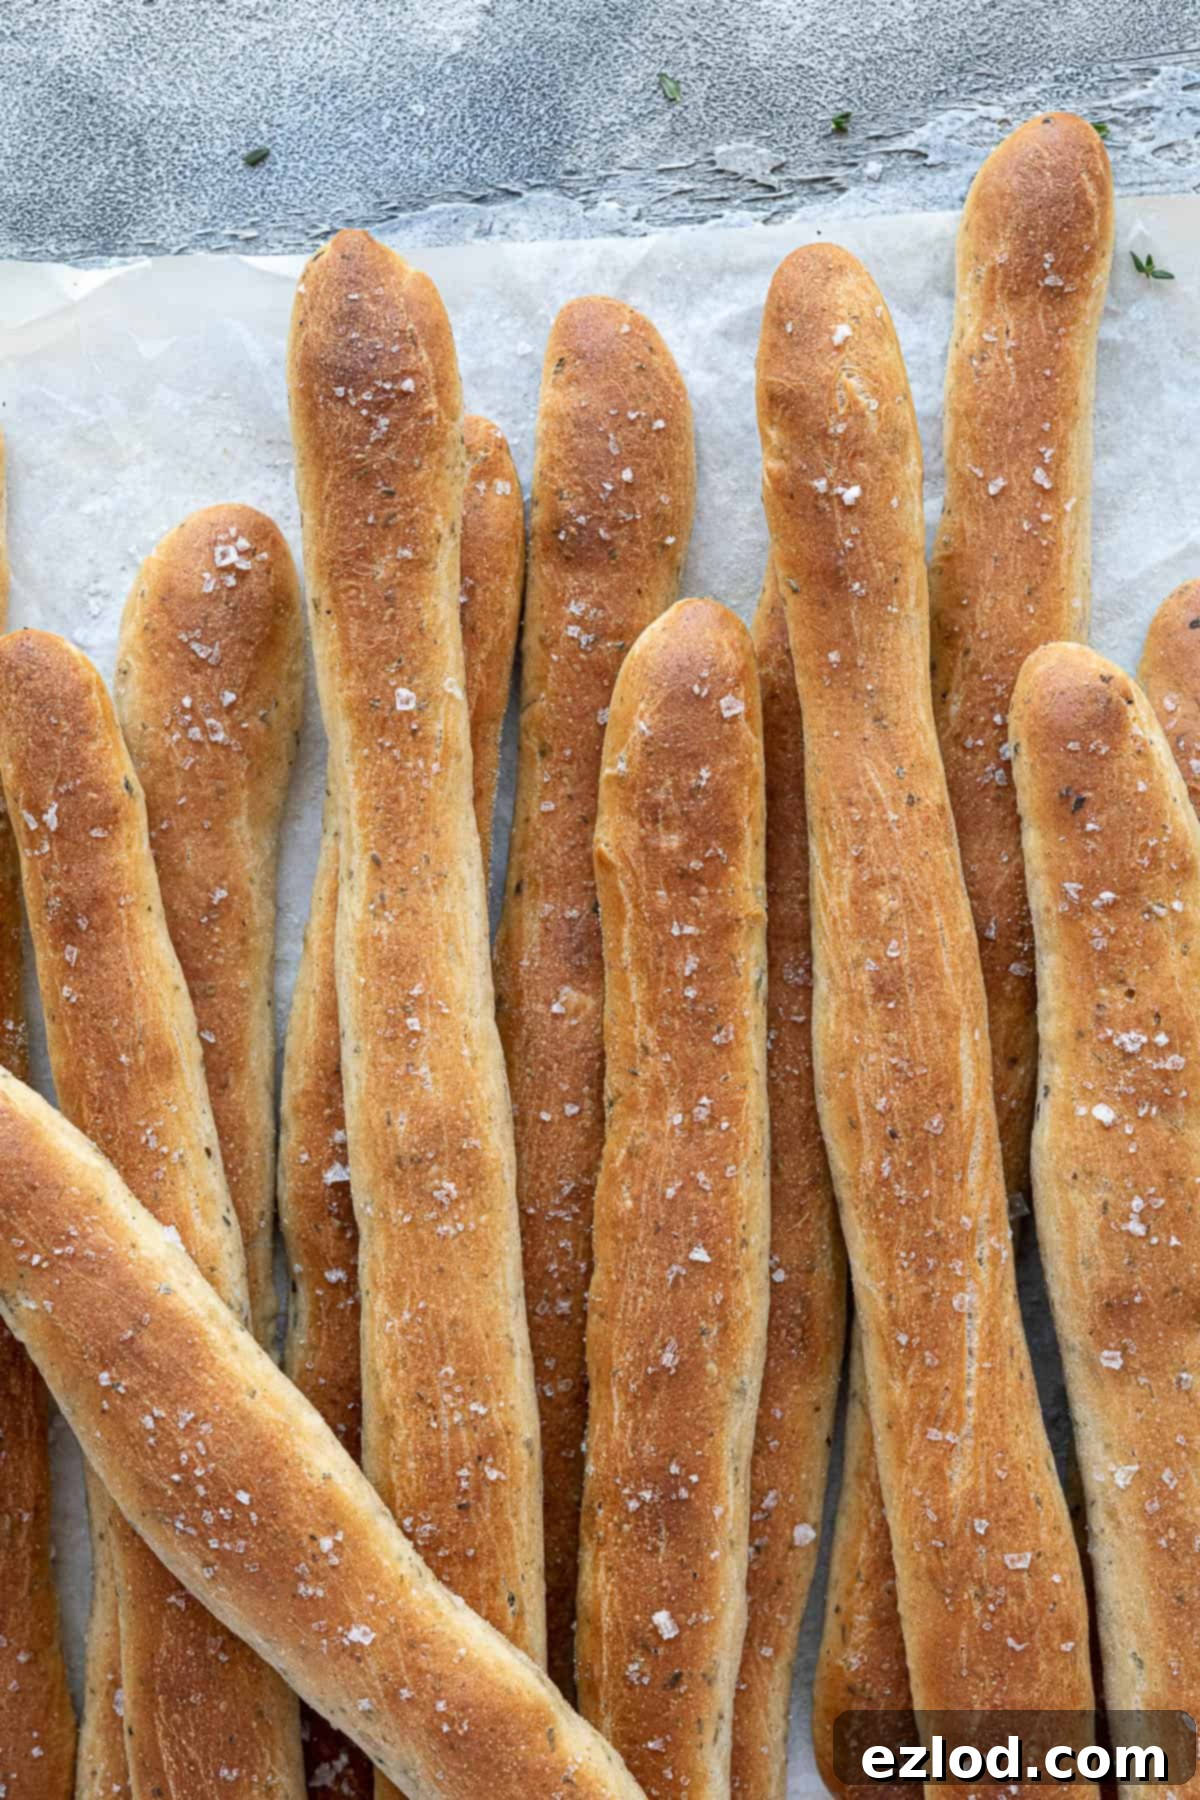
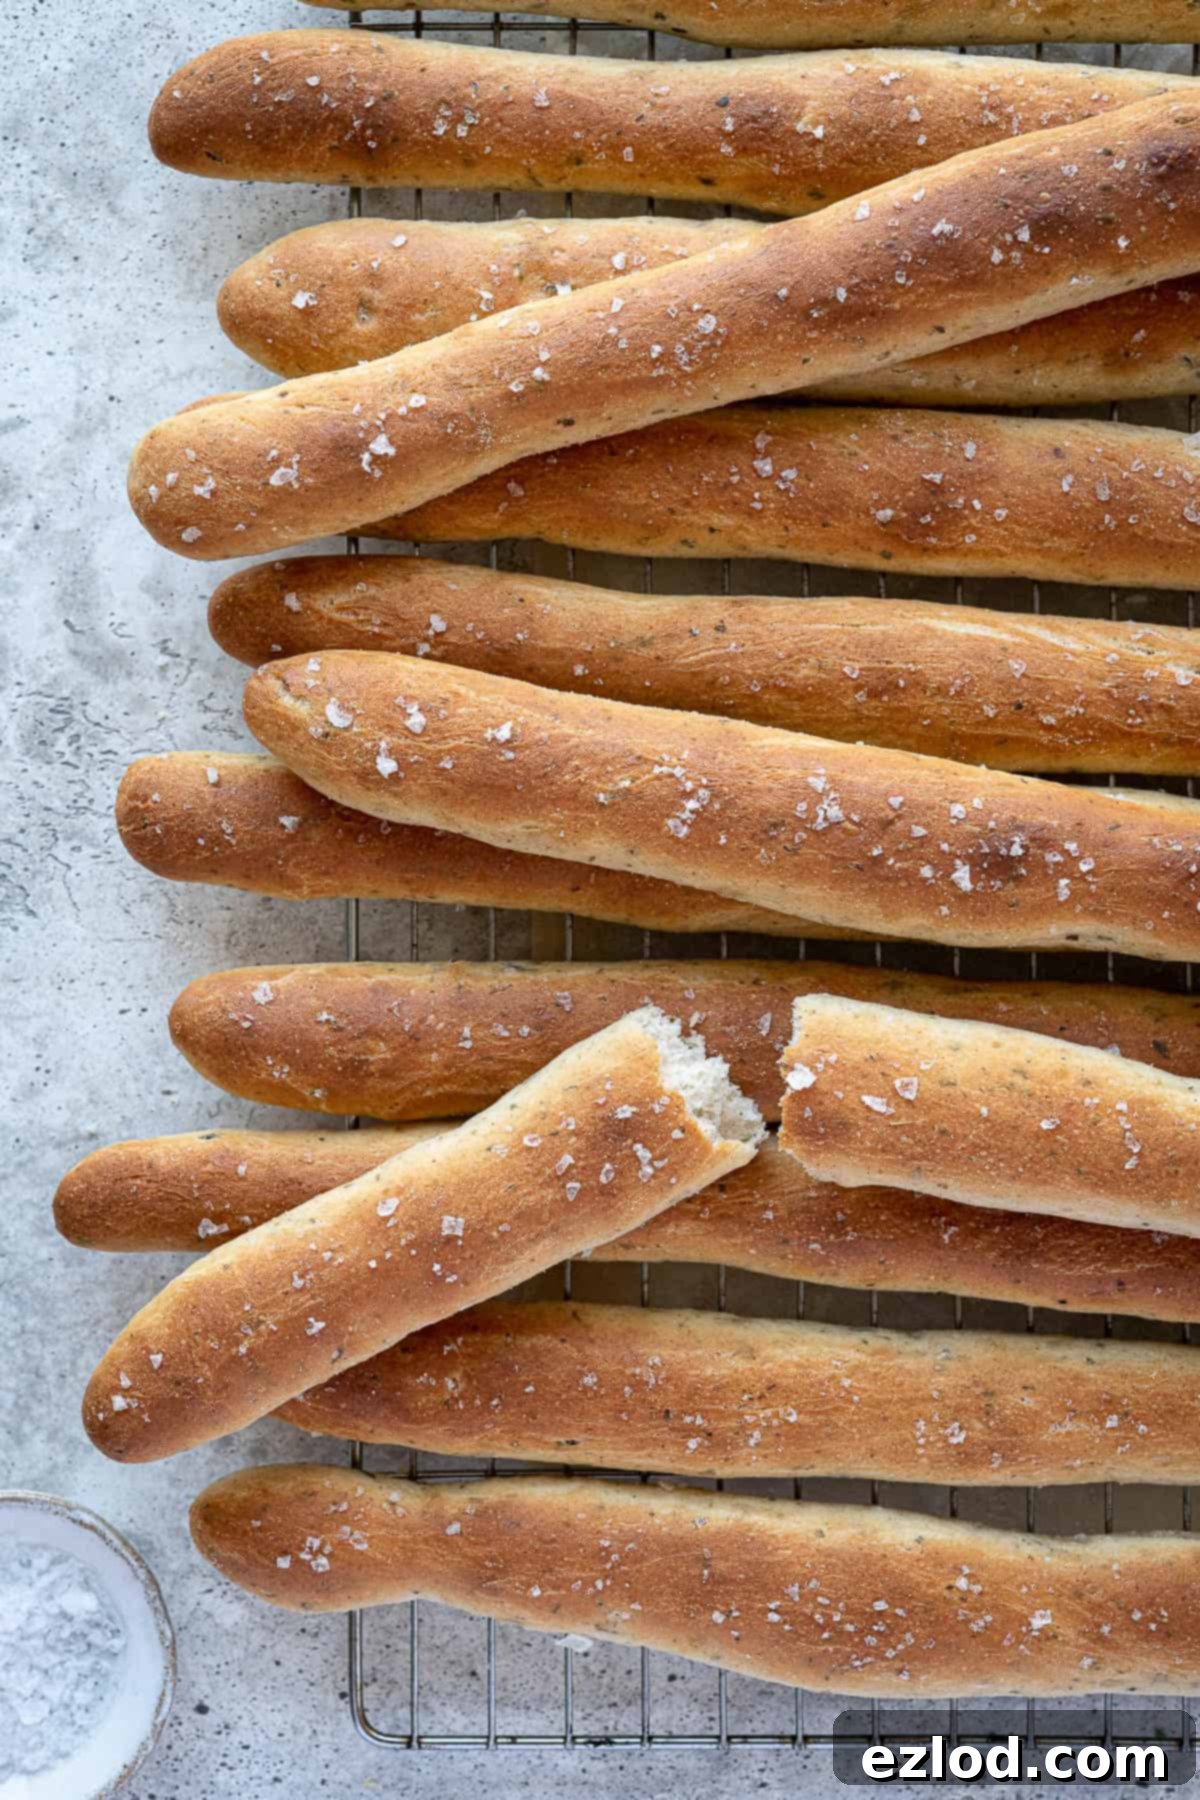
These herby vegan breadsticks are a true culinary treat, offering a delightful combination of soft, chewy texture, a satisfyingly crisp crust, and an explosion of savory flavor. Generously seasoned with a blend of fragrant herbs and potent garlic, they are an excellent accompaniment to a wide range of dishes, from creamy tomato soup to vibrant hummus. However, their irresistible taste means they are equally enjoyable simply eaten on their own, fresh from the oven!
If you’re looking to explore more variations, I also have a fantastic sun-dried tomato breadstick recipe that’s equally delicious and completely vegan!
Essential Ingredients for Perfect Herby Vegan Breadsticks:
Crafting these delectable breadsticks requires a few key ingredients, each playing a vital role in achieving that perfect taste and texture:
Bread Flour: For that perfect fluffy, chewy breadstick texture with a delightful crisp crust, white bread flour is highly recommended. Its higher protein content is essential for developing the gluten structure that gives bread its characteristic chewiness and elasticity. While all-purpose (plain) flour can be used in a pinch, expect a slightly less airy and chewy result. We advise against using wholemeal flour for this particular recipe, as its robust nature tends to yield a denser, heavier breadstick, which isn’t the desired outcome here. The goal is light and tender, not too dense.
Instant Yeast: My preferred choice for bread baking is instant yeast (sometimes called easy bake yeast). Its convenience is unmatched; you can simply add it directly to the dry ingredients without the need for prior activation in liquid. This saves both time and an extra step in the preparation process. If active dry yeast is all you have on hand, don’t worry – I’ve included specific instructions below on how to properly activate it before incorporating it into your dough.
Olive Oil: A quality olive oil serves multiple purposes in this recipe. Incorporated into the dough, it contributes to the breadsticks’ tender crumb and imparts a subtle, rich flavor. Opt for a mild variety rather than extra virgin, which can sometimes be too strong. If olive oil isn’t available or preferred, any other neutral-flavored oil will work just fine. Additionally, brushing the breadsticks with olive oil before baking is crucial for developing that beautiful golden-brown color and a wonderfully crisp exterior. For an alternative, you could use a plant-based milk or aquafaba for brushing, or melt some non-dairy butter and brush it on after baking for added richness.
Salt: Salt is not just a flavor enhancer; it’s a critical component in bread making. It controls yeast activity, strengthens gluten, and prevents the dough from becoming bland. Never omit the salt from your bread recipes. For an extra touch of flavor and texture, I love sprinkling the breadsticks with a little flaky sea salt just before they go into the oven. This optional step adds a lovely visual appeal and a pleasant burst of salty crunch.
Sugar: Just a small amount, typically a single teaspoon, of sugar is included in the recipe. Its primary role is to act as a food source for the yeast, helping it activate and ensuring your dough rises beautifully. This small addition doesn’t make the breadsticks sweet but merely supports the yeast in its important work.
Herbs: The “herby” in herby breadsticks comes from a delightful blend of fresh thyme and dried oregano in this recipe. However, this is where you can truly personalize your breadsticks! Feel free to experiment with your favorite herbs. Rosemary, chives, basil, or a classic Italian seasoning blend would all make excellent additions. Fresh herbs generally offer a brighter, more vibrant flavor, while dried herbs tend to be more concentrated. Adjust quantities to your taste.
Garlic Powder: To achieve that irresistible garlicky flavor throughout the breadsticks, garlic powder is incorporated directly into the dough. For those who crave an even more intense garlic punch, there are a couple of options. You can brush the baked breadsticks with a melted garlic butter (vegan, of course!) as soon as they come out of the oven, allowing the butter to soak into the warm bread. Alternatively, simply brush with melted non-dairy butter and sprinkle an extra dusting of garlic powder over the top.
Semolina or Cornmeal (Optional): For an extra layer of professional polish and a fantastic bottom crust, I highly recommend sprinkling your baking sheet with a thin layer of fine semolina or cornmeal. This creates a slightly rougher surface that prevents sticking and adds a wonderful texture to the base of the breadsticks, making them even more enjoyable.
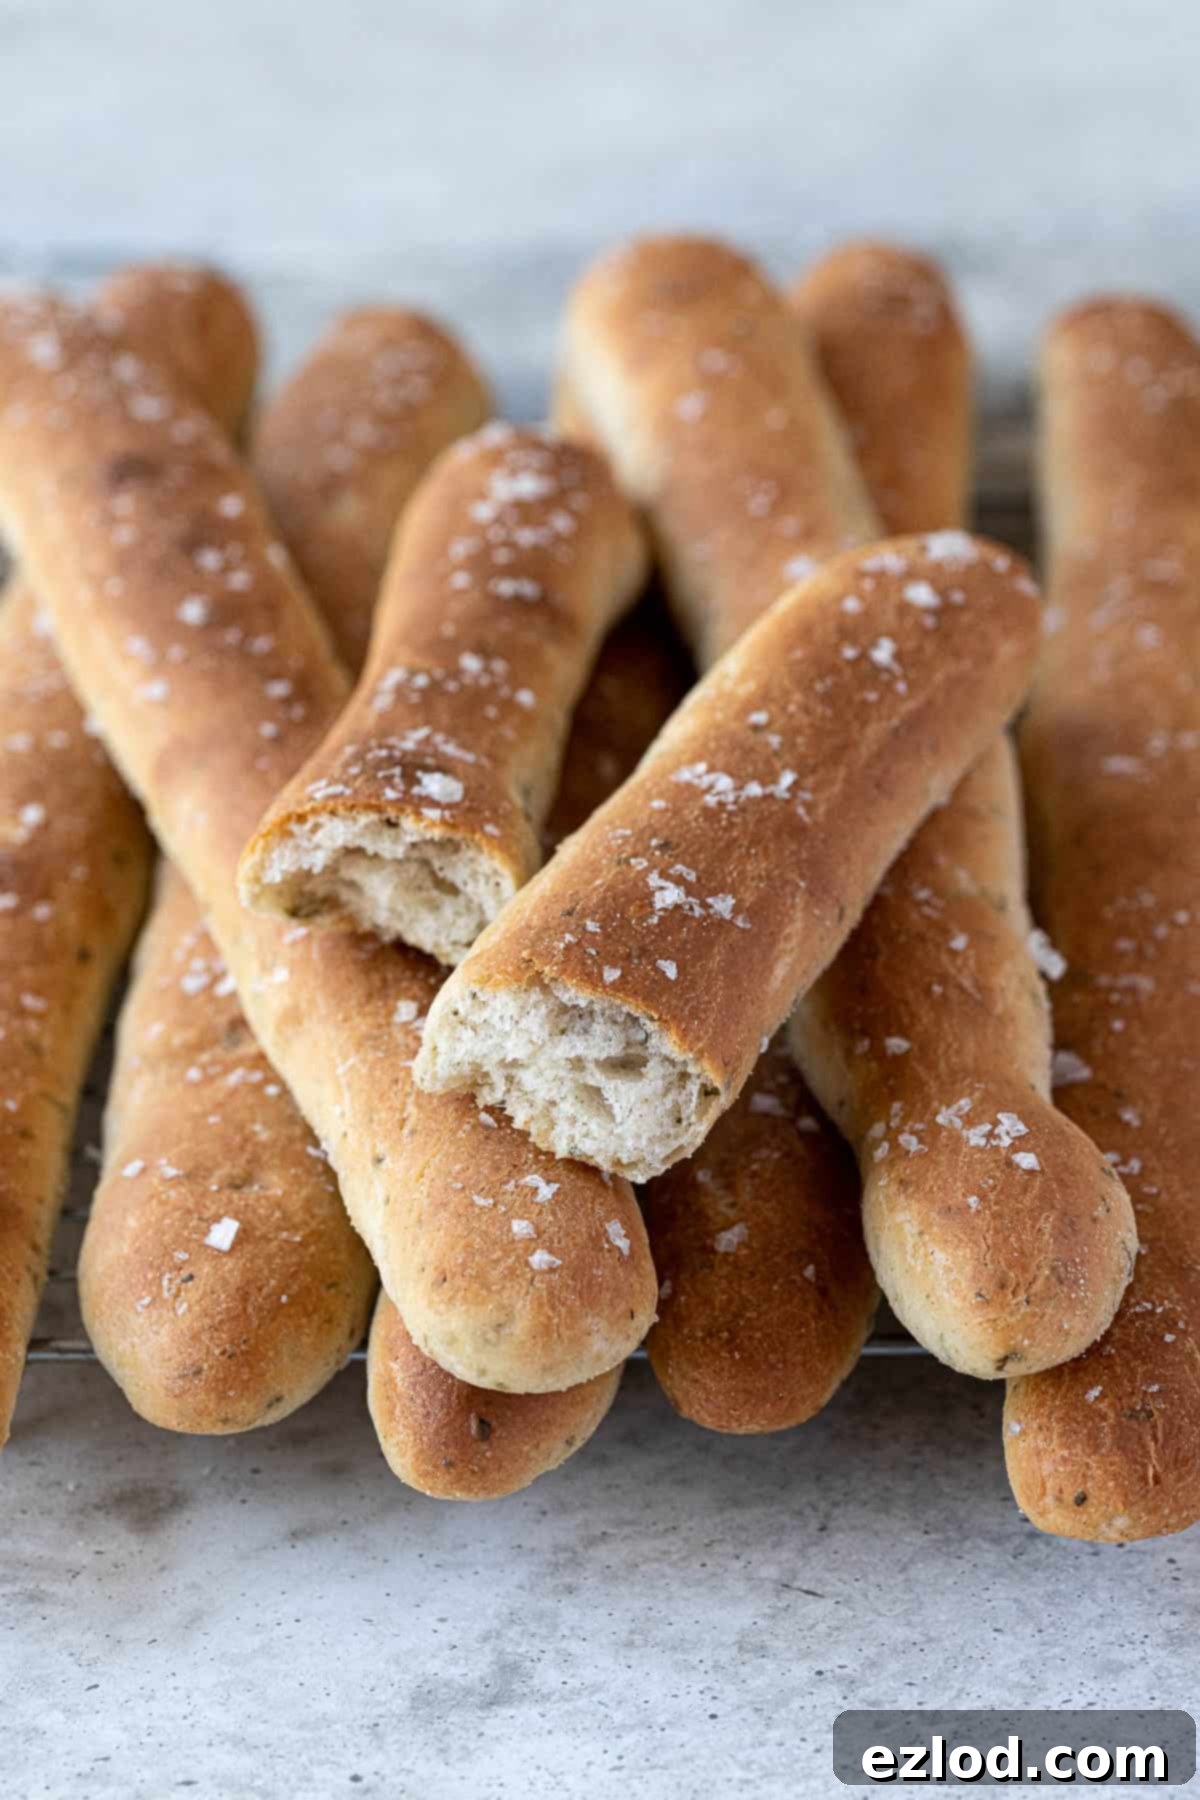
Step-by-Step Guide: How to Make Herby Vegan Breadsticks:
(For precise measurements and detailed instructions, please refer to the comprehensive recipe card located at the end of this page.)
Begin by preparing your dry ingredients. In a large mixing bowl (or the bowl of a stand mixer fitted with a dough hook), combine the bread flour. Create a small well on one side for the instant yeast and add the salt, sugar, and garlic powder to the other side. This separation helps prevent the salt from inhibiting the yeast initially. Give everything a quick stir to ensure an even distribution of ingredients.
Next, pour in the olive oil and the warm water. Mix these wet ingredients into the dry until a rough, shaggy dough forms. At this stage, it won’t look smooth, but rather a collection of moist crumbs.

Now, it’s time for kneading. You can do this by hand on a clean, unfloured surface (a bench scraper will be incredibly useful here to manage the sticky dough) or using a stand mixer on a medium-high speed. Knead for approximately 5-10 minutes. The dough should transform from rough to smooth and elastic. When touched, it should feel slightly tacky but still pull away cleanly from the sides of the bowl. If it feels excessively wet, you may add a tiny bit more flour, but remember that a slightly sticky dough is key to tender breadsticks.
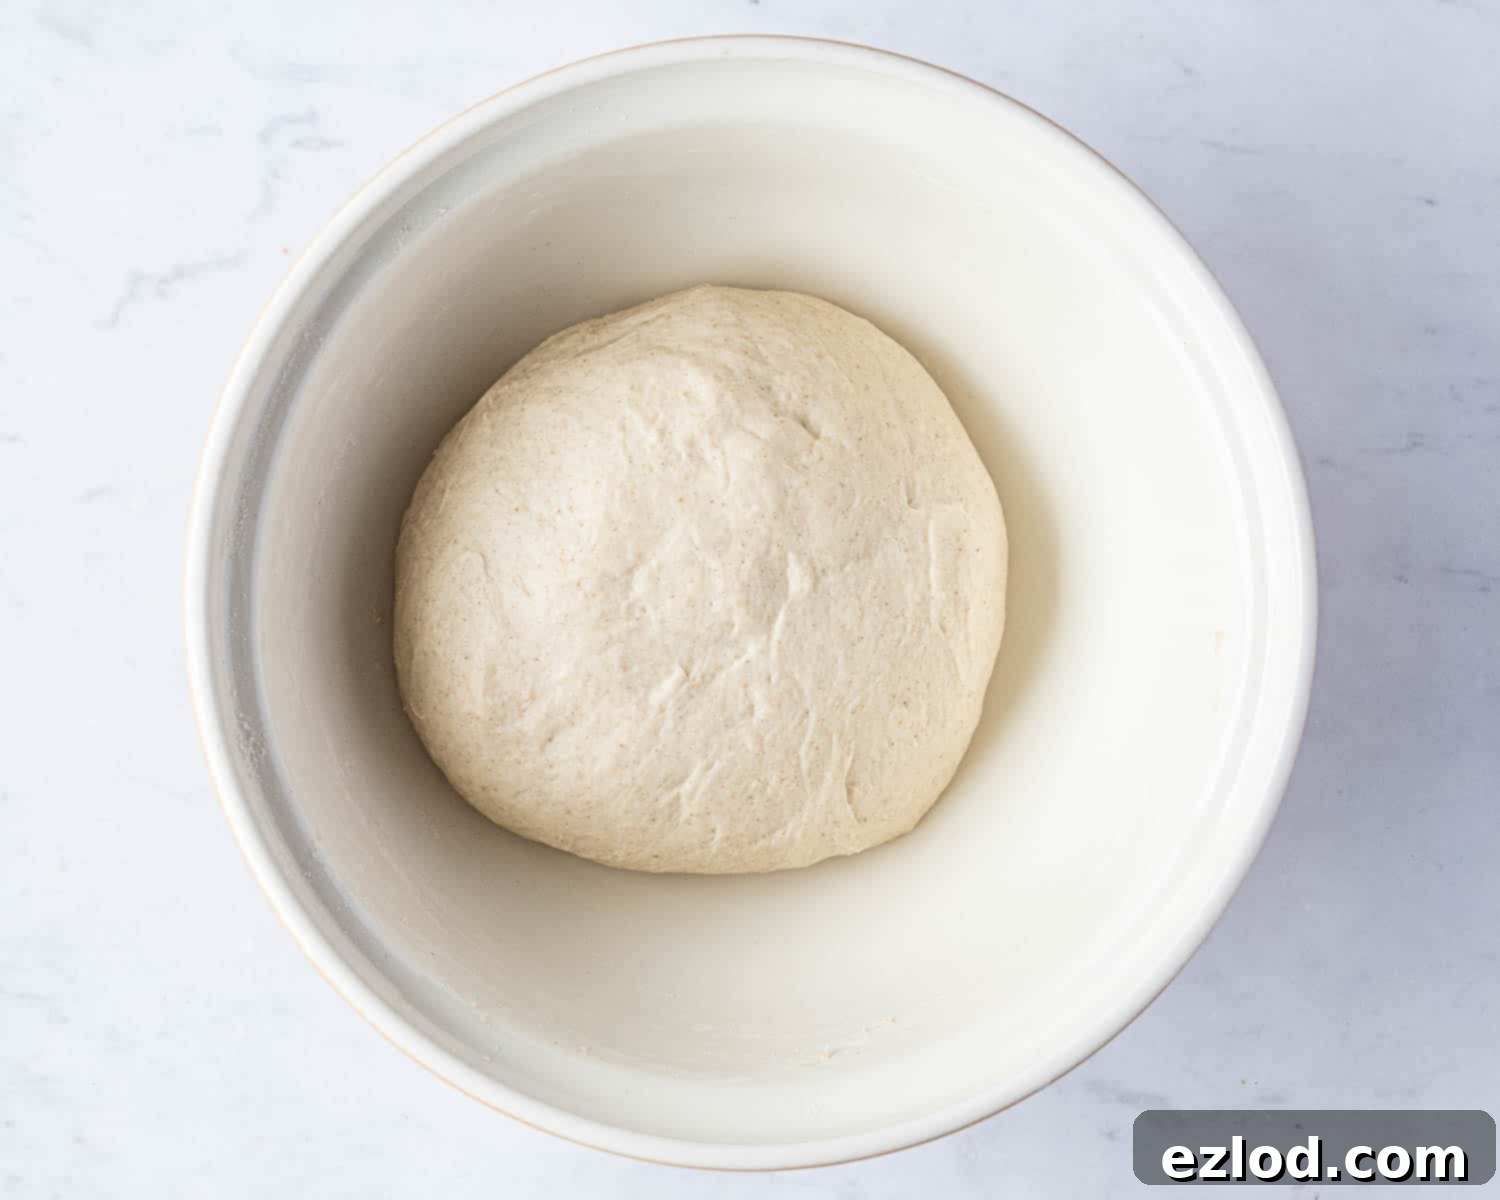
Once the dough is properly kneaded, incorporate the fresh chopped thyme and dried oregano. Continue kneading for another minute or two until the herbs are thoroughly and evenly distributed throughout the dough, infusing it with their aromatic essence.
Lightly oil a clean bowl, then transfer the kneaded dough into it. Cover the bowl loosely with plastic wrap or a clean kitchen towel and set it aside in a warm place to rise. Allow it to double in size, which typically takes about 1-2 hours, depending on your room temperature.
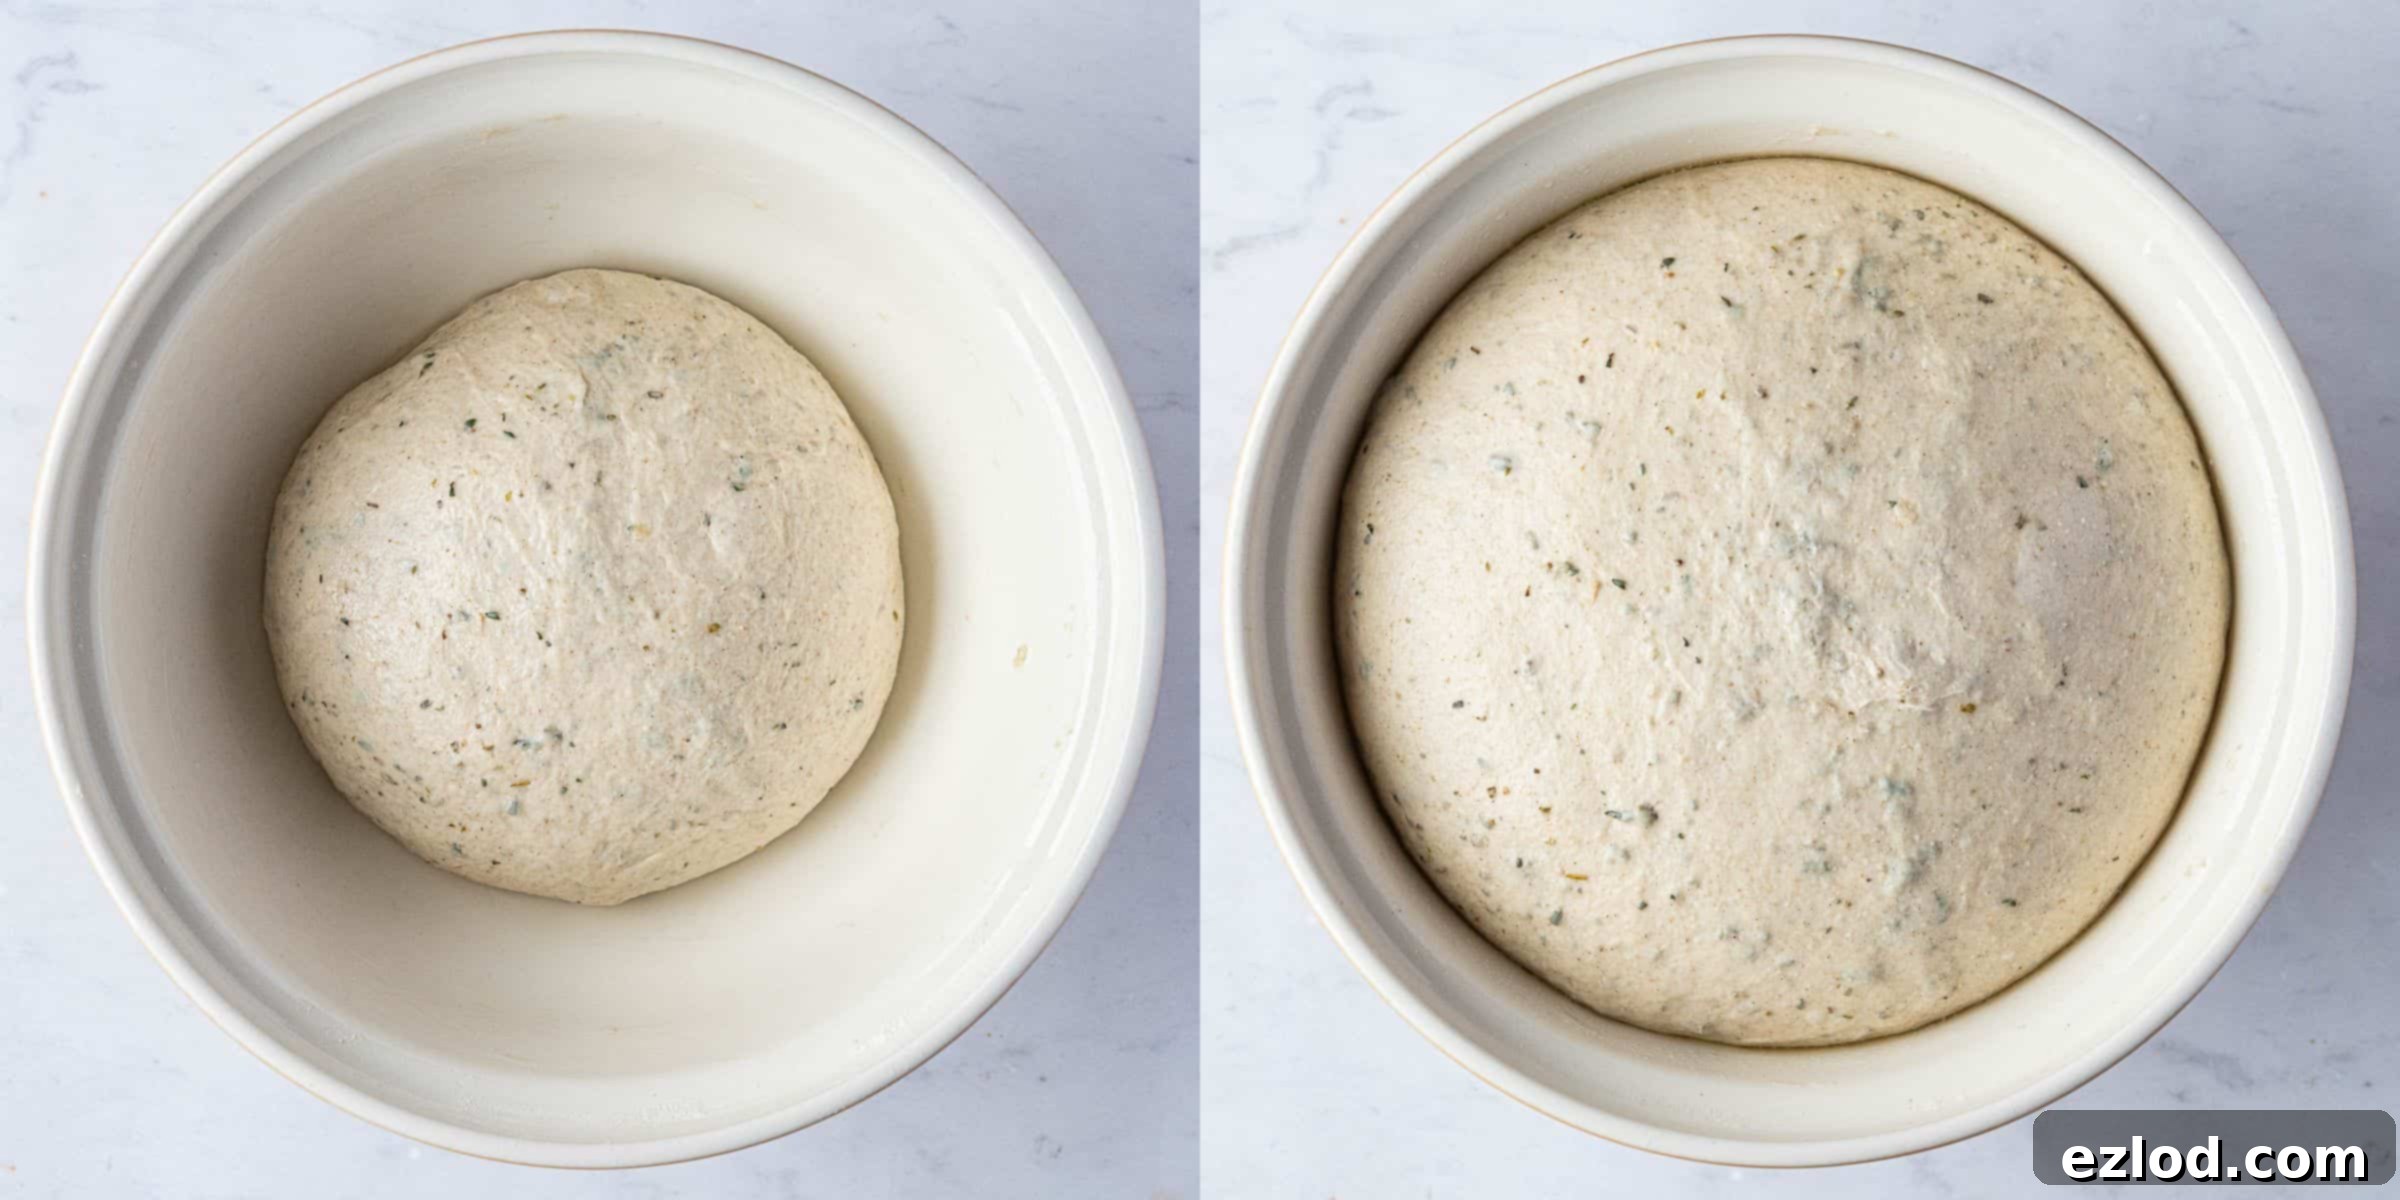
After the first rise, gently punch down the dough to release the accumulated air. Give it a brief knead for about 30 seconds to knock out any remaining large air bubbles and reshape it slightly. Then, divide the dough into 14 equal pieces. For the most consistent results in size and baking, I highly recommend using a kitchen scale for accuracy when dividing.
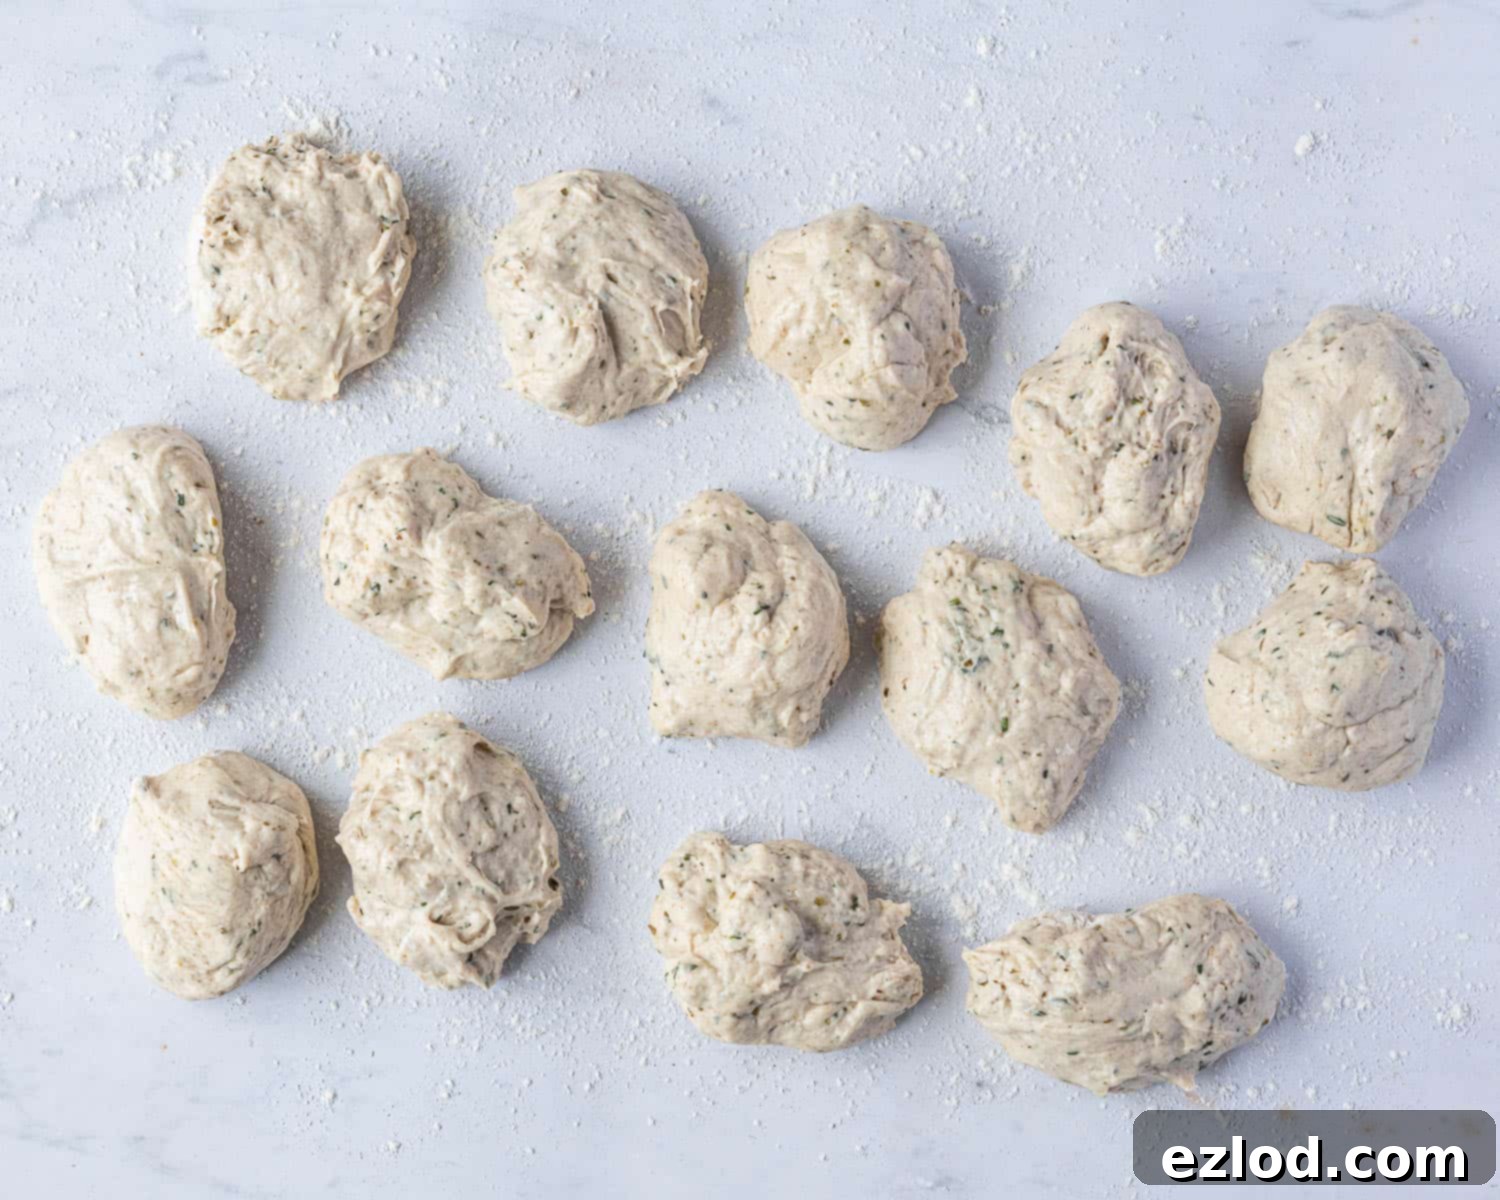
Take each dough piece and, using your hands, roll it out into a long, thin rope shape. The length and thickness are up to your preference, but aim for consistency. Arrange these shaped breadsticks, leaving adequate space between them, on two baking sheets lined with baking parchment. If you opted to use semolina or cornmeal, sprinkle it on the parchment before placing the breadsticks.
Loosely cover the shaped breadsticks with oiled cling film or a piece of baking parchment. Let them rise for a second time for approximately 30 minutes. They should become visibly puffy and spring back slowly and gently if you lightly poke one with your finger, indicating they are ready for baking.
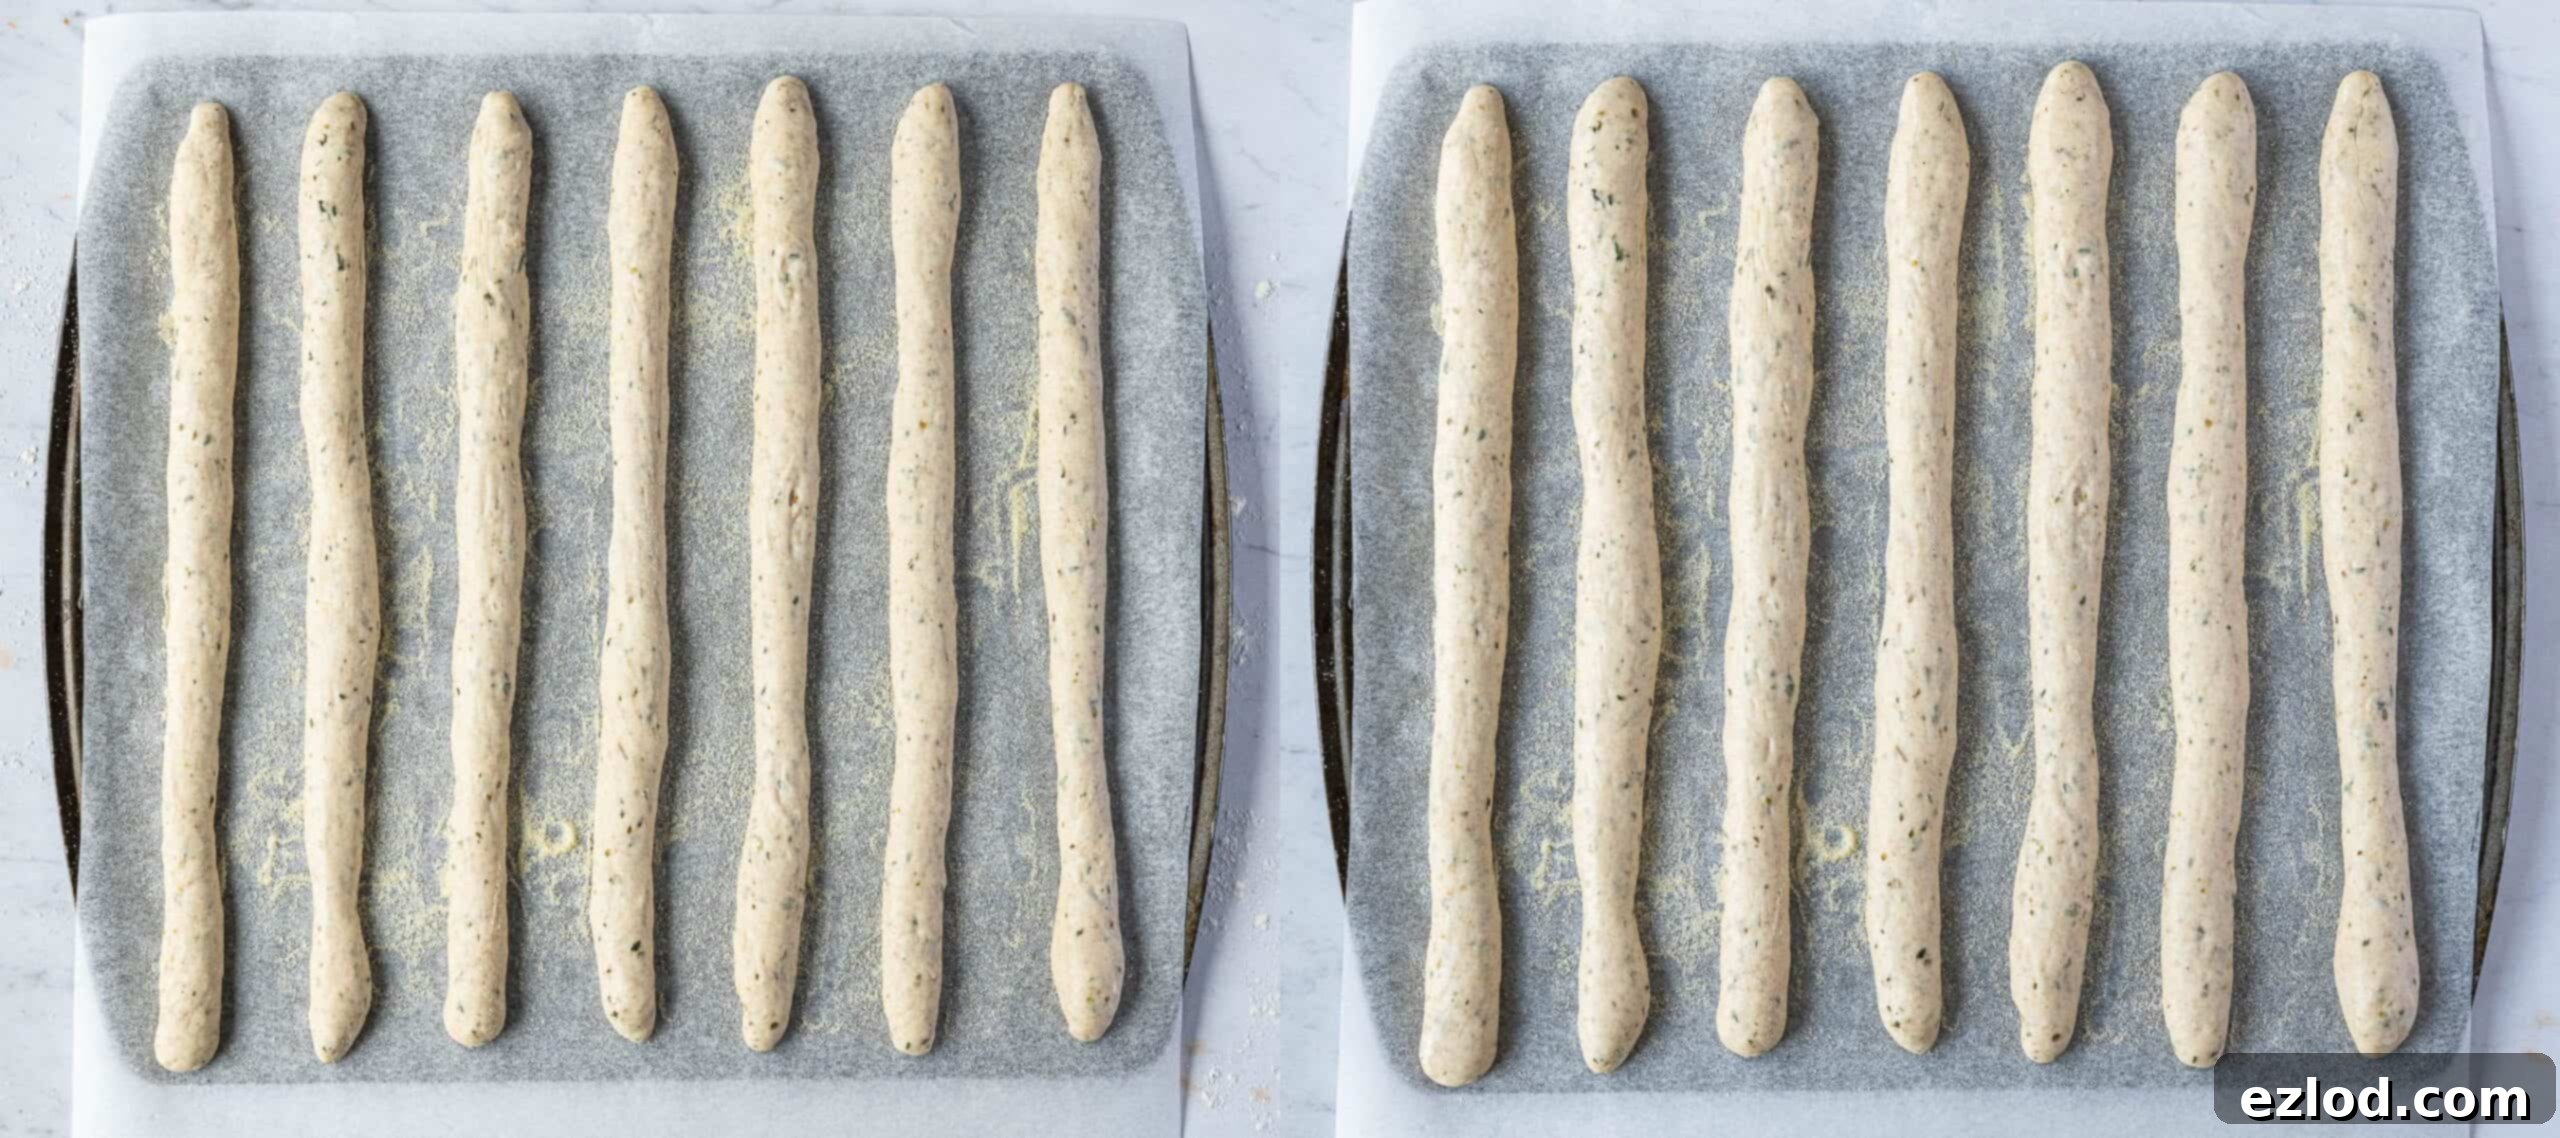
Just before baking, gently brush the tops of the risen breadsticks with a little olive oil. This step helps achieve that beautiful golden-brown color and a crisp finish. If desired, sprinkle them with flaky sea salt for an extra textural and flavor boost. Bake in a preheated oven for 12-15 minutes, or until they are nicely browned and sound hollow when tapped on the bottom.
Top Tips for Breadstick Success:
Achieving consistently perfect breadsticks is easy with these helpful tips:
Precision with Measurements: All my baking recipes, including this one, are developed using metric measurements in grams. I cannot stress enough the importance of using a digital kitchen scale instead of cup conversions. Cups are notoriously inaccurate and can lead to inconsistent results, especially in baking where precision is key. A scale not only provides far better and more reliable outcomes but is often less messy too!
Check Your Yeast: The freshness of your yeast is paramount for a successful rise. Always ensure your instant yeast is within its expiry date. Old or inactive yeast is the most common reason for bread that fails to rise, resulting in dense, heavy breadsticks.
Resist Adding Excess Flour: It’s tempting to add more flour if your dough feels sticky, but resist this urge unless it’s truly wet and unmanageable. Bread dough, especially for soft breadsticks, is meant to be a bit soft and slightly tacky. Adding too much flour will lead to dry, dense breadsticks instead of the light, fluffy texture you’re aiming for. Trust the recipe and the process!
Mind the Temperature for Rising: The time it takes for your dough to rise will significantly depend on the ambient temperature of your kitchen. On warmer days, the yeast will be more active, and the dough will rise much faster. Conversely, on colder days, it will take longer. Don’t rush the process; let the dough dictate the timeline.
Make Ahead Options: While these herby vegan breadsticks are truly best enjoyed warm and fresh on the day they are baked, you have the option to prepare the dough in advance. You can make the dough in the evening, place it in an oiled bowl, cover it, and let it rise slowly in the refrigerator overnight. The next morning, simply continue with the rest of the recipe. Be aware that the second rise might take a bit longer since the dough will be cold from the fridge.
Storage and Reheating: Any leftover breadsticks should be stored in an airtight container at room temperature for up to 2 days to maintain their freshness. For the best experience, gently reheat them in a low oven (around 150°C/300°F) for a few minutes before serving. This will help restore some of their original warmth and texture.
Understanding Yeast Types:
As mentioned, I predominantly use instant yeast (also known as easy bake yeast) for my bread recipes. Its convenience lies in the fact that it doesn’t require prior activation in warm liquid; you can add it directly to your dry ingredients. If you can, I highly recommend sourcing instant yeast for its ease of use.
However, if active dry yeast is the only type available to you, you can absolutely still make these breadsticks. The method will simply require a minor adjustment. You’ll need 10g (3 teaspoons) of active dry yeast. To activate it, mix the yeast with the lukewarm water (ensure it’s not hot, as excessive heat will kill the yeast!) and the sugar from the recipe. Let this mixture sit for 10-20 minutes. You’ll know it’s activated when it becomes visibly frothy and bubbly. Once activated, proceed with the rest of the recipe as written, incorporating this yeast mixture as your liquid component.
Tips to Speed Up Rising Time:
If your kitchen is particularly cool and you find your dough isn’t rising as quickly as you’d like, there are a couple of tricks to create a warm environment for your yeast:
Warm Oven Method 1: Briefly preheat your oven to its lowest temperature setting for just a couple of minutes. Then, switch it off and open the oven door for about 30 seconds to allow some of the intense heat to escape. Carefully place your hand inside to check the temperature – it should feel pleasantly warm, like a comfortable summer day, not hot. If it’s too hot, it will kill the yeast, so exercise caution! Place your covered dough in this warm, switched-off oven and close the door. On very cold days, you might need to repeat this warming process once or twice, but usually, one initial warm-up is sufficient.
Warm Oven Method 2 (Steam Method): Alternatively, place a heat-proof bowl or loaf tin in the bottom of your (cold, switched-off) oven. Position your covered dough on the middle shelf. Fill the bowl at the bottom with boiling water and quickly close the oven door. The steam generated from the hot water will create a moist, warm environment that is perfect for encouraging yeast activity and dough rising.
Can I Freeze These Herby Vegan Breadsticks?
Yes, these herby vegan breadsticks are suitable for freezing! If you have any leftovers, freezing them is a great way to extend their freshness. Ensure the breadsticks have cooled completely to room temperature before freezing. Arrange them in an airtight container or a sturdy ziplock bag to prevent freezer burn.
To enjoy them again, simply allow them to defrost at room temperature for a few hours. For the best texture, give them a quick refresh in a low oven (around 150°C/300°F) for 5-10 minutes before serving. This will bring back some of their original warmth and crispness.
Can I Make Them In Advance?
For the absolute best flavor and texture, these breadsticks are truly at their peak when eaten on the day they are baked, ideally still warm from the oven. Therefore, I generally do not recommend baking them entirely in advance if you want to serve them at their freshest.
However, you can certainly prepare the dough the evening before you plan to bake. After the initial kneading and herb incorporation, place the dough (covered) in an oiled bowl in the refrigerator to undergo a slow, overnight rise. The following day, simply take the dough out of the fridge, allow it to come to a slightly warmer temperature for about 30 minutes, and then proceed with shaping, the second rise, and baking as outlined in the recipe.
Are These Breadsticks Gluten-Free?
Unfortunately, this particular recipe is not designed to be gluten-free, and I do not recommend attempting to substitute gluten-free flour. Baking gluten-free bread requires a fundamentally different approach, as the absence of gluten significantly alters the dough’s structure and behavior. The entire recipe would need to be redeveloped to account for these differences.
As gluten-free baking is not my area of expertise, I cannot provide specific advice on adapting this recipe. For successful gluten-free breadsticks, it is always best to seek out and follow a recipe that has been specifically formulated and tested to be gluten-free from the outset.
More Delicious Vegan Sharing Bread Recipes:
- Irresistible Vegan Garlic Dough Balls
- Flavorful Sun-Dried Tomato Breadsticks (Vegan)
- Addictive Vegan Pretzel Bites
- Ultimate Vegan Garlic Pull-Apart Bread
- Stunning Vegan Pesto Bread Wreath
- Homemade Vegan Beer Pretzels
- Classic Sea Salt and Rosemary Focaccia
- Easy Homemade Vegan Naan Bread
- Quick & Simple Easy Flatbreads
If you’ve had the pleasure of trying this recipe, I’d love to hear about your experience! Please take a moment to rate it, leave a comment below, or share your creations by tagging @domestic_gothess on Instagram and using the hashtag #domesticgothess. Your feedback means a lot!
Please note: All images and content featured on Domestic Gothess are protected by copyright. If you wish to share this recipe, kindly do so by utilizing the provided share buttons. Refrain from screenshotting or posting the full recipe or content directly. Instead, please include a direct link back to this original post for the recipe. Thank you for your understanding and support.

Print Recipe
Herby Vegan Breadsticks
Ingredients
- 500 g (4 cups) white bread flour
- 7 g (1 teaspoon) salt
- 1 teaspoon sugar
- 7 g (2 ¼ teaspoons) instant yeast
- 1 ½ teaspoons garlic powder
- 60 ml (¼ cup) olive oil
- 300 ml (1 + ¼ cups) warm water
- 2 Tablespoons chopped fresh thyme (leaves only)
- 2 teaspoons dried oregano
- fine semolina or cornmeal for dusting (optional)
- olive oil for brushing
- flaky sea salt for sprinkling (optional)
Instructions
-
In a large mixing bowl (or the bowl of a stand mixer with a dough hook), place the bread flour. Add the instant yeast to one side and the salt, sugar, and garlic powder to the other. Stir to combine all the dry ingredients evenly.
-
Pour in the olive oil and the warm water. Mix everything together until a rough, shaggy dough forms.
-
Knead the dough for 5-10 minutes. This can be done by hand on a lightly floured surface or using a stand mixer on medium-high speed. The dough should become smooth and elastic, feeling slightly tacky but pulling away cleanly from the bowl. If it feels too wet, add a very small amount of extra flour, but avoid adding too much, as the dough is meant to be a bit sticky.
-
Add the chopped fresh thyme leaves and dried oregano to the dough. Continue to knead for another minute or two until the herbs are thoroughly and evenly distributed throughout.
-
Place the dough into a lightly oiled bowl, cover it with plastic wrap or a damp cloth, and set it aside in a warm place to rise. Allow it to proof until it has doubled in size, which typically takes about 1-2 hours, depending on room temperature.
-
Once risen, gently punch down the dough to release the air. Give it a brief knead to knock out any remaining large air bubbles. Divide the dough into 14 equal pieces. For best results and consistent baking, using a kitchen scale for accuracy is recommended.
-
Line two large baking sheets with baking parchment. If desired, sprinkle the parchment with a thin layer of fine semolina or cornmeal for an extra crisp bottom crust.
-
Take each piece of dough and roll it out between your hands into a long, thin rope, approximately 6-8 inches (15-20 cm) long. Arrange the shaped breadsticks on the prepared baking sheets, ensuring they are spaced well apart.
-
Loosely cover the breadsticks with oiled cling film or another piece of baking parchment. Let them rise for a second time for about 30 minutes, or until they look visibly puffy and spring back slowly when gently poked with a finger.
-
While the breadsticks are undergoing their second rise, preheat your oven to 220°C (200°C fan/425°F/Gas Mark 7).
-
Gently brush the risen breadsticks with olive oil and, if you like, sprinkle with flaky sea salt. Bake for 12-15 minutes, or until they are beautifully golden-brown and cooked through. Transfer the baked breadsticks to a wire rack to cool slightly before serving. They are best enjoyed warm!
Notes
- For additional tips, detailed information, and step-by-step photos, please refer to the main article above the recipe card.
- All my recipes are developed using grams, and for consistent baking results, I highly recommend using metric measurements with a digital scale rather than inaccurate cup conversions. Using a scale is also often easier and less messy!
- If you are kneading the dough by hand, a bench scraper will prove to be an invaluable tool for managing the dough.
