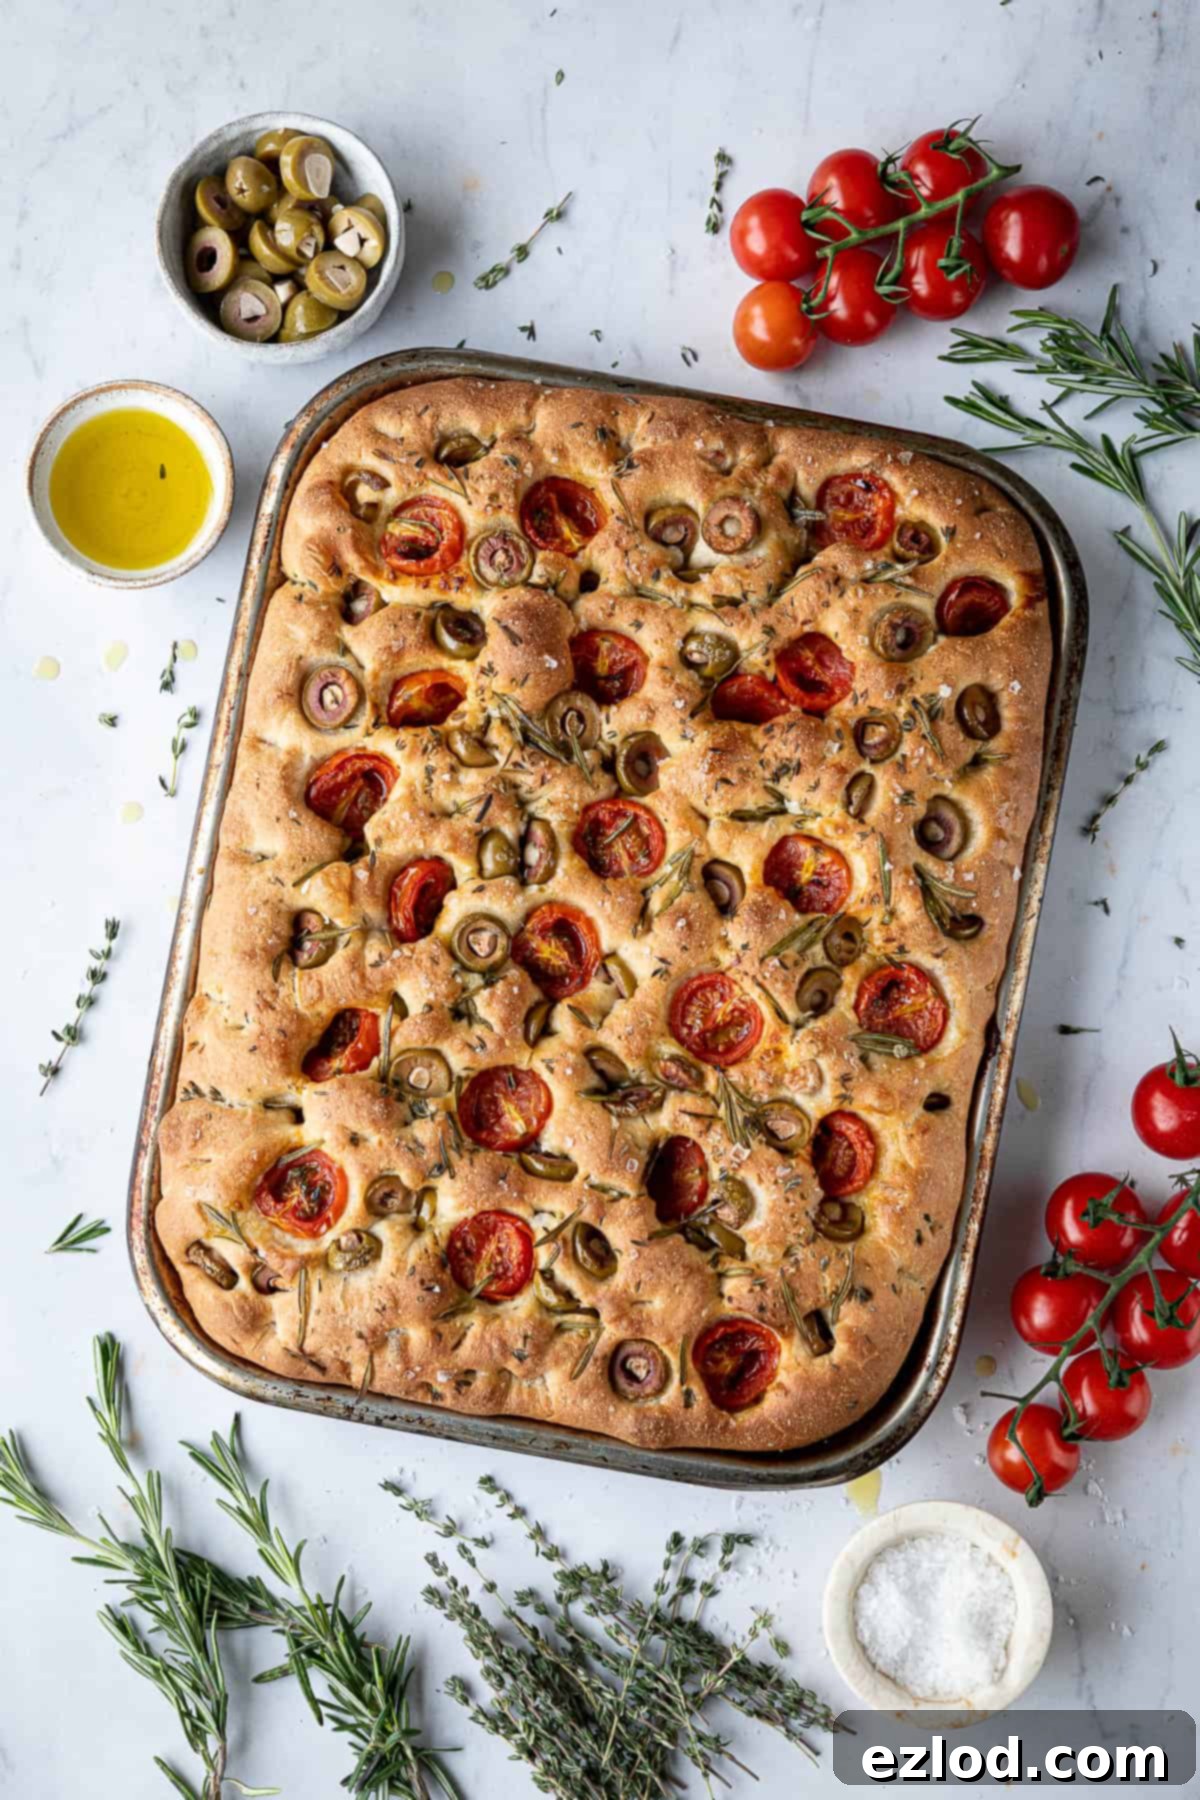
Irresistibly Delicious Vegan Tomato & Olive Focaccia: Your Guide to Soft, Chewy Homemade Bread
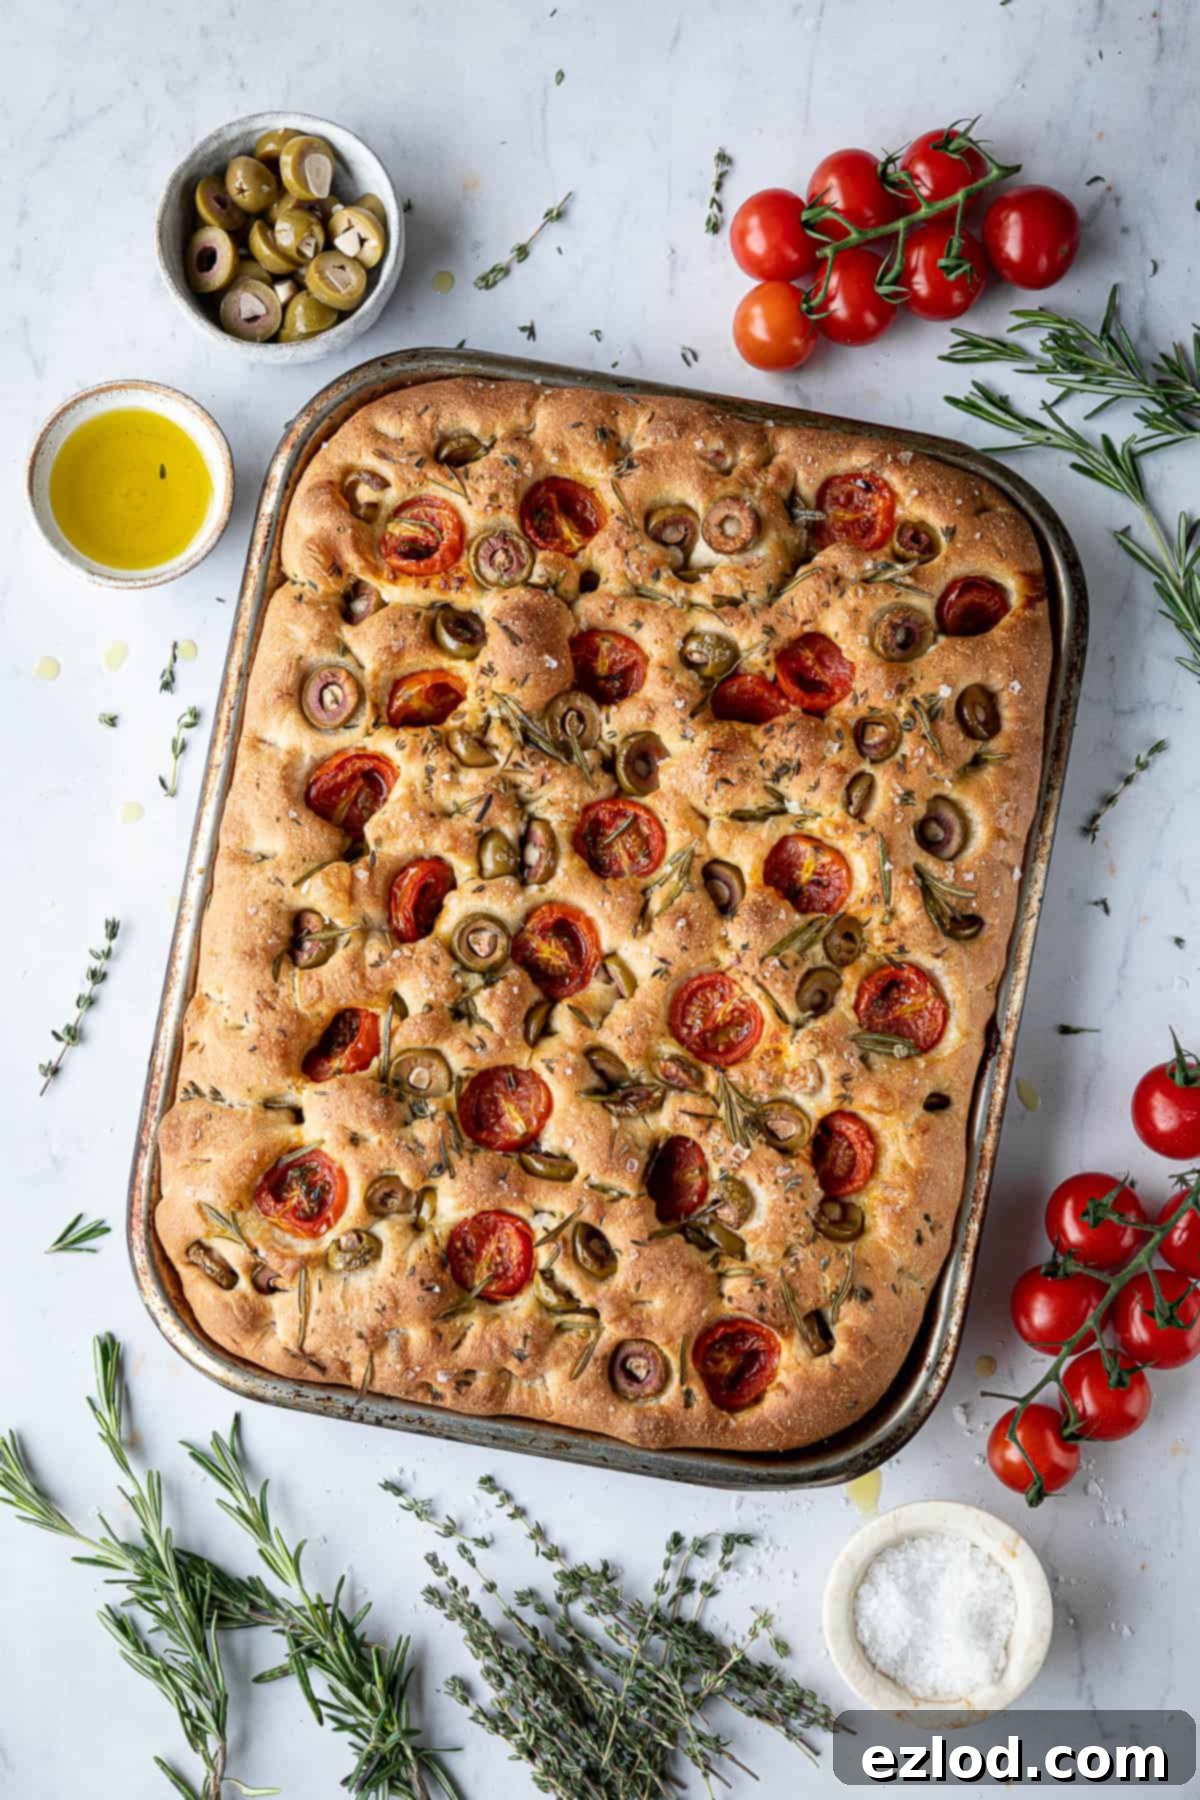
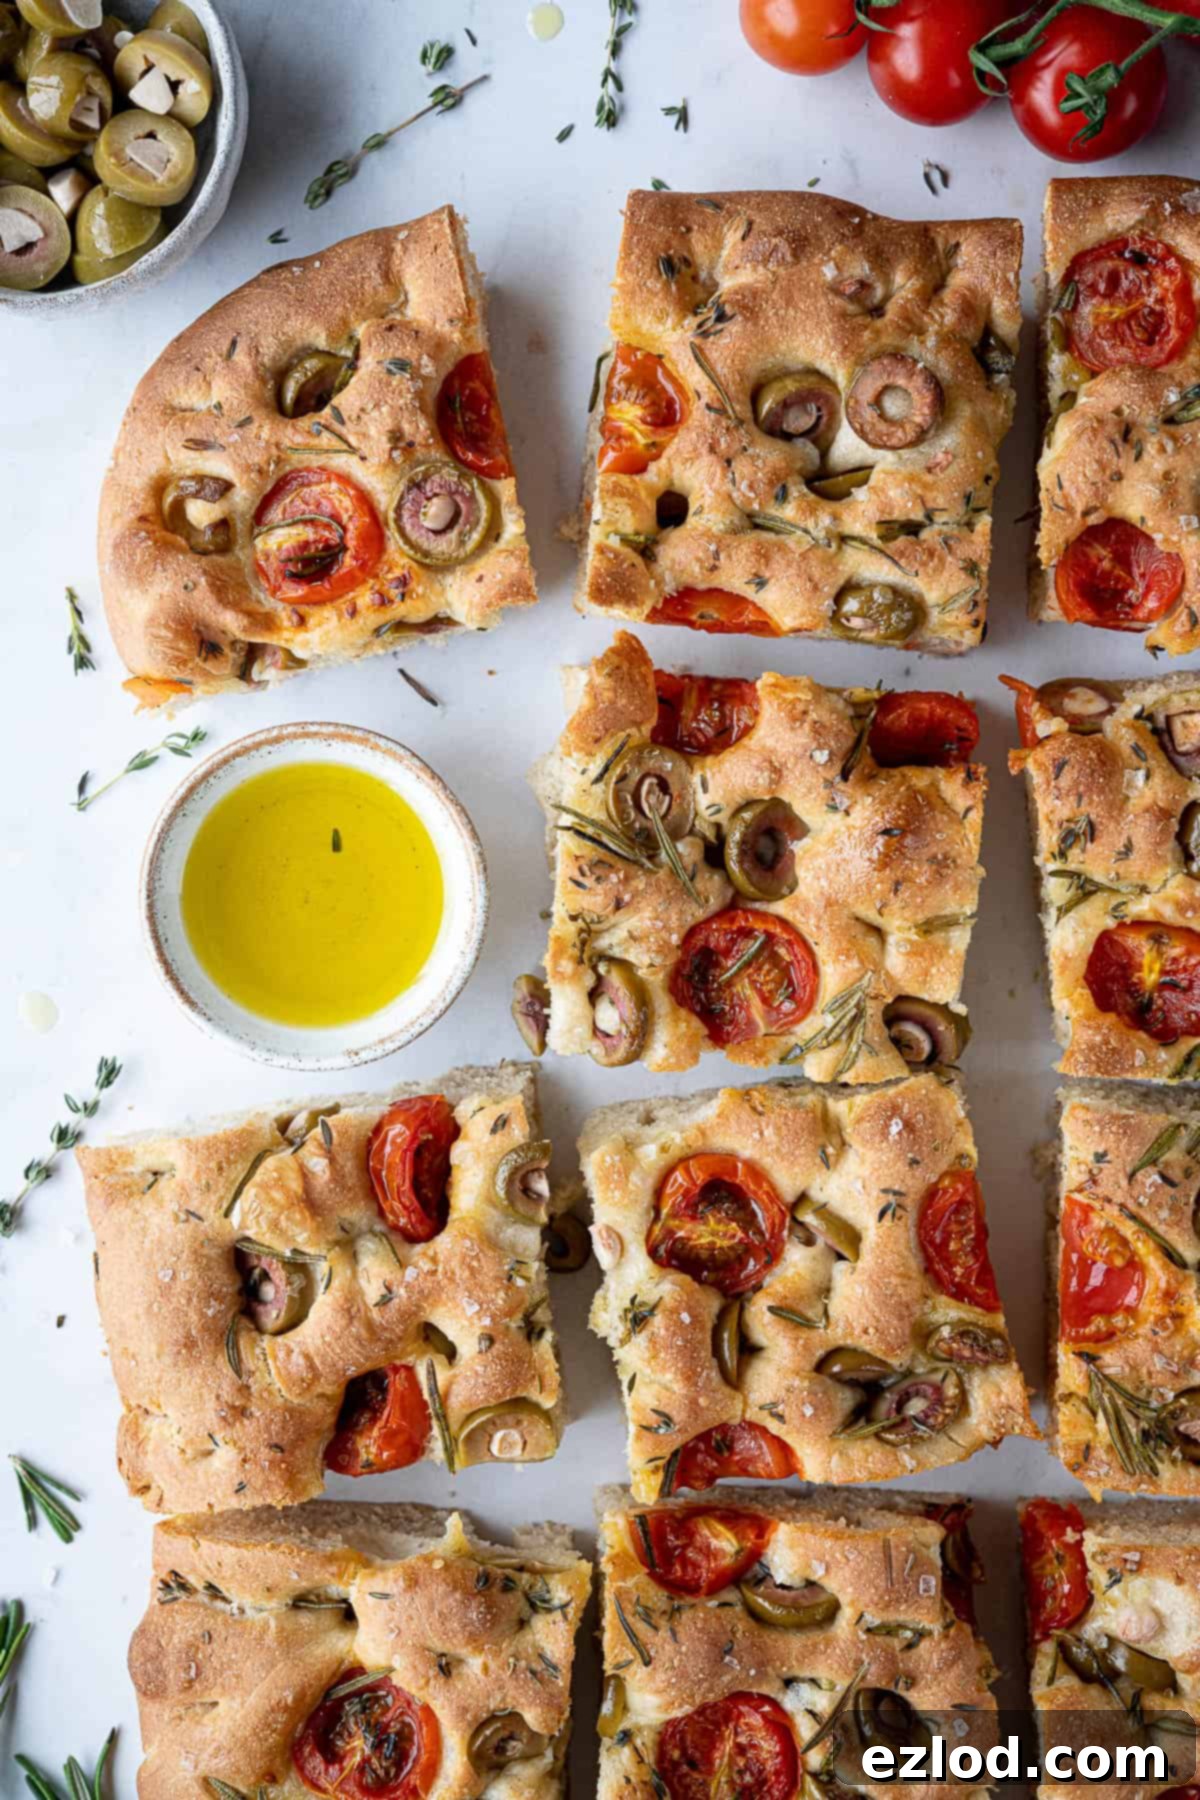
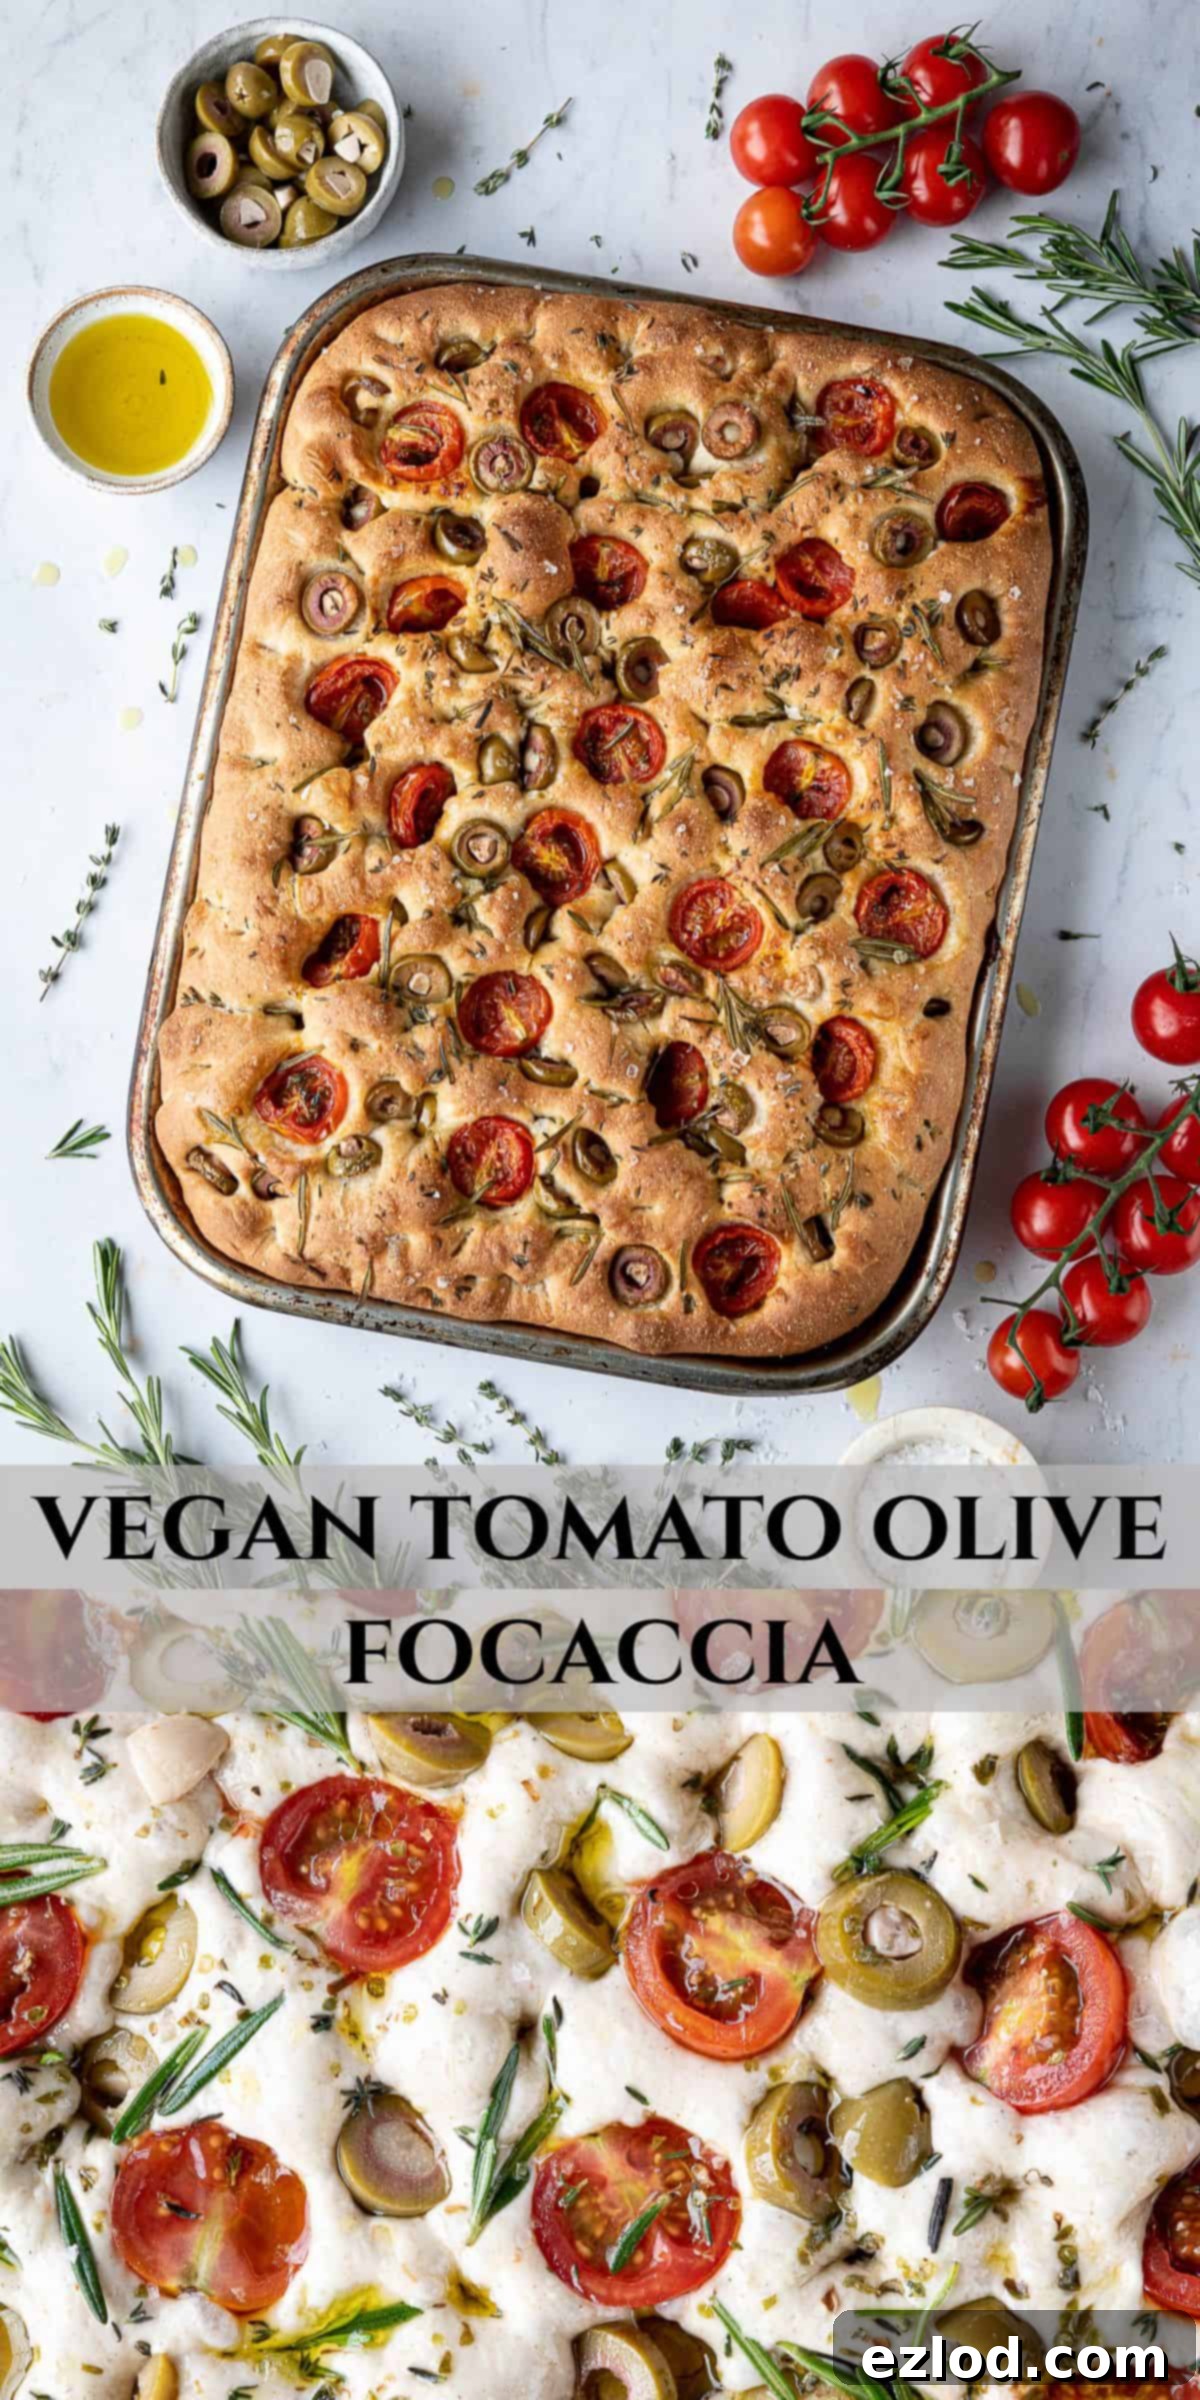
There’s nothing quite like the aroma of freshly baked bread filling your home, and focaccia holds a special place in the hearts of bread lovers worldwide. This classic Italian flatbread, known for its dimpled surface and rich olive oil flavor, is incredibly versatile and utterly satisfying. This particular recipe for tomato and olive focaccia elevates the experience with vibrant Mediterranean flavors, creating a bread that is not only naturally vegan and dairy-free but also wonderfully soft, tender, and delightfully chewy. It’s an ideal choice whether you’re looking for a simple side dish, a vehicle for your favorite dips, or the perfect base for an impressive sandwich.
Baking bread can often seem intimidating, but focaccia is remarkably forgiving and enjoyable to make. Unlike more complex loaves that demand intricate shaping, focaccia embraces a rustic charm, making it perfect for both novice and experienced bakers. Its simplicity in preparation belies the depth of flavor it delivers, making it a go-to recipe for gatherings or a cozy night in.
This exquisite tomato and olive focaccia recipe is a carefully adapted version, drawing inspiration from the fundamental techniques taught by the renowned master bread baker, Richard Bertinet. His approach to dough handling emphasizes sensory understanding and gentle manipulation, which are crucial for achieving the characteristic airy texture of a perfect focaccia. While not all of Bertinet’s traditional recipes are vegan, his universal principles of bread making, particularly those concerning hydration and gluten development, translate beautifully to plant-based baking, empowering you to create exceptional vegan breads.
The lessons learned from expert bakers like Bertinet provide invaluable insights into developing confidence with sticky doughs and accurately judging proofing times. These foundational skills ensure that even a relatively straightforward recipe like focaccia yields consistently impressive results, transforming simple ingredients into a culinary masterpiece. This specific adaptation of a salt and rosemary focaccia into a vibrant tomato and olive version showcases how versatile these techniques can be, allowing for delicious creativity in your kitchen.
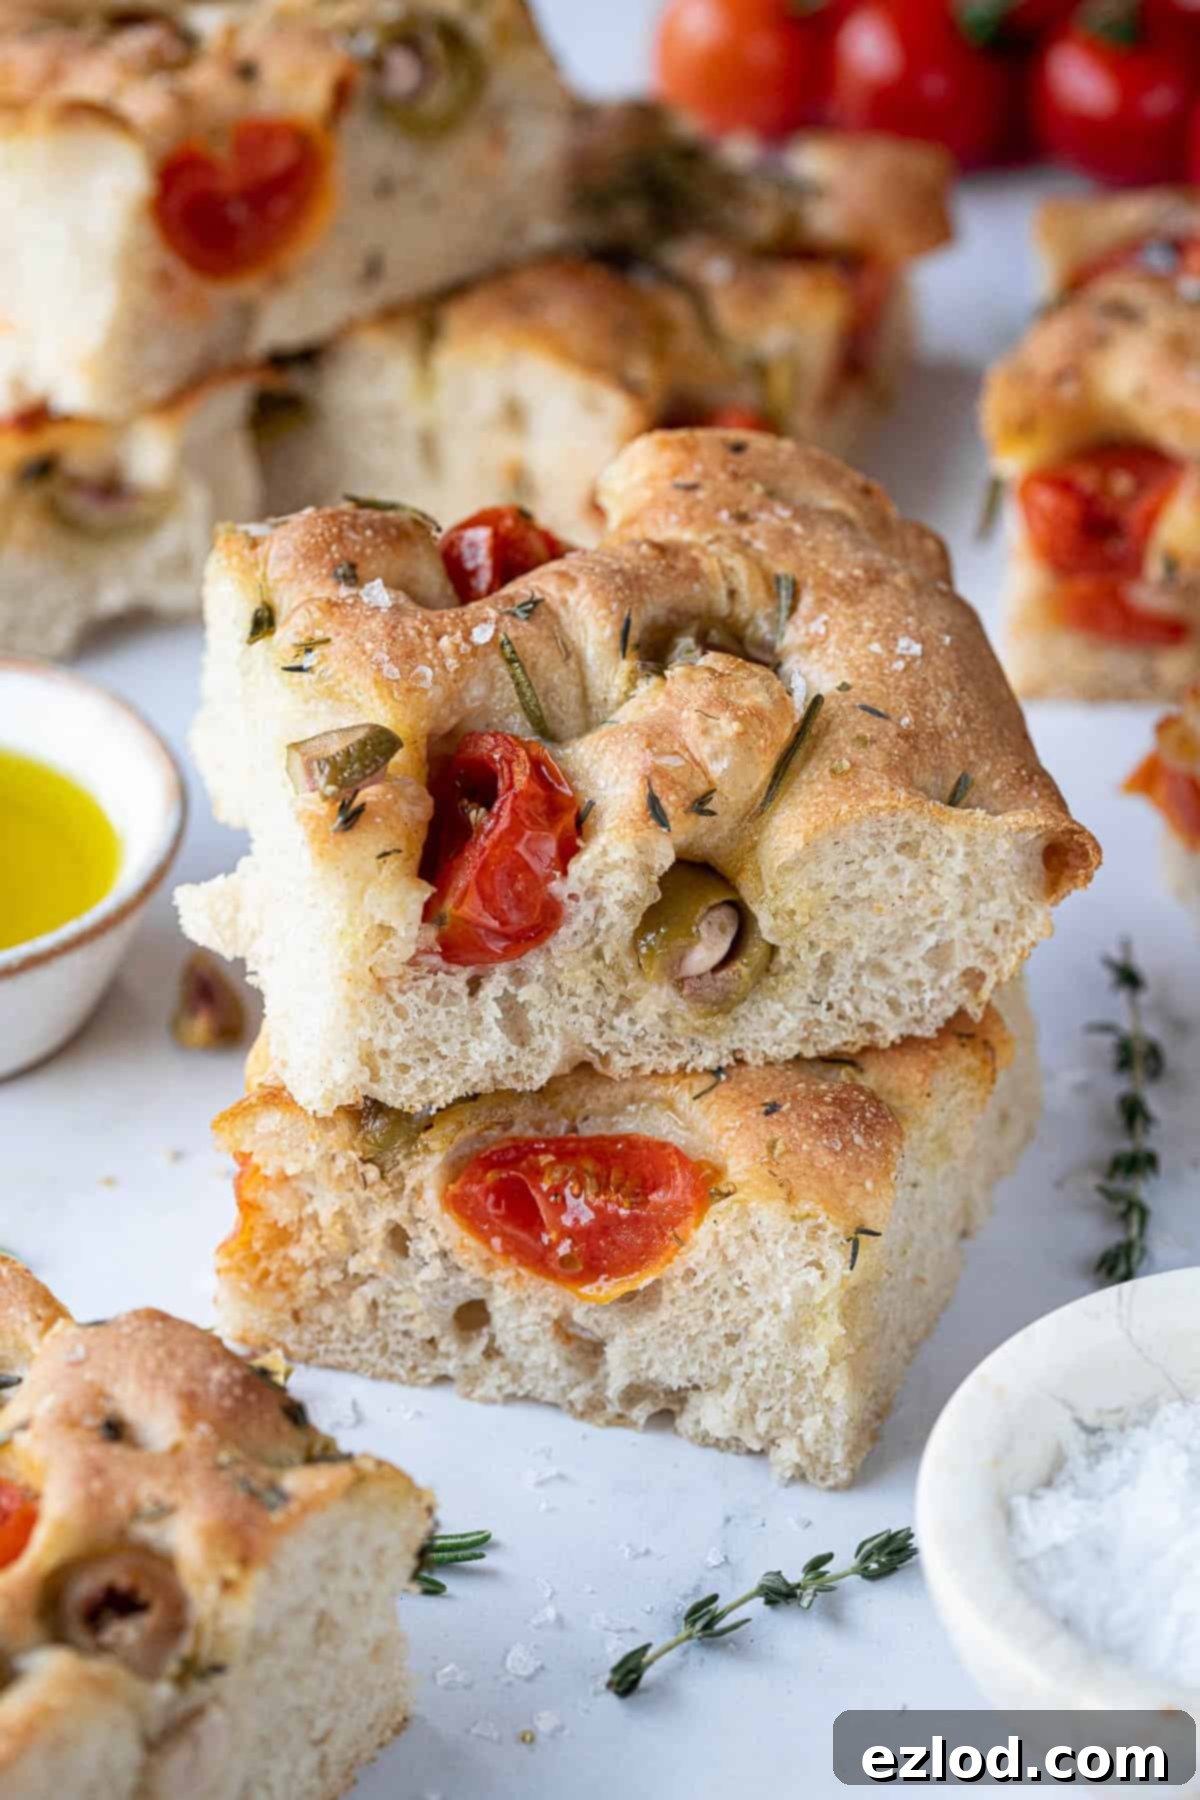
What Do I Need To Make Tomato And Olive Focaccia? Essential Ingredients Explored
Crafting the perfect tomato and olive focaccia begins with selecting the right ingredients. Each component plays a vital role in developing the focaccia’s unique texture, flavor, and aroma. Here’s a detailed look at what you’ll need and why:
Bread Flour: This recipe calls for white bread flour, often labeled as “strong white bread flour” in the UK. The key here is its higher protein content compared to plain or all-purpose flour. This increased protein is essential for developing strong gluten networks, which trap gases produced by the yeast, resulting in the focaccia’s characteristic chewy texture and open crumb structure. Avoid gluten-free or wholemeal flours, as they will fundamentally alter the bread’s texture.
Yeast: For convenience and consistent results, instant yeast is highly recommended. It can be added directly to the flour without prior activation, streamlining the baking process. If active dry yeast is your only option, refer to the detailed instructions further down for how to properly activate it before incorporating it into your dough.
Olive Oil: Olive oil is undeniably the star of focaccia, contributing significantly to its rich flavor, tender crumb, and crispy crust. Using a good quality olive oil is paramount for the best taste. While a robust extra virgin olive oil is excellent for drizzling on top and enhancing the final flavor, a milder olive oil can be used within the dough itself if you prefer a less intense olive flavor. This dual approach ensures a balanced and delicious outcome.
Salt: Salt is far more than just a seasoning in bread making; it plays a critical role in controlling yeast activity, strengthening gluten, and enhancing both flavor and crust development. Fine sea salt or regular table salt is suitable for the dough. For a delightful textural contrast and an extra pop of flavor, a sprinkle of flaky sea salt on top just before baking is highly encouraged, though the salt within the dough is non-negotiable for a successful focaccia.
Olives: The choice of olives offers a wonderful opportunity for customization. Pitted olives are preferred for ease of use. I personally love the vibrant, briny flavor of garlic-stuffed Halkidiki olives, which I slice myself. However, any type of pitted olive you enjoy – Kalamata, Castelvetrano, or even a mix – will work beautifully. Pre-sliced olives are a convenient alternative.
Tomatoes: Sweet and juicy, cherry tomatoes or baby plum tomatoes are perfect for scattering over the focaccia. Halve them before placing them cut-side up to allow their flavors to infuse into the bread as it bakes. For a deeper, more concentrated tomato flavor, consider using semi-dried sunblush tomatoes, which add a lovely sweetness and chewiness.
Herbs: Fresh herbs infuse the focaccia with an aromatic Mediterranean essence. Rosemary and thyme are classic choices that pair wonderfully with tomatoes and olives. A generous sprinkle of dried oregano adds another layer of earthy flavor. Feel free to experiment with other herbs like basil or marjoram to suit your preference.
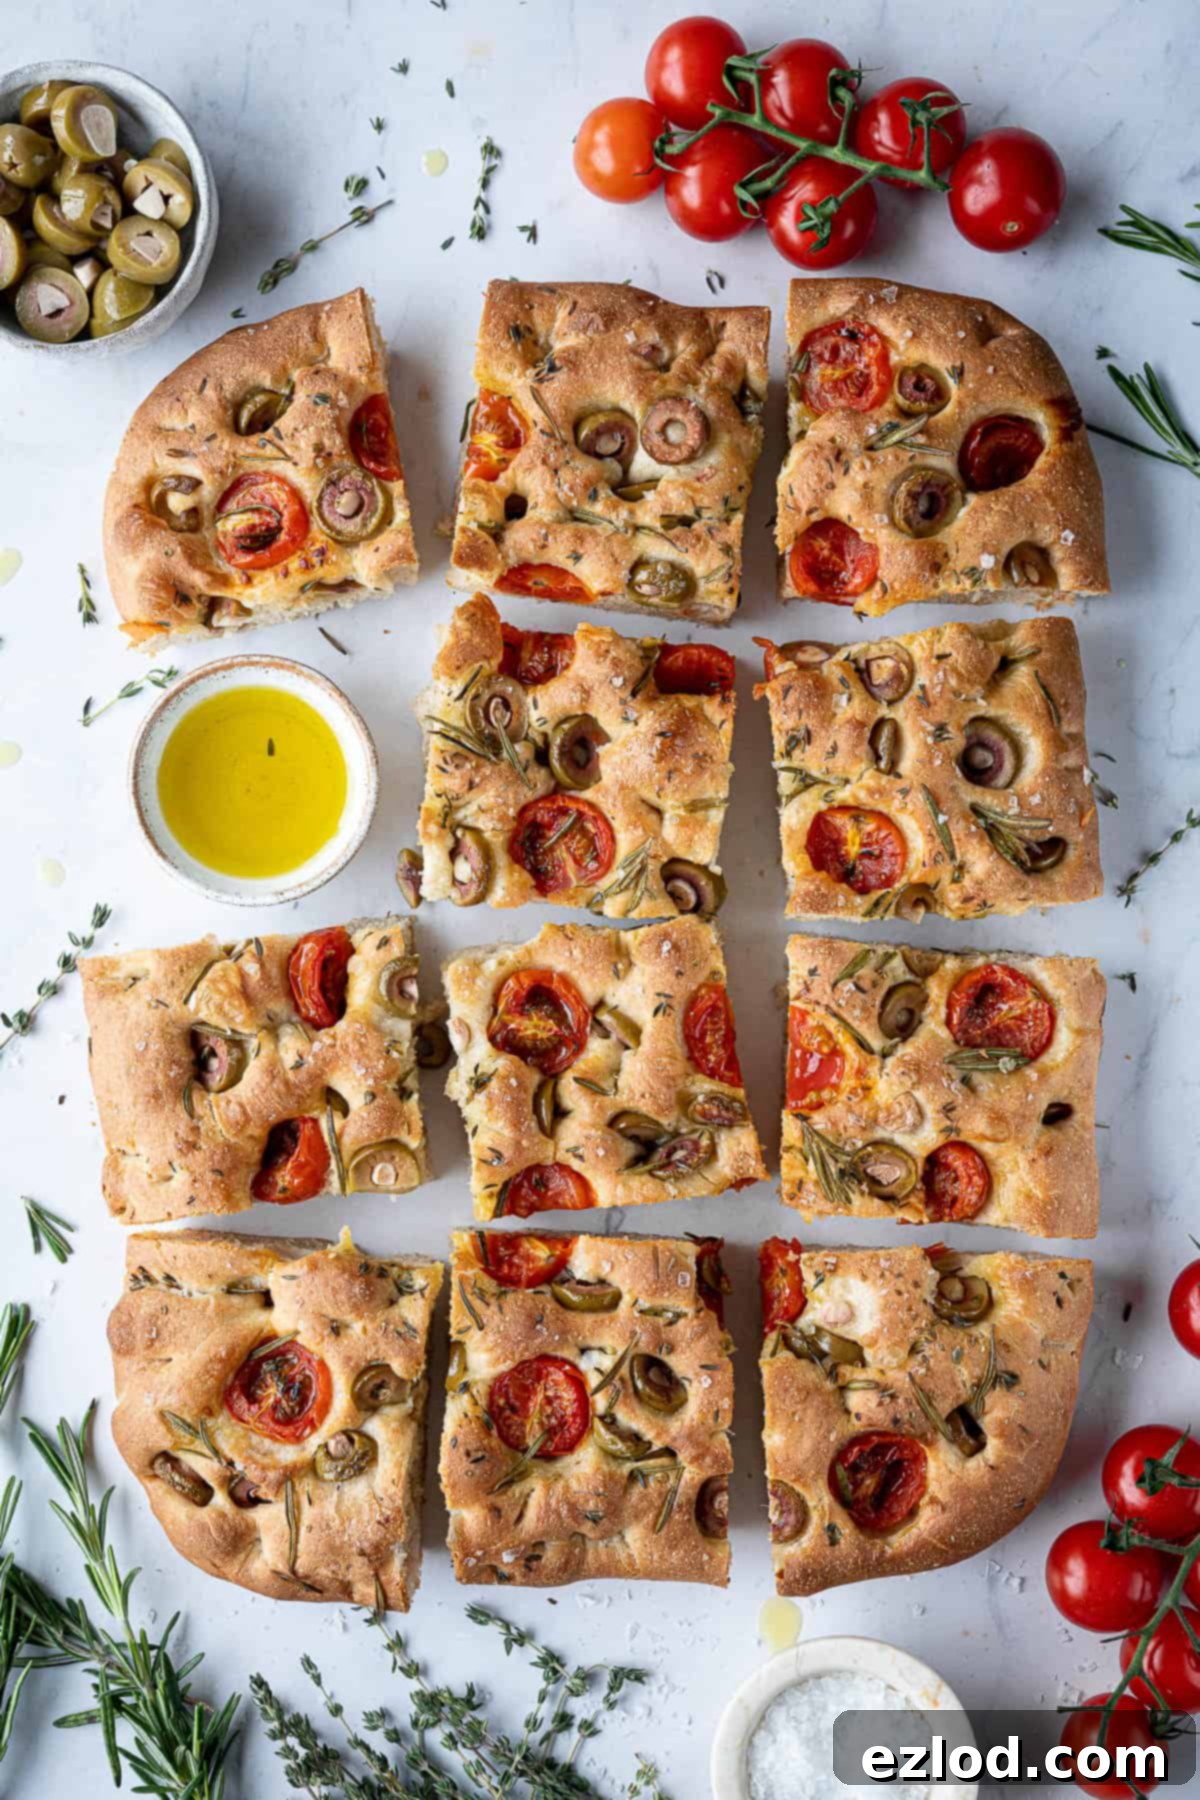
How To Make Tomato And Olive Focaccia: A Step-by-Step Guide
(Full measurements and detailed instructions can be found in the recipe card at the bottom of the page)
Embarking on the journey of homemade focaccia is a rewarding experience, transforming simple ingredients into a remarkably flavorful bread. Follow these steps carefully to achieve a perfect loaf:
Begin by placing the specified amount of cool water into the bowl of a stand mixer, fitted with a dough hook attachment. This is where the magic starts. Add the bread flour and instant yeast. Mix these ingredients together on a low speed for approximately 4 minutes. During this initial stage, the flour will absorb the water, and the ingredients will come together to form a shaggy, nascent dough. It won’t be smooth yet, but the foundations are being laid.
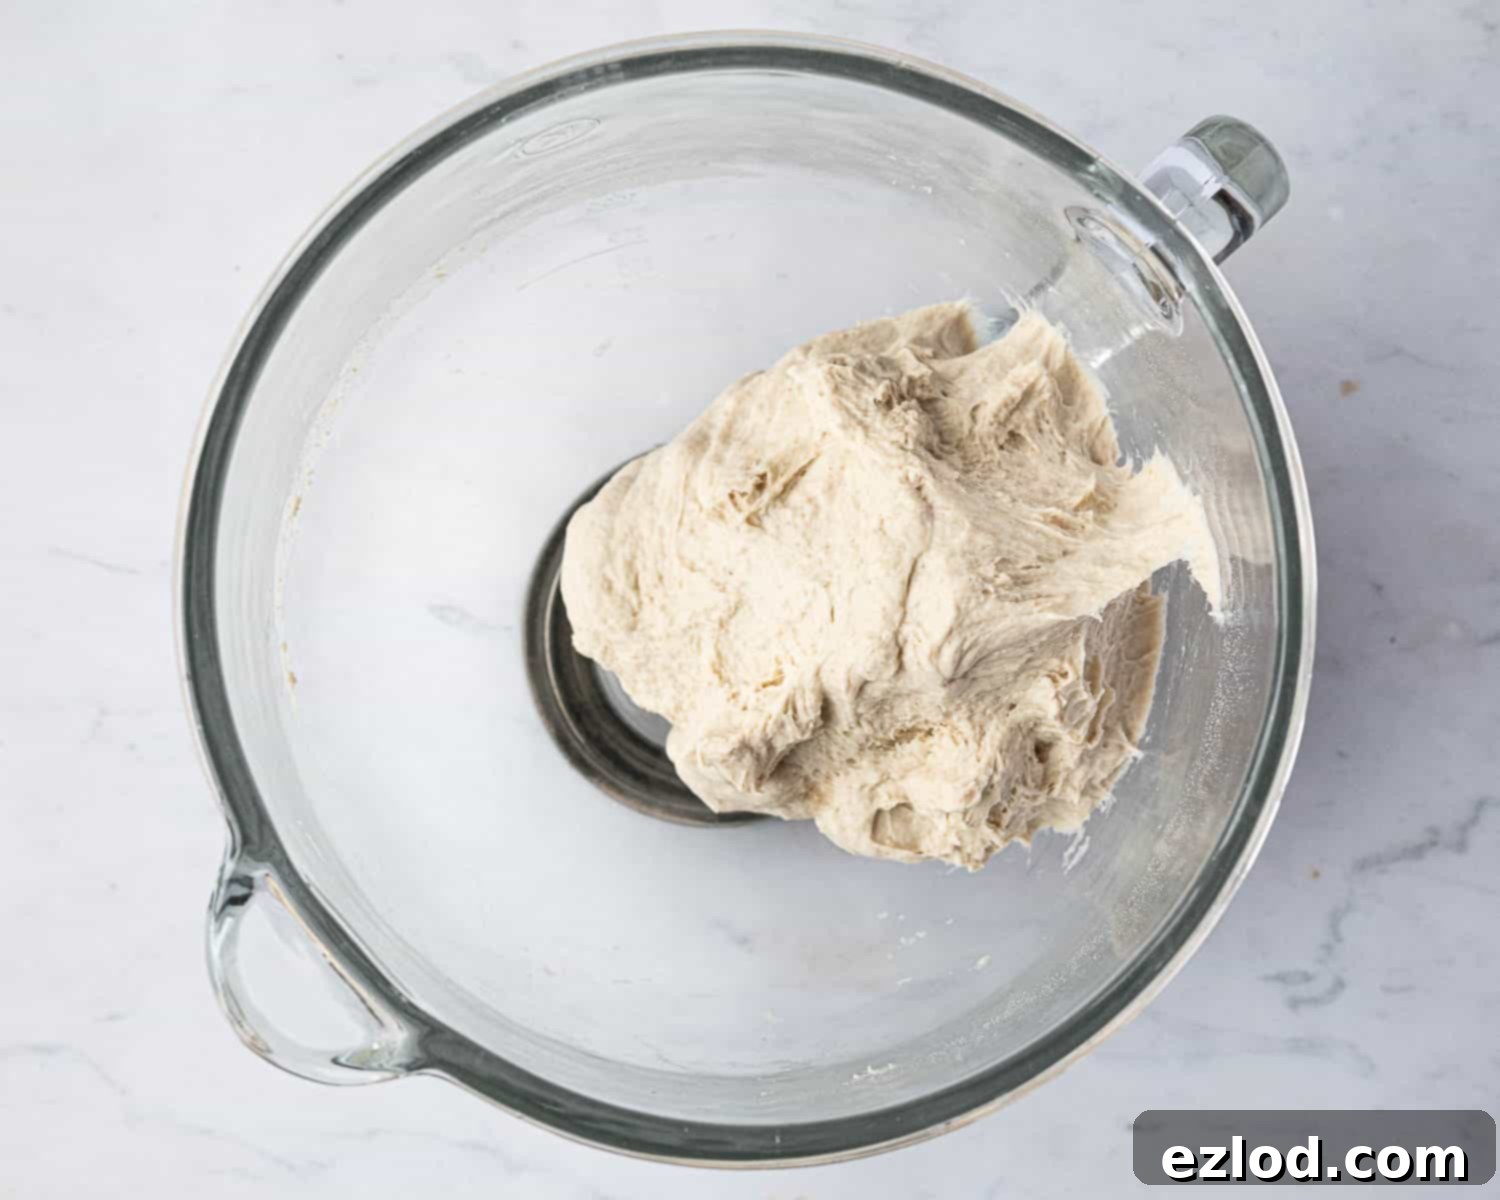
With the mixer still running on a low speed, slowly drizzle in the olive oil. This is a crucial step for focaccia’s texture and flavor. The dough might seem resistant at first, sliding around the bowl and appearing somewhat greasy. Don’t be alarmed; this is normal. Continue mixing at a low speed for about 7 minutes. Over this period, the dough will gradually absorb all the olive oil, becoming smoother and more elastic. Patience here is key to incorporating the oil fully and developing a rich, supple dough.
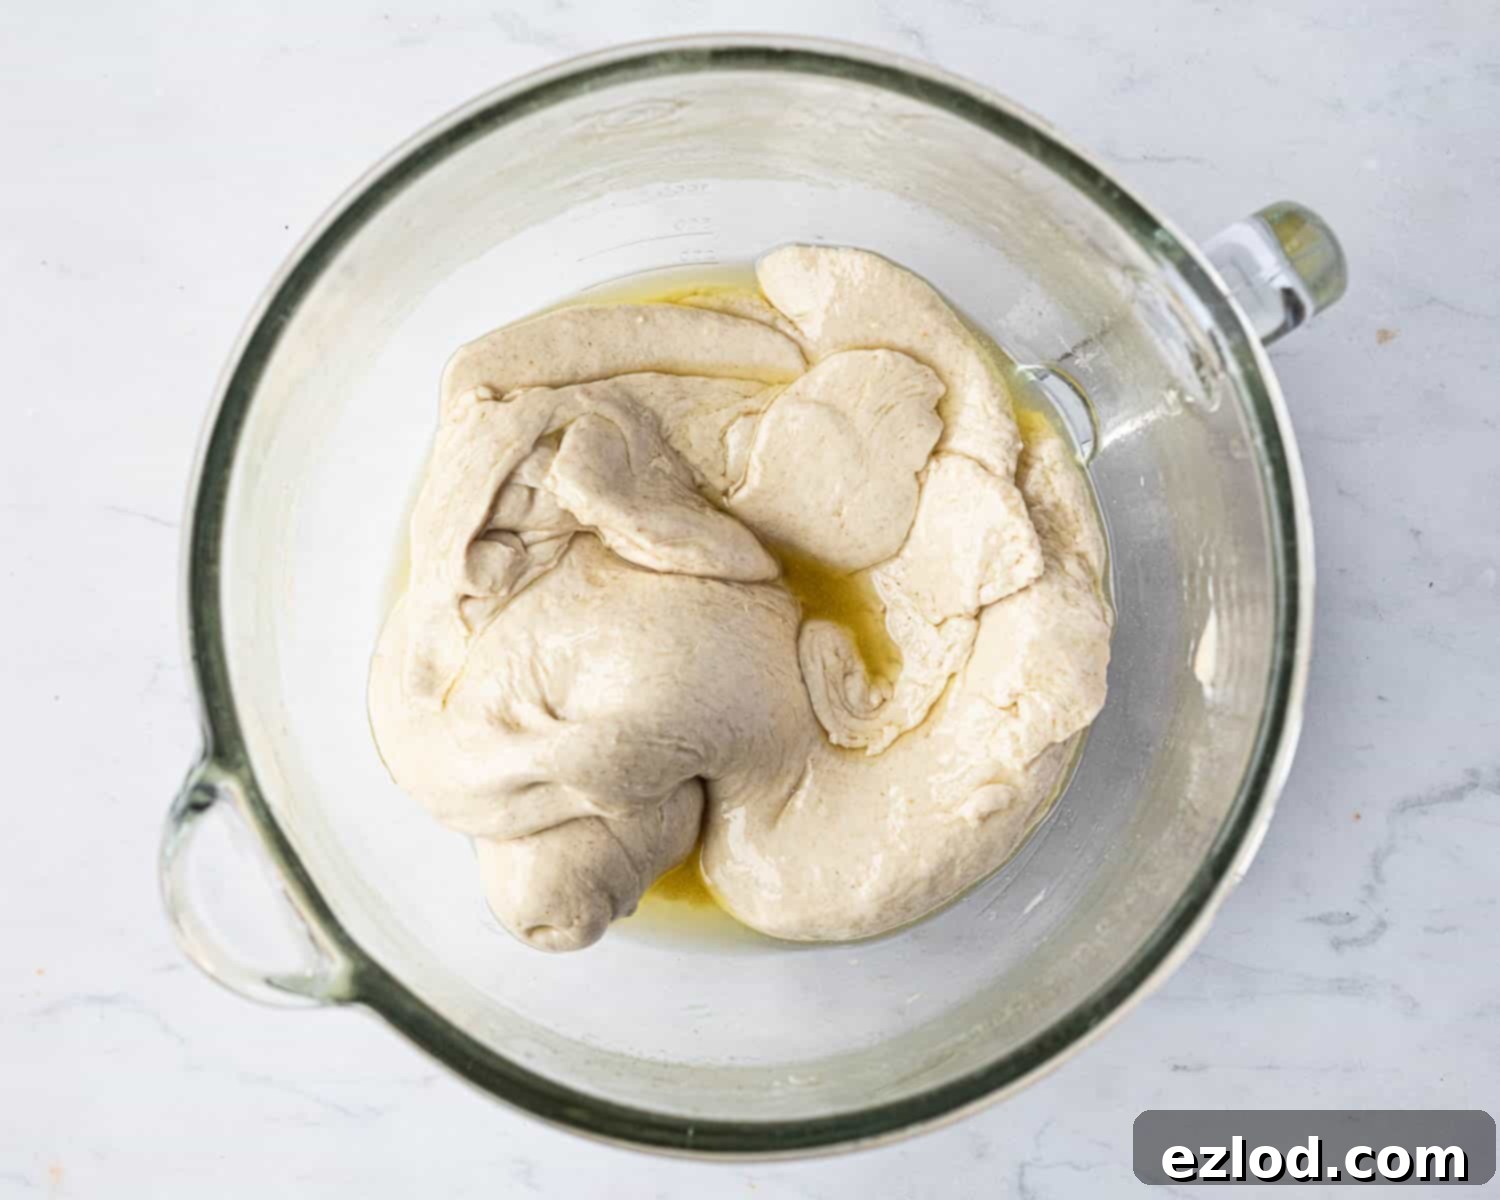
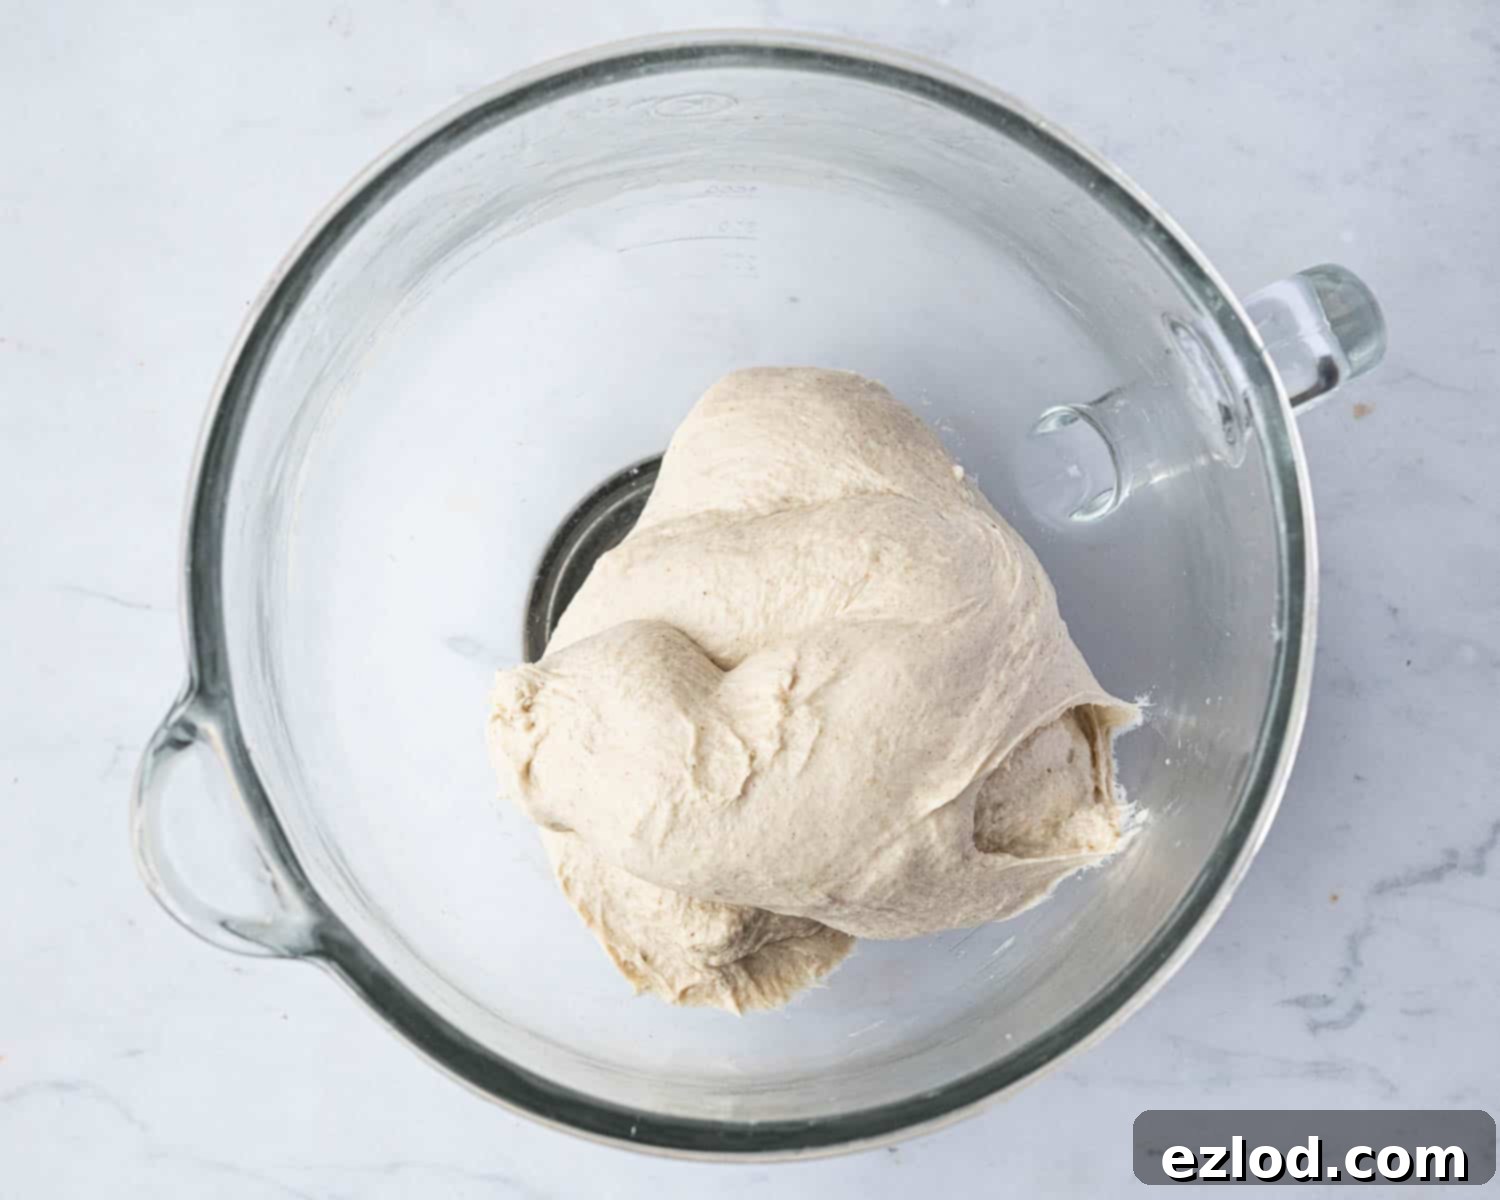
After the olive oil has been fully incorporated, increase the mixer speed to medium and continue mixing for approximately 3 minutes. At this point, add the fine salt. Continue to mix on medium speed. You’ll notice the dough beginning to transform: it will come together more cohesively, pulling cleanly away from the sides of the bowl. The finished dough should be quite sticky to the touch but will appear smooth, elastic, and stretchy. Resist the temptation to add more flour, as a high hydration is vital for the focaccia’s characteristic chewy, airy structure.
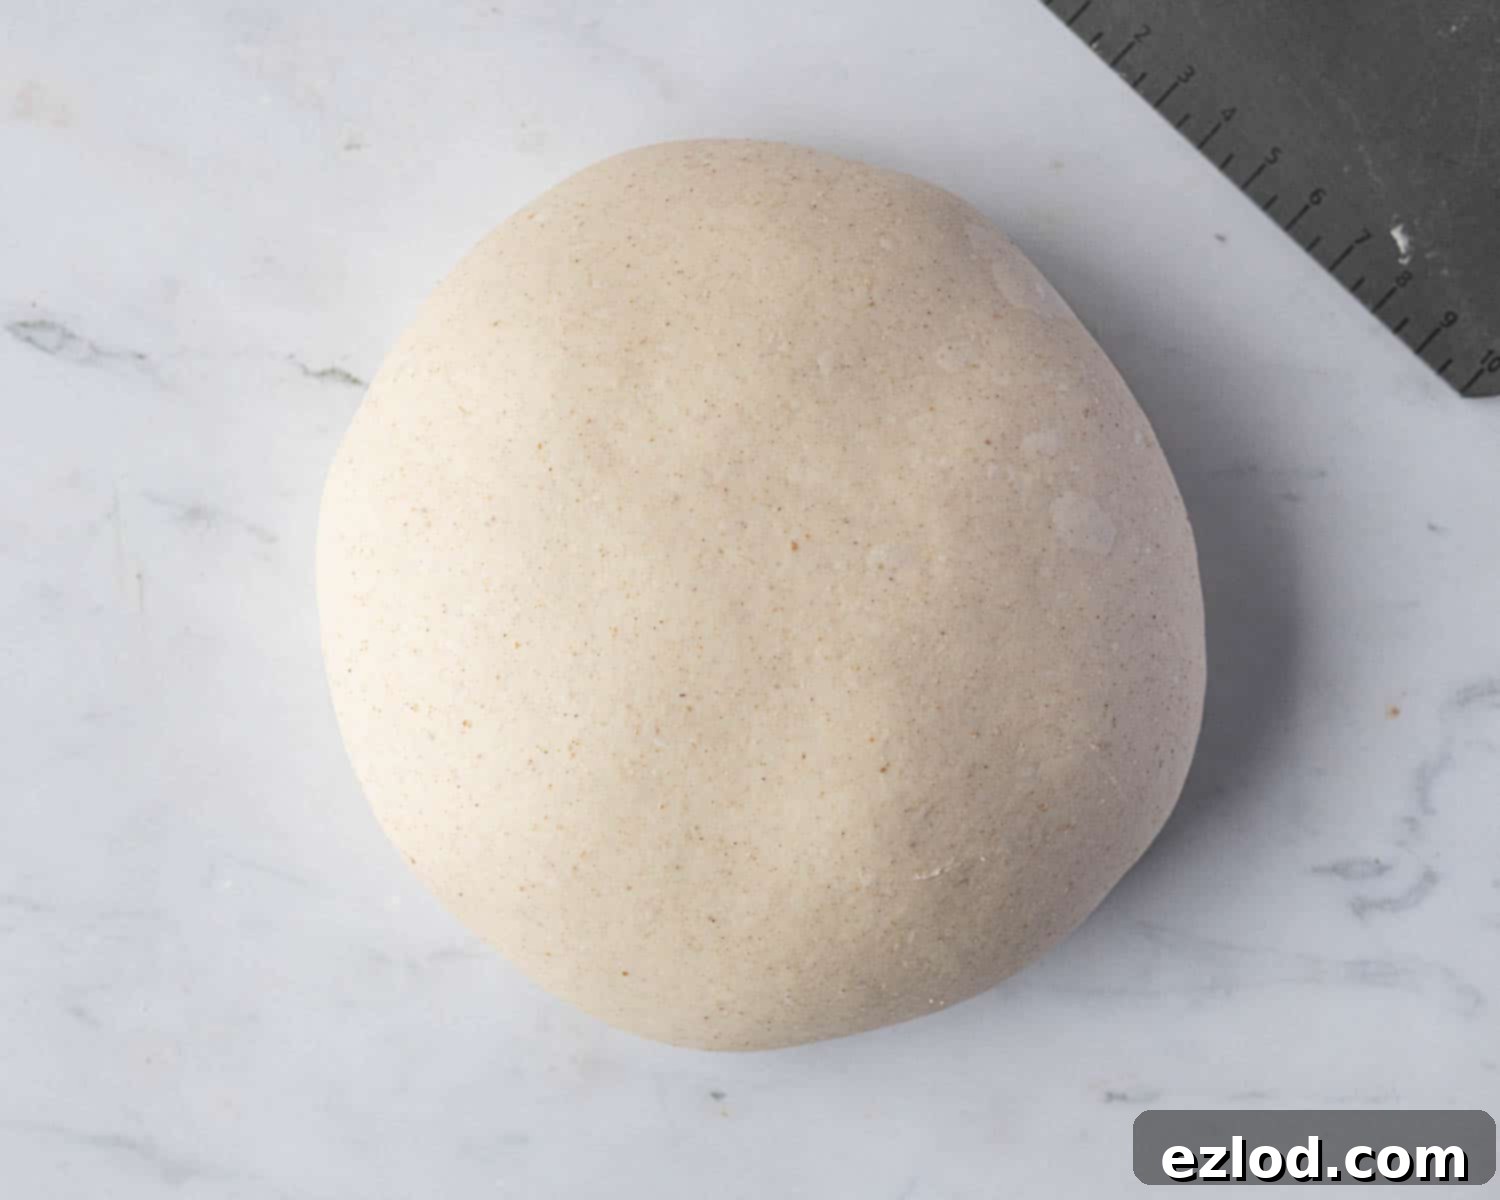
Gently turn the sticky dough out onto a lightly oiled, unfloured surface. Using a dough scraper, a handy tool in any baker’s arsenal, skim it across the surface. This technique allows you to deftly shape the wet dough into a neat ball, resulting in a beautifully smooth and shiny top. While this technique is best learned visually from an expert, if you’re unsure, simply use hands lightly coated with olive oil to carefully shape the dough into a ball. Avoid excessive handling to maintain the airy structure.
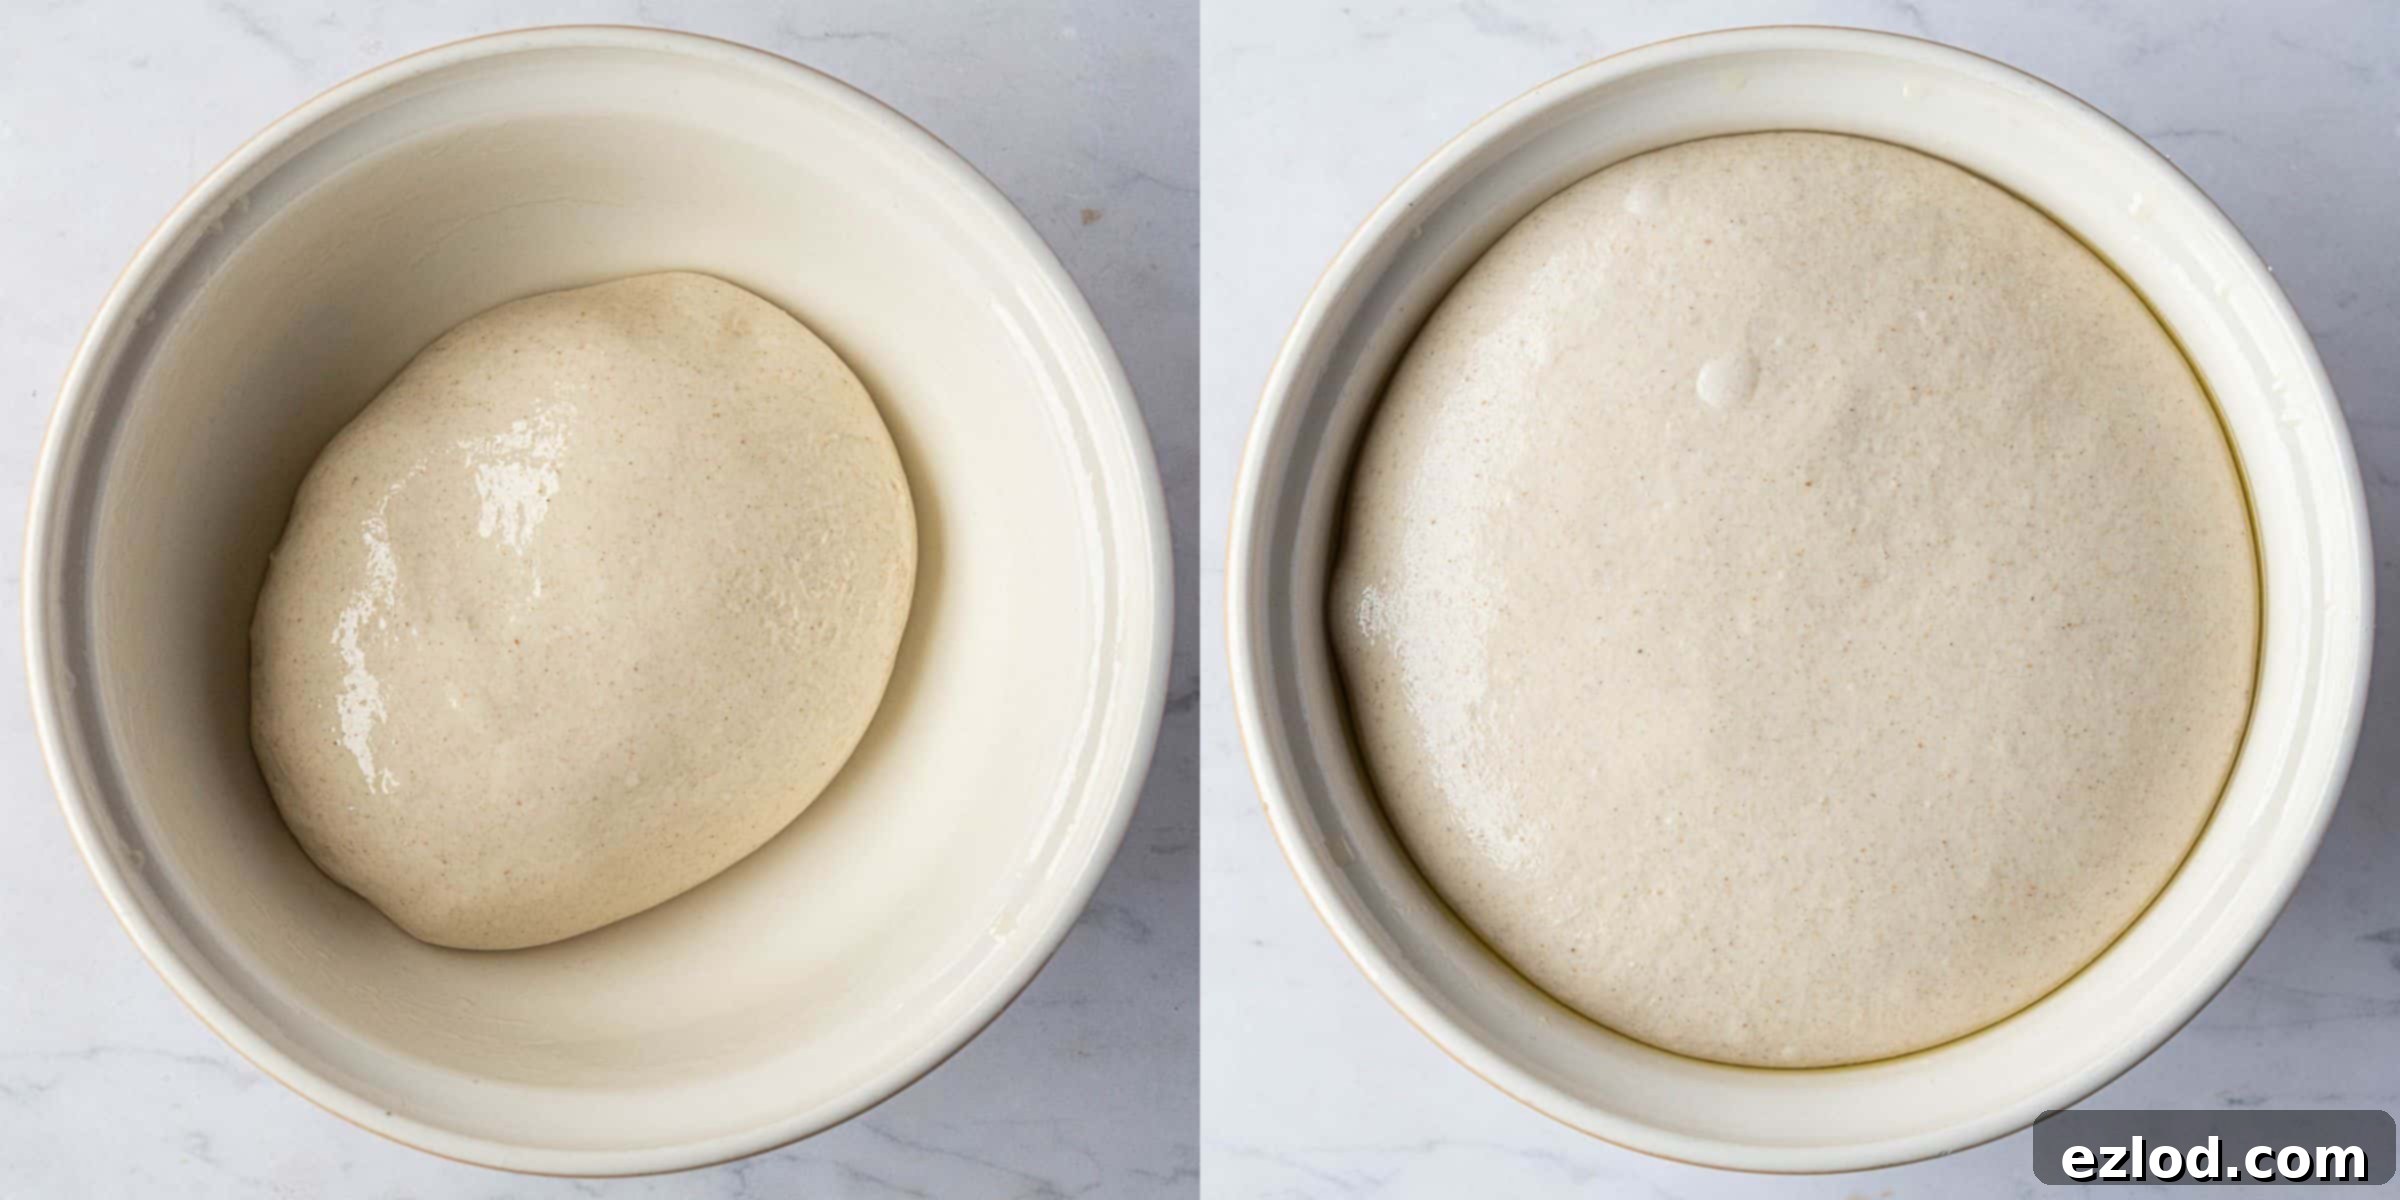
Place the shaped dough into a lightly oiled bowl, ensuring a thin film of oil covers the dough’s surface to prevent it from drying out. Cover the bowl loosely with plastic wrap or a damp tea towel and set it aside in a warm place to rise. This first rise, or bulk fermentation, should take approximately 1 ½ to 2 hours, or until the dough has roughly doubled in size and is visibly full of large, airy bubbles. This indicates robust yeast activity and excellent gluten development.
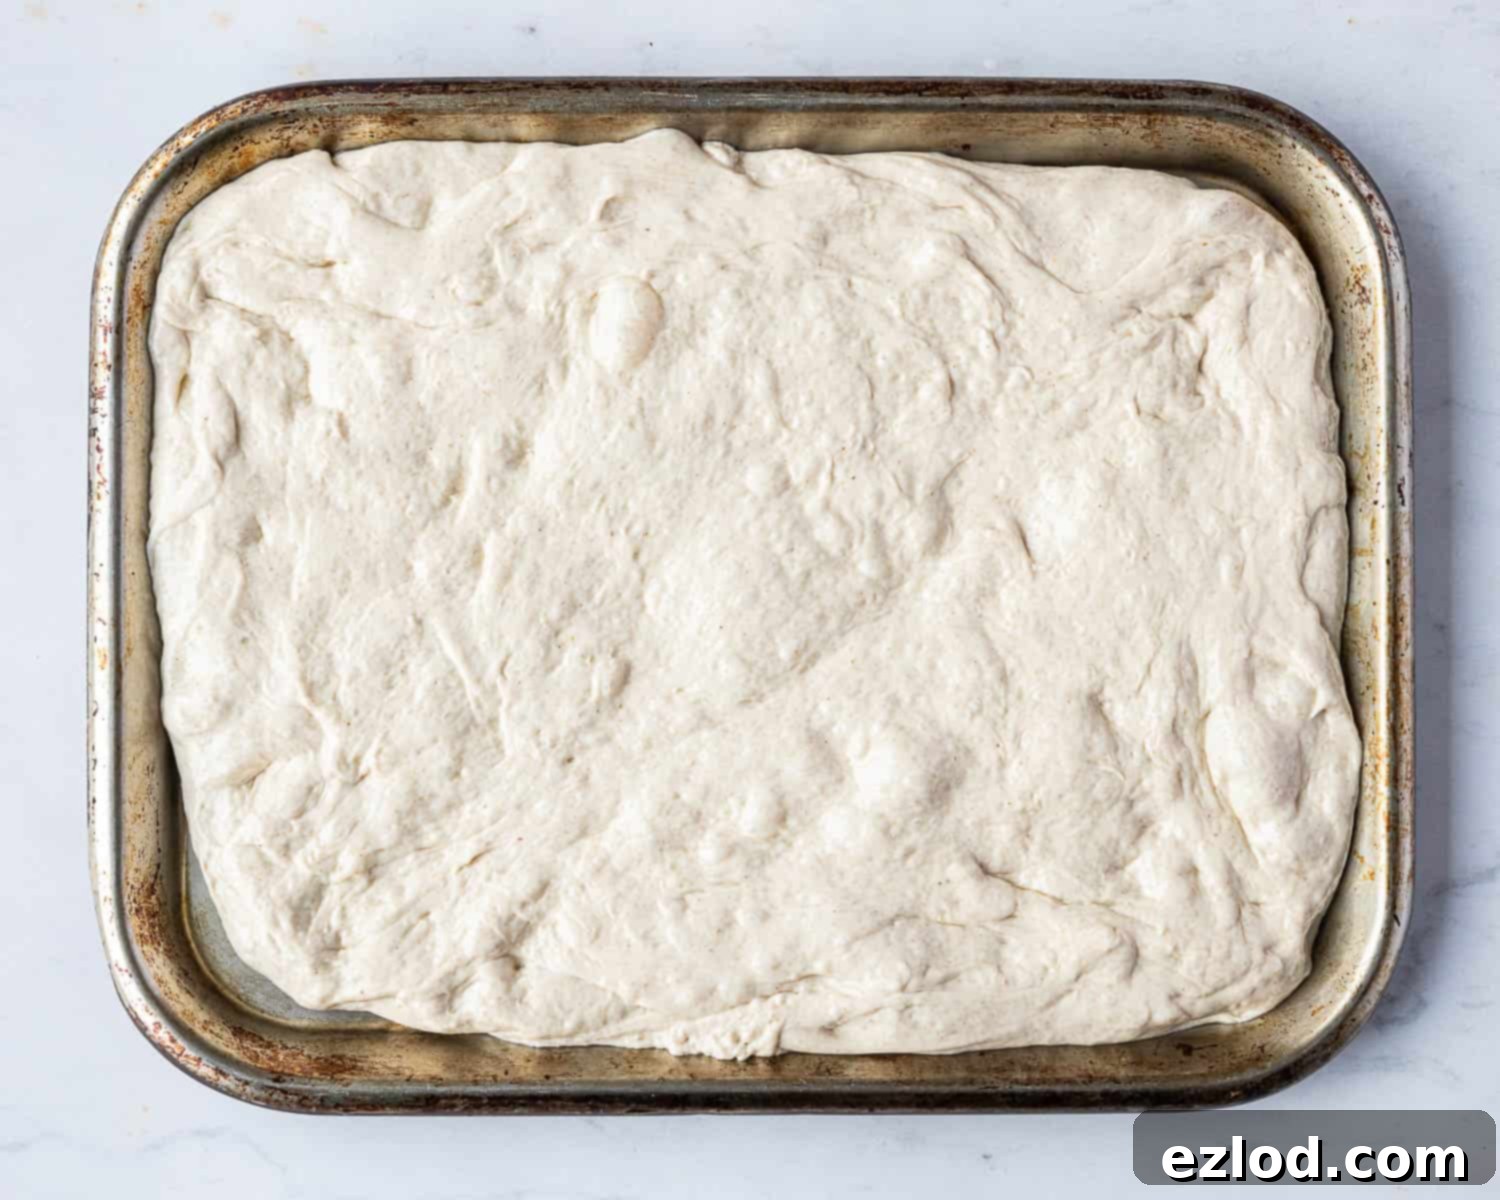
Once risen, gently scrape the dough from the bowl onto an oiled surface. With oiled hands, carefully stretch the dough out into a rough rectangular shape. Flip the dough over and transfer it to an oiled baking sheet (approximately 23 x 33 cm or 9 x 13 inches). The oil prevents sticking and contributes to the focaccia’s crisp bottom crust.
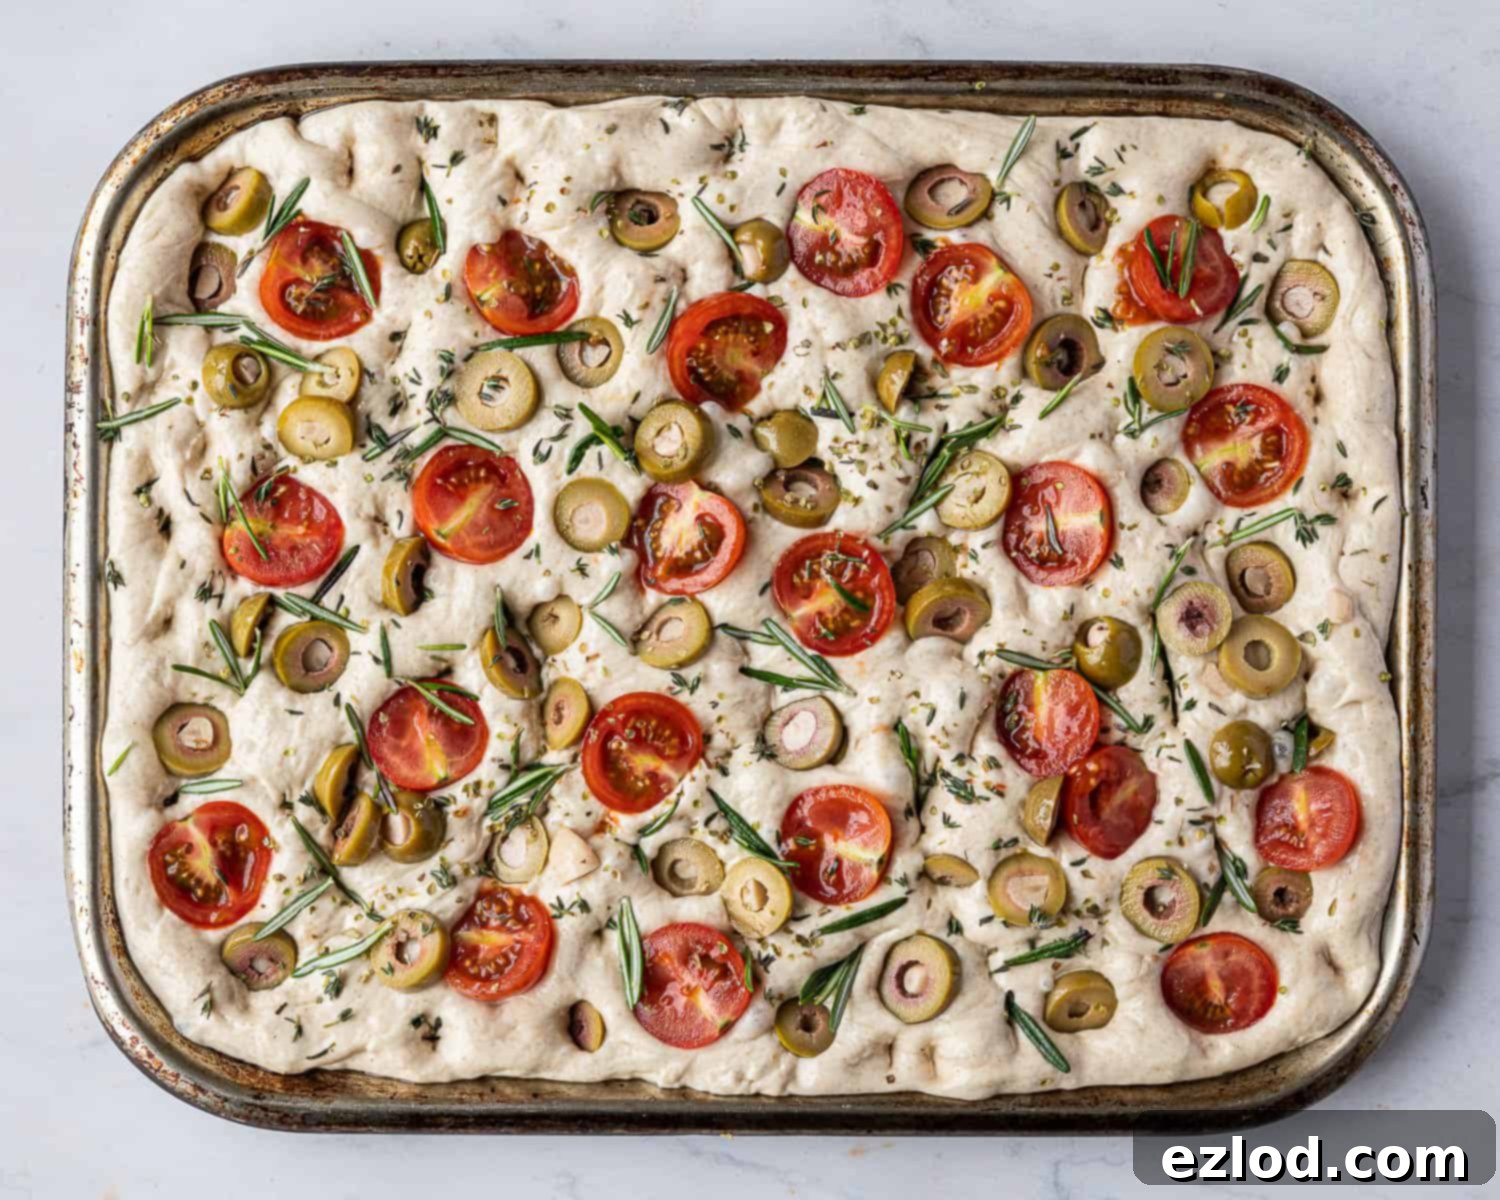
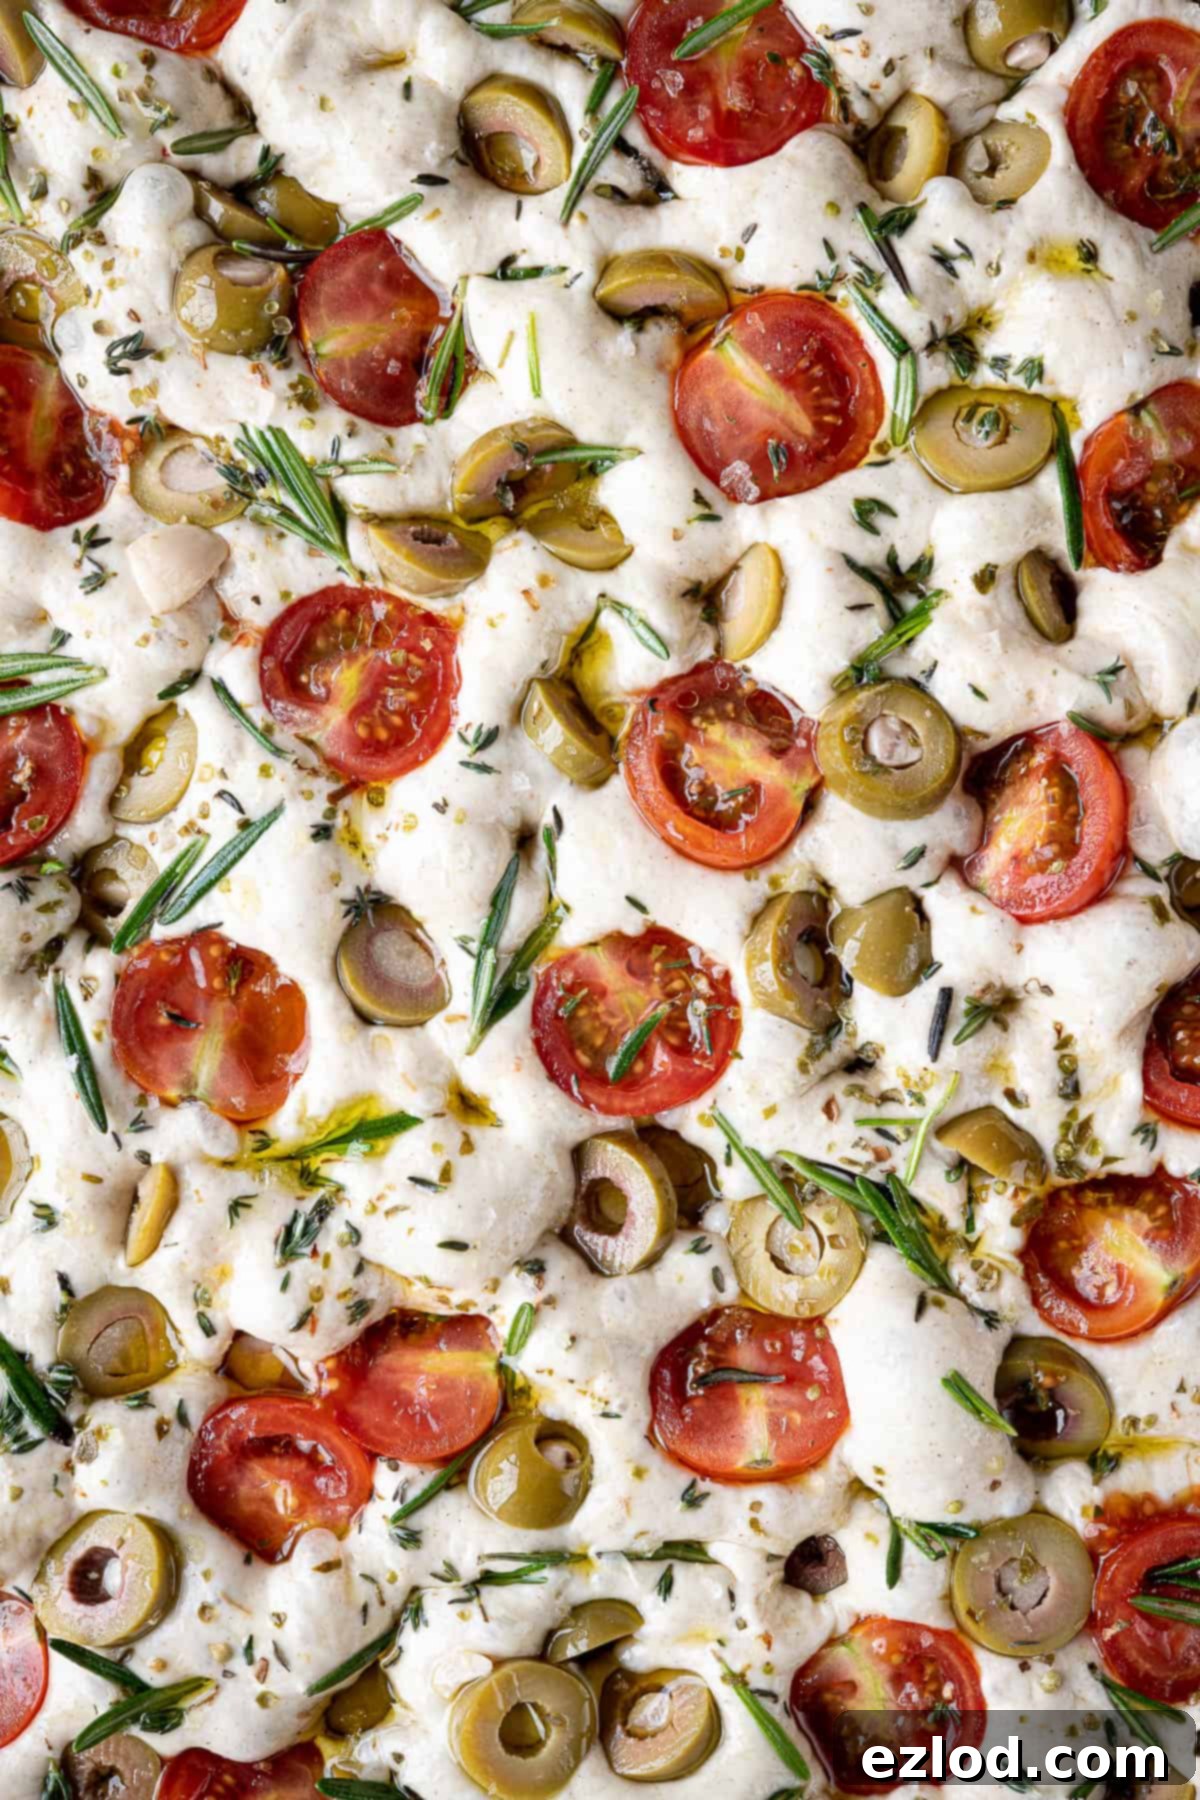
Now, it’s time to add the delicious toppings. Evenly scatter the sliced olives over the dough. Arrange the halved tomatoes cut-side up, allowing their juices and flavors to mingle with the bread as it bakes. Finally, scatter fresh rosemary and thyme leaves, along with a few generous pinches of dried oregano, across the surface.
Using oiled fingers, gently prod the toppings down into the dough with a claw-like motion. This not only secures them but also creates the characteristic dimples that give focaccia its rustic appearance and delicious texture, forming pockets for olive oil and flavor to pool.
Loosely cover the focaccia and allow it to undergo a final rise for another 20-30 minutes, or until it looks visibly bubbly and slightly puffed up. During this time, preheat your oven to 220°C/200°C fan/425°F/gas mark 7. Before baking, drizzle the surface of the dough with a little more extra virgin olive oil. Dimple the dough once again with your fingers, pressing all the way down to the tray. This final dimpling action helps to create those iconic air pockets within the focaccia, contributing to its light and airy texture.
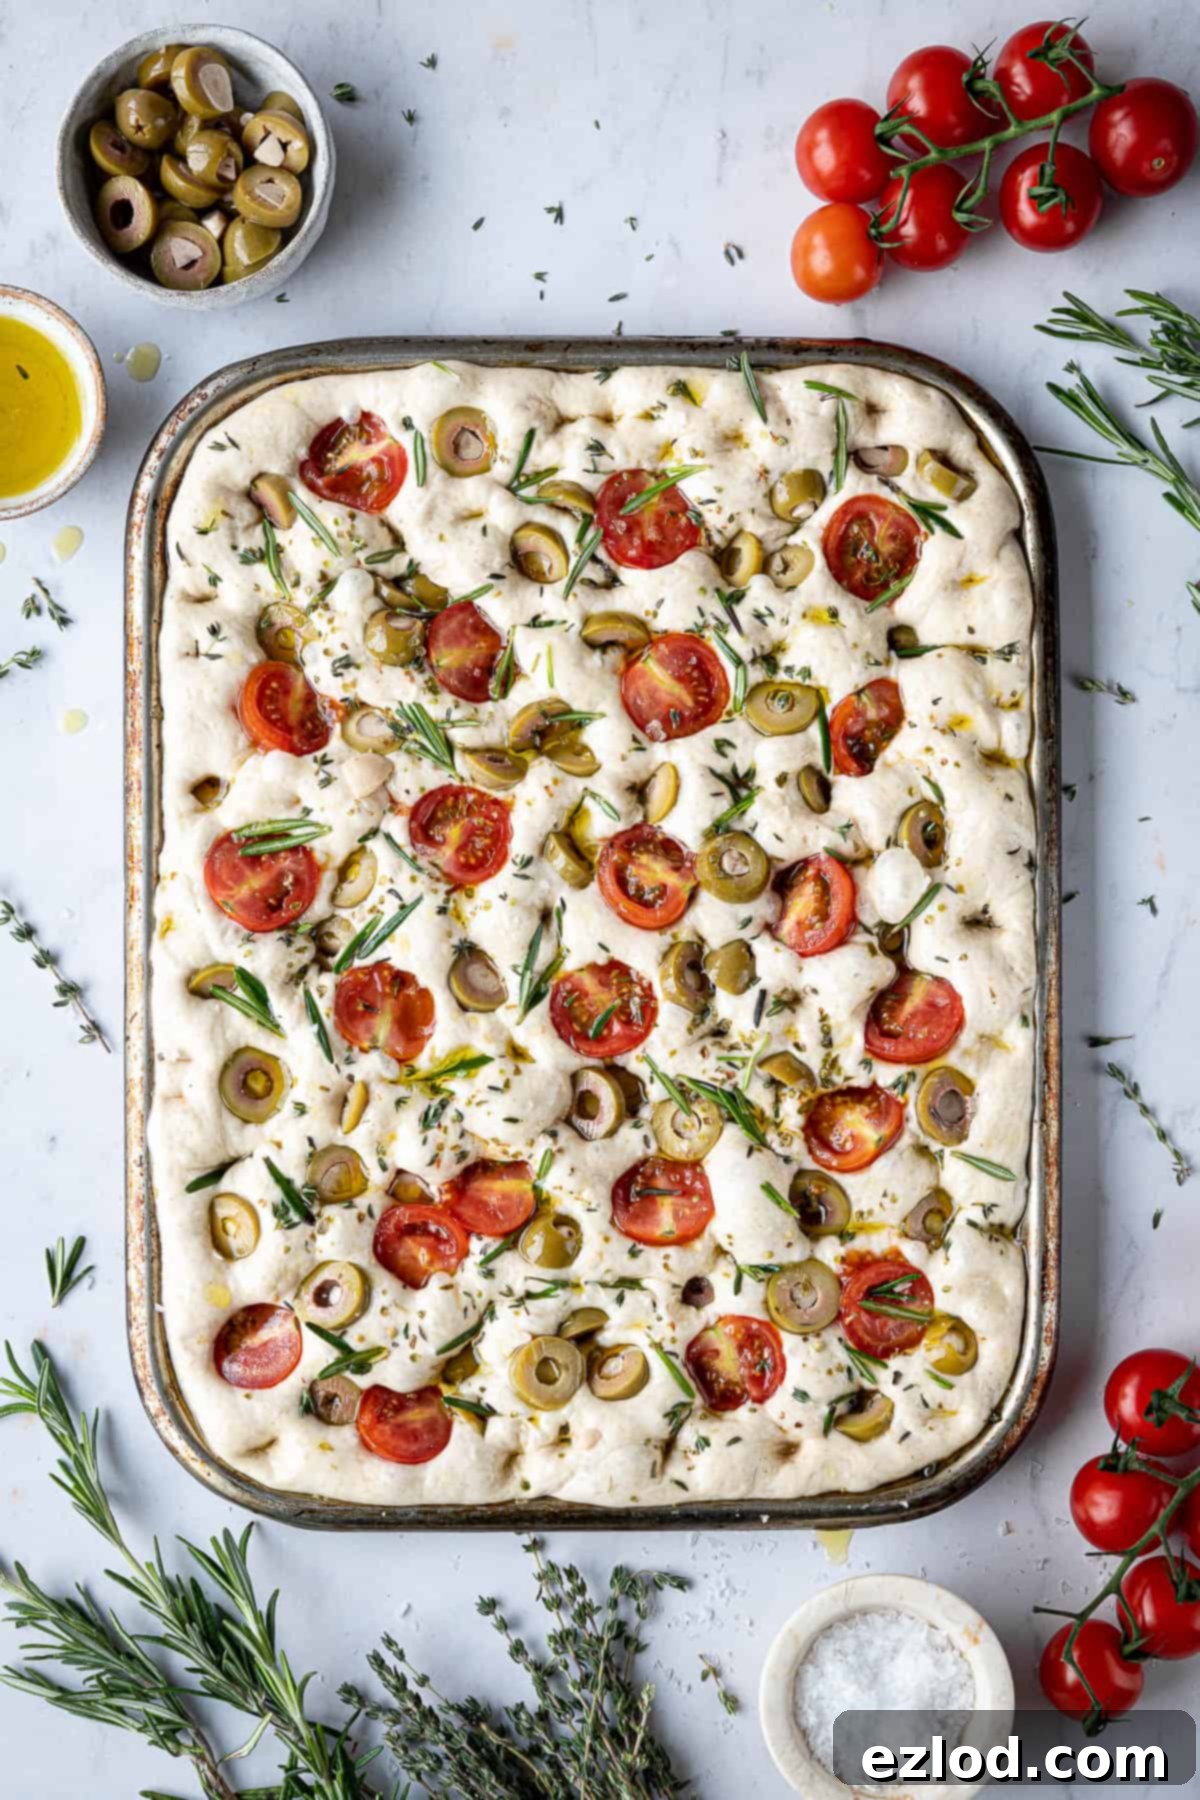
If desired, sprinkle a little flaky sea salt over the surface for an extra crunch and burst of salinity. Bake the focaccia for approximately 20 minutes, or until it is beautifully golden brown on top and cooked through. The exact baking time may vary slightly depending on your oven. Once baked, transfer the focaccia to a wire rack to cool slightly. For an ultimate indulgence, drizzle with a touch more extra virgin olive oil before slicing and serving. Enjoy your homemade, flavorful focaccia!
Top Tips For Focaccia Perfection
Achieving a consistently amazing focaccia is all about precision and understanding the dough. Here are some invaluable tips to ensure your homemade focaccia turns out perfectly every time:
- Accurate Measurements are Key: For the most consistent and best results, always use gram measurements with a digital kitchen scale. Baking is a science, and cup conversions can be inaccurate, leading to varying outcomes. Precision with ingredients, especially flour and water, is crucial for dough consistency.
- Embrace the Stickiness: Focaccia dough is inherently wet and sticky – this is not a mistake! This high hydration, combined with a hot oven, is what creates its signature chewy, open, and airy internal structure with those desirable large holes. Resist the urge to add more flour, as this will lead to a dense, dry bread.
- Utilize a Stand Mixer: If you have a stand mixer, this is the ideal tool for kneading focaccia dough. Its stickiness makes hand-kneading a challenging and messy task. The mixer will efficiently develop the gluten without you having to contend with the very wet dough directly.
- Hand-Kneading Aid: Should you knead by hand, a dough scraper will become your best friend. It helps you manage the sticky dough, clean your work surface, and fold the dough without it adhering completely to your hands. Keep your hands and the scraper lightly oiled to minimize sticking.
- Overnight Rise for Enhanced Flavor: For an even deeper, more complex flavor, consider giving the dough its first rise overnight in the refrigerator instead of at room temperature. The slow, cold fermentation develops more nuanced flavors and textures. This method also allows you to break up the workload, making baking less time-intensive on any single day.
- Check Your Yeast: Always ensure your yeast is fresh and not past its expiration date. Old or inactive yeast is a common culprit for bread that fails to rise adequately, leading to a dense and disappointing loaf.
- Monitor Rising Time: Dough rising times are not absolute; they are significantly influenced by ambient temperature. On warmer days, your dough will typically rise much faster than on colder days. Watch the dough itself for visual cues (doubled in size, full of bubbles) rather than strictly adhering to a timer.
- Proper Oven Preheating: Ensure your oven is fully preheated to the specified temperature before placing the focaccia inside. A hot oven provides an initial burst of heat that helps the bread rise quickly (oven spring) and develop a crisp crust.
What Kind Of Yeast Should I Use?
Understanding yeast types is important for successful bread baking. I consistently use instant yeast (also known as easy bake yeast) in my bread recipes. Its primary advantage is that it doesn’t require prior activation in liquid; you can simply add it directly to your dry ingredients. This makes the bread-making process quicker and simpler. If possible, I highly recommend sourcing instant yeast for its convenience and reliability.
If you only have access to active dry yeast, don’t worry – you can still make this delicious focaccia with a slight modification to the method. You will need to use 10g (3 teaspoons) of active dry yeast. Instead of cool water, use lukewarm water (around 40-45°C or 105-115°F) and stir the active dry yeast into it. Let this mixture sit for 10-20 minutes. You’ll know it’s ready when the surface becomes foamy and bubbly, indicating the yeast is active. Once activated, proceed with the rest of the recipe as written, incorporating the yeast-water mixture when the recipe calls for water.
Can I Bake It In Advance & Storage Tips?
Focaccia is undoubtedly best enjoyed fresh, ideally on the day it is baked. Its soft, tender crumb and crisp crust are at their peak shortly after coming out of the oven. Unfortunately, like most fresh breads, focaccia tends to go stale relatively quickly, losing some of its signature softness and moisture by the next day. While it will still be delicious the day after, expect it to be a little drier and less pliable.
If you find yourself with leftovers, or if you wish to prepare it slightly in advance, freezing is an excellent option to preserve its freshness. Allow any remaining focaccia to cool completely, then wrap it tightly in plastic wrap and place it in an airtight freezer-safe container or bag. Freeze on the same day it’s baked for optimal results. It can be stored in the freezer for up to three months. To serve, allow the frozen focaccia to defrost at room temperature, then gently warm it in a moderate oven (around 150°C/300°F) for 5-10 minutes to revive its texture and aroma before serving.
Serving Suggestions for Your Focaccia
This versatile tomato and olive focaccia can be enjoyed in countless ways. Serve it warm alongside a hearty bowl of creamy tomato soup or a fresh Mediterranean salad. It’s also perfect for dipping into good quality extra virgin olive oil, balsamic vinegar, or your favorite hummus and spreads. Slice it horizontally to create fantastic sandwiches or paninis, filling it with roasted vegetables, pesto, or plant-based cheeses. For a delightful appetizer, cut it into strips and serve on a charcuterie board with olives, sun-dried tomatoes, and vegan dips. Its robust flavors make it an excellent accompaniment to any meal, truly a bread for all occasions.
Customization Ideas & Variations
While this tomato and olive focaccia is a star in its own right, its basic recipe is a fantastic canvas for creative variations. Feel free to experiment with other toppings to suit your taste. Consider adding finely minced garlic, caramelized onions, or thinly sliced bell peppers for different flavor profiles. A sprinkle of chili flakes can add a subtle kick, while a generous amount of fresh basil leaves (added after baking for best aroma) can enhance its Italian essence. You could also try different olive varieties or mix in sun-dried tomatoes for an intensified umami flavor. For those not strictly adhering to veganism, a scattering of crumbled feta or grated Parmesan cheese would also be delicious. The possibilities are endless – let your culinary imagination guide you!
More Delicious Vegan Sharing Bread Recipes:
- Herby Vegan Breadsticks
- Sun Dried Tomato Breadsticks
- Vegan Garlic Dough Balls
- Vegan Pretzel Bites
- Vegan Garlic Pull Apart Bread
- Vegan Pesto Bread Wreath
- Vegan Beer Pretzels
- Sea Salt and Rosemary Focaccia
- Vegan Naan Bread
- Easy Flatbreads
If you tried this recipe let me know how it went! Rate it, leave a comment or tag @domestic_gothess on Instagram and hashtag it #domesticgothess
All images and content on Domestic Gothess are copyright protected. If you want to share this recipe then please do so by using the share buttons provided. Do not screenshot or post the recipe or content in full, instead include a link to this post for the recipe.

Tomato And Olive Focaccia
Ingredients
Dough:
- 320 g (1 + ⅓ cup) cool water
- 500 g (4 ¼ cups) white bread flour
- 7 g (2 ¼ teaspoons) instant yeast
- 50 g (¼ cup) olive oil, plus extra for drizzling
- 10 g (2 tsp) fine salt
Toppings:
- 100 g (3 ½ oz) olives sliced
- 175 g (6 oz) cherry tomatoes halved
- a few sprigs fresh rosemary and thyme, leaves only
- a couple of pinches dried oregano
- extra virgin olive oil
- flaky sea salt
Instructions
-
Place the water in the bowl of a stand mixer fitted with a dough hook. Add the flour and yeast and mix on a low speed for about 4 minutes, until it forms a dough.
-
With the mixer running, slowly drizzle in the olive oil. Keep mixing at a low speed for about 7 minutes. The dough will slide around at first and it will take a while to absorb all of the oil but it will get there eventually.
-
Turn the speed up to medium for about 3 minutes, then add the salt. Continue to mix on medium speed until the dough comes together and pulls away cleanly from the sides of the bowl. It will be quite a sticky dough but should be smooth and stretchy. Don’t be tempted to add more flour.
-
Turn the dough out onto an unfloured surface and use a dough scraper to skim it across the surface, this will shape it into a ball with a shiny top. This technique can’t really be explained well in writing, so I recommend learning from a video to properly grasp it. If in doubt, just use oiled hands to shape the dough into a ball.
-
Lightly oil a bowl and rub a little oil over the surface of the dough. Place the dough in the bowl, cover and set aside to rise for 1 ½ – 2 hours, until about doubled in size and full of big air bubbles.
-
Use a dough scraper to release the risen dough from the bowl onto an oiled surface. Use oiled hands to gently stretch it out into a rough rectangle. Flip the dough over onto an oiled approx 23 x 33 cm / 9 x 13 in baking/roasting tin.
-
Scatter over the sliced olives and arrange the halved tomatoes cut side up. Scatter with rosemary and thyme leaves and a few big pinches of dried oregano.
-
With oiled fingers, use your hands like claws to gently prod the toppings down into the dough.
-
Loosely cover and set aside to rise for 20-30 minutes until bubbly. Meanwhile, preheat the oven to 220°C/200°C fan/425°F/gas mark 7.
-
Drizzle the surface of the dough with a little more olive oil and dimple it again with your fingers, pressing all the way to the tray; this is what creates air pockets inside.
-
Sprinkle over a little flaky sea salt if you like, then bake for 20 minutes, until well browned. Transfer to a wire rack to cool and drizzle with a little more olive oil before serving if you like.
Notes
- See post above for tips, details and step-by-step photos.
- For the best results make sure that you follow the recipe closely. As always, I highly recommend using the gram measurements (with a digital scale), rather than the cup conversions. Cup measurements are simply not accurate enough for baking and I cannot guarantee the best results if you use them.
I was gifted access to a bread making course to review but I was not paid to write this post and all opinions are my own.
