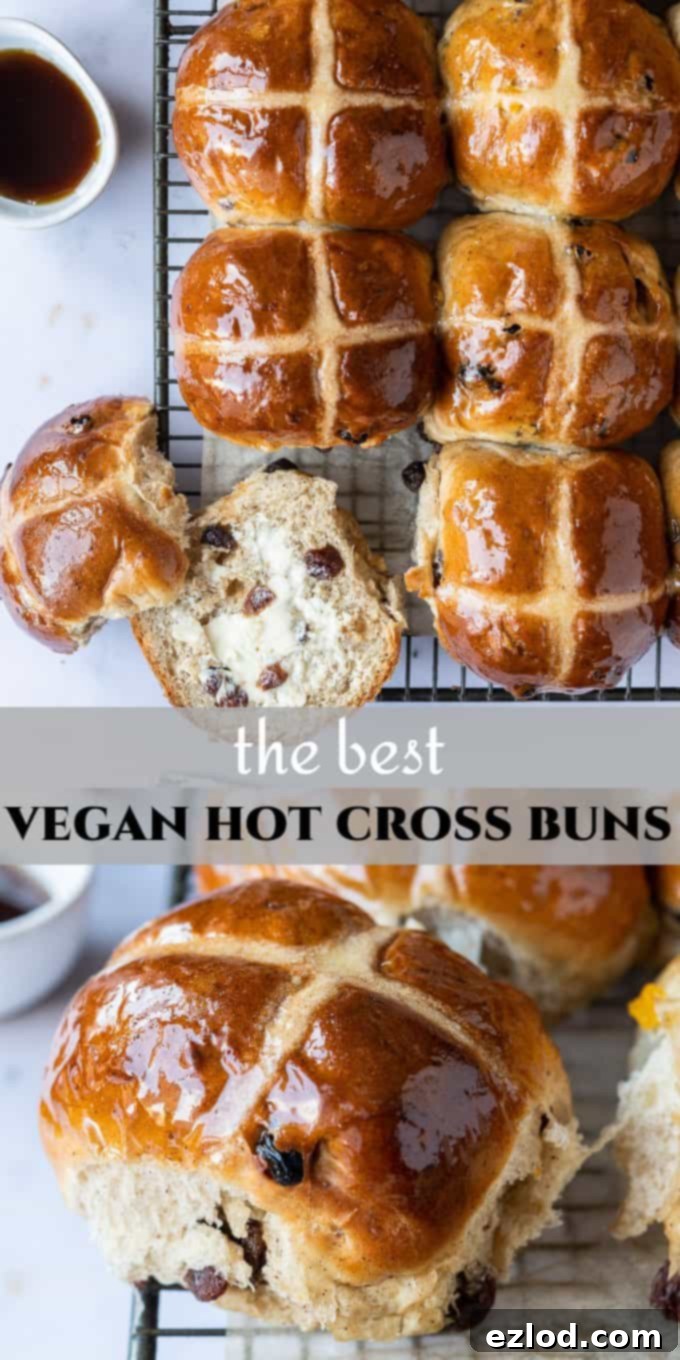
The Best Vegan Hot Cross Buns Recipe: Soft, Fluffy & Dairy-Free Easter Delight
Easter wouldn’t be complete without the delightful aroma of freshly baked hot cross buns filling your home. Traditionally, these beloved British treats contain dairy milk, butter, and eggs, making them off-limits for vegans. But fear not! This comprehensive guide brings you an incredibly easy and absolutely delicious recipe for vegan hot cross buns that are perfectly soft, wonderfully fluffy, and bursting with classic spiced, fruity flavour. Prepare to impress everyone with these homemade, plant-based beauties. Served split, toasted, and spread with your favourite vegan butter or jam, they make an ideal breakfast, brunch, or afternoon snack during the Easter season and beyond.
Why Choose Homemade Vegan Hot Cross Buns This Easter?
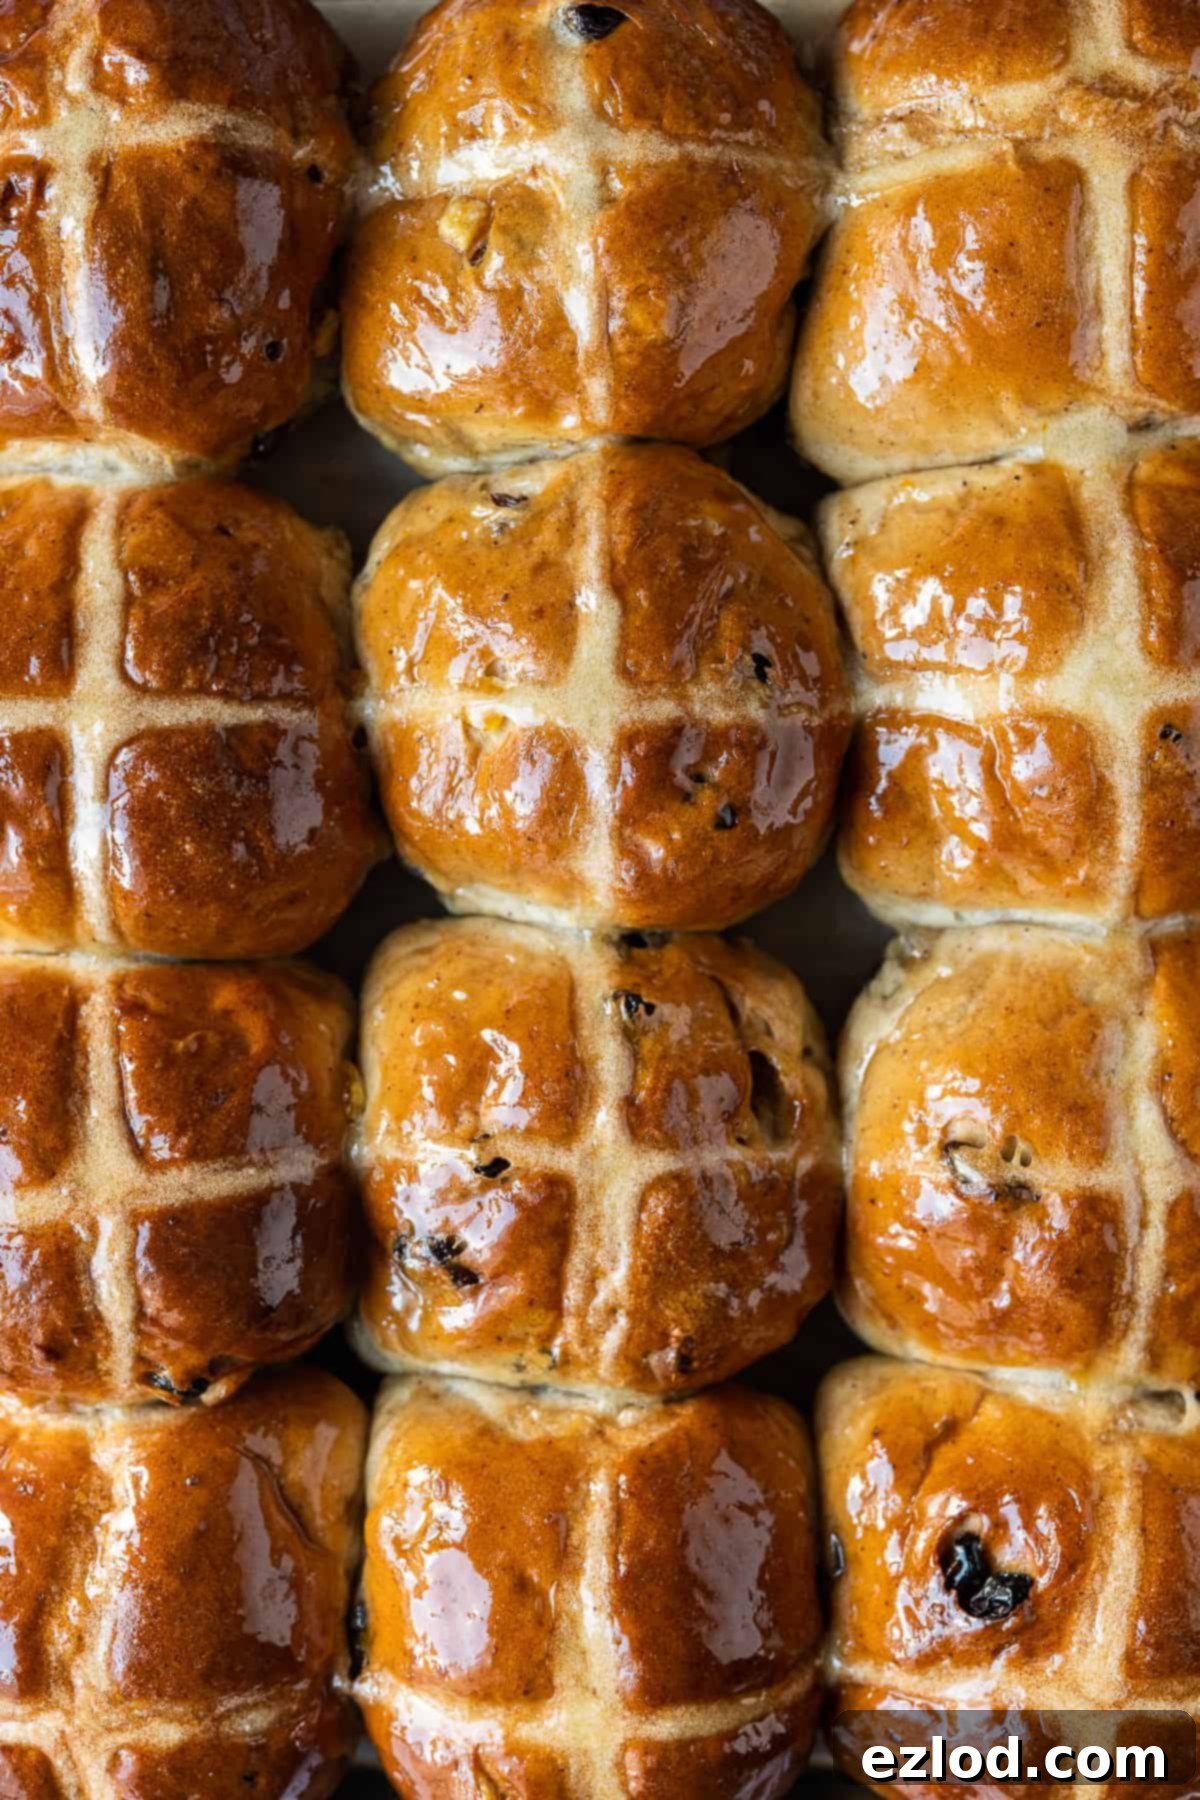
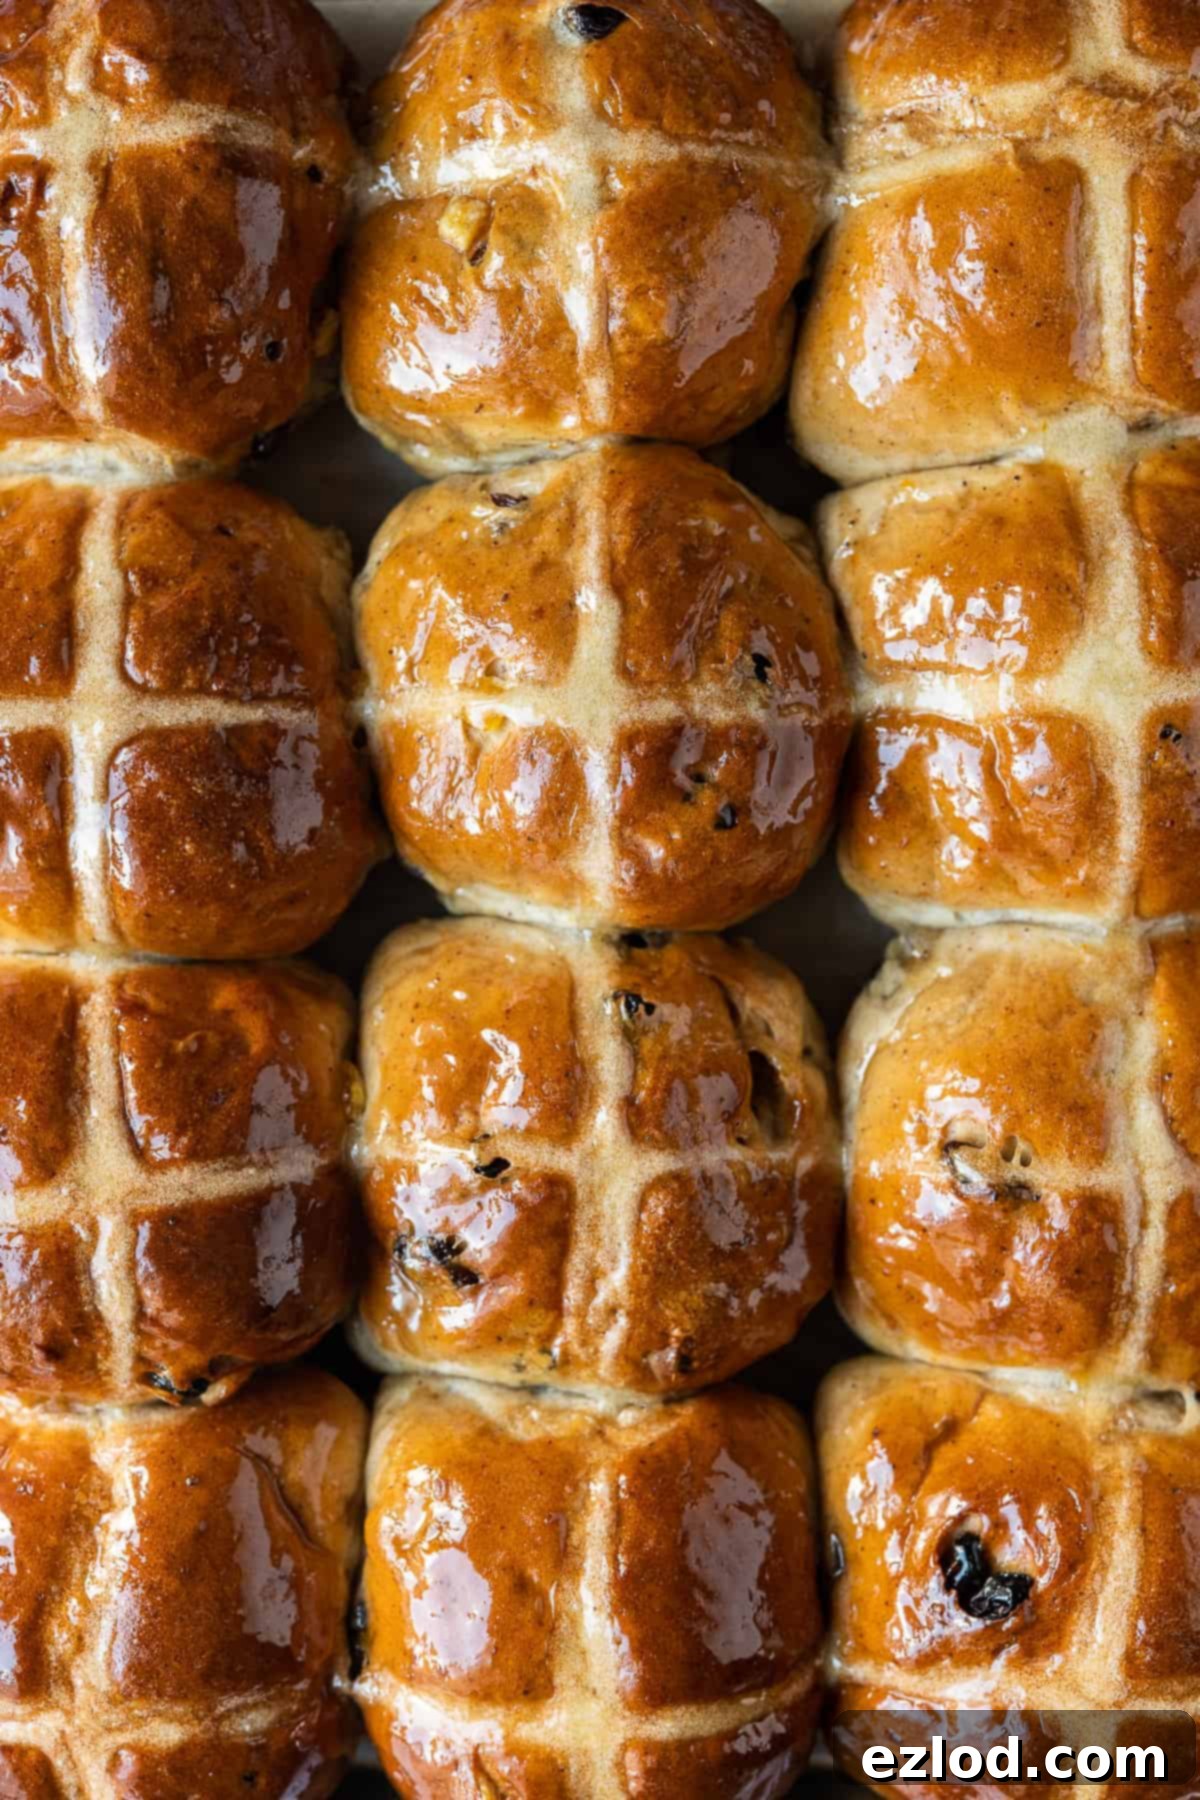
While many supermarkets now offer vegan varieties of hot cross buns, nothing quite compares to the warmth, freshness, and incredible flavour of a batch baked right in your own kitchen. This recipe proves that making traditional Easter treats vegan-friendly is not only possible but also surprisingly straightforward. You’ll achieve a superior texture and taste that’s often lacking in store-bought alternatives, and the aroma alone is enough to kickstart your festive mood.
These vegan hot cross buns are designed to be indistinguishable from their traditional counterparts. They boast a tender crumb, a rich spiced flavour, and just the right amount of sweetness, all without a single drop of dairy or egg. Whether you’re a seasoned vegan baker or trying plant-based baking for the first time, this recipe is accessible and yields truly outstanding results. Get ready to create an Easter memory that’s both delicious and compassionate!
Crafting Your Vegan Hot Cross Buns: A Step-by-Step Guide
(For a detailed list of ingredients and full instructions, please refer to the recipe card below.)
Making your own vegan hot cross buns involves a few steps, primarily revolving around dough preparation and rising times. While it requires a few hours from start to finish, most of this is hands-off time, allowing you to go about other tasks. This recipe is also flexible; you can easily split the work over two days, preparing the dough in the evening and letting it proof slowly in the refrigerator overnight. This overnight rise often enhances the flavour development of the buns, making them even more delicious the next morning.
For optimal results, particularly with this slightly sticky dough, a stand mixer fitted with a dough hook is highly recommended. It simplifies the kneading process significantly, ensuring a perfectly smooth and elastic dough without the mess of hand-kneading. However, if you don’t have a stand mixer, don’t worry – you can still achieve great results by hand, just be prepared for a bit more stickiness!
1. Combining the Dry Ingredients:
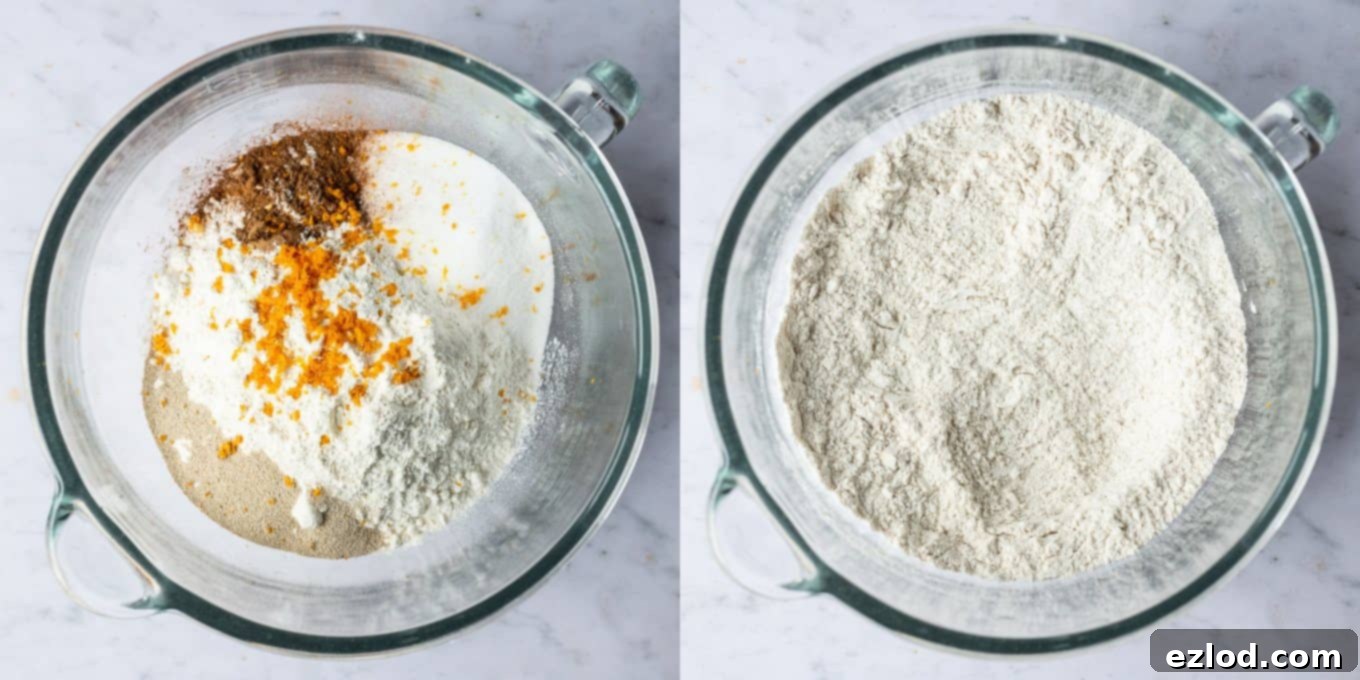
Begin by combining your dry ingredients in the bowl of your stand mixer. Add white bread flour (which yields the best texture for these buns), caster sugar, ground cinnamon, mixed spice, and salt. An important tip for yeast-leavened doughs: add the instant yeast to one side of the bowl, ensuring it doesn’t come into direct contact with the salt and sugar initially. Salt can inhibit yeast activity, and sugar, in high concentrations, can draw moisture from the yeast too quickly. Give these dry ingredients a gentle mix to distribute them evenly, creating a perfect foundation for your buns.
2. Preparing the Wet Ingredients:
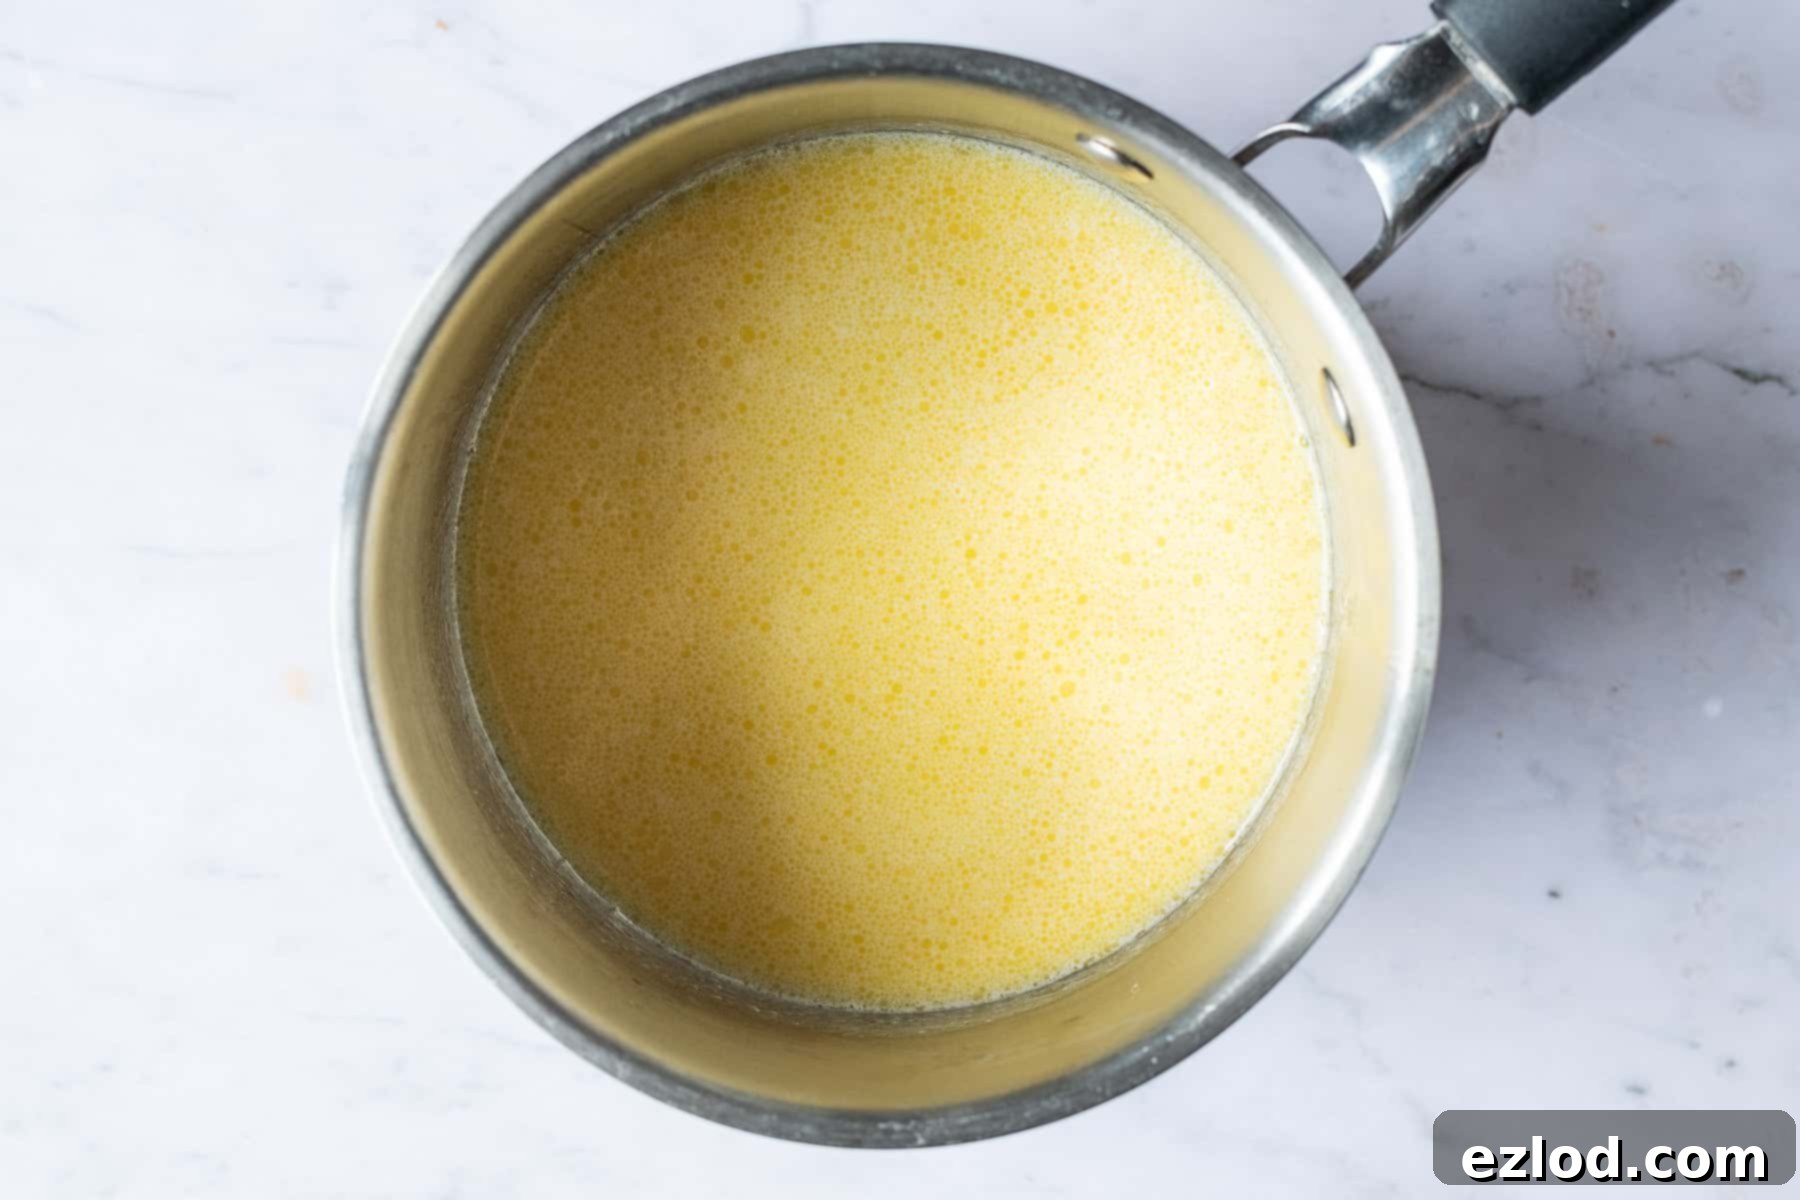
In a small saucepan, gently melt the vegan block butter over a low heat. We highly recommend using a high-quality vegan block butter for baking, such as Naturli Vegan Block, as it provides the best flavour and texture. Once melted, remove the pan from the heat and stir in the unsweetened non-dairy milk. Soy milk is generally considered the best choice for yeast baking due to its protein content, which mimics dairy milk well, but other non-dairy milks (excluding canned coconut milk) will also work. The key is to ensure the mixture is lukewarm – warm enough to activate the yeast but not so hot that it kills it. If the butter starts to resolidify, gently warm it again, but always check the temperature before adding to the dry ingredients.
3. Forming and Kneading the Dough:
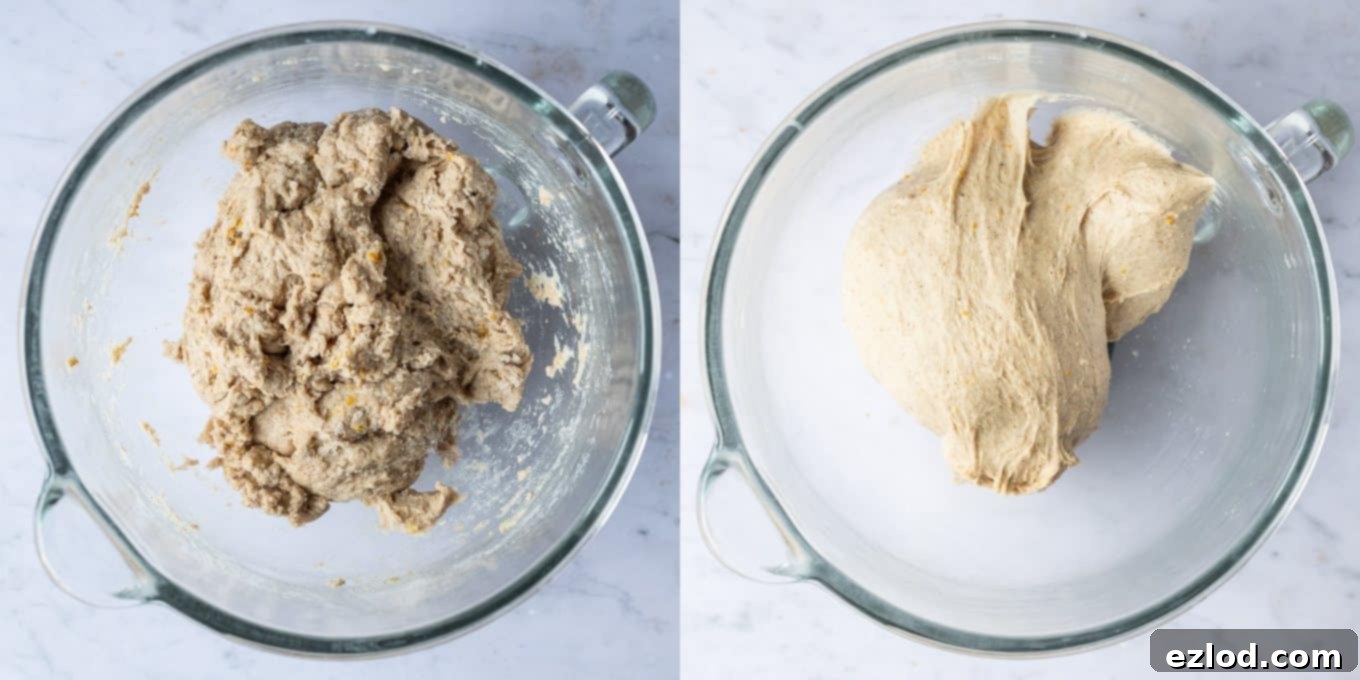
Pour the lukewarm butter and milk mixture into the bowl with the dry ingredients. Using a wooden spoon, mix until all the dry spots have disappeared and a cohesive dough starts to form. At this stage, the dough will be quite sticky, which is perfectly normal. Now, it’s time to knead. If using a stand mixer, set it to a medium-high speed and let it knead for 5-10 minutes. The dough should transform, becoming smooth and elastic, and cleanly pull away from the sides of the bowl. This extensive kneading develops the gluten, crucial for the buns’ soft and airy texture. If kneading by hand, work on a lightly floured or even un-floured surface, using a push-and-pull motion. Embrace the stickiness initially, as the dough will become more manageable with time and proper kneading.
4. The First Rise (Bulk Fermentation):
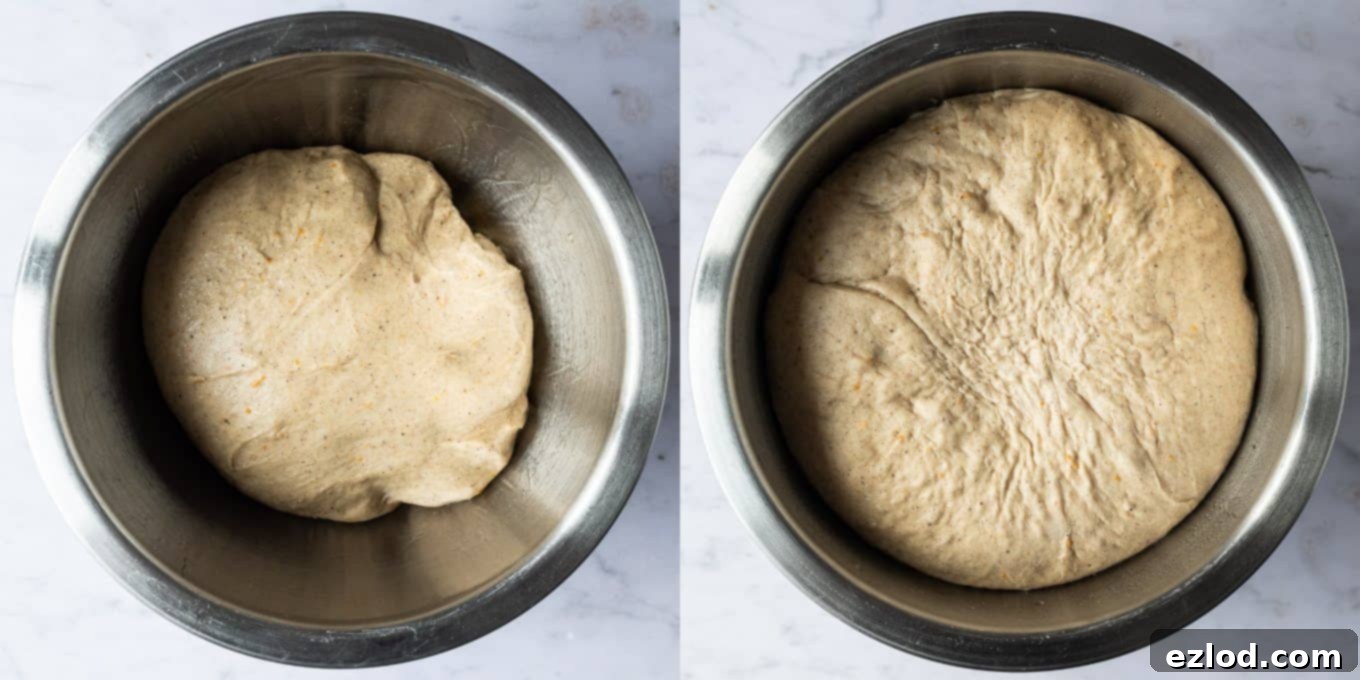
Once kneaded, transfer the smooth, elastic dough to a lightly oiled bowl. Turn the dough once to coat it evenly with oil, then cover the bowl loosely. A shower cap makes an excellent, reusable cover! Place the bowl in a warm spot – a slightly warm oven (turned off!), a sunny windowsill, or simply at room temperature – and let it rise until it has at least doubled in size. This usually takes about 1 ½ to 2 hours, depending on the warmth of your environment.
Overnight Rise Option: For an enhanced flavour and a more convenient baking schedule, you can place the oiled and covered dough in the refrigerator overnight. The cold temperature slows down fermentation, allowing the flavours to deepen. The following morning, remove the dough from the fridge and let it come to room temperature for about 30-60 minutes before proceeding with the rest of the recipe.
5. Incorporating the Fruit:
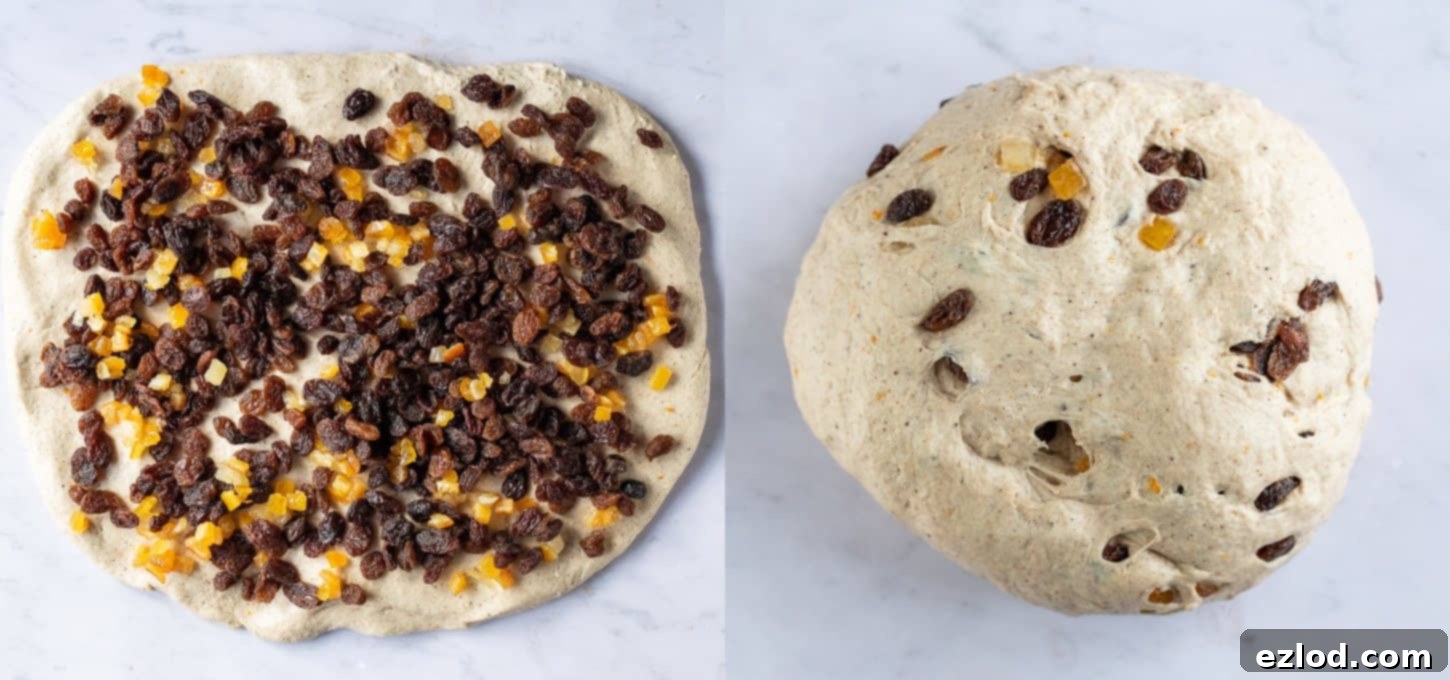
After the first rise, gently ‘knock back’ the dough by giving it a brief knead to release the air. Then, flatten it out into a rough rectangle on your work surface. Evenly scatter the sultanas and candied mixed peel over the dough. Roll the dough up and knead it thoroughly for a few minutes. This ensures the fruit is evenly distributed throughout the dough, preventing large clumps in some buns and barren spots in others. Be mindful not to over-knead at this stage, just enough to mix in the fruit.
6. Shaping and The Second Rise (Proofing):
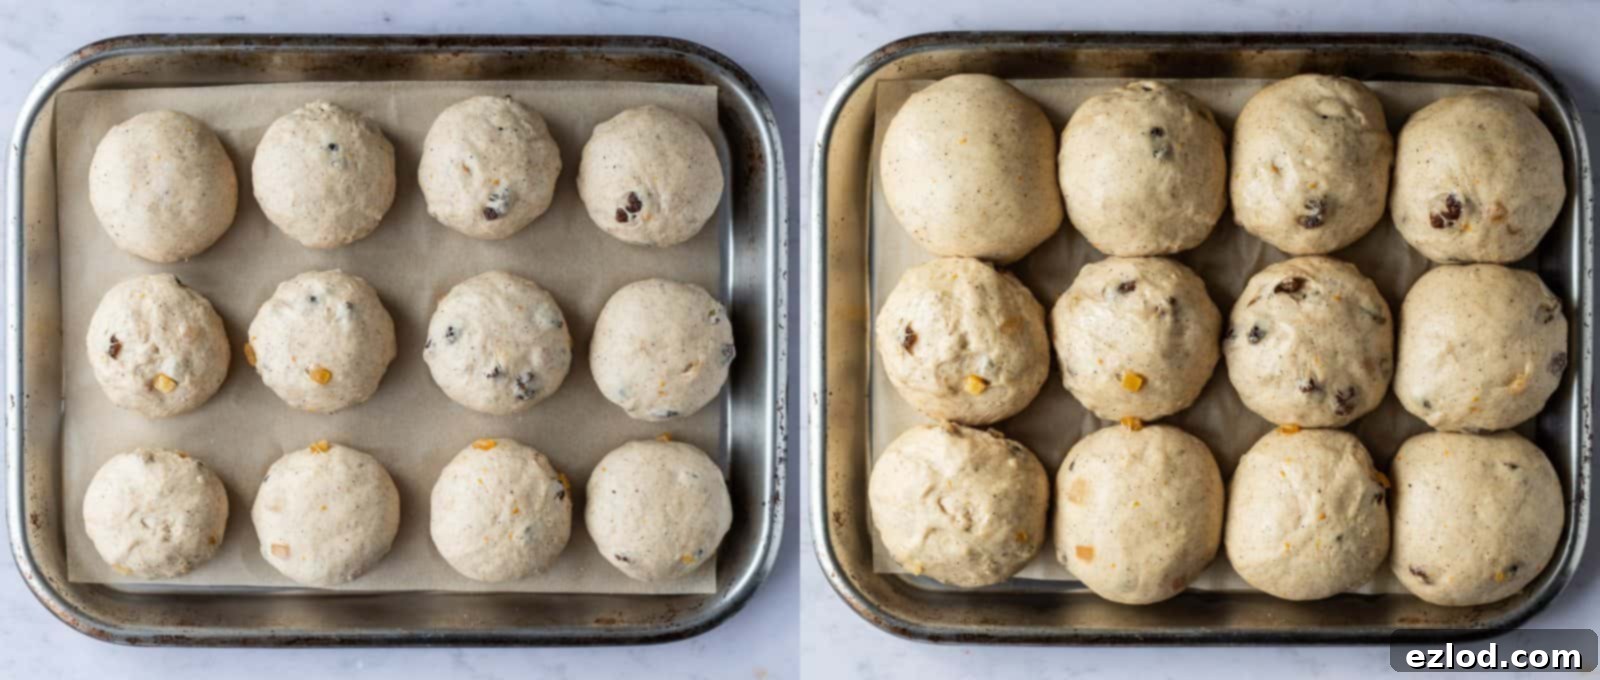
Divide the dough into twelve equal portions. For perfectly uniform buns, a digital kitchen scale is invaluable; weigh the total dough and divide by twelve to get the target weight for each bun (around 100g each in this recipe). Roll each portion into a smooth ball. Try to tuck any stray pieces of fruit inwards to minimize fruit on the exterior of the buns, as exposed fruit can burn during baking.
Arrange the shaped buns on a baking sheet lined with parchment paper, leaving a small gap of approximately 1-1.5 cm (½ inch) between each. Gently flatten each bun very slightly with your hand. Loosely cover the tray again and set it aside for the second rise, also known as proofing, until the buns have nearly doubled in size. This usually takes 45-60 minutes. They should be touching each other, indicating a good rise. To check if they’re ready, gently poke a bun with a floured finger; if it springs back slowly, they’re perfectly proofed. If it springs back quickly, they need a little more time.
7. Preparing and Piping the Crosses:
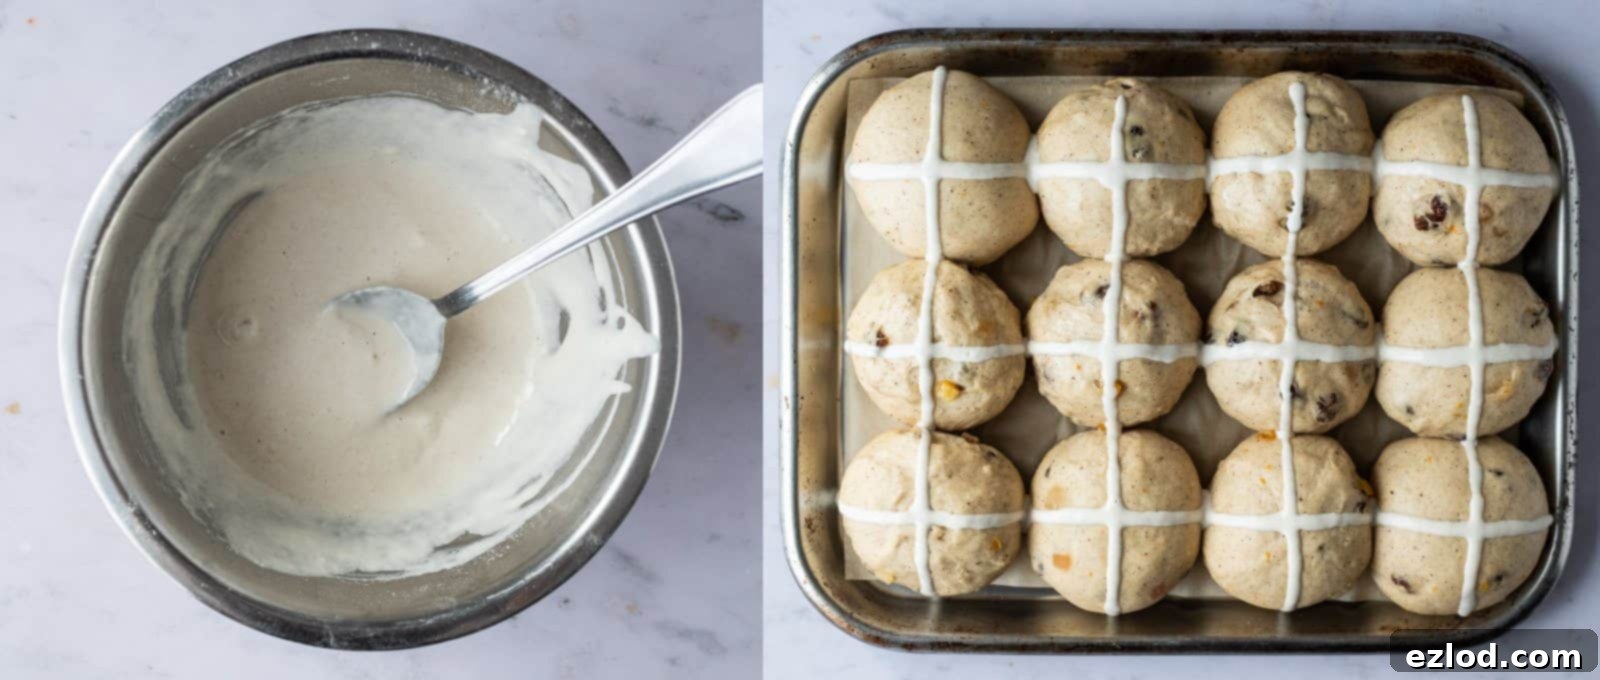
The distinctive cross is a hallmark of hot cross buns, though it’s purely for tradition and aesthetics – it doesn’t affect the flavour. If you prefer, you can omit them entirely. To make the paste for the crosses, combine plain (all-purpose) flour with just enough water to create a thick but pipeable consistency. Start with less water and add gradually to achieve the right texture. Transfer this paste to a piping bag fitted with a small round nozzle (about 3mm). Once the buns have completed their second rise, carefully pipe a cross on top of each one. For ease, if your buns are neatly lined up, you can pipe a continuous line across each row.
8. Baking and Glazing Your Buns:
Preheat your oven to 200°C/180°fan/400°F/gas mark 6. Bake the hot cross buns for approximately 25 minutes, or until they are beautifully deep golden brown. To ensure they are thoroughly cooked, especially in the centre, use a probe thermometer. The internal temperature should register at least 94°C (201°F). This is the most reliable method to confirm doneness and avoid underbaked doughy centres.
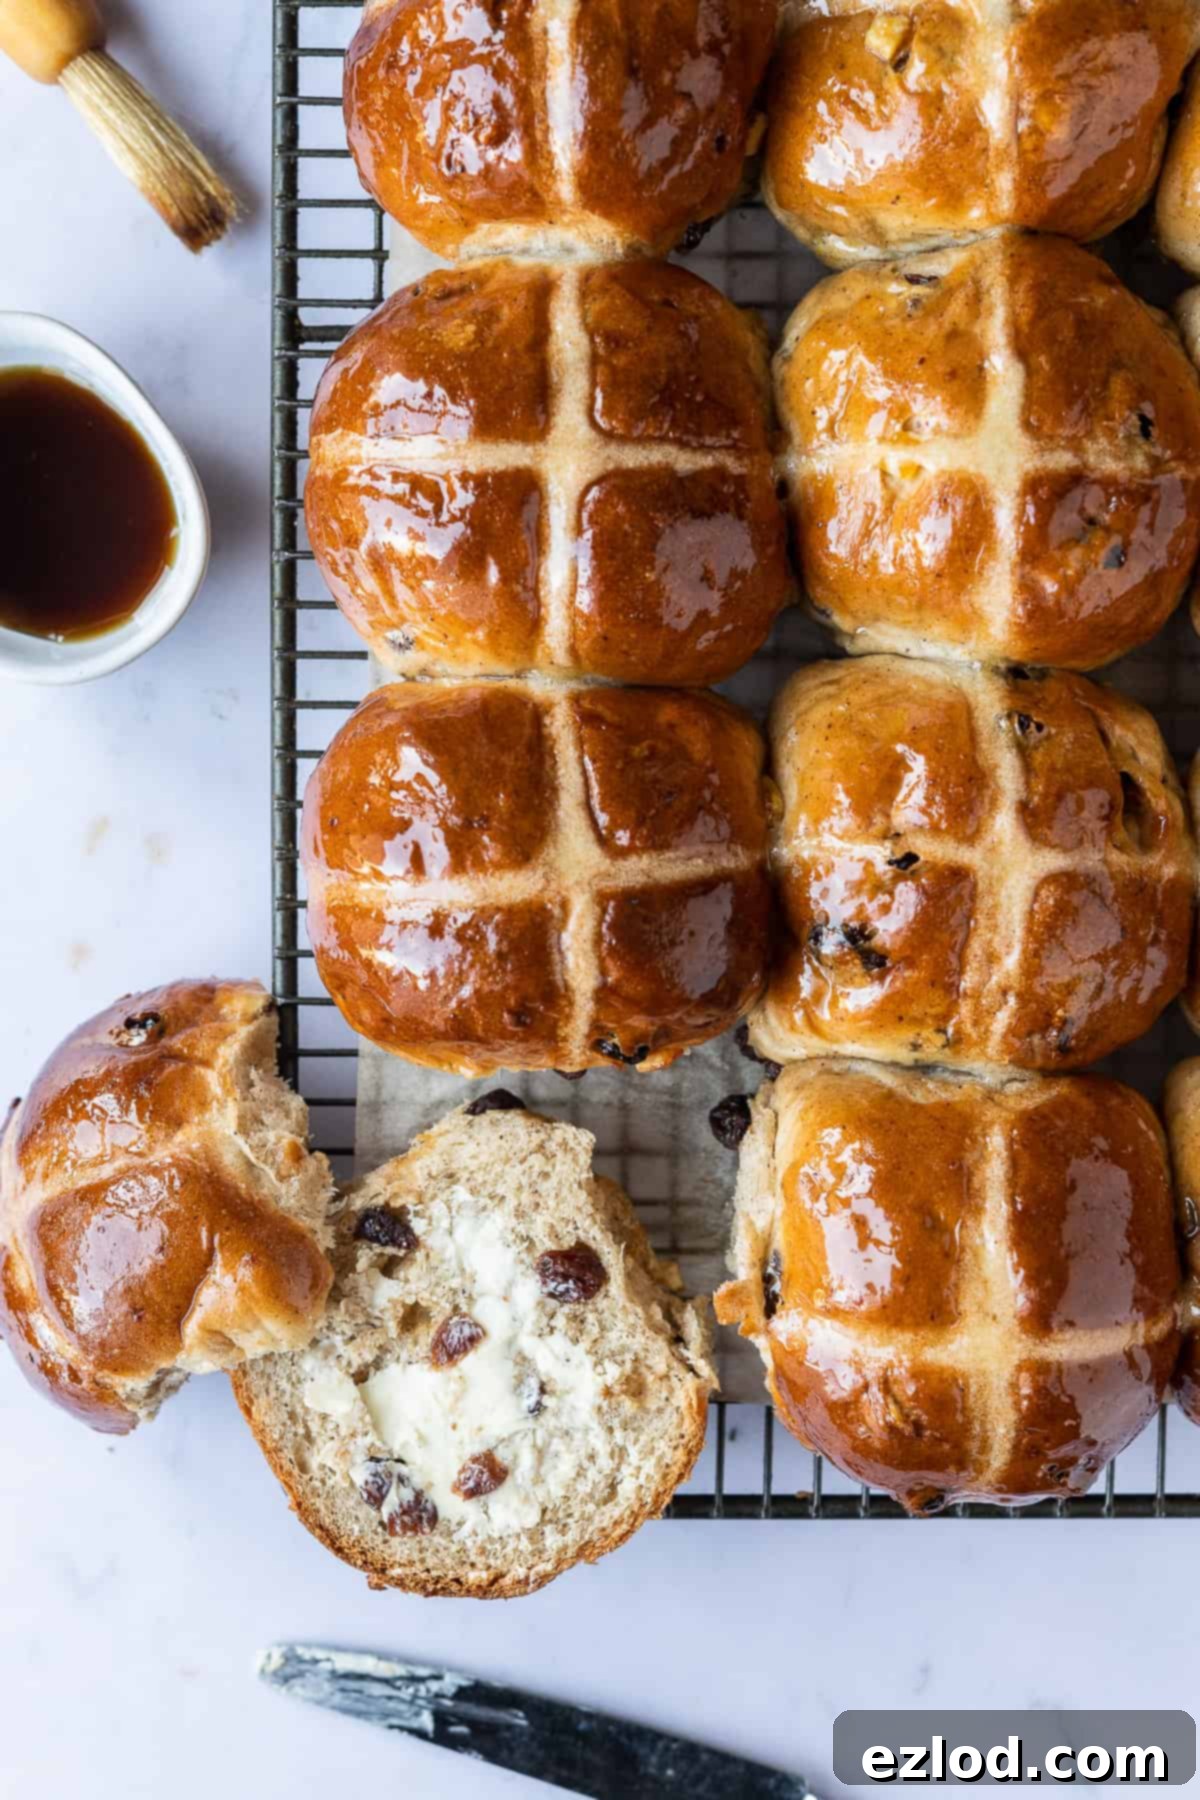
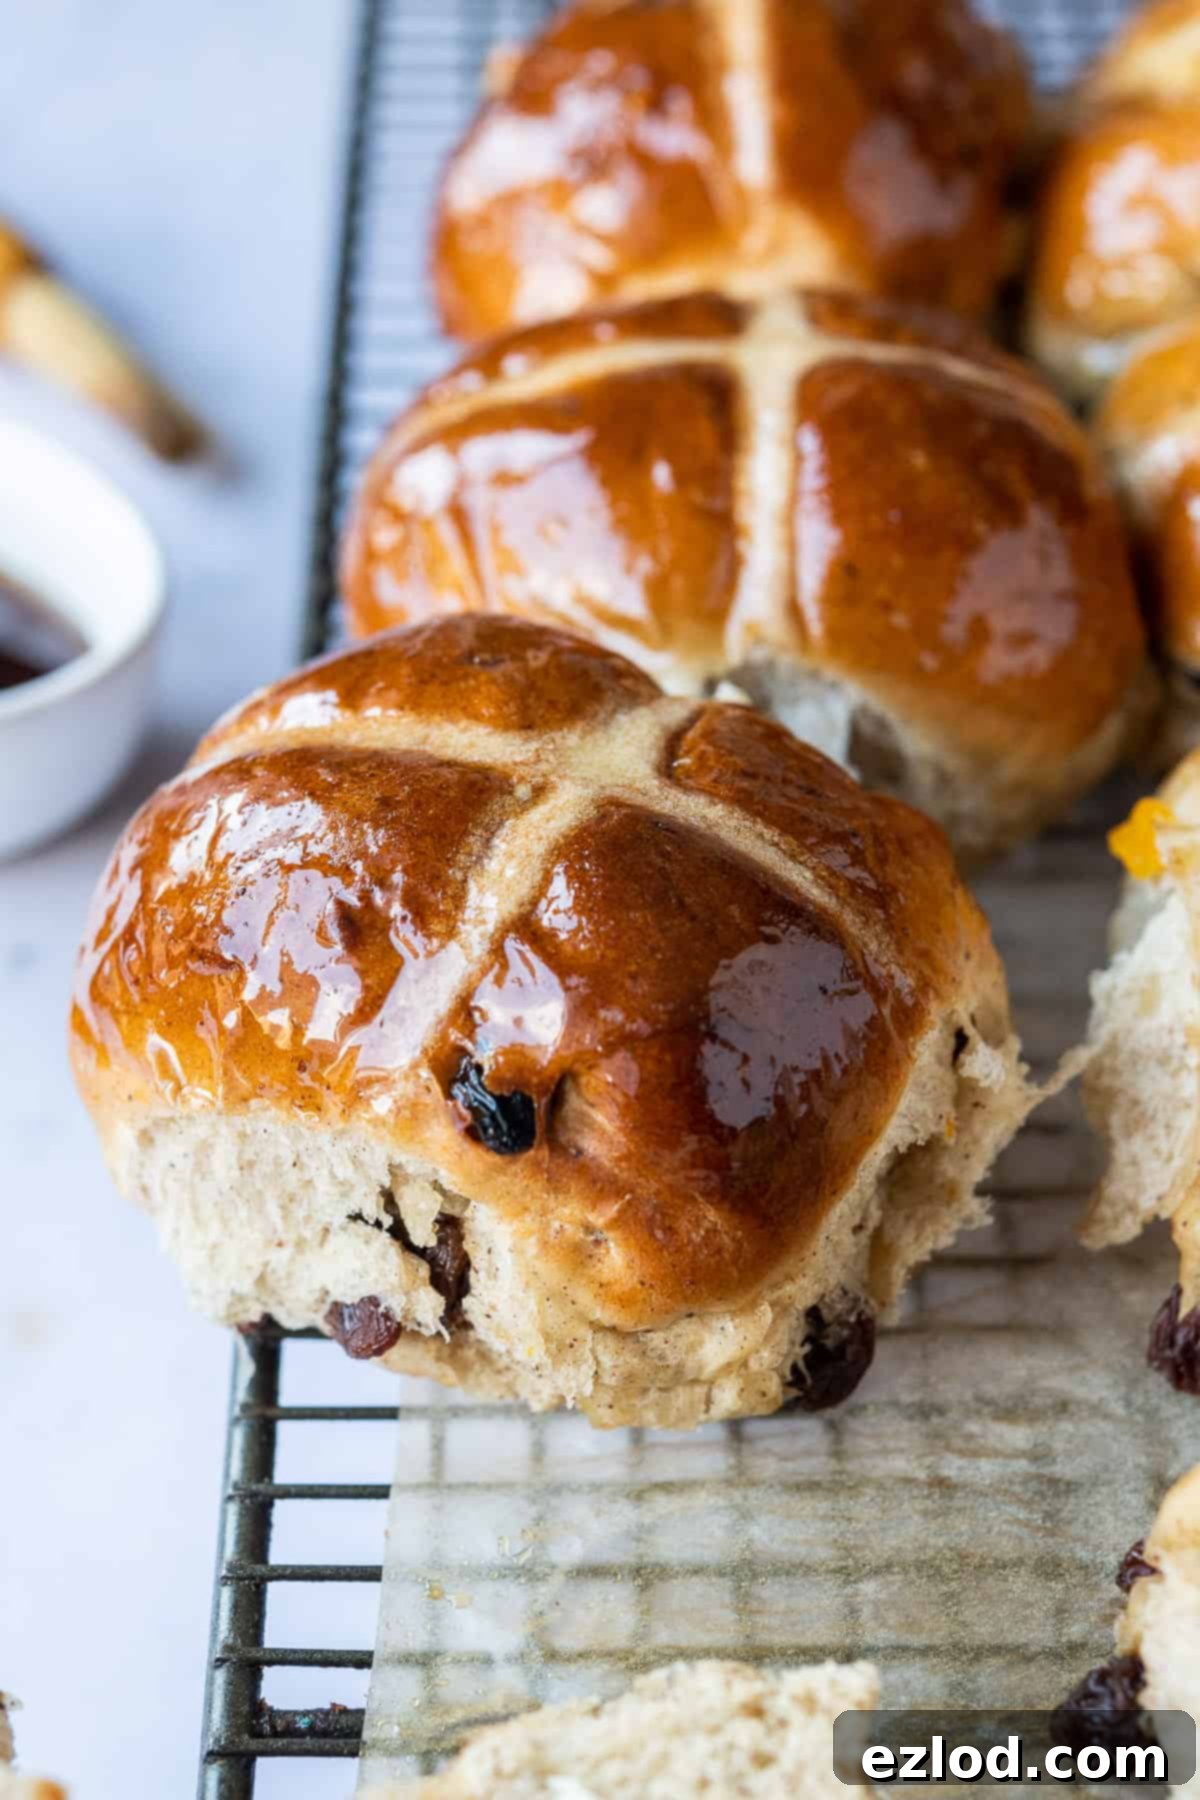
As soon as the buns emerge from the oven, while still hot, generously brush them all over with maple syrup. This not only adds a touch of sweetness but also creates that signature glossy shine. Alternatively, you can use golden syrup or a smooth apricot jam, but you’ll need to gently warm these options first to make them runny and easy to brush. Allow the buns to cool slightly on a wire rack before serving.
Top Tips for Baking the Best Vegan Hot Cross Buns
- Precision is Key: For consistent and optimal baking results, always use a digital scale for gram measurements rather than cup conversions. Baking is a science, and accuracy ensures success.
- Overnight Rise for Flavor: Don’t hesitate to prepare the dough the night before and let it undergo a slow, cold rise in the fridge. This deepens the flavour profile of the buns, making them even more irresistible.
- Stand Mixer Advantage: While hand-kneading is possible, a stand mixer with a dough hook truly makes this recipe a breeze, especially given the dough’s initial stickiness. It guarantees proper gluten development with minimal effort.
- Flour Choice Matters: Using white bread flour will give you the best chewy yet soft texture. While plain (all-purpose) flour can work, the results might be slightly less robust.
- Check Your Yeast: Ensure your instant/fast-action yeast is fresh and active. Expired yeast is the most common reason for dough failing to rise.
- Doneness Test: The most reliable way to know your buns are perfectly baked through is to check their internal temperature with a probe thermometer. Aim for 94°C (201°F).
- Fruit Placement: When shaping the buns, try to keep the dried fruit tucked inside. Any fruit exposed on the surface can easily char or burn in the oven.
Serving Suggestions:
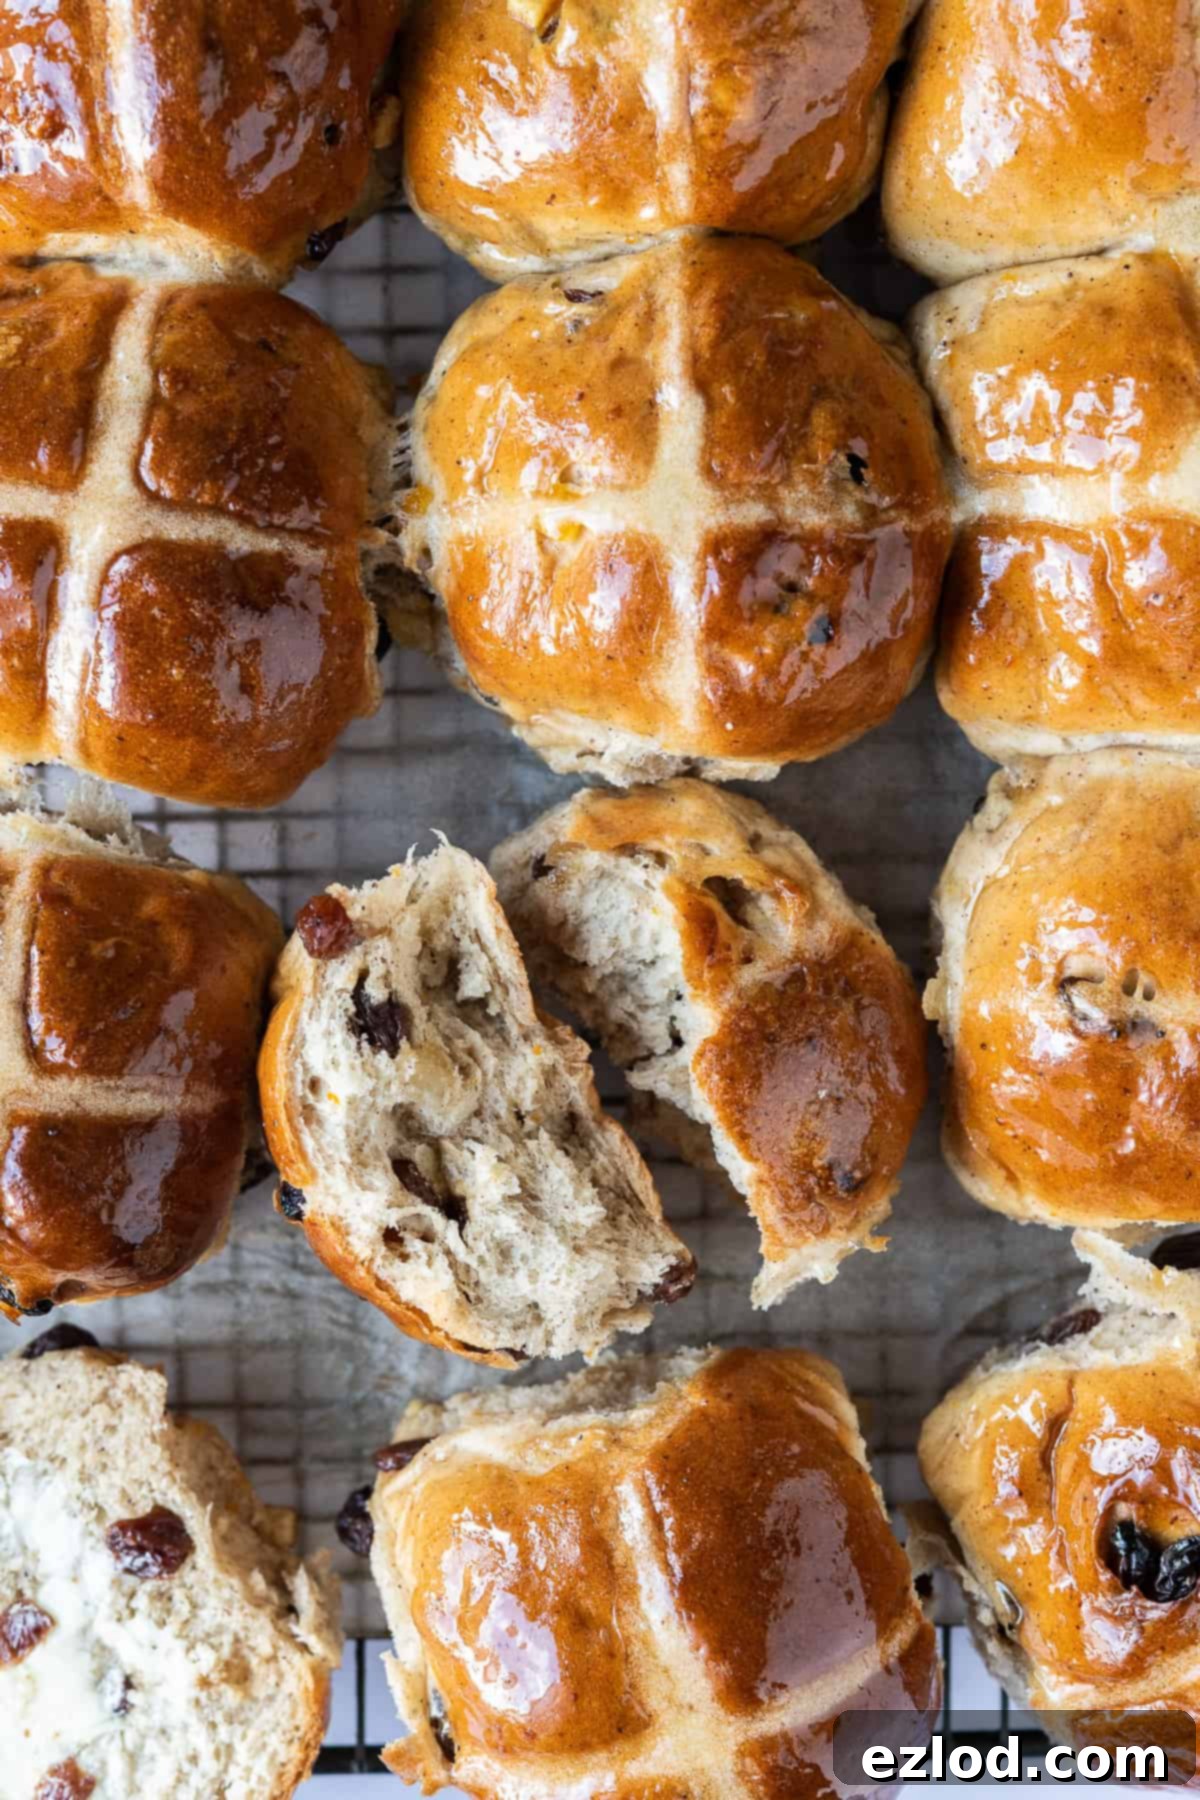
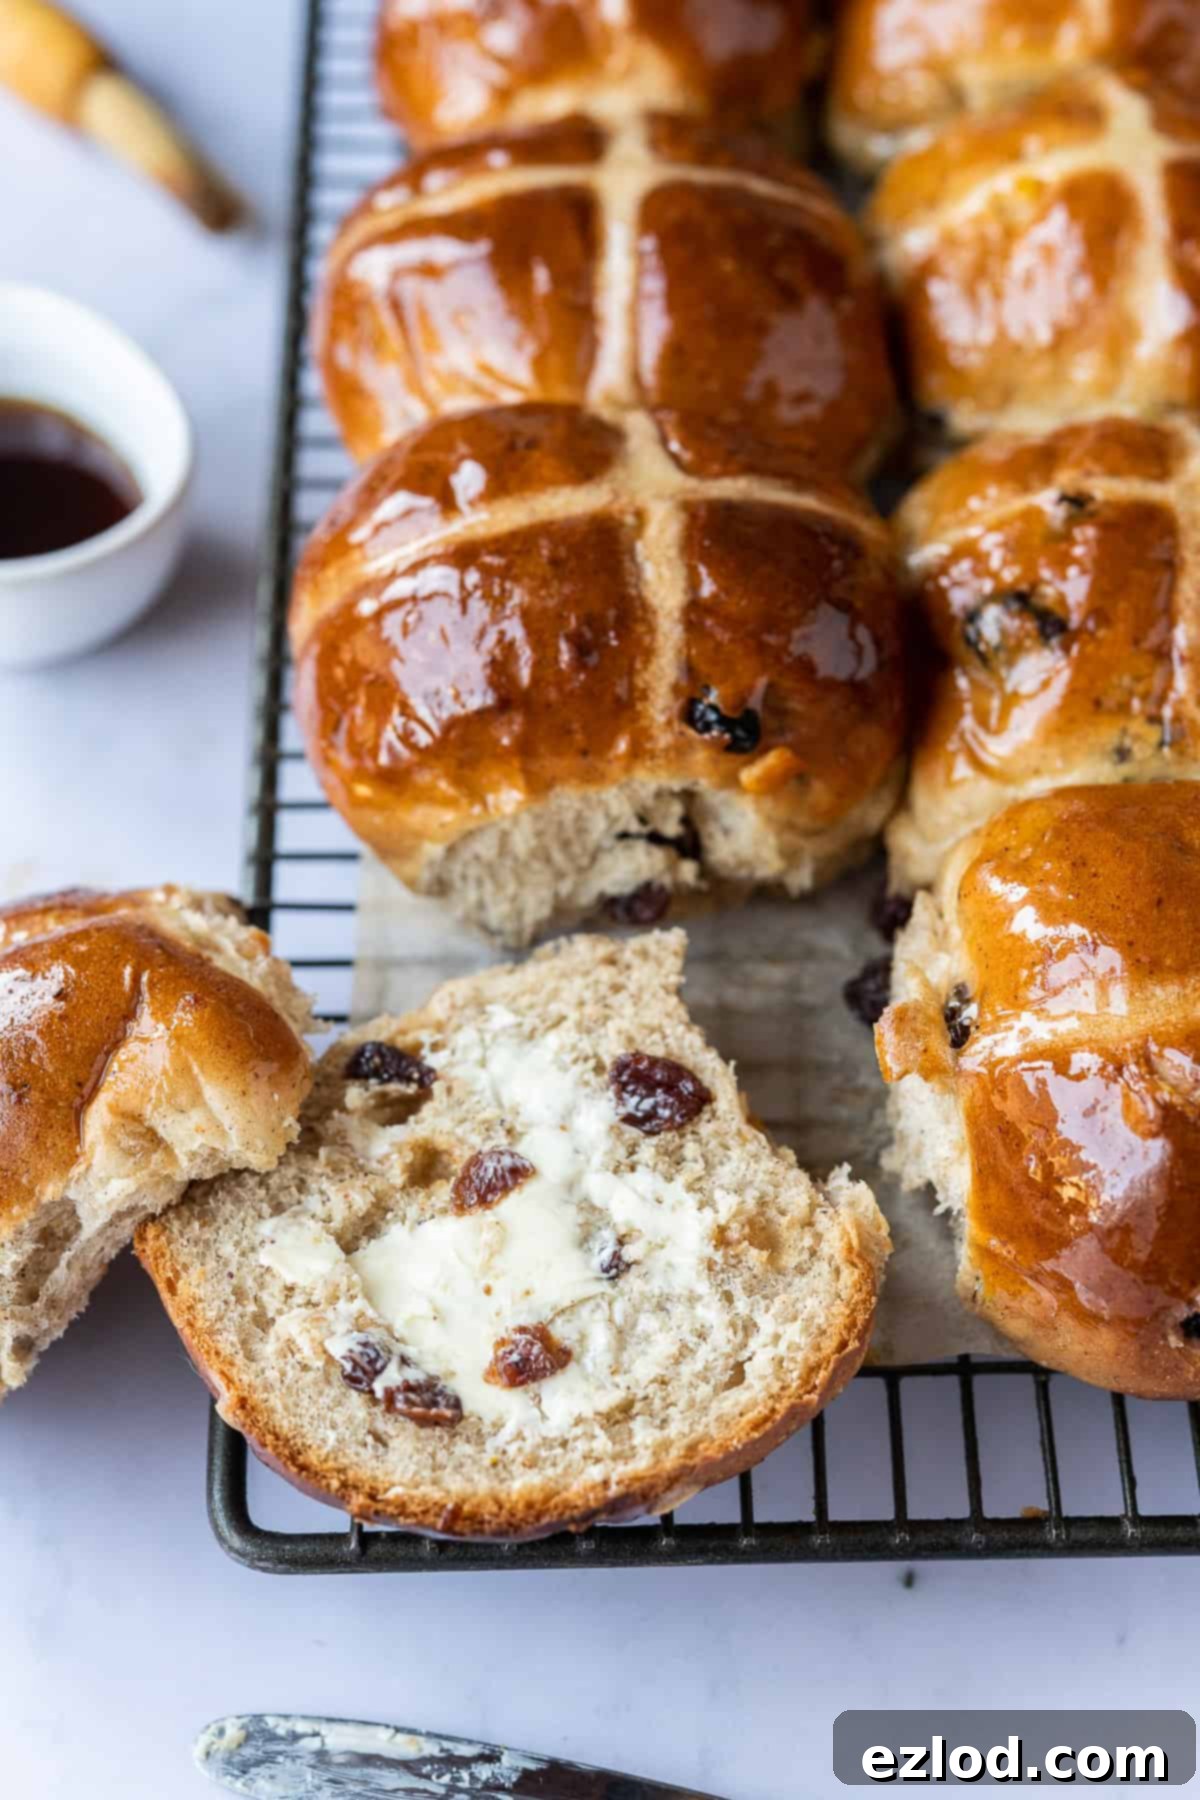
These vegan hot cross buns are at their absolute best when served warm, split in half, and toasted. Spread generously with vegan butter, a dollop of fruit jam, or even a swirl of vegan cream cheese for an indulgent treat. They’re also delicious simply warmed in the oven for a few minutes to refresh them.
Storage and Freezing:
These vegan hot cross buns are most delightful on the day they are baked. However, they can be stored in an airtight container at room temperature for up to two days. If storing, they are best refreshed by toasting or briefly warming in a low oven before serving.
Can I Freeze Them?: Absolutely! These buns freeze beautifully. Once they have cooled completely after baking, place them in an airtight freezer-safe container or bag. They can be frozen for up to 3 months. To enjoy, simply allow them to defrost at room temperature, then refresh them in a low oven or toaster before serving. Freezing is a fantastic way to enjoy homemade hot cross buns long after Easter has passed.
More Delightful Vegan Easter Recipes:
Looking for more plant-based inspiration for your Easter celebrations? Explore these other fantastic vegan recipes:
- Vegan Carrot Layer Cake
- Vegan Simnel Cake
- Vegan Coconut Layer Cake
- Vegan Easter Biscuits
- Chocolate Orange Hot Cross Buns
- Vegan Carrot Cake Loaf
If you tried this incredible recipe, we’d love to see your creations! Tag @domestic_gothess on Instagram and use the hashtag #domesticgothess.
*All images and content on Domestic Gothess are copyright protected. If you wish to share this recipe, please do so by using the provided share buttons. Do not screenshot or post the recipe or content in full.*

Print
Vegan Hot Cross Buns
Ingredients
Vegan Hot Cross Buns:
- 500 g (4 cups + 2 Tbsp) white bread flour
- 75 g (⅓ cup) caster (superfine) sugar
- 2 tsp ground cinnamon
- 2 tsp mixed spice (pumpkin spice)
- 1 tsp salt
- finely grated zest of 1 orange or lemon
- 10 g (3 tsp) instant/fast action yeast
- 80 g (⅓ cup) vegan block butter (I use Naturli Vegan Block)
- 300 ml (1 ¼ cups) unsweetened non-dairy milk (soy is best)
- 200 g (7 oz) sultanas
- 50 g (1 ¾ oz) candied mixed peel
Crosses:
- 50 g (scant ½ cup) plain flour
- 60 ml (¼ cup) water
- maple syrup/golden syrup/apricot jam to glaze
Instructions
-
In the bowl of a stand mixer fitted with a dough hook, combine the white bread flour, caster sugar, ground cinnamon, mixed spice, salt, and orange or lemon zest. Add the instant/fast-action yeast to the opposite side of the bowl from the salt and sugar. Briefly mix the dry ingredients together.
-
Gently melt the vegan block butter in a small saucepan over low heat. Remove from heat and stir in the unsweetened non-dairy milk. Ensure the mixture is lukewarm – not hot – to avoid killing the yeast. If it’s too hot, let it cool; if the butter solidifies, gently rewarm until melted and lukewarm.
-
Pour the lukewarm butter and milk mixture into the bowl with the dry ingredients. Mix with a wooden spoon until a sticky dough forms and no dry spots of flour remain.
-
With the stand mixer on medium-high speed, knead the dough for 5-10 minutes. The dough should become smooth, elastic, and pull away cleanly from the sides of the bowl, indicating proper gluten development.
-
(Alternatively, knead the dough by hand on a lightly floured surface. Be prepared for it to be quite sticky at first, but it will become more manageable with kneading.)
-
Transfer the kneaded dough to a lightly oiled bowl, turning it once to coat. Cover the bowl (a shower cap works wonderfully) and let it rise in a warm place for about 1 ½ to 2 hours, or until it has at least doubled in size.
-
For an overnight rise, place the covered dough in the refrigerator. The next morning, allow it to come to room temperature for 30-60 minutes before proceeding.
-
Once risen, gently ‘knock back’ the dough to release air. Flatten it into a rough rectangle, then scatter the sultanas and candied mixed peel over the surface. Roll up the dough and knead briefly to ensure the fruit is evenly distributed.
-
Divide the dough into twelve equal portions. Roll each portion into a smooth ball, tucking any visible fruit inwards to prevent burning during baking.
-
Place the shaped buns on a baking sheet lined with parchment paper, leaving about 1-1.5 cm (½ inch) between each. Gently flatten each bun with your hand.
-
Loosely cover the tray and let the buns rise for a second time until almost doubled in size, about 45-60 minutes. They should be touching and spring back slowly when gently poked.
-
While the buns are proofing, preheat your oven to 200°C/180°fan/400°F/gas mark 6. Prepare the paste for the crosses.
-
In a small bowl, mix the plain flour with just enough water (start with less than 60ml) to create a thick but pipeable paste. Transfer this paste to a piping bag fitted with a small round nozzle (approx. 3mm).
-
Once the buns have finished rising, pipe a distinct cross on top of each bun. If the buns are well-aligned, you can pipe a continuous line across each row for efficiency.
-
Bake the buns for approximately 25 minutes, or until they achieve a deep golden colour. Use a probe thermometer to confirm an internal temperature of at least 94°C (201°F) for full doneness.
-
Immediately upon removing the buns from the oven, brush them generously with maple syrup to give them a beautiful, glossy shine. If using golden syrup or apricot jam, warm them gently beforehand to achieve a runny consistency. Allow the buns to cool on a wire rack before serving.
Notes
- For the best results make sure that you follow the recipe closely. As always, I highly recommend using the gram measurements (with a digital scale), rather than the cup conversions. Cup measurements are simply not accurate enough for baking and I cannot guarantee the best results if you use them.
- If you want, you can split the work over two days – make the dough in the evening and let it rise the the fridge overnight then continue with the rest of the recipe in the morning.
- If you have a stand mixer with a dough hook I would really recommend using it for this recipe. The dough is quite sticky and it’s much easier to work with in a mixer.
- The recipe will work using plain (all-purpose) flour, but bread flour gives the best texture.
- Make sure that your yeast hasn’t expired! Out of date yeast can lead to bread that doesn’t rise.
- The best way to tell if bread is baked properly is to check the internal temperature with a probe thermometer. It should reach at least 94°C/201°F.
- The hot cross buns are best eaten on the day they are baked but they will keep in an airtight container for a couple of days in which case they are best served toasted.
