Homemade Strawberry Lime Jam & Effortless Quick Scones: Your Perfect Breakfast Duo
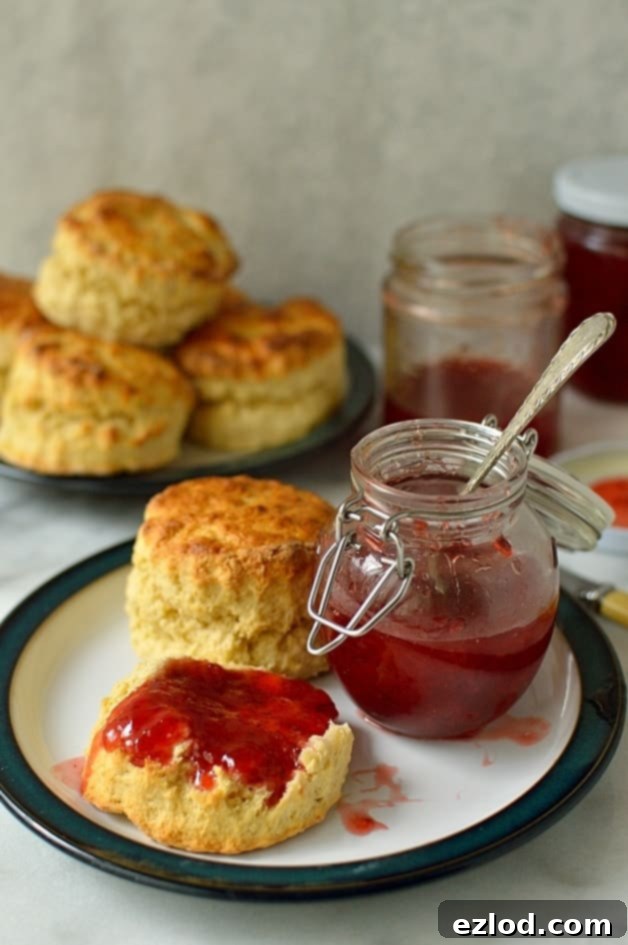
There’s an undeniable magic in preserving the fleeting sweetness of summer fruits. While it might seem counterintuitive to transform beautiful, juicy strawberries into jam instead of relishing them fresh, the reward comes later. Imagine a cold, grey autumn or winter morning, when a spoonful of homemade strawberry lime jam bursts with the vibrant taste of sunshine, instantly brightening your day. Making your own jam, often perceived as a daunting culinary feat, is actually a wonderfully simple process, requiring just a few core ingredients and a little patience. Once you master the basics, a world of delicious flavor combinations awaits your creative touch.
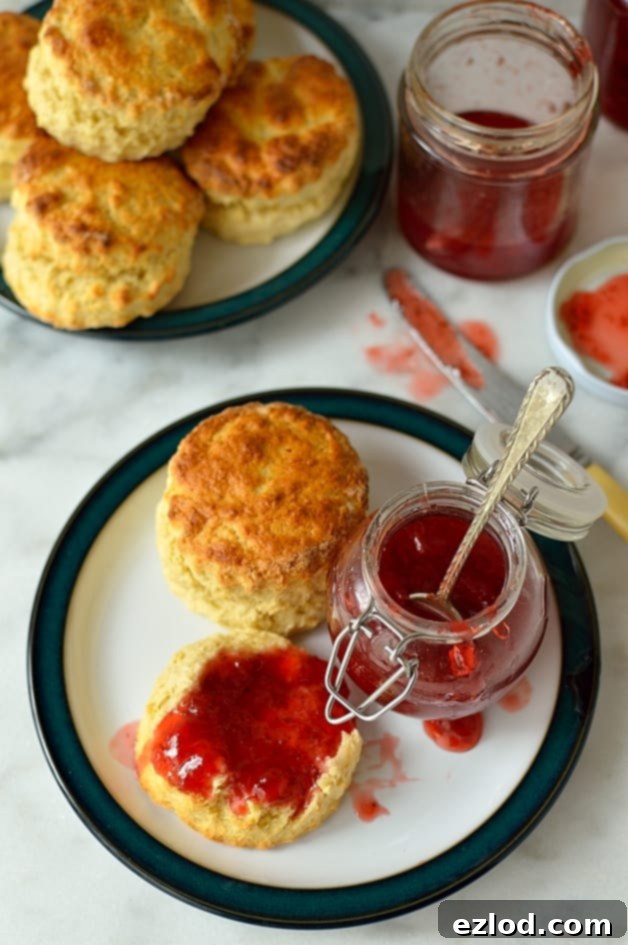
The Art of Homemade Strawberry Lime Jam
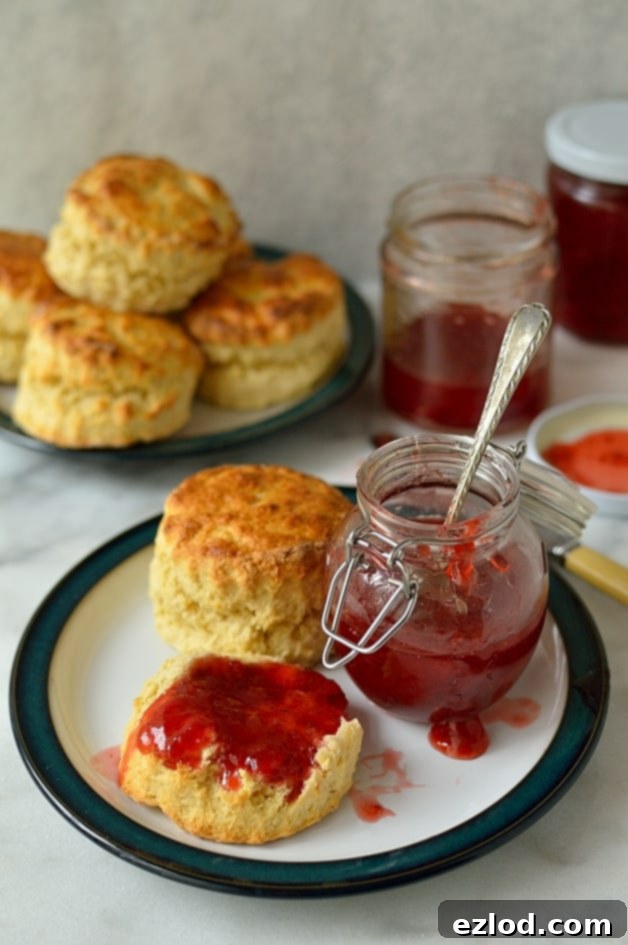
For this particular recipe, we’ve chosen to marry the classic sweetness of strawberries with the bright, zesty kick of fresh lime. The result is an incredibly fresh-tasting, zingy jam that is simply divine on warm scones, crunchy toast, or even stirred into yogurt. This recipe yields a fairly soft-set jam, which, in our opinion, offers a more dynamic and fresher flavor profile compared to firmer jams. While it might not be ideal for filling a tiered cake where a stiff set is crucial, its looser consistency is absolutely perfect for breakfast spreads or an indulgent cream tea. The slight runniness allows the vibrant fruit flavors to truly shine, making every bite a delightful experience.
Understanding Pectin for Perfect Jam
Strawberries are naturally low in pectin, the substance responsible for giving jam its gel-like consistency. To ensure a reliable set and prevent a runny preserve, it’s highly recommended to use jam sugar, which comes with added pectin. While the fresh lime juice and zest do contribute some natural pectin, incorporating jam sugar provides that extra assurance for a beautifully set jam. Before you begin the jam-making process, you’ll also need to sterilize your jars. This crucial step prevents spoilage and extends the shelf life of your homemade preserves. Depending on their size, you’ll need approximately 4-5 jars. If you’re new to this, this helpful guide from BBC Good Food demonstrates the sterilization process step-by-step.
Crafting Fluffy, Quick Scones
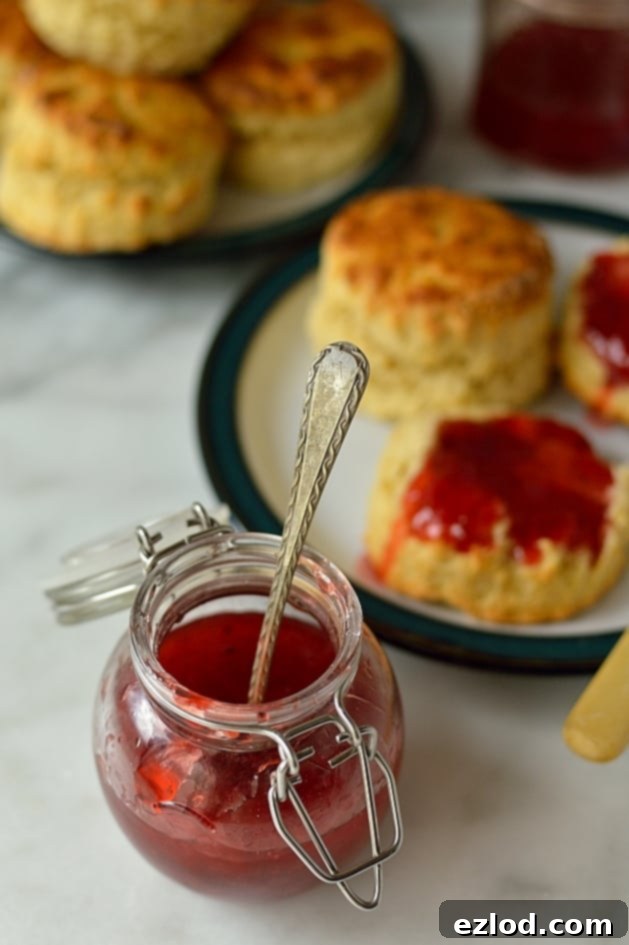
No homemade jam is complete without a batch of freshly baked scones! This recipe is for those moments when you crave the comforting warmth of scones but are short on time. It’s an incredibly quick and easy basic scone recipe that consistently delivers soft, delicious results. The key to avoiding tough scones lies in a ‘light touch.’ The dough should remain slightly sticky, and it’s vital to handle it just enough to bring the ingredients together, avoiding overworking it. This minimal handling ensures a tender crumb and a delightful melt-in-your-mouth texture.
Scone Baking Secrets: Achieving the Perfect Rise
When it comes to cutting your scones, technique matters significantly for an even rise. Instead of twisting the cutter, plunge it straight down into the dough and lift it out cleanly. Twisting can seal the edges of the scone, hindering its ability to rise properly in the oven. Similarly, when you glaze the scone tops with milk, be meticulous. Only brush the milk onto the very top surface of the scones. Allowing milk to drip down the sides can create a ‘seal’ that prevents the scone from rising as high as it should, leading to a flatter, less impressive bake. Following these simple tips will elevate your homemade scones from good to absolutely perfect.
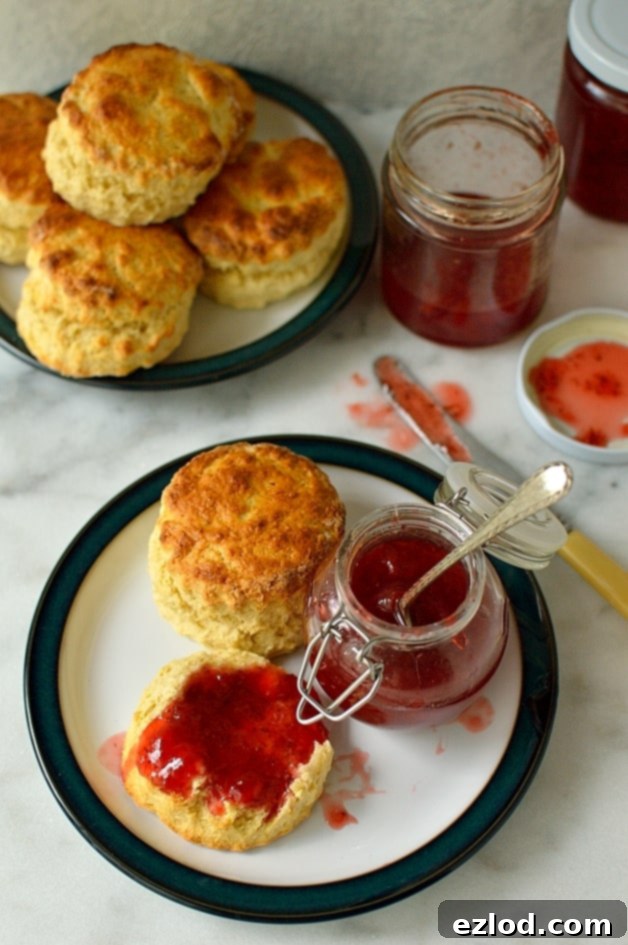
The Recipe: Strawberry Lime Jam & Basic Scones

Print
Strawberry Lime Jam & Quick, Easy Basic Scones
Ingredients
Jam:
- 800 g (28oz) strawberries (unprepared weight)
- 600 g (21oz) jam sugar (sugar with added pectin)
- finely grated zest and juice of three small limes
Scones:
- 450 g (3 + ¾ cups) self-raising flour
- 2 rounded tsp baking powder
- 130 g (½ cup + 1 Tablespoon) softened vegan block butter
- 70 g (⅓ cup) caster sugar
- about 240 ml (1 cup) unsweetened non-dairy milk
Instructions
Jam:
-
Hull and chop the strawberries, then place them in a deep, heavy-bottomed saucepan. Use a potato masher to roughly mash them, allowing some larger chunks to remain for texture. Stir in the jam sugar and the finely grated lime zest and juice. Let this mixture macerate for about an hour; this step helps draw out the fruit’s juices and dissolve the sugar.
-
While the fruit macerates, sterilize your jars. You will need 4-5 jars, depending on their size. Also, place a couple of small saucers in the freezer; these will be used for testing the jam’s set later.
-
Gently heat the strawberry mixture over medium heat, stirring occasionally, until all the sugar has completely dissolved. Once dissolved, increase the heat to bring the mixture to a rapid, rolling boil. Boil hard for approximately 10 minutes. Then, remove the pan from the heat and spoon a small teaspoon of the hot jam onto one of the frozen saucers. Let it cool on the saucer for 30 seconds, then gently push at it with your finger. If the jam wrinkles and doesn’t flood back to fill the gap, it has reached its setting point and is ready. If not, return the pan to the heat, boil for another 2 minutes, then repeat the wrinkle test. Continue this process until the jam sets.
-
Once the jam has reached its set, use a clean spoon to carefully skim off any foam or scum that has risen to the surface and discard it. Allow the jam to settle in the pan for 10 minutes; this helps distribute the fruit evenly in the jars. Then, ladle the hot jam into your hot, sterilized jars, filling them almost to the brim, and immediately place the lids on tightly.
-
Store your sealed jars of strawberry lime jam in a cool, dark place, where they will keep for up to a year. Once a jar is opened, it should be refrigerated to maintain freshness.
Scones:
-
Begin by pre-heating your oven to 220°C/200℃ fan/425°F/gas mark 7. Line two baking trays with baking parchment to prevent sticking and ensure even baking.
-
In a large mixing bowl, combine the self-raising flour and baking powder. Add the softened vegan block butter (or regular butter if preferred) and rub it into the flour mixture using your fingertips until it resembles fine breadcrumbs. Stir in the caster sugar until well combined.
-
Pour most of the unsweetened non-dairy milk (or regular milk) into the flour mixture. Use a knife or your hands to gently stir until a soft dough forms. The dough should be sticky but not overly wet. Add more milk, a little at a time, only if needed to bring the dough together. Remember, minimal handling is key for tender scones.
-
Turn the dough out onto a lightly floured surface. Either pat it gently with your hands or use a rolling pin to flatten it to a thickness of about 2cm (approximately ¾ inch). Using a 5-10 cm (2-4 inch) fluted or plain cutter (depending on your desired scone size), cut out the scones. Crucially, press the cutter straight down through the dough without twisting, then lift it straight up. Twisting can seal the edges and prevent a good rise.
-
Gather the dough scraps together very gently, kneading them only very lightly, just enough to form a cohesive mass. Re-roll the dough and cut out more scones until all the dough is used.
-
Arrange the cut scones on the prepared baking trays. Lightly brush the tops of the scones with a little milk. Be careful to only brush the top surface and avoid letting any milk run down the sides, as this can impede their rise. Bake for 10-20 minutes (smaller scones will take around 10 minutes, larger ones up to 20 minutes) until they are beautifully risen, golden brown, and firm to the touch.
-
Transfer the baked scones to a wire rack to cool. For extra softness, cover them with a clean tea towel while they cool. Once completely cool, scones can be frozen for later enjoyment.
Serving Suggestions & Variations
The beauty of this strawberry lime jam and scone pairing lies in its versatility. For a truly classic experience, serve warm scones generously slathered with your homemade jam and a dollop of clotted cream (or a vegan alternative). This makes for an exquisite cream tea or a luxurious breakfast. Beyond the traditional, consider using this bright jam as a topping for pancakes, waffles, or French toast. It can also elevate simple desserts like vanilla ice cream or a plain cheesecake. For a unique twist, incorporate the jam into a homemade yogurt parfait, layering it with granola and fresh fruit.
Feel free to experiment with your jam: instead of lime, try lemon for a similar zing, or a hint of mint for an unexpected freshness. For the scones, don’t hesitate to add a handful of dried currants or raisins to the dough, or even some grated cheese and a pinch of black pepper for a savory version. The foundational recipes are robust enough to welcome your creative additions!
Preserving Summer’s Flavor All Year Round
There’s immense satisfaction in looking at a row of perfectly sealed jars, knowing you’ve captured the essence of a season within them. Homemade strawberry lime jam is not just a condiment; it’s a little jar of summer sunshine, ready to be unveiled on a dreary day. It makes a thoughtful and personal gift for friends and family, sharing a taste of your kitchen’s warmth and effort. With good storage, you can enjoy these vibrant flavors for months, making the initial effort truly worthwhile. So, roll up your sleeves, embrace the simple joy of creating, and fill your pantry with these delicious, handmade treasures.
I am delighted to share these cherished recipes with fellow food enthusiasts. You can find me sharing culinary delights and inspiration at various link parties, including Saucy Saturdays hosted by The Flavour Bender, Take Two Tapas, La Petit Chef and Mid-Life Croissant, as well as Fiesta Friday, hosted by A Pug In The Kitchen and Cooking Is My Sport. Additionally, look for my contributions at Foodie FriDIY, Foodie Friends Friday and Friday Features. Happy cooking!