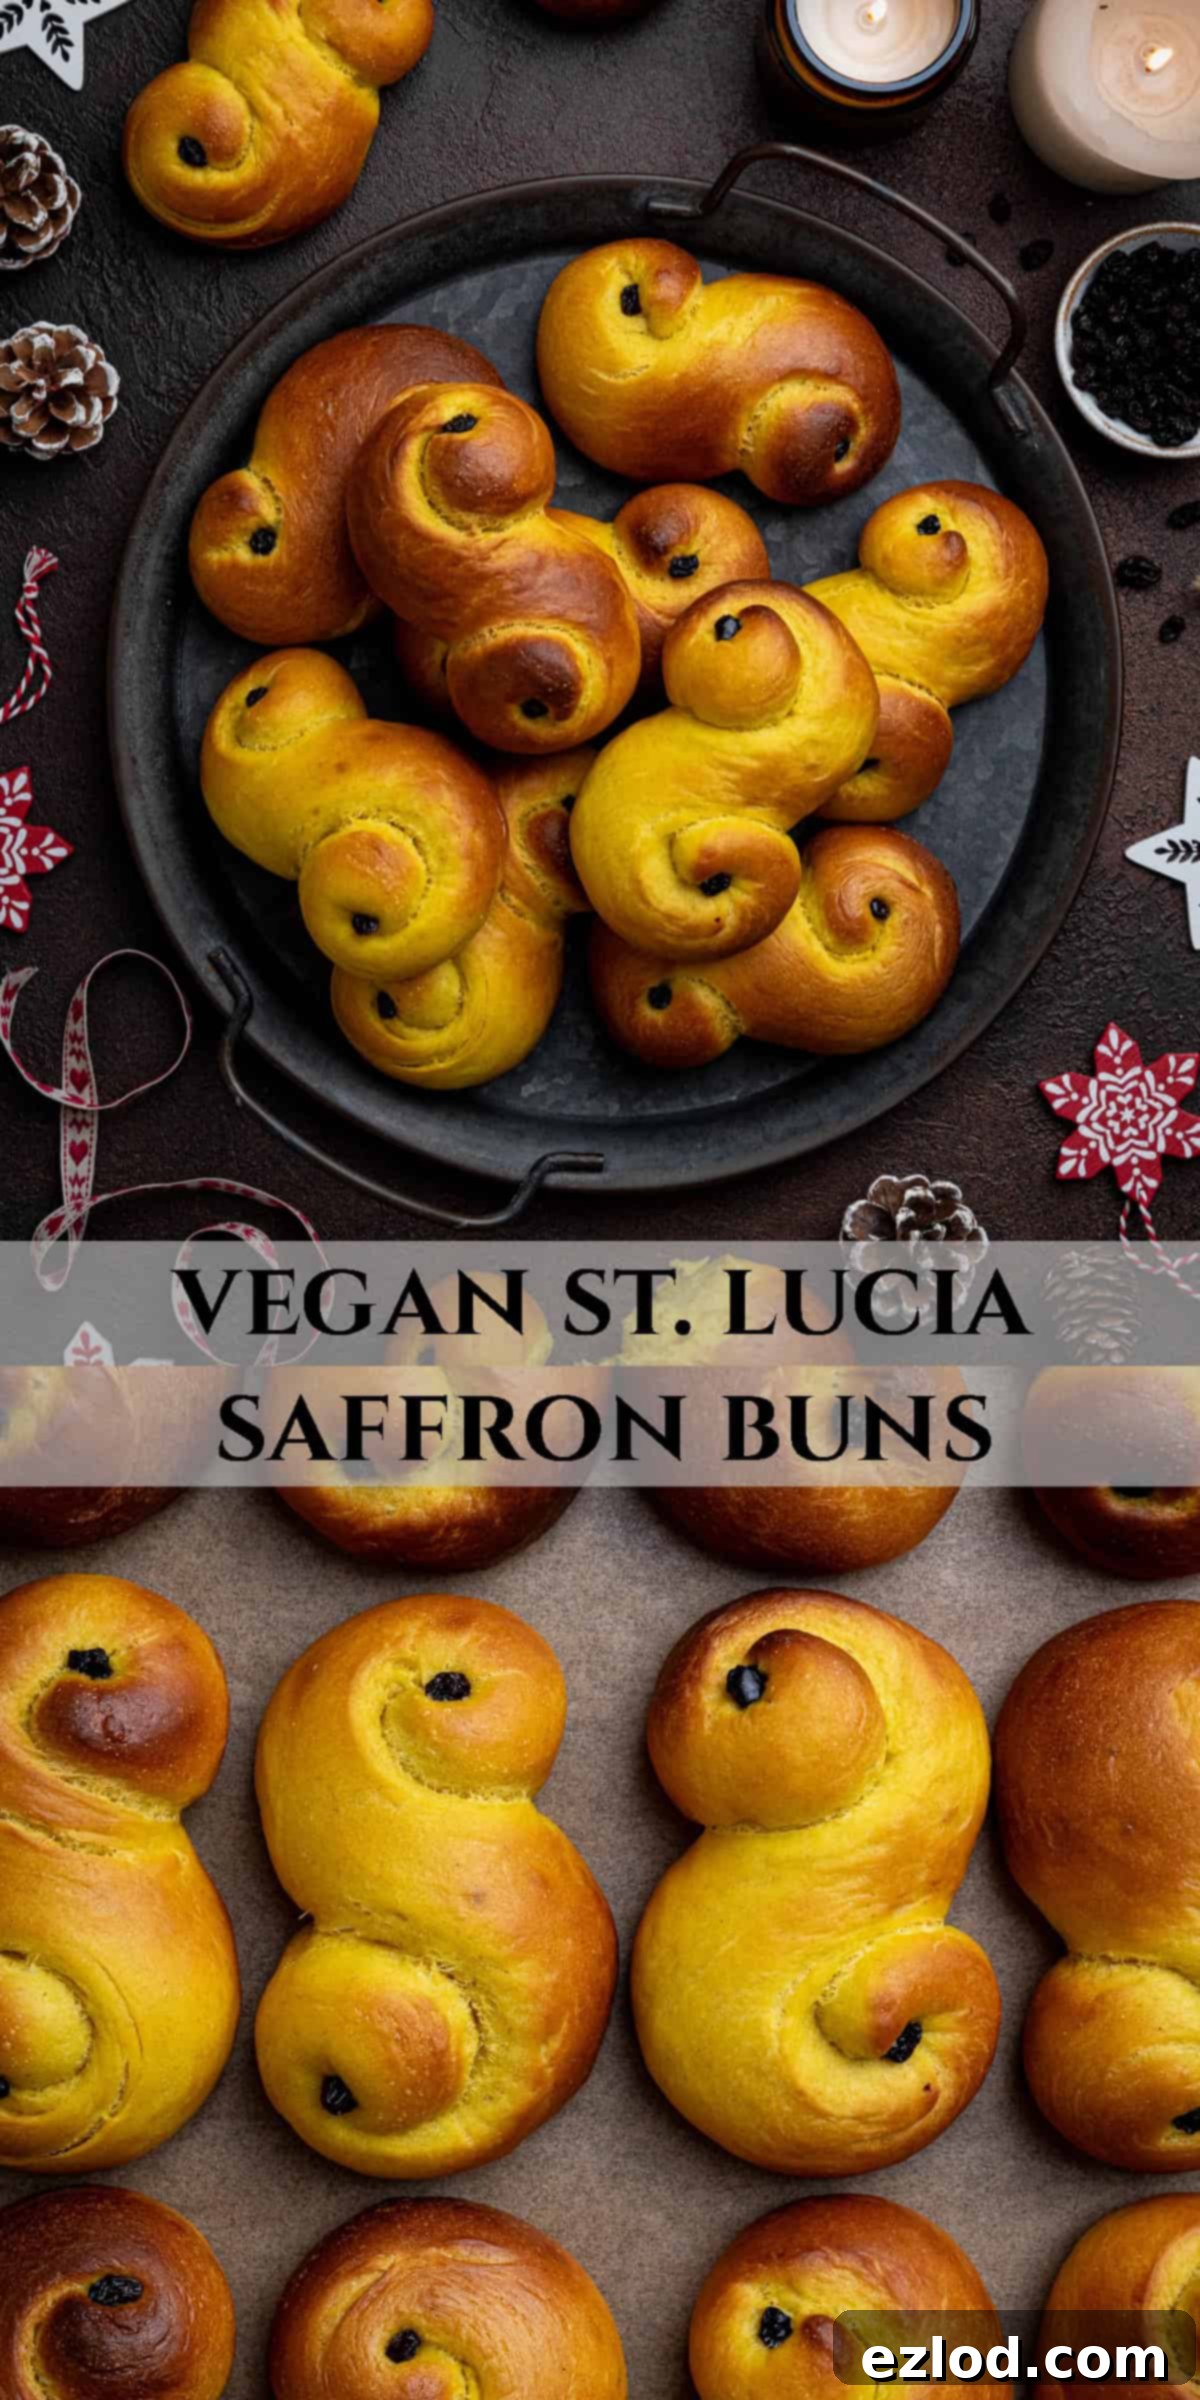
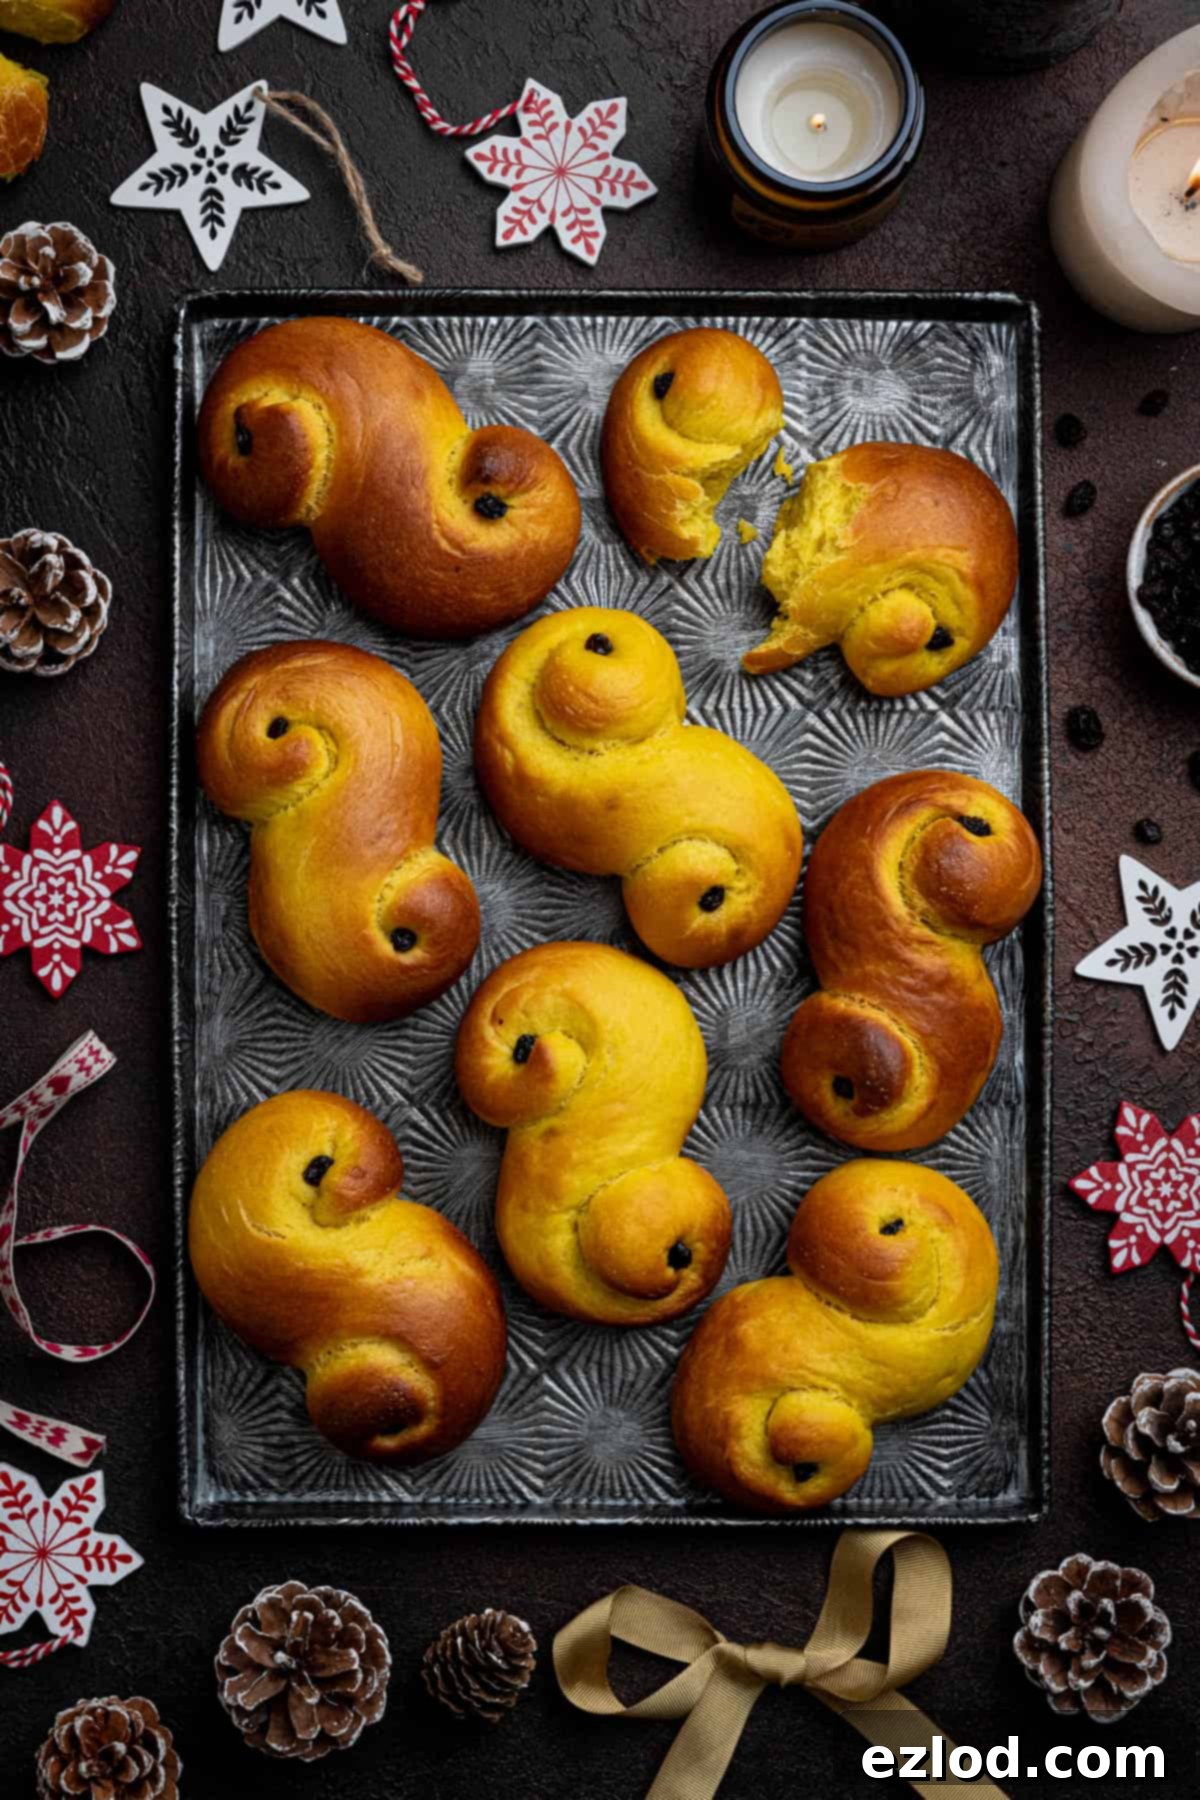
Delicious Vegan St. Lucia Buns (Lussekatter): A Festive Saffron Treat
Embrace the warmth and light of the holiday season with these exquisite **Vegan St. Lucia Buns**. Known in Scandinavia as Lussekatter, these saffron-infused sweet buns are a beloved tradition, especially baked in Sweden and Norway to celebrate St. Lucia’s Day on December 13th. Their distinctive ‘S’ shape is said to resemble curled-up cats, giving them their charming name. Flavoured with the delicate notes of saffron and a subtle hint of cardamom, these soft, fluffy, and perfectly sweet buns are not just a delicious festive treat, but a symbol of light and hope during the darkest days of winter.
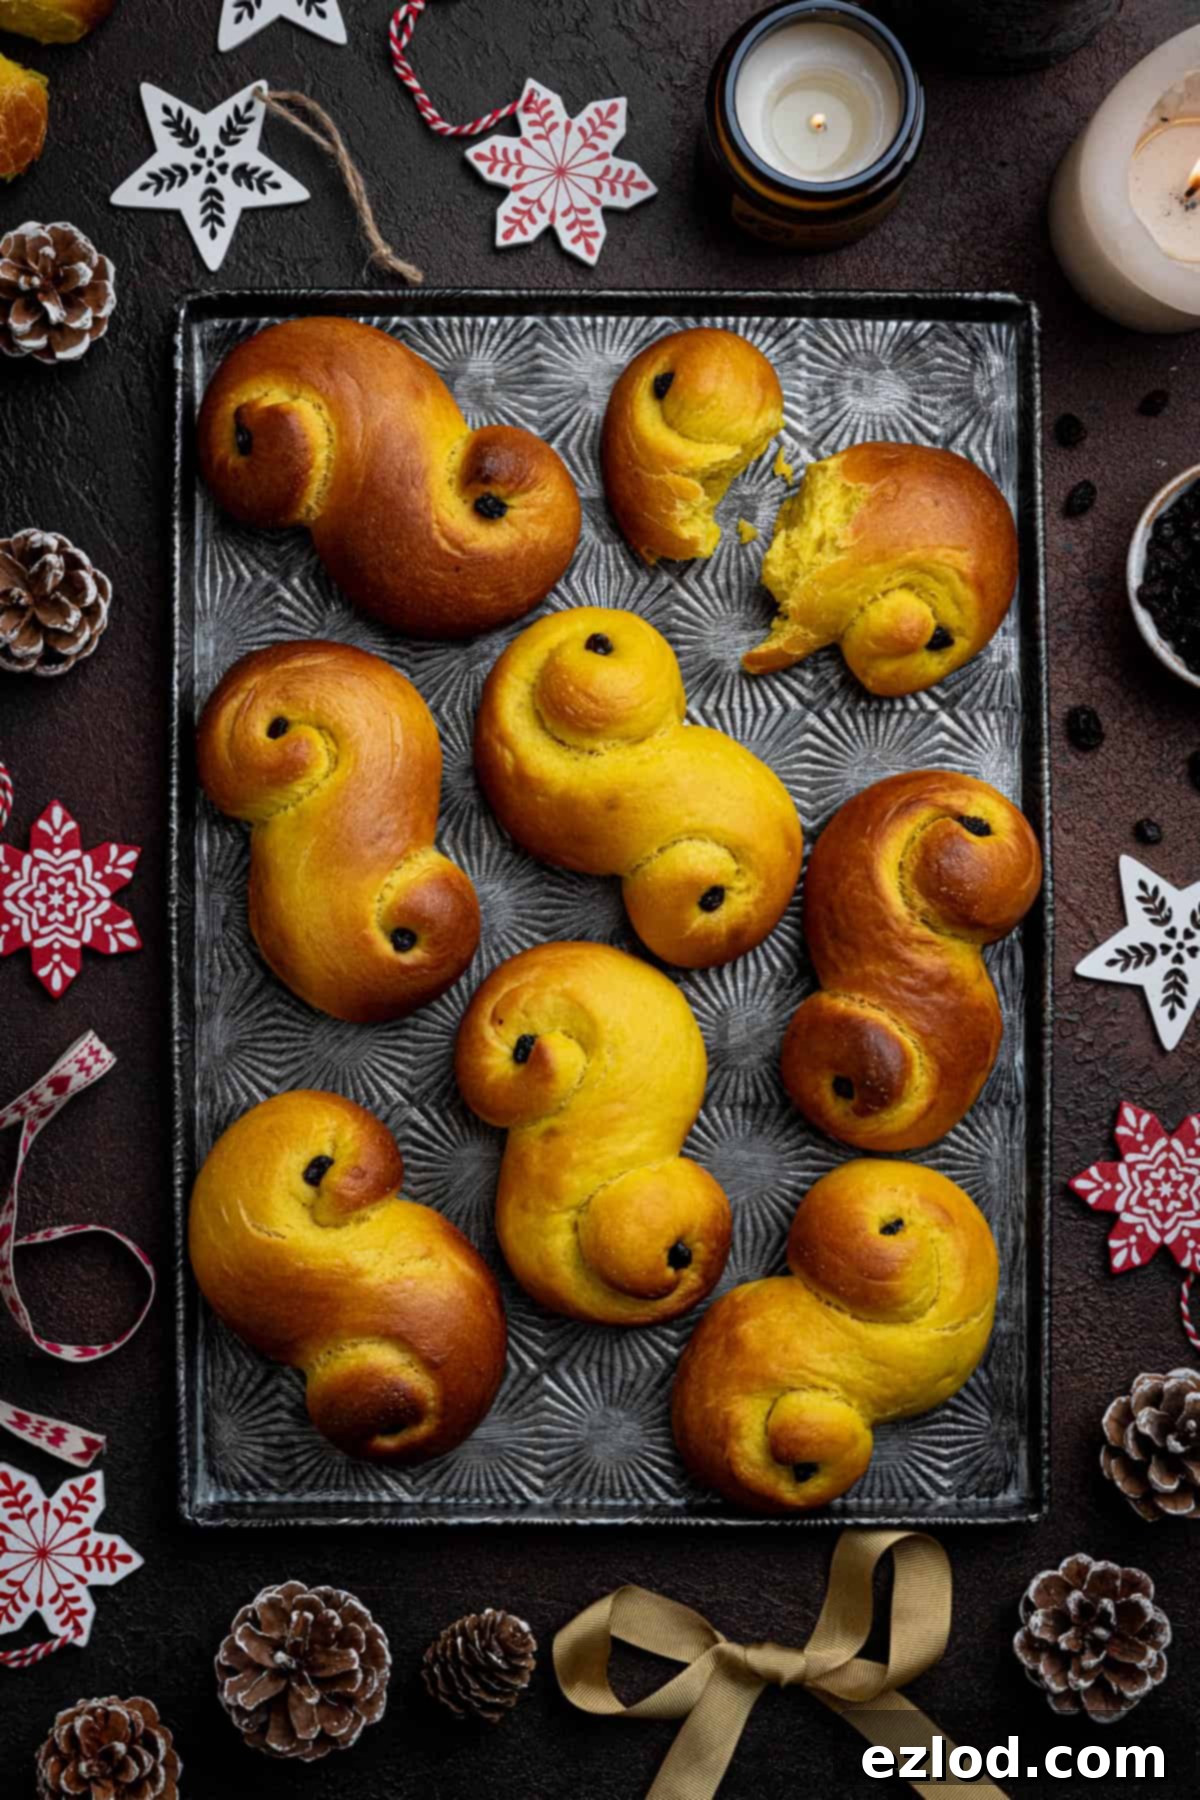
What Are St. Lucia Buns (Lussekatter)?
St. Lucia saffron buns, affectionately called “lussekatter” or “lussebullar,” are a cherished culinary tradition baked across Scandinavia to honor St. Lucia’s Day on December 13th. This significant holiday pays tribute to St. Lucia of Syracuse, the revered patron saint of light. The buns themselves are a direct embodiment of this reverence; their signature golden yellow hue, exquisitely infused with precious saffron, beautifully symbolizes the light she is believed to have brought into a world shrouded in darkness.
These delectable buns are renowned for their incredibly soft, sweet, and subtly spiced texture, making them the perfect companion to a steaming cup of coffee or a comforting mug of traditional mulled wine (Glögg). While Lussekatter can be crafted into various intricate shapes, the most iconic and widely recognized is the elegant “S” curve. This particular shape is what gives the buns their endearing name, “Lussekatter,” which literally translates to “Lucia cats,” referring to their resemblance to a sleeping cat or a cat’s curled tail. Beyond their charming appearance, the shaping also makes them easy to share and enjoy.
Like many deeply rooted winter celebrations, St. Lucia Day beautifully intertwines both Christian and ancient pagan practices. Before the widespread adoption of the modern calendar, December 13th traditionally marked the winter solstice – the longest, darkest night of the year. This period was often associated with significant superstition and fear of dark forces. Interestingly, Lucia buns were originally known as djävulskatter, or “devil’s cats.” Saffron, a spice long believed to possess magical properties and the power to ward off evil, was intentionally incorporated into these sweet buns. It was thought that by baking and consuming these golden saffron treats, people could protect themselves and their homes from malevolent spirits and bad omens during the perilous depths of winter.
Regardless of their precise origins, the enduring practice of creating warmth, light, and delicious food during the cold, dark winter months is universally welcomed and deeply comforting. While baking a batch of St. Lucia Buns may not literally keep the devil away, it is undeniably a wonderful and heartwarming way to infuse your home with festive cheer, inviting aromas, and a touch of Scandinavian magic. They are a delightful reminder of heritage, community, and the simple joy of sharing a special holiday treat.
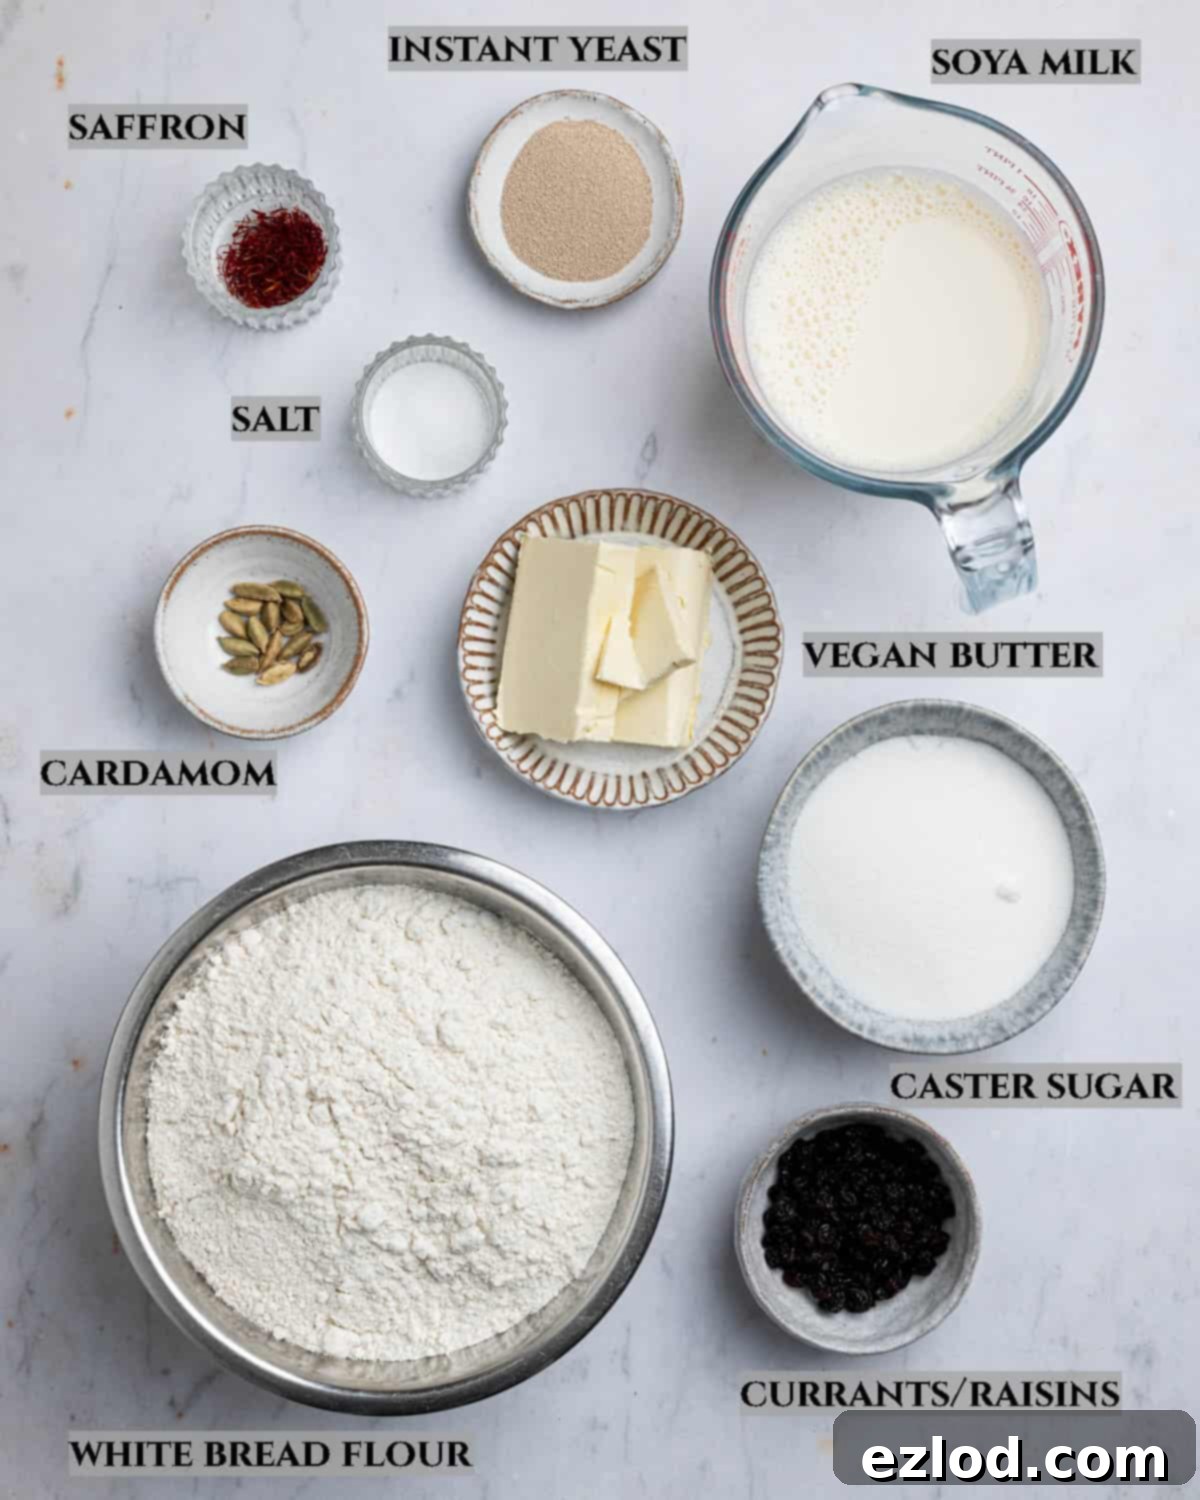
Key Ingredient Details for Perfect Vegan Lussekatter:
Crafting exceptional vegan St. Lucia buns starts with understanding the role of each ingredient. Here’s a closer look:
Saffron: While undeniably an investment, saffron is the soul of these St. Lucia buns. It’s not just about the beautiful, radiant sunny yellow color it imparts, but also its delicate, unique, and slightly floral flavor profile that truly defines Lussekatter. I highly recommend using high-quality saffron threads, which you should gently grind in a pestle and mortar just before use to release their maximum aroma and pigment. Avoid pre-ground saffron powder if possible, as its flavor is often diminished.
Bread Flour: For that coveted soft, fluffy, and slightly chewy texture that makes these buns so irresistible, white bread flour is your best choice. Its higher protein content facilitates excellent gluten development, which is crucial for creating a dough with structure and elasticity. While plain (all-purpose) flour can be used in a pinch, expect a slightly different texture that may be less resilient. I strongly advise against using wholemeal flour, as its coarser nature will result in a much denser, heavier bun, detracting from the desired lightness.
Instant/Fast Action Yeast: My go-to for bread making is always fast-action (or instant) yeast. Its convenience is unmatched, as it can be added directly to your dry ingredients without the need for prior activation in liquid. This saves time and simplifies the process, making it ideal for bakers of all experience levels. Ensure your yeast is fresh for optimal rising power.
Salt: A non-negotiable ingredient in virtually all bread recipes, salt is paramount for flavor and dough structure. It not only enhances the taste of the buns but also plays a vital role in regulating yeast activity and strengthening the gluten network. Do not be tempted to omit it, as your buns will taste bland and lack proper texture.
Non-dairy Milk: When it comes to vegan baking, soy milk is my preferred choice due to its higher protein content, which most closely mimics the properties of dairy milk, contributing to a richer dough. However, most unsweetened varieties of non-dairy milk – such as almond, oat, or cashew milk – will work perfectly fine. Opt for an unsweetened version to maintain control over the overall sweetness of the buns.
Sugar: Caster sugar is my preference for the dough, as its fine granules dissolve effortlessly, ensuring an even distribution of sweetness without creating a gritty texture. If caster sugar isn’t available, granulated sugar can be substituted without significant issues, though it might take a fraction longer to fully incorporate into the dough.
Vegan Butter: For the best results, a block-style vegan butter (like Flora plant butter or Naturli vegan block) is highly recommended. These block butters have a firmer consistency and higher fat content, which contributes to a more manageable dough and a tender crumb. Spreadable vegan butters, which often contain more water, can make your dough softer and potentially harder to handle and shape effectively.
Currants or Raisins: Traditionally, these small dried fruits are primarily used as decorative accents, pressed into the center of each saffron bun’s spiral. They add a touch of sweetness and visual appeal. While they are a classic embellishment, feel free to omit them if you prefer a simpler bun, or if you aren’t a fan of dried fruit.
Cardamom: While not universally found in every traditional St. Lucia bun recipe, I find that a hint of freshly ground cardamom elevates the flavor profile beautifully, adding a warm, aromatic depth that complements the saffron without overpowering it. Grinding the seeds from whole cardamom pods just before use will yield the strongest and most vibrant flavor. If using pre-ground cardamom, you might consider adding a slightly larger amount to compensate for potential loss of potency. Adjust the quantity to your personal taste, or omit it entirely if you’re not a fan of its distinctive spice.
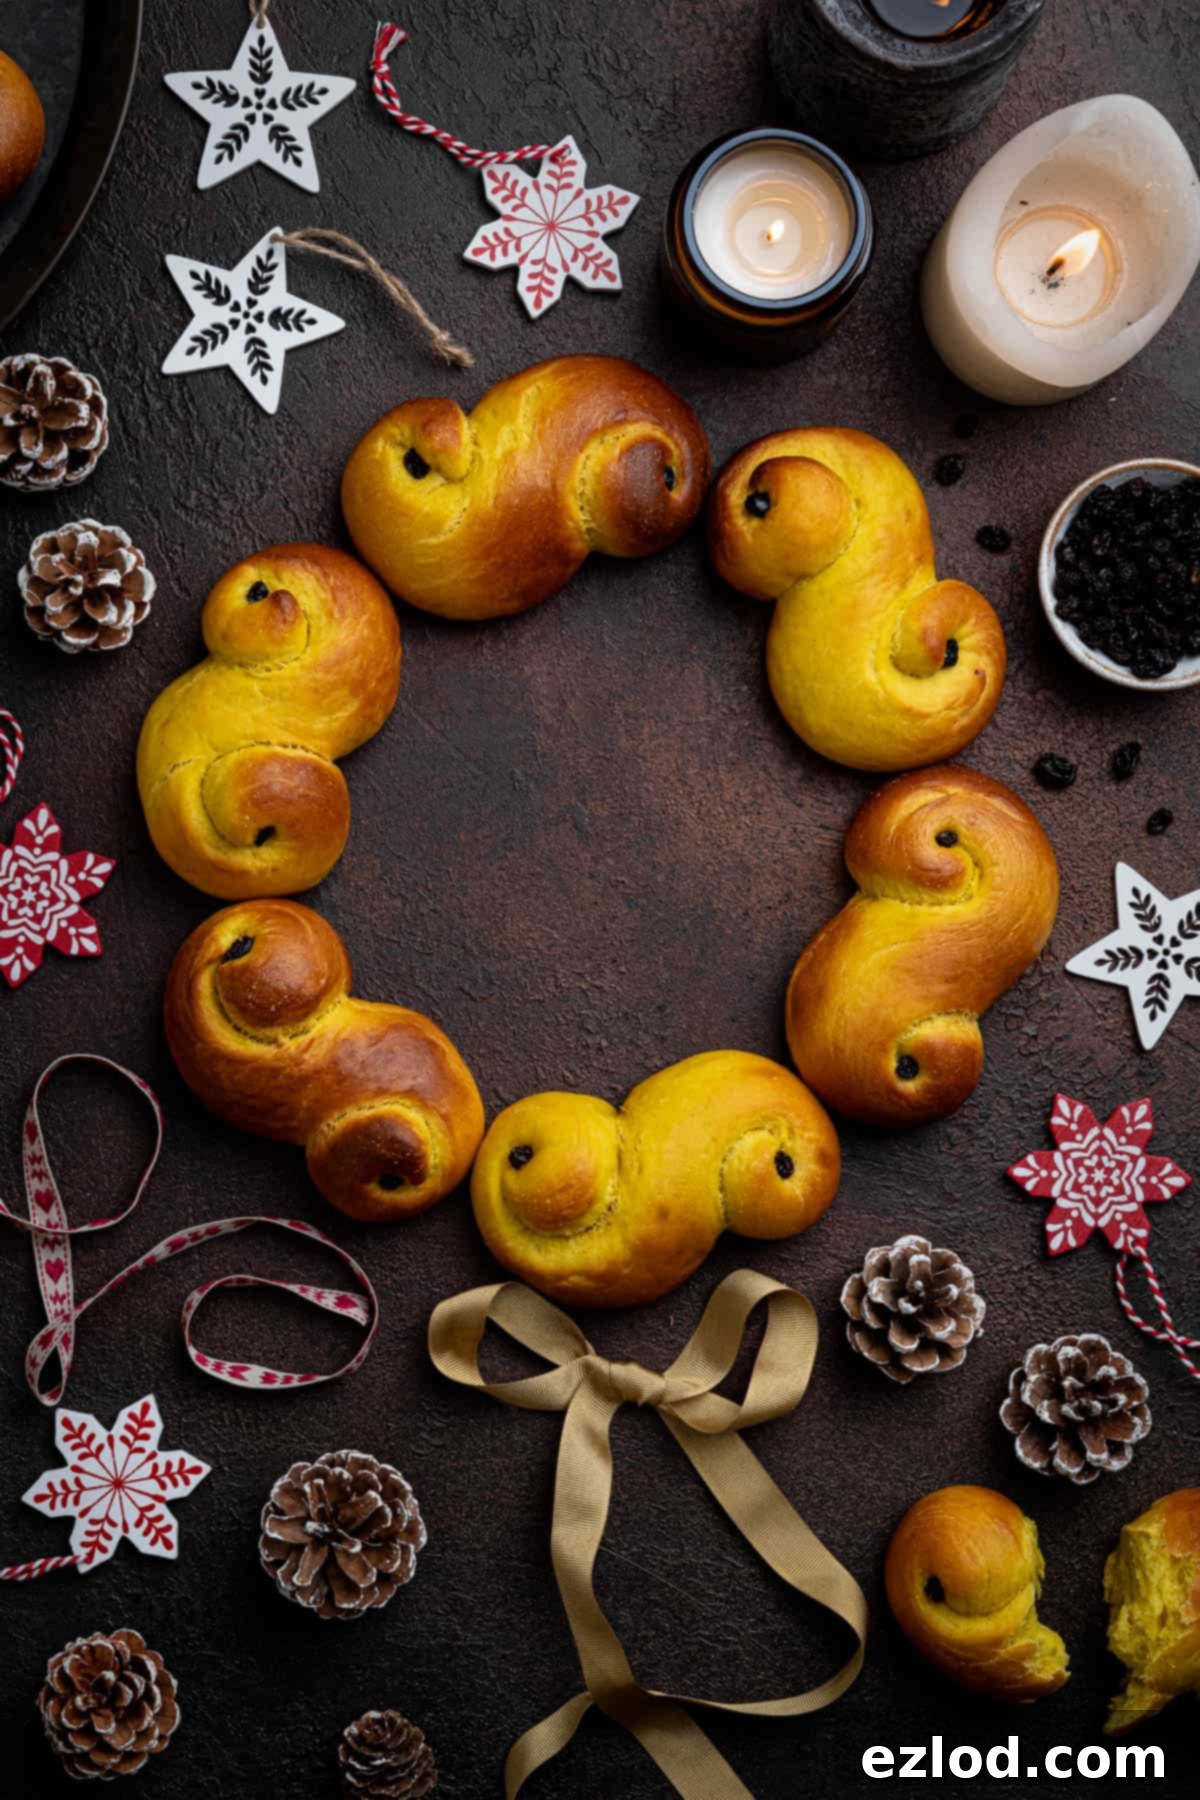
How To Make Vegan St. Lucia Buns: Step-by-Step
(Full measurements and detailed instructions can be found in the comprehensive recipe card at the bottom of the page)
Step 1: Infuse the Saffron Milk. Begin by finely grinding the saffron threads in a pestle and mortar until they form a fragrant powder. Transfer this precious saffron powder into a small saucepan. To ensure you capture every last bit of the expensive spice, rinse the mortar out with the non-dairy milk and add this saffron-infused milk to the pan. Gently heat the mixture until it is steaming warmly, but crucially, do not let it boil. Remove the pan from the heat, add the vegan butter, and stir until it has completely melted. Set this aromatic saffron milk mixture aside to cool until it reaches a comfortable lukewarm temperature – warm enough to activate yeast, but not hot enough to kill it.

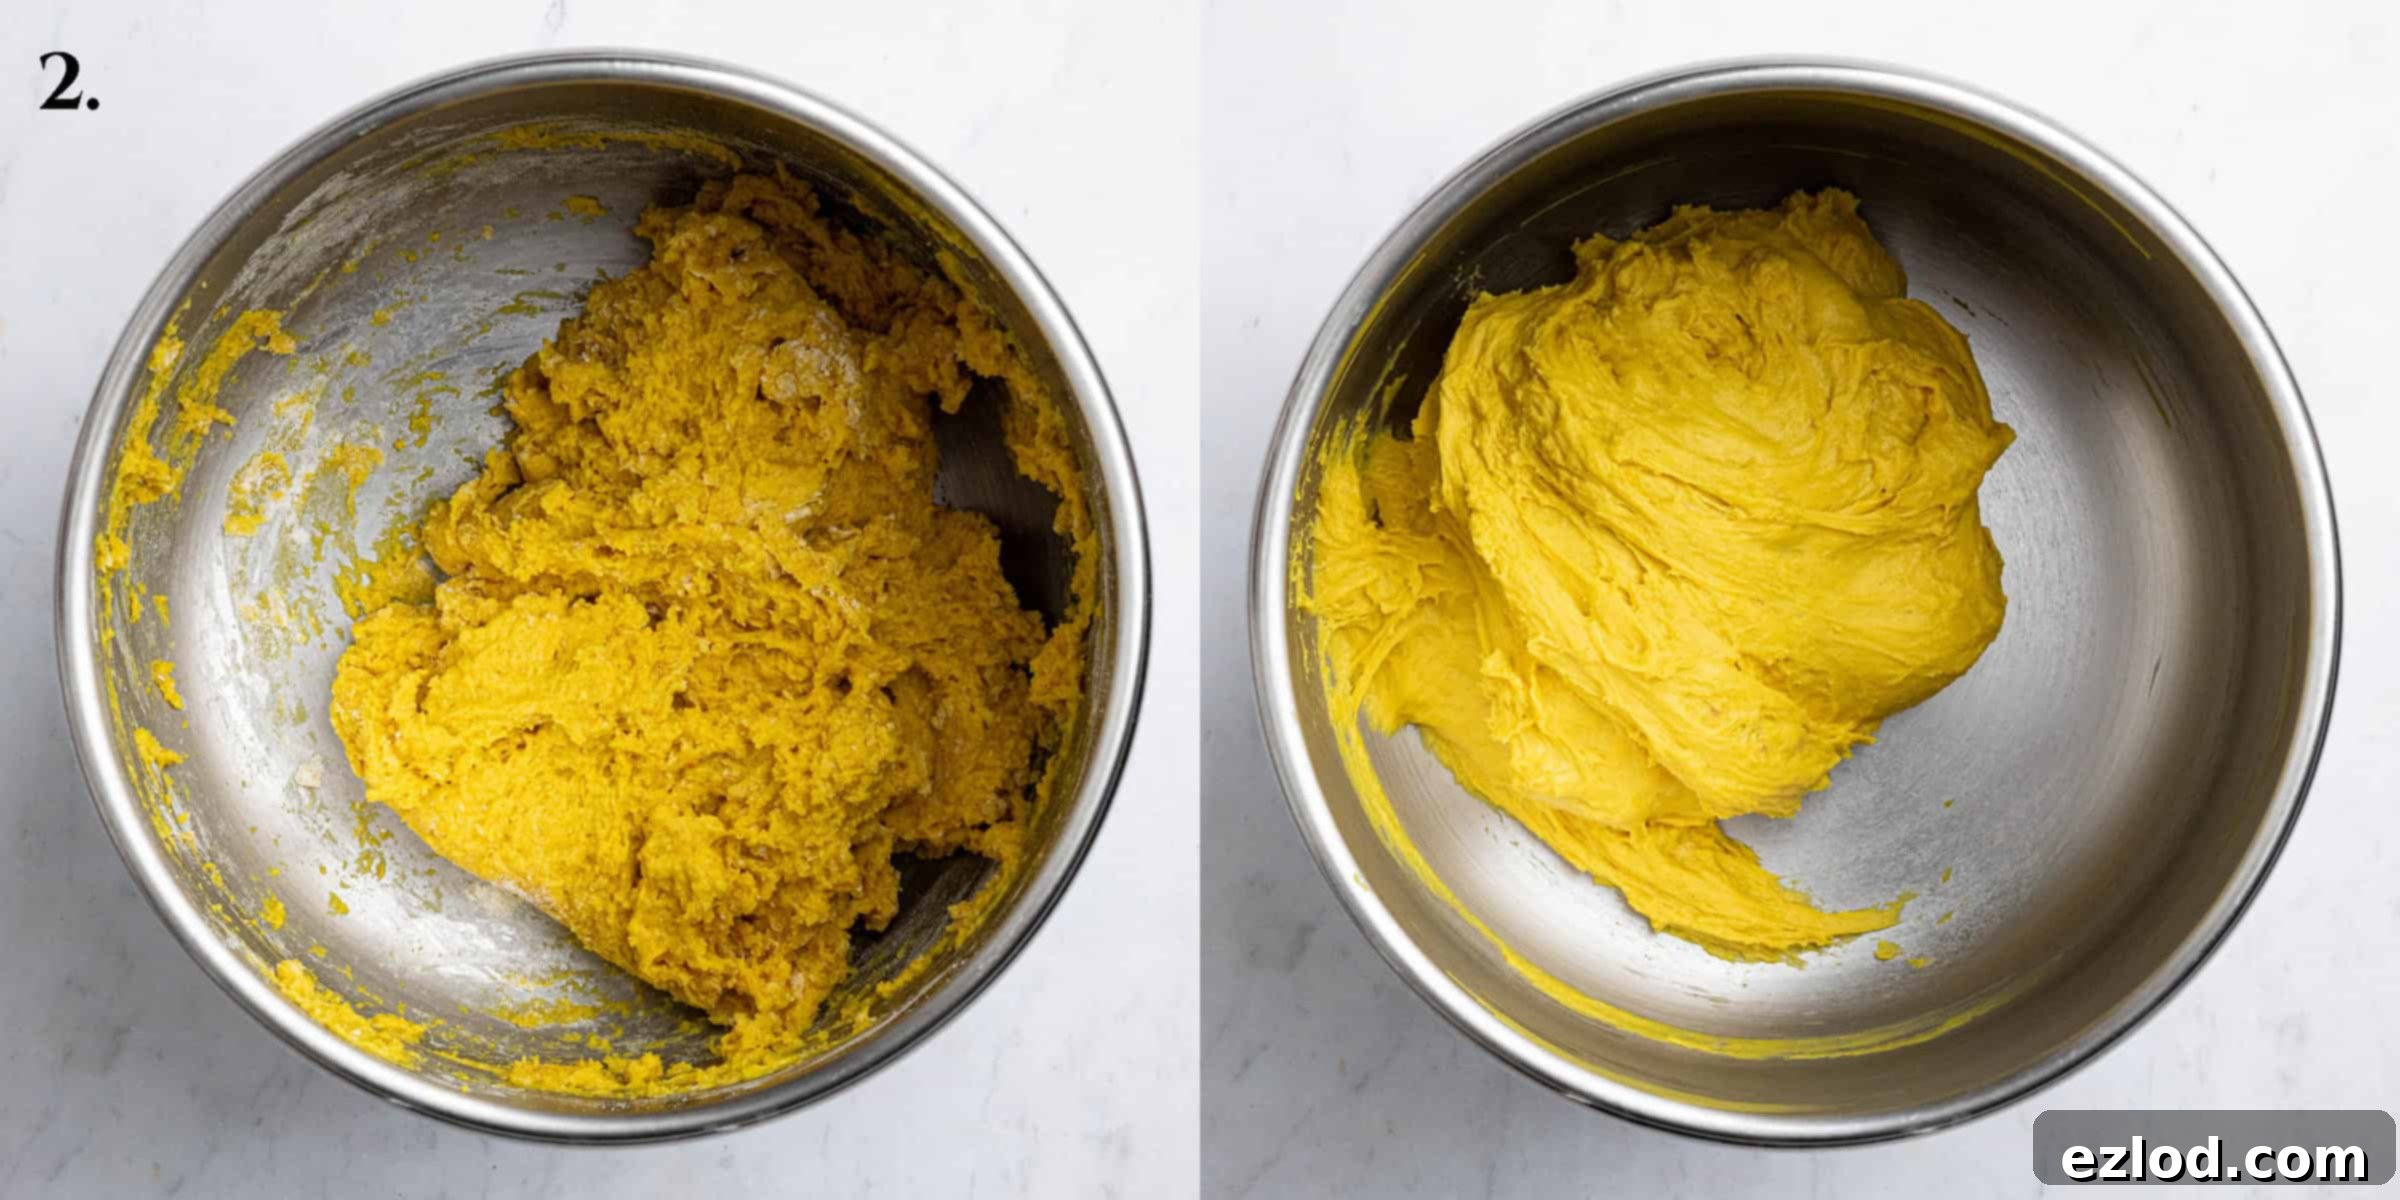
Step 2: Prepare and Knead the Dough. In the bowl of your stand mixer (fitted with a dough hook), combine the bread flour, sugar, instant yeast, salt, and optional ground cardamom. Give these dry ingredients a quick mix. Once the saffron milk mixture has cooled to lukewarm, pour it into the dry ingredients. Mix on a low speed until a shaggy, somewhat sticky dough forms. Increase the speed slightly and knead the dough for approximately 5-10 minutes. The goal is a smooth, elastic, and supple dough that is still slightly sticky to the touch but not wet or unmanageable. If kneading by hand, work the dough on an unfloured surface until it achieves this consistency.
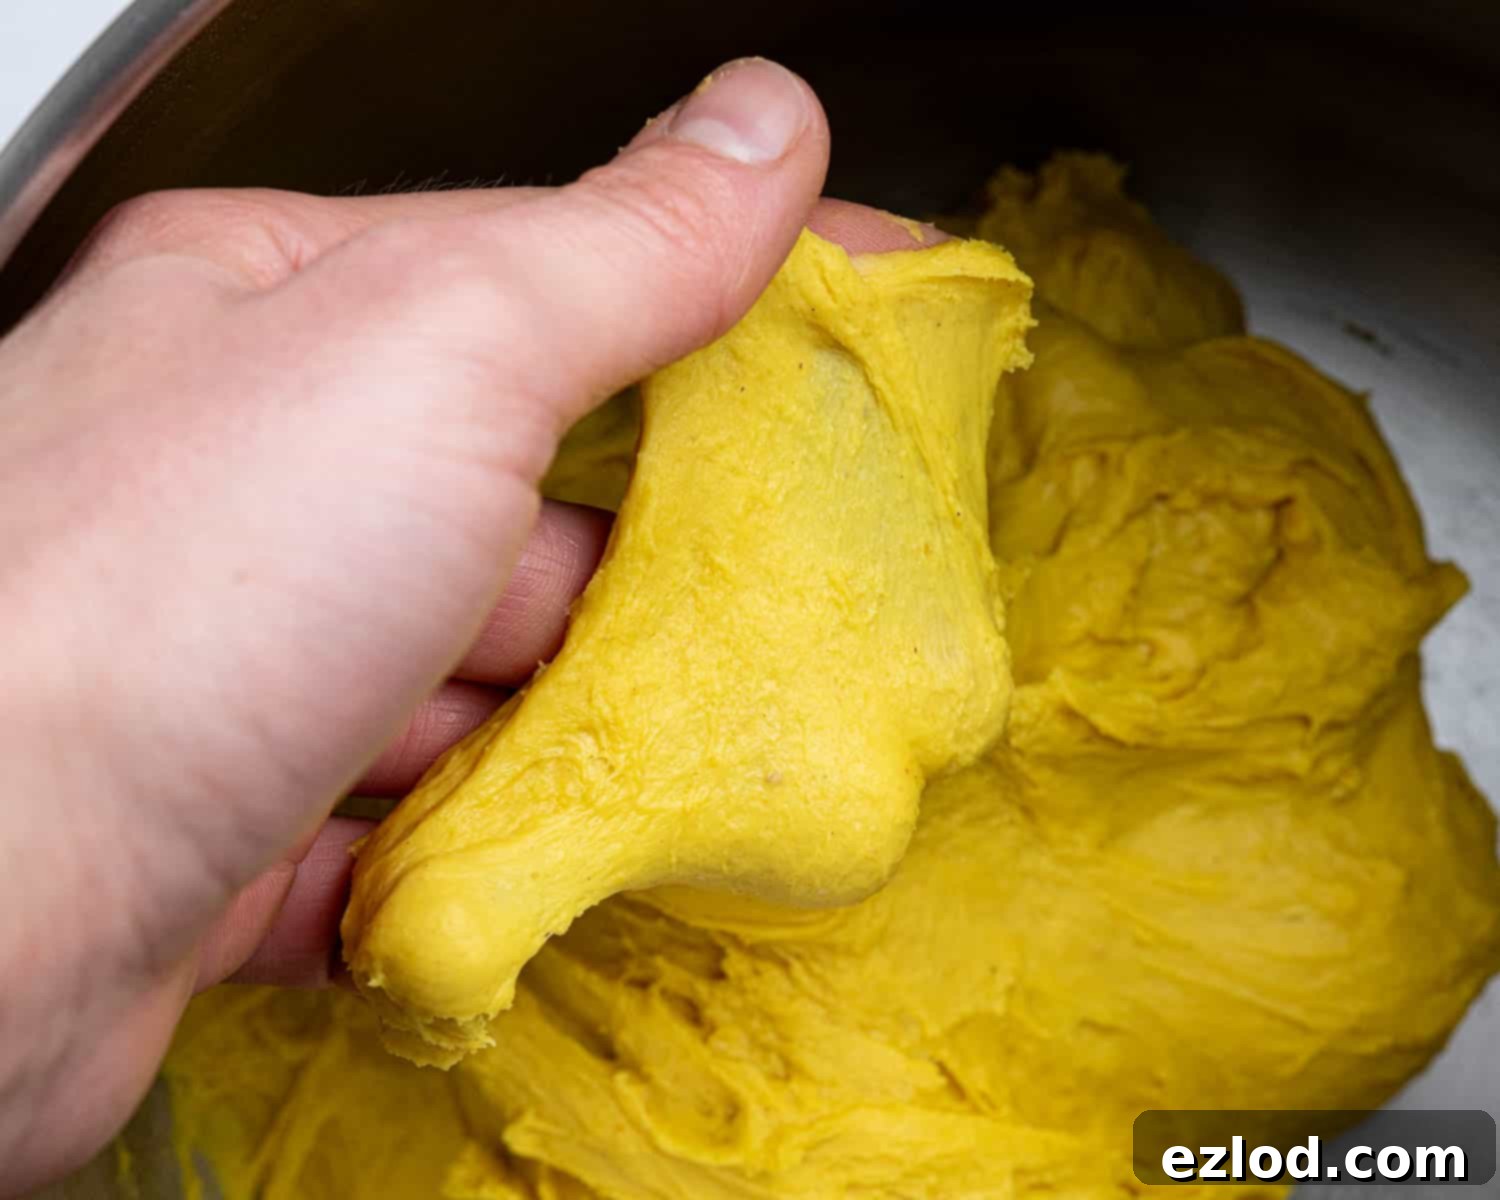
The dough should successfully pass the “windowpane test” – a key indicator of proper gluten development. To perform this, carefully pinch off a small portion of dough and gently stretch it between your fingers. You should be able to stretch it so thin that light can pass through it without the dough tearing. This elasticity is crucial for light, airy buns.
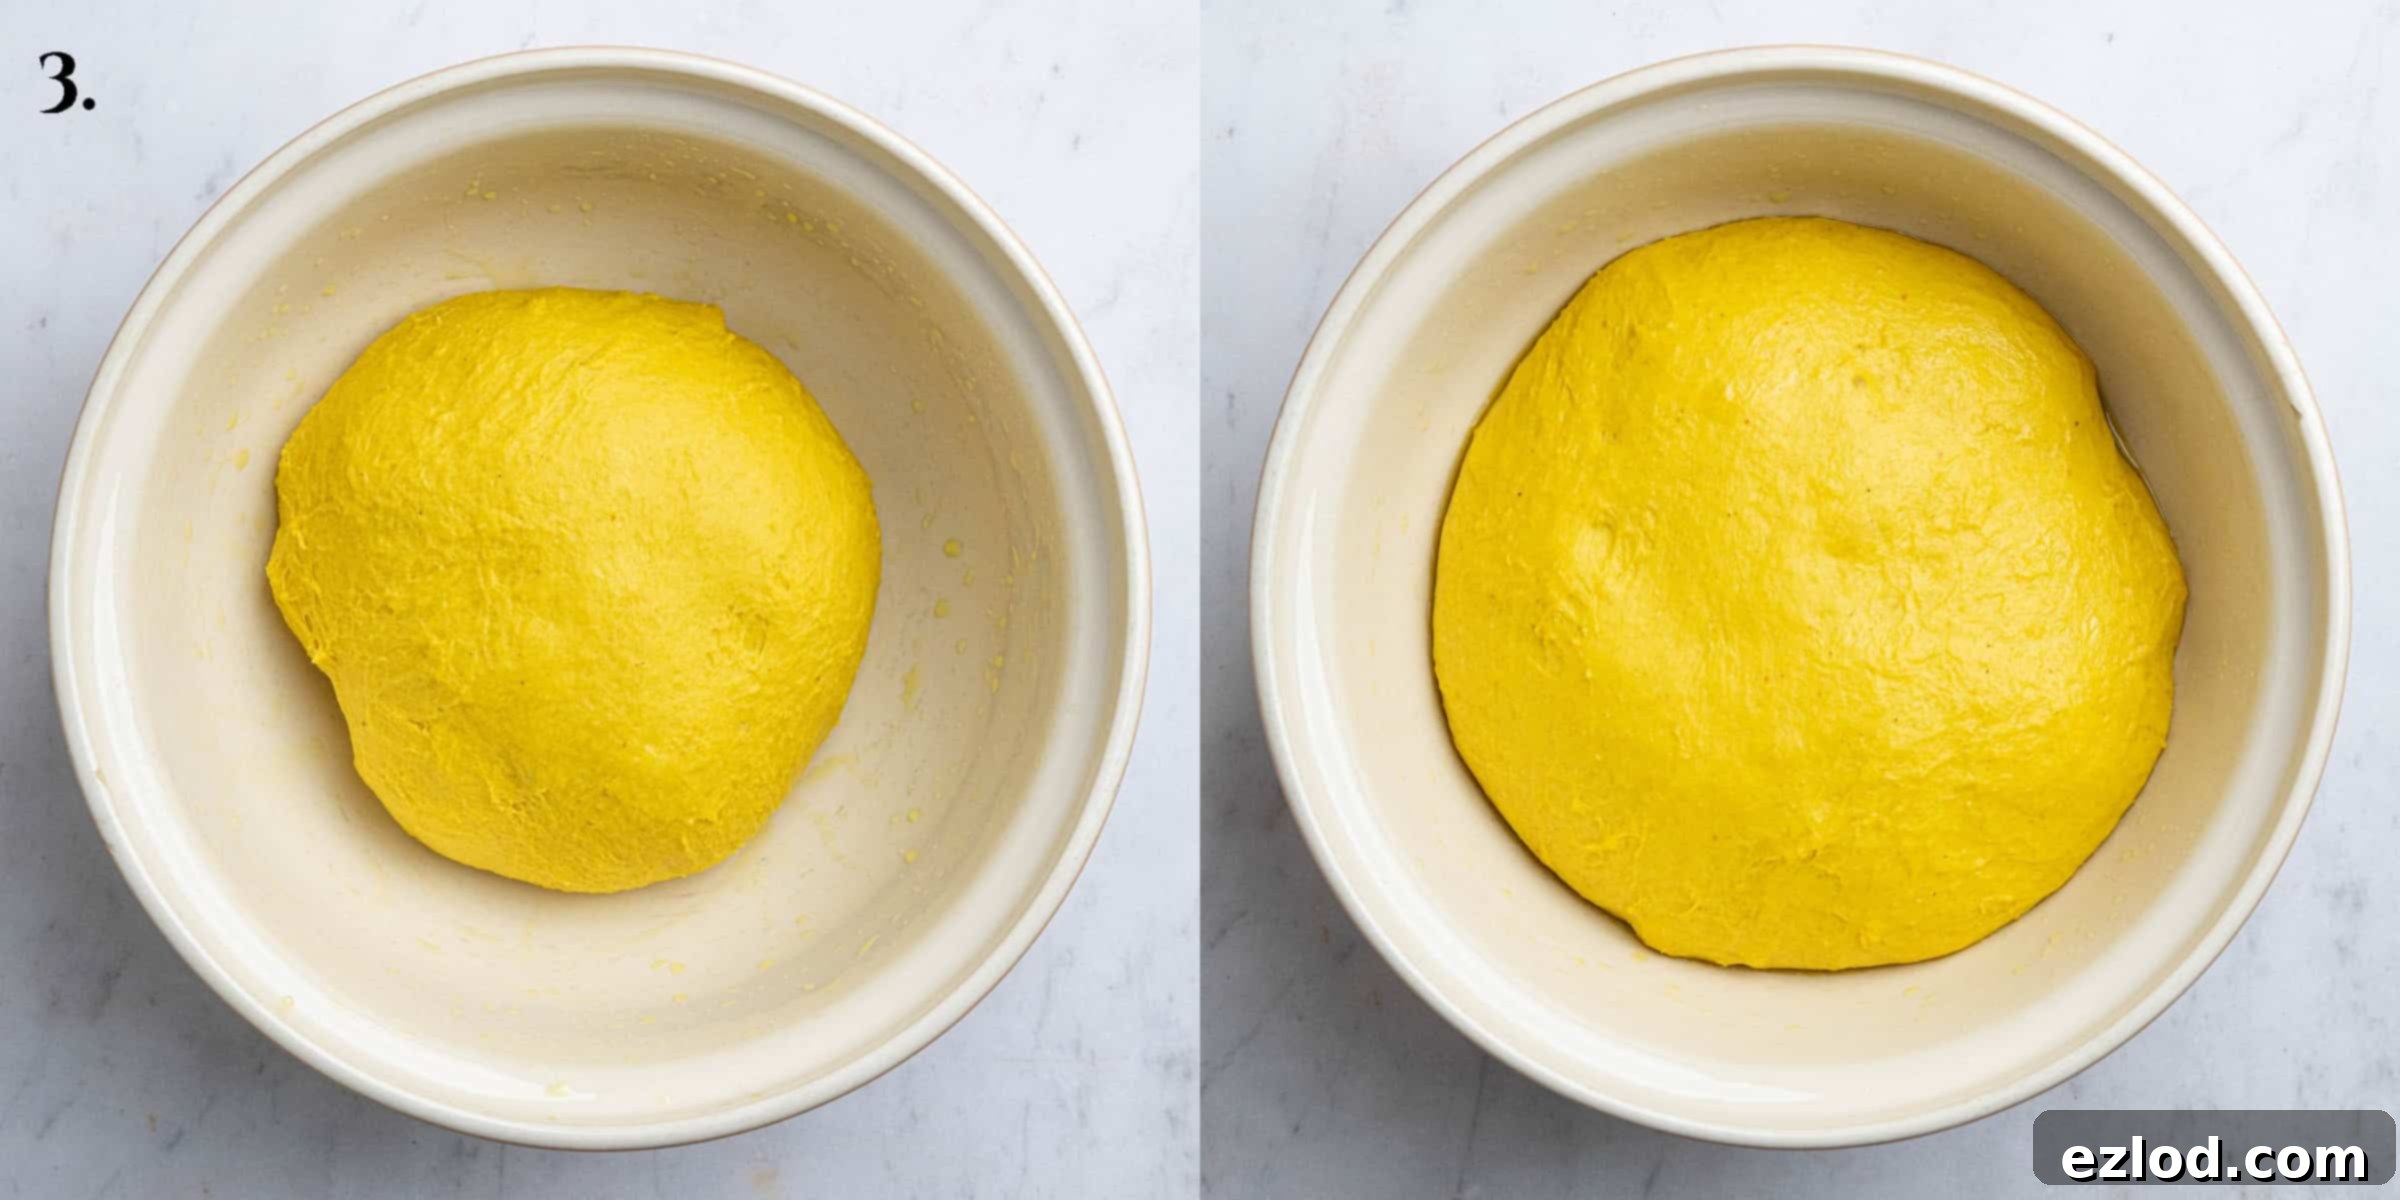
Step 3: First Rise (Bulk Fermentation). Lightly oil a large bowl. Transfer the kneaded dough into this bowl, turning it once to coat all sides lightly with oil. Cover the bowl securely with plastic wrap or a clean kitchen towel. Place it in a warm, draft-free spot to rise until the dough has noticeably doubled in size. This typically takes about 1 to 2 hours, depending on the ambient temperature. A longer, slower rise in the fridge overnight can also enhance flavor.
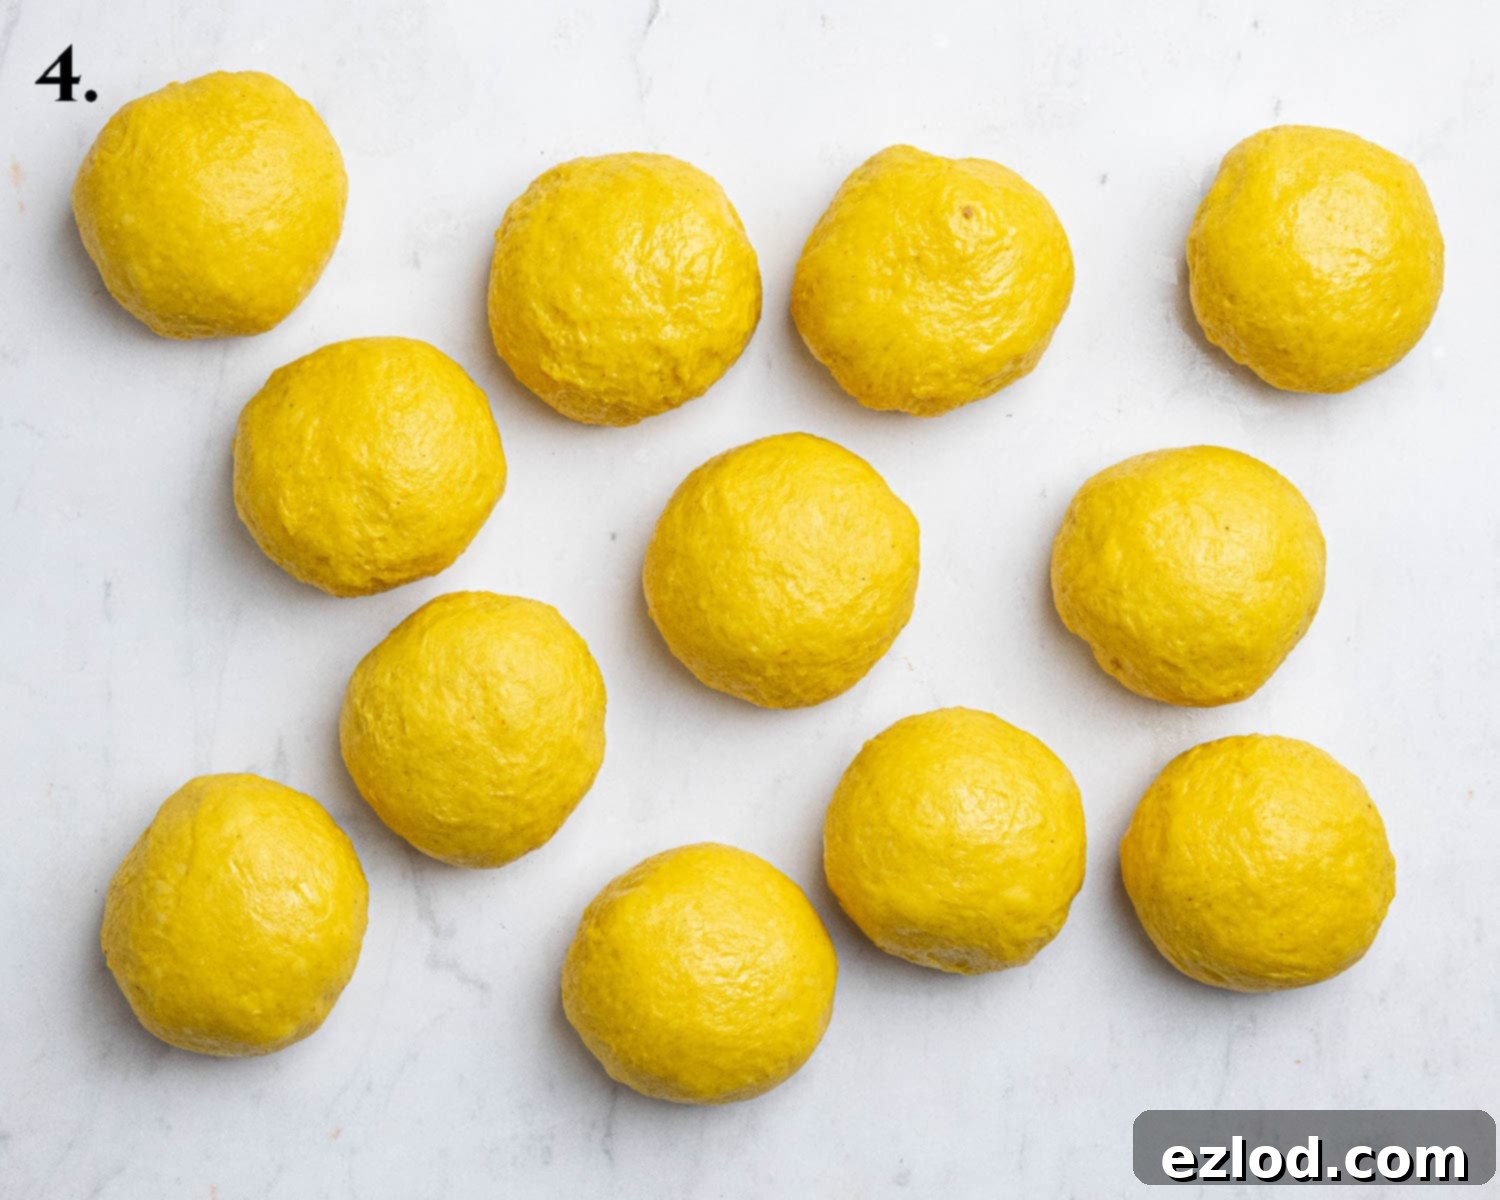
Step 4: Portion and Shape. Once the dough has doubled, gently punch it down to release the air. Briefly knead it for about 30 seconds to deflate completely. Using a kitchen scale for accuracy, divide the dough into 12 equal portions. Roll each portion into a neat, smooth ball. While you work on shaping, ensure the remaining dough balls are kept covered with oiled cling film to prevent them from drying out and forming a skin.
Step 5: Roll into Ropes. Working with one dough ball at a time (keeping the others covered), use your hands to gently roll it out into a long rope, approximately 35-40 cm (14-15.5 inches) in length. Resist the urge to flour your work surface, as this can dry out the dough and make it harder to roll smoothly. The dough should be soft enough to roll without sticking excessively.

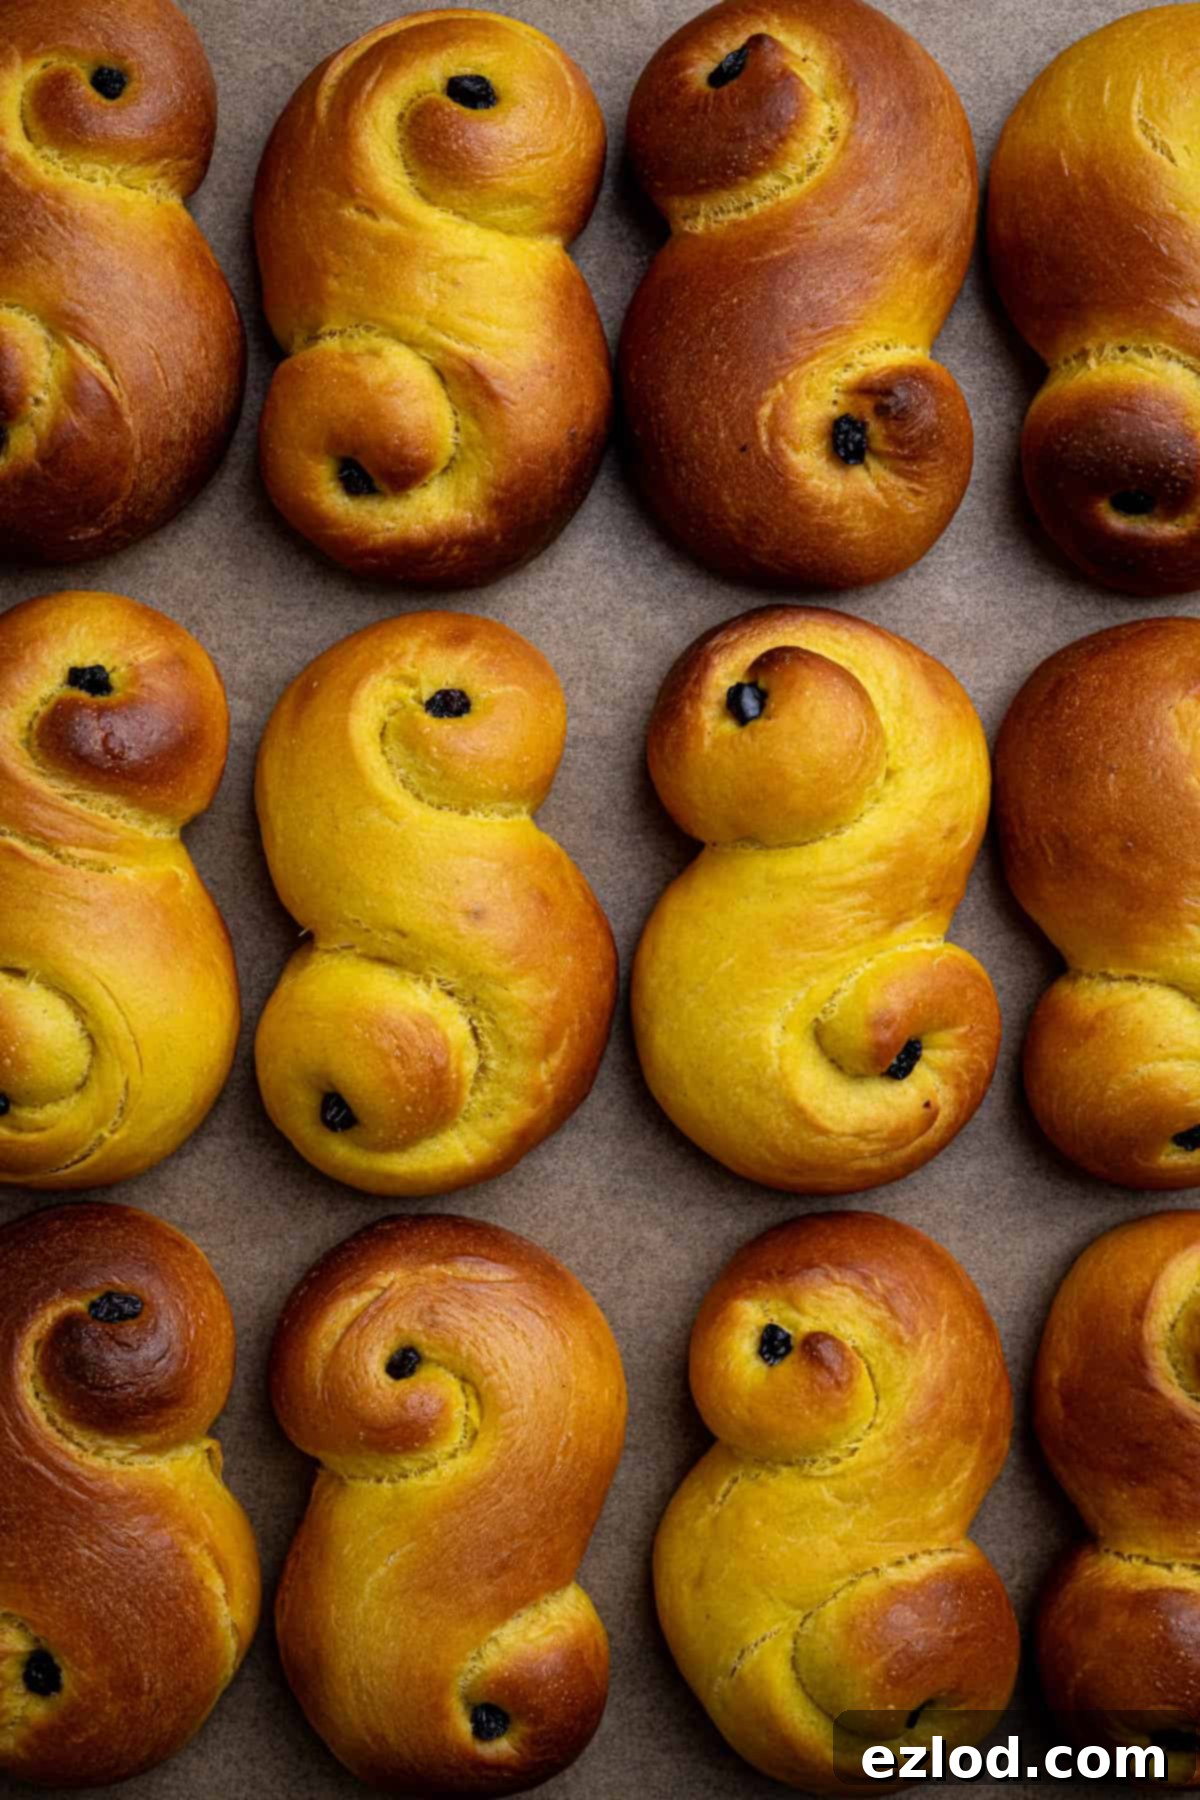
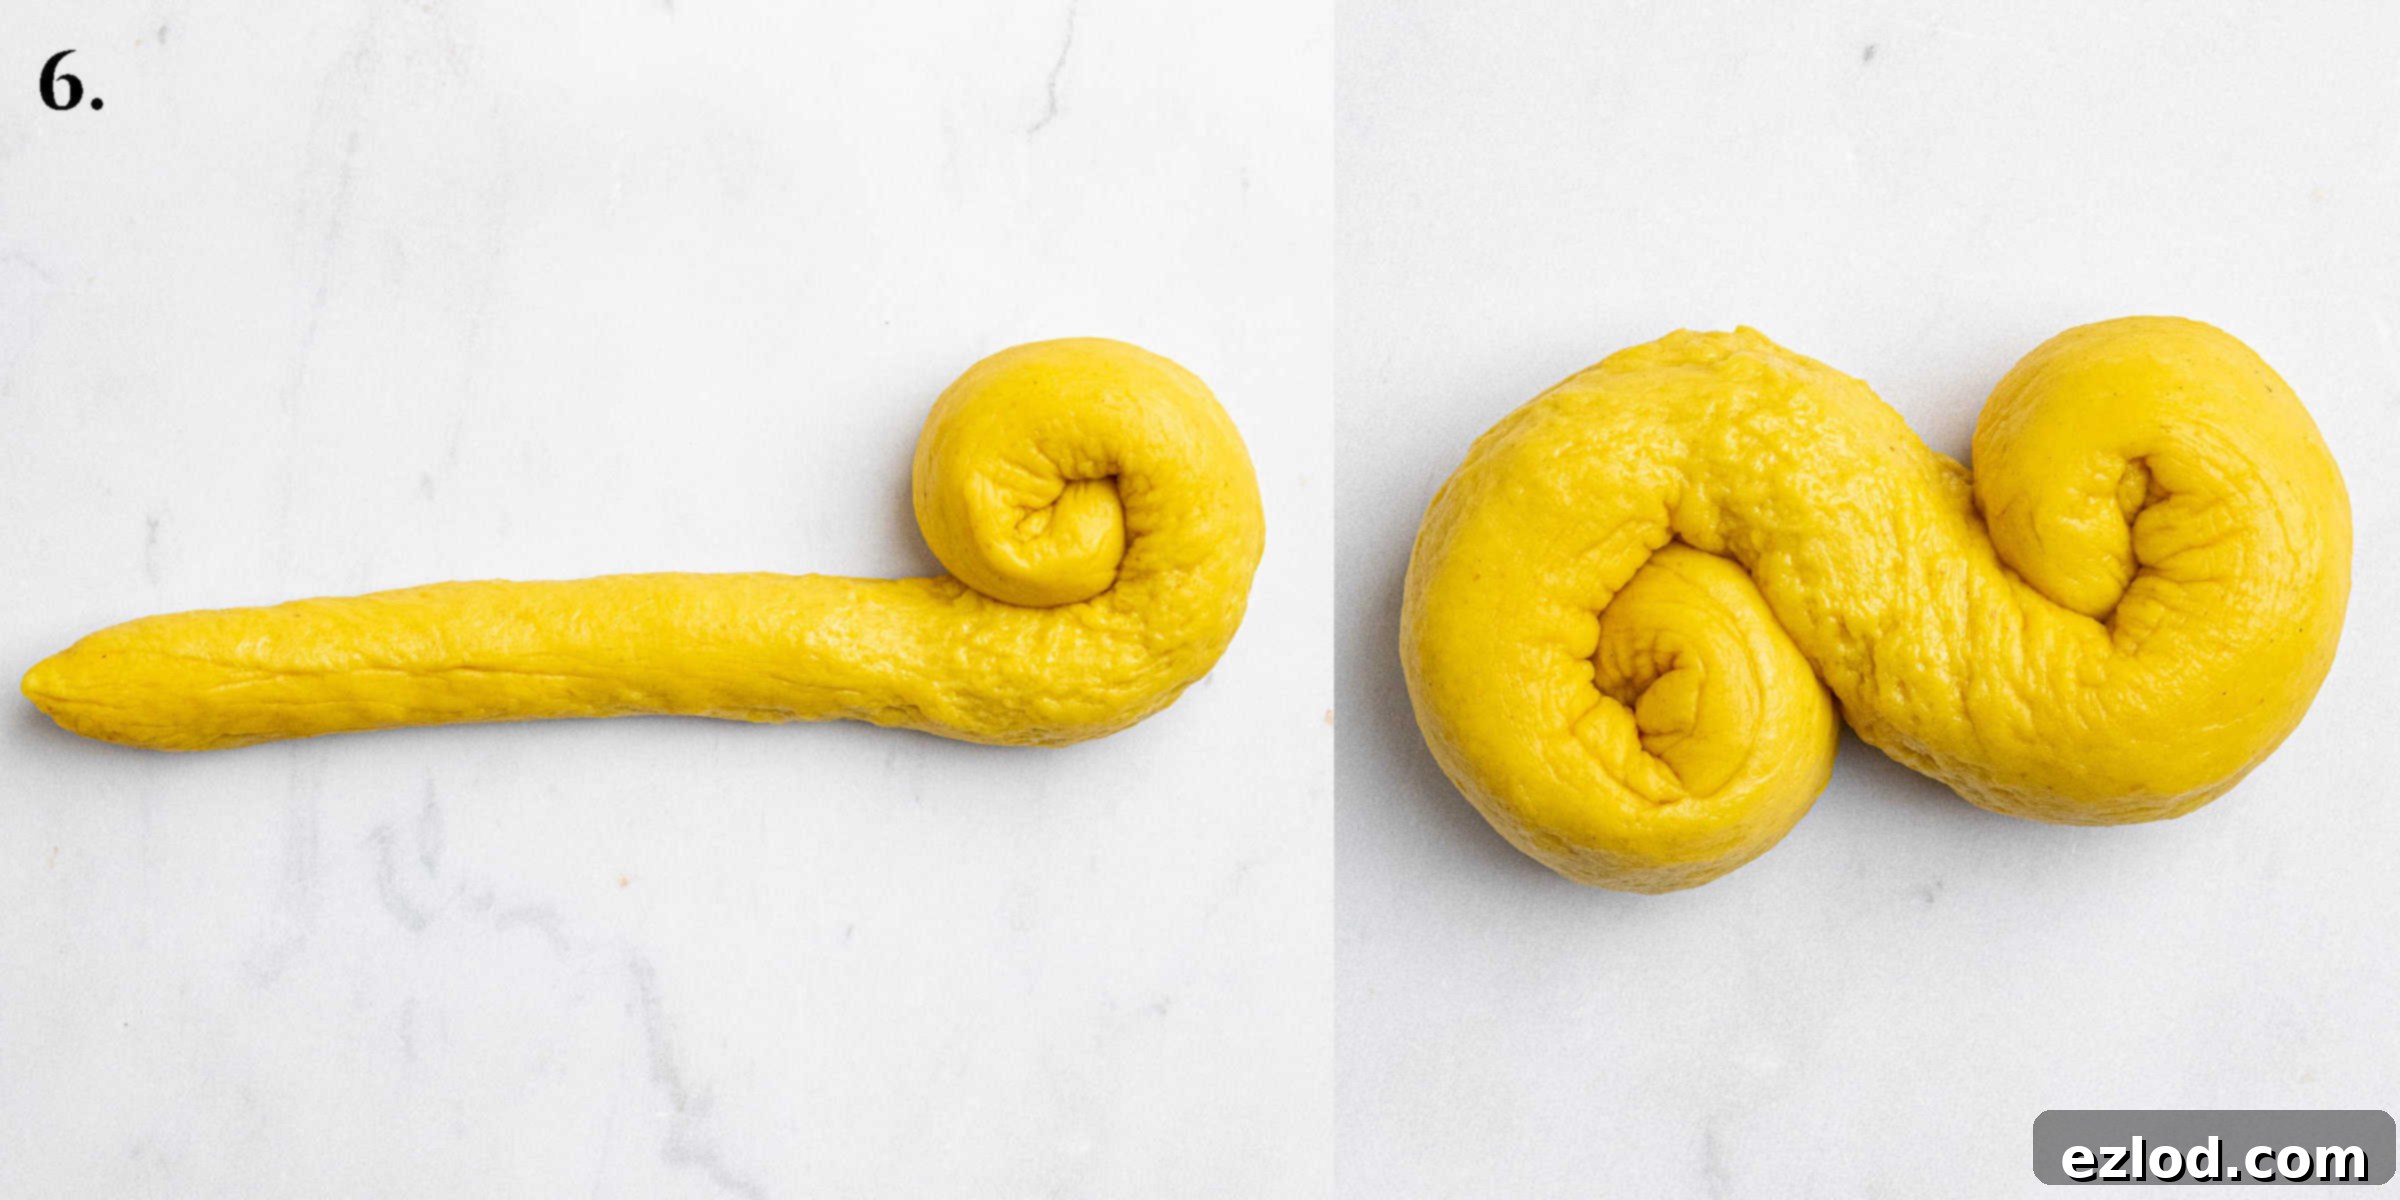
Step 6: Form the “S” Shape. To create the signature Lussekatter shape, coil the ends of the dough rope in opposite directions towards the center, forming a distinctive “S” shape with two spirals. Don’t coil too tightly; leave a little room for expansion during the second rise and baking. Repeat this process for all 12 portions of dough.
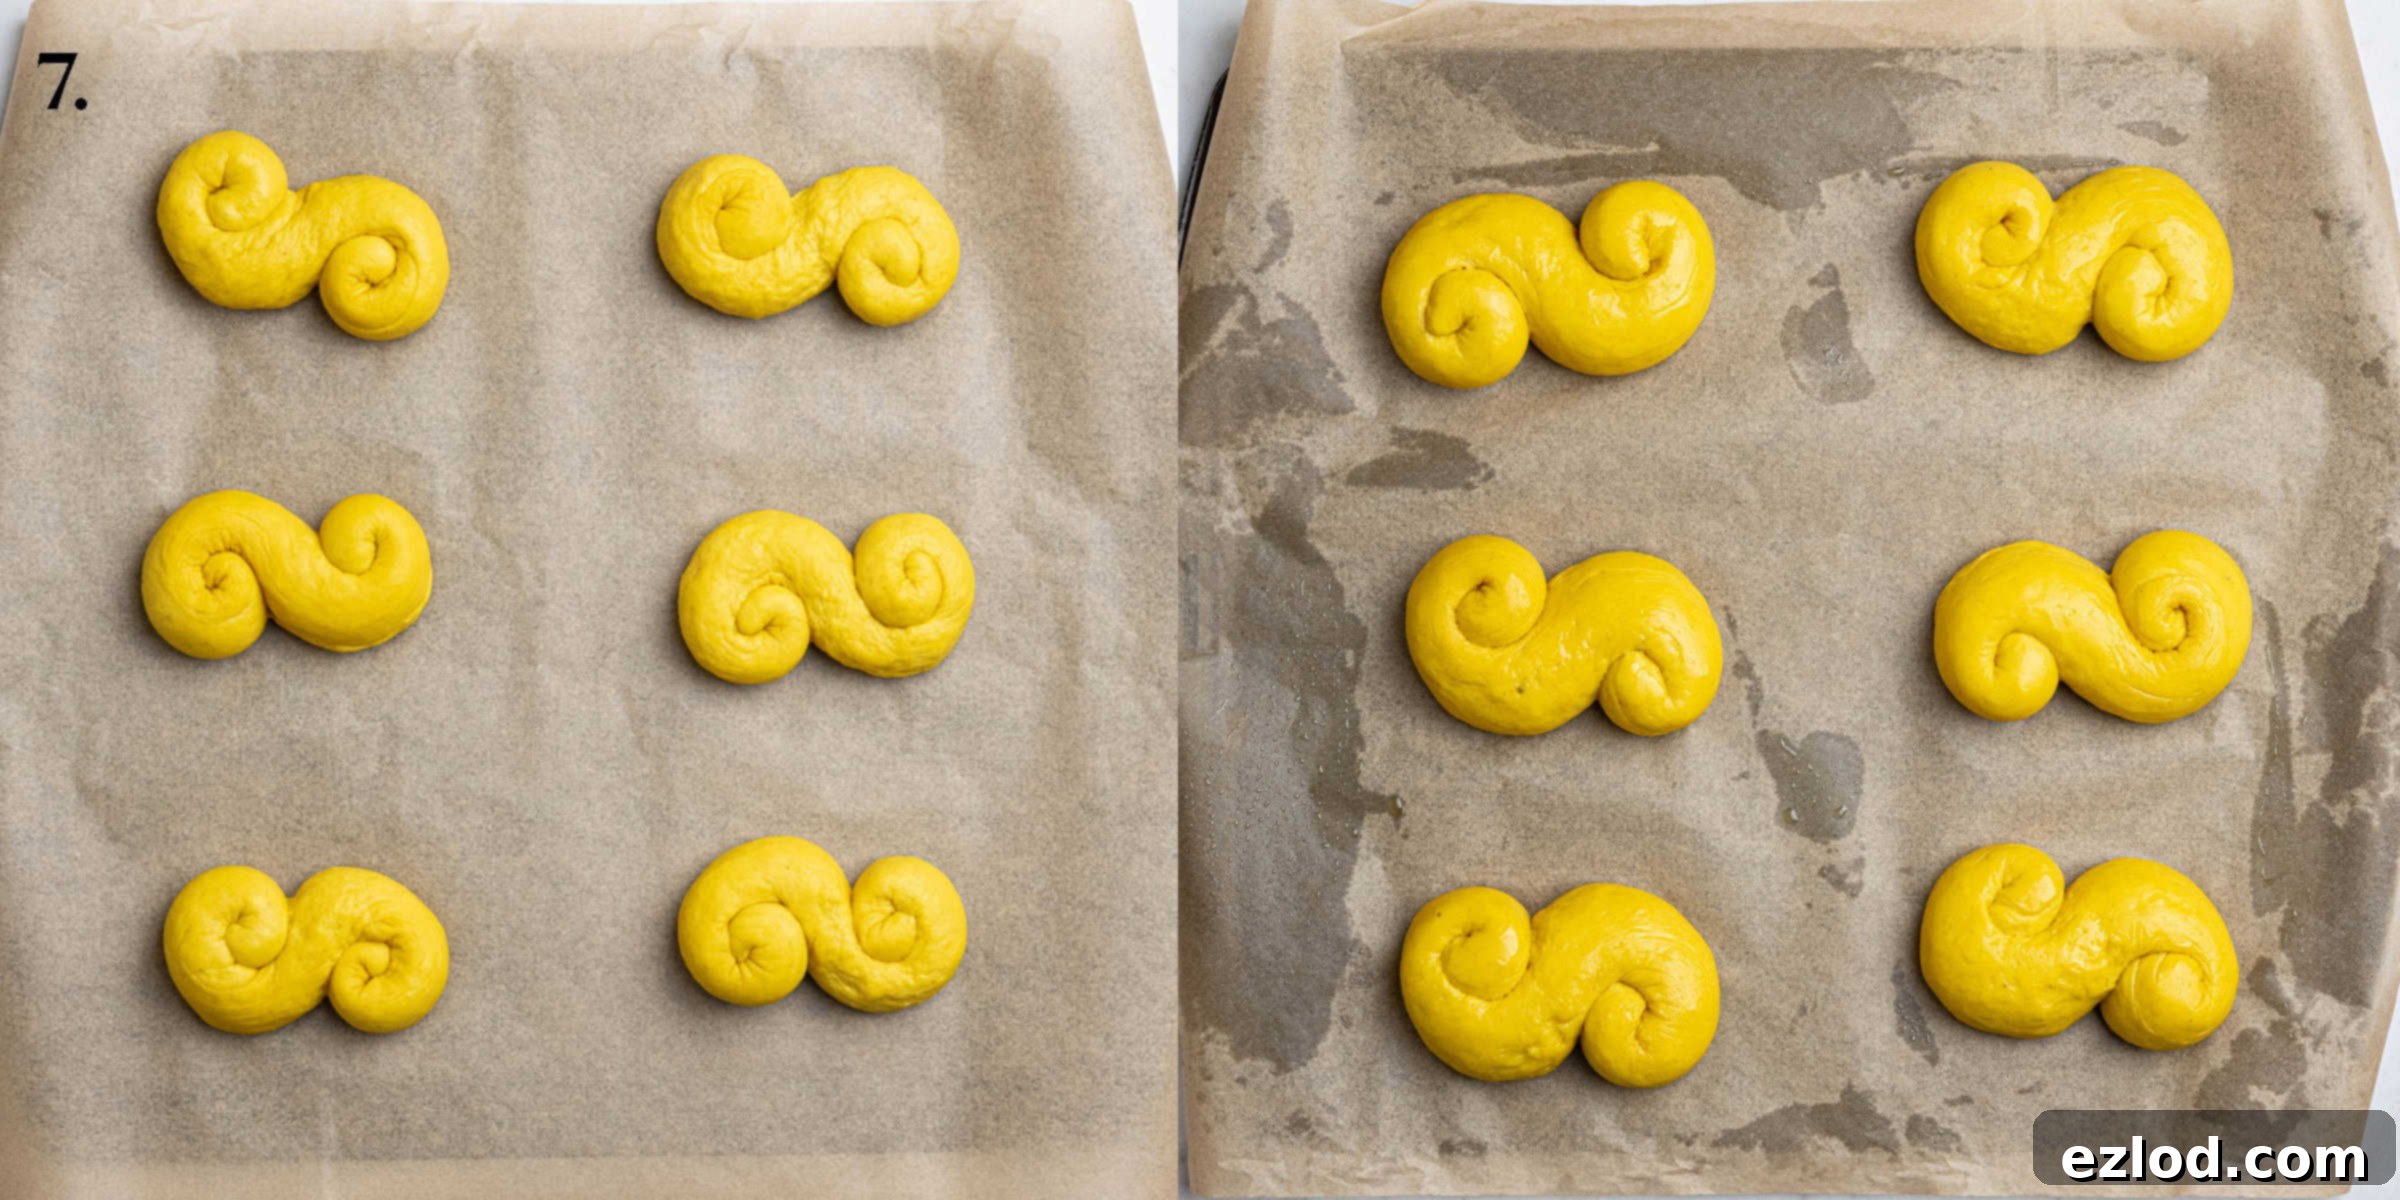
Step 7: Second Rise (Proofing). Line two baking sheets with baking paper. Carefully transfer the shaped buns to the prepared baking sheets, ensuring they are spaced well apart to allow for expansion. Loosely cover the buns with oiled cling film or a clean, damp kitchen towel. Set them aside in a warm place for their second rise until they appear visibly puffy and slightly larger, usually about 30-60 minutes. To check if they’re ready, gently press a finger into the dough; if it springs back slowly and leaves a small indentation, they are proofed. If it springs back quickly, they need more time.
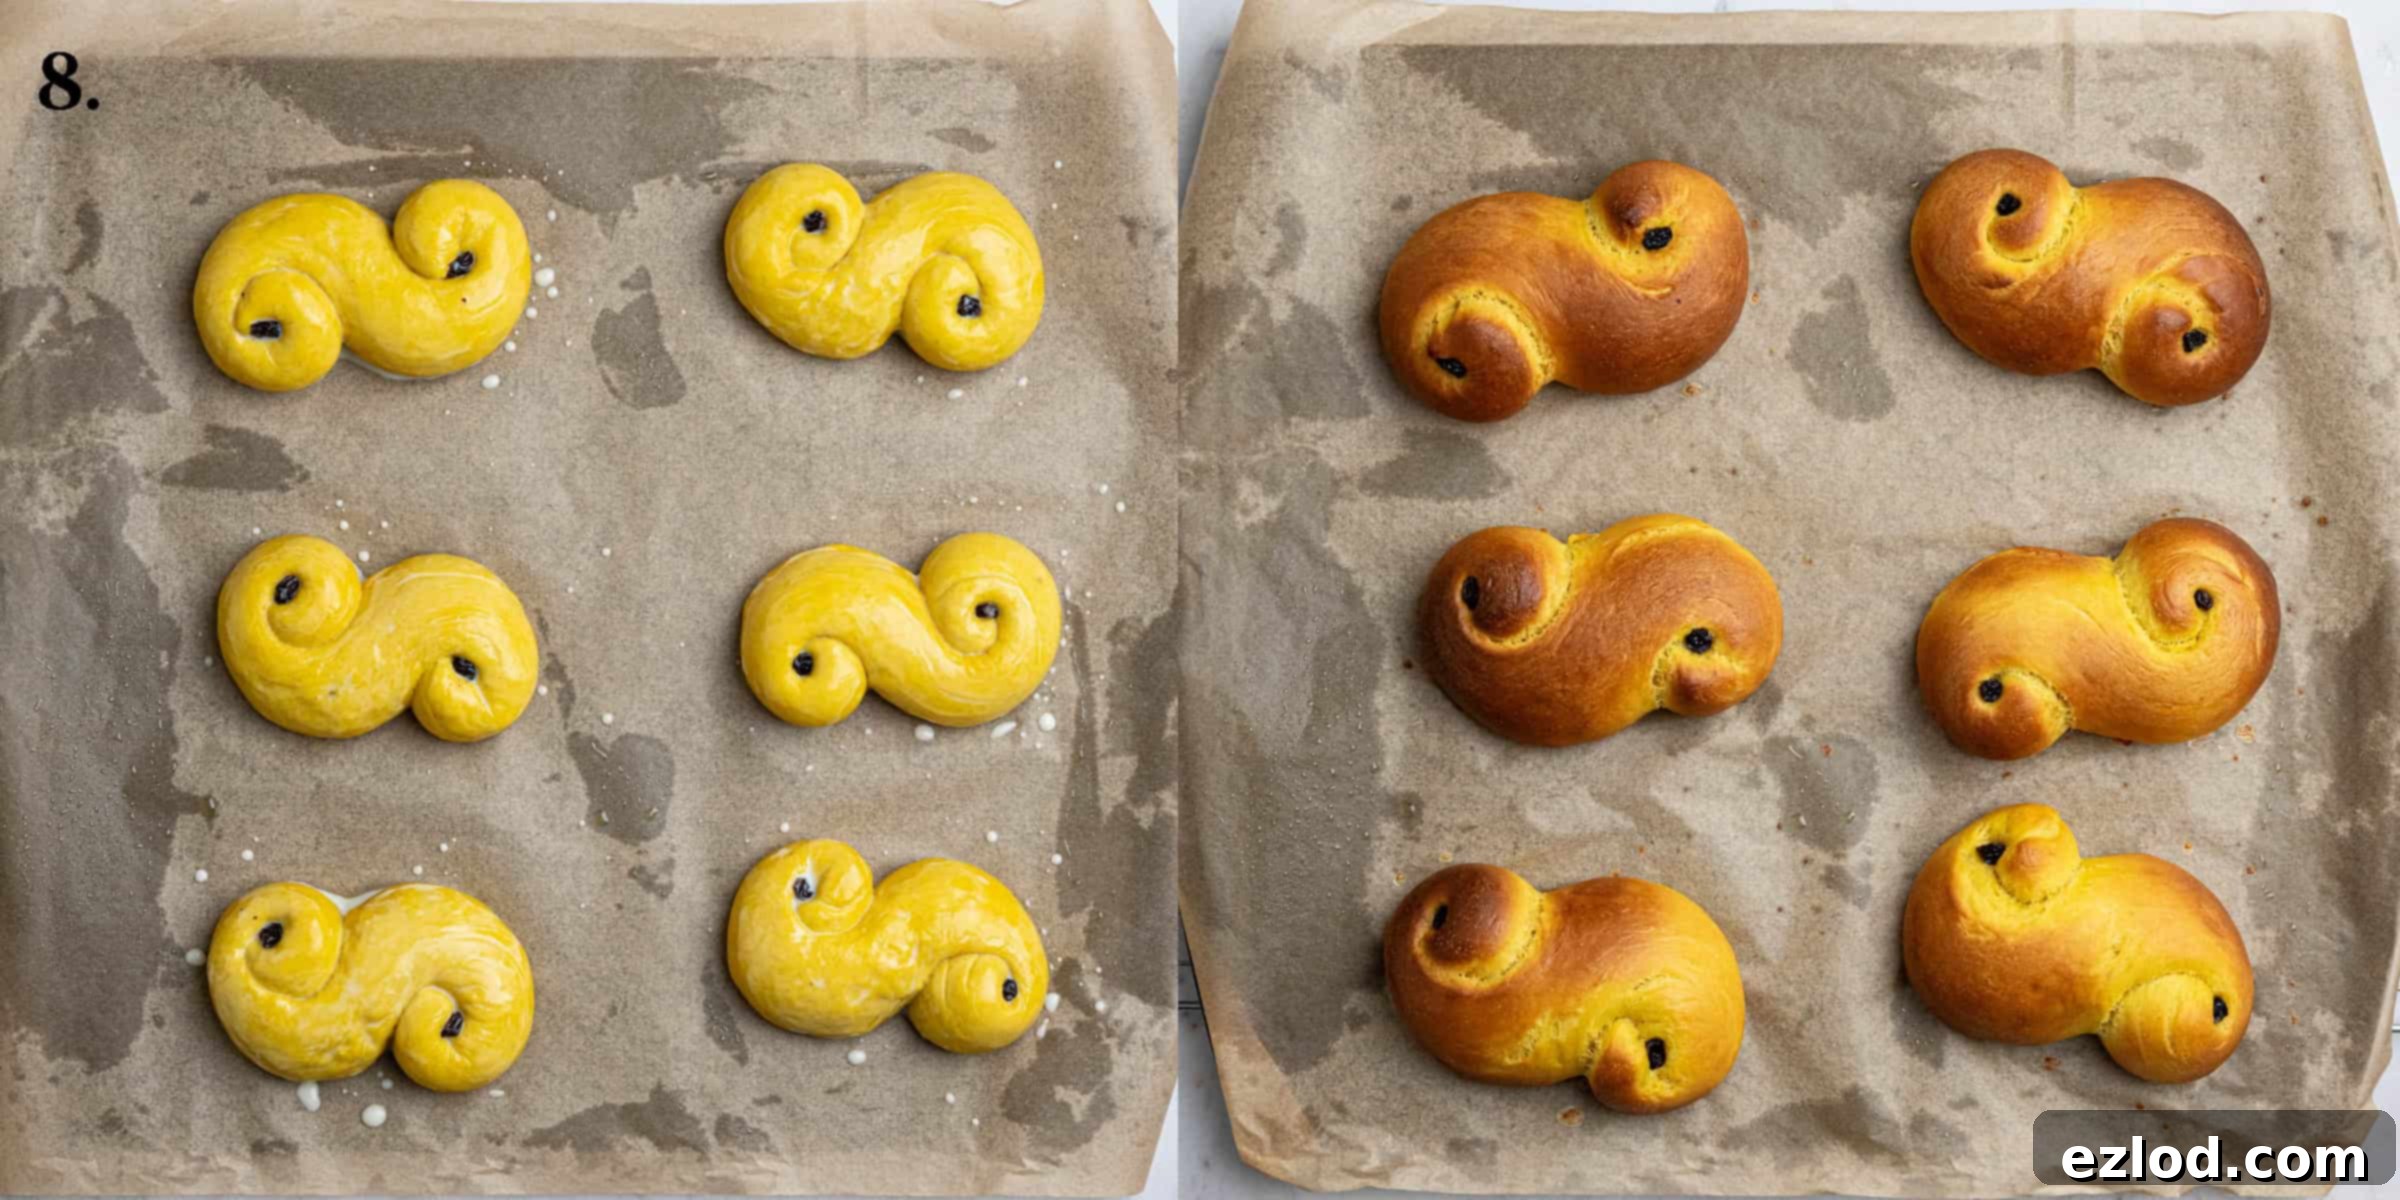
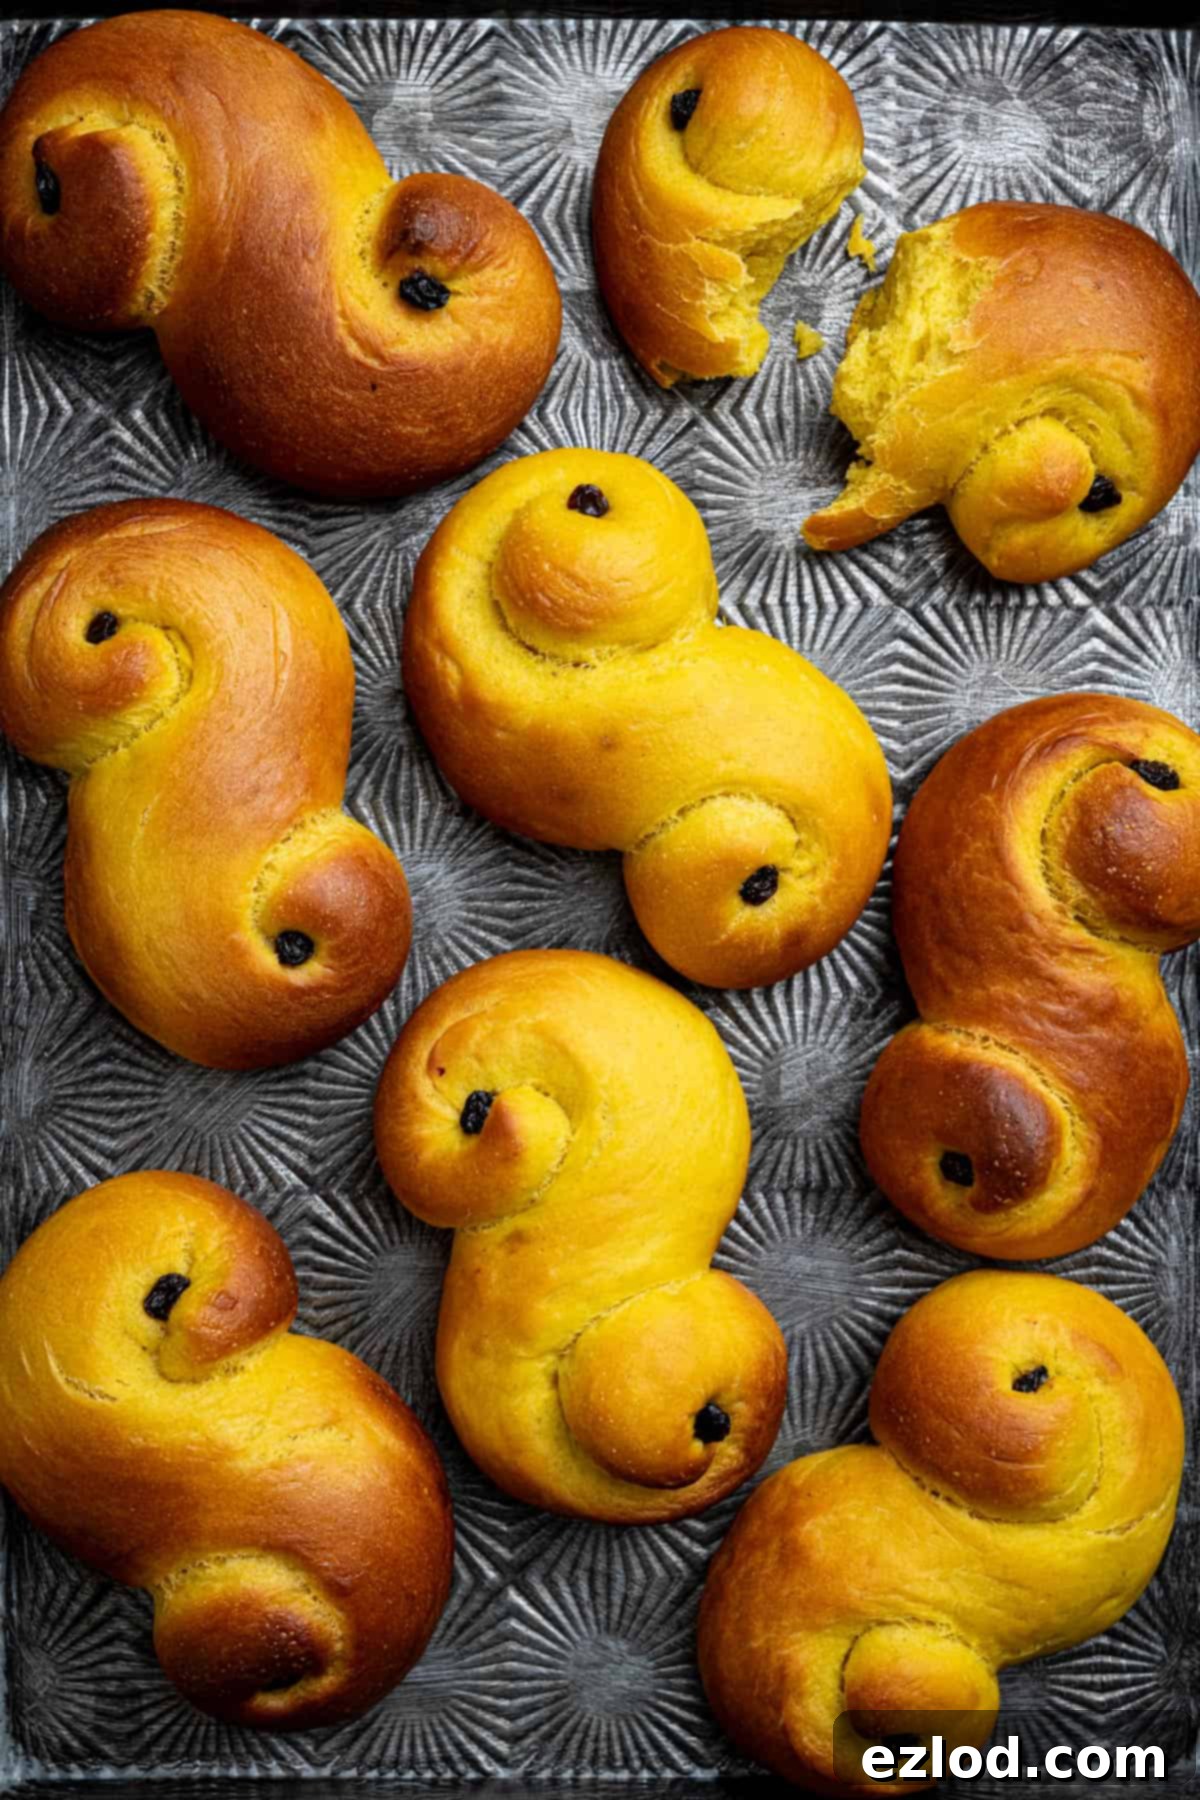
Step 8: Bake to Golden Perfection. While the buns are proofing, preheat your oven to 200°C (180°C fan/400°F/gas mark 6). If using, drain the previously soaked raisins or currants. When the buns are ready for baking, gently brush their tops with a little non-dairy milk for a lovely golden crust. Press one raisin or currant firmly into the center of each spiral – press quite deeply to prevent them from popping out during baking. Bake for approximately 15 minutes, or until the buns are beautifully golden brown and cooked through. Transfer them to a wire rack to cool slightly before serving. These buns are truly at their best when enjoyed on the day they are baked, exuding freshness and aroma.
Top Tips for Fluffy Vegan St. Lucia Buns:
Achieving bakery-quality vegan St. Lucia buns is easier with these expert tips:
- Embrace Metric Measurements: For all my baking recipes, including these Lussekatter, I cannot stress enough the importance of using metric measurements with a digital kitchen scale. Cups are notoriously inconsistent and inaccurate, leading to varied results. A scale ensures precision, better consistency, and often, a less messy baking experience.
- Mind the Milk Temperature: When incorporating the saffron milk mixture, ensure it has cooled to a lukewarm temperature. Hot liquid will kill the yeast, preventing your buns from rising. It should feel comfortably warm to the touch – think baby bathwater.
- Resist Excess Flour: It’s tempting to add more flour if your dough feels sticky, but resist this urge unless the dough is genuinely wet and unmanageable. This dough is meant to be soft and slightly sticky. Adding too much flour is a common mistake that leads to dry, dense buns instead of light and fluffy ones.
- Overnight Rise for Flavor: For an even deeper flavor profile and to break up your baking workload, consider giving the dough its first rise overnight in the refrigerator. The slower, colder fermentation develops more complex flavors. If you choose this method, allow the dough to come to room temperature for about 30-60 minutes before proceeding with shaping.
- Monitor Rising Time: Dough rising times are highly dependent on environmental warmth. On a hot day, your dough will rise significantly faster than on a cold day. If you opted for an overnight cold proof, the second rise will naturally take longer at room temperature.
- Maximize Saffron Usage: Saffron is a precious spice. After grinding your saffron threads in a pestle and mortar, always rinse the mortar with your non-dairy milk before adding it to the saucepan. This ensures you capture every bit of its color and flavor, making the most of your investment.
- No Flour for Shaping: Ideally, you want to avoid using additional flour when rolling out and shaping your buns. The dough should be soft enough not to stick excessively to your hands or the work surface. Excess flour can toughen the buns.
- Gentle Coiling: When forming the signature “S” shapes, avoid coiling the dough ropes too tightly. The dough needs a little room to expand during its second rise and in the oven, ensuring a tender and airy interior.
- Keep Dough Covered: As you work on shaping individual Lussekatter, keep the remaining balls of dough covered with lightly oiled cling film. This prevents them from drying out and forming a tough skin, which can hinder smooth shaping and rising.
- Soak Dried Fruit: To prevent your raisins or currants from burning or becoming overly dry during baking, soak them in a little warm water for about 10-15 minutes before pressing them into the buns. Drain them thoroughly before use.
- Optional Pearl Sugar: For an extra festive touch and a bit of textural crunch, you can sprinkle the buns with pearl sugar after brushing them with milk and before baking. This is a common Scandinavian decoration.
Frequently Asked Questions (FAQ’s) about Vegan St. Lucia Buns:
These vegan St. Lucia buns are truly at their peak on the day they are baked, offering the freshest taste and softest texture. However, they will keep well for up to two days. Store them in an airtight container at room temperature to maintain their freshness. For the best enjoyment on subsequent days, I highly recommend gently warming them in a microwave or a low oven for a few minutes before serving to restore their delightful softness.
Yes, these Lussekatter freeze exceptionally well! To preserve their optimal freshness, allow the baked buns to cool completely, then freeze them on the same day they were baked. Place them in an airtight freezer bag or container, ensuring as much air as possible is removed, and they will stay fresh for up to 3 months. To serve, simply allow them to defrost at room temperature, then warm them through in a low oven (around 150°C/300°F) for 5-10 minutes until soft and fragrant.
Unfortunately, this particular recipe is not suitable for gluten-free flour substitutes. Achieving the correct structure and elasticity in gluten-free bread is quite challenging and requires a completely different approach to dough development and ingredient ratios. Gluten-free baking is a specialized area, and adapting a traditional wheat-based recipe like this would necessitate a complete overhaul. For successful gluten-free St. Lucia buns, it is always best to seek out a recipe that has been specifically designed and tested with gluten-free flours.
More Festive Vegan Breads to Explore:
- Vegan Stollen Bars
- Orange and Anise Snowflake Bread
- Vegan Banana Monkey Bread
- Vegan Garlic Dough Balls
- Vegan Stollen Wreath
- Gingerbread Cinnamon Rolls
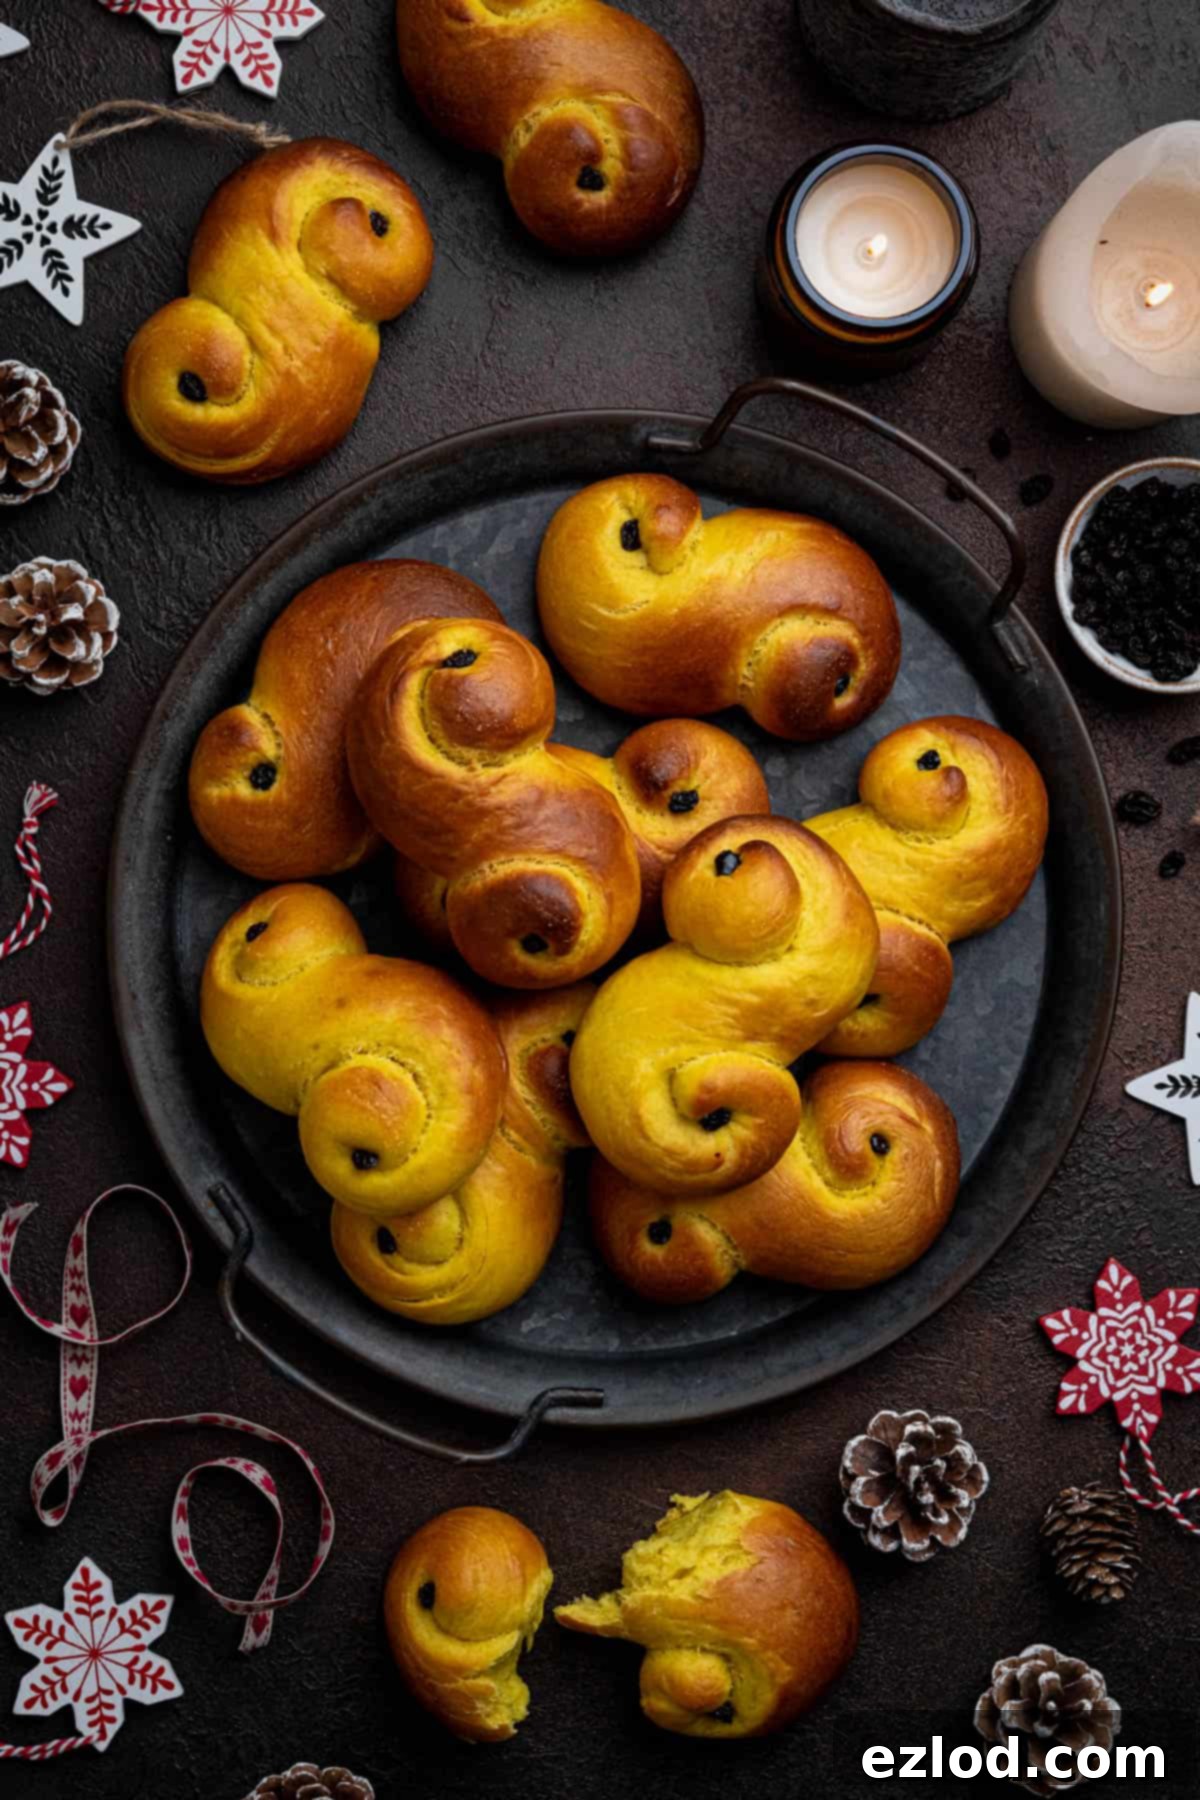
If you tried this delicious Vegan St. Lucia Buns recipe, please let me know how it went! Rate it, leave a comment below, or tag @domestic_gothess on Instagram and use the hashtag #domesticgothess. Your feedback is greatly appreciated!
All images and content on Domestic Gothess are copyright protected. If you wish to share this recipe, please do so by utilizing the provided share buttons. Do not screenshot or post the recipe or content in full; instead, kindly include a direct link back to this original post for the recipe. Thank you for respecting intellectual property.

Vegan St. Lucia Buns
Course
Breakfast, Snack
Cuisine
Swedish
Keyword
bread
Prep Time
45 minutes
Cook Time
15 minutes
Rising Time
2 hours
Servings
12
buns
Author
Domestic Gothess
Ingredients
- 0.5 g (1 teaspoon) saffron threads
- 325 g (1 ⅓ cups) unsweetened non-dairy milk (I use soy) plus extra for brushing
- 85 g (⅓ cup + ½ Tablespoon) vegan block butter
- 500 g (4 cups) white bread flour
- 100 g (½ cup) caster or granulated sugar
- 1 teaspoon salt
- 8 g (2 ¼ teaspoons) instant/fast action yeast
- the seeds from 8 cardamom pods finely ground (optional)
- 24 raisins or currants
Instructions
-
Grind the saffron threads in a pestle and mortar to a powder and tip into a saucepan. Rinse the mortar out with the milk to get any remaining saffron and add it to the pan. Heat until steaming but not yet boiling. Remove from the heat, add the butter, stir until melted then set aside to cool until lukewarm.
-
Mix the flour, sugar, yeast, salt and cardamom together in the bowl of a stand mixer fitted with a dough hook. Add the cooled milk mixture and mix to form a shaggy dough. Knead for about 5-10 minutes until smooth and elastic; it should be sticky but not wet. You can also knead the dough by hand on an unfloured work surface.
-
The dough should pass the windowpane test – you should be able to stretch a portion of it very thin before it breaks, so thin that you can see light through it.
-
Place in an oiled bowl, cover and set aside to rise in a warm spot until doubled in size. About 1-2 hours.
-
Place the raisins or currants in a bowl, cover with water and leave to soak. Line two baking sheets with baking paper.
-
Knead the risen dough briefly to knock out any air bubbles then divide it into 12 even portions (use a scale for accuracy). Shape each portion into a neat ball. Cover the balls of dough with oiled clingfilm to prevent them from drying out.
-
Working with one ball of dough at a time, leaving the others covered with the clingfilm, use your hands to gently roll it out into a 35-40 cm/14-15.5 in long rope. Do not flour the work surface.
-
Coil the ends of the rope in opposite directions so that it forms an “S” shape. Repeat with the other balls of dough.
-
Place the shaped buns spaced apart of the baking sheets. Loosely cover with oiled clingfilm and set aside to rise until puffy and the dough springs back slowly and leaves a small indentation when pressed with a finger; if it springs back quickly and fills in completely then they need to rise for longer. This will take about 30-60 minutes.
-
While the buns prove, heat the oven to 200°C/180°C fan/400℉/gas mark 6. Drain the raisins.
-
When the buns are ready to bake, gently brush them with milk and press a raisin/currant into the centre of each spiral; they have a tendency to pop out so press them in quite deeply.
-
Bake for around 15 minutes until nicely browned. Transfer to a wire rack to cool before serving. Best on the day they are baked.
Notes
- See post above for tips, details and step-by-step photos.
- All of my recipes are developed using grams, and as with all of my baking recipes I really do recommend using the metric measurements with a digital scale rather than the cup conversions. Cups are a wildly inaccurate measuring system and you will get far better, more consistent results using a scale, not to mention that it is also easier and less messy than cups!
- If you want, you can give the dough it’s first rise overnight in the fridge rather than at room temperature. This breaks up the workload and gives the buns an even better flavour.
- Don’t coil the dough up too tightly when creating the “S” shapes, it needs a little room to expand.
