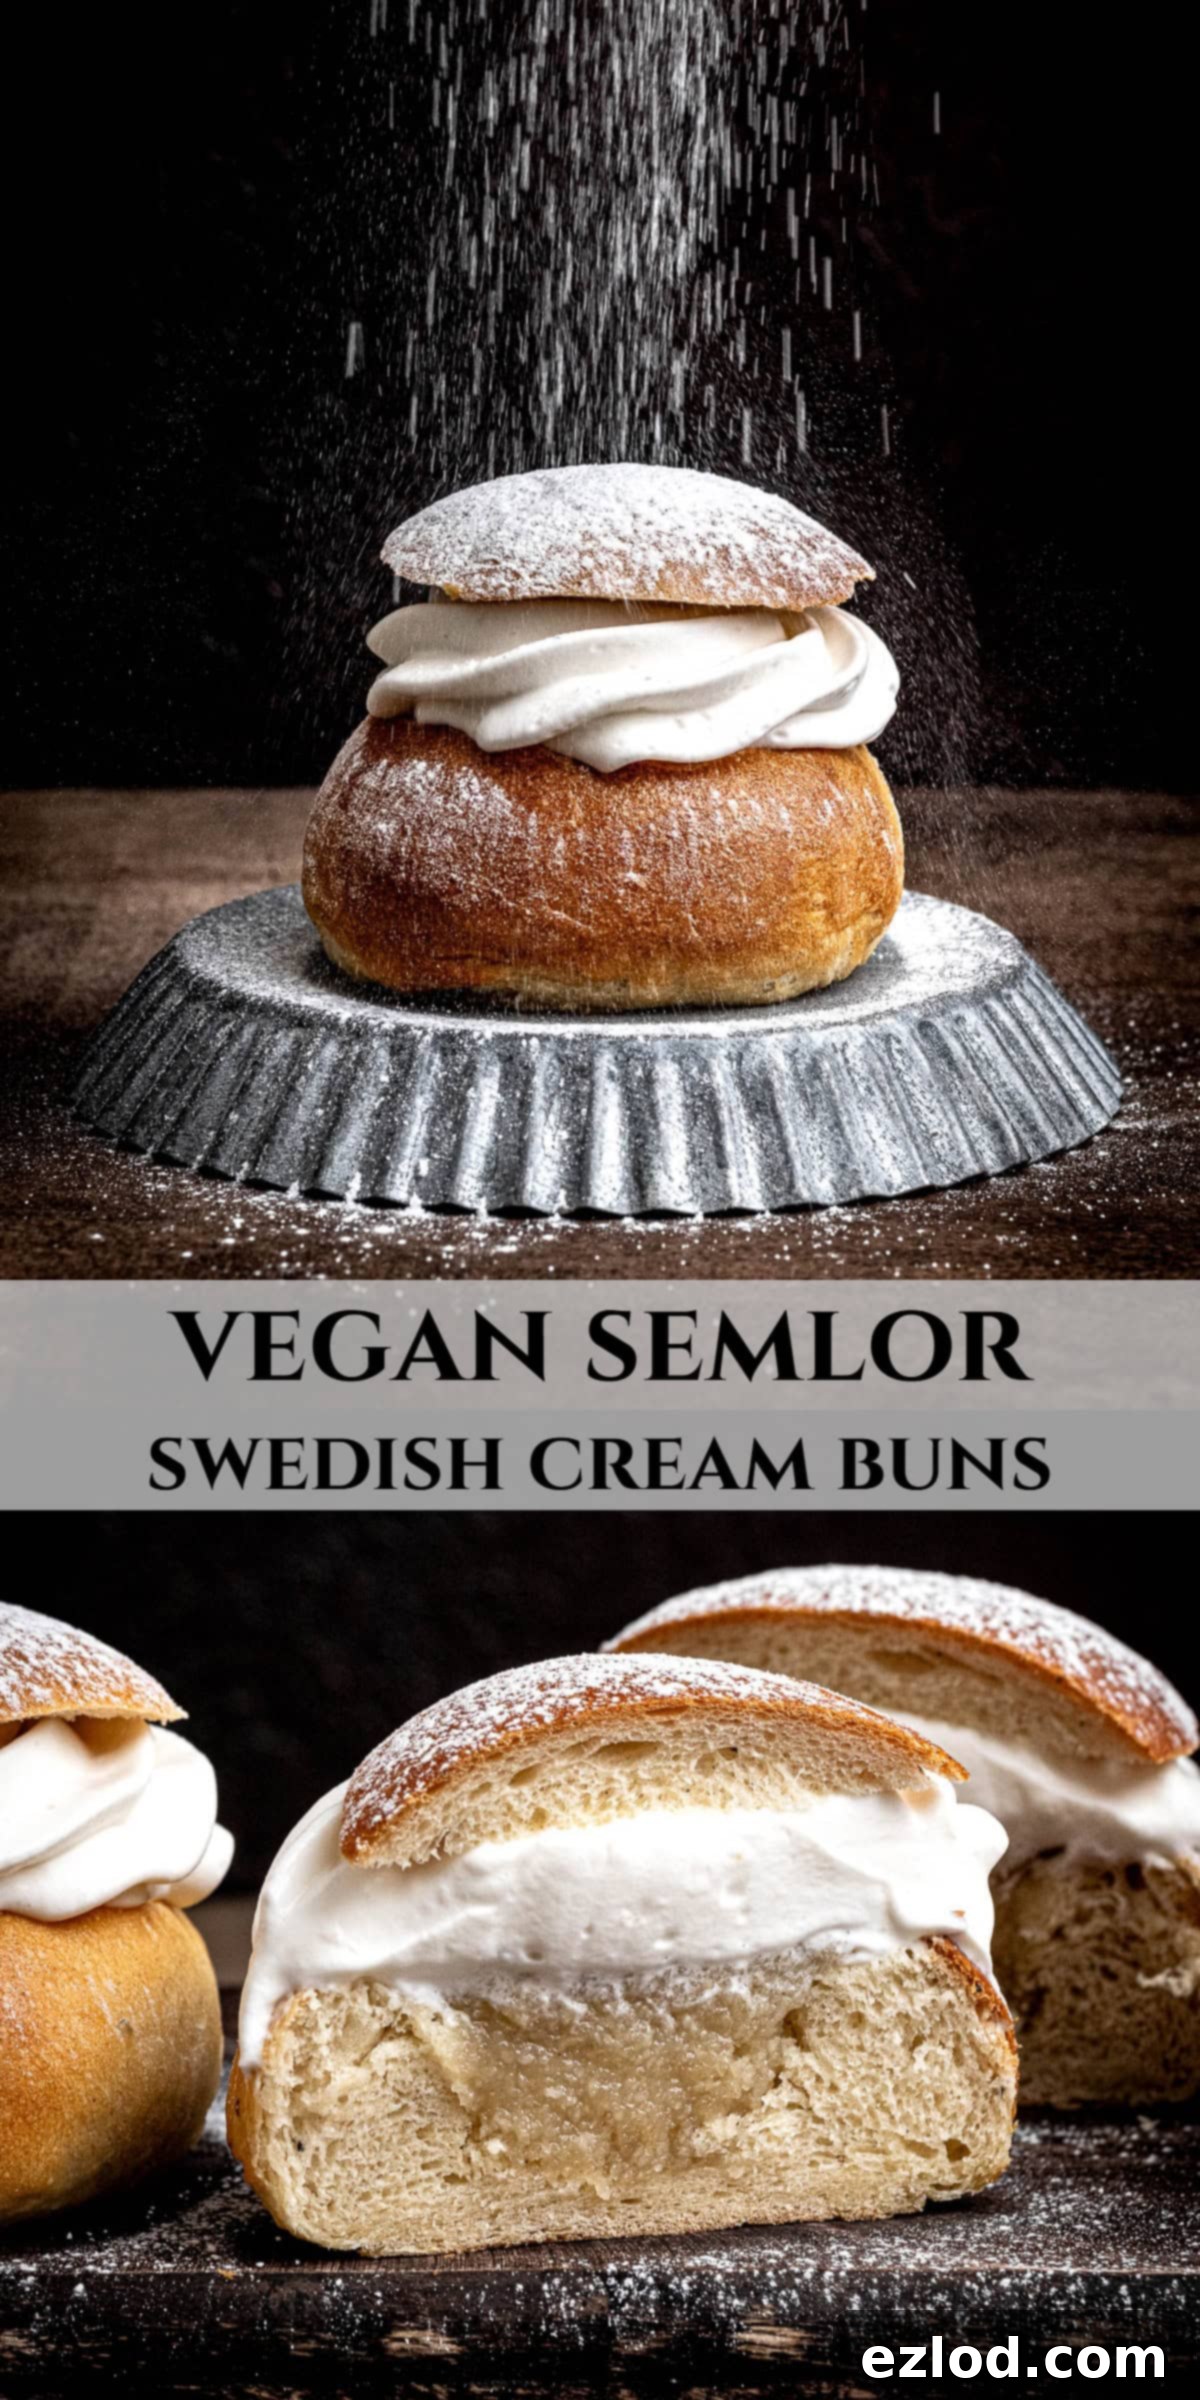
The Ultimate Vegan Semlor Recipe: Indulgent Swedish Cream Buns for Any Occasion
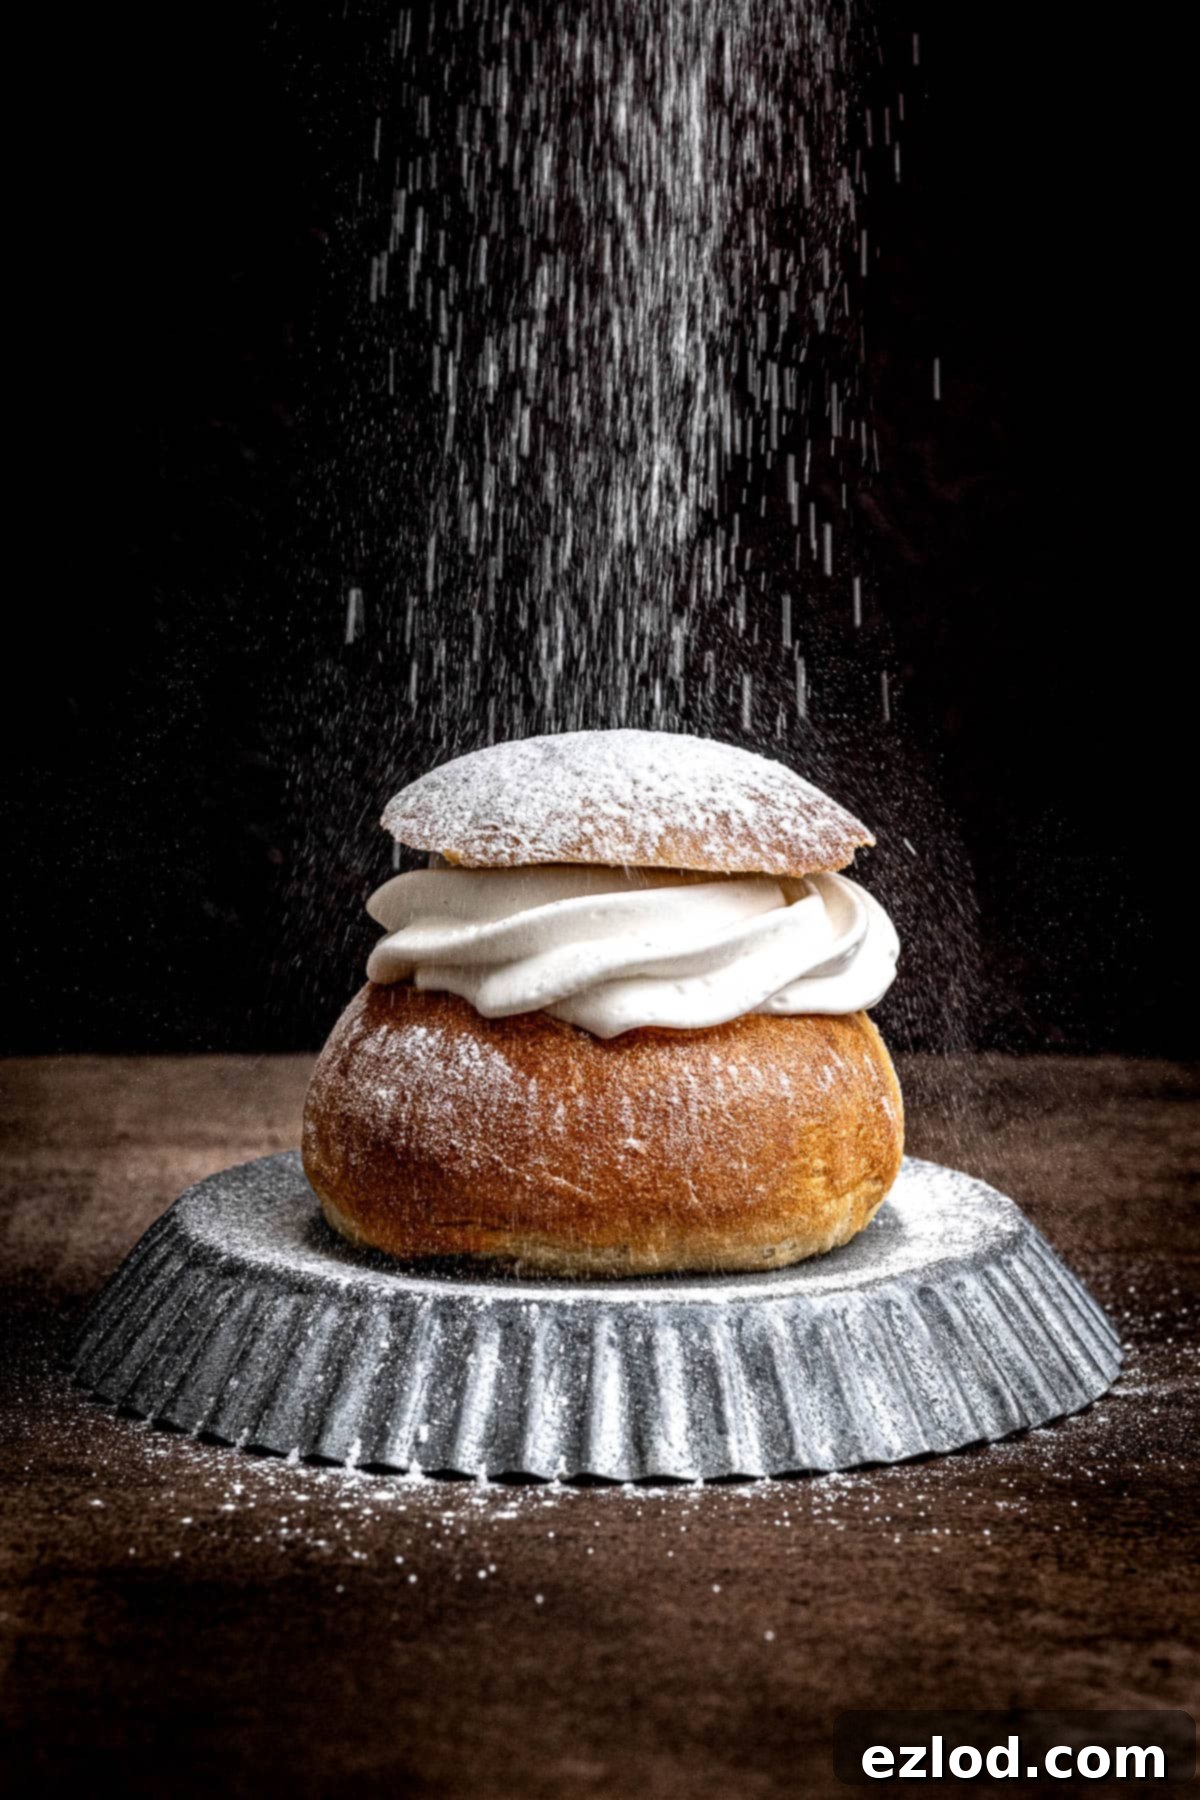
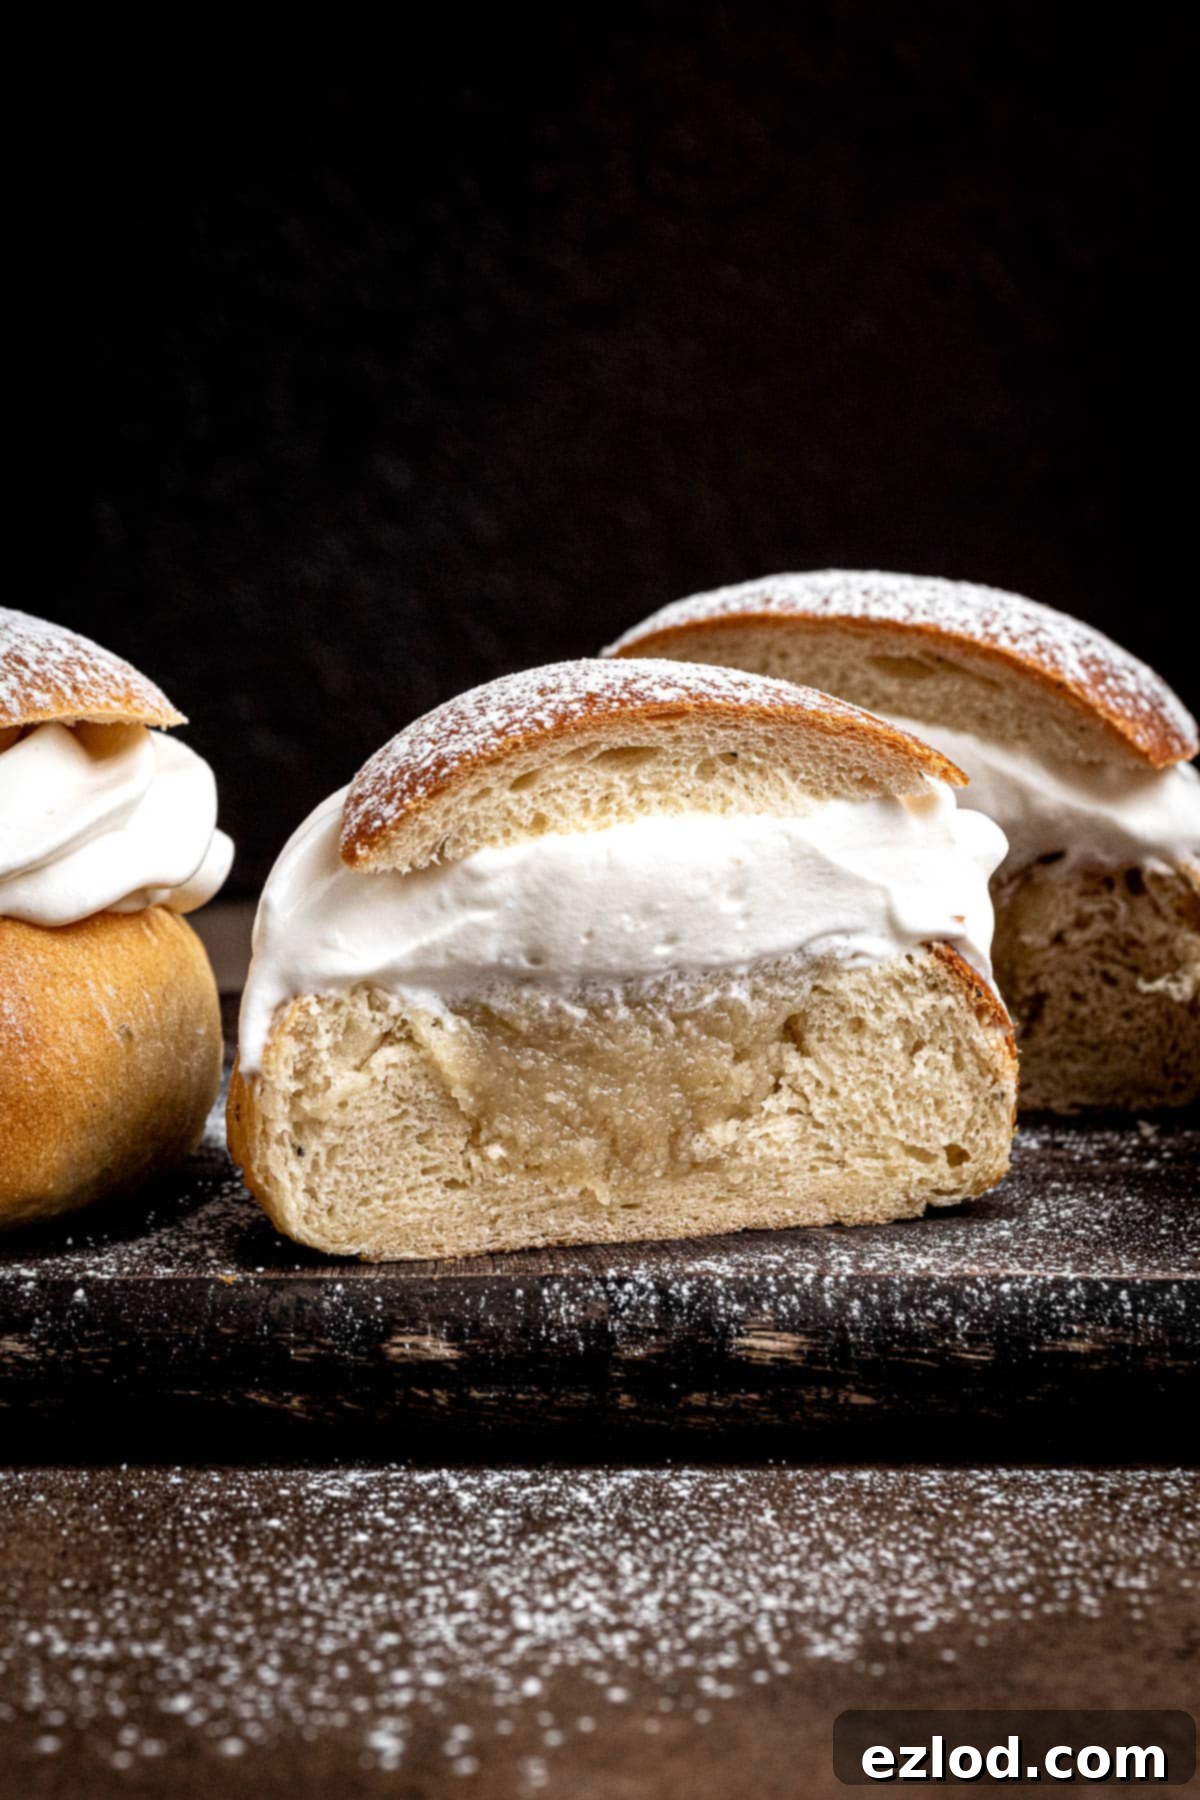
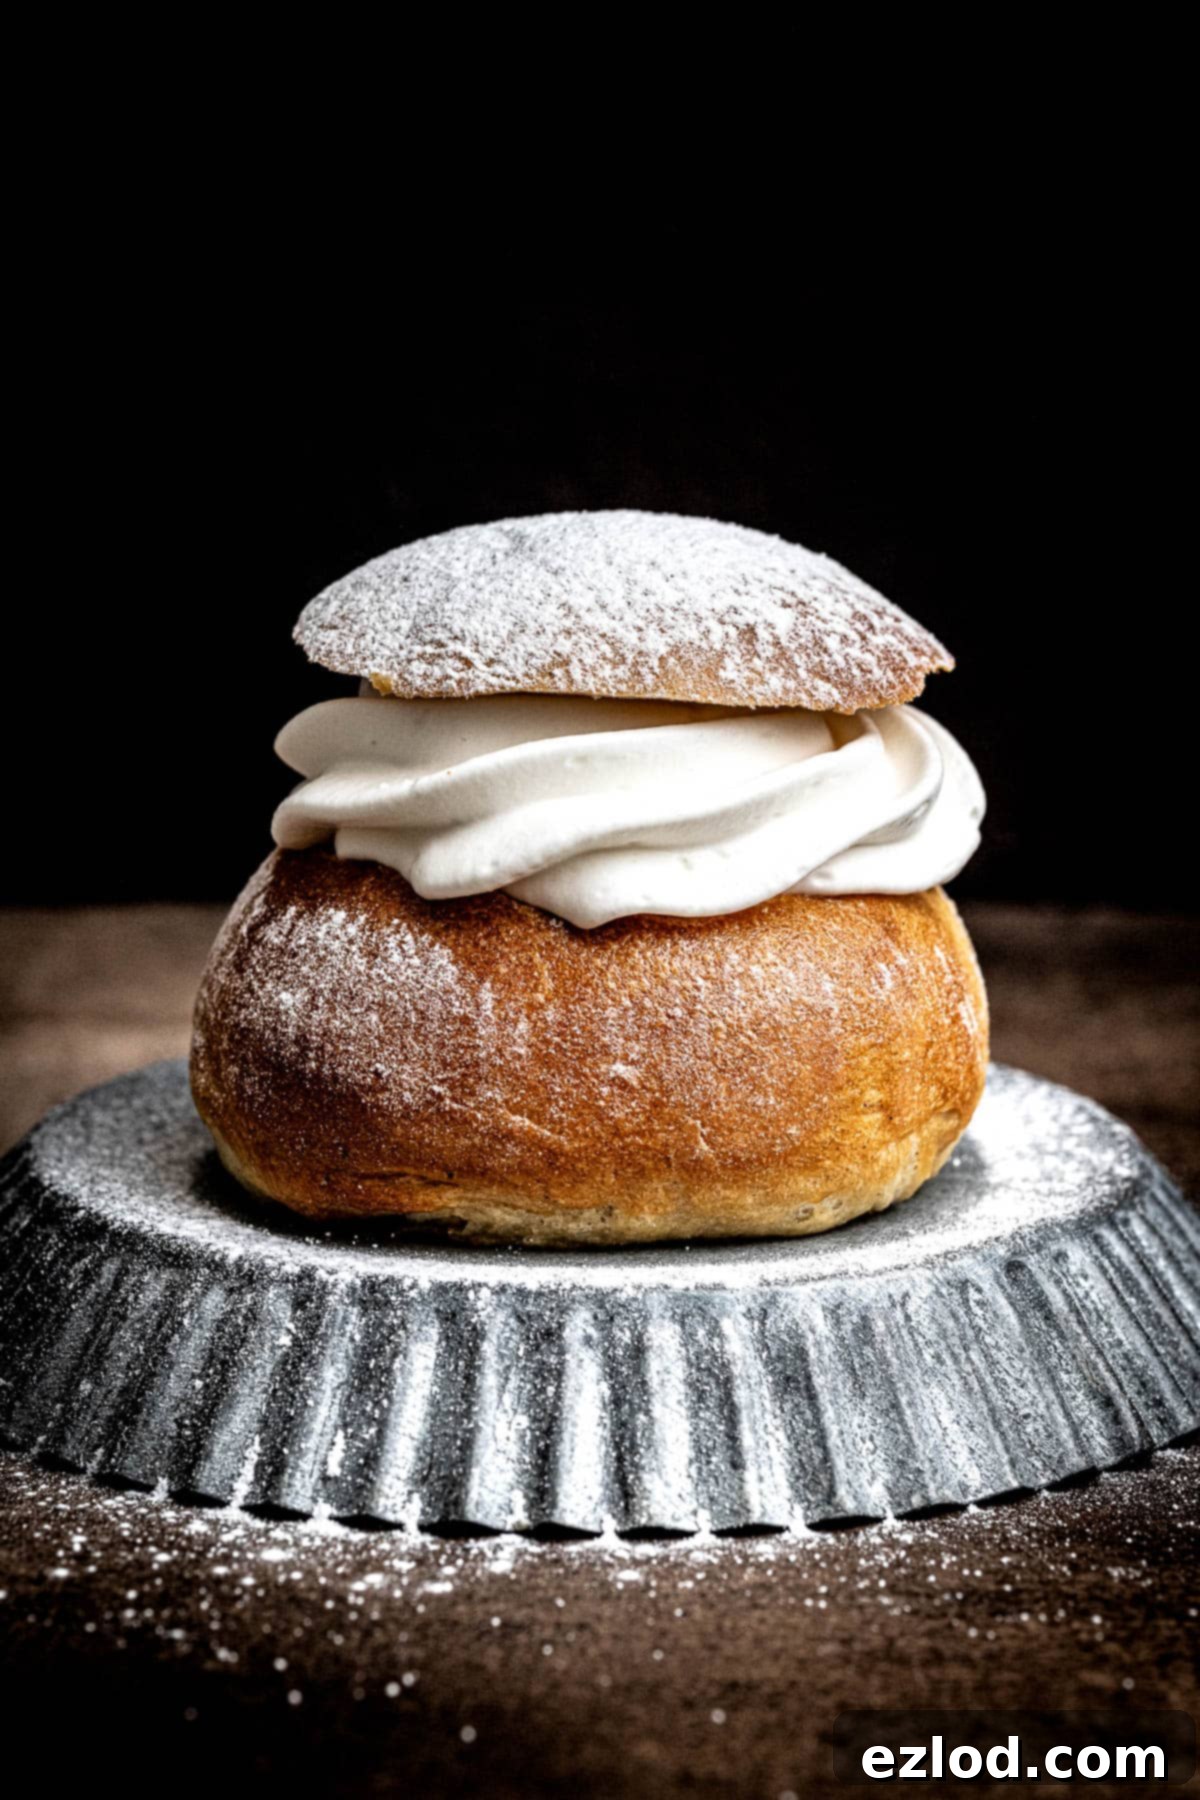
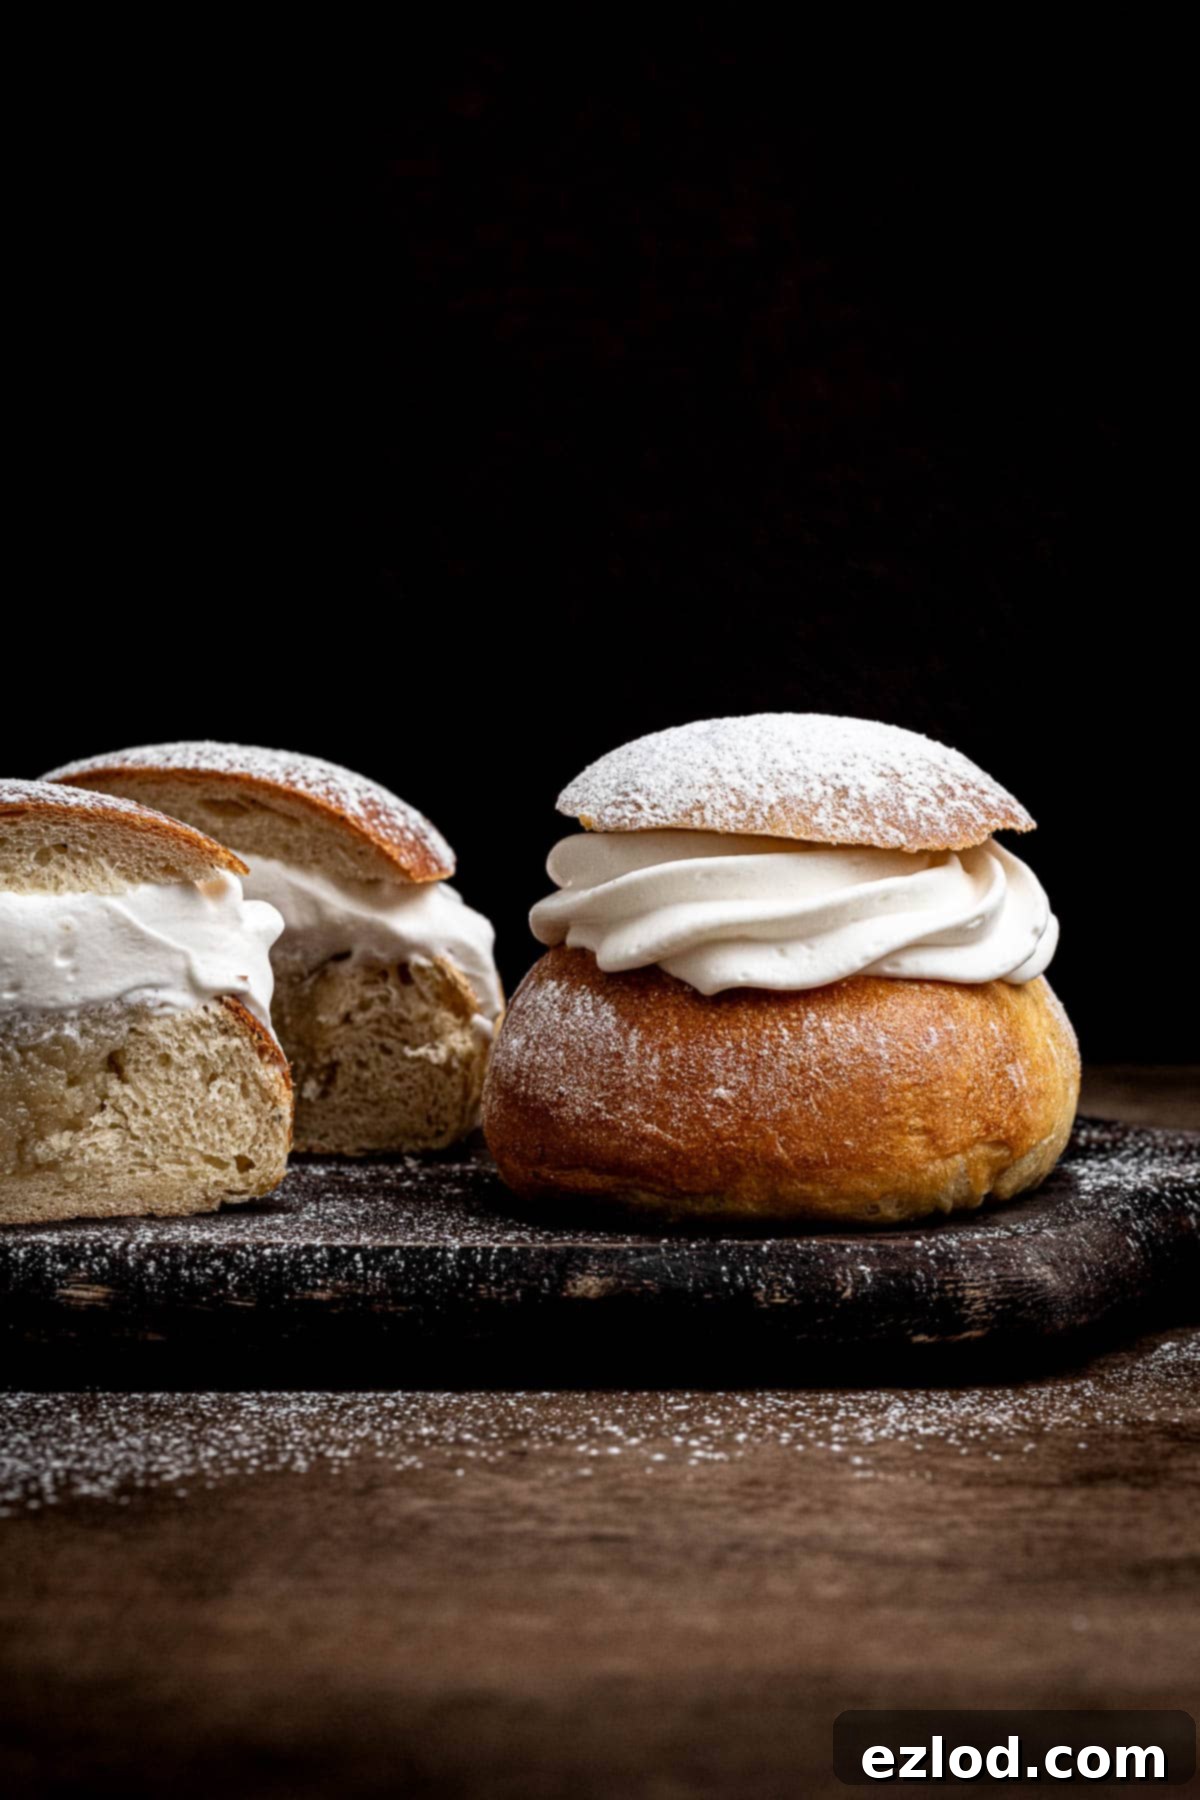
Delight in the sweet traditions of Sweden with these incredible Vegan Semlor! These exquisite cream buns, famously enjoyed for Shrove Tuesday (also known as Fat Tuesday or Fettisdagen in Sweden), offer a truly luxurious experience. Each bun is a celebration of flavor, boasting a soft, pillowy texture enriched with aromatic cardamom, generously filled with a rich almond paste, and crowned with a luscious swirl of dairy-free whipped cream. Finally, a delicate dusting of powdered sugar adds the perfect finishing touch. Prepare yourself for a treat that is not just delicious, but wonderfully indulgent and utterly “more-ish” – you’ll find it hard to stop at just one!
What Are Semlor? A Sweet Tradition Unveiled
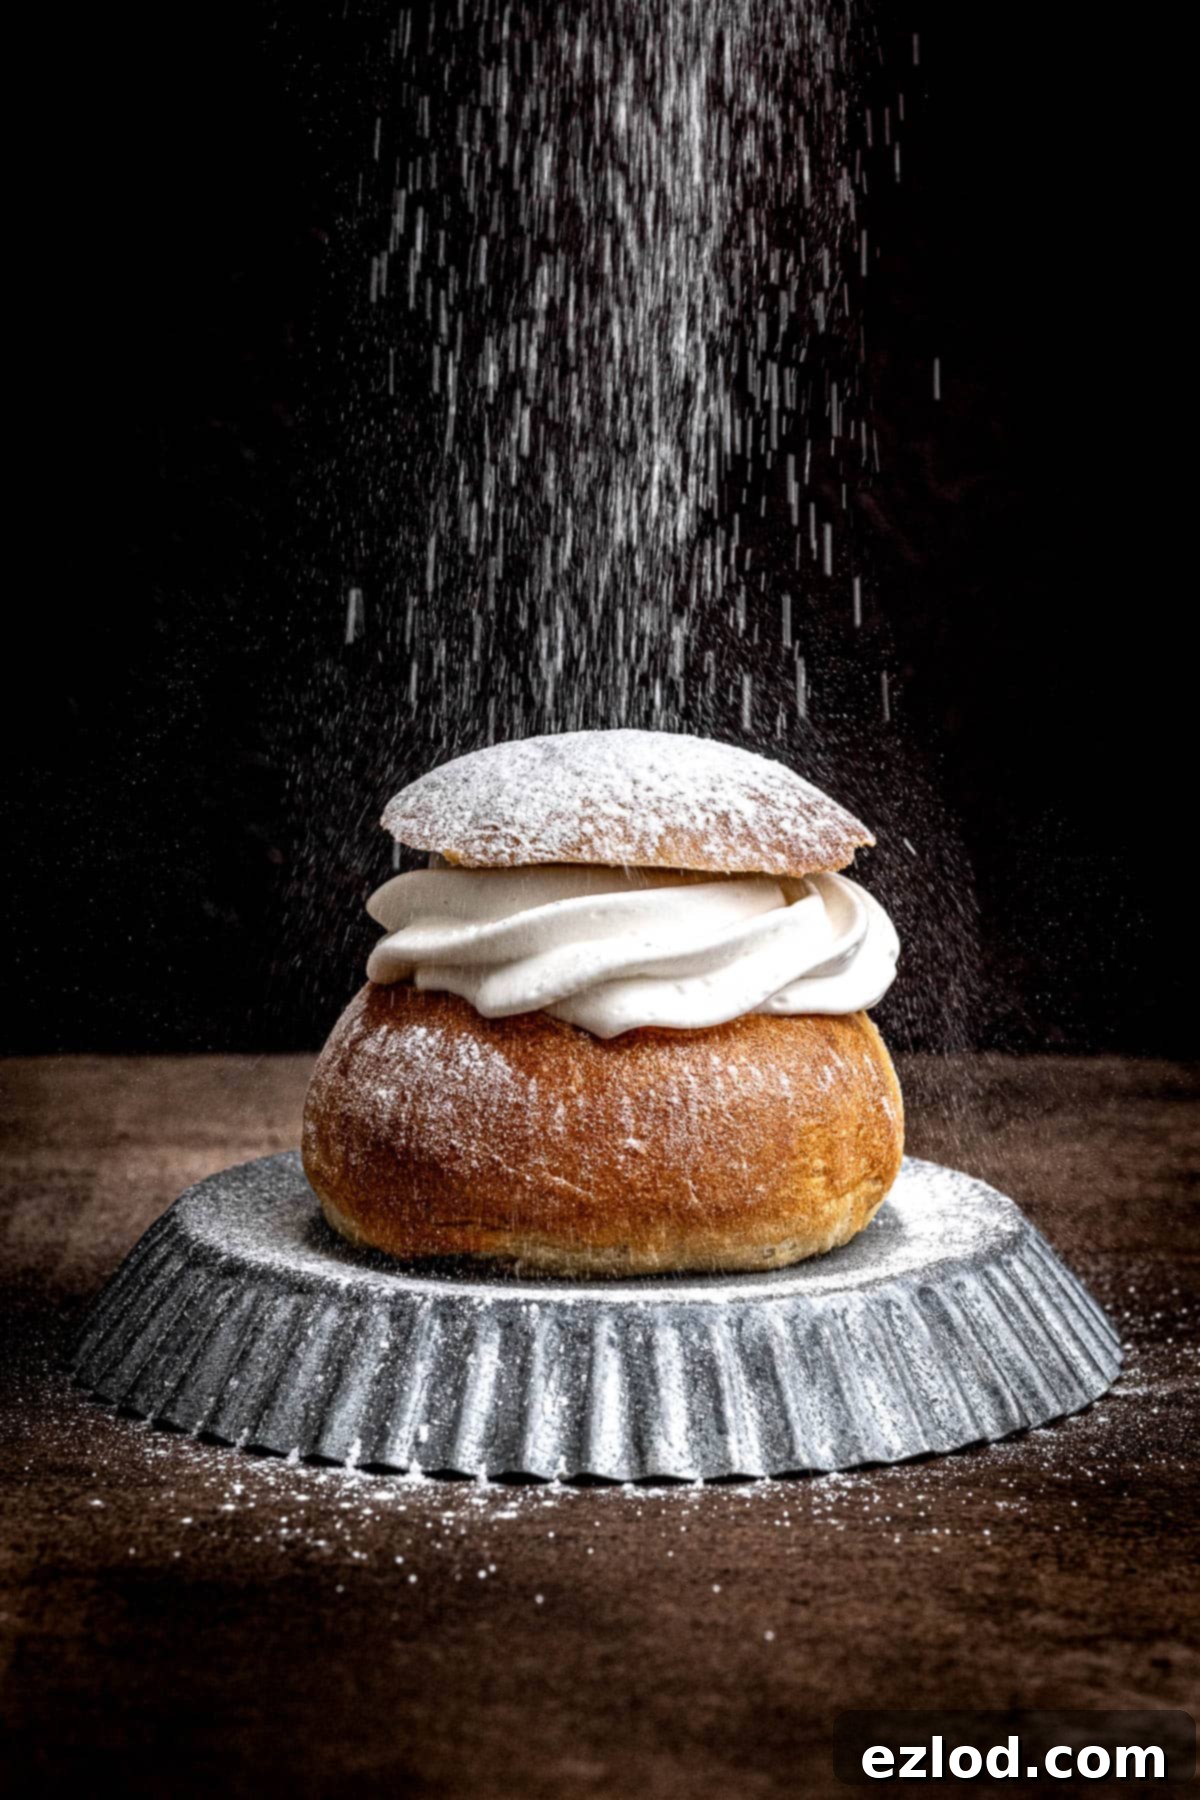
Semlor (with its singular form, semla) are much more than just a pastry; they are an integral part of Swedish culinary heritage. These delightful yeast buns are characterized by their sweet, subtly spiced dough, infused with fragrant cardamom. At their heart lies a rich, sweet almond paste, created from the bun’s own crumb and ground almonds, perfectly complemented by a generous topping of fresh whipped cream and a sprinkle of powdered sugar. They are a beloved national treat, particularly cherished during the winter months.
Traditionally, semlor are prepared and enjoyed in Sweden, Finland, and a few other Nordic and Baltic countries leading up to Shrove Tuesday (Fettisdagen). This day, preceding the Lenten fast, is historically a time for indulgence, hence the alternative name “Fat Tuesday.” While the peak season is around Shrove Tuesday, these tempting buns often make an appearance in bakeries and cafes as early as January, bringing warmth and sweetness to the colder days. For centuries, these buns were a simple, hearty meal to fortify people before the fasting period. Over time, they evolved into the elegant, cream-filled delicacies we know and love today.
Authentic semlor dough is often enriched with ingredients like butter, milk, and sometimes even eggs, and the abundant whipped cream topping makes them distinctly non-vegan. However, thanks to the increasing availability and quality of plant-based products, creating a delicious vegan version that captures all the essence and indulgence of the traditional semla is now incredibly straightforward and rewarding. This recipe offers a plant-based alternative that doesn’t compromise on flavor or texture, allowing everyone to partake in this wonderful Swedish tradition.
Essential Ingredient Details for Perfect Vegan Semlor
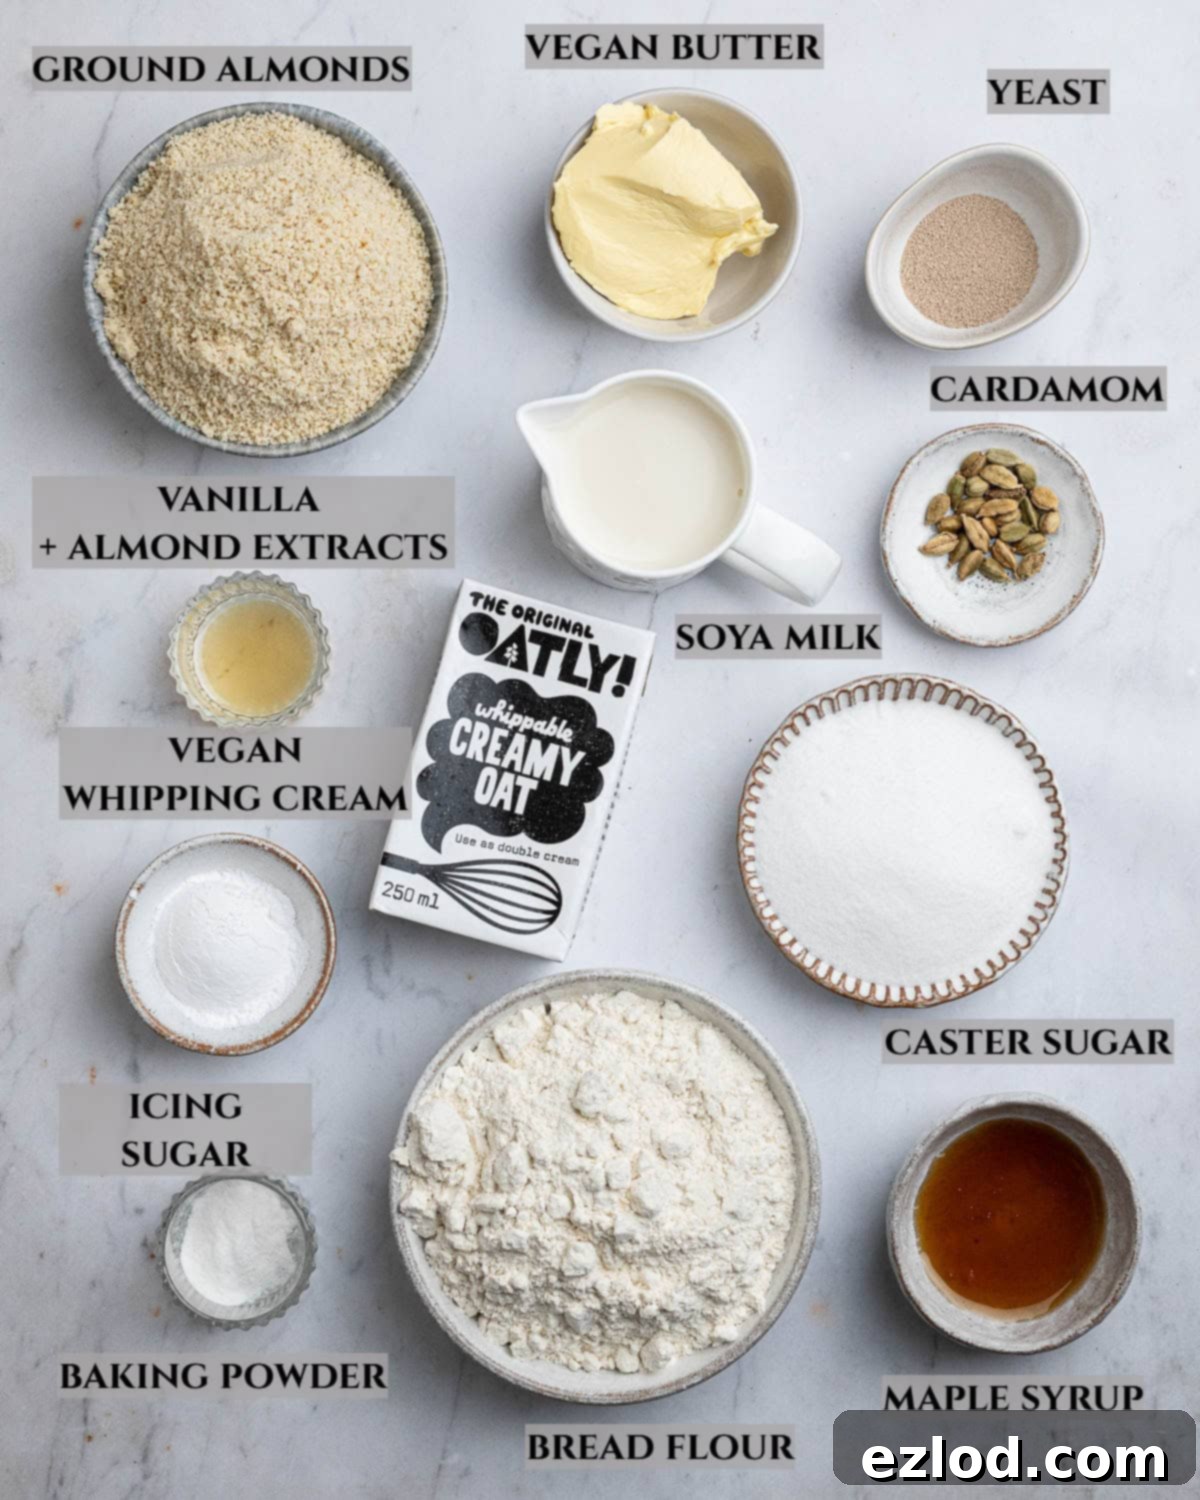
Selecting the right ingredients is key to achieving the perfect soft, fluffy, and flavorful semlor. Here’s a detailed look at the components that make this vegan recipe shine:
Bread flour: Using white bread flour is crucial for developing the ideal gluten structure, which in turn gives these buns their signature soft, fluffy, and slightly chewy texture. The higher protein content in bread flour creates a stronger dough that can trap more gas during fermentation, leading to a lighter rise. While plain (all-purpose) flour can be used in a pinch, be aware that the resulting texture may not be quite as airy or have the same satisfying chew. I strongly advise against using wholemeal (whole wheat) flour, as its higher fiber content will inhibit gluten development, making the buns significantly denser and heavier than desired.
Instant/fast action yeast: For convenience and consistent results, I always recommend instant or fast-action yeast. This type of yeast can be added directly to your dry ingredients without prior activation in liquid, saving you a step and ensuring a vigorous rise. If you only have active dry yeast, you’ll need to activate it first by dissolving it in a portion of the lukewarm non-dairy milk with a pinch of sugar for about 5-10 minutes, until frothy, before combining it with the rest of the ingredients.
Non-dairy milk: Soy milk is my top choice for baking due to its higher protein content, which closely mimics the performance of dairy milk in recipes. It contributes to a tender crumb and helps with browning. However, any variety of unsweetened non-dairy milk – such as almond, oat, or cashew milk – will work effectively. Just be sure to choose an unsweetened option to maintain control over the sweetness level of your buns.
Sugar: This recipe calls for a couple of types of sugar. Caster sugar (or superfine sugar) is preferred for the dough and almond filling because its fine granules dissolve quickly and evenly, ensuring a smooth texture without grittiness. Granulated sugar can be substituted if caster sugar isn’t available. For the whipped cream and the final dusting, icing sugar (also known as powdered sugar or confectioners’ sugar) is essential. Its ultra-fine texture allows it to dissolve seamlessly into the cream and create that beautiful, powdery finish.
Vegan butter: The quality of your vegan butter greatly impacts the richness and texture of the dough. A block-style vegan butter, such as Flora Plant Butter or Naturli Vegan Block, is ideal. These varieties have a higher fat content and firmer consistency, behaving more like traditional dairy butter in baking. Spreadable vegan butters can work, but avoid any ‘light’ or low-fat versions, as their water content is too high and will negatively affect the dough’s structure and richness.
Vegan whipping cream: This is a crucial ingredient for the iconic semla topping. You must use a vegan cream specifically designed for whipping, not a pouring cream. In the UK, brands like Oatly Whippable or Elmlea Plant Double Cream are excellent choices. If you’re elsewhere, look for terms like “whipping cream,” “culinary cream,” or “heavy cream alternative” on plant-based products. While coconut cream (the thick, solid part from a can of full-fat coconut milk, chilled overnight) *might* work, please note that I haven’t specifically tested it for this recipe, and its flavor might be more pronounced.
Ground almonds: This forms the delightful base of our rich almond paste filling. In the UK, it’s commonly referred to as “ground almonds,” while in the US, it’s typically called “almond flour.” Both terms refer to finely ground blanched almonds. Ensure you’re not using almond meal, which is coarser and includes the skins, as this will result in a gritty texture in your filling.
Cardamom: For the most authentic and vibrant flavor, freshly ground cardamom is highly recommended. If you have whole green cardamom pods, crush them lightly and extract the seeds, then grind them just before use. Pre-ground cardamom tends to lose its potency quickly, so if you’re using it, you may need to add a larger quantity to achieve the desired intensity. The recipe provides a variable amount (½ to 2 teaspoons), allowing you to adjust according to your preference for a subtle hint or a strong, aromatic kick.
Baking powder: A small amount of baking powder is included to provide a slight extra lift and tenderness to the dough. While it’s beneficial, it’s not strictly essential and can be omitted if you don’t have it on hand without drastically altering the final product.
Crafting Your Own Vegan Semlor: A Step-by-Step Guide
(For precise measurements and detailed instructions, please refer to the comprehensive recipe card located at the bottom of this page.)
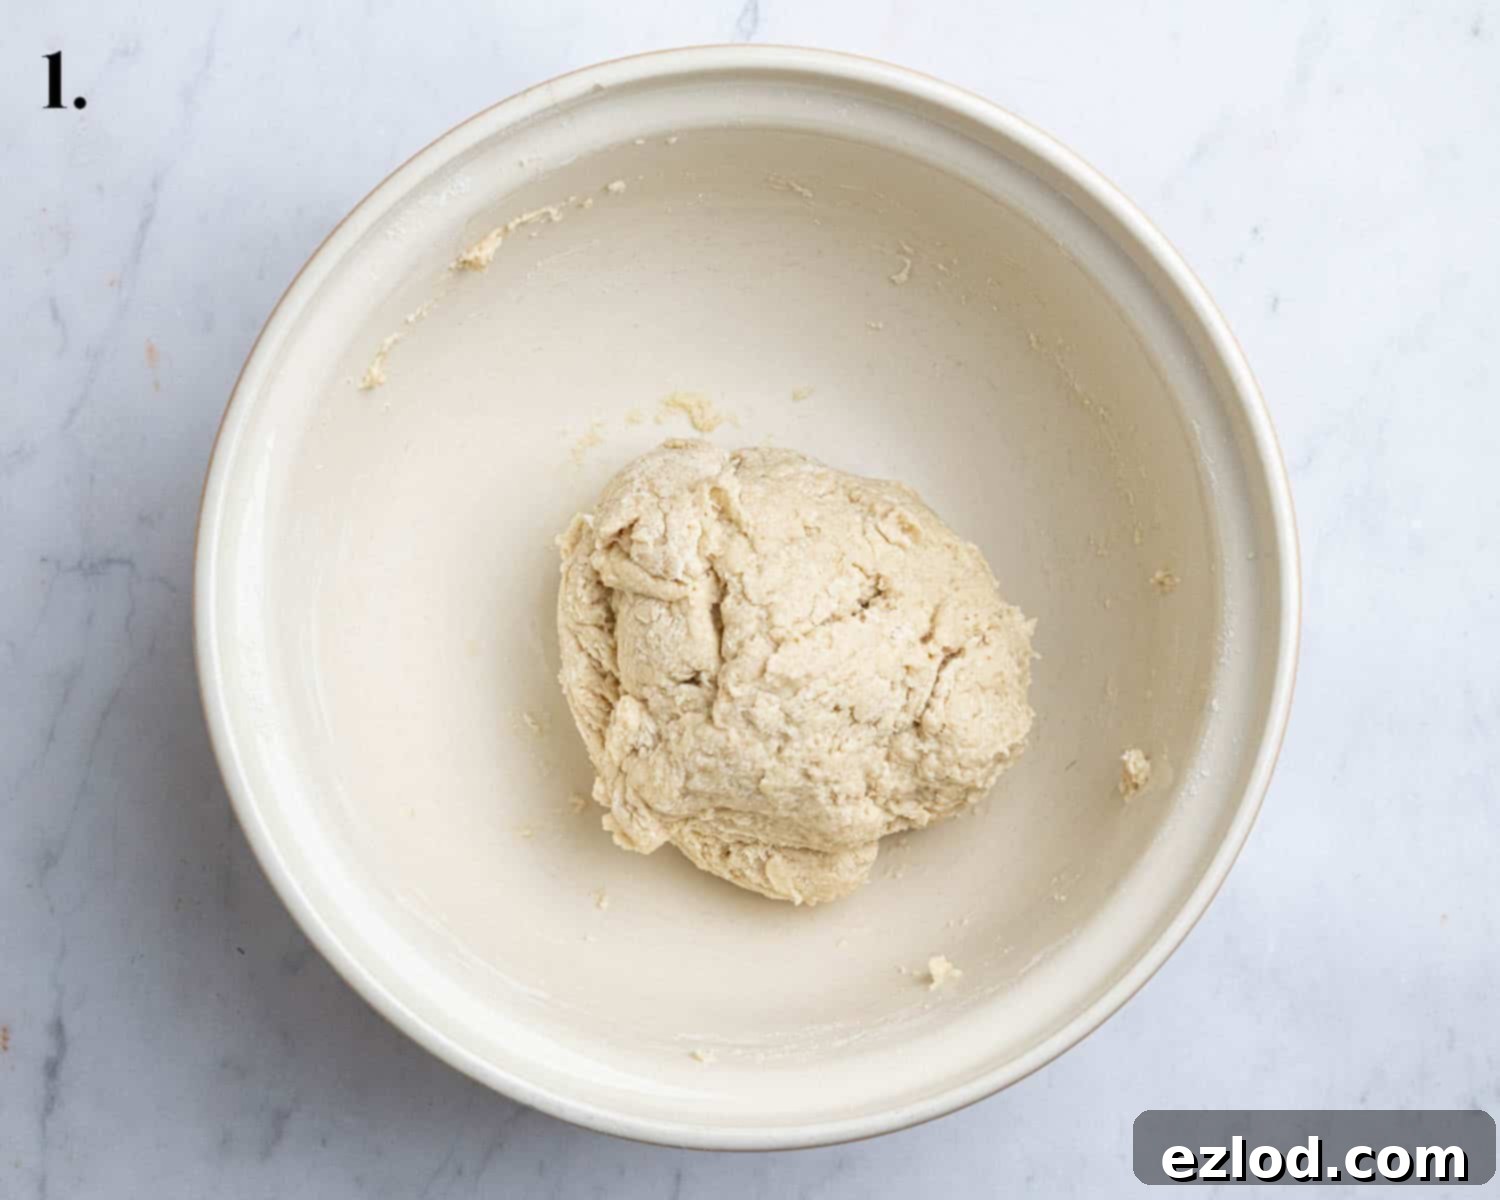
Step 1: Preparing the Dough Base. Begin by combining the bread flour, instant yeast, caster sugar, salt, your chosen amount of freshly ground cardamom, and baking powder in a large mixing bowl. If you’re using a stand mixer, attach the dough hook. Give these dry ingredients a good stir to ensure they are thoroughly combined and evenly distributed.
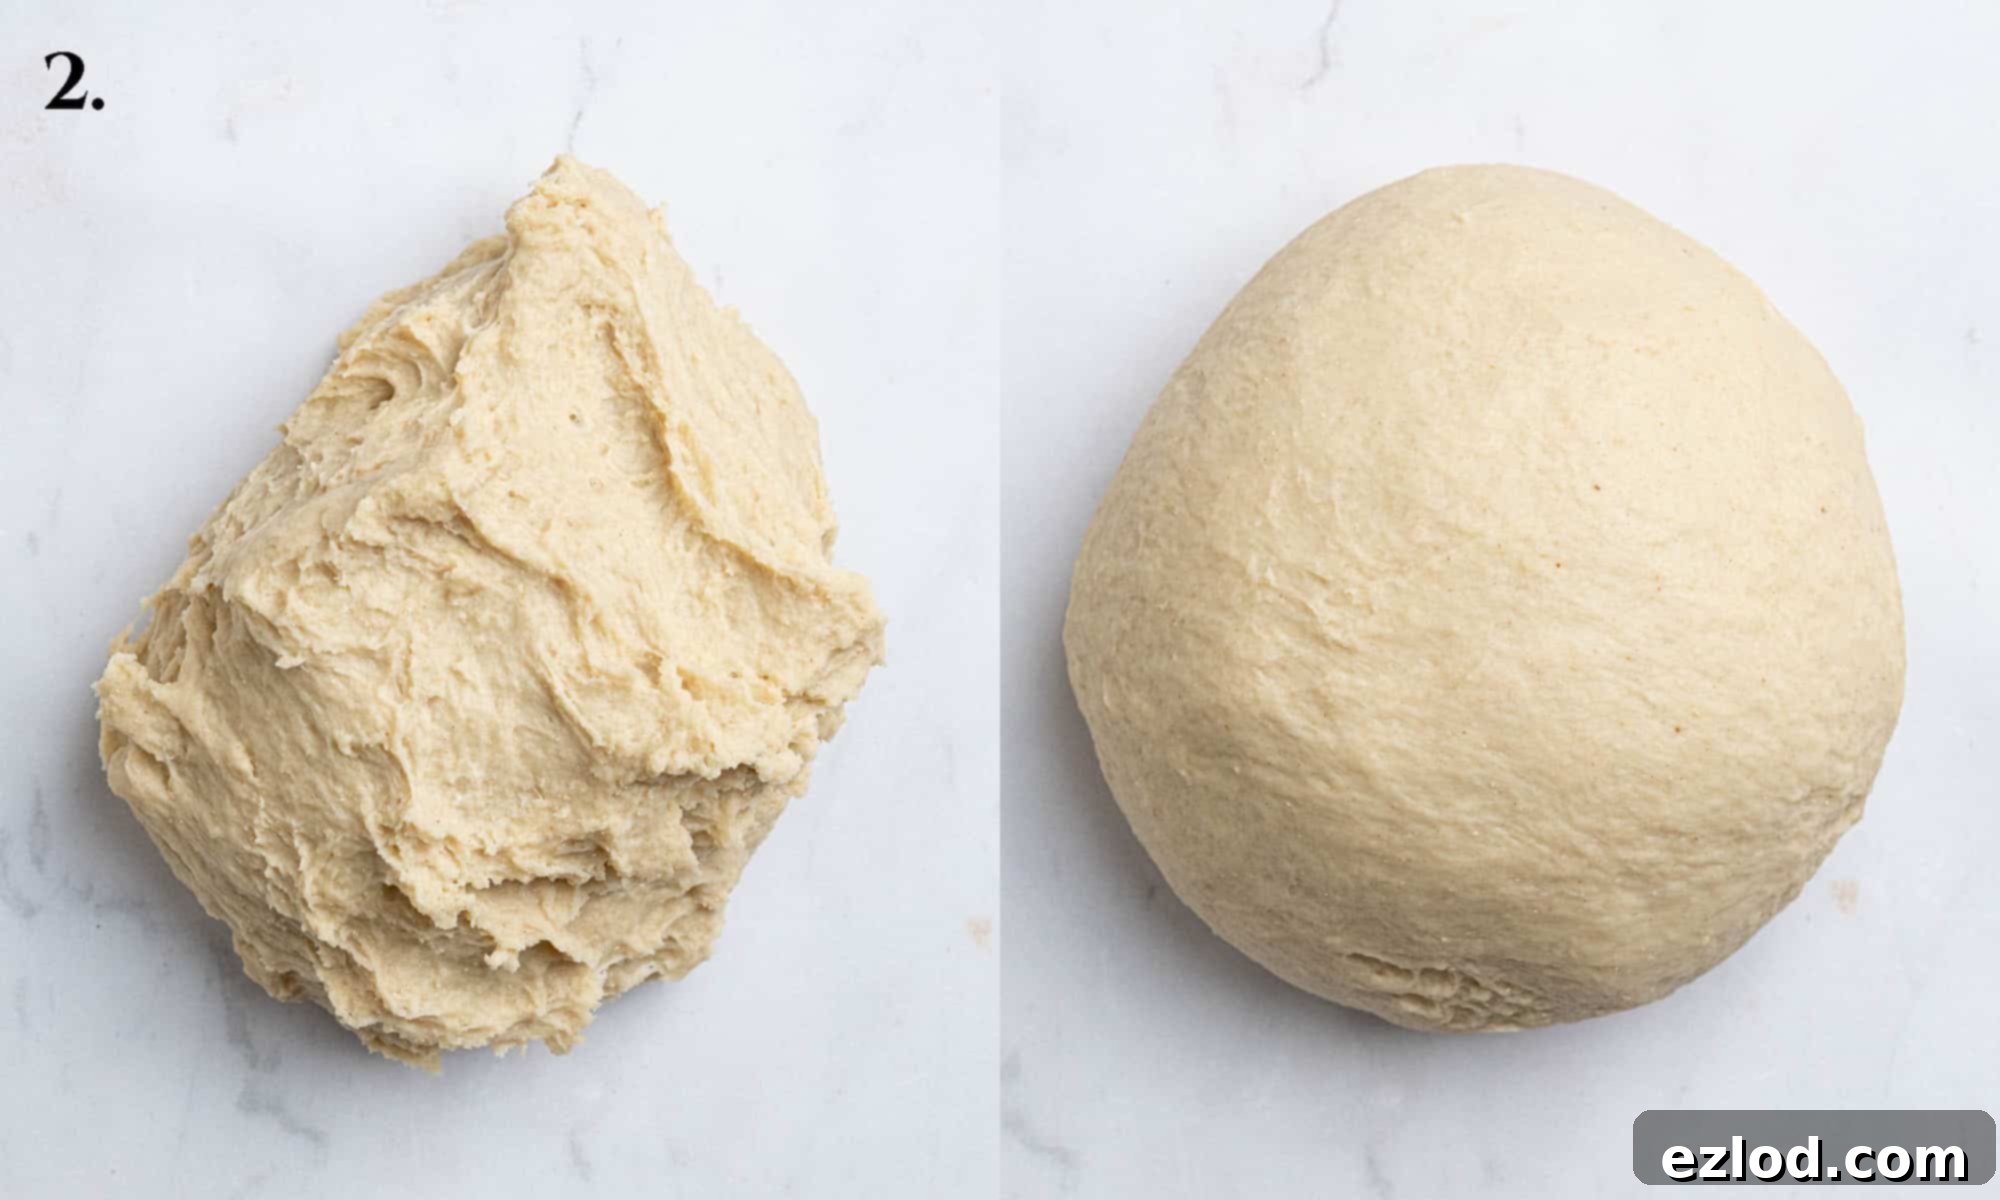
Step 2: Forming and Kneading the Dough. Pour the lukewarm non-dairy milk into the dry mixture and mix until a shaggy, somewhat rough dough forms. This initial stage might look a bit messy. Now, begin kneading. If using a stand mixer, knead on medium speed for about 5-10 minutes. If kneading by hand, turn the dough out onto a clean, unfloured surface and knead vigorously for the same duration. The dough will feel quite sticky at first – resist the urge to add more flour! With continued kneading, it will gradually transform, becoming smoother, more elastic, and less sticky as the gluten develops.
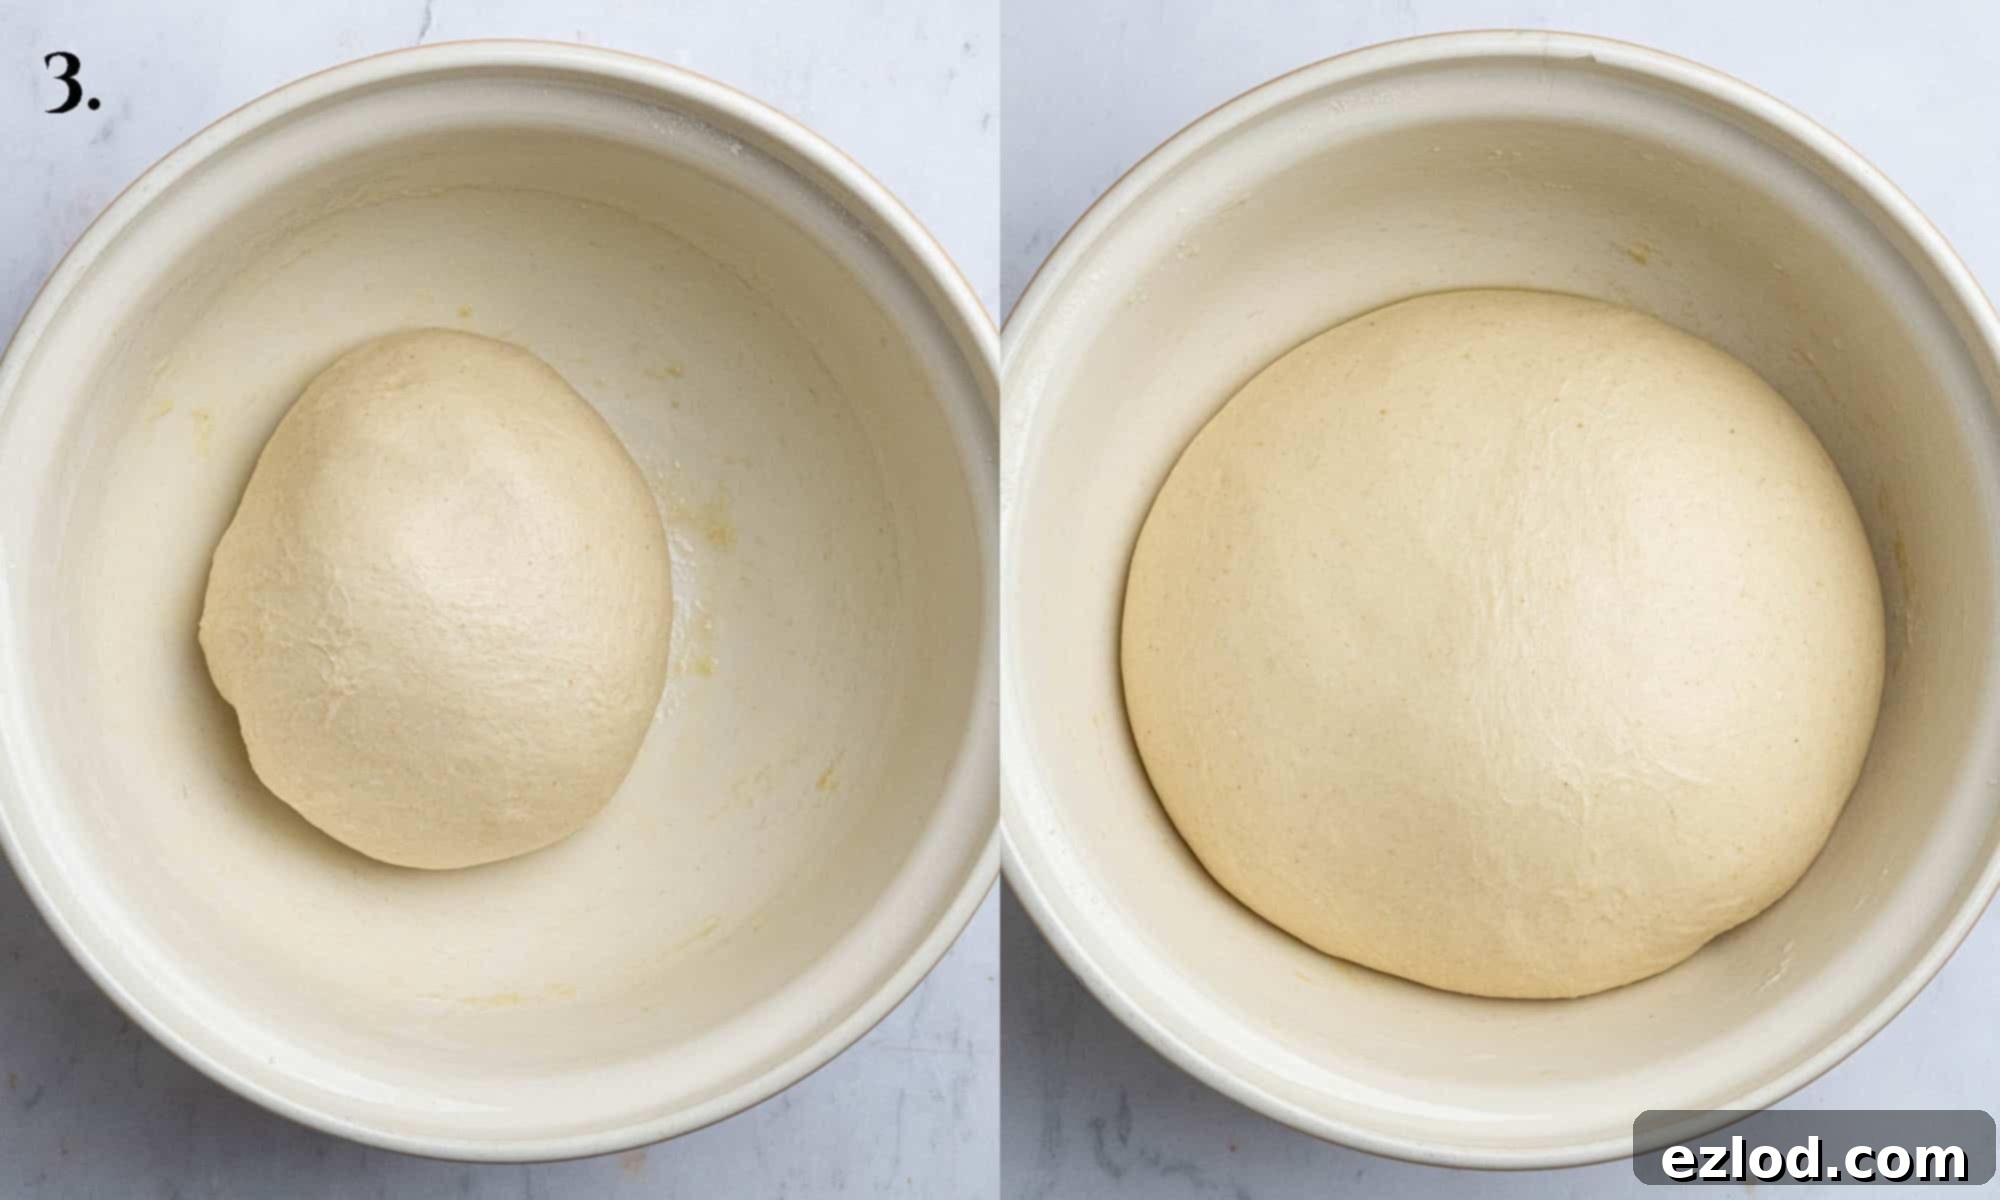
Step 3: Incorporating Butter and First Rise. Once your dough is smooth and elastic, add the softened vegan butter. Continue kneading. Initially, the butter might make the dough seem greasy and a little chaotic, but keep going! The butter will eventually be fully incorporated, and the dough will become beautifully smooth and silky. Transfer the dough to a lightly oiled bowl, turning it once to coat all sides. Cover the bowl loosely with plastic wrap or a damp tea towel and place it in a warm, draft-free spot. Allow it to rise until it has visibly doubled in size, which typically takes about 1 to 2 hours, depending on the warmth of your environment.
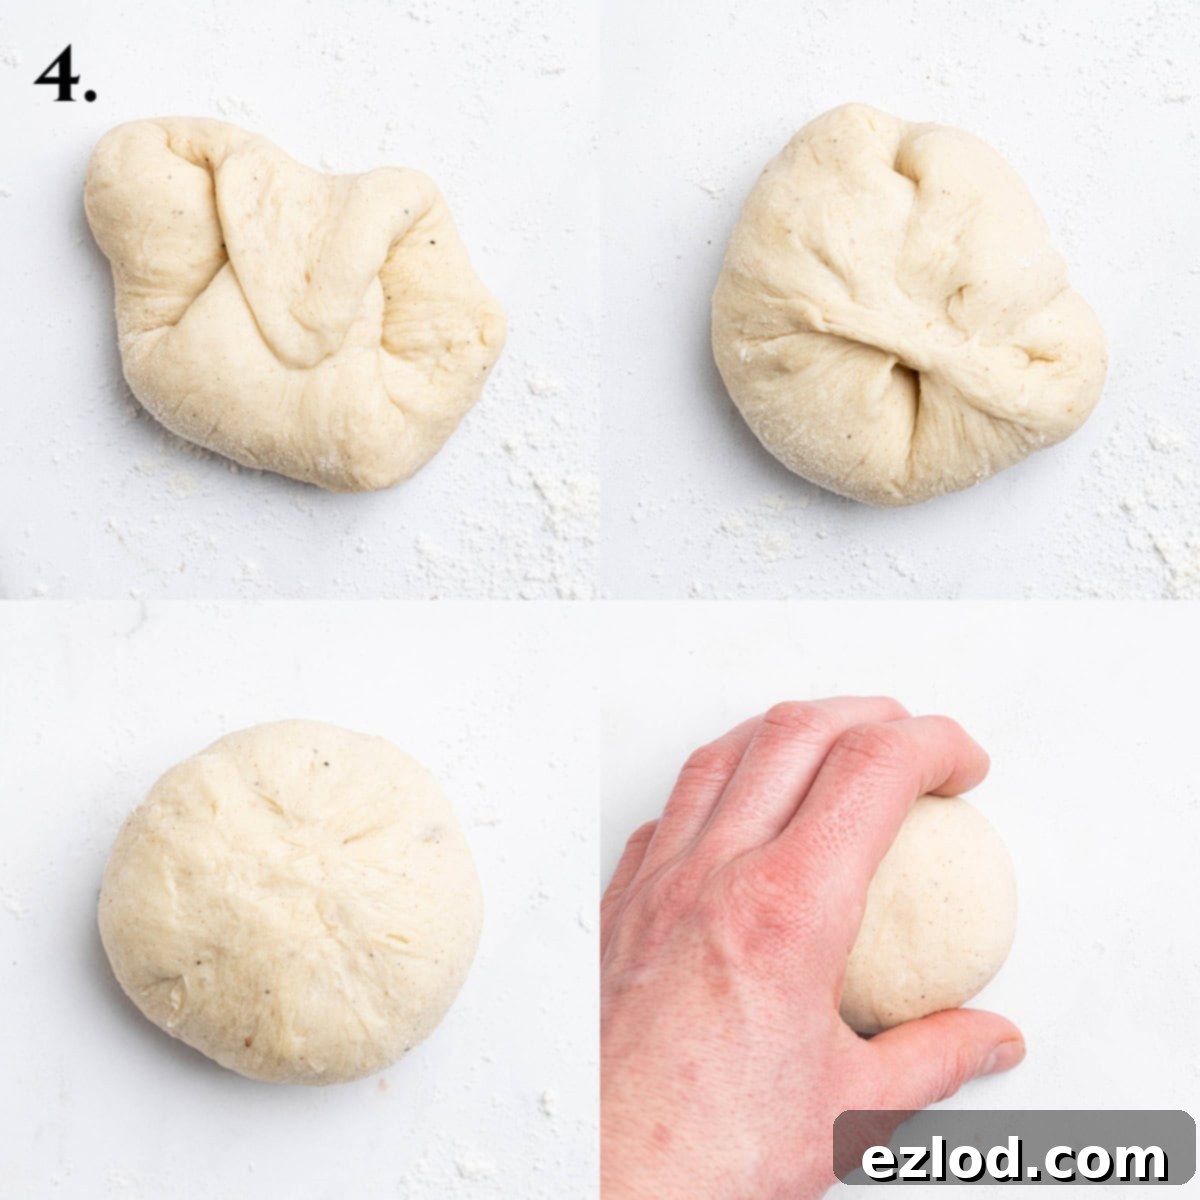
Step 4: Shaping the Buns. Once the dough has doubled, gently punch it down to release the air. Turn it out onto a clean surface and divide it into nine equal pieces. For accuracy, a kitchen scale is recommended to ensure uniform bun sizes. Take each piece of dough and shape it into a smooth ball. Do this by gathering the edges of the dough and pinching them together at the bottom, creating a neat seam. Flip the ball over so the seam is underneath, then cup it with your hand and roll it in a circular motion on the work surface until it forms a perfectly round and smooth bun.
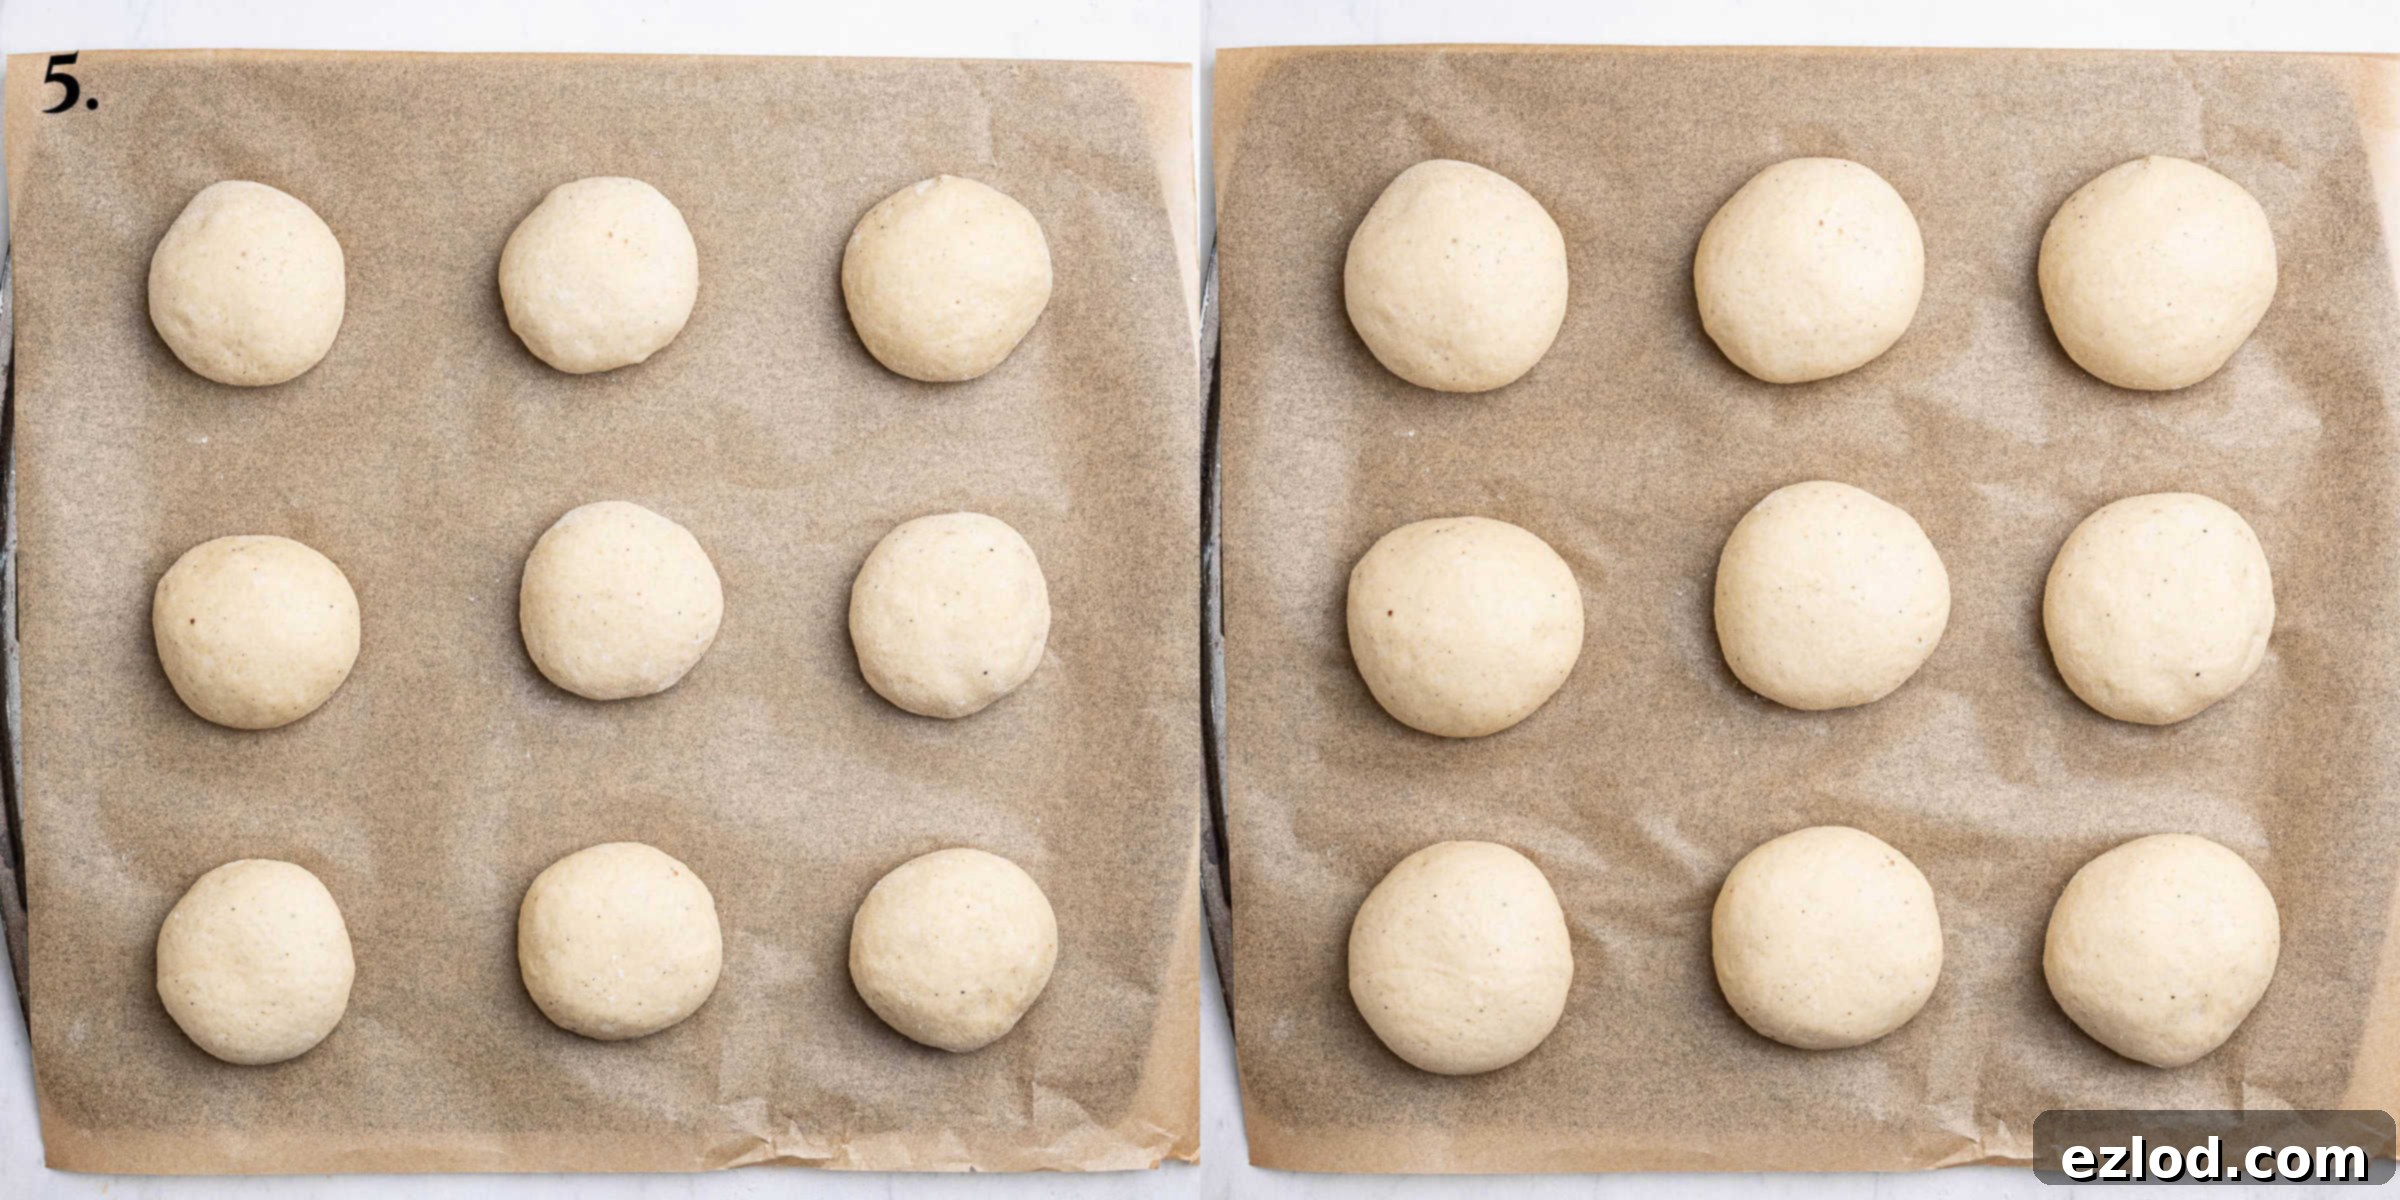
Step 5: Second Rise. Arrange the shaped dough balls on a baking tray lined with parchment paper, ensuring they are spaced well apart to allow for expansion. Loosely cover them again and let them rise in a warm place until they look visibly puffy and a little larger, usually about 30-60 minutes. To test if they’re ready, gently press a finger into the side of a bun; it should spring back slowly, leaving a slight indentation. If it springs back immediately, it needs more time. If the dough deflates, it’s over-proofed, so keep a close eye on them during this stage.
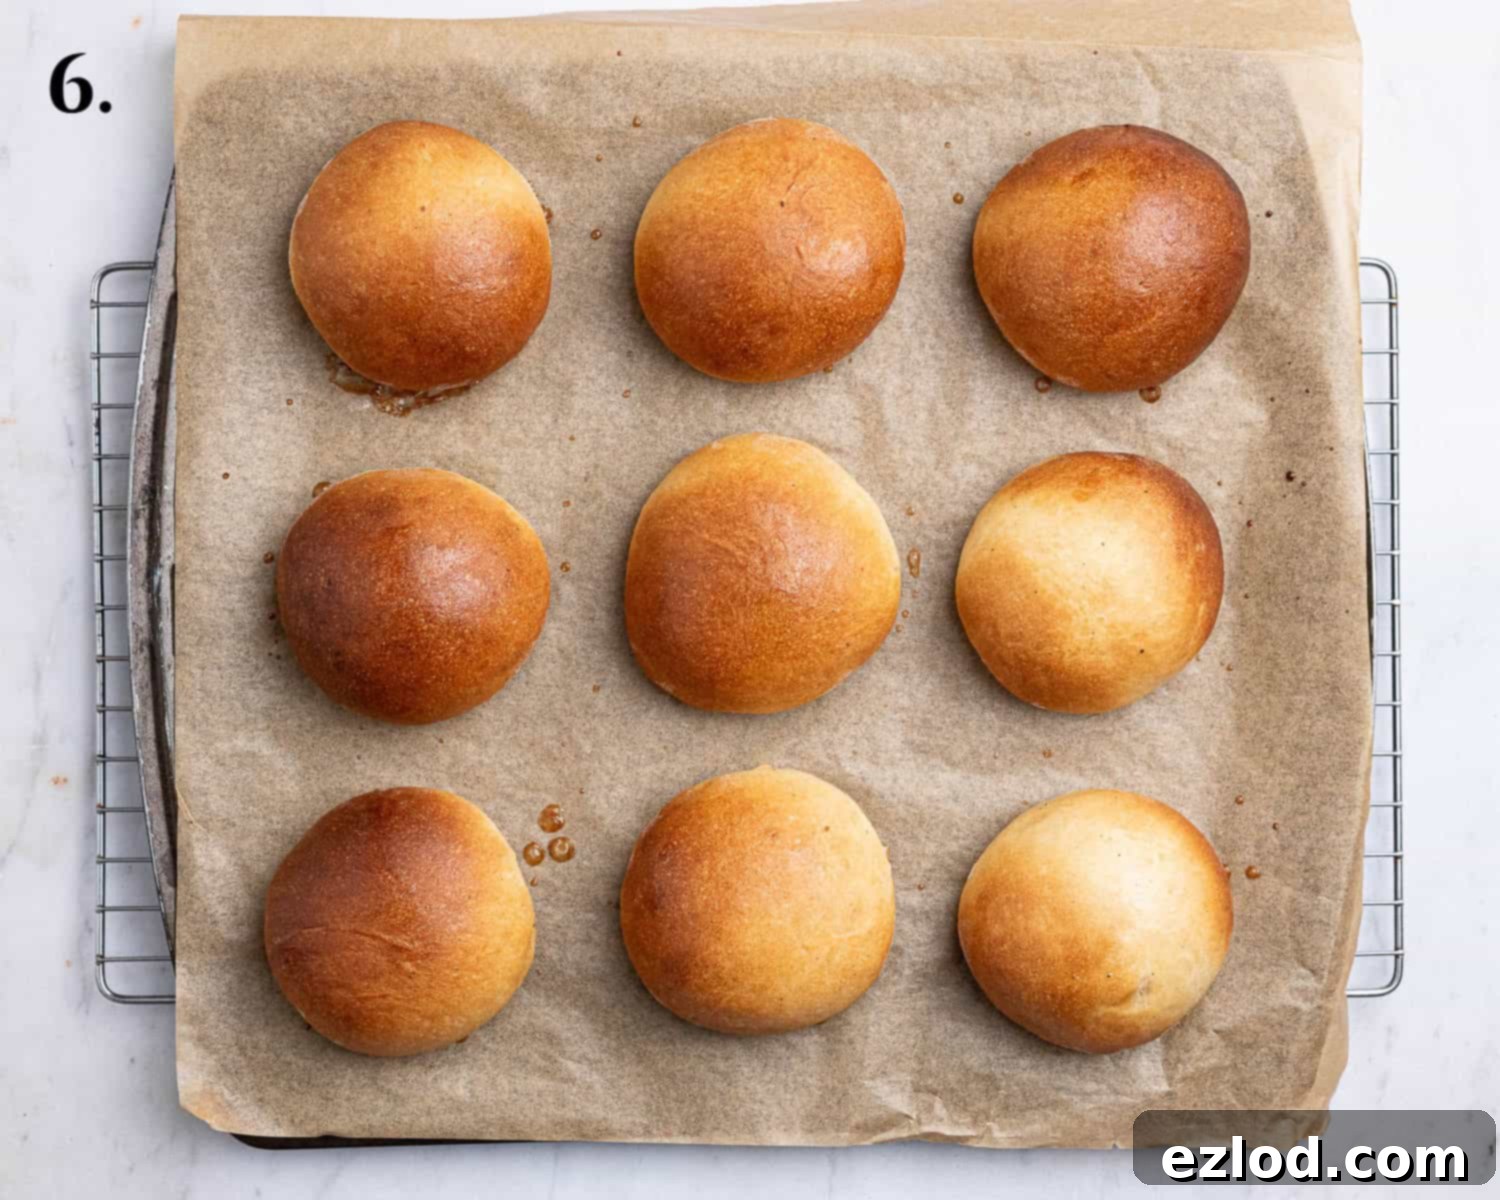
Step 6: Glazing and Baking. While the buns are on their second rise, preheat your oven to 200°C / 180°C fan / 400°F / gas mark 6. In a small bowl, whisk together the maple syrup and a tablespoon of vegan milk to create a simple glaze. Once the buns are puffy, gently brush the tops with this glaze. Bake for 15-18 minutes, or until the buns are beautifully golden brown. To confirm they are fully cooked, an internal probe thermometer inserted into the center of a bun should read at least 90°C / 194°F. Once baked, transfer the buns to a wire rack and allow them to cool completely before proceeding.
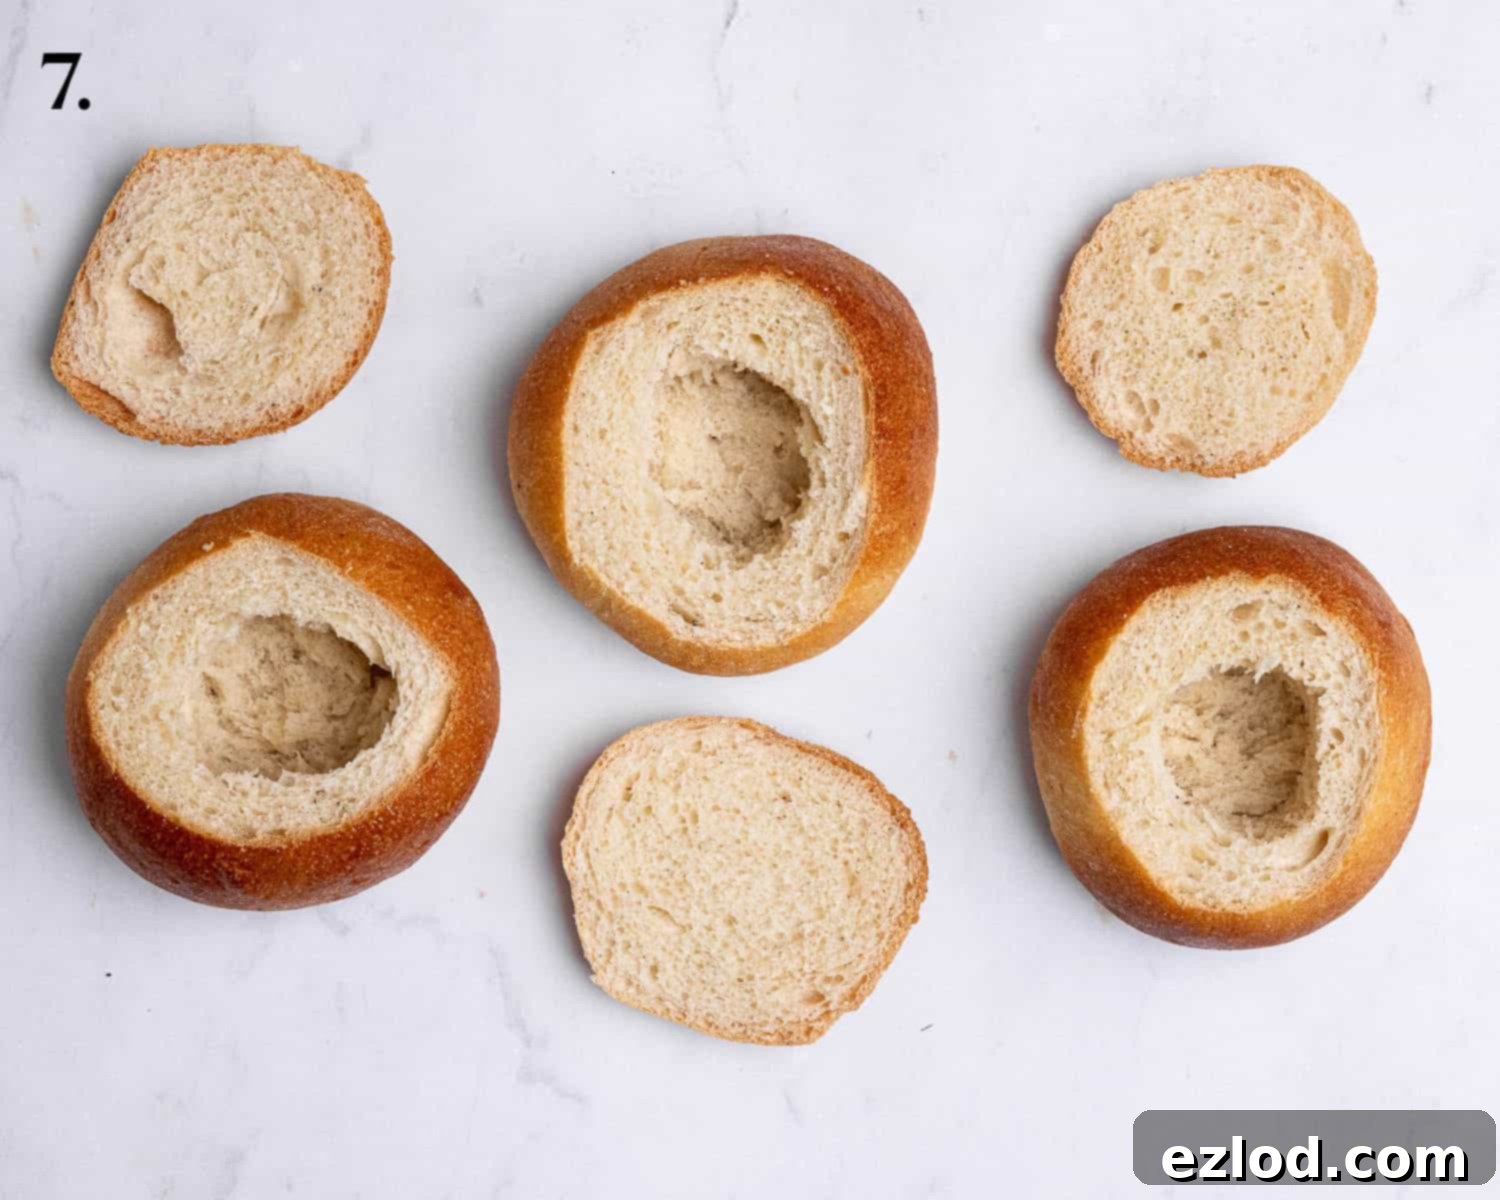
Step 7: Preparing for the Filling. Once the buns are completely cool, use a sharp serrated knife to carefully slice off the top third of each bun, creating a “lid.” Then, using a small spoon or your fingers, gently hollow out approximately one-third of the soft interior from the bottom part of each bun. Collect these removed breadcrumbs in a bowl; they will be used to make the delicious almond filling.
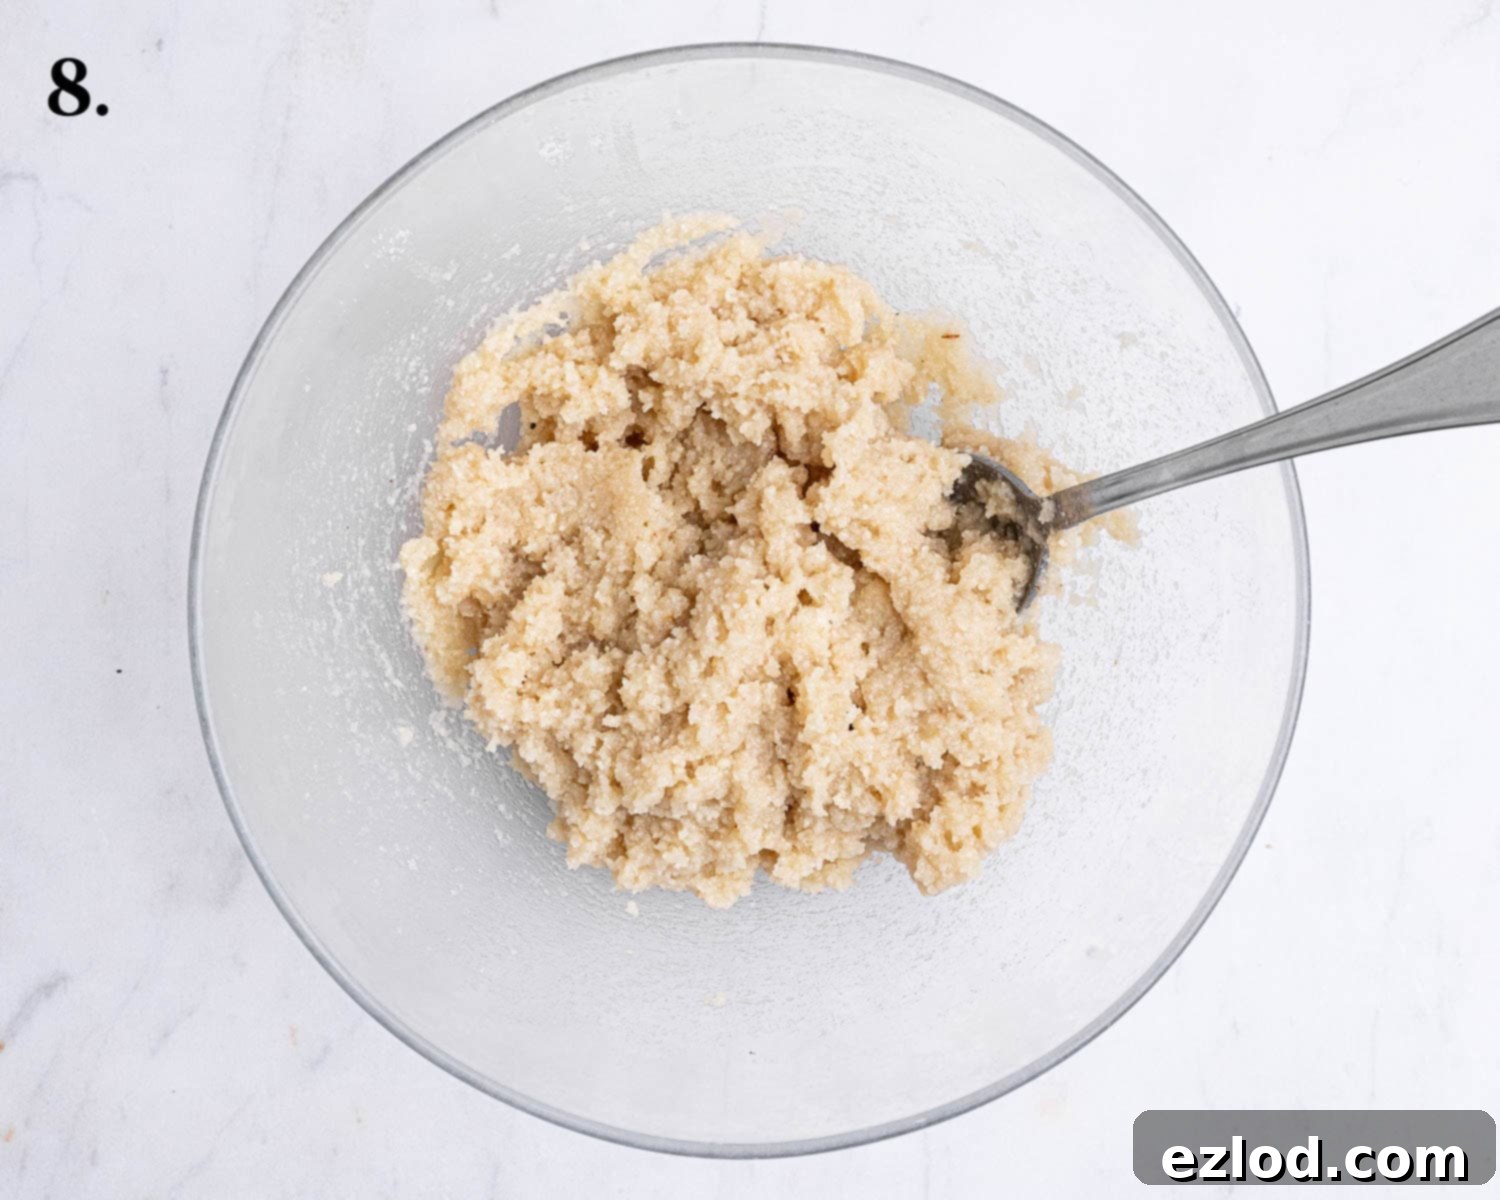
Step 8: Crafting the Almond Filling. In the bowl containing the reserved breadcrumbs, add the ground almonds (almond flour), caster sugar, vanilla extract, almond extract, and 4 tablespoons of unsweetened non-dairy milk. Mix thoroughly until you achieve a thick, spoonable paste. If the mixture seems too dry, add a tiny bit more milk, one teaspoon at a time, until it reaches the desired consistency – moist but not runny.
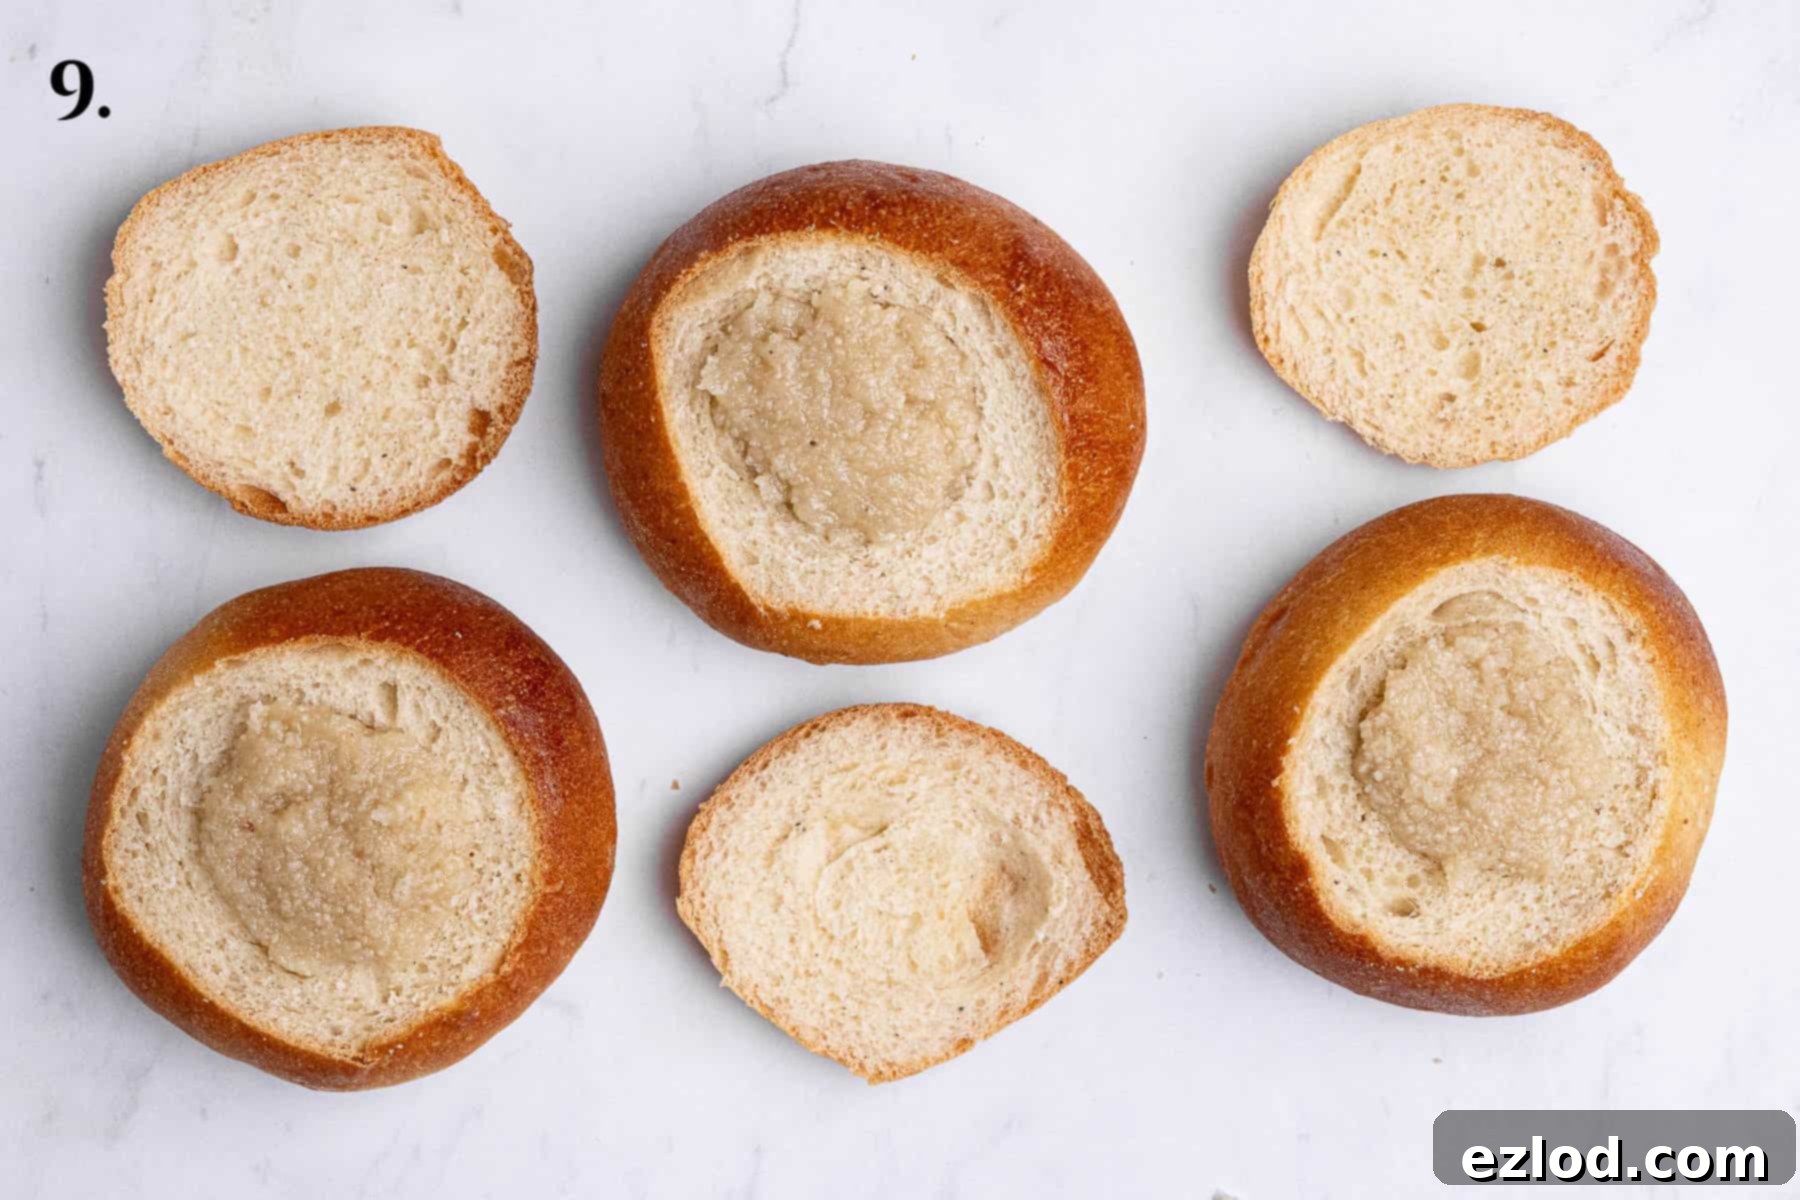
Step 9: Filling the Buns. Spoon a generous amount of the prepared almond paste into each hollowed-out bun, ensuring they are filled right up to the top. Distribute the filling evenly among all the buns, creating a satisfying mound ready for the cream.
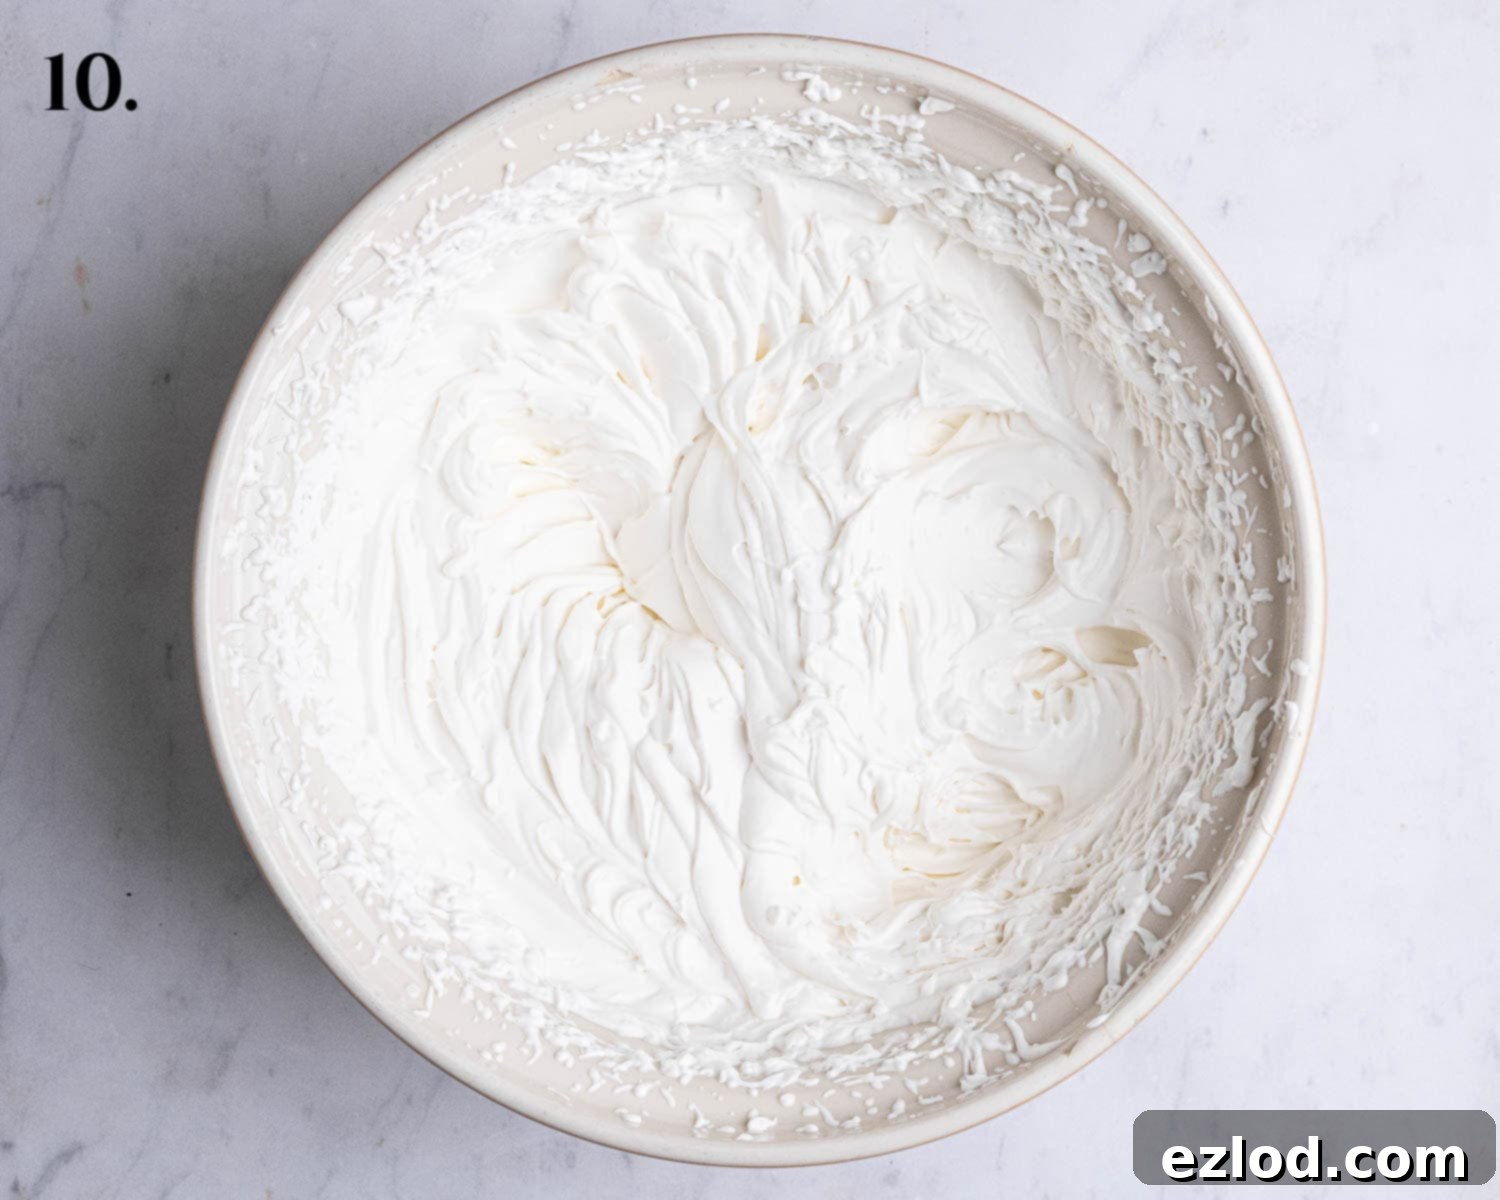
Step 10: Whipping the Cream. In a clean, chilled bowl, combine the vegan whipping cream, icing sugar, and vanilla extract. Using an electric mixer (handheld or stand mixer with a whisk attachment), whisk on high speed until the cream forms stiff peaks. Be careful not to over-whip, as some vegan creams can split if taken too far.
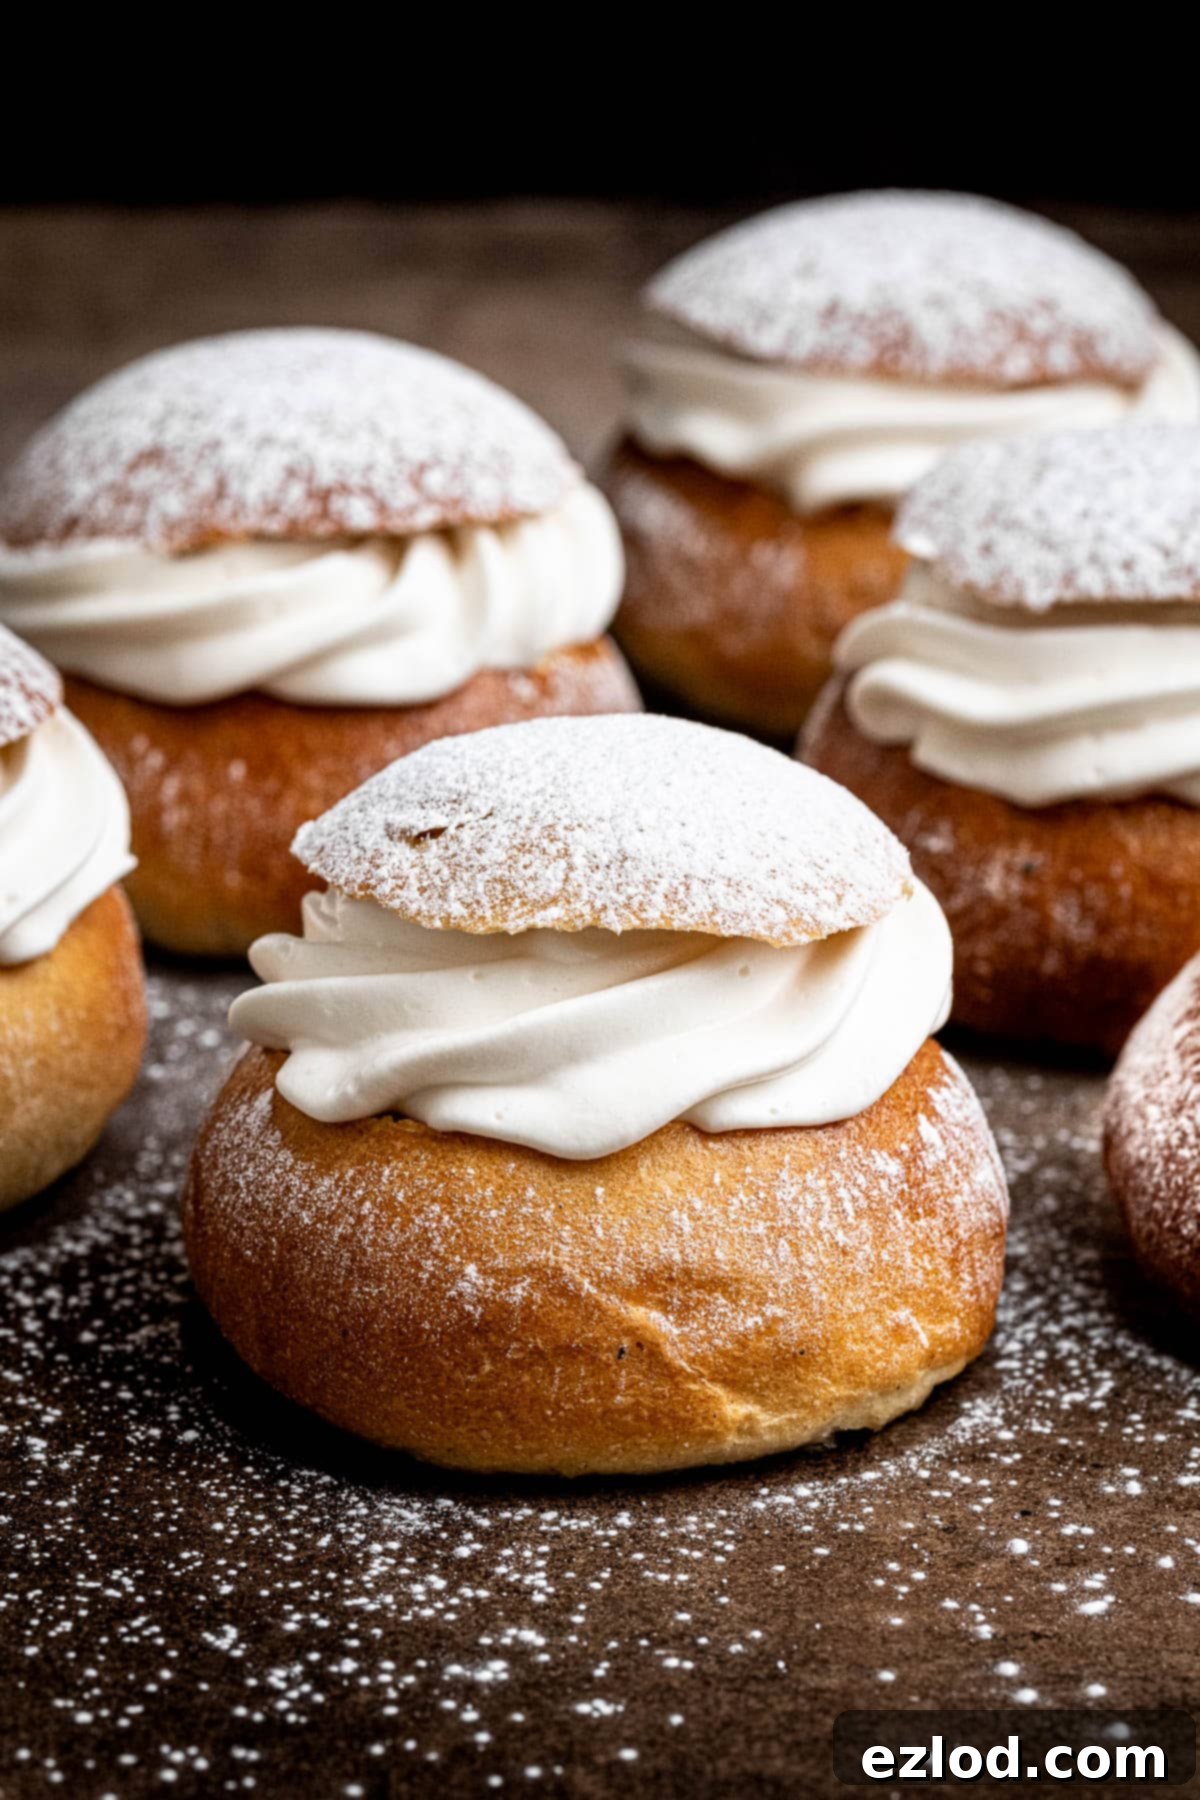
Step 11: Final Assembly and Serving. Transfer the stiffly whipped vegan cream to a piping bag fitted with a large star nozzle. Pipe a generous, beautiful swirl of cream on top of the almond filling in each bun. Gently place the reserved “lids” back on top of the cream. For the ultimate presentation, dust generously with additional icing sugar before serving immediately. These vegan semlor are best enjoyed fresh to appreciate their optimal texture and creaminess.
Expert Tips for Vegan Semlor Success
Achieving bakery-quality vegan semlor at home is entirely possible with a few insider tips:
- Embrace Metric Measurements: All my baking recipes, including this one, are developed using grams. I wholeheartedly recommend using metric measurements with a digital kitchen scale over volumetric cup conversions. Cups are notoriously inaccurate and inconsistent, which can drastically affect baking results. A scale ensures precise ingredient ratios, leading to far better, more consistent outcomes, and often a less messy process too!
- Check Your Yeast: The vitality of your yeast is paramount for a good rise. Always check the expiration date on your yeast packet. If your yeast is old or has been improperly stored, your dough may not rise adequately or at all. To test active dry yeast, proof it in a small amount of lukewarm liquid with a pinch of sugar; it should get bubbly within 5-10 minutes. Instant yeast doesn’t require proofing, but ensuring it’s fresh is still important.
- Resist the Urge to Add Extra Flour: Dough for enriched buns, like semlor, is designed to be soft and slightly sticky after kneading. Unless your dough is excessively wet and unmanageable, resist the temptation to add more flour. Over-flouring will result in a dense, dry bun rather than the light, fluffy texture you’re aiming for. Trust the process; the stickiness will often resolve with continued kneading as the gluten develops.
- Overnight First Rise (Cold Fermentation): For a deeper flavor and added convenience, consider performing the first rise overnight in the refrigerator. After kneading and incorporating the butter, place the dough in an oiled bowl, cover tightly, and refrigerate for 8-12 hours. This slow, cold fermentation not only breaks up the workload, allowing you to bake fresh buns in the morning but also develops a more complex and nuanced flavor in the dough. Remember that a refrigerated first rise will mean the second rise at room temperature will take longer.
- Temperature Affects Rising Time: The environment’s temperature significantly impacts how quickly your dough rises. On warmer days, your dough will proof much faster than on cooler ones. Keep an eye on the dough rather than strictly adhering to time estimates. Look for visual cues like doubling in size and puffiness.
- The Secret to Perfectly Baked Buns: Oven temperatures can vary widely, making exact baking times tricky. The most reliable way to ensure your buns are perfectly cooked through without being over-baked is to use a probe thermometer. Insert it into the center of a bun; it should register an internal temperature of 90°C / 195°F. This guarantees a fully cooked crumb and eliminates guesswork.
- Serve Fresh for Best Results: While the buns themselves can be made ahead, I highly recommend assembling and serving these vegan semlor as close to consumption as possible once the cream has been added. Vegan whipped creams, especially those not specifically formulated for high stability, can sometimes lose their peak and deflate over time compared to dairy creams. Enjoying them fresh ensures the cream is light, airy, and at its best.
Frequently Asked Questions About Vegan Semlor
For the absolute best taste and texture, these vegan semlor are truly at their peak when enjoyed on the day they are made, especially after the cream has been added. The delicate nature of vegan whipped cream means it holds its shape best when fresh. If you have any leftovers, store them in an airtight container in the refrigerator for no more than one day. The buns may lose a little of their freshness, but don’t despair! A classic Swedish method for reviving slightly stale semlor is to serve them in a bowl of warm milk (known as “hetvägg”). This softens the bun and creates a comforting, delicious treat.
Once the semlor have been filled with almond paste and topped with vegan cream, they cannot be frozen successfully, as the cream will not hold up well after thawing. However, you can absolutely freeze the unfilled baked buns! Allow the freshly baked buns to cool completely on a wire rack, then transfer them to an airtight freezer-safe container or bag. Freeze them on the day they are baked to preserve their freshness for up to 3 months. When you’re ready to enjoy them, simply defrost the buns at room temperature, then proceed with hollowing, filling, and topping with fresh cream. This is a great way to prepare ahead!
Unfortunately, this specific recipe is not suitable for gluten-free flour substitution. Gluten-free bread baking is a complex art, requiring entirely different flour blends and techniques to achieve a comparable texture. Attempting to simply swap gluten-free flour into this recipe would likely result in a dense, crumbly product that doesn’t resemble a traditional semla bun. As gluten-free baking is outside my area of expertise, I cannot provide specific advice for adaptation. For successful gluten-free semlor, it is always best to seek out a recipe specifically designed and tested with gluten-free ingredients.
Explore More Vegan Bun Recipes:
- Vegan St. Lucia Buns (Lussekatter)
- Cranberry Orange Rolls
- Chocolate Swirl Buns
- Rhubarb Frangipane Buns
- Vegan Belgian Buns
If you’ve tried this delightful vegan semlor recipe, I’d love to hear about your experience! Please take a moment to rate it, leave a comment below, or share your creations by tagging @domestic_gothess on Instagram with the hashtag #domesticgothess. Your feedback is truly appreciated!
All images and content presented on Domestic Gothess are protected by copyright. If you wish to share this recipe with others, kindly use the provided share buttons. Please refrain from screenshotting, posting the full recipe, or copying the content in its entirety. Instead, a direct link to this post for the recipe is greatly encouraged and appreciated.

Print
Vegan Semlor
Ingredients
Dough:
- 350 g (2 ¾ cups) white bread flour
- 7 g (2 ¼ teaspoons) instant/fast action yeast
- 40 g (3 ½ Tablespoons) caster or granulated sugar
- ½ teaspoon table salt
- ½ to 2 teaspoons freshly ground cardamom depending on how strong you want it
- ¾ teaspoon baking powder
- 225 g (¾ cup + 3 Tablespoons) unsweetened non-dairy milk (I use soy) lukewarm
- 60 g (¼ cup) vegan butter softened
Glaze:
- 1 Tablespoon maple syrup
- 1 Tablespoon vegan milk
Filling:
- 125 g (1 ¼ cups) ground almonds (almond flour)
- 100 g (½ cup) caster or granulated sugar
- 1 teaspoon vanilla extract
- ¼ teaspoon almond extract
- 4 Tablespoons unsweetened non-dairy milk (I use soy)
Cream:
- 200 g (¾ cup + 2 Tablespoons) vegan whipping cream
- 1 Tablespoon icing (powdered) sugar plus extra for dusting
- 1 teaspoon vanilla extract
Instructions
-
To make the dough, place the bread flour in a large bowl or the bowl of a stand mixer fitted with a dough hook. Add the yeast, sugar, salt, cardamom, and baking powder, then stir to ensure all dry ingredients are well combined.350 g (2 ¾ cups) white bread flour, 7 g (2 ¼ teaspoons) instant/fast action yeast, 40 g (3 ½ Tablespoons) caster or granulated sugar, ½ teaspoon table salt, ½ to 2 teaspoons freshly ground cardamom, ¾ teaspoon baking powder
-
Add the lukewarm milk and mix until a shaggy dough forms. Knead with the mixer or turn out onto an unfloured surface and knead for 5-10 minutes until the dough becomes smooth and elastic. The dough will be sticky initially, but continue kneading, and it will smooth out without needing extra flour.225 g (¾ cup + 3 Tablespoons) unsweetened non-dairy milk (I use soy)
-
Now, add the softened vegan butter to the dough. Continue kneading until the butter is completely incorporated and the dough is once again smooth and elastic. It may appear greasy and messy at first, but with persistent kneading, the butter will blend in, and the dough will become beautifully cohesive and silky.60 g (¼ cup) vegan butter
-
Once the butter is fully worked in, the dough should have a smooth, silky appearance and cleanly pull away from the mixer bowl or work surface. It should, however, still feel soft and slightly tacky to the touch.
-
Transfer the dough to a lightly oiled bowl, turning it to coat all sides. Cover the bowl loosely and set it aside in a warm place to rise until it has doubled in size, which typically takes between 1 to 2 hours. While it rises, prepare a baking sheet by lining it with greaseproof paper.
-
Once risen, gently punch down the dough to release any trapped air. Turn it out and give it a brief knead to ensure all air bubbles are out. Divide the dough into 9 equal pieces – using a kitchen scale for precision will ensure uniform buns.
-
Shape each piece of dough into a neat ball. Do this by gathering the edges of the dough towards the center and pinching them together firmly to create a smooth, well-sealed bottom. Flip the ball over so the seam is underneath, then cup it with your hand and roll it gently on the work surface until it forms a perfectly smooth sphere.
-
Place the shaped buns onto your prepared baking tray, ensuring they are well-spaced to prevent them from sticking together as they rise. Loosely cover them and set aside to rise until visibly puffy, a process that will take approximately 30-60 minutes. To check for readiness, gently press the dough with your finger; it should spring back slowly, leaving a slight indentation. If it springs back quickly, it needs more time. If the dough deflates, it indicates it is over-proofed, so monitor it carefully.
-
When the buns are nearly ready for baking, preheat your oven to 200℃/180℃ fan/400℉/gas mark 6. In a small bowl, mix together the maple syrup and a tablespoon of vegan milk to create a simple glaze.1 Tablespoon maple syrup, 1 Tablespoon vegan milk
-
Gently brush the tops of the risen buns with the maple syrup glaze. Bake for 15-18 minutes, or until they are beautifully browned and a probe thermometer inserted into the center reaches at least 90°C/194°F. Once baked, transfer them to a wire rack and allow them to cool completely before proceeding with the next steps.
-
Once fully cooled, use a sharp serrated knife to carefully slice off the top third of each bun horizontally, creating a ‘lid.’ Then, gently hollow out approximately one-third of the soft interior crumb from the bottom portion of each bun. Collect these removed breadcrumbs in a bowl to be used in the filling.
-
To prepare the luscious filling, combine the ground almonds (or almond flour), caster sugar, 50g of the reserved breadcrumbs, vanilla extract, almond extract, and 4 tablespoons of unsweetened non-dairy milk in a bowl. Mix thoroughly until a smooth, spoonable paste is formed. Add a little more milk, one teaspoon at a time, if the mixture appears too dry.125 g (1 ¼ cups) ground almonds (almond flour), 100 g (½ cup) caster or granulated sugar, 1 teaspoon vanilla extract, ¼ teaspoon almond extract, 4 Tablespoons unsweetened non-dairy milk (I use soy)
-
Spoon a generous amount of the rich almond filling into each of the hollowed-out buns, ensuring they are filled generously right up to the top, creating a delightful base for the cream.
-
In a chilled bowl, whisk together the vegan whipping cream, icing sugar, and vanilla extract using an electric mixer until the mixture forms stiff, firm peaks. Be careful not to over-whip, as some vegan creams can become grainy if beaten too long.200 g (¾ cup + 2 Tablespoons) vegan whipping cream, 1 Tablespoon icing (powdered) sugar, 1 teaspoon vanilla extract
-
Transfer the whipped cream to a piping bag fitted with a large star nozzle. Pipe a generous, appealing swirl of cream on top of the almond filling in each bun. Carefully replace the bun lids, dust generously with extra icing sugar, and serve immediately for the freshest taste and best texture. Any uneaten buns, once assembled, should be stored in the fridge and consumed within a day.
Notes
- For additional helpful tips, detailed ingredient explanations, and step-by-step photos that guide you through the process, please refer to the main article content above. Many common questions might already be answered there!
- As with all my baking recipes, I cannot stress enough the importance of using metric measurements with a digital scale rather than cup conversions. Volumetric cup measurements are inherently inaccurate and can lead to inconsistent results in baking. Using a digital scale will provide far superior accuracy, leading to more reliable and delicious outcomes, and often results in less mess too!
