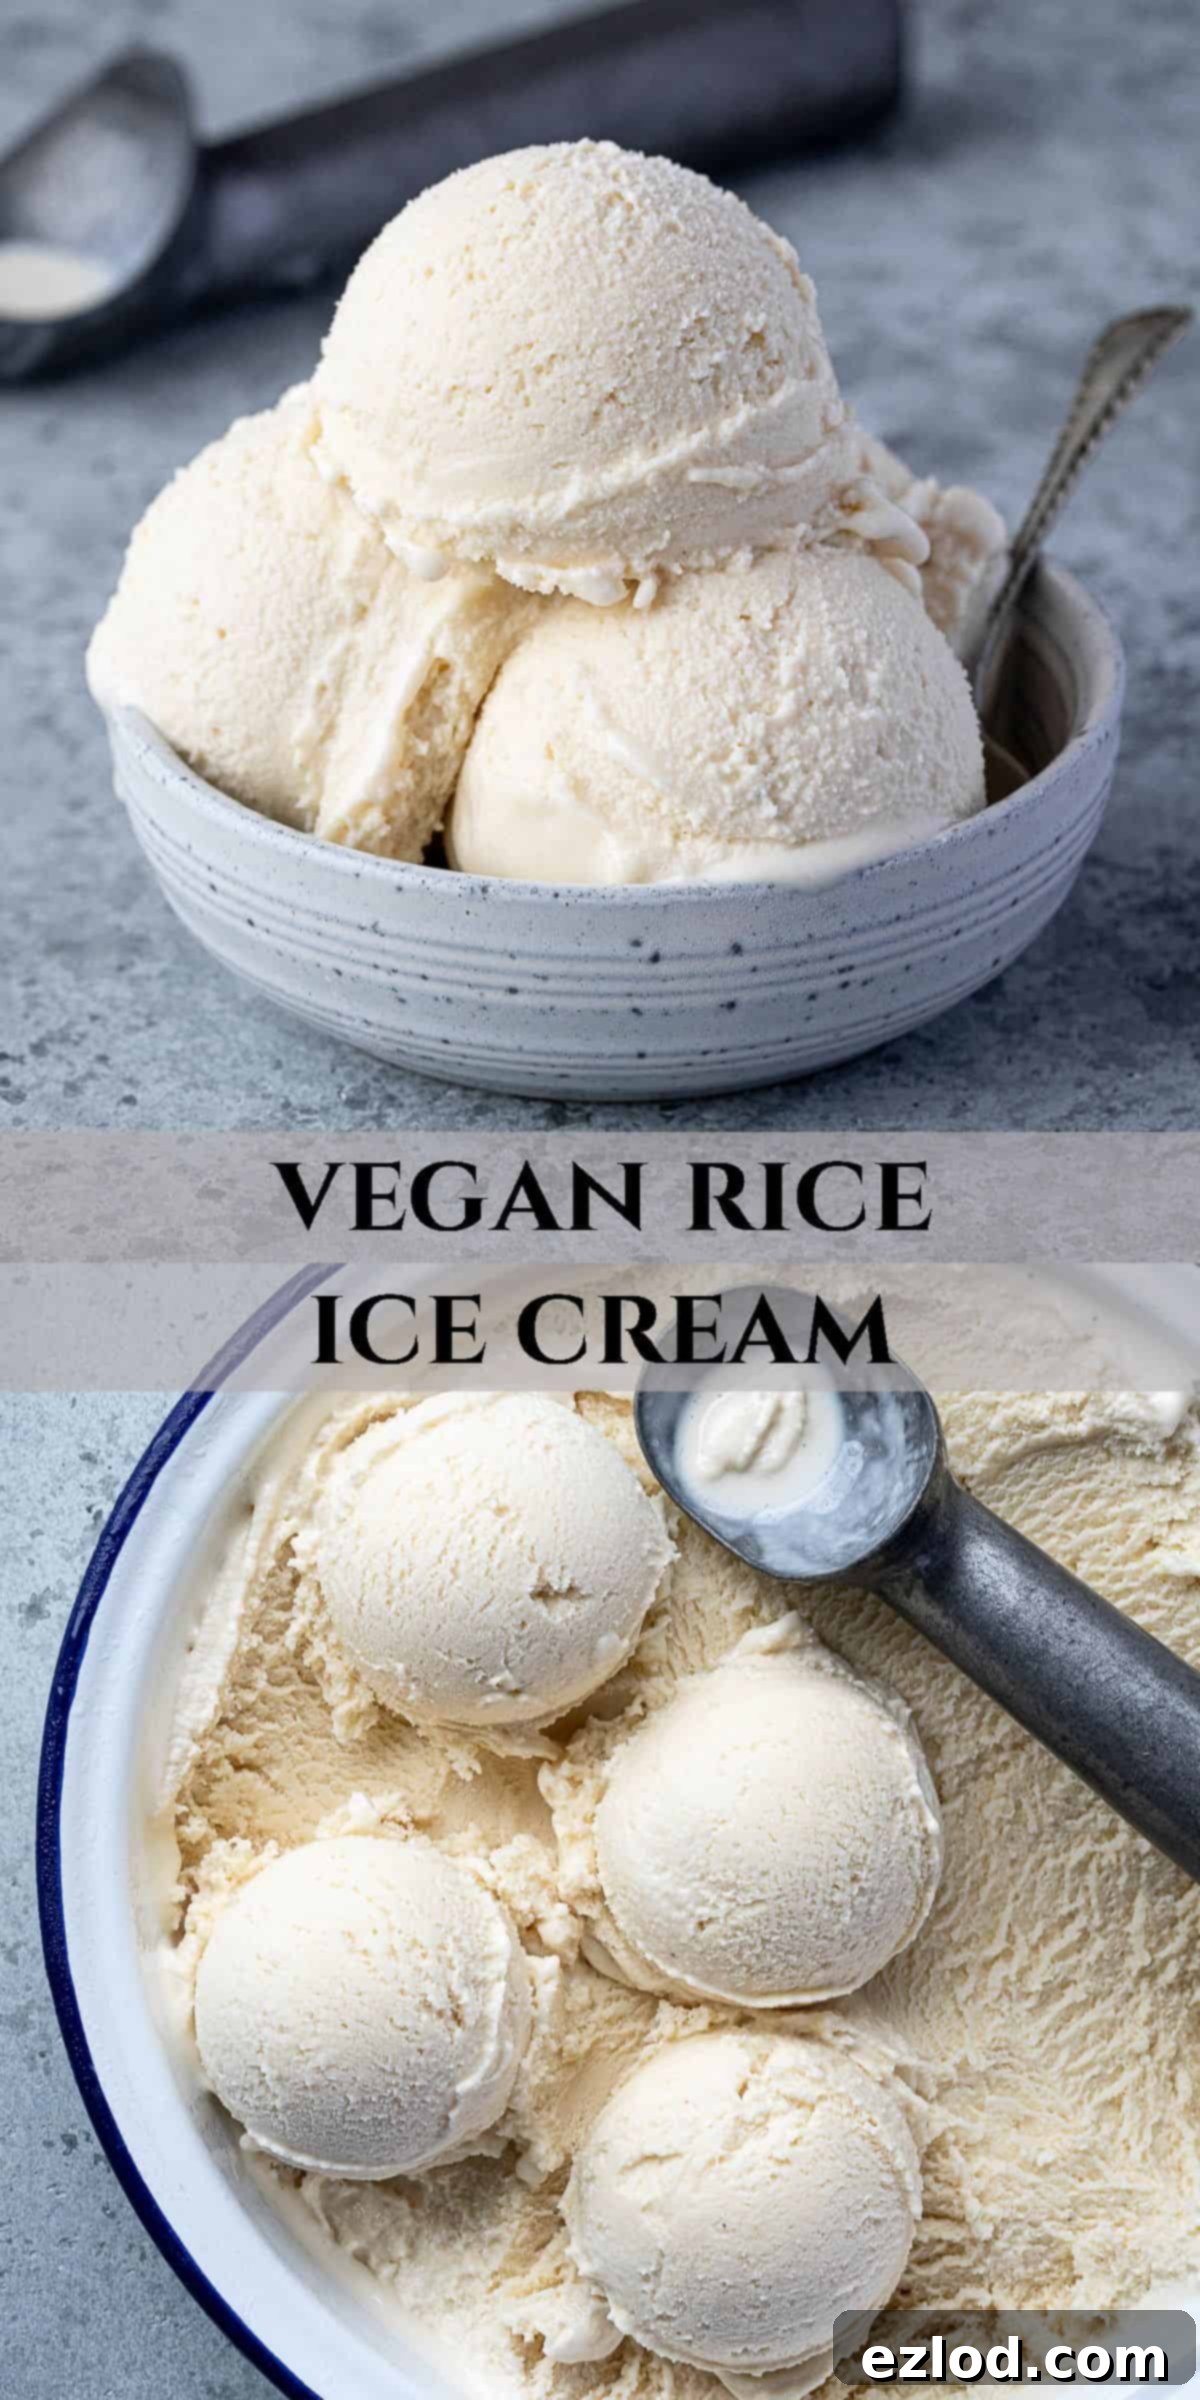
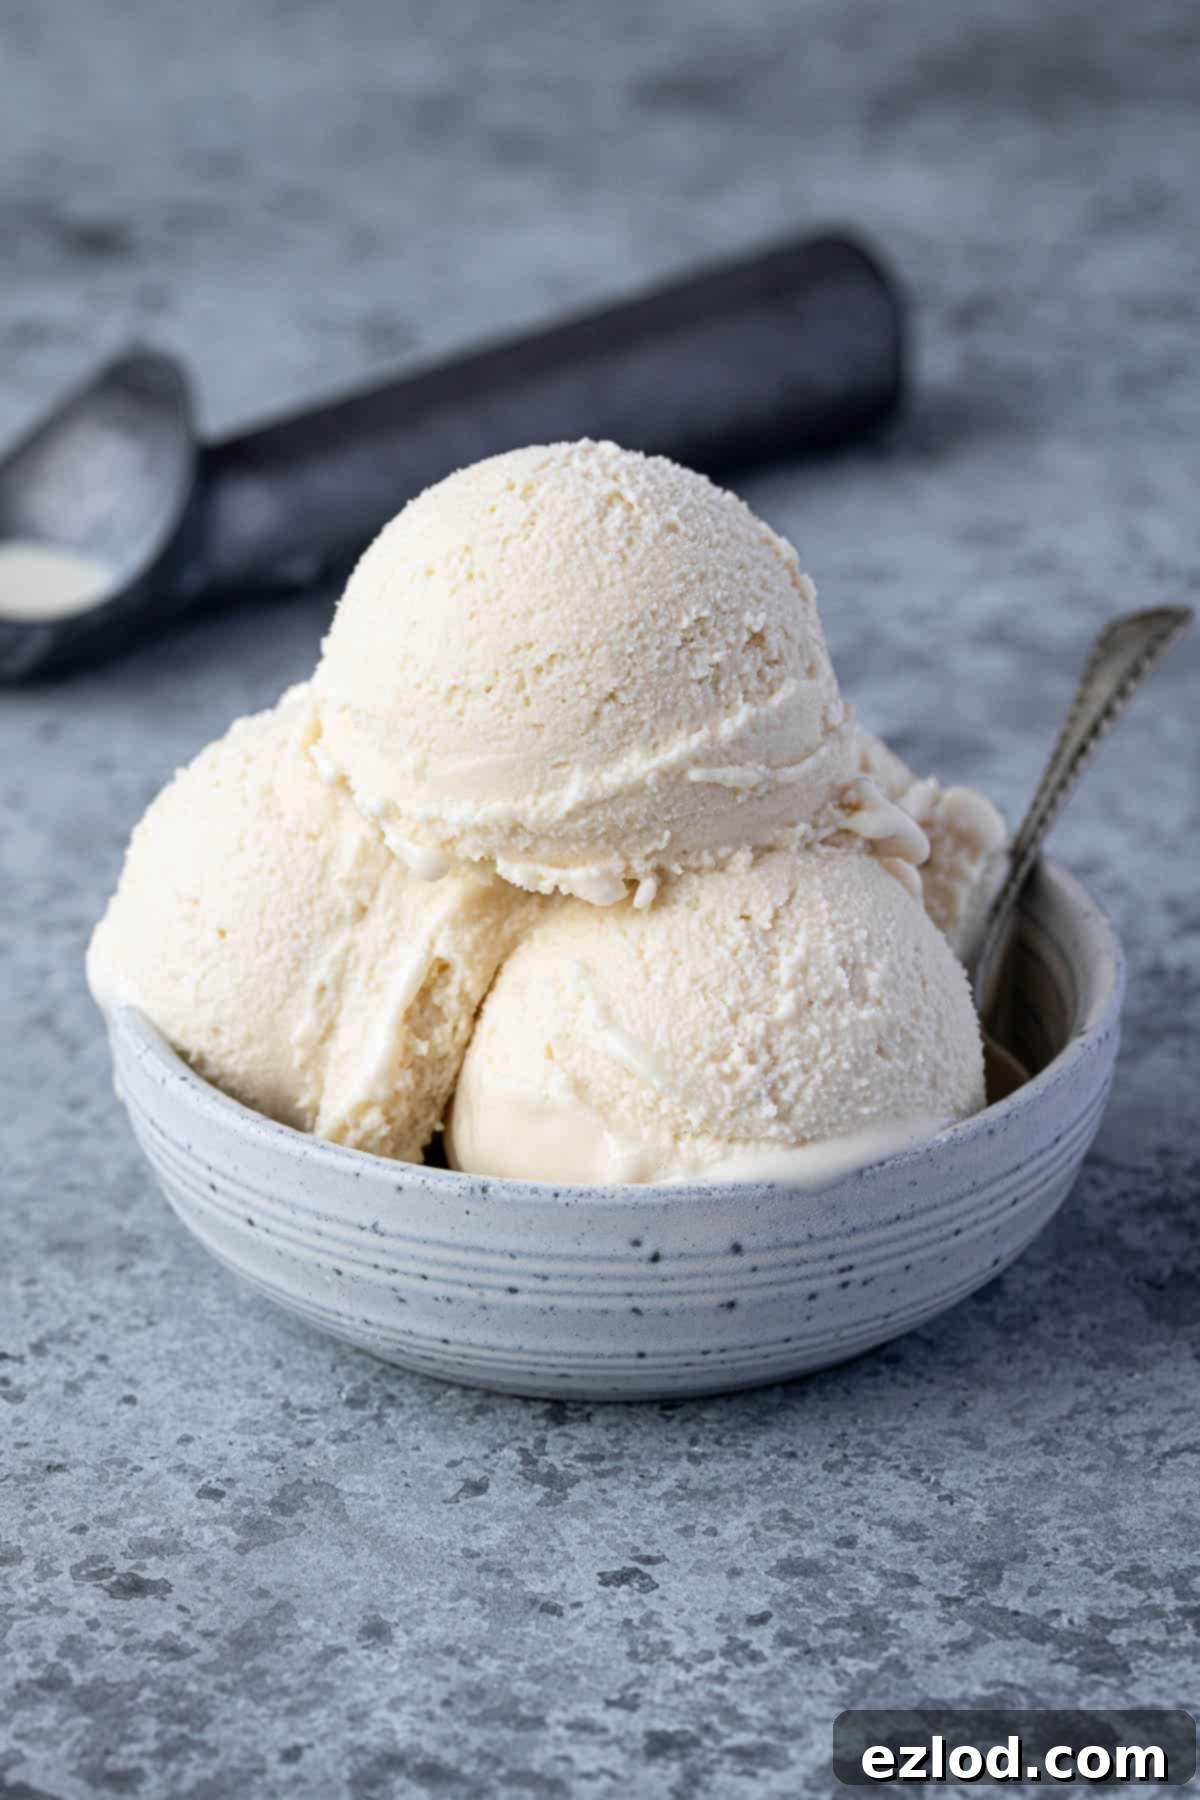
Creamy Vegan Rice Ice Cream: A Deliciously Smooth & Allergy-Friendly Frozen Dessert
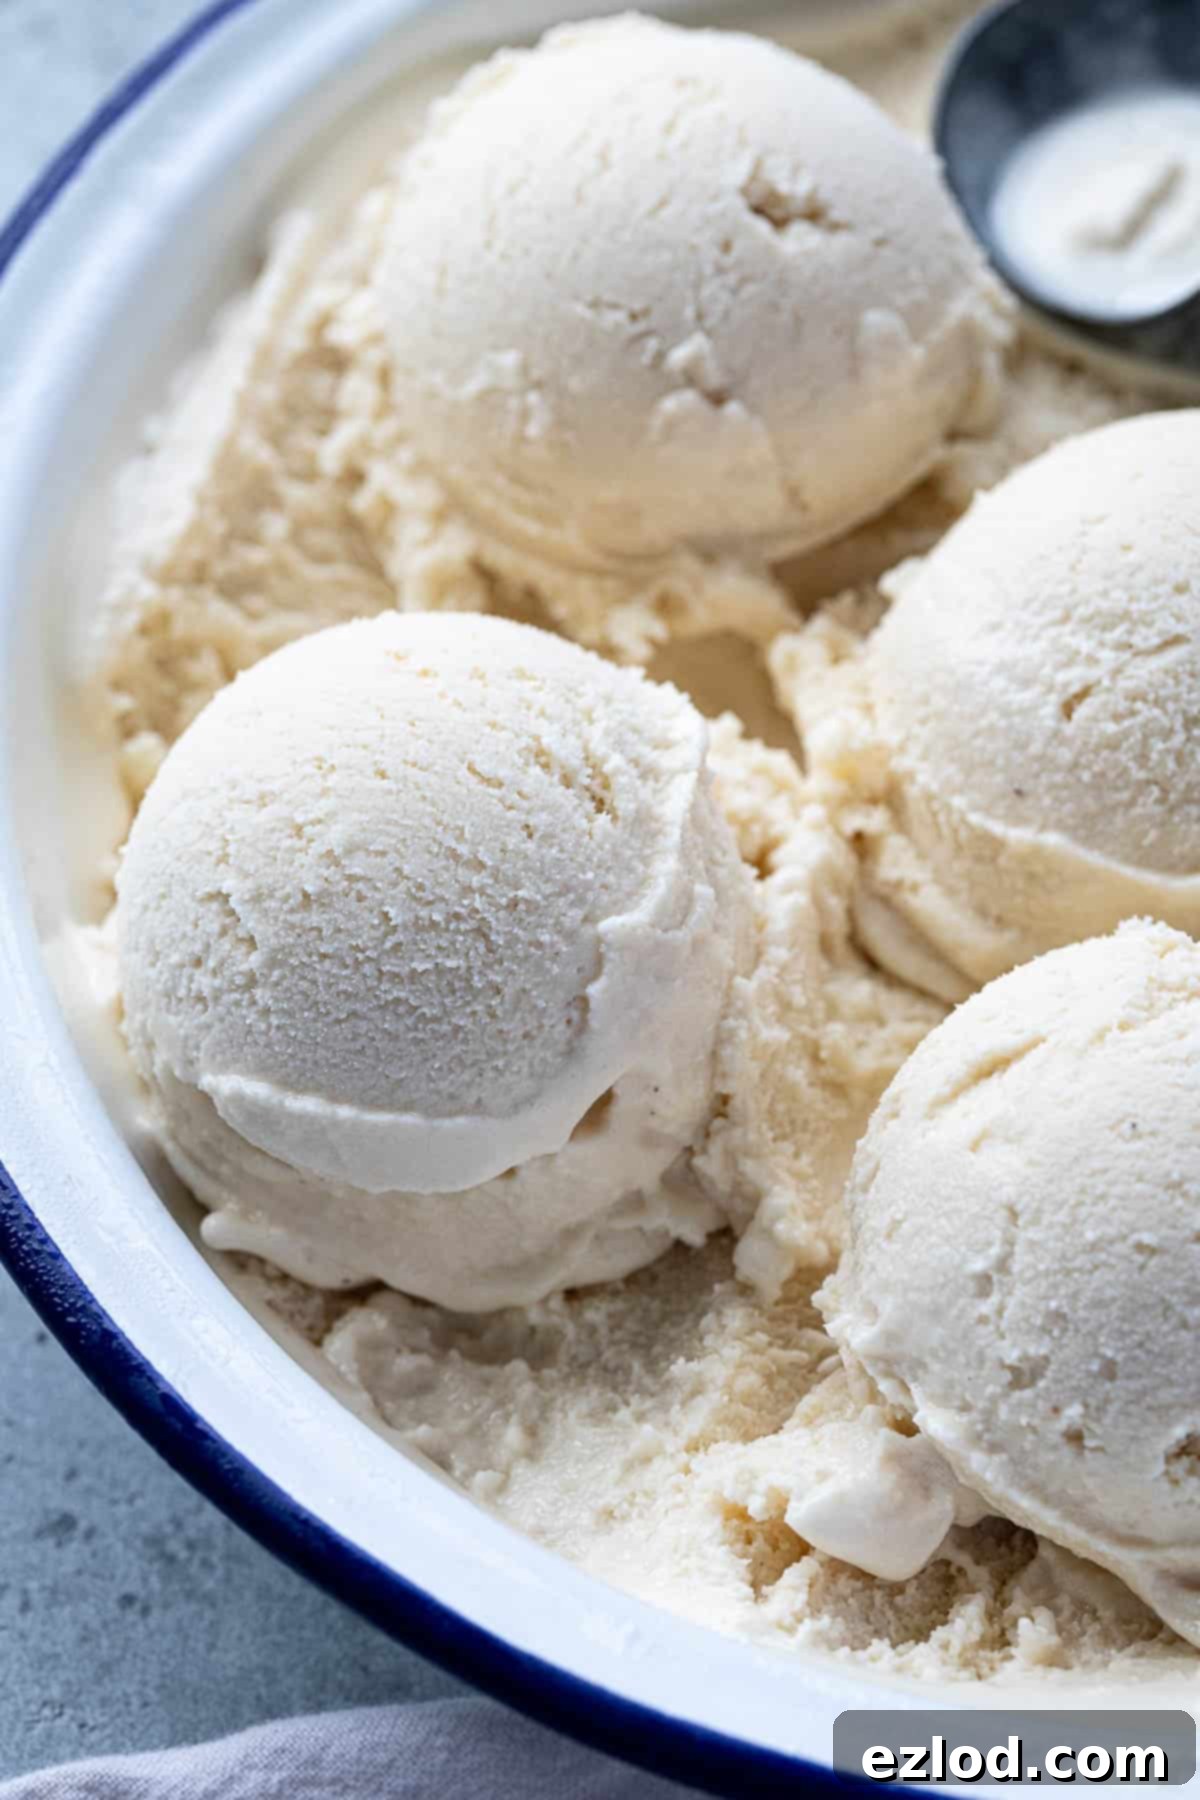
Discover the delightful world of homemade vegan ice cream with this incredibly creamy rice-based recipe. Forget about traditional dairy – this innovative dessert harnesses the natural starchiness of cooked rice to create a luxuriously smooth texture that will surprise and satisfy. Infused with subtle hints of warming nutmeg, sweet malt, and classic vanilla, it evokes the comforting taste of a frozen rice pudding. Yet, its versatile base allows you to easily omit the nutmeg and malt, opening up a canvas for endless flavor creativity, tailored to your personal preferences.
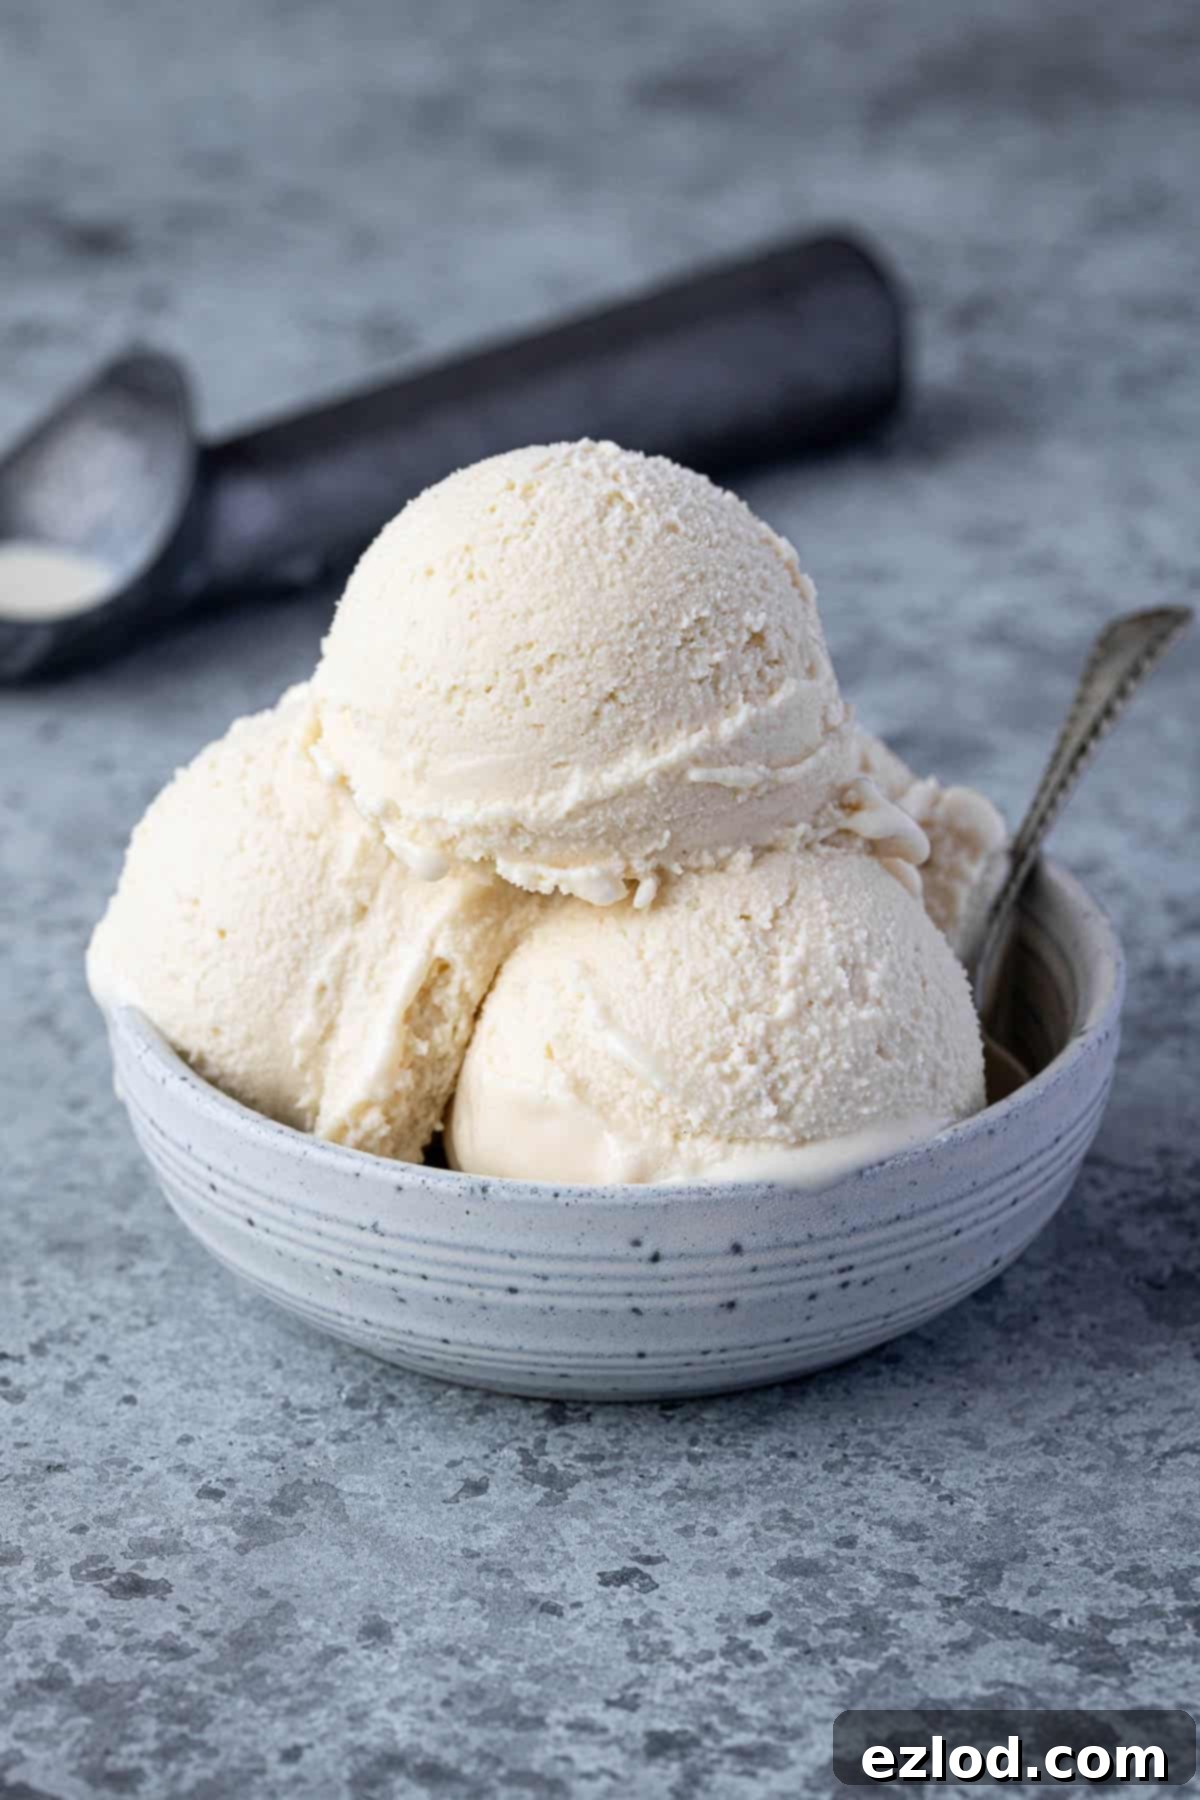
While many of my frozen dessert creations often feature a variation of my trusted oat and cashew ice cream base – a base I love for its reliability and adaptability – I was eager to explore a unique alternative. This led me down the exciting path of creating a truly special rice-based ice cream, offering a distinct flavor profile and an impressively creamy mouthfeel.
The inspiration for this delightful vegan treat stems from “Gelato di Riso,” a beloved traditional ice cream flavor originating from Florence, Italy. Typically, this classic Italian dessert is crafted by combining rice pudding with a custard base and then freezing it. My recipe playfully builds upon this concept, but with a modern, plant-based twist. Instead of incorporating whole rice grains, I meticulously blend the cooked rice pudding until it achieves an exceptionally smooth and velvety consistency. This crucial step ensures a wonderfully creamy ice cream, free from any discernible rice bits, delivering a refined and melt-in-your-mouth experience.
One of the standout features of this vegan rice ice cream is its remarkably allergy-friendly nature. This recipe is completely free of nuts, making it an excellent choice for those with nut allergies. Furthermore, with simple adjustments, it can also be prepared without coconut or soy, expanding its accessibility to even more dietary needs. It’s a truly inclusive dessert that doesn’t compromise on flavor or texture.
For this particular rendition, I’ve chosen a harmonious blend of vanilla, a hint of nutmeg, and a touch of malt. This combination is designed to perfectly capture the nostalgic, comforting essence of classic rice pudding, transforming it into a frozen delight. However, the beauty of this recipe lies in its incredible versatility. The rice base is exceptionally neutral, making it an ideal canvas for a myriad of other flavors. Feel empowered to experiment with different extracts, spices, or even fruit purees to create your own signature vegan ice cream. This adaptable base is ready to be mixed up to suit your unique taste buds!
Essential Ingredients for Your Homemade Vegan Rice Ice Cream
Crafting this luscious vegan rice ice cream requires a selection of readily available ingredients. Each component plays a vital role in achieving the desired creamy texture and rich flavor profile:
Rice: The foundation of our ice cream. For optimal results and that signature creamy texture, it is highly recommended to use a short-grain rice variety. Risotto rice or pudding rice are excellent choices as their high starch content breaks down beautifully during cooking, contributing significantly to the smooth consistency of the ice cream base.
Milk: A creamy, neutral-flavored non-dairy milk is crucial here. My top recommendation is unsweetened soy milk due to its excellent protein and fat content, which mimics dairy milk well. Unsweetened oat milk or cashew milk are also fantastic alternatives that will provide a good creamy base without overpowering the delicate rice flavor.
Cream: To enhance richness and overall creaminess, a good vegan cream is essential. Coconut cream is my preferred choice, offering a luscious texture. You can either use a carton of ready-made coconut cream or, for a more economical option, chill a can of full-fat coconut milk overnight and simply scoop out the thick, solid white part that separates to the top. Alternatively, a high-quality vegan double cream alternative, such as Elmlea Plant, will also yield excellent results.
Sugar and Golden Syrup: This combination of sweeteners is not just for flavor; it’s vital for the ice cream’s texture. The sugar provides sweetness and structure, while the addition of golden syrup (or its substitutes like corn syrup or liquid glucose) is key to preventing the ice cream from freezing into a rock-solid block. These invert sugars interfere with ice crystal formation, resulting in a softer, more scoopable texture straight from the freezer. For the sugar, white caster or granulated sugar is best to maintain a neutral flavor and bright color.
Vegan Butter: A touch of melted vegan butter or spread significantly boosts the richness and improves the overall mouthfeel of the ice cream. It adds a subtle fattiness that contributes to a more luxurious, full-bodied dessert.
Vegan Horlicks: This ingredient is entirely optional but highly recommended if you enjoy a distinctive malty note. Vegan Horlicks adds a wonderful depth of flavor that complements the rice pudding profile beautifully. If you prefer a simpler or different flavor, it can be easily omitted.
Vanilla: Vanilla is indispensable for any classic sweet dessert. Using a good quality vanilla extract is preferable to essence for a more authentic and robust flavor. Vanilla bean paste is an even better option if you want visible vanilla flecks and an intense aroma.
Nutmeg: Optional but highly effective in conjuring that classic rice pudding taste. A pinch of freshly ground nutmeg adds a warm, spicy undertone that pairs perfectly with the other flavors. If you’re planning to create a different flavor profile, feel free to leave it out.
Crafting Your Own Vegan Rice Ice Cream: A Step-by-Step Guide
(For precise measurements and detailed instructions, please refer to the comprehensive recipe card located at the bottom of this page.)
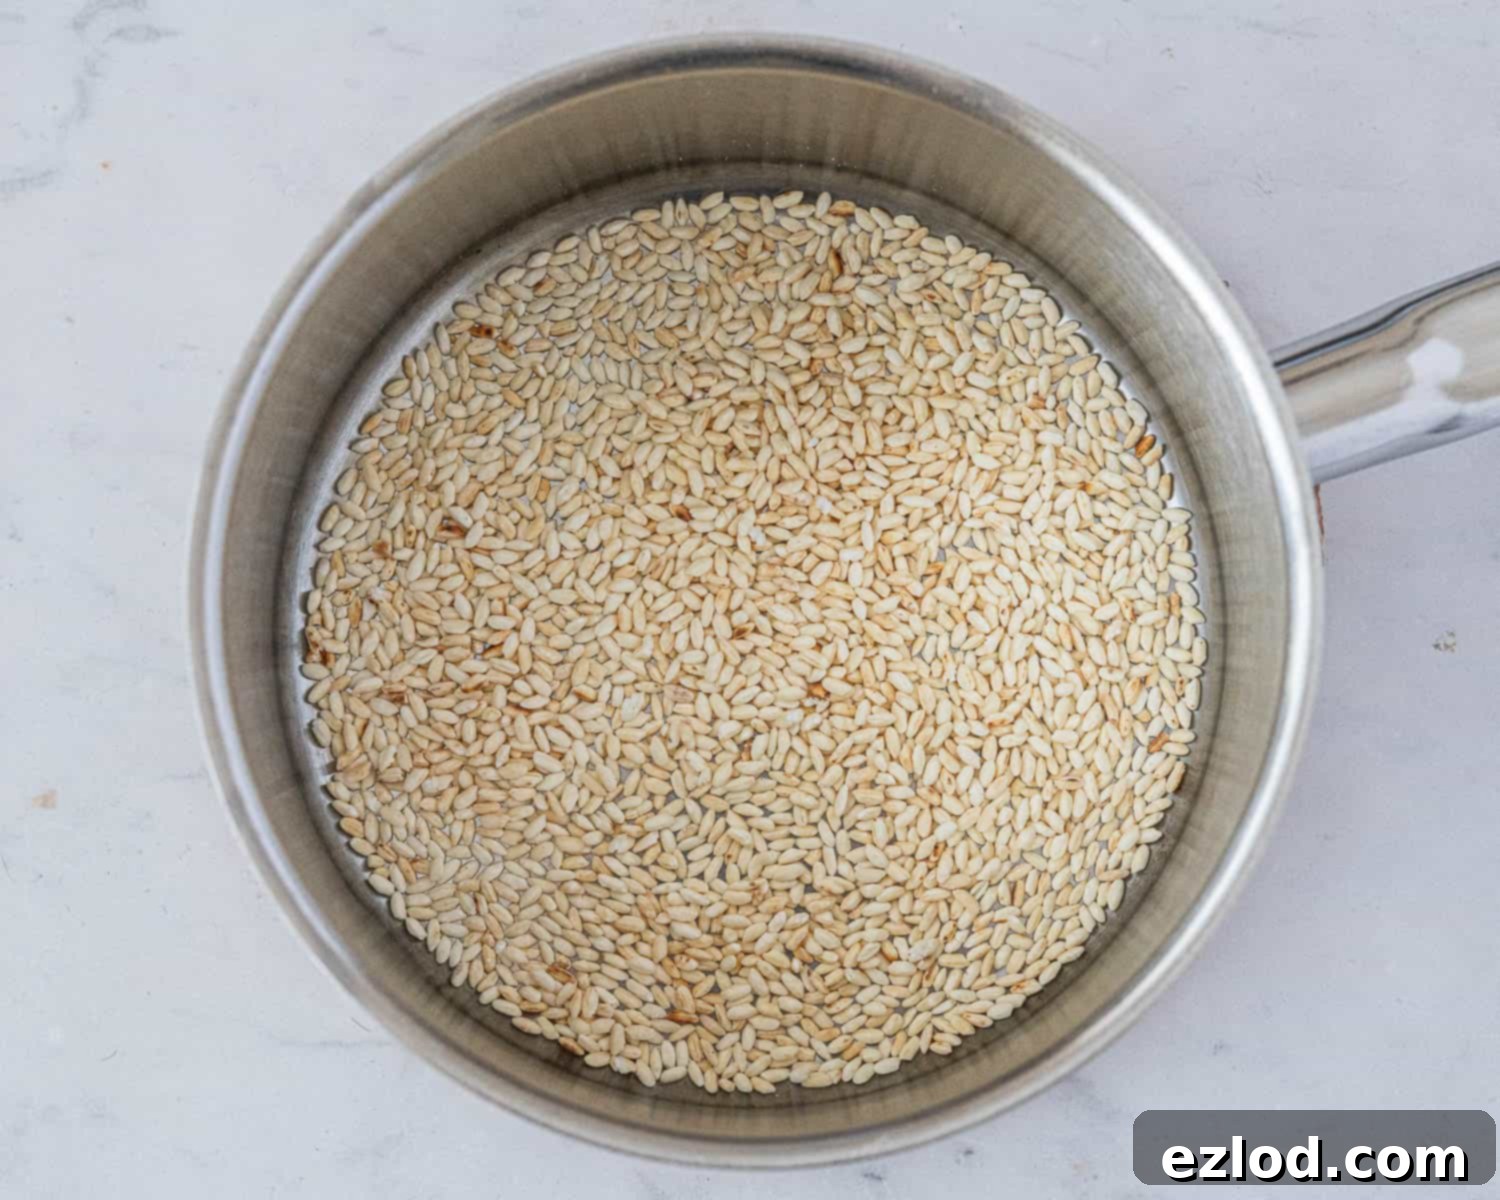
The journey to homemade vegan rice ice cream begins with a simple yet impactful step. Start by placing your chosen short-grain rice in a deep saucepan. Set the pan over a medium heat and stir the rice continuously. This toasting process is crucial; it helps to gently toast the grains, developing a subtle nutty flavor and a beautiful golden hue. Continue stirring until the rice is visibly golden and aromatic.
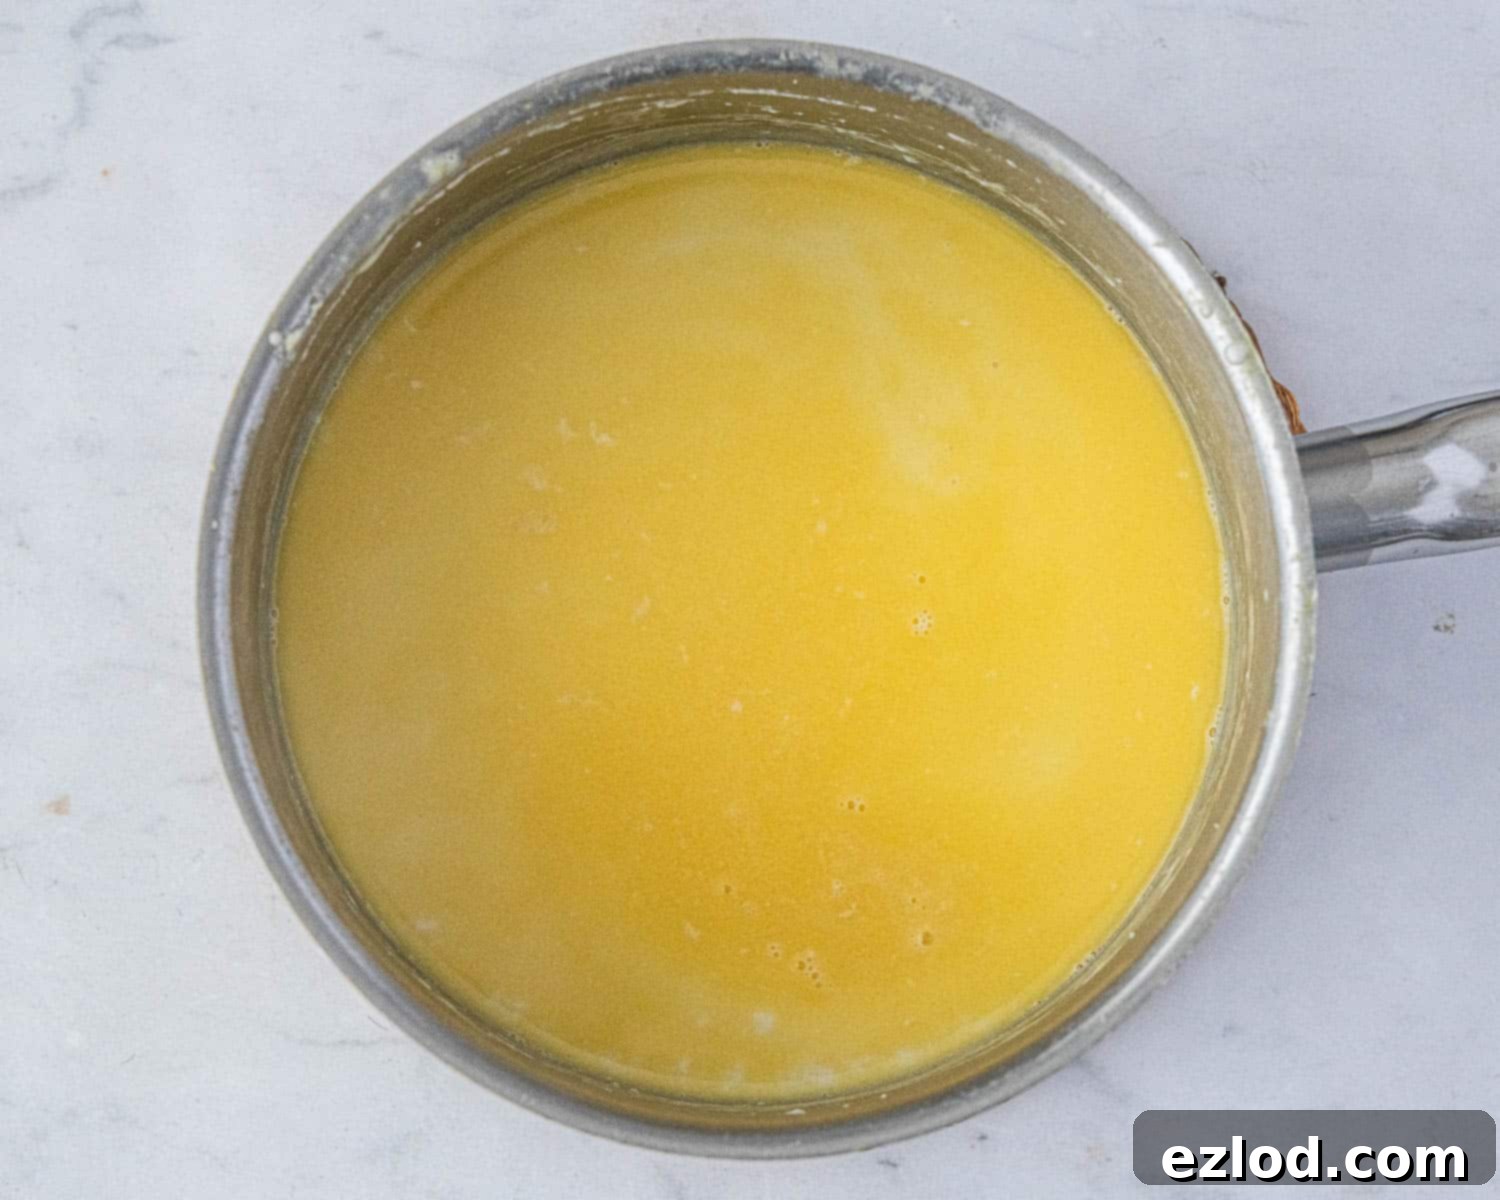
Next, carefully pour in the non-dairy milk. Bring the mixture to a gentle simmer, then immediately reduce the heat to the absolute lowest setting. Allow the rice to cook slowly for approximately 20 minutes. The goal here is for the rice to become incredibly soft, even slightly overcooked. This ensures that the starch is fully released, which is essential for achieving a super smooth and creamy ice cream base when blended. Stir frequently to prevent sticking and ensure even cooking.
Once the rice has reached the desired tenderness, remove the pan from the heat. Add the vegan butter or spread to the warm rice mixture and stir until it has completely melted and is fully incorporated. This step adds a wonderful richness and depth to the base.
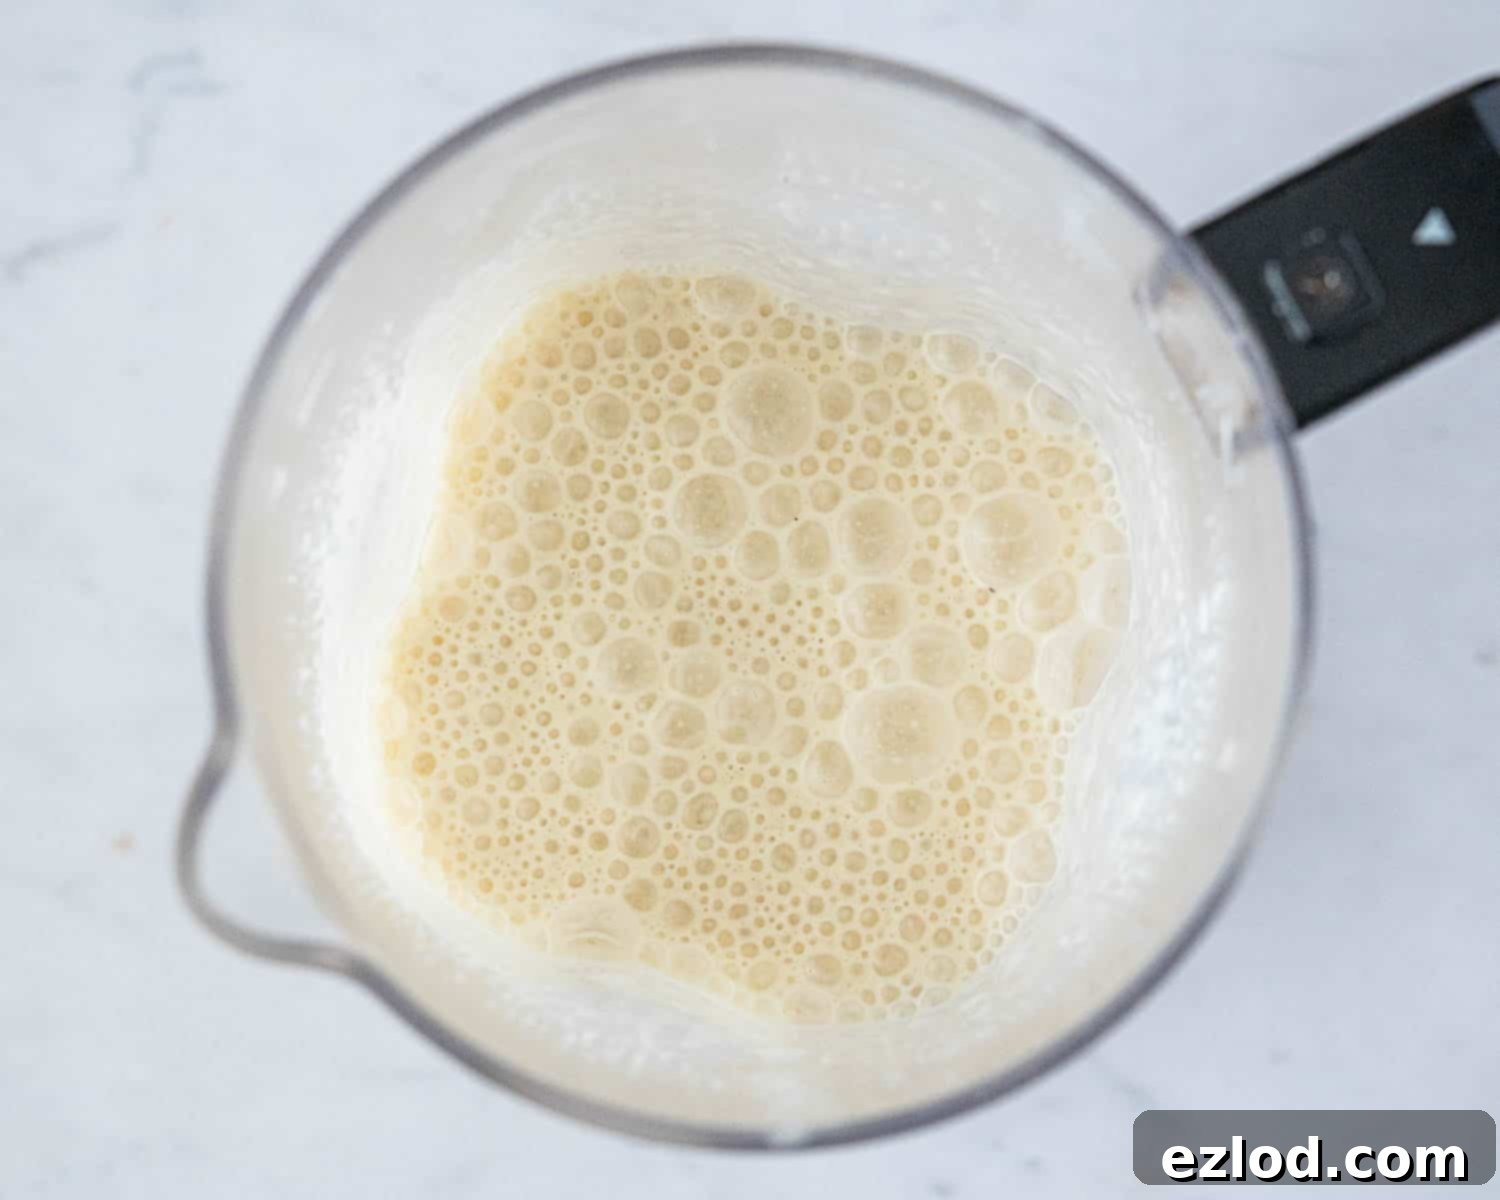
Now it’s time to transform the cooked rice into a smooth ice cream base. Carefully transfer the rice mixture to a high-speed blender. Add the coconut cream (or vegan double cream alternative), sugar, golden syrup, vanilla extract, optional vegan Horlicks, a pinch of salt, and a pinch of ground nutmeg to taste. Blend everything together until the mixture is exceptionally smooth and entirely free of any rice grains. A powerful blender will yield the best results for a truly silky texture.
To ensure ultimate smoothness and remove any tiny remaining rice particles or fibrous bits, pour the blended mixture through a fine mesh sieve into a clean bowl. This step is optional but highly recommended for a professional-grade creamy texture. Once sieved, cover the bowl tightly and refrigerate the mixture until it is completely and thoroughly cold. This chilling process is critical for the ice cream maker to churn properly and produce the desired consistency.
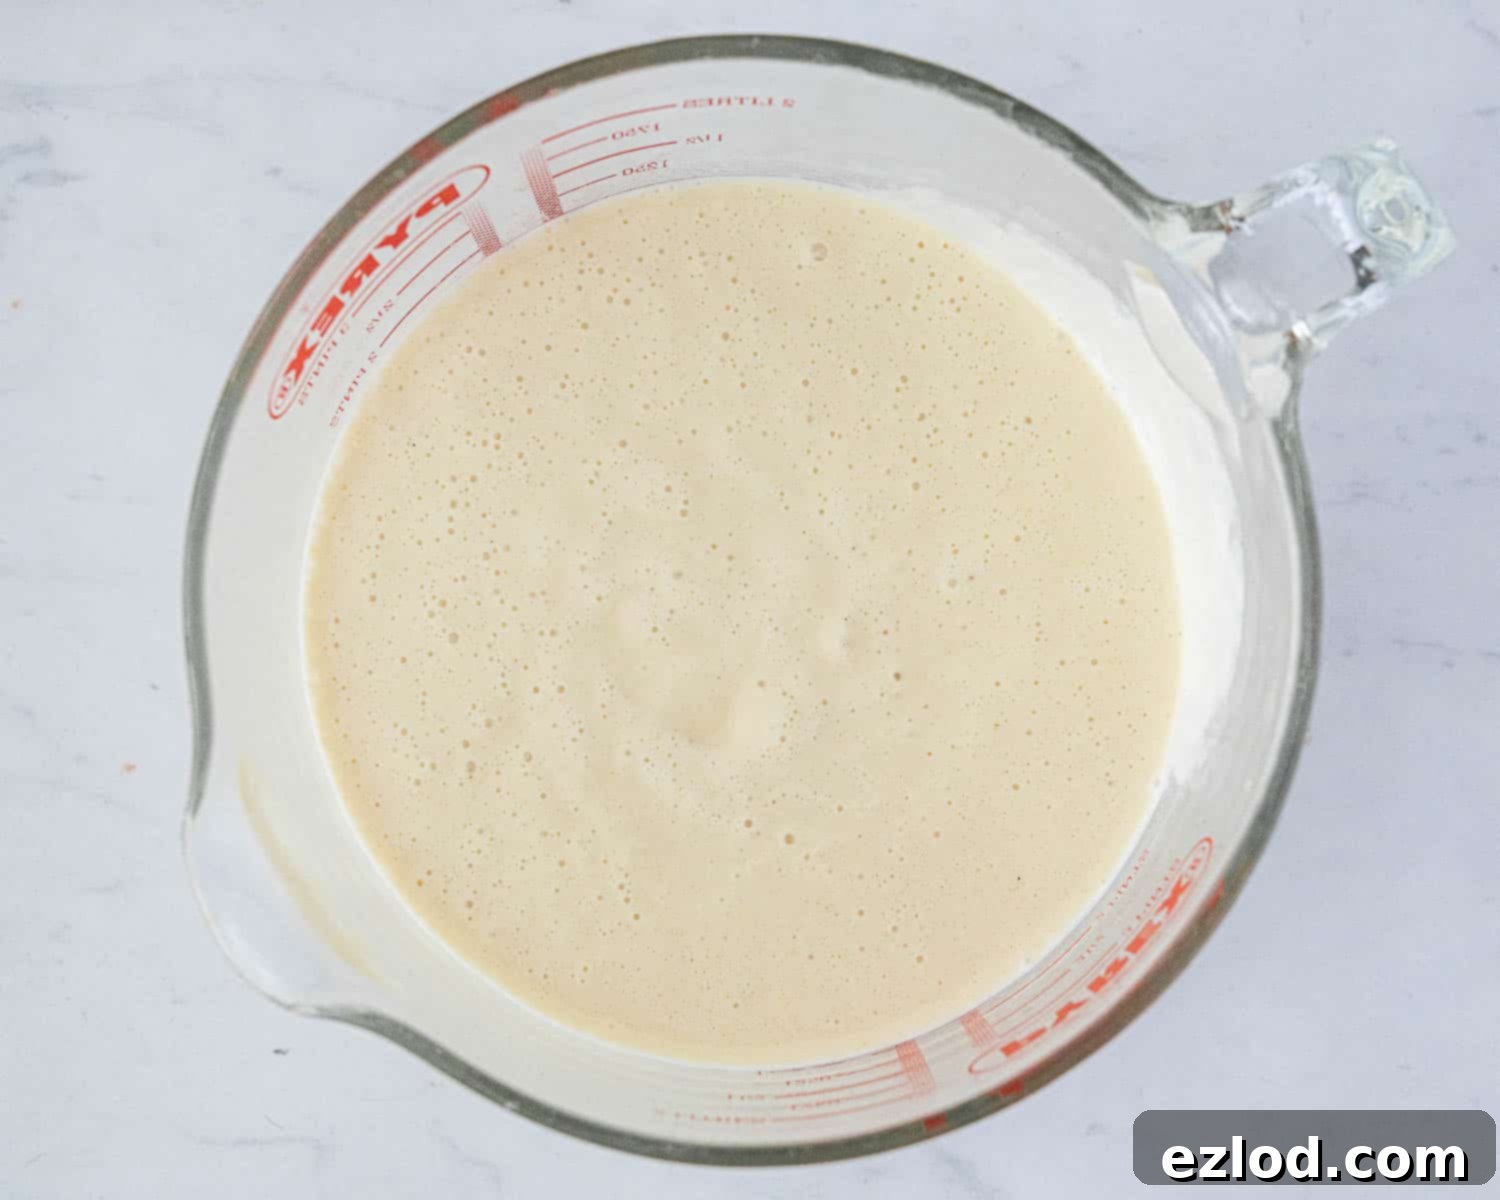
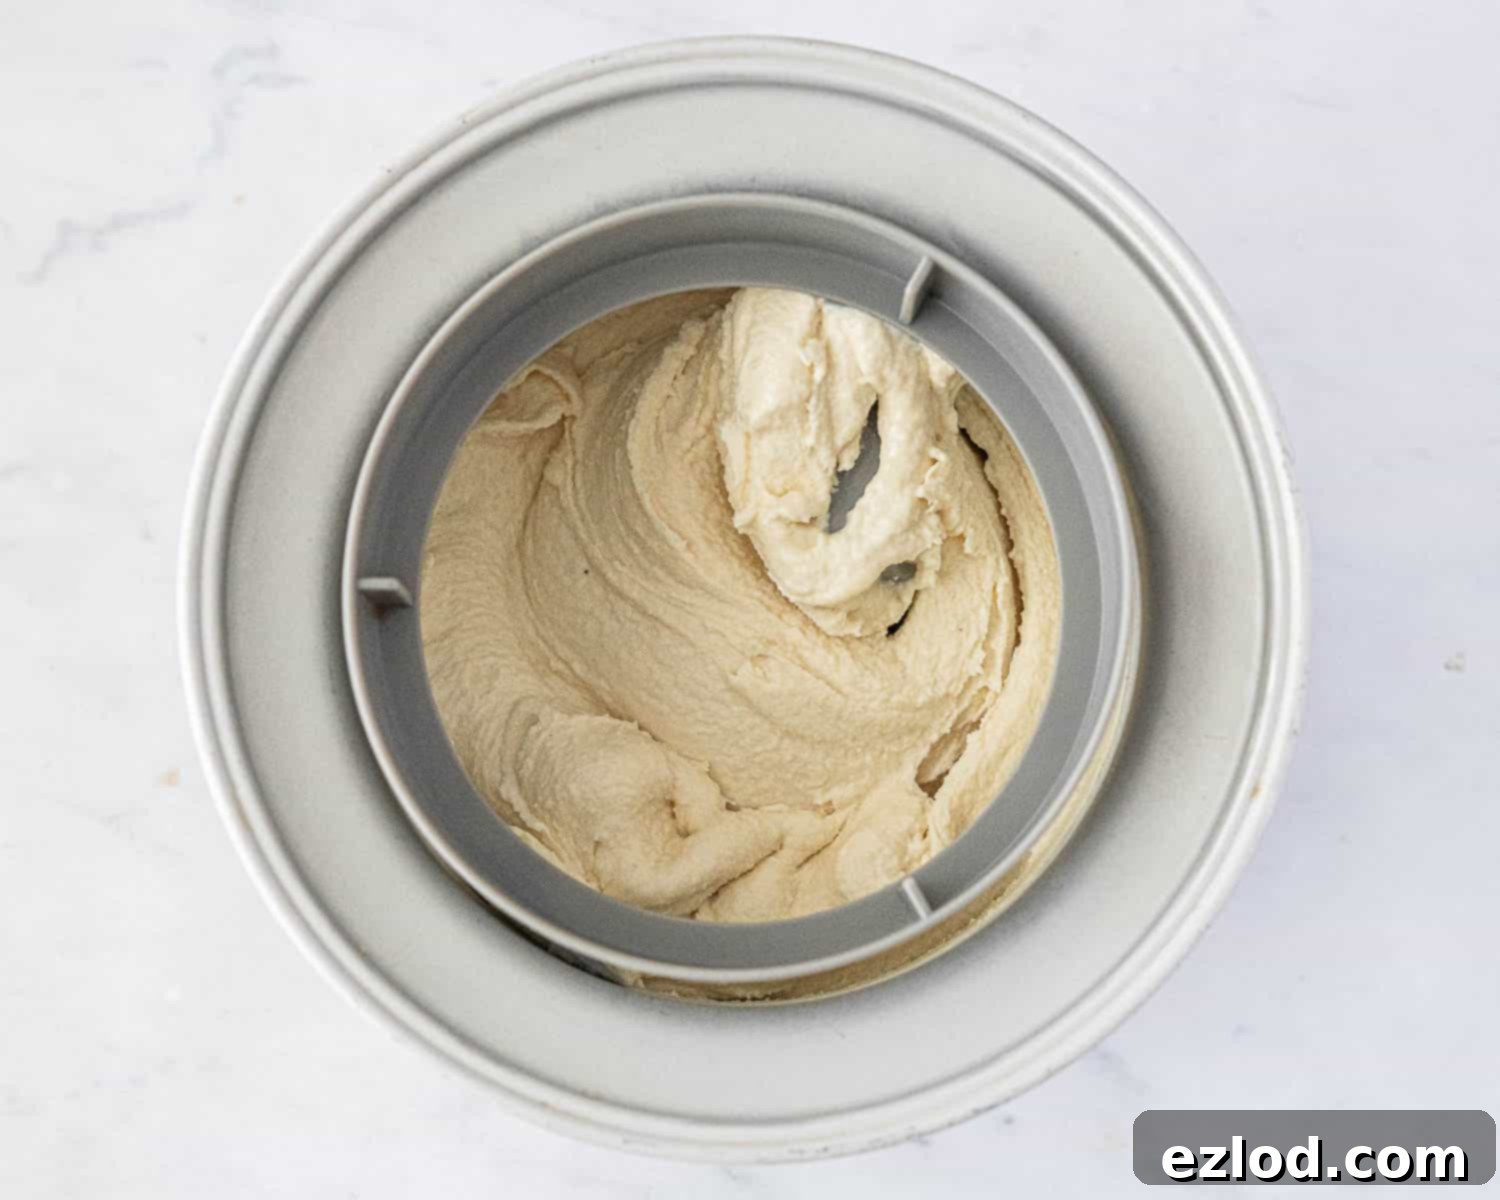
Once your ice cream mixture is perfectly chilled, give it a final good whisk to ensure everything is well combined and aerated. Then, pour the mixture into your ice cream maker. Churn according to your machine’s instructions until it reaches the consistency of soft serve ice cream. This typically takes about 20-30 minutes, but timings can vary based on your specific model.
No Ice Cream Maker? No Problem!
Even if you don’t own an ice cream maker, you can still enjoy this delicious vegan rice ice cream. It simply requires a little more hands-on effort, and the final texture might be slightly icier than machine-churned versions, but it will still be wonderfully tasty.
After your base mixture is thoroughly chilled, pour it into a large, shallow freezer-proof container. Place the container in the freezer. Every 30 minutes, remove it from the freezer and give it a vigorous whisk with an electric mixer. This process is essential for breaking up any ice crystals that begin to form, preventing the ice cream from becoming too solid and icy. Return it to the freezer promptly after each whisking session.
Repeat this whisking process for several hours, typically 3-4 times, until the mixture begins to firm up and reaches a consistency similar to soft-serve ice cream. Once it’s at this stage, allow it to freeze undisturbed for an additional couple of hours to fully set before serving. This method, while more labor-intensive, still yields a delightful homemade frozen treat.
Expert Tips for the Perfect Vegan Rice Ice Cream
Achieving the best possible results with any recipe often comes down to a few key techniques and considerations. Here are my top tips for making this creamy vegan rice ice cream:
As with all my baking and dessert recipes, I strongly advocate for using metric measurements and a digital kitchen scale. Measuring ingredients by weight rather than volume (cups) offers unparalleled accuracy, leading to far more consistent and reliable results. It’s also often less messy and quicker! Precision makes a real difference in ice cream making.
Toasting the rice before cooking is a simple step that significantly deepens the flavor profile, adding a subtle nutty dimension. However, if your goal is to create a truly plain, neutral vanilla ice cream base for other flavor additions, you can skip this step entirely.
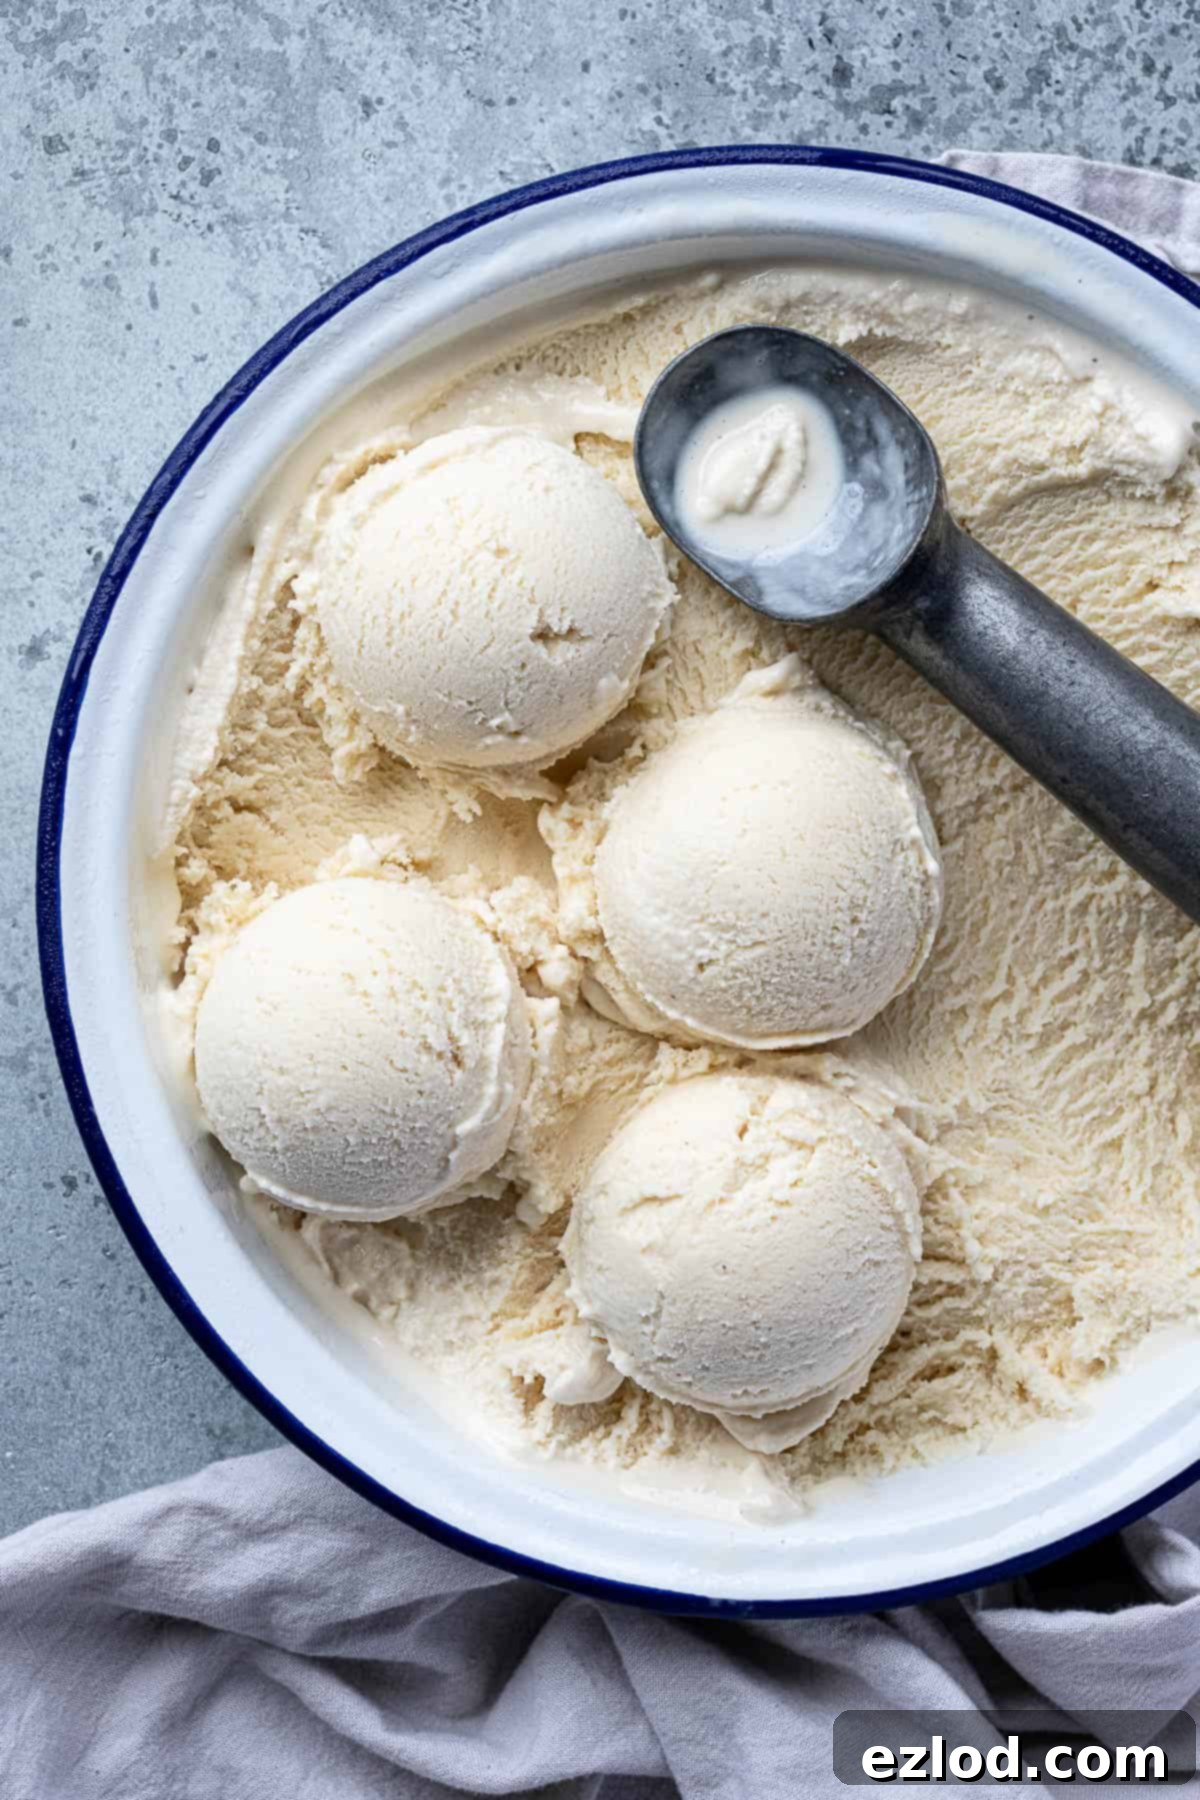
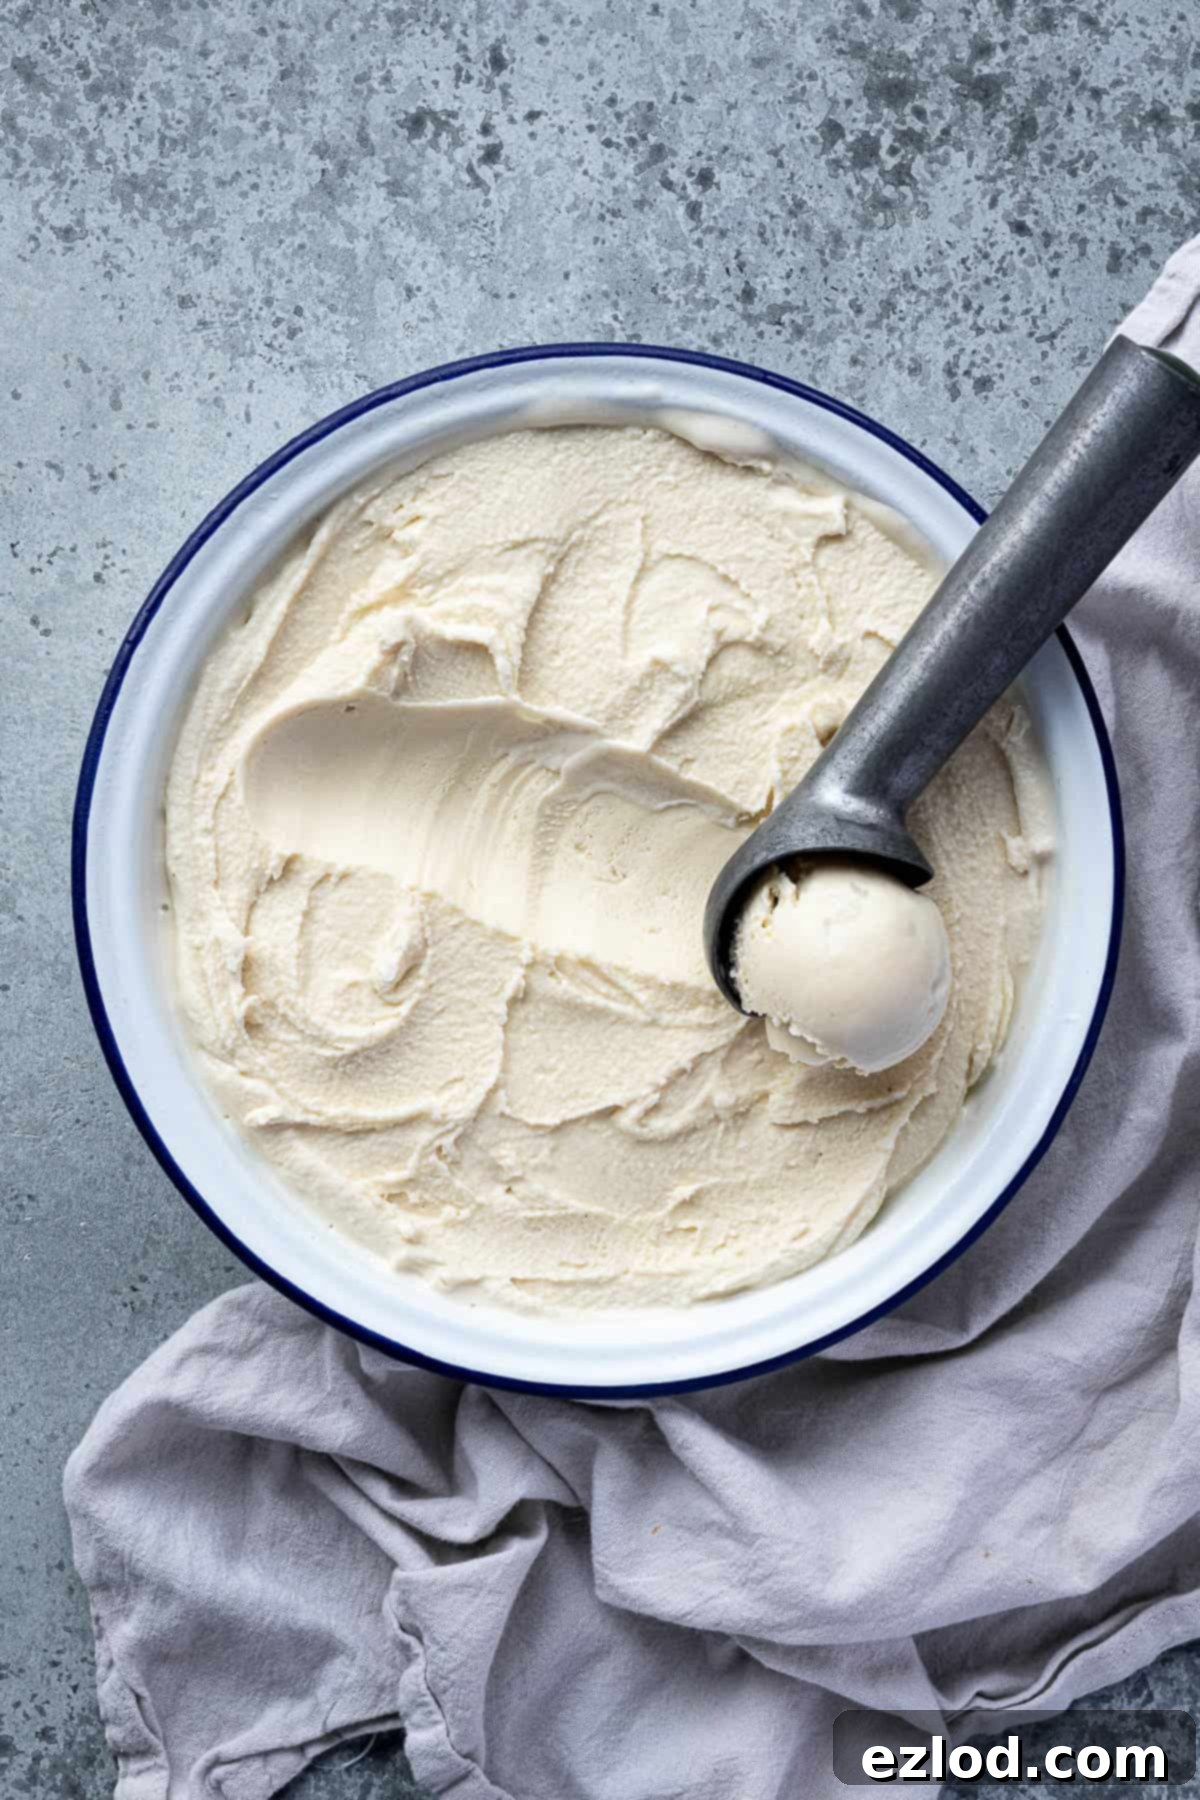
This rice ice cream tends to freeze quite solid due to its low fat content compared to dairy ice creams. To enjoy it at its best, make sure to take it out of the freezer at least 15 minutes before you plan to serve it. This allows it to soften slightly, making it much easier to scoop and providing a more pleasant, creamy texture.
For the smoothest, silkiest ice cream base, a powerful blender (such as a Froothie or Vitamix) is ideal. These blenders can pulverize the cooked rice to an incredibly fine consistency. While a regular blender will still work, the final texture might not be quite as flawlessly smooth and creamy.
Thorough chilling of your ice cream base is not just a suggestion – it’s a critical step. Ensure the mixture is completely cold before pouring it into your ice cream maker. If the base isn’t cold enough, your machine will struggle to properly freeze it, potentially leading to a slushy rather than firm consistency, or even ice crystal formation.
Keep your ice cream maker’s capacity in mind. I personally use a 2-liter capacity ice cream maker (specifically this one by Cuisinart). If your machine has a smaller capacity, you might consider making a half batch to avoid overfilling and ensure proper churning.
To minimize melting during transfer and maintain a consistent frozen state, I recommend placing the freezer-safe container you plan to store the ice cream in into the freezer to chill while your ice cream churns. This simple trick helps to keep your delicious creation as frozen as possible.
Do not skimp on the sugar! In ice cream, sugar plays a dual role: it provides essential sweetness, but more importantly, it contributes significantly to the creamy texture by lowering the freezing point of the mixture. Remember that cold temperatures tend to mute sweetness, so the unfrozen base should taste a bit sweeter than you desire the final frozen ice cream to be.
Consider the temperature of your freezer. If your freezer runs very cold, your ice cream will be harder. For optimal scoopability, some people prefer to store homemade ice cream in the main section of their fridge for 10-15 minutes before serving, even after pre-softening.
Creative Variations and Flavor Explorations
The beauty of this vegan rice ice cream recipe lies in its incredibly adaptable base. While the nutmeg and malt create a delightful “rice pudding” flavor, you can easily omit them for a plain vanilla ice cream, ready to be customized with your favorite additions.
For a subtle citrusy twist in your plain vanilla base, try adding a couple of strips of orange or lemon peel to the rice mixture while it’s cooking. Remember to remove them before blending to ensure a smooth texture.
Here are some exciting mix-in and swirl ideas that would pair exceptionally well with this creamy vegan rice ice cream:
- Candied Nuts: Add a delightful crunch and sweetness with candied pecans, walnuts, or almonds.
- Chocolate Chips or Stracciatella: Classic chocolate chips always hit the spot. For a beautiful “stracciatella” effect, slowly drizzle melted vegan chocolate into the churning ice cream during the last few minutes.
- Crushed Cookies: Introduce different textures and flavors with chopped Biscoff, Oreo pieces, gingersnap crumbs, or even homemade oatmeal cookies.
- Decadent Chocolate Fudge Swirl: Recreate the rich chocolate fudge swirl from this vegan coffee ice cream recipe for an irresistible ribbon of chocolate throughout.
- Fruit Purees or Jams: Swirl in vibrant fruit purees like raspberry or strawberry, or your favorite fruit jam for a burst of fruity flavor.
- Nut/Seed Butters & Spreads: Ripple through warm Biscoff spread, a rich chocolate hazelnut spread, or even a creamy peanut butter for a comforting and indulgent twist.
When incorporating ripples and sauces, layer them with the churned ice cream as you transfer it to a freezer-safe container. This creates beautiful streaks and ensures even distribution. For harder mix-ins like cookies, chocolate chunks, or nuts, add them to the ice cream maker during the last minute or two of churning. This allows them to be evenly dispersed throughout the ice cream without getting crushed too much or sinking to the bottom.
Explore More Vegan Ice Cream Delights
If you’ve enjoyed this creamy vegan rice ice cream, you’re in for a treat! My blog offers a wide array of other delicious dairy-free ice cream recipes, each crafted to deliver maximum flavor and an irresistible texture. Dive into these frozen delights:
- Classic Vegan Vanilla Ice Cream
- Rich Vegan Malted Chocolate Ice Cream
- Refreshing Vegan Mint Choc Chip Ice Cream
- Bold Vegan Coffee Ice Cream with Chocolate Swirl
- Nutty Vegan Pistachio Ice Cream
- Vibrant Vegan Raspberry Ice Cream
- Indulgent Vegan Peanut Butter and Cookies Ice Cream
- Caramelized Vegan Biscoff Ice Cream
- Fun Vegan Chunky Monkey Ice Cream
- Tangy Vegan Lemon Ice Cream
- Decadent Chocolate Peanut Butter Ice Cream
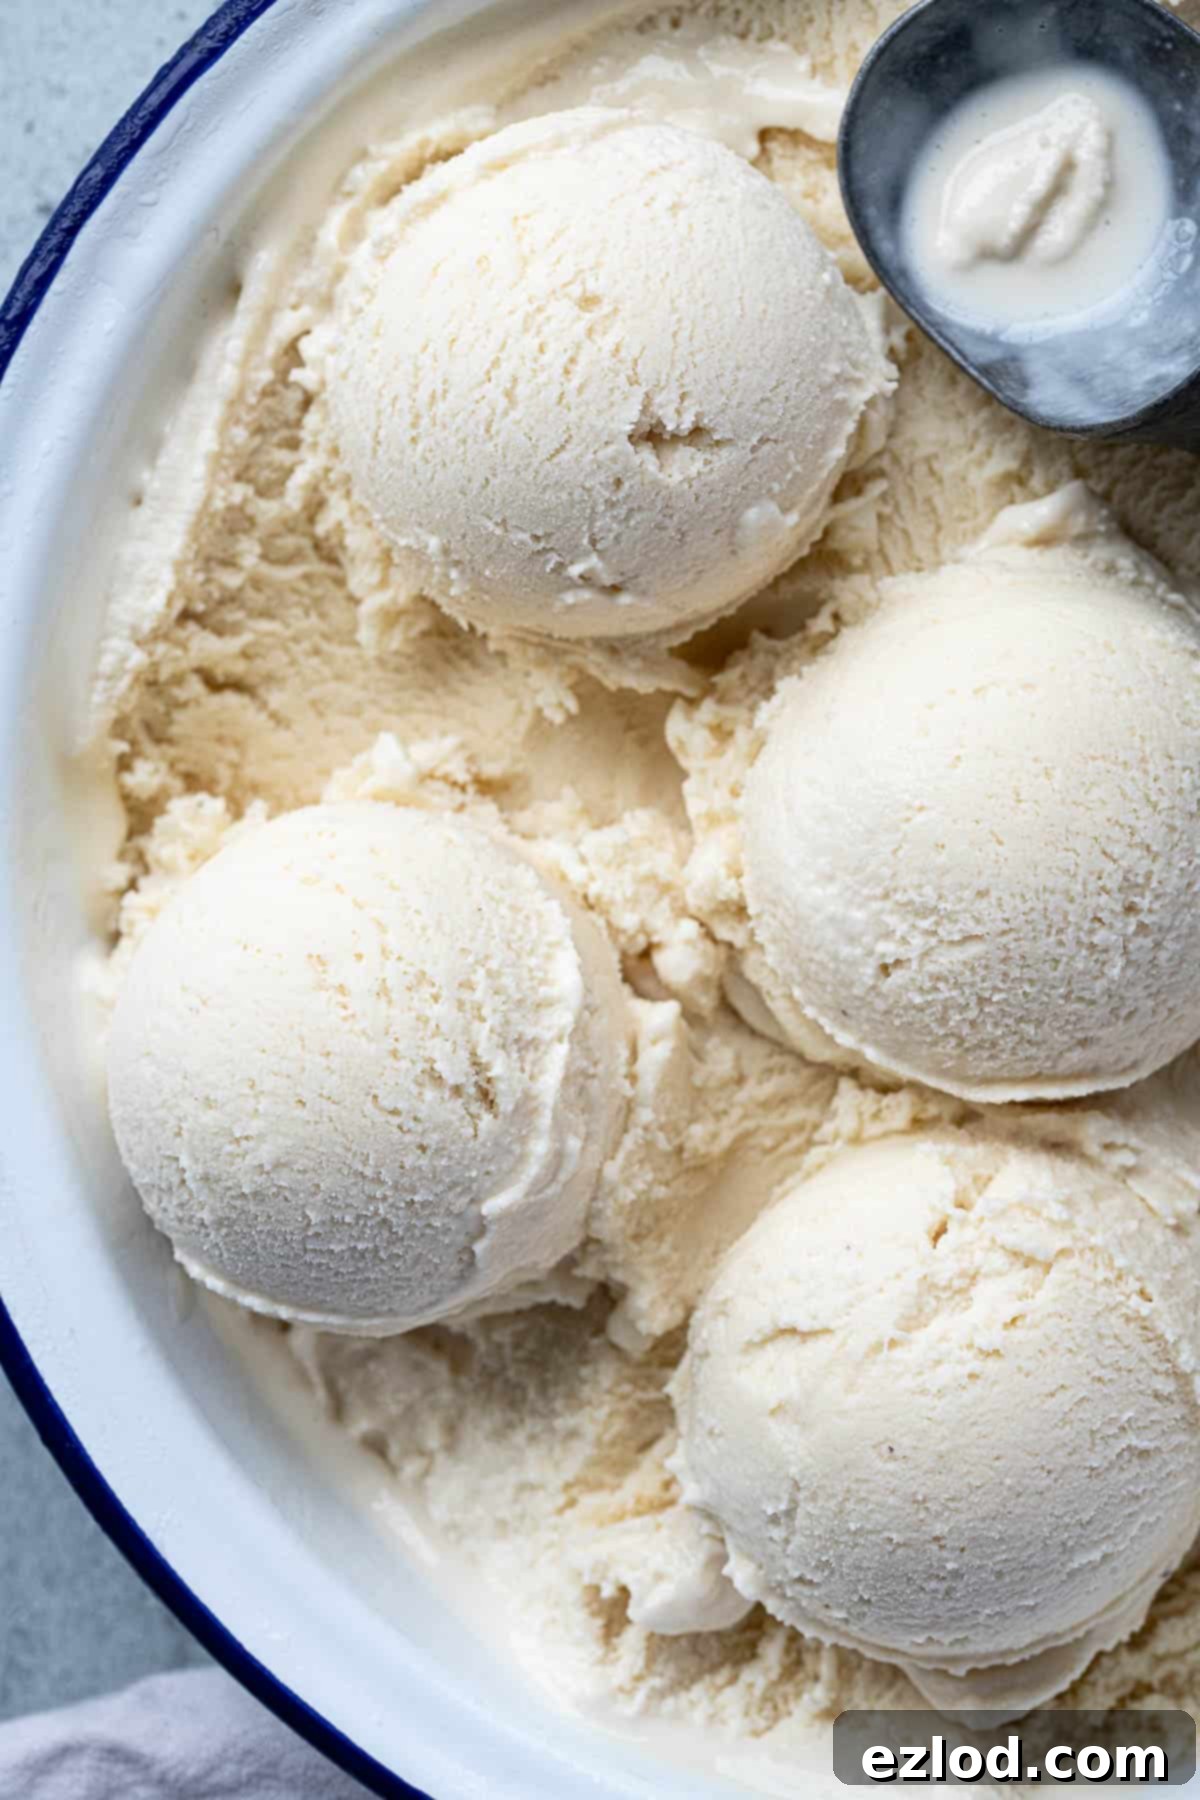
If you tried this delightful vegan rice ice cream recipe, I would absolutely love to hear about your experience! Please take a moment to rate it, leave a comment below, or tag @domestic_gothess on Instagram and use the hashtag #domesticgothess. Your feedback and creations truly inspire me!
All images and content on Domestic Gothess are copyright protected. If you wish to share this recipe, please do so by utilizing the provided share buttons. Kindly refrain from screenshotting or posting the recipe or content in its entirety. Instead, include a direct link back to this post for the complete recipe. Thank you for respecting my work!

Vegan Rice Ice Cream
Ingredients
- 60 g (⅓ cup) risotto or pudding rice
- 550 ml (2 ⅓ cups) unsweetened non-dairy milk (I use soy)
- 30 g (2 Tablespoons) vegan butter or spread
- 250 g (1 cup) coconut cream or vegan double cream alternative
- 115 g (½ cup) caster or granulated sugar
- 20 g (2 Tablespoons) golden syrup (or corn syrup or glucose syrup)
- 15 g (2 Tablespoons) vegan Horlicks (optional)
- 2 teaspoons vanilla extract
- ¼ teaspoon salt
- pinch ground nutmeg (optional)
Instructions
-
Place the rice in a deep saucepan over a medium heat and stir until the rice is toasted and golden.
-
Add the milk, bring up to a simmer then place the pan over the lowest possible heat and cook for about 20 minutes, until the rice is soft, even a bit overcooked. Stir often and make sure that the pan doesn’t boil over.
-
Add the butter and stir until melted.
-
Place the rice mixture in a blender with the cream, sugar, golden syrup, vanilla, Horlicks, salt and a pinch of nutmeg to taste. Blend until very smooth.
-
Pour through a fine mesh sieve into a bowl. Cover and refrigerate until completely cold.
-
Once the ice cream mixture is thoroughly chilled, give it a good whisk then pour it into your ice cream maker and churn until it reaches soft serve consistency.
-
Transfer to a freezer-proof container and freeze for about 4 hours until set.
Notes
- See post above for instructions if you don’t have an ice cream machine, tips, details and substitutions.
- Recipe adapted from: https://food52.com/recipes/80653-hannah-bae-s-toasted-rice-ice-cream
