The Ultimate Guide to Making Fluffy Vegan Glazed Doughnuts (Krispy Kreme Style!)
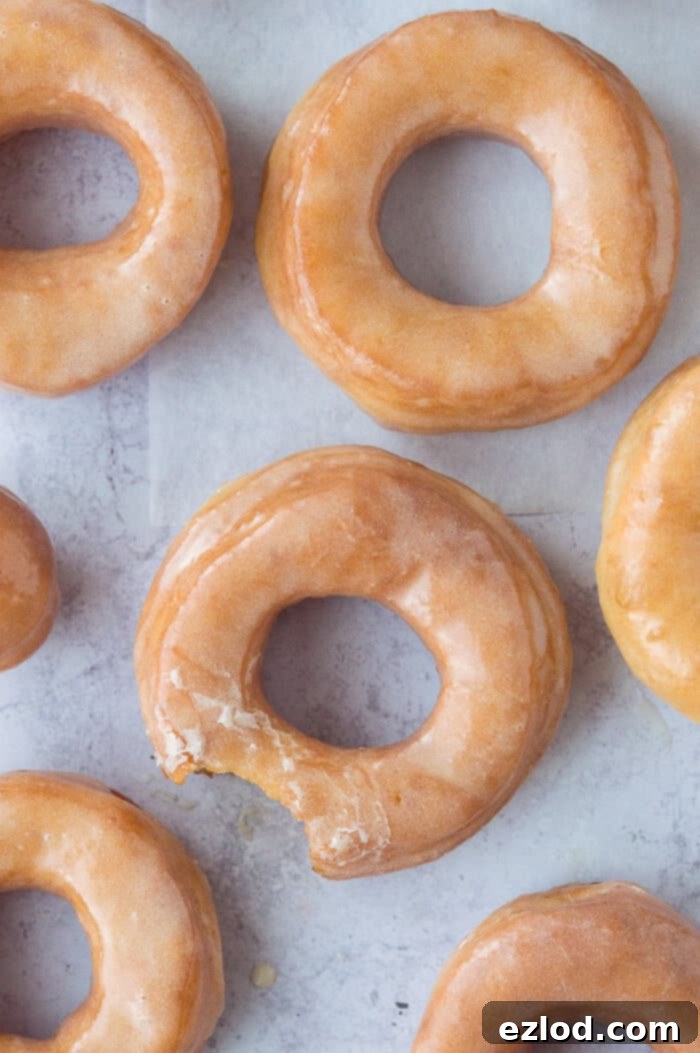
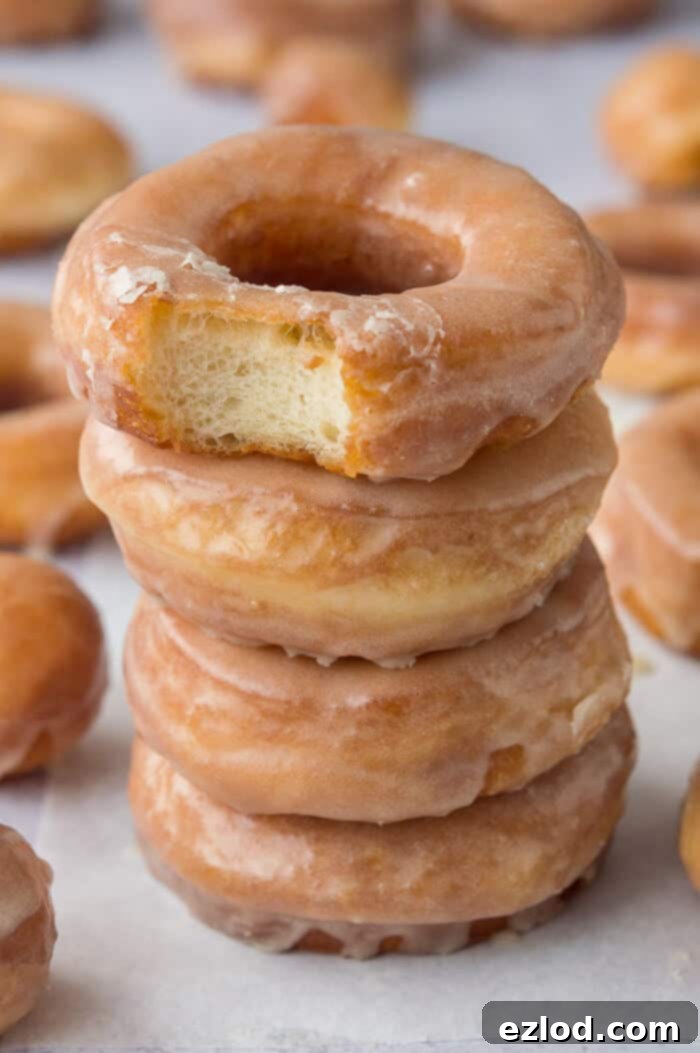
Prepare to be amazed by these incredible vegan glazed doughnuts! If you’ve been searching for an egg and dairy-free fried ring doughnut recipe that delivers on taste and texture, look no further. After extensive testing and refinement, I’m thrilled to share this recipe that produces incredibly light, fluffy, and utterly delicious doughnuts, reminiscent of your favorite Krispy Kreme treat. Topped with a simple yet irresistible vanilla glaze, these homemade delights are so moreish, you won’t believe they’re entirely plant-based.

The secret to achieving their astonishingly soft and airy texture lies in a technique called the Tangzhong method. While it might sound like a professional baking term, it’s actually a remarkably straightforward process that any home baker can master. This method involves cooking a small portion of flour and non-dairy milk (or water) into a thick, paste-like roux. Once cooled, this paste is incorporated into the main dough mixture.
The Tangzhong paste works wonders by pre-gelatinizing the starch in the flour, allowing it to absorb more liquid. This extra moisture is then locked into the dough, resulting in a finished product that is exceptionally soft, moist, and stays fresh for longer. It’s a game-changer for any yeasted bread, and as doughnuts are essentially a rich bread, it’s perfectly suited to create that coveted feather-light crumb. Trust me, once you try the Tangzhong method, you’ll want to use it for all your bread-making endeavors.
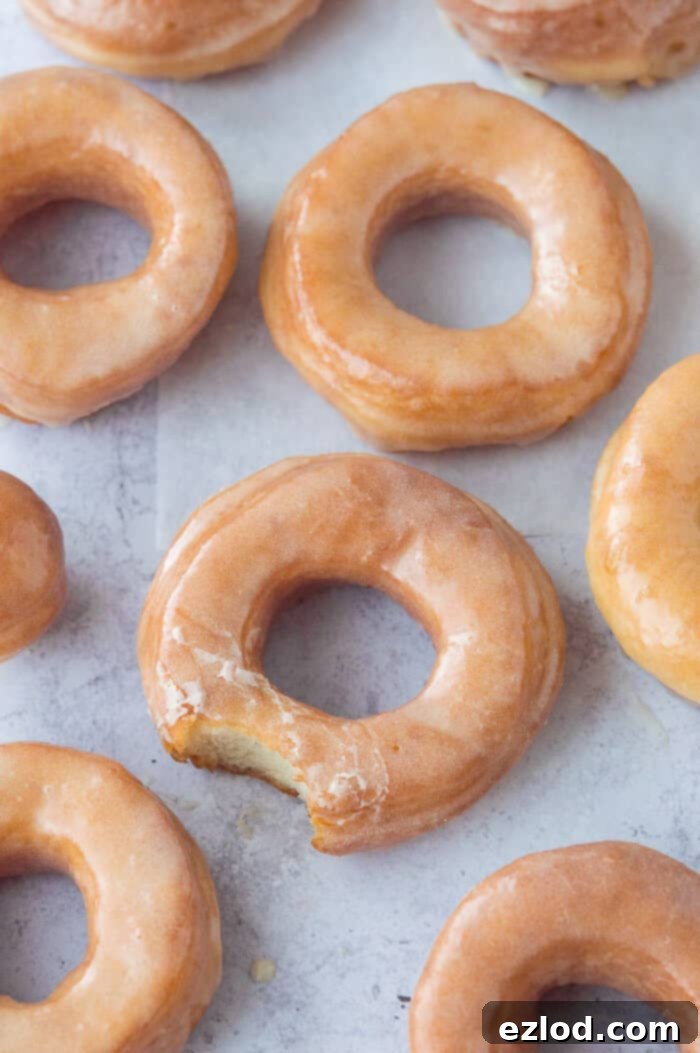
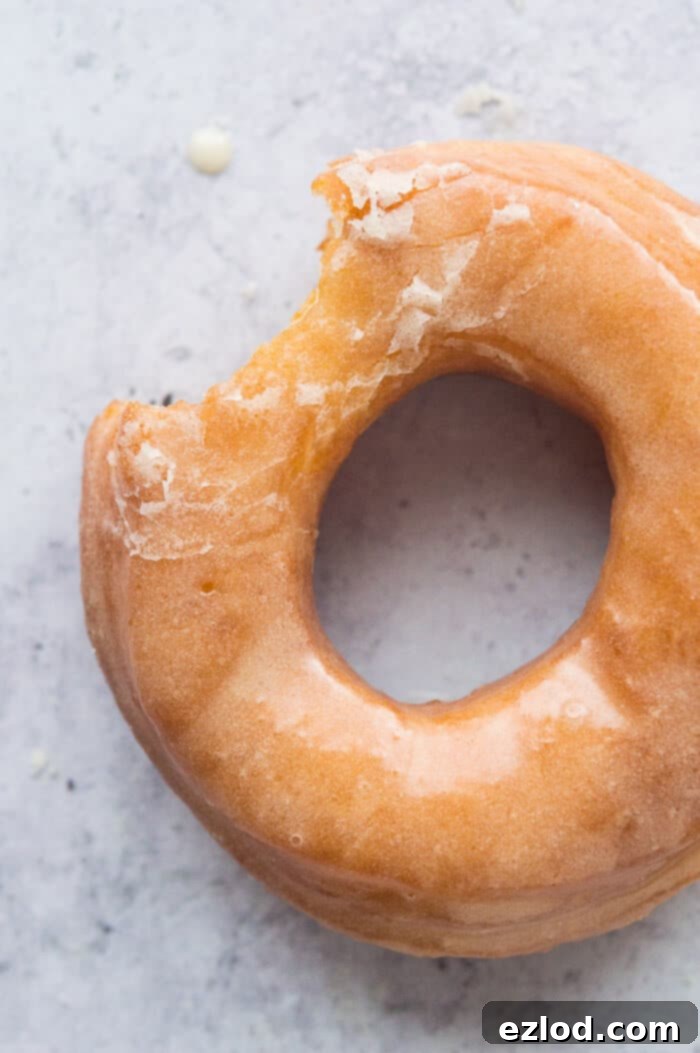
Beyond their incredible texture, these vegan doughnuts are elevated by a luscious vanilla glaze. I prefer to use vegan butter in my glaze for a richer, more authentic flavor profile, but you can certainly opt for a simpler combination of icing sugar, non-dairy milk, and vanilla extract if you prefer. But why stop at vanilla? These versatile doughnuts can also be rolled in cinnamon sugar for a classic twist, or even dipped in a decadent chocolate glaze for the ultimate indulgence. The possibilities are endless!
Making homemade doughnuts, especially for the first time, can seem a little daunting. This post is quite detailed for a reason: I want to equip you with all the knowledge and tips you need to succeed. I’ve included step-by-step photos to guide you through each stage of the process, ensuring a smooth and enjoyable baking experience. Take your time, read through the instructions carefully, and you’ll be rewarded with the best vegan glazed doughnuts you’ve ever tasted. Of course, if you’re an experienced baker or just eager to get started, feel free to scroll directly to the bottom for the full recipe card!
How To Make Irresistibly Fluffy Vegan Glazed Doughnuts: A Step-by-Step Guide
(For a complete list of ingredients and detailed instructions, please refer to the recipe card located further down the page.)
For optimal results, it is crucial to follow the recipe meticulously. As always with baking, I strongly advocate for using gram measurements with a digital scale rather than cup conversions. Cup measurements are notoriously imprecise and can lead to inconsistent outcomes. Using a scale guarantees accuracy and helps ensure your doughnuts turn out perfectly every time.
The Dough: A Two-Day Process for Superior Flavour and Texture
While it’s possible to make these vegan doughnuts from start to finish on the same day, I highly recommend preparing the dough the day before and allowing it to rise slowly in the refrigerator overnight. This cold fermentation process not only develops a deeper, more nuanced flavor in the dough but also makes it significantly easier to handle when it’s time to roll out and cut your doughnuts. However, be aware that homemade doughnuts, like any freshly baked goods, are best enjoyed on the day they are made. They tend to go stale quickly, so plan to serve them as fresh as possible.
Crafting the Tangzhong Paste: The Secret to Supreme Softness
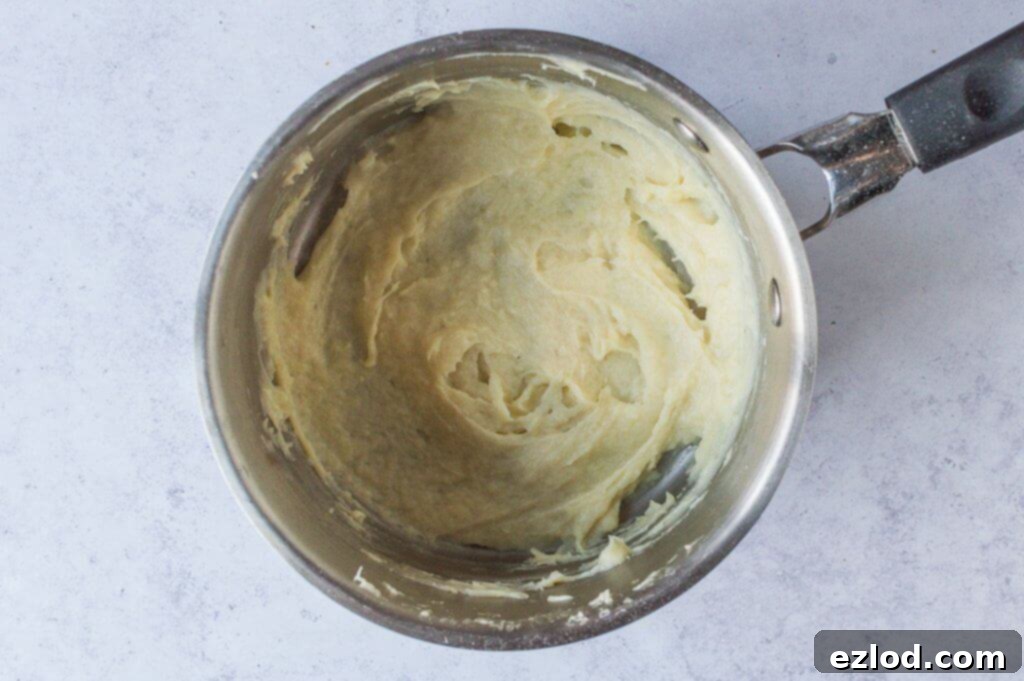
To begin, combine the specified amount of flour in a small saucepan. Gradually whisk in the non-dairy milk, ensuring there are no lumps remaining in the mixture. Place the pan over a medium heat and cook, whisking continuously. The mixture will slowly thicken, eventually reaching a consistency similar to wallpaper paste. This constant whisking is essential to prevent scorching and ensure a smooth, lump-free paste. Once thickened, remove the pan from the heat. Scrape the Tangzhong into a clean bowl and cover it immediately with cling film or baking parchment, pressing it directly onto the surface of the paste. This prevents a skin from forming as it cools. Set it aside until it reaches room temperature.
Mixing and Kneading the Dough: Building the Foundation
Once your Tangzhong has cooled, transfer the plain (all-purpose) and white bread flours, sugar, salt, and instant yeast into the bowl of a stand mixer. Mix these dry ingredients briefly to combine them evenly. I’ve found that a 50/50 blend of plain and white bread flour yields the most desirable texture – perfectly soft yet with just enough chew. While you can use all plain or all bread flour, doing so might result in doughnuts that are either too soft or too chewy, respectively.
Next, add the softened vegan butter (it’s crucial to use a solid block variety, like Naturli Vegan Block, rather than a spreadable tub margarine, as the latter has too much water content and will affect the dough’s structure), the specified amount of unsweetened non-dairy milk (soy milk generally provides the best results, but other unsweetened varieties will work), all of your cooled Tangzhong, and a cornflour (cornstarch) and water mixture. The cornflour slurry acts as a crucial egg replacer, helping to bind the ingredients and contribute to the dough’s incredible softness and elasticity.
Begin mixing all the ingredients on a low speed until a shaggy dough forms and there are no visible lumps of butter. Then, increase the mixer speed to high and continue kneading for approximately 5-10 minutes. The goal is to achieve a very smooth, elastic, and stretchy dough. It will be quite soft and sticky, but it’s important to resist the temptation to add extra flour. Adding more flour will make your doughnuts tough and dense. You should be able to perform the “windowpane test” – stretching a small piece of dough thinly enough to see light through it without it tearing. This indicates proper gluten development.
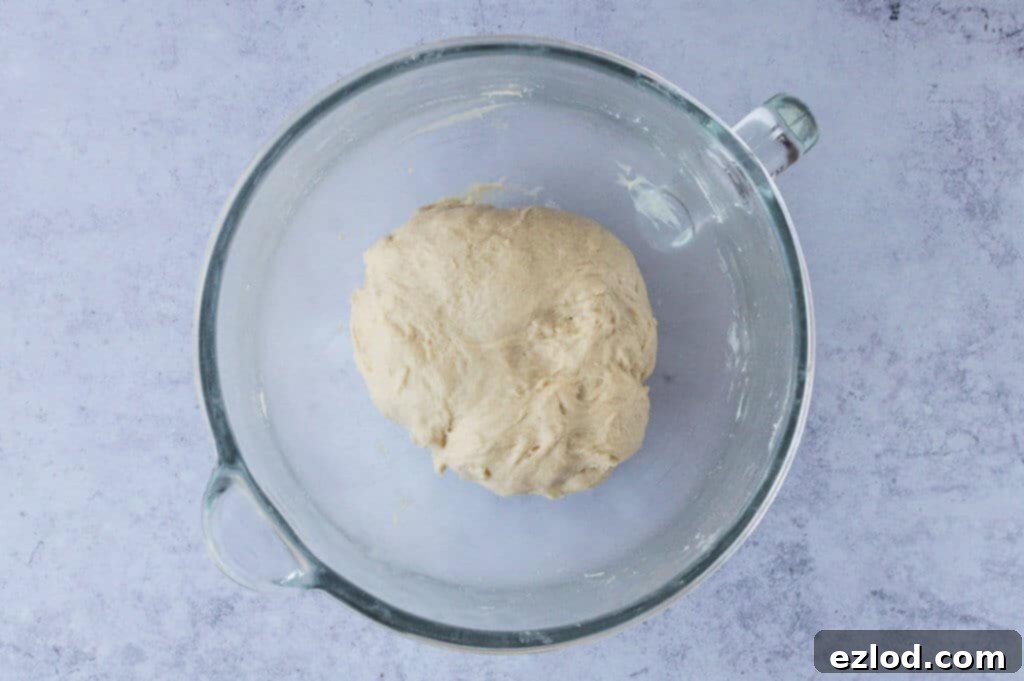
If you don’t own a stand mixer, you can knead the dough by hand on a lightly oiled (not floured, as it’s very sticky) surface. Be prepared for a good arm workout, as this sticky dough requires consistent kneading for a while to reach the desired elasticity!
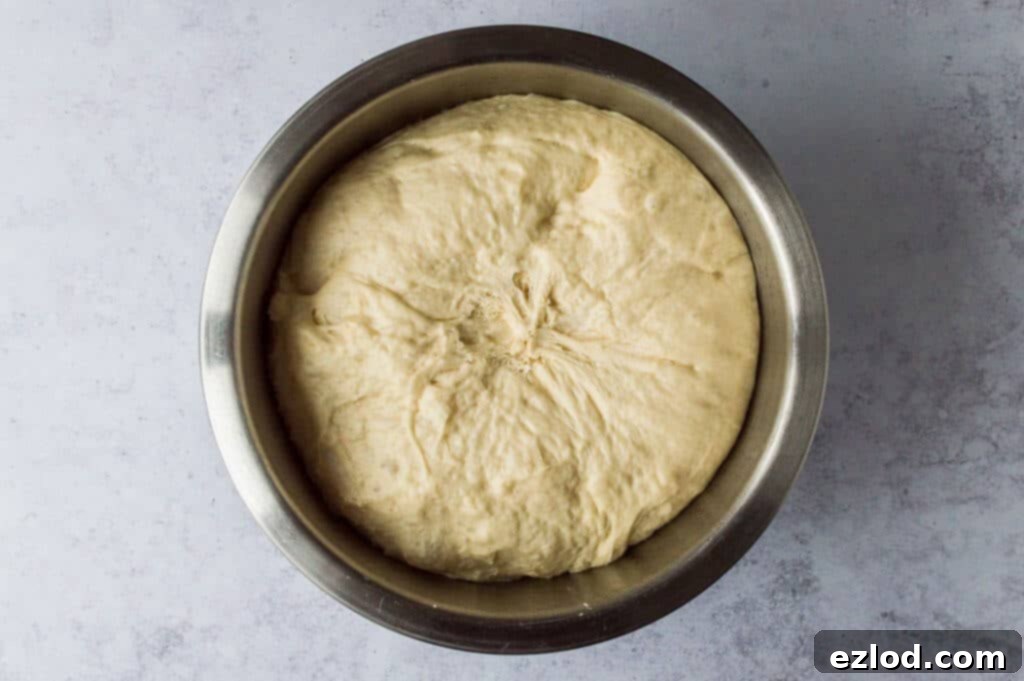
Once kneaded, lightly oil a large bowl, place the dough inside, and cover it tightly with plastic wrap or a damp tea towel. Transfer the bowl to the refrigerator and allow the dough to rise slowly overnight. This slow, cold proofing develops a richer flavor and makes the dough much easier to handle when cold. If you’re short on time, you can let it rise at room temperature for 1-2 hours until doubled in size, but the flavor depth and ease of handling won’t be quite the same.
Shaping the Doughnuts: Precision for Perfection
The following day, remove the dough from the fridge. Gently punch it down to release any accumulated air bubbles. Briefly knead it to ensure an even texture, then transfer it to a lightly floured surface. Roll the dough out evenly to a thickness of approximately 1 cm (about 0.4 inches). Remember that the doughnuts will puff up considerably during frying, so avoid rolling the dough too thick at this stage.
Using a round pastry cutter of about 7cm (2.75 inches) in diameter, cut out as many circles of dough as possible. Then, take a smaller cutter, around 3.5cm (1.4 inches), to create the characteristic hole in the center of each doughnut. (A wide piping nozzle or a clean bottle cap can serve as a substitute if you don’t have a small enough cutter.) Dip your cutters in flour between cuts to prevent sticking. It’s important to note that this specific dough recipe is designed for ring doughnuts; it’s too light to maintain structure without a hole, and attempting to make solid doughnuts will likely result in them being hollow inside.
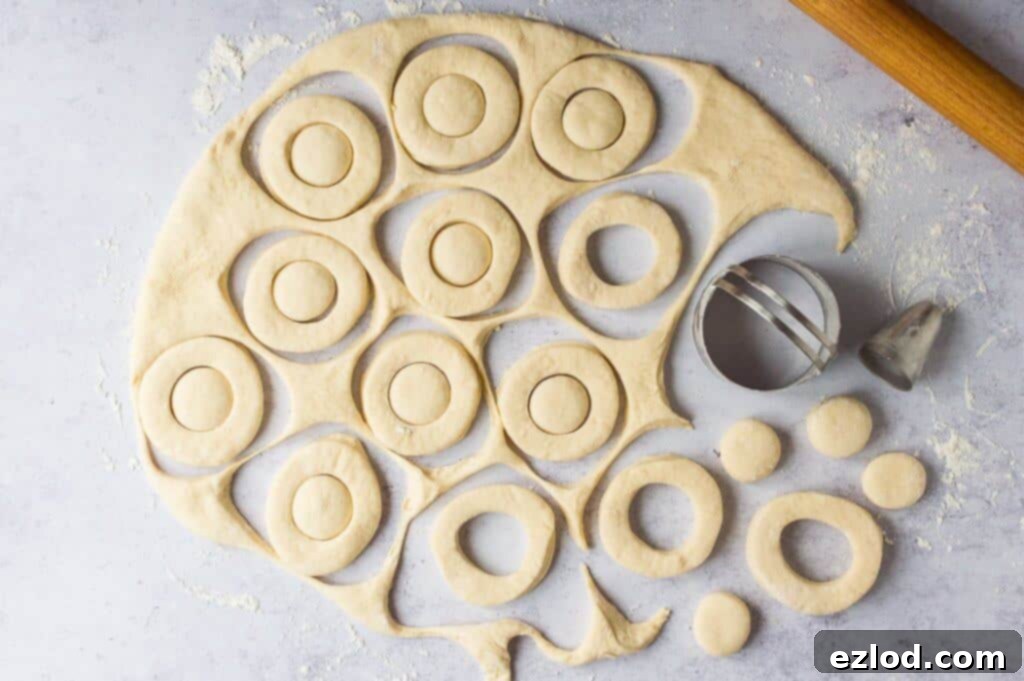
Gather the dough scraps, gently knead them together, and re-roll to cut out additional doughnuts. You can either fry the small doughnut holes separately or add them back to the scraps for re-rolling. However, be cautious not to re-roll the dough more than once, as excessive handling can lead to tough doughnuts. If you have many scraps remaining after the second roll, consider using them to make small bread rolls. From this recipe, you should yield approximately 22 delicious doughnuts and their corresponding holes.
The Second Rise: Achieving Maximum Puffiness
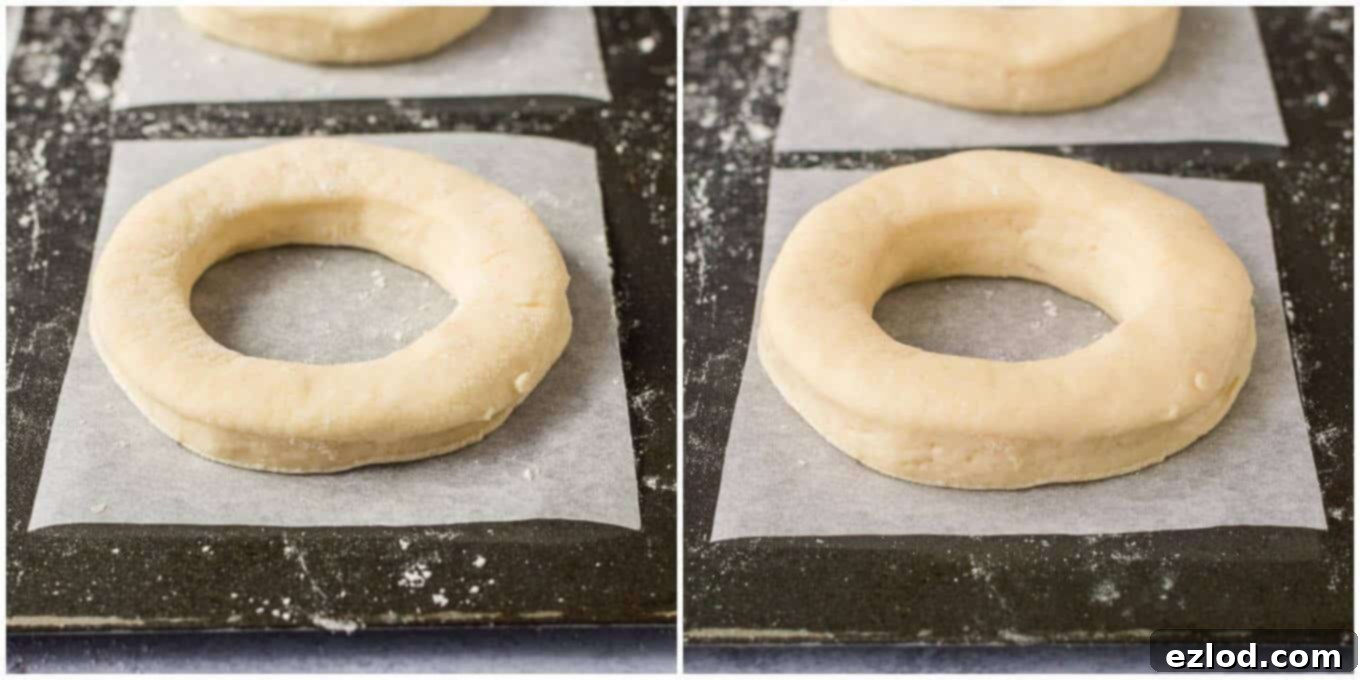
Carefully spin each doughnut around your finger to slightly widen the center hole – this helps ensure even cooking. Place each shaped doughnut onto its own individual square of baking parchment, ensuring they are well-spaced on a baking sheet. For the doughnut holes, you can place 3 or 4 on a single parchment square, provided there’s adequate space between them. Loosely cover the baking sheet with lightly oiled cling film or baking parchment and set aside in a warm place for their second rise. Allow them to rise for about 30-45 minutes, or until noticeably puffy and airy.
Preparing the Vanilla Glaze: A Sweet Finish
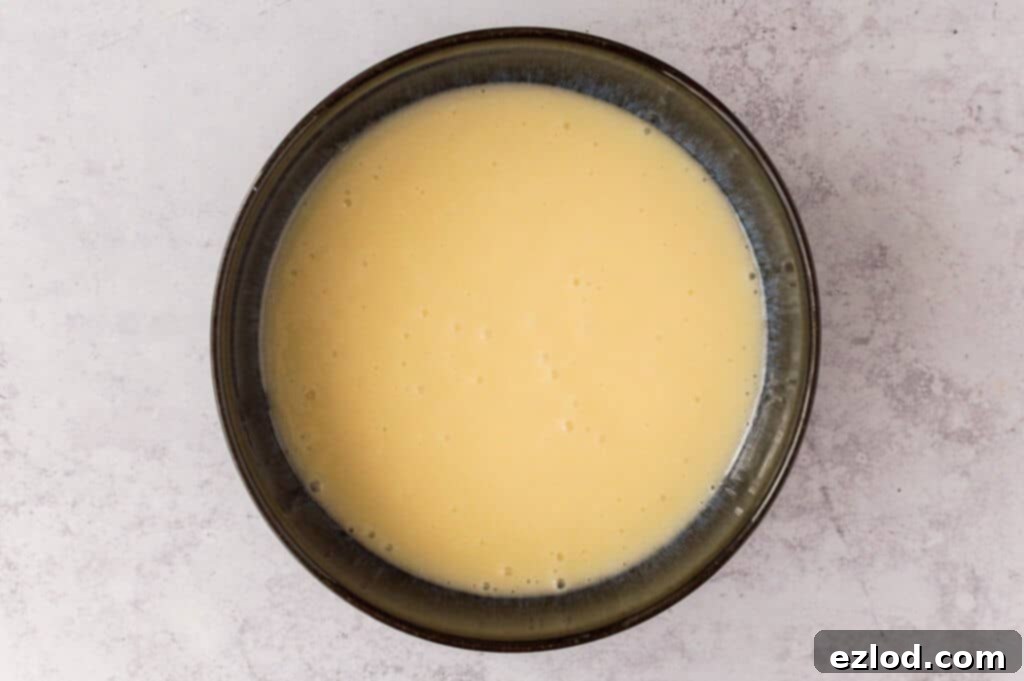
While your doughnuts are undergoing their second proof, prepare the glaze. Melt the vegan butter in a small saucepan over a low heat. In a wide, microwave-safe bowl, combine the sifted icing (powdered) sugar. Stir in the melted vegan butter and vanilla extract. Gradually whisk in enough warm non-dairy milk until you achieve a thick, yet pourable and runny glaze consistency. Set the glaze aside. If it thickens too much before you’re ready to use it, simply warm it in the microwave for a few seconds until it regains its desired consistency.
Frying the Doughnuts: Golden Perfection
Heat a deep-fat fryer or a large, heavy-bottomed pan filled with oil to 180°C (350°F). Maintaining a consistent oil temperature is key to perfectly cooked doughnuts. To transfer the delicate, risen doughnuts into the hot oil without deflating or misshaping them, use a fish slice or spatula to carefully lift a doughnut, still on its parchment square, into the oil. Once submerged, use a pair of tongs to gently remove the parchment paper. This method is crucial for preserving their airy structure.
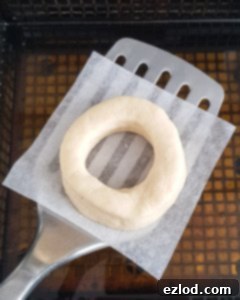
Fry no more than three doughnuts at a time to avoid overcrowding the pan and dropping the oil temperature. Fry each side for approximately one minute, or until beautifully golden brown. To ensure they are cooked through, you can use a probe thermometer to check the internal temperature, which should register around 100°C (212°F). Once cooked, use a slotted spoon to carefully lift the doughnuts from the oil and transfer them to a plate lined with kitchen paper to drain any excess oil.
If you’re also frying the doughnut holes, they will cook much faster, typically taking about 30 seconds per side. Fry only a couple at a time, as they can be trickier to flip and may require holding with tongs to ensure even cooking on all sides.
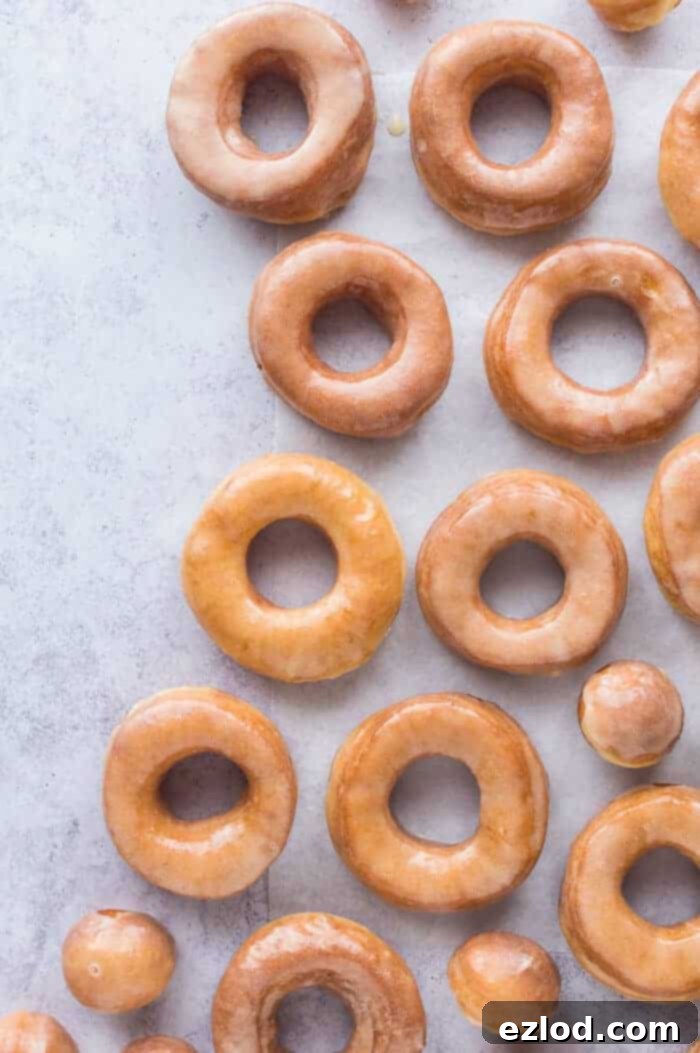
While the doughnuts are still warm, but not scorching hot, dip them generously into the prepared vanilla glaze. Allow any excess glaze to drip off before placing them on a wire rack set over a roasting tin or baking tray to catch drips. The doughnut holes can also be glazed or, alternatively, rolled in cinnamon sugar for another delicious option.
Vegan Glazed Doughnuts FAQs:
Can I Make These Vegan Glazed Doughnuts In Advance?
For the absolute best experience, these homemade vegan glazed doughnuts should be eaten on the day they are made. Like all homemade doughnuts, they go stale quite quickly. If you do happen to have any leftovers, store them in an airtight container. They can be gently rewarmed in the microwave for about 10 seconds the following day to restore some of their softness. By the third day, their texture will have significantly deteriorated, and they’ll likely be best repurposed for something like a bread pudding.
Can I Freeze These Vegan Doughnuts?
Yes, you can freeze them! To preserve their quality, freeze them as soon as possible after they have cooled completely. Arrange the cooked and cooled doughnuts in a single layer on a baking tray and freeze until solid. Once frozen, transfer them to a freezer-safe bag or airtight container. They can be stored in the freezer for up to a couple of months. To enjoy, allow them to defrost at room temperature, then refresh them with a quick 10-second blast in the microwave before serving.
If you’re a fan of filled doughnuts rather than ring doughnuts, I also have a wonderful recipe for deliciously light and soft vegan jam doughnuts! You can, of course, fill them with any sweet treat you desire.
If you tried this recipe and loved it, please let me know! Rate it, leave a comment below, or tag @domestic_gothess on Instagram and use the hashtag #domesticgothess. Your feedback is greatly appreciated!
*Please Note: All images and content on Domestic Gothess are copyright protected. If you wish to share this recipe, please do so by utilizing the provided share buttons. Do not screenshot or repost the full recipe or content.*

Print
Vegan Glazed Doughnuts
Ingredients
Tangzhong:
- 20 g (2 Tbsp + 2 tsp) plain (all-purpose) flour
- 120 ml (½ cup) unsweetened non-dairy milk (soy is best but any other will work)
Dough:
- 150 g (1 ¼ cups) plain (all-purpose) flour
- 150 g (1 ¼ cups) white bread flour
- 50 g (¼ cup) caster sugar
- ½ tsp salt
- 7 g (2 tsp) fast action/instant yeast
- 50 g (1.75 oz) vegan block butter/margarine (ideally not the spreadable kind. I use Naturli Vegan Block) softened
- 100 ml (⅓ cup + 1 Tbsp) unsweetened non-dairy milk (soy is best but any other will work)
- 2 Tbsp cornflour (cornstarch) mixed with 3 Tbsp water
- all of the tangzhong
- vegetable oil for frying
Glaze:
- 60 g (¼ cup) vegan butter/margarine
- 250 g (2 cups) icing (powdered) sugar sifted
- 2 tsp vanilla extract
- 2-4 Tbsp warm non-dairy milk
Instructions
-
Start the day before you want to fry the doughnuts. To make the tangzhong, place the flour in a small pan and gradually whisk in the milk, making sure that there are no lumps.
-
Place over a medium heat and cook, whisking constantly, until it has thickened to a wallpaper paste-like consistency. Remove from the heat, scrape into a bowl and cover with clingfilm directly on the surface, set aside to cool.
-
Once the tangzhong has cooled, place the plain and bread flours, sugar, salt and yeast in the bowl of a stand mixer and mix to combine.
-
Add the softened vegan butter, milk, cornflour and water mixture and all of the cooled tangzhong; mix until it forms a shaggy dough and there are no lumps of butter.
-
Mix on a high speed until the dough is very smooth and stretchy, about 5-10 minutes. It is quite a soft, sticky dough, resist the urge to add extra flour. You should be able to stretch a section of the dough thin enough to see light through it without it breaking (the windowpane test).
-
If you don’t have a stand mixer then you can knead the dough by hand on an un-floured surface but it is very sticky and may take a while!
-
Place the kneaded dough in a lightly oiled bowl and cover. Place in the fridge overnight to rise. (You can leave it to rise at room temperature for 1-2 hours, until doubled in size instead but the flavour wont be as good and the chilled dough is easier to roll out.)
-
The following day, take the dough out of the fridge and punch it down. Knead very briefly to knock out any air bubbles then roll out on a floured surface to about 1cm thick. They will puff up a lot when you fry them so you don’t want the dough to be too thick at this stage.
-
Use an approx 7cm/2.75 inch round pastry cutter to cut out as many circles of dough as you can, then use a 3.5cm/1.4 inch one to cut a hole out of the centre of each (I used the wide end of a large piping nozzle as I didn’t have a cutter small enough. Something like a bottle cap may also work). Dip the cutters in flour first to stop them sticking.
-
Knead together the scraps and re-roll to cut out more doughnuts (you can either save the holes to fry or add them to the scraps to re-roll). Do not re-roll more than once however as you will end up with tough doughnuts. If you have lots of scraps after the second roll you can save them and use to make bread rolls if you like. You should end up with about 22 doughnuts and holes.
-
Spin each doughnut around your finger to widen the hole a little then place each one on it’s own square of baking parchment well spaced apart on a baking sheet. For the doughnut holes you can place 3 or 4 on the same square of parchment provided they are spaced apart. Cover loosely with oiled clingfilm or baking parchment and set aside to rise for about 30-45 minutes until puffy.
-
Meanwhile, make the glaze. Melt the vegan butter in a pan over a low heat. Place the sifted icing sugar in a wide, microwave safe bowl and stir in the melted butter and vanilla extract. Gradually whisk in enough warm milk to form a thick but runny glaze. Set aside. If the glaze sets before you are ready to use it, simply heat it up for a few seconds in the microwave until it becomes runny again.
-
Heat a deep fat fryer or large pan of oil to 180C/350F. Use a fish slice/spatula to lift a doughnut on it’s square of parchment into the hot oil then use a pair of tongs to lift the parchment out. This is the best way to transfer the doughnuts to the oil without them becoming misshapen or deflated.
-
Fry up to three doughnuts at a time for about a minute per side until golden. If you want to be certain that they are cooked through then you can use a probe thermometer to check – they should measure about 100C/212F inside.
-
Use a slotted spoon to lift the doughnuts out onto a plate lined with kitchen paper to drain.
-
If you are frying the doughnut holes too then they will take about 30 seconds per side. Only fry a couple at a time as they can be tricky to flip over and you may have to hold it with tongs to ensure that they cook on both sides.
-
Dip the doughnuts into the glaze while they are still warm then place them on a wire rack set over a roasting tin/baking tray to catch any drips. The doughnut holes can be dipped in the glaze too or can be rolled in cinnamon sugar instead.
-
Allow the glaze to set then eat straight away. They really must be eaten on the day they are made for the best experience, though if you do have any leftovers they can be stored in an airtight container and rewarmed in the microwave for 10 seconds to soften them up before eating the following day. By the third day the only thing they will be good for is bread pudding.
Notes
- This dough will only work for ring doughnuts. Do not try to make doughnuts without a hole with it as the dough is too light and they will end up hollow.
- For the best results make sure that you follow the recipe closely. As always, I highly recommend using the gram measurements (with a digital scale), rather than the cup conversions. Cup measurements are simply not accurate enough for baking and I cannot guarantee the best results if you use them.
