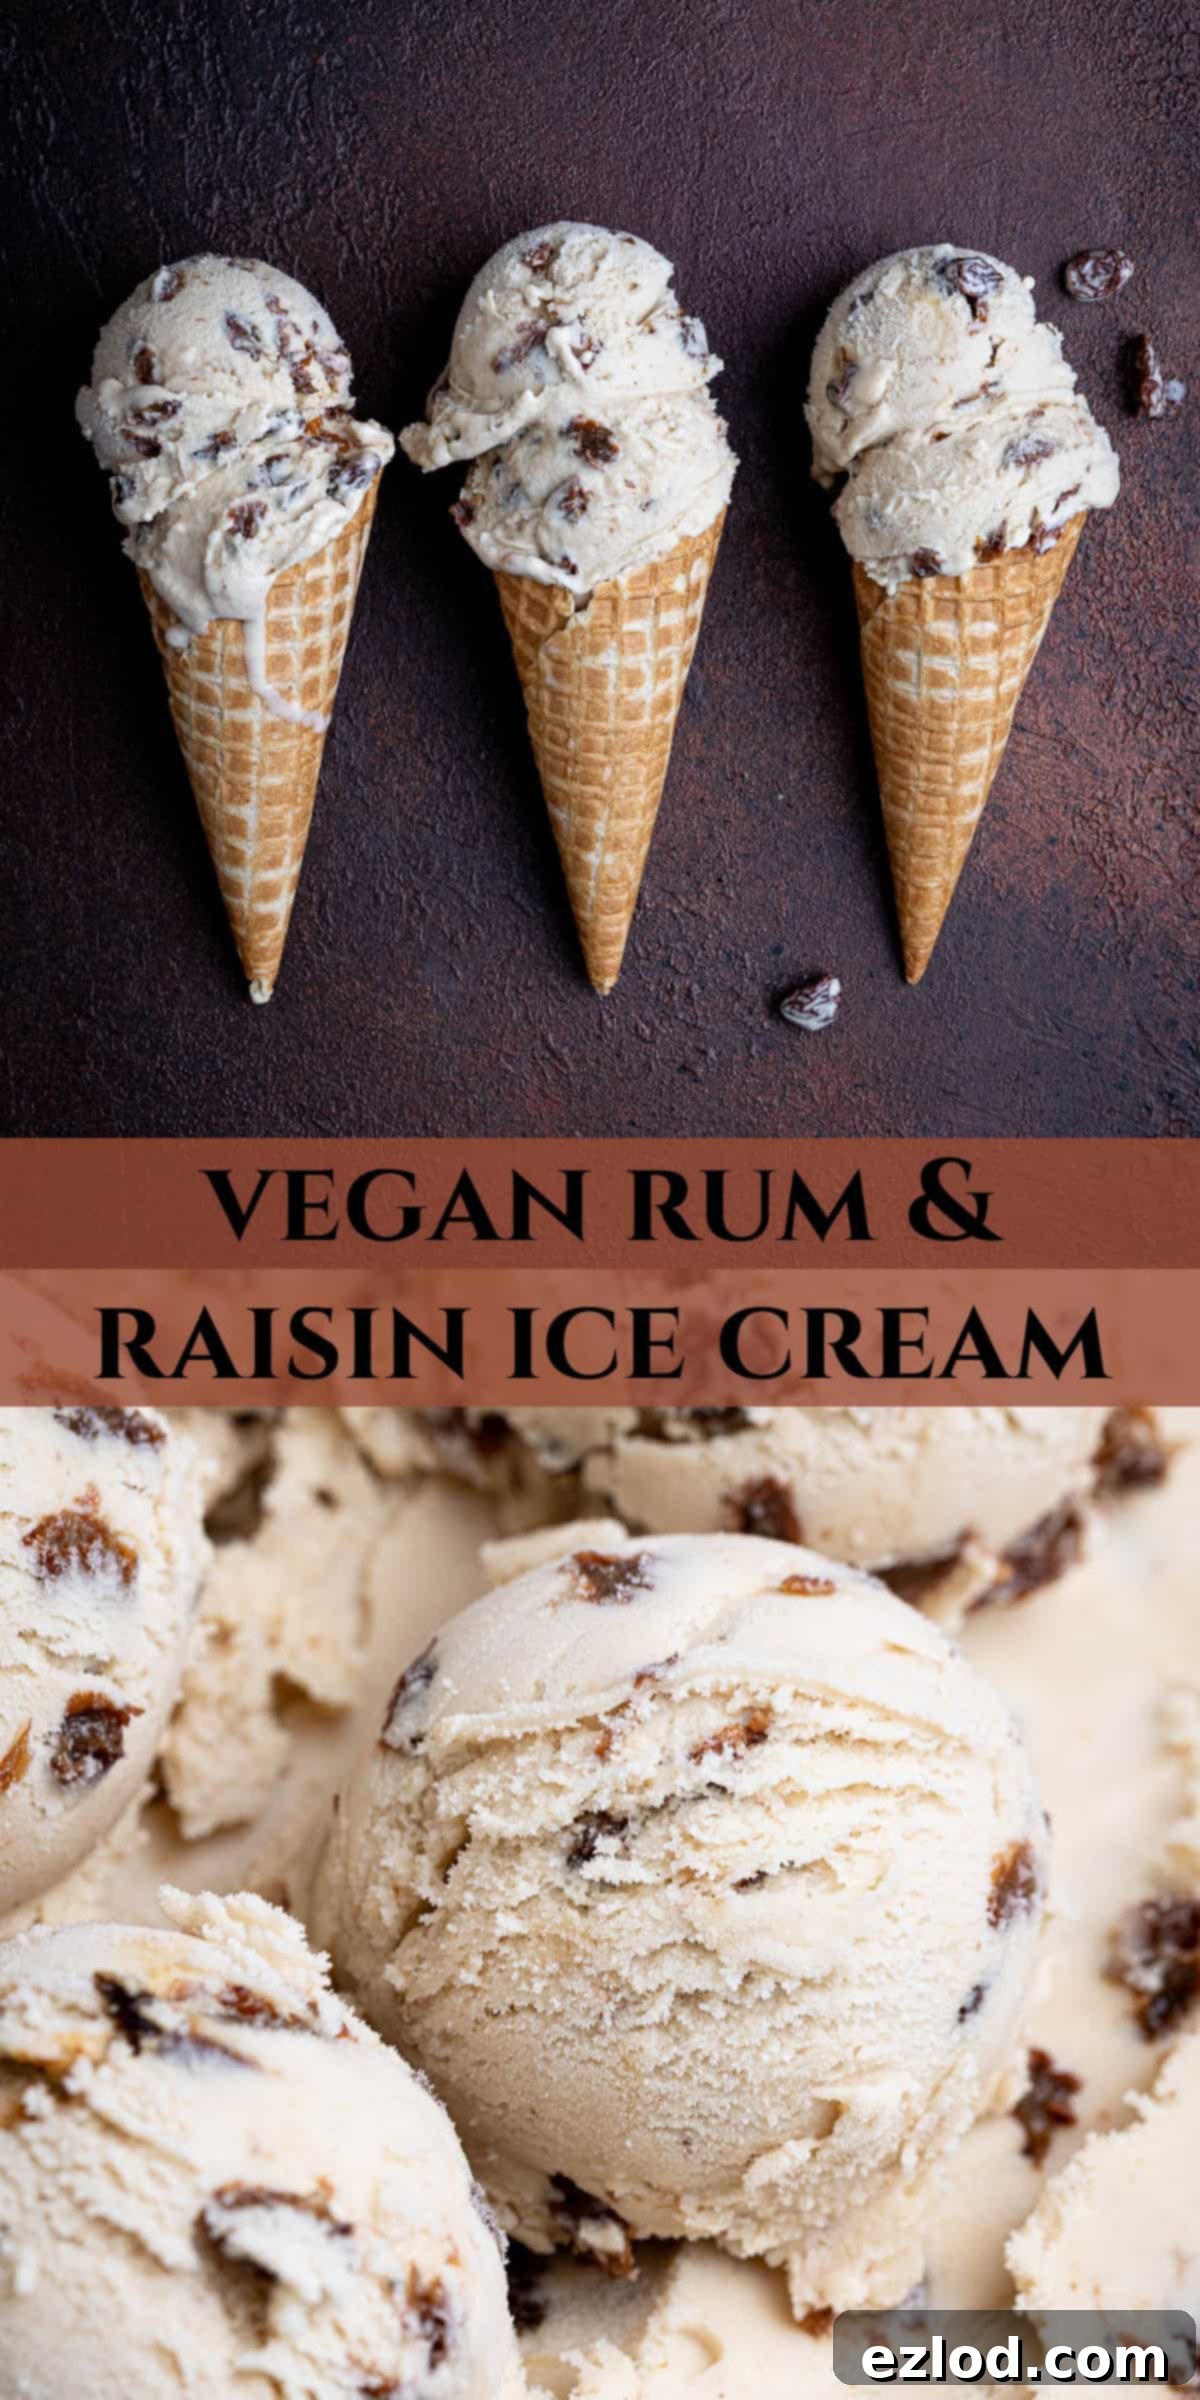
Indulge in Creamy Vegan Rum & Raisin Ice Cream: An Easy Homemade Boozy Treat
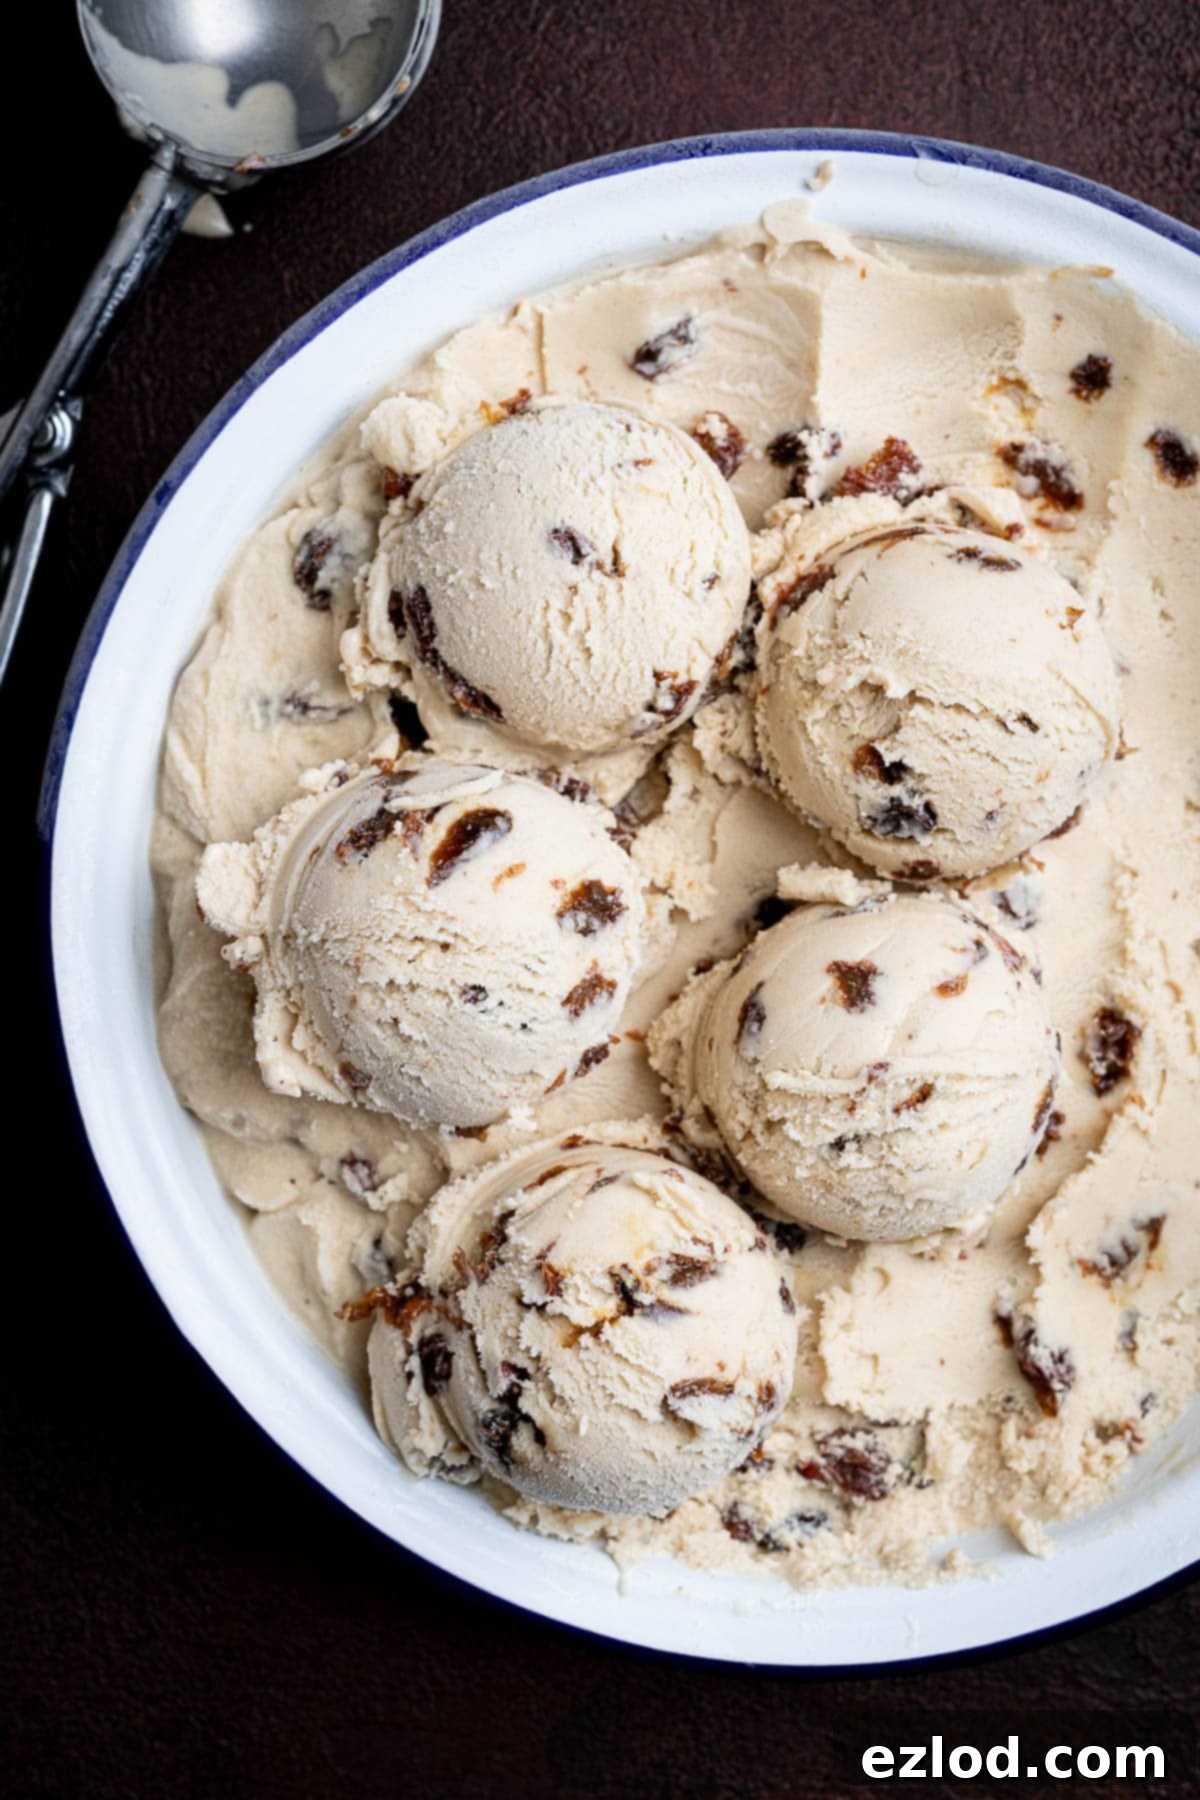
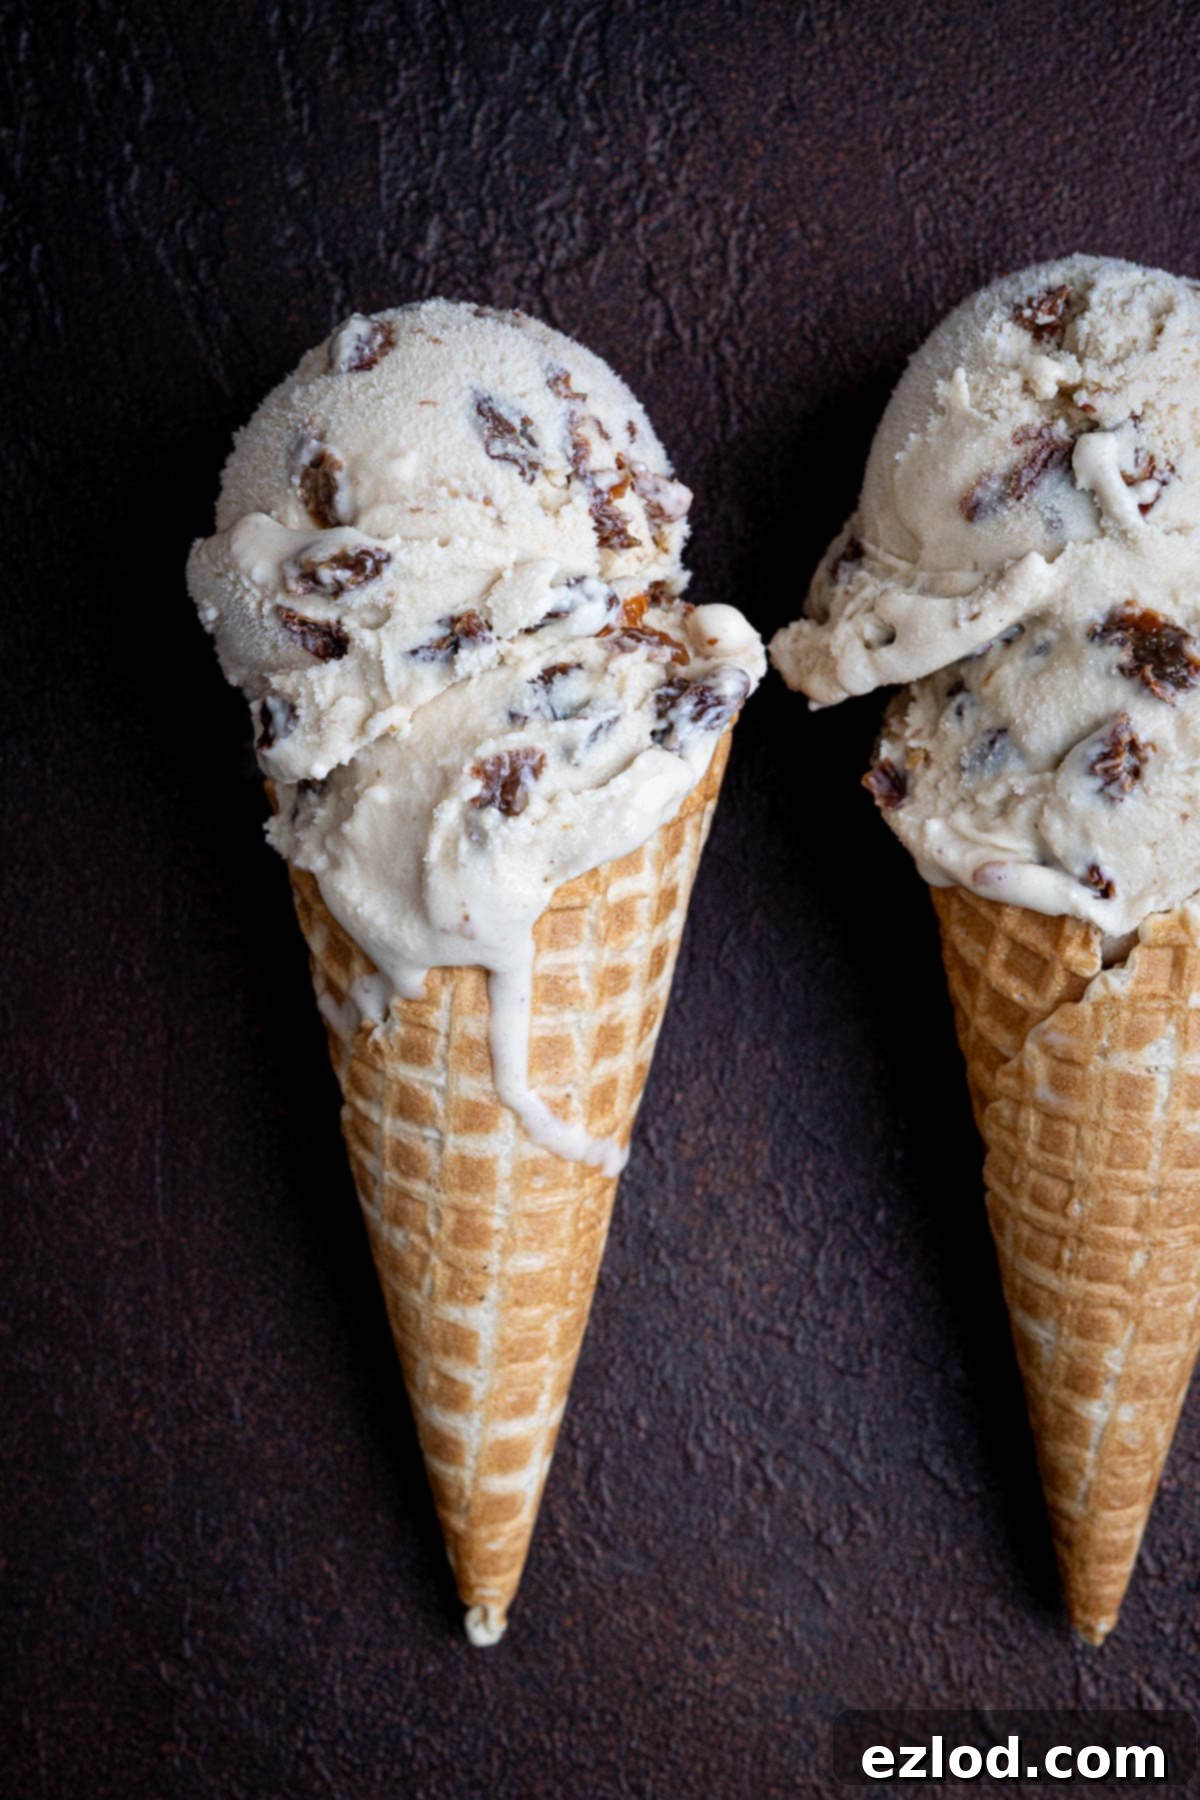
Experience the exquisite pleasure of homemade vegan rum and raisin ice cream – a truly decadent dessert that’s rich, remarkably creamy, and infused with the sophisticated, boozy flavor of rum-soaked raisins. This easy-to-follow recipe brings a classic, grown-up indulgence right to your freezer, proving that dairy-free can be every bit as luxurious.

Unlike many vegan ice cream recipes that rely heavily on coconut milk, this delightful rum and raisin creation builds upon my renowned vegan vanilla ice cream base. This unique foundation uses a clever blend of cooked oats and cashews, resulting in an exceptionally smooth and neutral-tasting canvas perfect for adapting into various flavors. It’s a versatile base that consistently delivers a luxurious, dairy-free texture without any overpowering coconut notes, allowing the star flavors – rum and raisin – to truly shine.
This rum and raisin version transforms that reliable base into a deeply flavorful, grown-up dessert. Its rich, boozy profile makes it a special treat, definitely not intended for children, but absolutely perfect for sophisticated palates. Enjoy it on its own for a pure taste of indulgence, or pair it with your favorite autumnal and winter desserts. Imagine a scoop melting delicately over a warm slice of vegan apple pie, alongside a comforting fruit crumble, or complementing a rich steamed pudding. For a surprisingly delicious combination, try it atop a warm slice of homemade banana bread – the flavors meld together beautifully for an unforgettable experience.
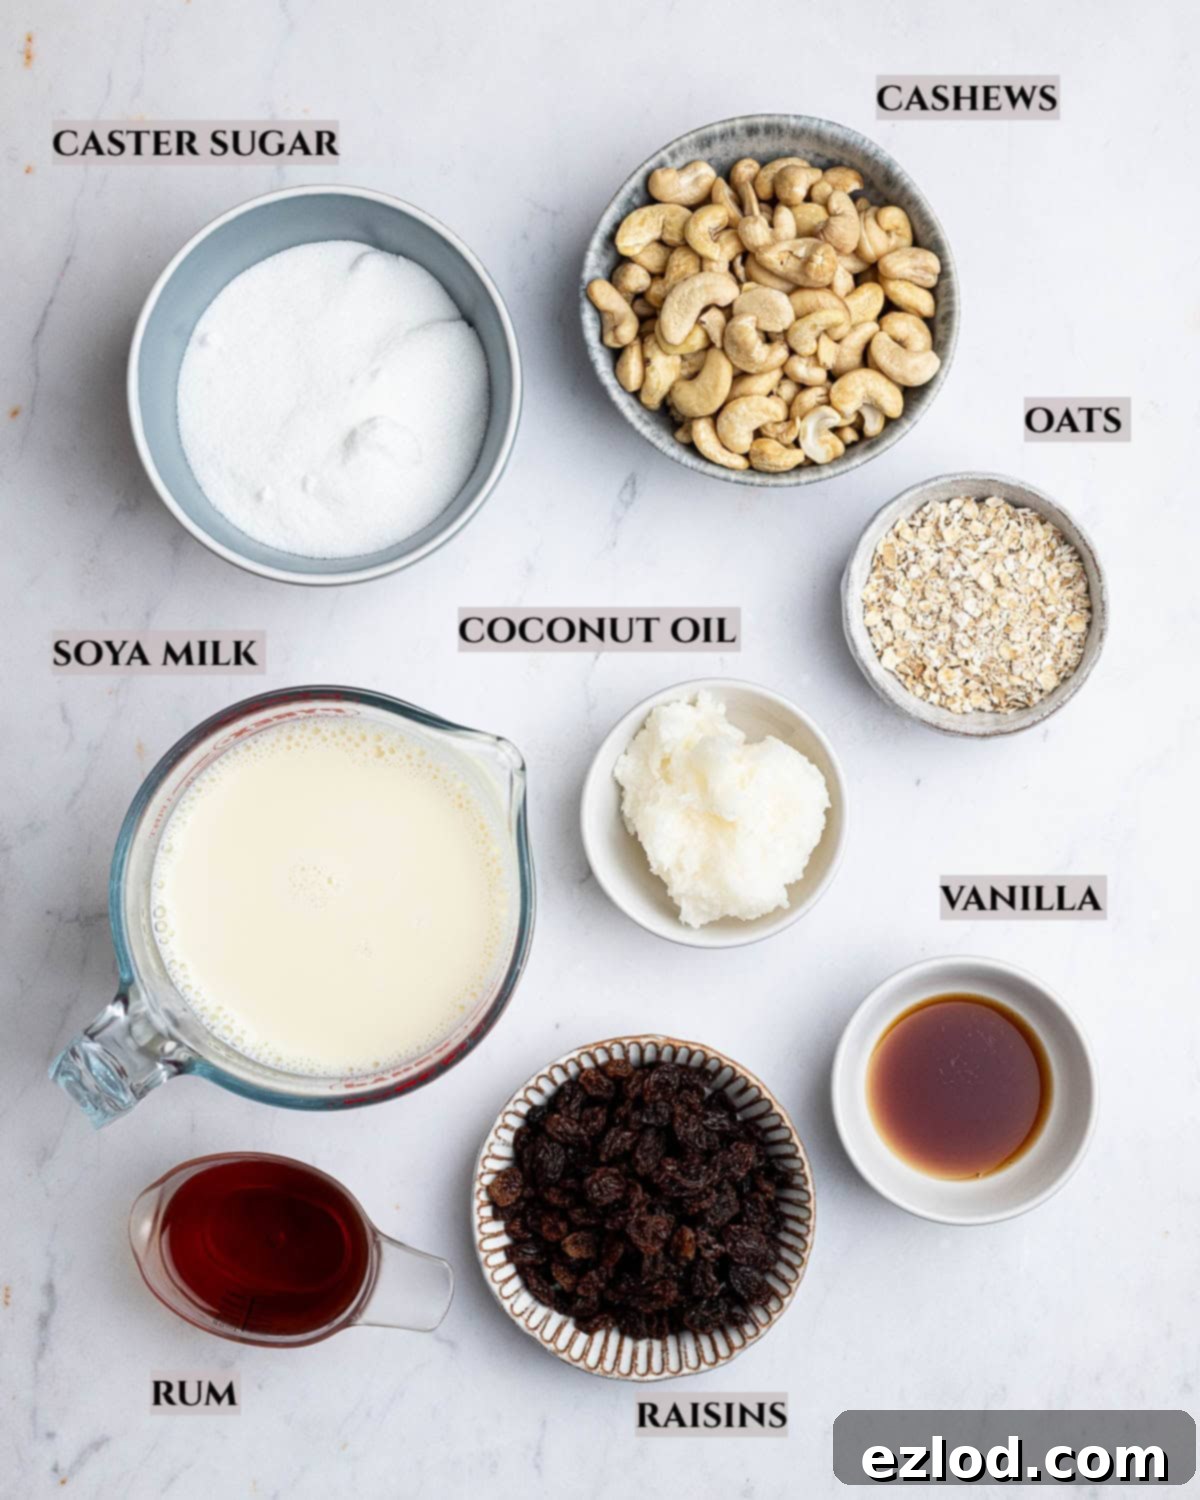
Essential Ingredients for Perfect Vegan Rum and Raisin Ice Cream
Crafting the best homemade vegan rum and raisin ice cream begins with understanding the role of each ingredient. Here’s a closer look at what you’ll need and why it’s important:
Cashews: Unroasted cashews are the secret to the unparalleled creaminess in this vegan ice cream. When properly soaked and blended, they create a silky-smooth, dairy-like texture that forms the luxurious backbone of our base. Soaking is crucial to soften them sufficiently, allowing them to break down completely in the blender without leaving any grainy bits. You have two convenient options: either soak them in boiling water for about an hour for a quicker method, or plan ahead and soak them in cold water overnight for minimal effort.
Porridge Oats: Regular rolled porridge oats or quick-cooking oats work equally well here. These humble oats are a key component of our unique base, providing an incredibly smooth and rich texture that mimics traditional dairy ice cream without any dairy at all. They are simmered with plant milk until tender, then blended to create a wholesome, creamy foundation.
Plant Milk: For the most neutral flavor and superior creaminess, unsweetened soy milk is highly recommended. Brands like Alpro Unsweetened Soya milk are excellent choices due to their consistent texture and minimal impact on the overall ice cream flavor. While you can experiment with other plant milks, remember that their flavor will subtly influence the final taste of your ice cream. Opt for richer, creamier varieties such as oat barista milk, and avoid thinner, more watery options like rice or almond milk, which can lead to a less luxurious and potentially icier texture.
Sugar: Sugar plays a dual role in ice cream: it’s not just for sweetness, but also critical for achieving that desirable soft, scoopable texture. It lowers the freezing point of the mixture, preventing it from turning into a solid block of ice. Caster sugar or granulated sugar are perfectly fine, but for a deeper, more complex caramel note that beautifully complements the rum and raisin, consider using light or dark brown soft sugar.
Coconut Oil (Refined) or Vegan Block Butter: Incorporating a touch of fat is essential for a truly rich and creamy vegan ice cream. Fat molecules help to create a smoother mouthfeel and prevent ice crystals from forming, ensuring a luscious texture. Refined coconut oil is an excellent choice as it provides the necessary fat without imparting a strong coconut flavor. Alternatively, a high-quality vegan block butter can be used to achieve a similar rich consistency.
Vanilla: A generous amount of vanilla extract or vanilla bean paste is vital. It doesn’t just add a standalone vanilla flavor; it enhances and deepens all the other flavors in the ice cream, creating a more complex and well-rounded taste profile. Think of it as a flavor amplifier, making the rum and raisins even more vibrant.
Rum: This is where the magic happens! For that authentic, rich, and boozy rum and raisin flavor, always opt for a dark or spiced rum. These varieties offer more depth and character than white rum. If you’re looking for an interesting alternative or a non-alcoholic substitute (though then it wouldn’t be rum and raisin!), Pedro Ximenez sherry can provide a wonderfully sweet and complex, dark fruit note.
Raisins: Absolutely indispensable for a rum and raisin ice cream! The raisins are infused with rum, making them plump, juicy, and bursting with flavor. While traditional raisins are excellent, sultanas can also be used for a slightly sweeter, lighter fruit note.
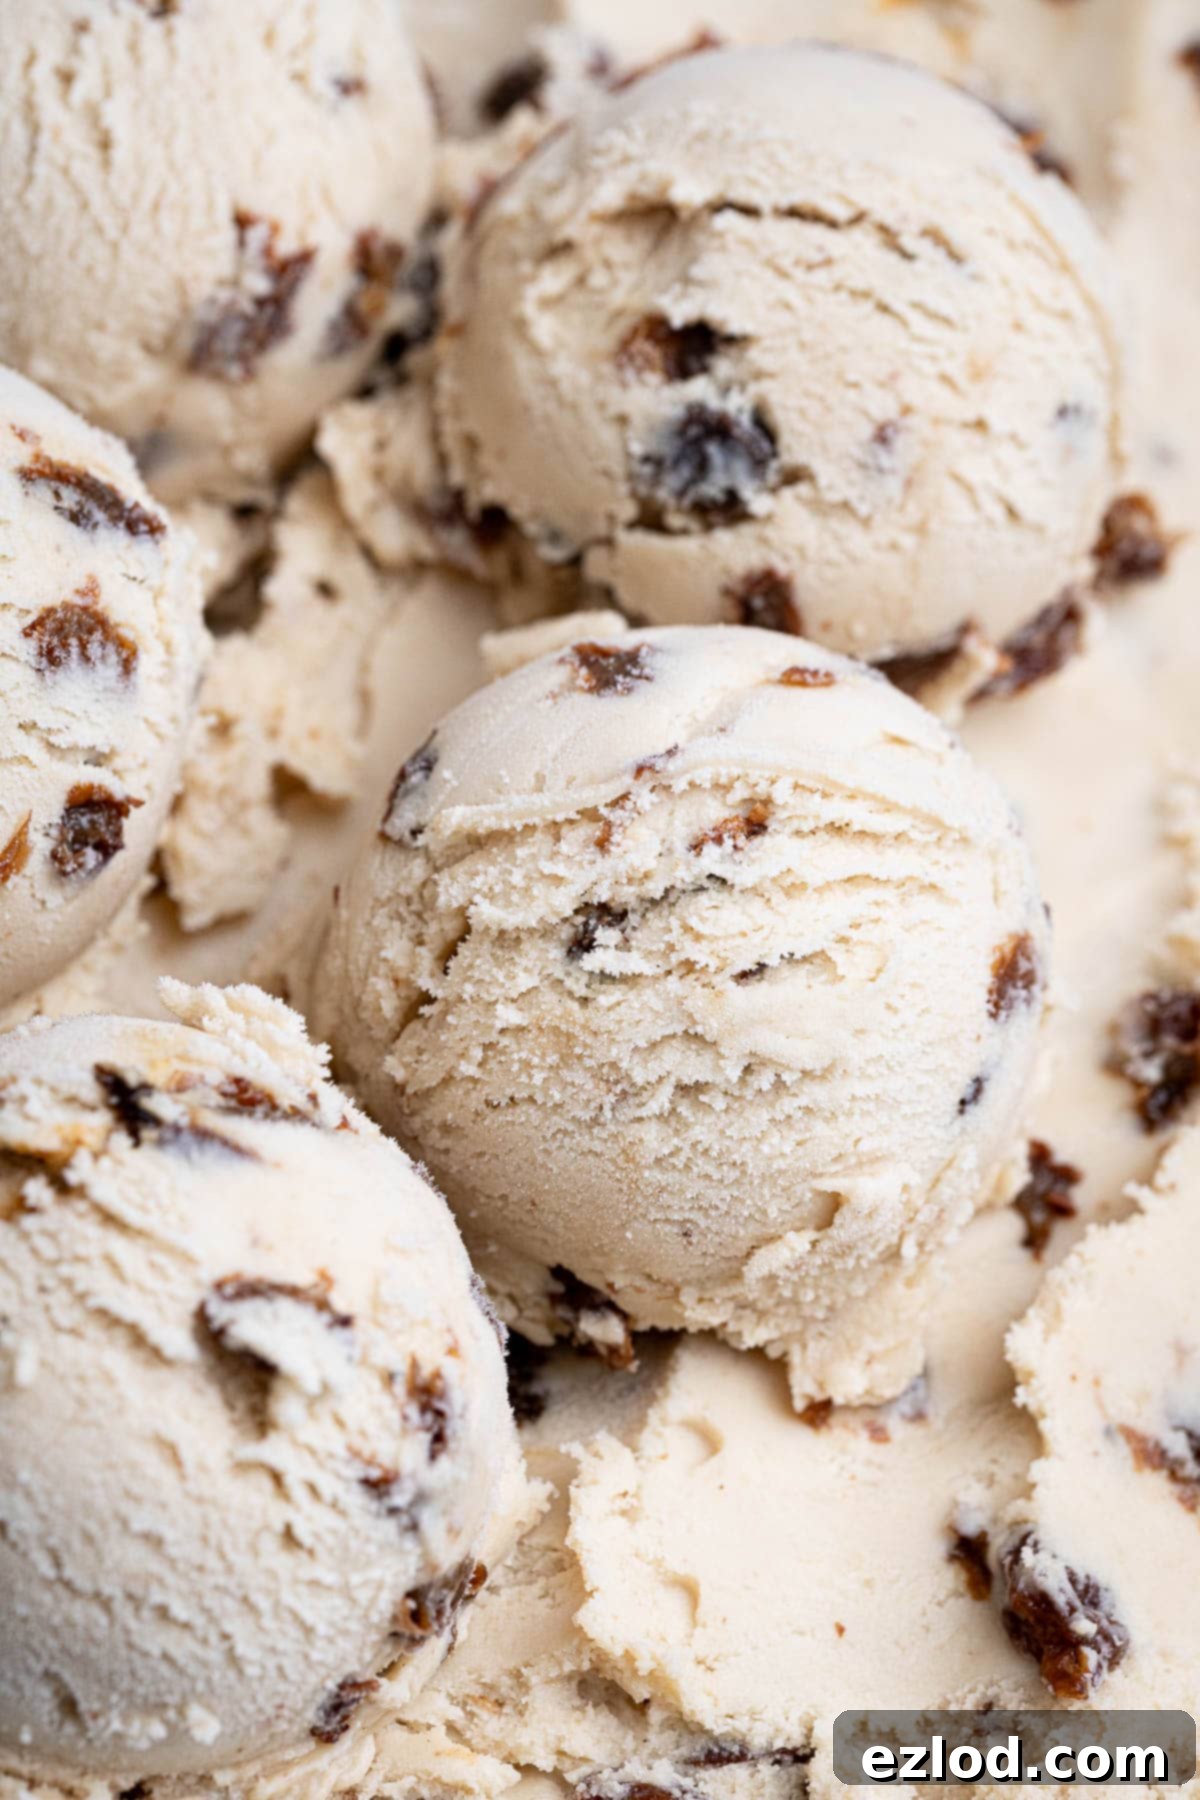
How To Master Homemade Vegan Rum And Raisin Ice Cream
(For precise measurements and detailed instructions, please refer to the comprehensive recipe card located at the bottom of this page.)
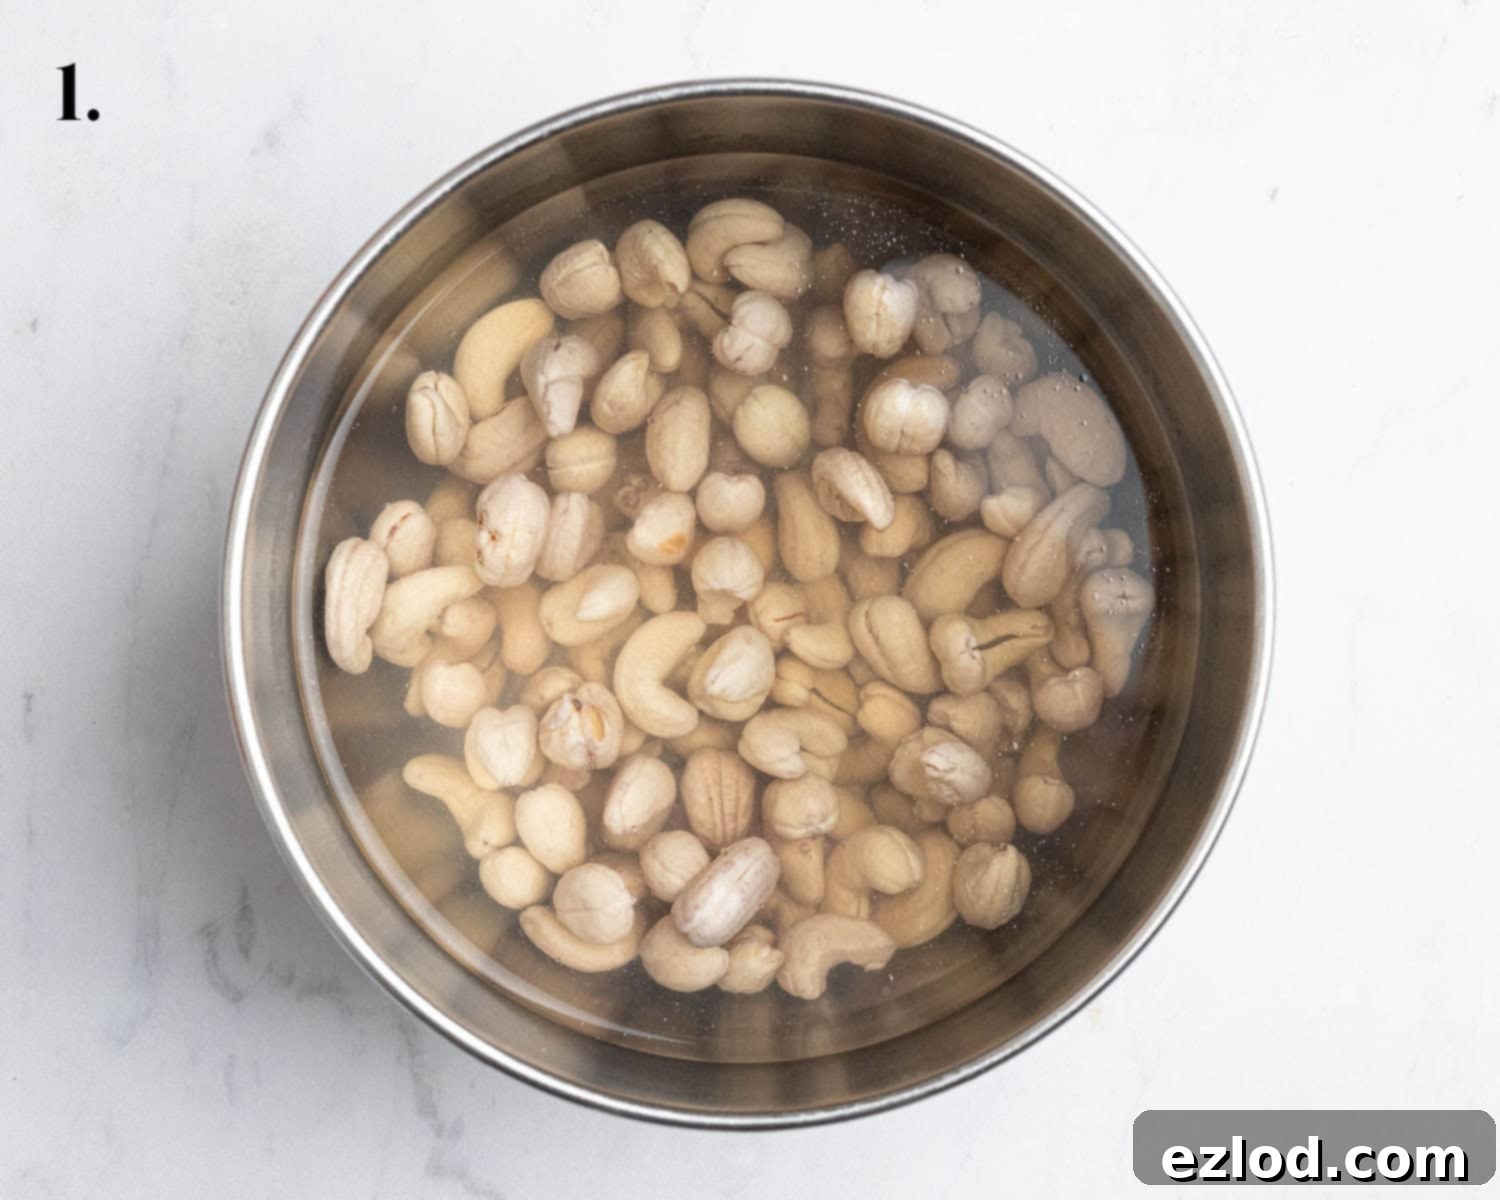
- Step 1: Begin by soaking your cashews in boiling water to ensure they become perfectly soft and ready for blending. This crucial step guarantees an ultra-smooth ice cream base.
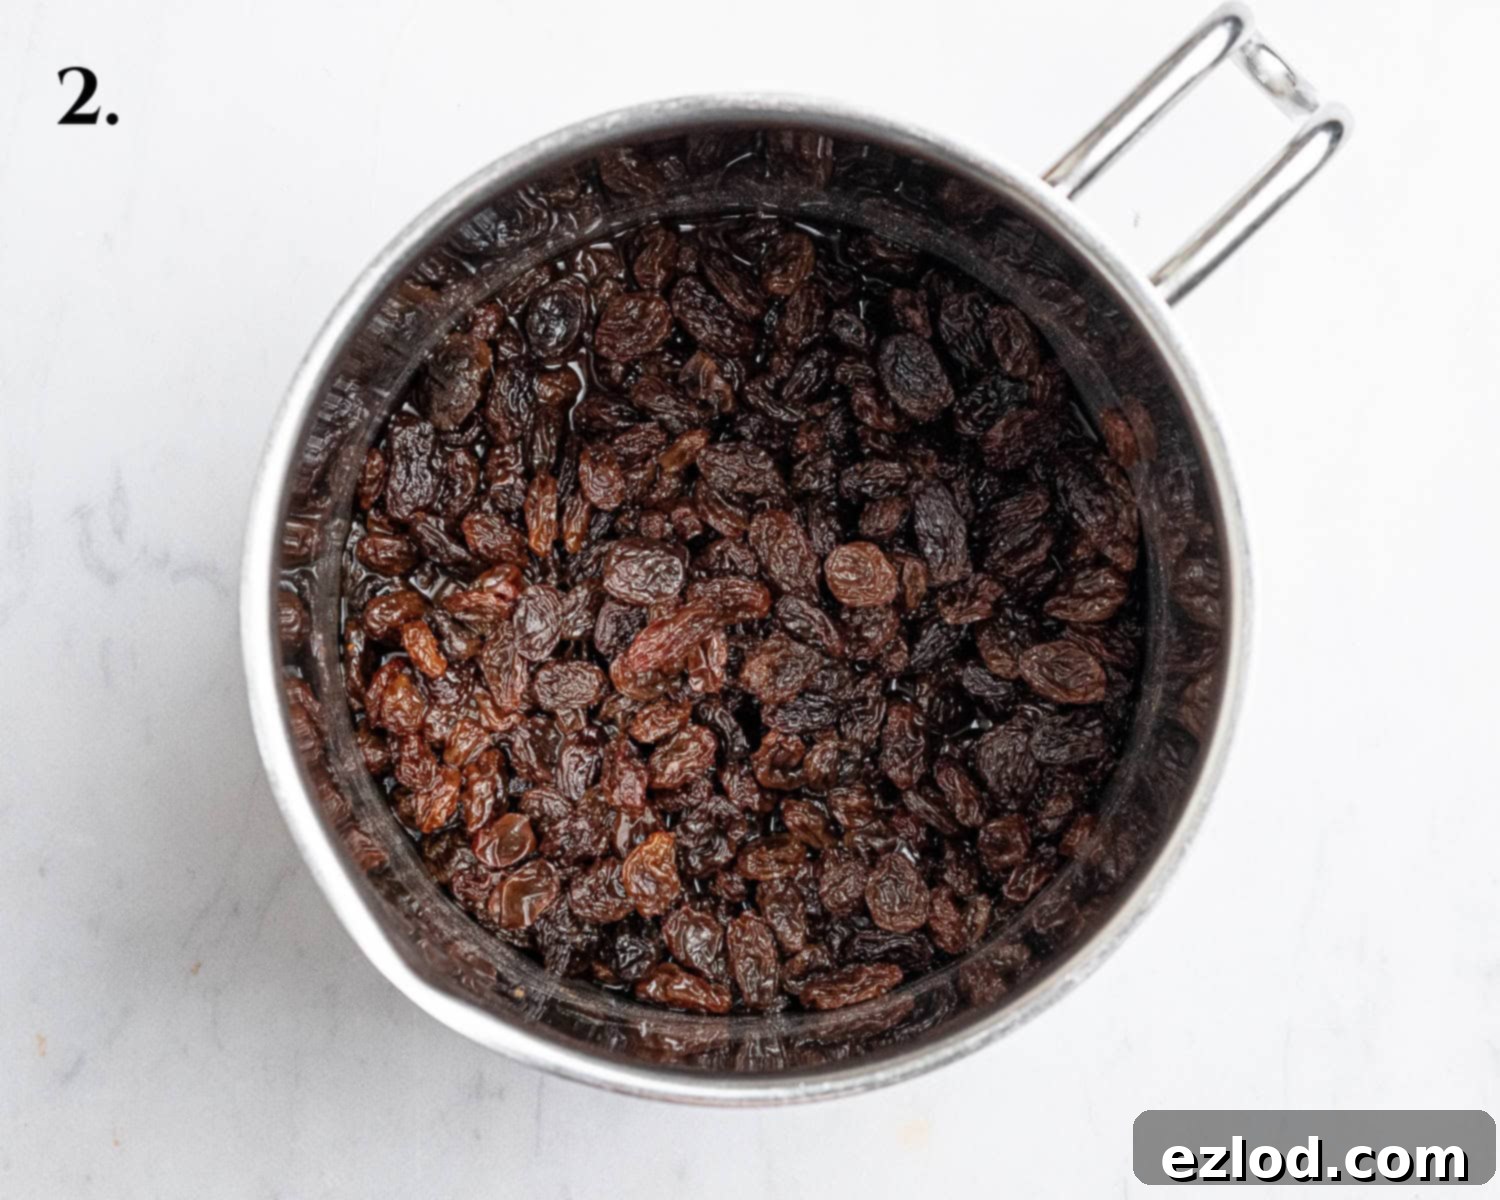
- Step 2: In a small pan, gently heat the raisins with the rum until it just begins to simmer. Once simmering, cover the pan and allow the raisins to soak overnight. This infusion process is key to their rich, boozy flavor.
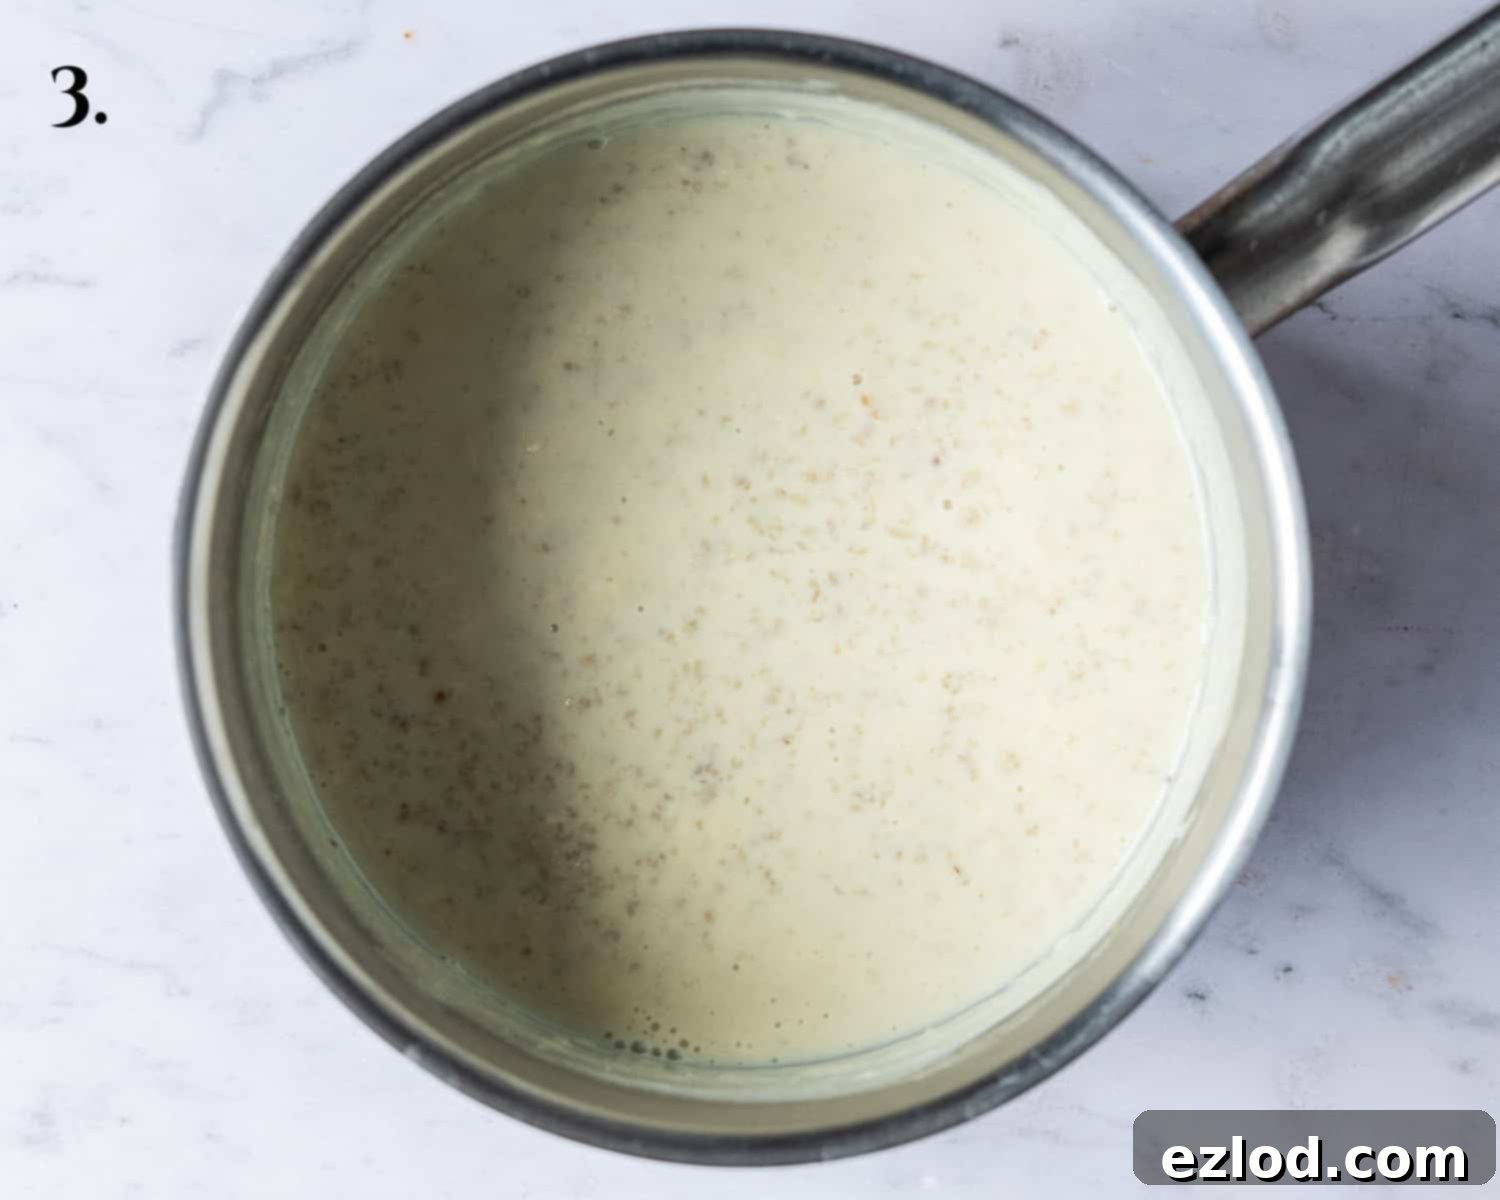
- Step 3: Combine the oats with half of the plant milk in a saucepan. Bring this mixture to a gentle simmer and cook for approximately 5 minutes, stirring regularly, until the oats are thoroughly softened.
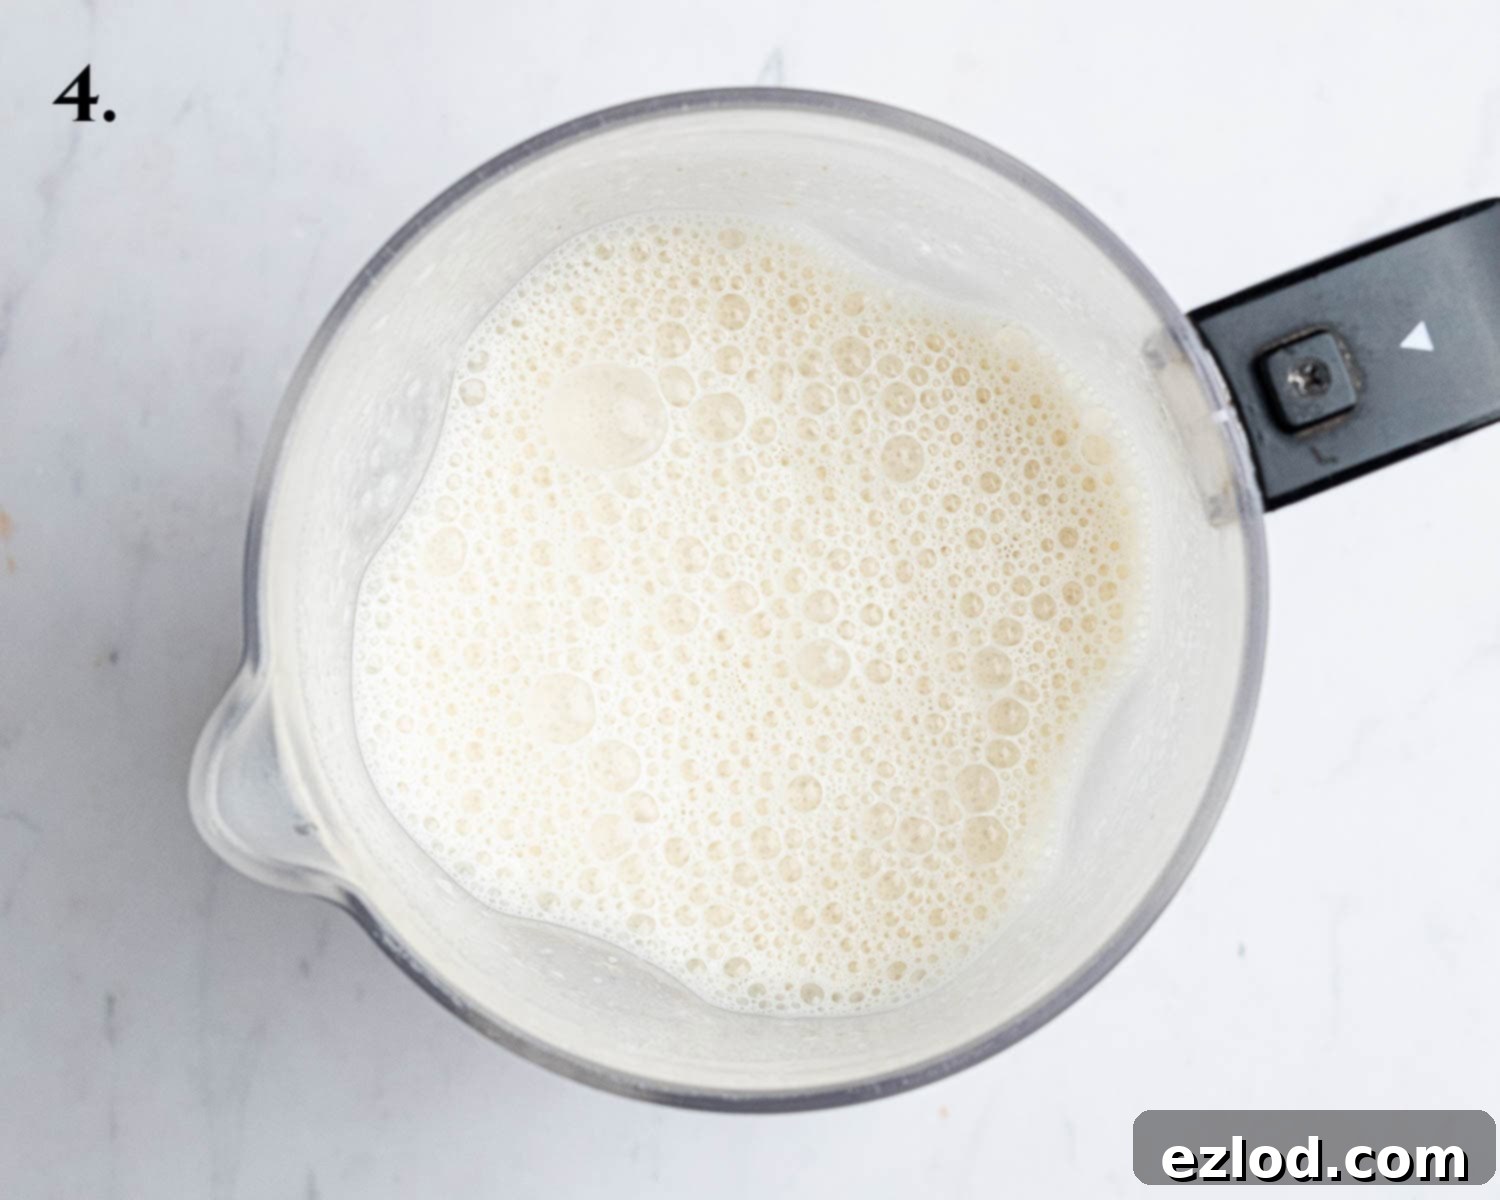
- Step 4: Transfer the cooked oat mixture and the thoroughly drained cashews to a high-speed blender. Add the remaining plant milk, sugar, vanilla, melted coconut oil (or vegan butter), and a pinch of salt. Blend until the mixture is incredibly smooth and creamy, with no trace of graininess. Pour this base into a bowl, cover, and chill completely in the refrigerator.
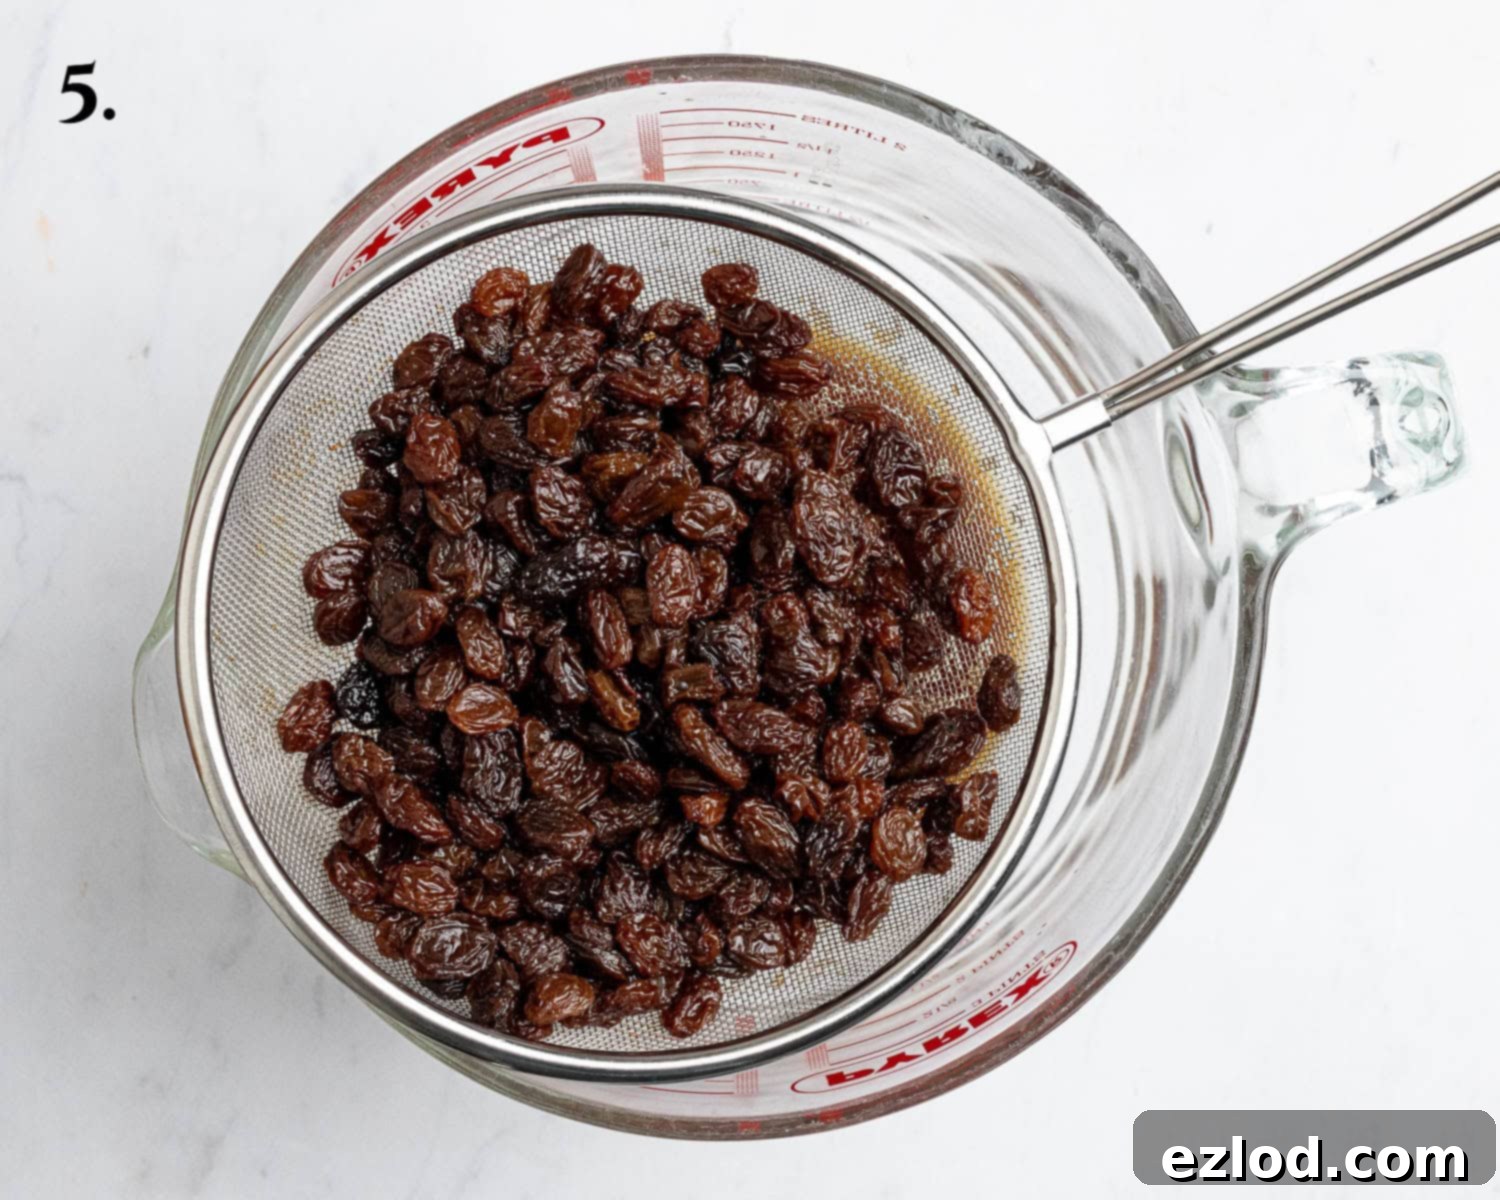
- Step 5: Once the raisins have soaked, drain them very well, making sure to reserve the aromatic rum liquid. This infused liquid holds key flavor for the ice cream base.
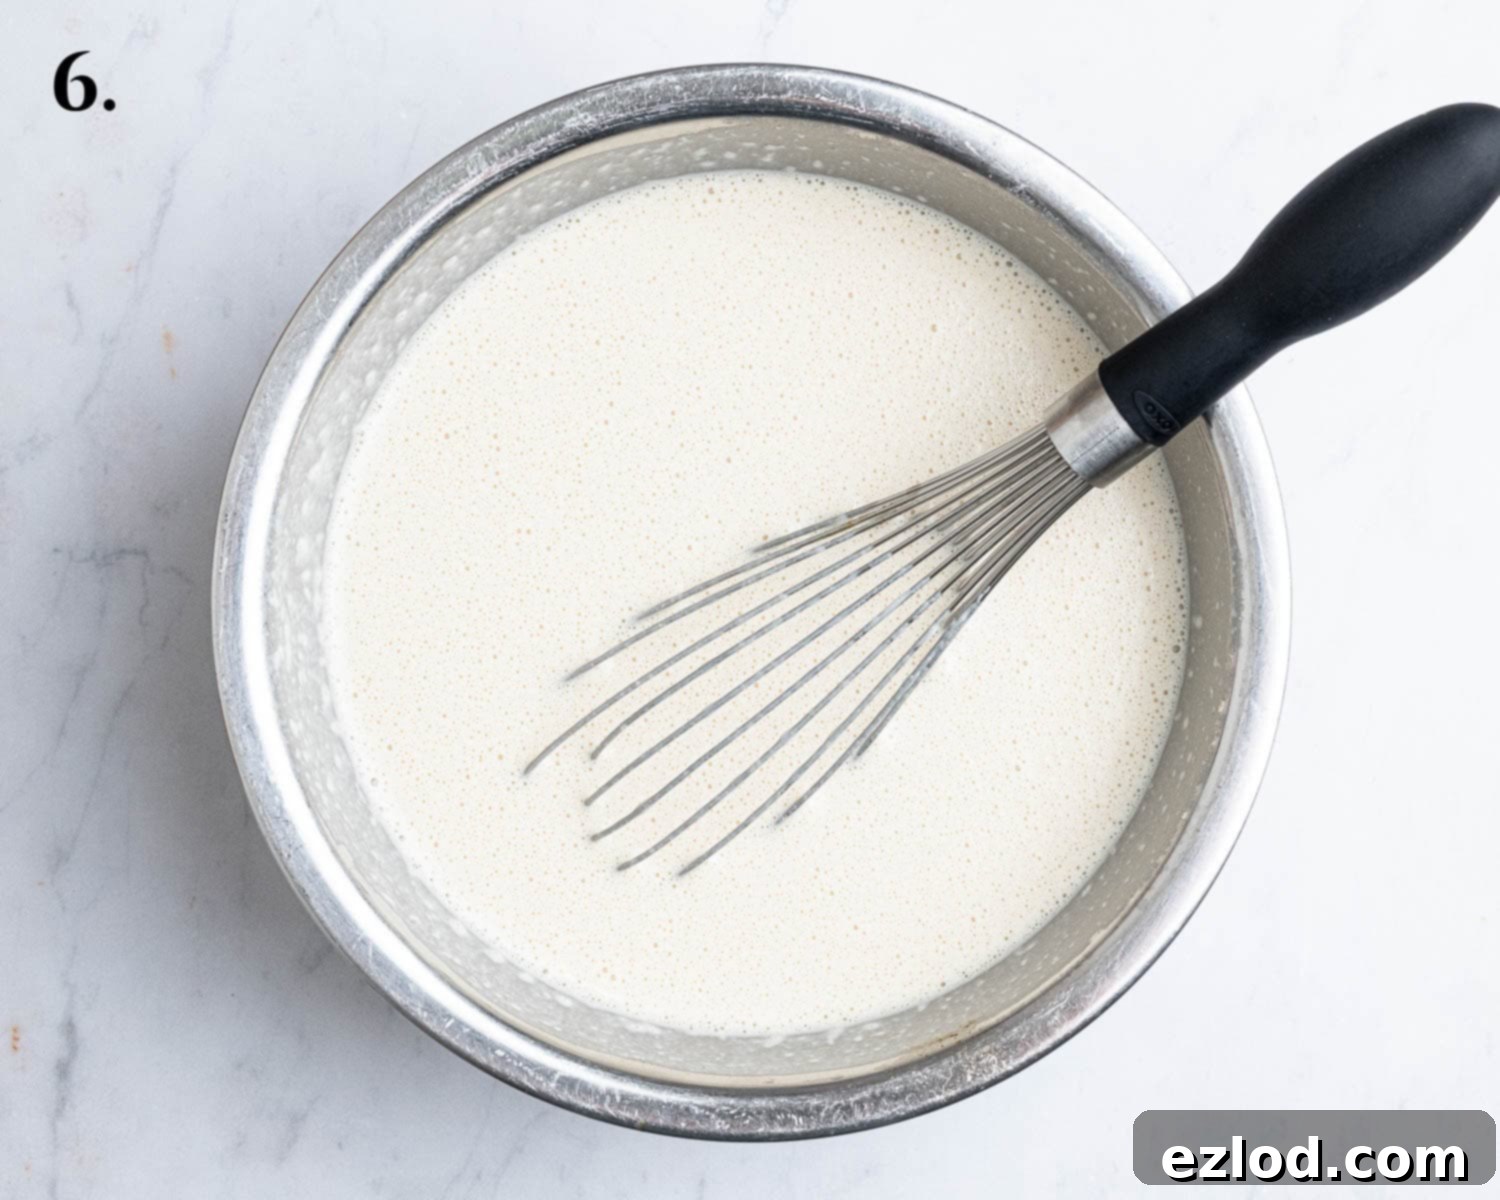
- Step 6: Whisk 60ml of the reserved raisin-infused rum into the thoroughly chilled ice cream base. This step infuses the base with that distinctive boozy warmth.
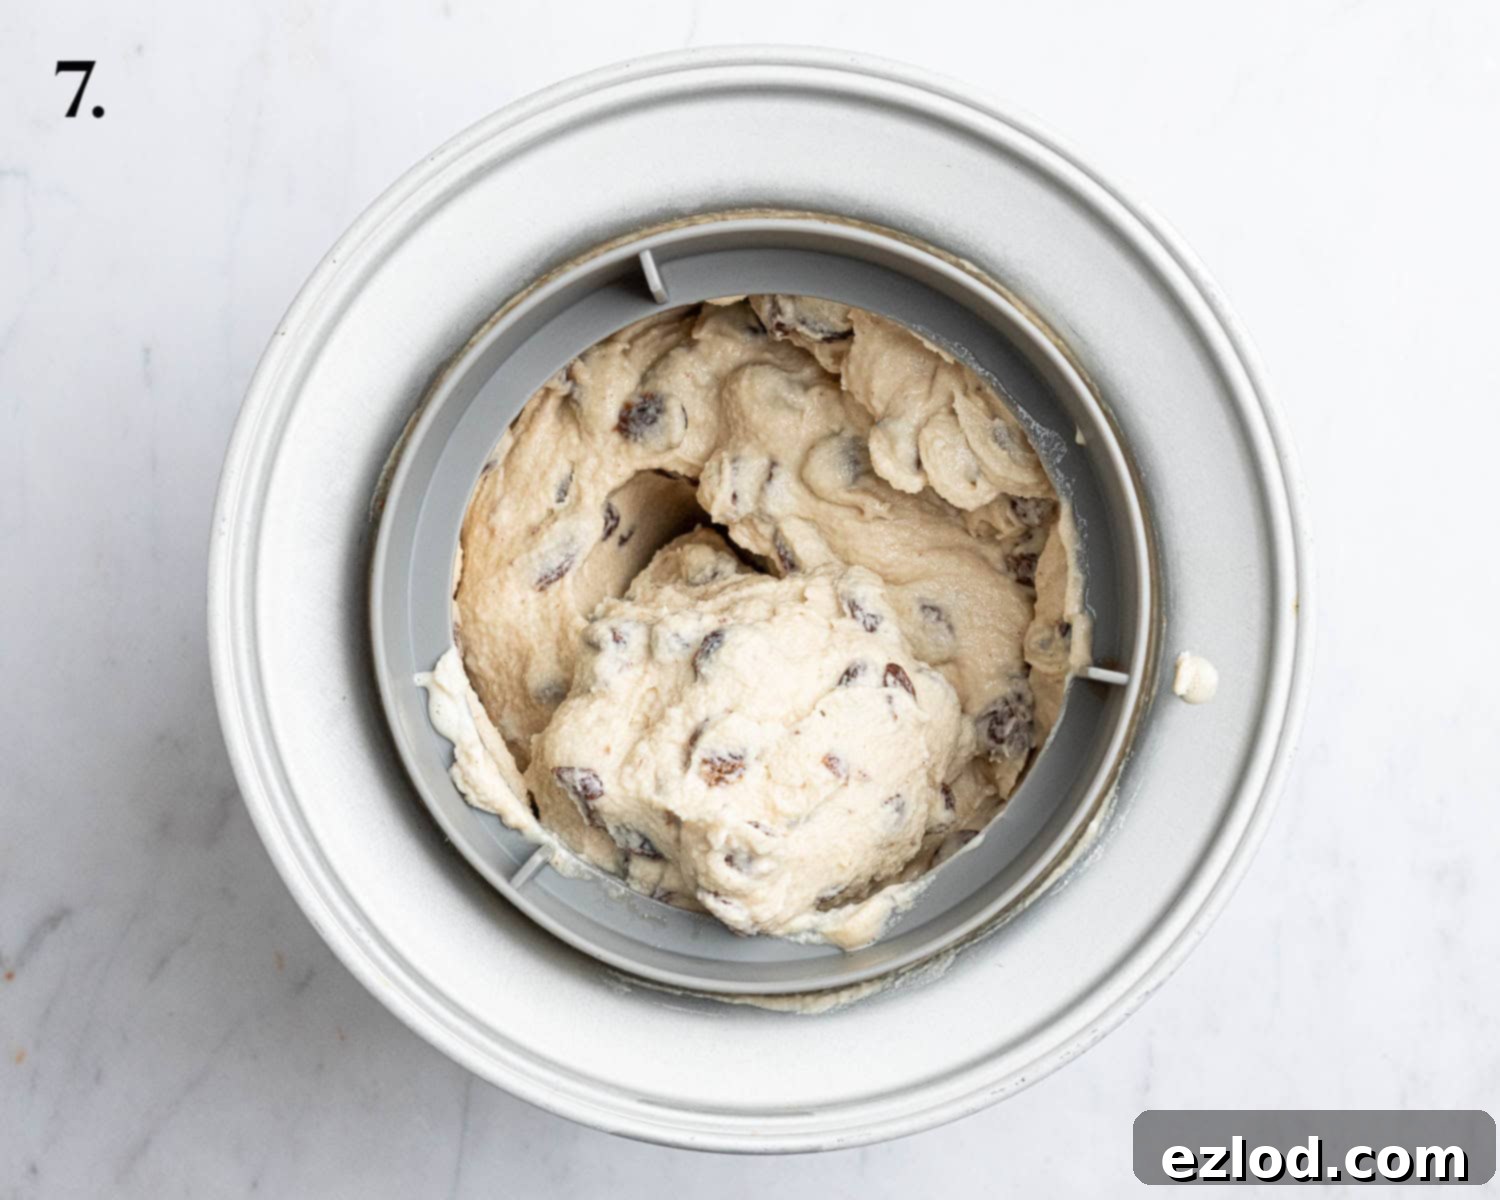
- Step 7: Churn the ice cream in your machine according to manufacturer instructions until it reaches a soft-serve consistency. At this point, carefully fold in the drained, rum-soaked raisins.
Top Tips for the Best Homemade Vegan Rum & Raisin Ice Cream
Achieving truly exceptional homemade ice cream, especially a creamy vegan version, relies on a few key techniques. Follow these top tips for the most delicious results:
As with all my recipes, I cannot stress enough the importance of using metric measurements with a digital scale rather than cup conversions. Volume measurements, especially for dry ingredients, can be wildly inaccurate and vary greatly depending on how ingredients are packed. Using a kitchen scale provides far more precise and consistent results, which is crucial for the delicate balance in ice cream making. Plus, it’s often quicker and less messy!
Homemade ice cream, particularly those without commercial stabilizers, tends to freeze much harder than store-bought varieties. This vegan rum and raisin ice cream will be quite solid straight from the freezer, so remember to take it out at least 15-20 minutes before you plan to serve it. This allows it to soften slightly, reaching that perfect scoopable texture and enhancing its creamy mouthfeel.
For the smoothest, most luxurious ice cream texture, a high-power blender (such as a Froothie or Vitamix) is highly recommended. These powerful machines can break down the cashews and oats into an incredibly fine, velvety cream. While you can still achieve good results with a regular blender, the texture might be slightly less smooth and creamy, potentially with a hint of graininess.
Proper chilling of your ice cream base is paramount before churning. I highly recommend making the ice cream base the day before you intend to churn it. This extended chilling time (at least 4 hours, but preferably overnight) allows the ingredients to fully hydrate, the flavors to meld, and the mixture to become thoroughly cold. An ice-cold base is essential for efficient churning and for preventing premature melting in the ice cream maker.
For a fantastic churning experience, I use a 2-liter ice cream maker (like this one by Cuisinart). Ensure your ice cream maker bowl has been in the freezer for the minimum recommended time – often 10-12 hours – to be completely frozen. A properly chilled bowl is vital for efficient freezing during the churning process.
To further maintain the ideal consistency and prevent your freshly churned ice cream from melting too quickly, place the freezer-proof container you plan to store it in into the freezer to chill while the ice cream is churning. Transferring soft-serve ice cream into a cold container helps it to set up more quickly and reduces the formation of large ice crystals.
Do not skimp on the sugar! In ice cream making, sugar isn’t just about sweetness; it’s a vital component for texture. Sugar acts as an anti-freeze, lowering the freezing point of the mixture and contributing significantly to the soft, creamy, and scoopable consistency. Moreover, cold temperatures suppress sweetness, so the unfrozen base should taste a bit sweeter than you desire the final frozen ice cream to be.
While the idea of extra rum might sound appealing for a “boozier” treat, resist the temptation to add more rum to the ice cream base than specified in the recipe. Alcohol has a very low freezing point, and excessive amounts will prevent your ice cream from freezing properly, resulting in a slushy or liquid consistency rather than a firm scoop.
For an added layer of warming complexity, try incorporating a teaspoon or two of ground cinnamon into the ice cream base along with the vanilla. This spicy twist beautifully complements the rich rum and sweet raisins, creating an even more comforting and festive flavor profile. You could also experiment with a pinch of nutmeg or cardamom for similar aromatic results.
Frequently Asked Questions About Vegan Rum & Raisin Ice Cream
Absolutely! While an ice cream maker is ideal for achieving the creamiest texture, you can certainly make this vegan rum and raisin ice cream without one. It will require a bit more manual effort, and the final texture might be slightly icier than churned ice cream, but it will still be delicious. Here’s how:
Once your prepared ice cream base is thoroughly chilled, pour it into a wide, shallow freezer-proof container (a metal loaf pan works great). Place it in the freezer. Every 30-45 minutes, remove the container from the freezer and give the mixture a vigorous whisk with an electric mixer or a strong fork. The goal is to break up any ice crystals that are forming and incorporate air, which helps create a smoother consistency. Repeat this process for 3-4 hours, or until the ice cream reaches a soft-serve consistency. Then, allow it to freeze for another 2-4 hours until firm enough to scoop before serving. For best results, scrape the edges of the container during each whisking step.
To maintain its quality and prevent freezer burn, homemade ice cream should always be stored in an airtight, freezer-proof container. A container with a tight-fitting lid is best; if you don’t have one, cover the surface of the ice cream directly with plastic wrap before securing the lid, or wrap the container tightly with foil. This minimizes exposure to air, which can cause ice crystals to form.
Store the ice cream for up to 2 months. However, it’s generally best enjoyed sooner rather than later, as homemade ice creams do not contain the stabilizers or preservatives found in commercial varieties, meaning their texture can degrade over time.
As homemade ice creams set much firmer than shop-bought ones, always allow your rum and raisin ice cream to sit out on the counter for about 15 minutes, or in the refrigerator for 30 minutes, before attempting to scoop. This brief softening period will make scooping much easier and improve the overall eating experience.
This recipe can easily be made gluten-free. While oats are naturally gluten-free, they are often processed in facilities that also handle wheat, barley, and rye, leading to cross-contamination. To ensure your ice cream is truly gluten-free, simply use certified gluten-free porridge oats. All other ingredients in this recipe (cashews, plant milk, sugar, coconut oil, vanilla, rum, raisins, salt) are typically gluten-free, but it’s always a good practice to check product labels, especially for rum or any flavorings, to confirm they are free from gluten-containing additives.
While the classic flavor profile relies on raisins, you can certainly experiment with other dried fruits to create different delicious variations. Dried cranberries, cherries, or even chopped dried apricots could work well. Just ensure they are soft enough to absorb the rum effectively. If using larger dried fruits, you might want to chop them into smaller pieces before soaking to ensure they integrate nicely into the ice cream. Keep in mind that changing the fruit will alter the traditional rum and raisin flavor, creating a new, unique dessert.
Discover More Irresistible Vegan Ice Cream Recipes:
- Malted Chocolate Ice Cream (Vegan)
- Vegan Lemon Ice Cream
- Vegan Coffee Ice Cream With Chocolate Swirl
- Vegan Maple Pecan Ice Cream
- Chocolate Peanut Butter Ice Cream (Vegan)
If you tried this recipe and loved the creamy, boozy results, please let me know how it went! Rate it, leave a comment below, or share your delicious creation by tagging @domestic_gothess on Instagram and using the hashtag #domesticgothess. Your feedback is truly appreciated!
All images and content on Domestic Gothess are copyright protected. If you wish to share this recipe, please do so by using the provided share buttons or by including a link back to this post for the full recipe. Do not screenshot or post the recipe or content in full. Thank you for your understanding and support.

Print
Vegan Rum And Raisin Ice Cream
Equipment
-
ice cream maker (ideally 2 litre)
Ingredients
- 175 g (1 cup + 3 Tablespoons) raisins
- 150 ml (½ cup + 2 Tablespoons) dark or spiced rum
- 160 g (1 + ⅓ cups) unroasted cashews
- 25 g (¼ cup) porridge oats
- 800 ml (3 ⅓ cups) unsweetened non-dairy milk (preferably soya or oat barista) divided
- 160 g (¾ cup) caster, granulated or light brown soft sugar
- 1 Tablespoon vanilla bean paste
- 55 g (4 Tablespoons) melted refined coconut oil or vegan block butter
- ¼ teaspoon salt
Instructions
-
Ensure that the bowl of your ice cream maker has been in the freezer for the recommended time to be fully frozen; for mine, this takes 11 hours.
-
In a small saucepan, gently heat the raisins and dark or spiced rum until the mixture reaches a gentle simmer. Once simmering, cover the pan and allow the raisins to soak in the rum overnight to infuse maximum flavor.175 g (1 cup + 3 Tablespoons) raisins, 150 ml (½ cup + 2 Tablespoons) dark or spiced rum
-
Place the unroasted cashews in a heatproof bowl. Generously cover them with boiling water and let them soak for 30-60 minutes, or until completely softened. Alternatively, soak in cold water overnight.160 g (1 + ⅓ cups) unroasted cashews
-
Combine the porridge oats in a saucepan with half of the unsweetened non-dairy milk. Bring this mixture to a gentle simmer, cooking for about 5 minutes. Stir frequently to prevent sticking, ensuring the oats become very soft.25 g (¼ cup) porridge oats, 800 ml (3 ⅓ cups) unsweetened non-dairy milk (preferably soya or oat barista)
-
Thoroughly drain the soaked cashews. Transfer them to a high-speed blender with the other half of the non-dairy milk and blitz until completely smooth.
-
Add the cooked oat mixture to the blender along with the caster/granulated/brown sugar, vanilla bean paste, melted refined coconut oil (or vegan block butter), and salt. Blend until the mixture is incredibly smooth, with absolutely no hint of graininess. Pause and scrape down the sides of the blender as needed to ensure everything is fully incorporated.55 g (4 Tablespoons) melted refined coconut oil or vegan block butter, 160 g (¾ cup) caster, granulated or light brown soft sugar, 1 Tablespoon vanilla bean paste, ¼ teaspoon salt
-
Pour the blended mixture through a fine mesh sieve into a clean bowl. This extra step ensures a truly silky-smooth base. Cover the bowl and refrigerate the mixture until it is completely cold; ideally, leave it overnight, but it will need at least four hours.
-
The following day, place a fine mesh sieve over a measuring jug. Tip the rum-soaked raisins (including their liquid) into the sieve and allow them to drain thoroughly, reserving all the infused rum liquid.
-
Whisk 60 ml (¼ cup) of the reserved raisin-infused rum into your thoroughly chilled ice cream base.
-
Churn the ice cream in your ice cream maker according to the manufacturer’s instructions until it reaches a soft-serve consistency. At this stage, gently fold in the drained, rum-soaked raisins. Due to the alcohol content, the ice cream may not freeze quite as firm as some other recipes, but it will still be wonderfully creamy.
-
Once the ice cream has finished churning, transfer it to a pre-chilled freezer-proof container. Freeze for a minimum of 4 hours, or until fully firm, before serving.
Notes
- For more in-depth tips, ingredient details, and helpful step-by-step photos, please refer to the main article above the recipe card.
- It is crucial not to add extra rum to the ice cream base beyond the specified amount, as the alcohol will significantly lower the freezing point, preventing the ice cream from setting properly.
- Homemade ice cream tends to be quite solid when taken directly from the freezer. For the best scoopable texture, remove the container from the freezer at least 15-20 minutes before serving, allowing it to soften slightly.
