The Best Easy Vegan Red Velvet Cupcakes with Tangy Cream Cheese Frosting
Discover how to make incredibly moist, fluffy, and flavorful vegan red velvet cupcakes. Topped with a rich, tangy vegan cream cheese frosting, these striking desserts are perfect for any occasion, from Halloween parties to everyday indulgence. Learn all the tips for success, including achieving that iconic deep red color and creating a stable, dairy-free frosting.
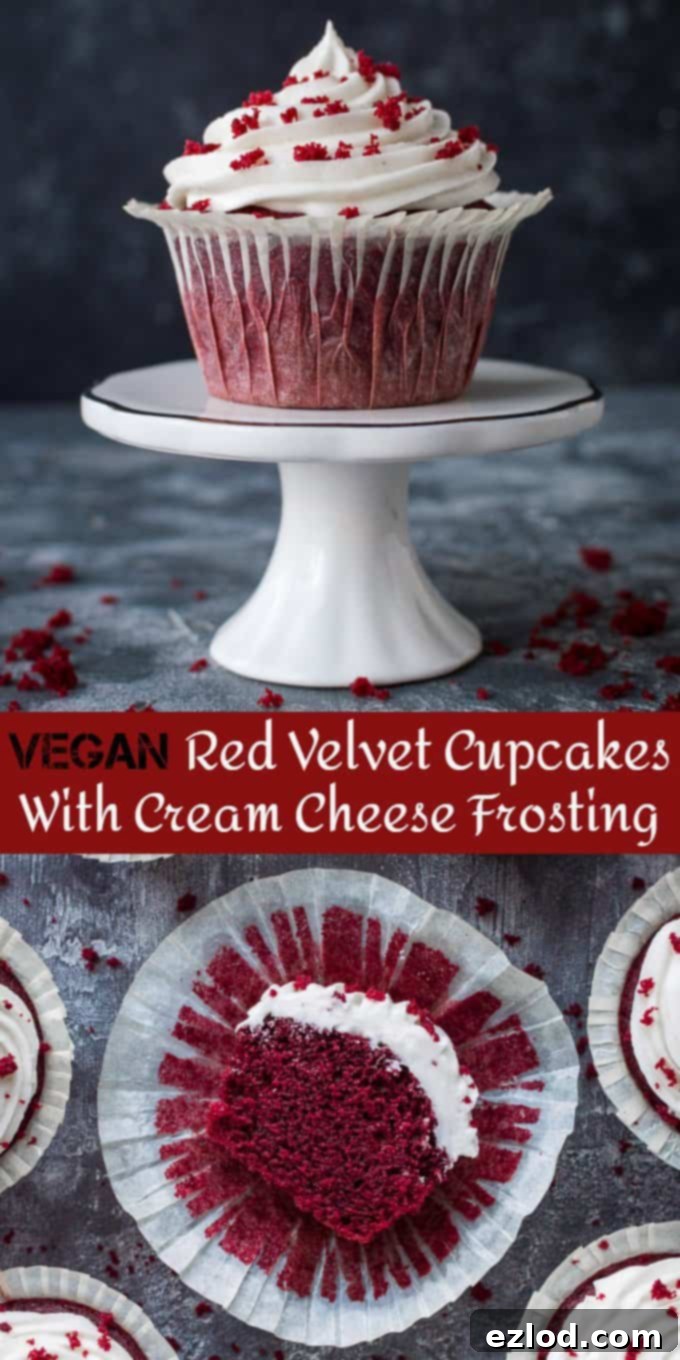
Red velvet cake is a timeless classic, cherished for its unique flavor profile – a delicate balance between vanilla and a hint of cocoa – and its striking, vibrant red hue. While often associated with holidays like Christmas or Valentine’s Day, its deep, almost blood-red color makes it an especially perfect treat for Halloween festivities. This vegan red velvet cupcake recipe delivers all the beloved characteristics of the traditional version, ensuring a moist, fluffy texture and a truly unforgettable taste, all while being entirely plant-based.
Making these vegan red velvet cupcakes is surprisingly quick and straightforward, even for novice bakers. The “not quite chocolate, not quite vanilla” flavor is incredibly moreish, inviting you to reach for a second (or third!). The cupcakes are then generously crowned with a luscious and tangy vegan cream cheese frosting, which perfectly complements the subtly sweet cake. This combination creates a delightful contrast in textures and flavors that is simply irresistible.
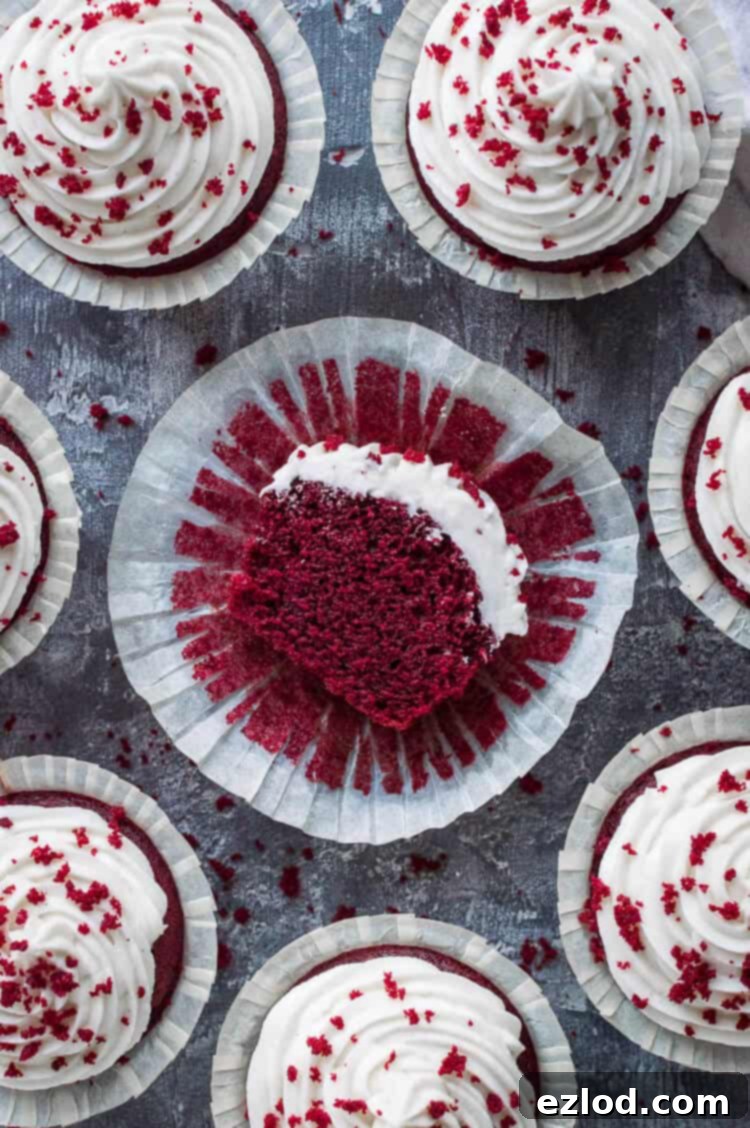
Achieving the Signature Deep Red Color
The dramatic red color is, without a doubt, one of the defining features of red velvet. To achieve this iconic shade in your vegan cupcakes, it’s absolutely crucial to use red gel food coloring. Liquid food colorings, while readily available, are not suitable for this recipe for a couple of key reasons. Firstly, they contain a significant amount of water, which would throw off the delicate balance of the cupcake batter, potentially leading to a denser or less fluffy result. Secondly, many red liquid colorings on the market are made with cochineal, a dye derived from insects, making them unsuitable for a vegan diet. Always double-check ingredient lists if you’re unsure!
For best results, I highly recommend a high-quality gel food coloring that is specifically marked as vegan and bake-stable. I personally use Progel food coloring in the shade ‘Ruby,’ which provides an excellent, vivid red with minimal effort. Because gel colorings are highly concentrated, you only need a small amount – usually around half a teaspoon – to achieve a truly stunning and consistent color throughout your cupcakes. This also prevents adding excess liquid to the batter, maintaining its perfect consistency for a light and airy crumb.
Crafting the Perfect Vegan Cream Cheese Frosting
A red velvet cupcake isn’t complete without a generous swirl of tangy cream cheese frosting. Creating a stable and delicious vegan version requires a few specific ingredients and techniques. For this recipe, I use a combination of half dairy-free cream cheese and half vegetable shortening. This ratio is key to achieving a frosting that is both rich in flavor and holds its shape beautifully.
The vegetable shortening plays a vital role in stabilizing the frosting. Unlike vegan butter or margarine, which often have a higher water content, shortening provides a firm structure that helps prevent the frosting from splitting or becoming too soft, especially when piped. I strongly advise against substituting margarine or vegan spread for the shortening in this recipe. Their higher water content means you would likely need to add an excessive amount of icing sugar to compensate, resulting in an overly sweet and potentially gritty frosting that still might not hold its form well.
Another important addition to the vegan cream cheese frosting is a touch of fresh lemon juice. In my experience, vegan cream cheese tends to be less tangy than its dairy counterpart. The lemon juice helps to bridge this gap, adding that essential bright, zesty tang that makes cream cheese frosting so addictive and perfectly balances the sweetness of the cupcakes. This small but significant addition truly elevates the flavor profile of the frosting.
Storage and Make-Ahead Tips
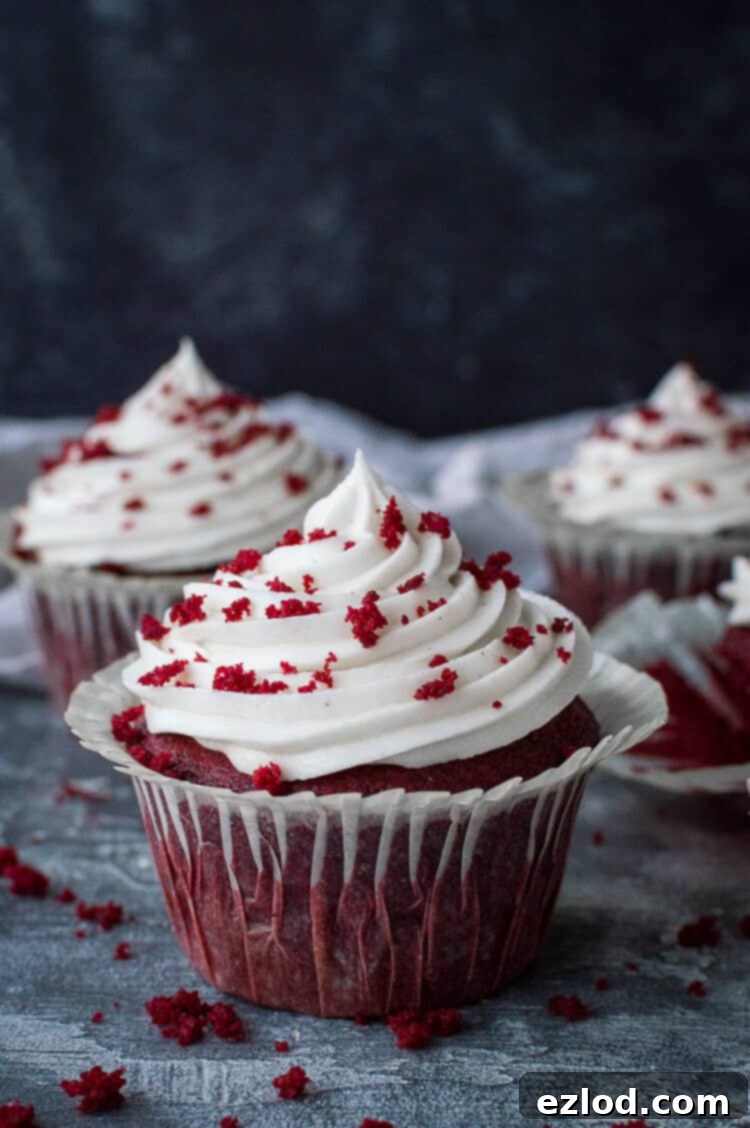
These vegan red velvet cupcakes are wonderfully convenient for meal prep or entertaining. The baked cupcakes can be prepared a day in advance and stored in an airtight container at room temperature. For the cream cheese frosting, while it’s perfectly stable once piped onto the cakes, I find it’s best to prepare and pipe it as soon as it’s made. If left sitting in a bowl for an extended period, the texture can sometimes deteriorate slightly. However, once applied to the cupcakes, they will happily keep in an airtight container at room temperature for up to two days, or refrigerated for up to three days, though their texture is best at room temperature. Always allow refrigerated cupcakes to come to room temperature before serving for the best flavor and softness.
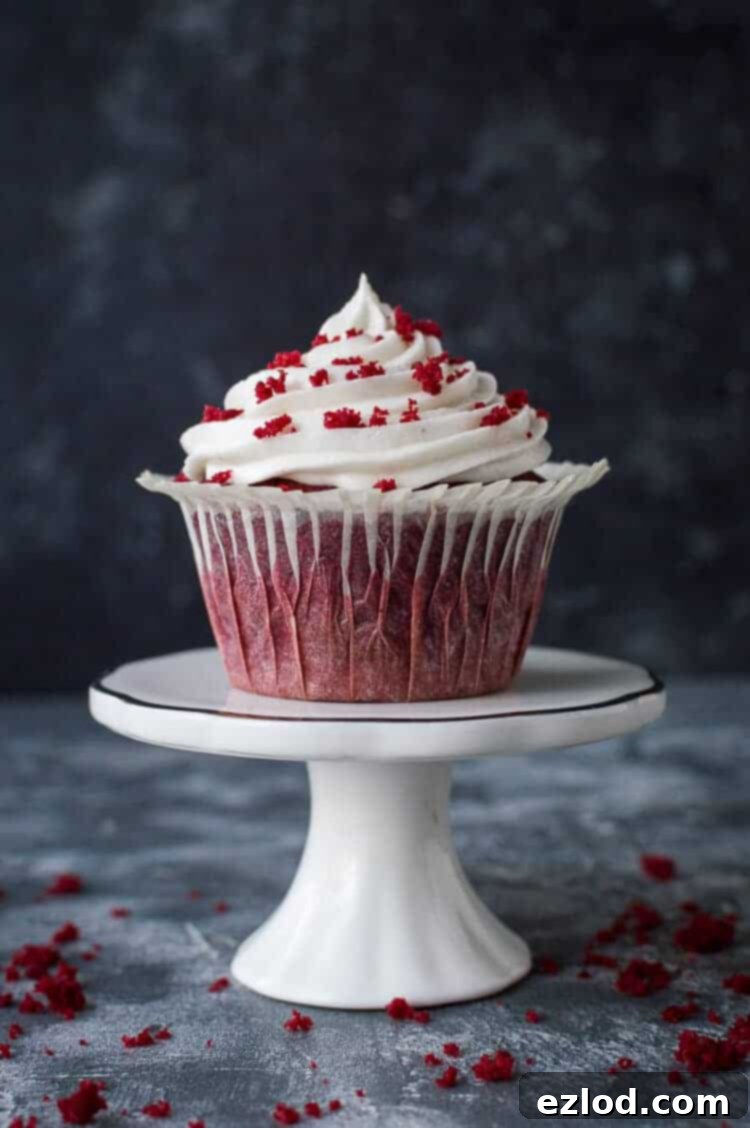
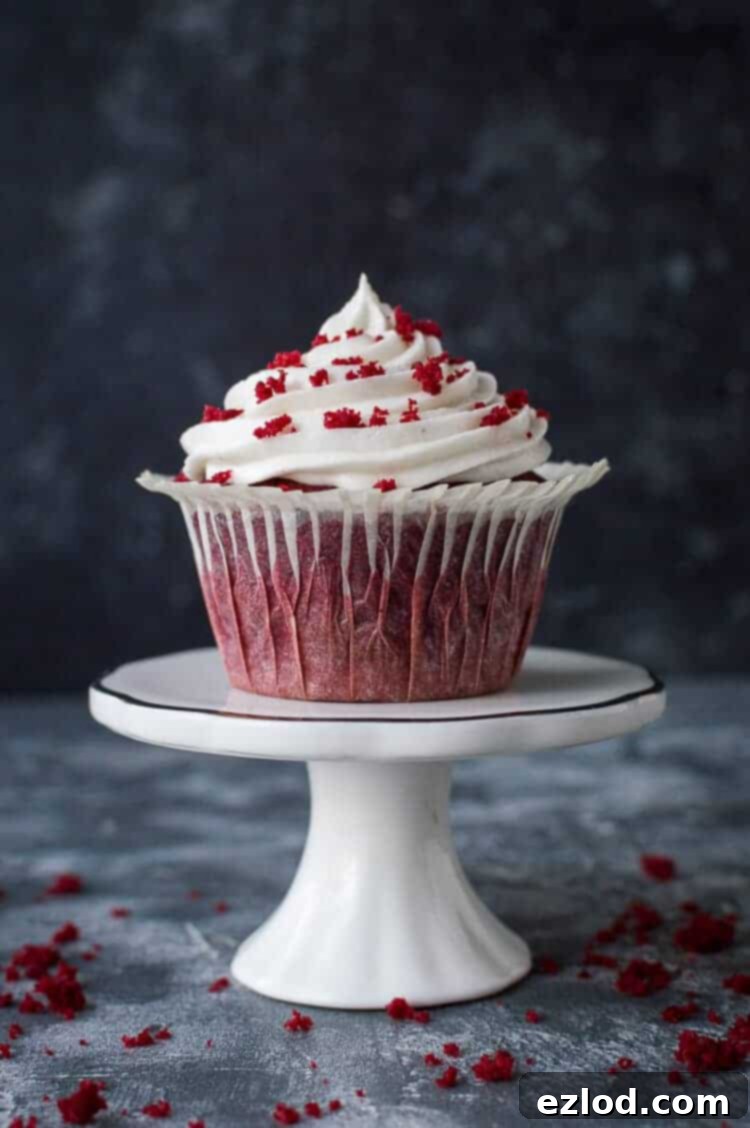
This recipe yields approximately 11 large cupcakes (if using muffin liners) or 12 regular-sized ones. For an effortlessly elegant decoration, I love to crumble one of the unfrosted cupcakes into fine crumbs and sprinkle them over the top of the piped frosting on the other cakes. This not only adds a lovely textural element but also instantly identifies them as red velvet and adds a professional touch.
Creative Decoration Ideas for Every Occasion
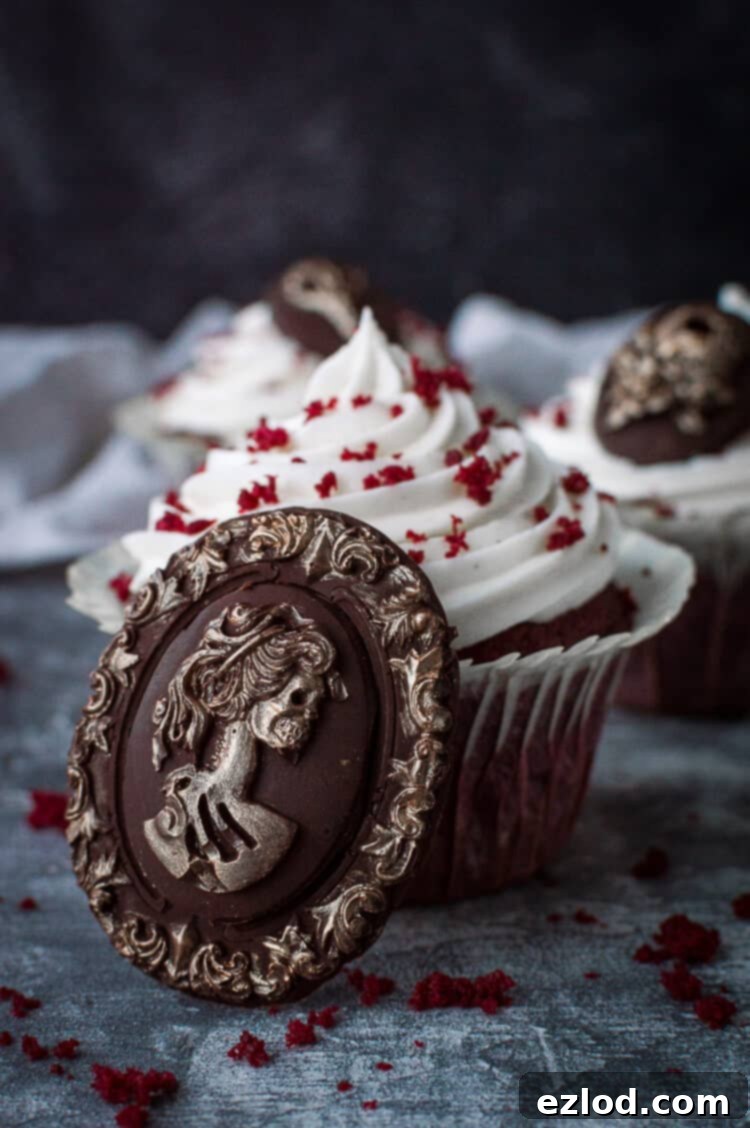
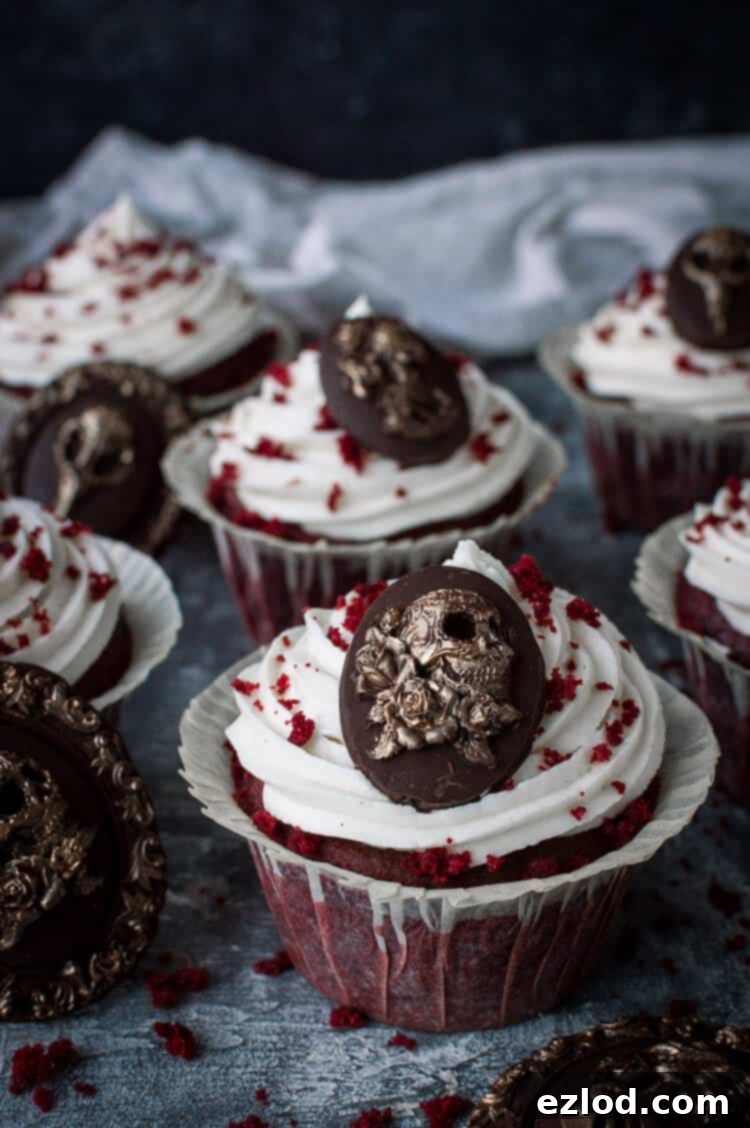
While the simple crumb topping is beautiful on its own, these vegan red velvet cupcakes are also a fantastic canvas for more elaborate decorations, especially for festive occasions. For Halloween, I took them a step further by creating spooky chocolate skull cameos to adorn each cupcake. Silicone molds for these types of designs are widely available on platforms like eBay and Amazon. The process is straightforward: simply melt and temper your favorite vegan chocolate, fill the molds, allow them to set completely, and then carefully pop them out.
To really make the chocolate cameos stand out and give them an extra touch of glamour, I lightly brushed over the intricate detailing with a little edible gold paint. This simple addition highlights the design, transforming a basic chocolate shape into a truly eye-catching and festive embellishment. These cupcakes, with their deep red color, would also be ideal for Christmas parties topped with green and white sprinkles, or for Valentine’s Day with edible hearts.
If you’re looking for another fun and spooky Halloween cupcake idea, be sure to check out my vegan chocolate tombstone cupcakes!
How To Make Vegan Red Velvet Cupcakes:
(For ingredients and full instructions see the recipe card below)
*For the best results make sure that you follow the recipe closely. As always, I highly recommend using the gram measurements (with a digital scale), rather than the cup conversions. Cup measurements are simply not accurate enough for baking and I cannot guarantee the best results if you use them.*
Prepping the Batter for Success
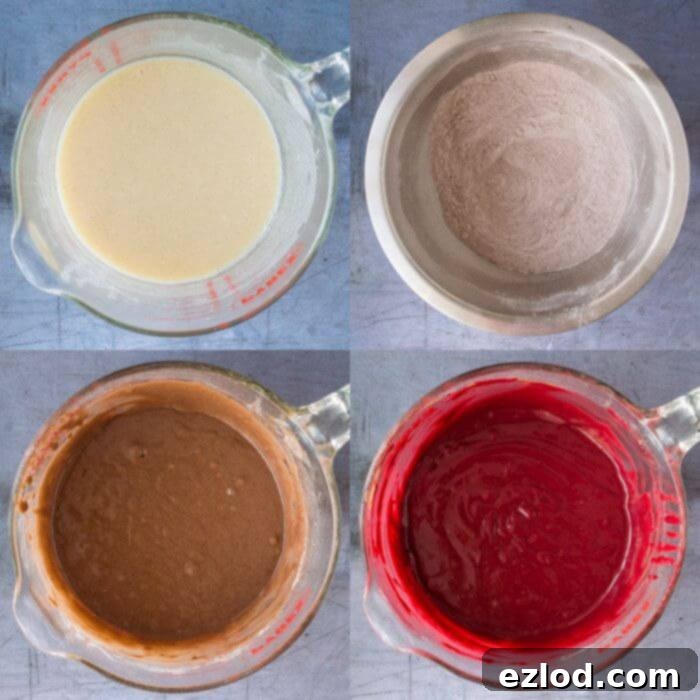
Begin by whisking together your chosen non-dairy milk and cider vinegar in a medium bowl. This mixture is essentially creating a vegan “buttermilk” – the acid from the vinegar will cause the milk to curdle slightly, adding a crucial tang and helping to create a tender crumb in the finished cupcakes. While soy milk tends to curdle most effectively, other varieties like almond or oat milk will also work well. Once curdled, whisk in the caster sugar, sunflower oil, and vanilla extract until everything is thoroughly combined and smooth. This forms your wet ingredient base.
In a separate, larger bowl, sift together the dry ingredients: self-raising flour, cocoa powder, baking powder, bicarbonate of soda (baking soda), and salt. Sifting is important here to ensure there are no lumps and that all leavening agents are evenly distributed, leading to a light and consistent texture.
Next, gently tip the sifted dry ingredients into the wet mixture. Using a whisk or spatula, mix until just combined. Be careful not to overmix the batter; overmixing can develop the gluten in the flour too much, resulting in tough, chewy cupcakes rather than the desired light and fluffy ones. A few lumps are perfectly fine at this stage.
Finally, it’s time to add the star of the show – the red gel food coloring. Gradually stir in the red gel food coloring, adding small amounts at a time, until the batter transforms into a rich, deep red color. I usually find that about half a teaspoon is sufficient, but you can adjust this to achieve your desired intensity. Remember, start with less and add more if needed, as gel colors are very potent.
Baking to Perfection
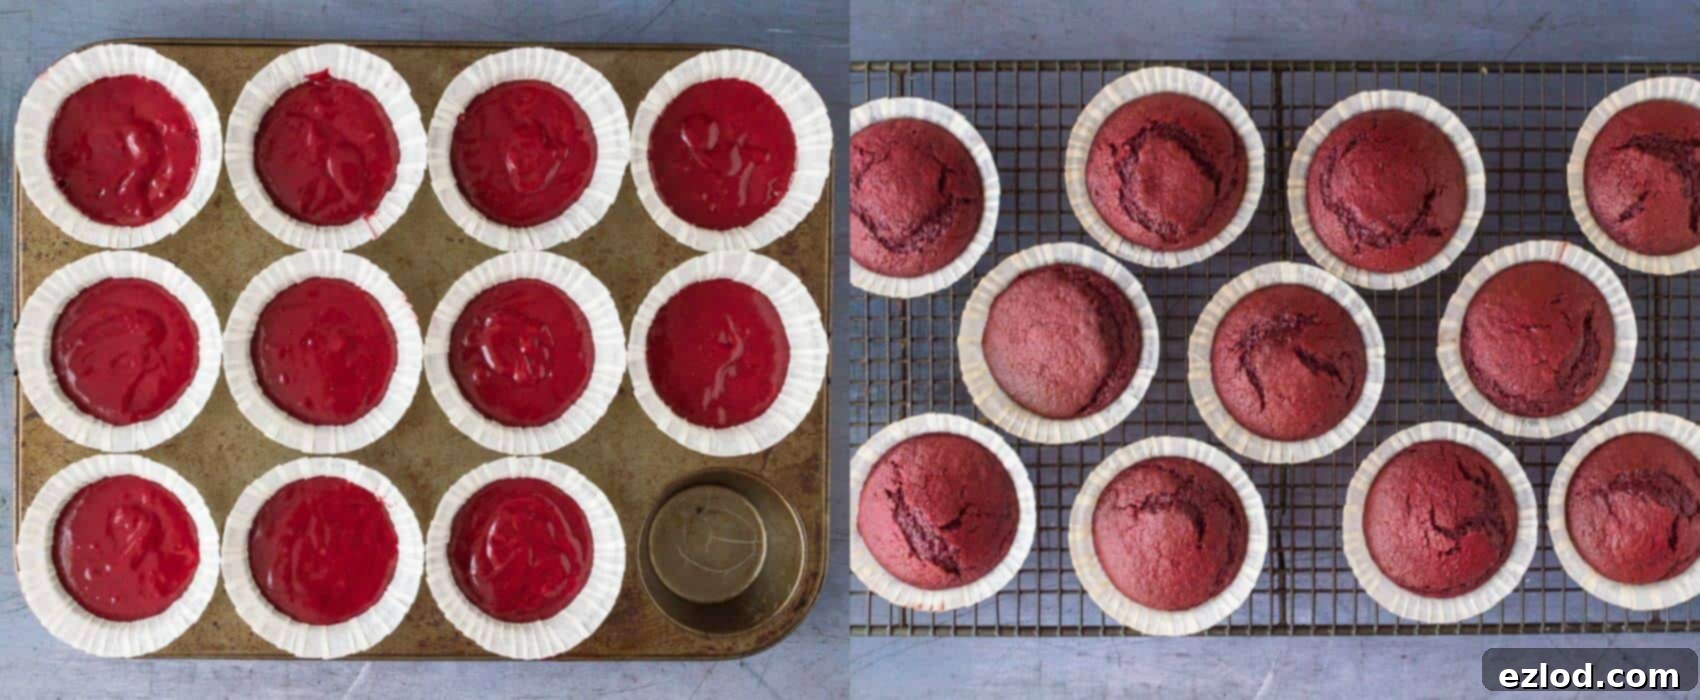
Carefully divide the vibrant red batter evenly among your prepared cupcake liners. For optimal baking, aim to fill each liner no more than two-thirds full. This allows the cupcakes enough space to rise without overflowing, ensuring beautiful, domed tops. This recipe typically yields 11 large cupcakes if you’re using standard muffin liners, or 12 regular-sized cupcakes with smaller liners.
Bake the cupcakes for approximately 20 minutes. To check for doneness, insert a clean skewer or toothpick into the center of one of the cupcakes. It should come out clean, or with just a few moist crumbs clinging to it. If it’s still wet, bake for a few more minutes. Once baked, remove the tray from the oven and allow the cupcakes to cool in the pan for a few minutes before carefully transferring them to a wire rack to cool completely. It’s essential that the cupcakes are entirely cool before frosting to prevent the frosting from melting or sliding off.
Whipping Up the Tangy Cream Cheese Frosting
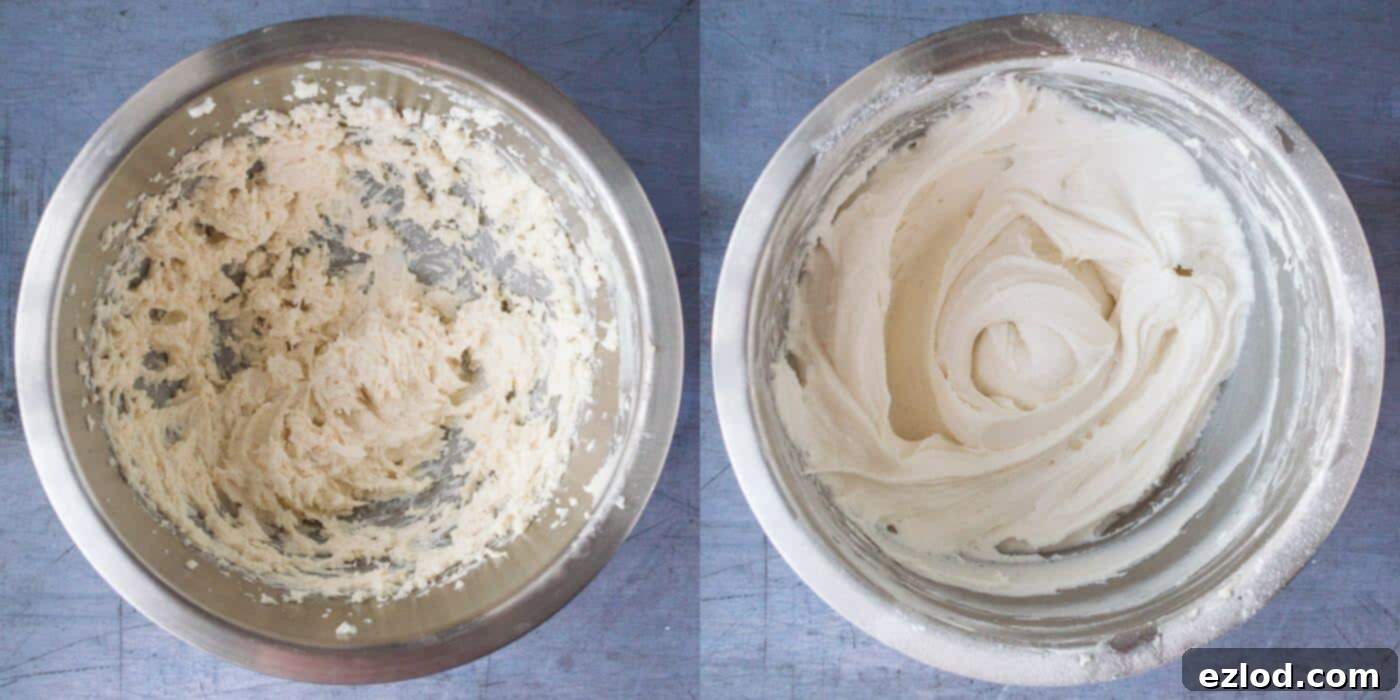
To prepare the delectable vegan cream cheese frosting, begin by whisking together the dairy-free cream cheese (ensure it’s a full-fat variety, as “light” versions are often too watery for frosting) and vegetable shortening in a mixing bowl until the mixture is completely smooth and creamy. This initial step is crucial for achieving a lump-free base.
Next, add the sifted icing (powdered) sugar, fresh lemon juice, and vanilla extract to the cream cheese and shortening mixture. Sifting the icing sugar beforehand is important to prevent any lumps in your finished frosting. Whisk all the ingredients together until they are well combined and the frosting is light and fluffy. Be careful not to over-whisk, as this can incorporate too much air, making the frosting less stable.
If you find that your frosting is too stiff, add a tiny drop of dairy-free milk at a time, mixing until you reach the desired consistency. Conversely, if the frosting appears too soft or runny, gradually whisk in a little more sifted icing sugar until it firms up. The consistency should be easily pipeable but hold its shape well.
Decorating Your Masterpieces
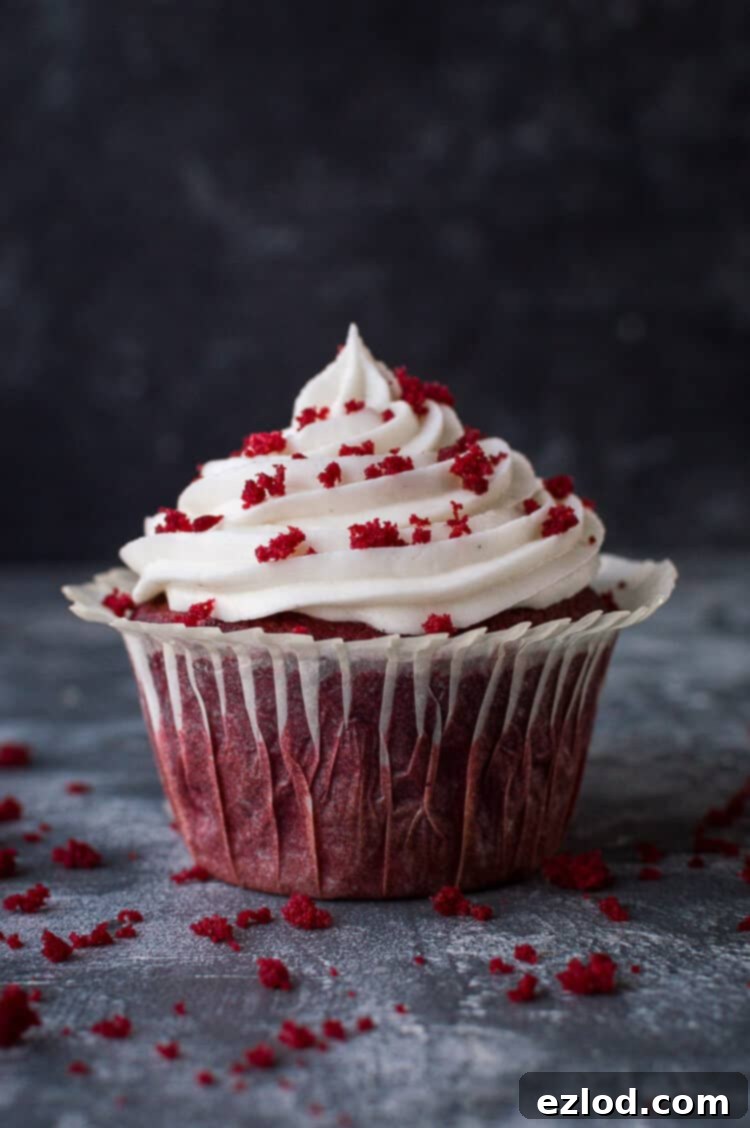
Once your cupcakes are completely cool and your frosting is ready, transfer the cream cheese frosting to a piping bag fitted with a large open star nozzle. This type of nozzle creates beautiful, classic swirls. Pipe generous swirls of frosting on top of each cupcake, working from the outside edge inwards, or creating a simple dollop in the center.
For an extra decorative touch and to clearly show off the red velvet nature of your cupcakes, you can reserve one un-iced cupcake. Crumble this cupcake into fine crumbs, then gently scatter some of these crumbs over the top of the frosted cupcakes. This adds a lovely texture and visual appeal, making them even more inviting.
If you tried this recipe why not tag @domestic_gothess on Instagram and hashtag it #domesticgothess
*All images and content on Domestic Gothess are copyright protected. If you want to share this recipe then please do so by using the share buttons provided. Do not screenshot or post the recipe or content in full.*

Print
Vegan Red Velvet Cupcakes With Cream Cheese Frosting
Ingredients
Vegan Red Velvet Cupcakes:
- 200 ml (½ + ⅓ cup) unsweetened soy milk (or other non dairy milk)
- 1 ½ Tbsp cider vinegar
- 80 ml (⅓ cup) sunflower oil
- 200 g (1 cup) caster sugar
- 1 Tbsp vanilla extract
- 200 g (1 + ⅔ cup) self-raising flour
- 20 g (2 Tbsp) cocoa powder
- ¼ tsp baking powder
- ¼ tsp bicarbonate of soda (baking soda)
- ¼ tsp salt
- ½-1 tsp red gel food colouring
Vegan Cream Cheese Frosting:
- 100 g (3.5 oz) vegetable shortening
- 100 g (3.5 oz) vegan cream cheese (I used Asda’s own brand) No ‘light’ varieties please
- 400 g (4 cups) icing (powdered) sugar sifted
- 1 Tbsp fresh lemon juice
- 1 tsp vanilla extract
Instructions
-
Preheat the oven to 180C/350F/gas mark 4 and line a 12 cup muffin tray with liners.
-
Whisk together the milk and vinegar so that the milk curdles then whisk in the oil, caster sugar and vanilla extract.
-
In a separate bowl, sift together the self-raising flour, cocoa powder, baking powder, bicarbonate of soda and salt.
-
Tip the dry ingredients into the wet and whisk gently until just combined.
-
Gradually stir in red gel food colouring until the batter is a rich red colour. I used about half a teaspoon.
-
Divide the batter between the liners, filling them no more than ⅔rds full. I got 11 cupcakes using large muffin liners, if you are using regular cupcake liners then there is enough batter for 12 cupcakes.
-
Bake the cupcakes for about 20 minutes, until a skewer inserted into one of them comes out clean or with a few moist crumbs. Transfer to a wire rack to cool.
-
To make the vegan cream cheese frosting, whisk together the dairy free cream cheese and vegetable shortening until smooth.
-
Add the sifted icing sugar, fresh lemon juice and vanilla extract and whisk until well combined.
-
If it is too stiff then add a drop of dairy free milk, and if it is too soft whisk in some more sifted icing sugar.
-
Transfer the frosting to a piping bag fitted with a large open star nozzle and pipe swirls on top of the cupcakes.
-
If you like, reserve one of the cupcakes (un-iced) and crumble it up. Scatter some of the crumbs over the rest of the cupcakes.
-
The cupcakes will keep for about three days in an airtight container.
Notes
For the best results make sure that you follow the recipe closely. As always, I highly recommend using the gram measurements (with a digital scale), rather than the cup conversions. Cup measurements are simply not accurate enough for baking and I cannot guarantee the best results if you use them.
