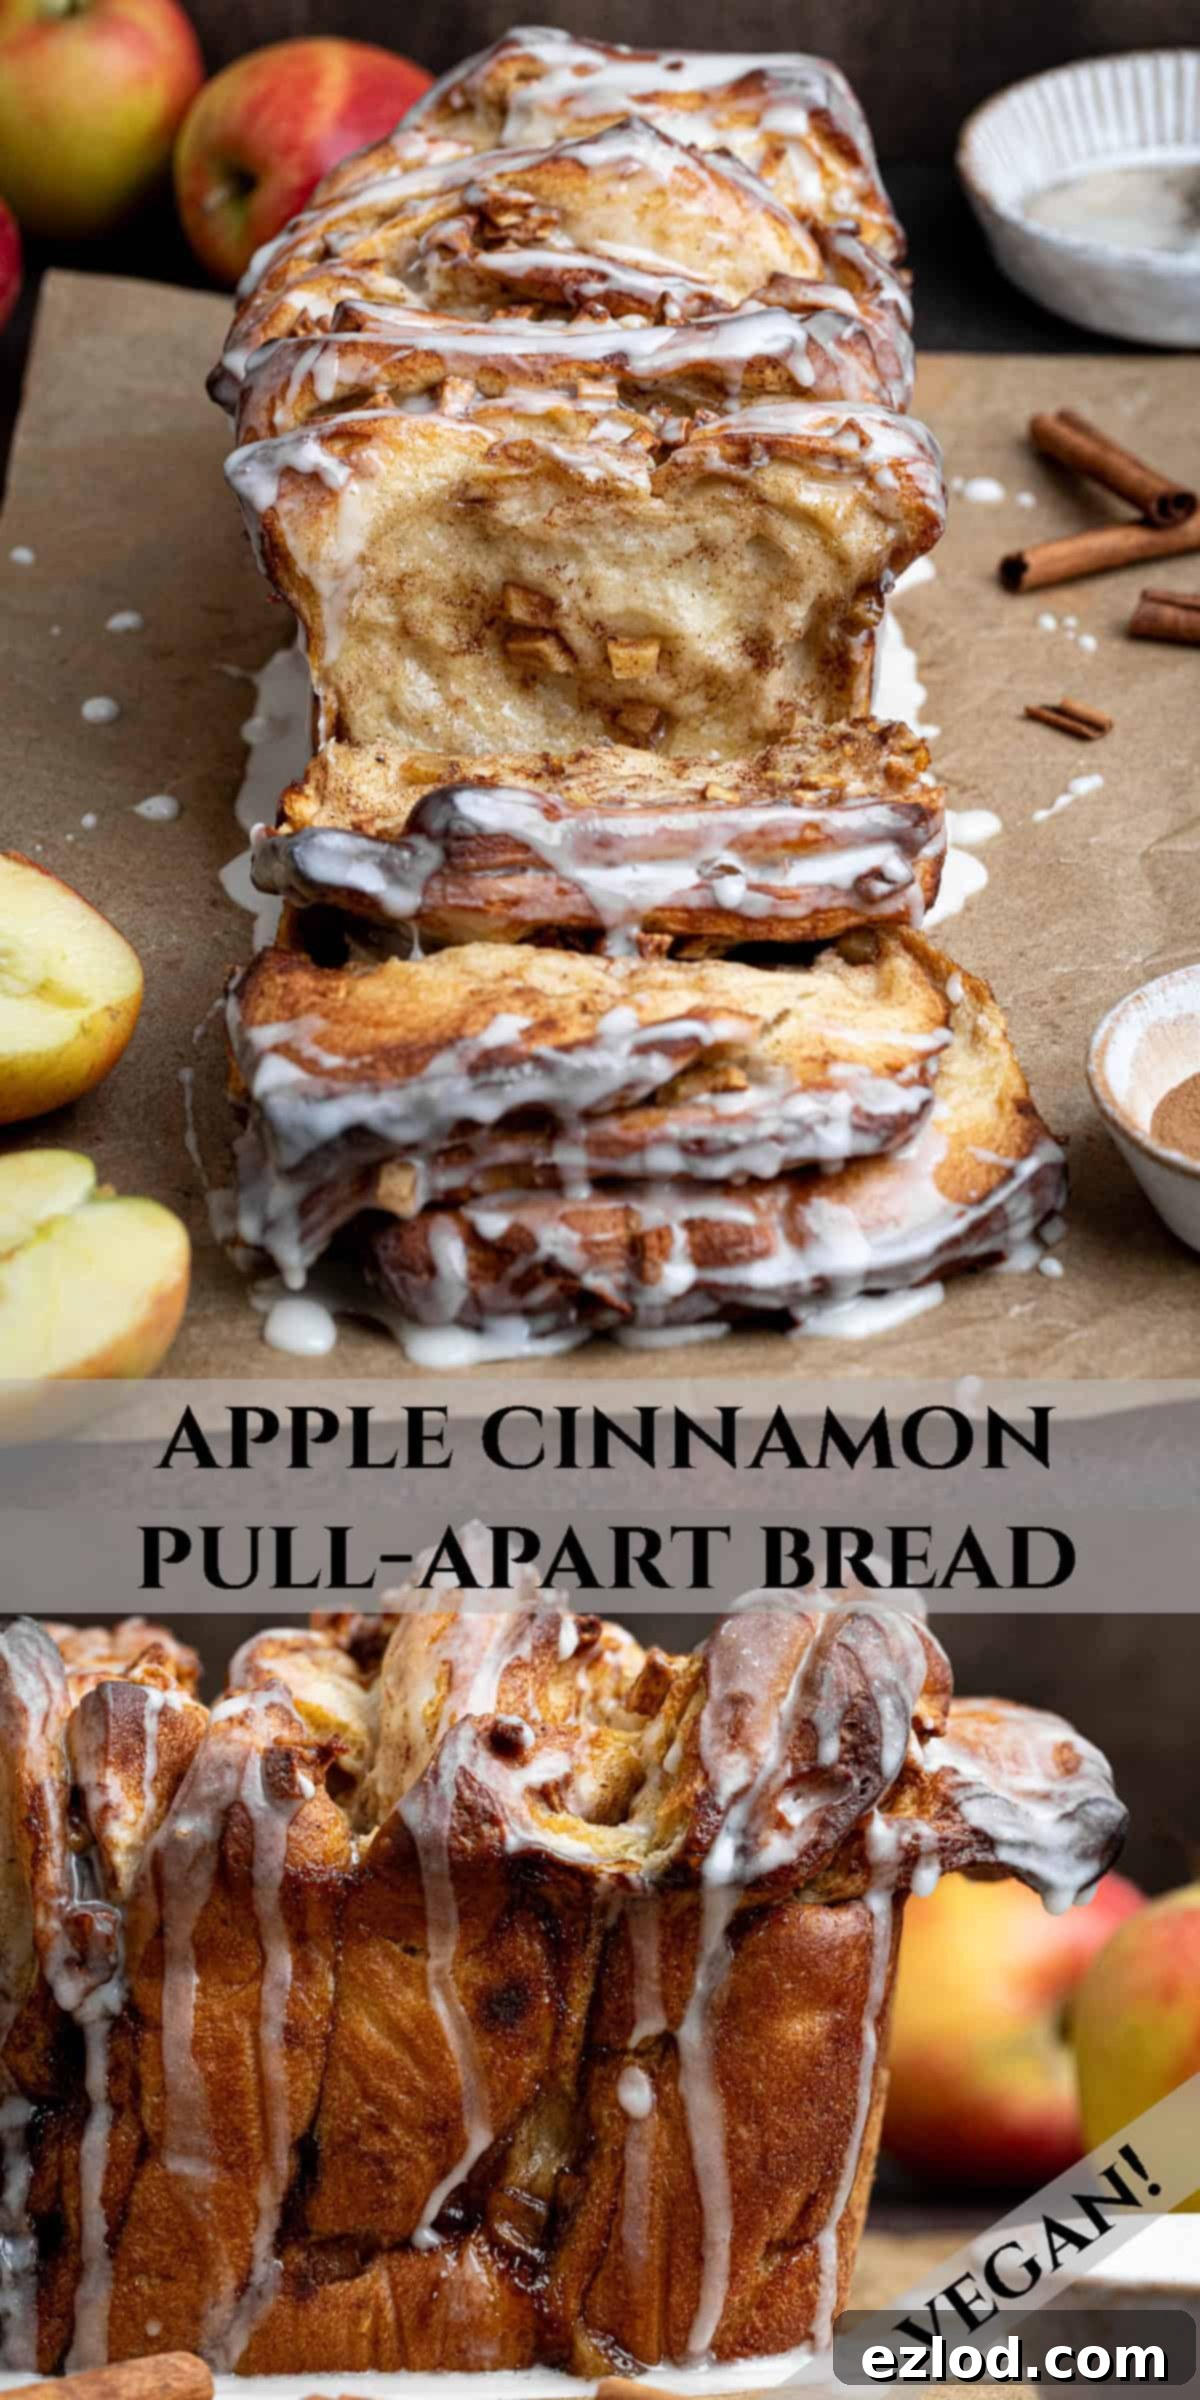
Vegan Apple Cinnamon Pull-Apart Bread: Your Ultimate Guide to a Sweet & Sticky Loaf
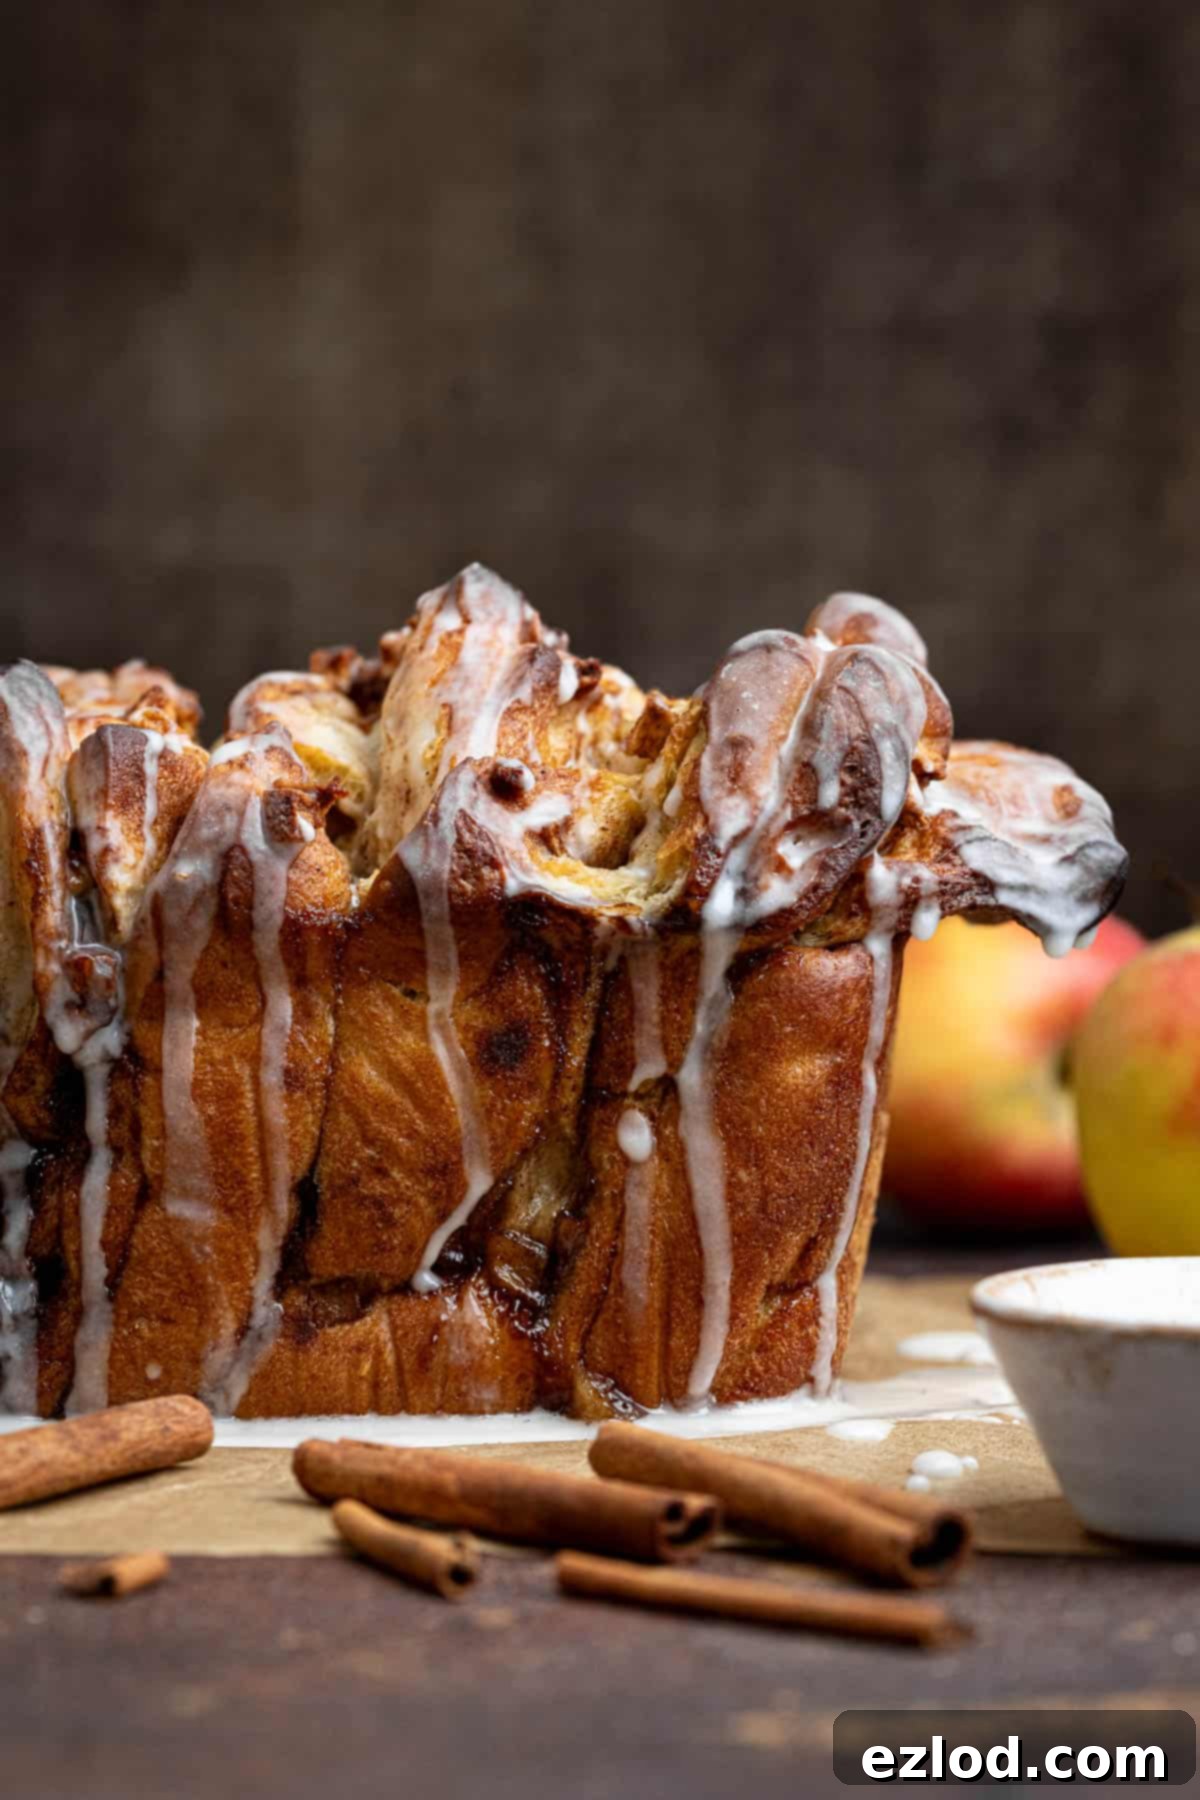
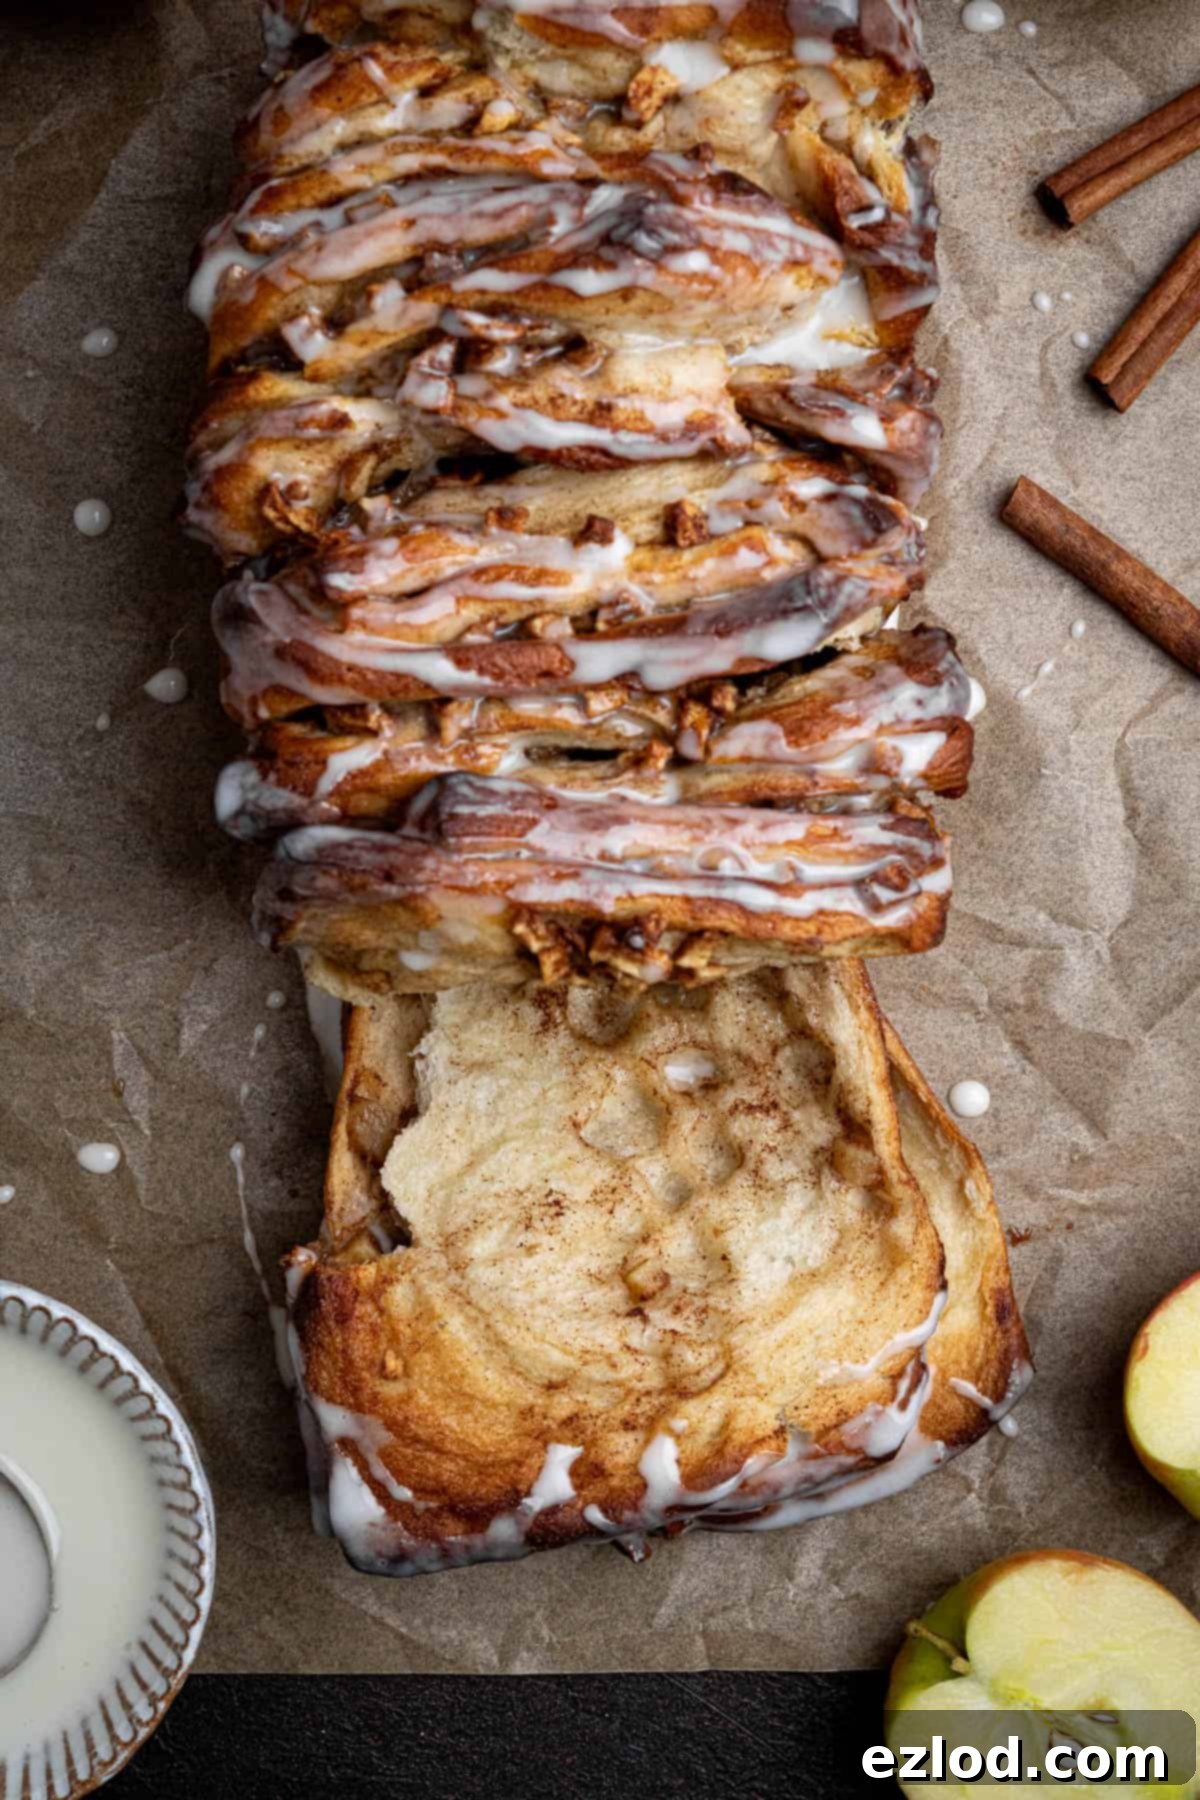
Prepare to fall in love with this incredible Apple Cinnamon Pull-Apart Bread – truly the ultimate share-and-tear treat! Imagine a soft, tender loaf, generously filled with warming spiced apples and buttery cinnamon sugar, then crowned with a luscious, sweet vanilla glaze. Each pull-apart segment offers a delightful burst of flavor, making it an instant crowd-pleaser.
This irresistible bread is perfect for any occasion. Serve it warm for a comforting breakfast, an impressive brunch centerpiece, or a delightful dessert. The best part? There’s absolutely no need for slicing! Just place it on the table and let everyone joyfully tear off their own piece, creating a fun and interactive dining experience that guests of all ages will adore.
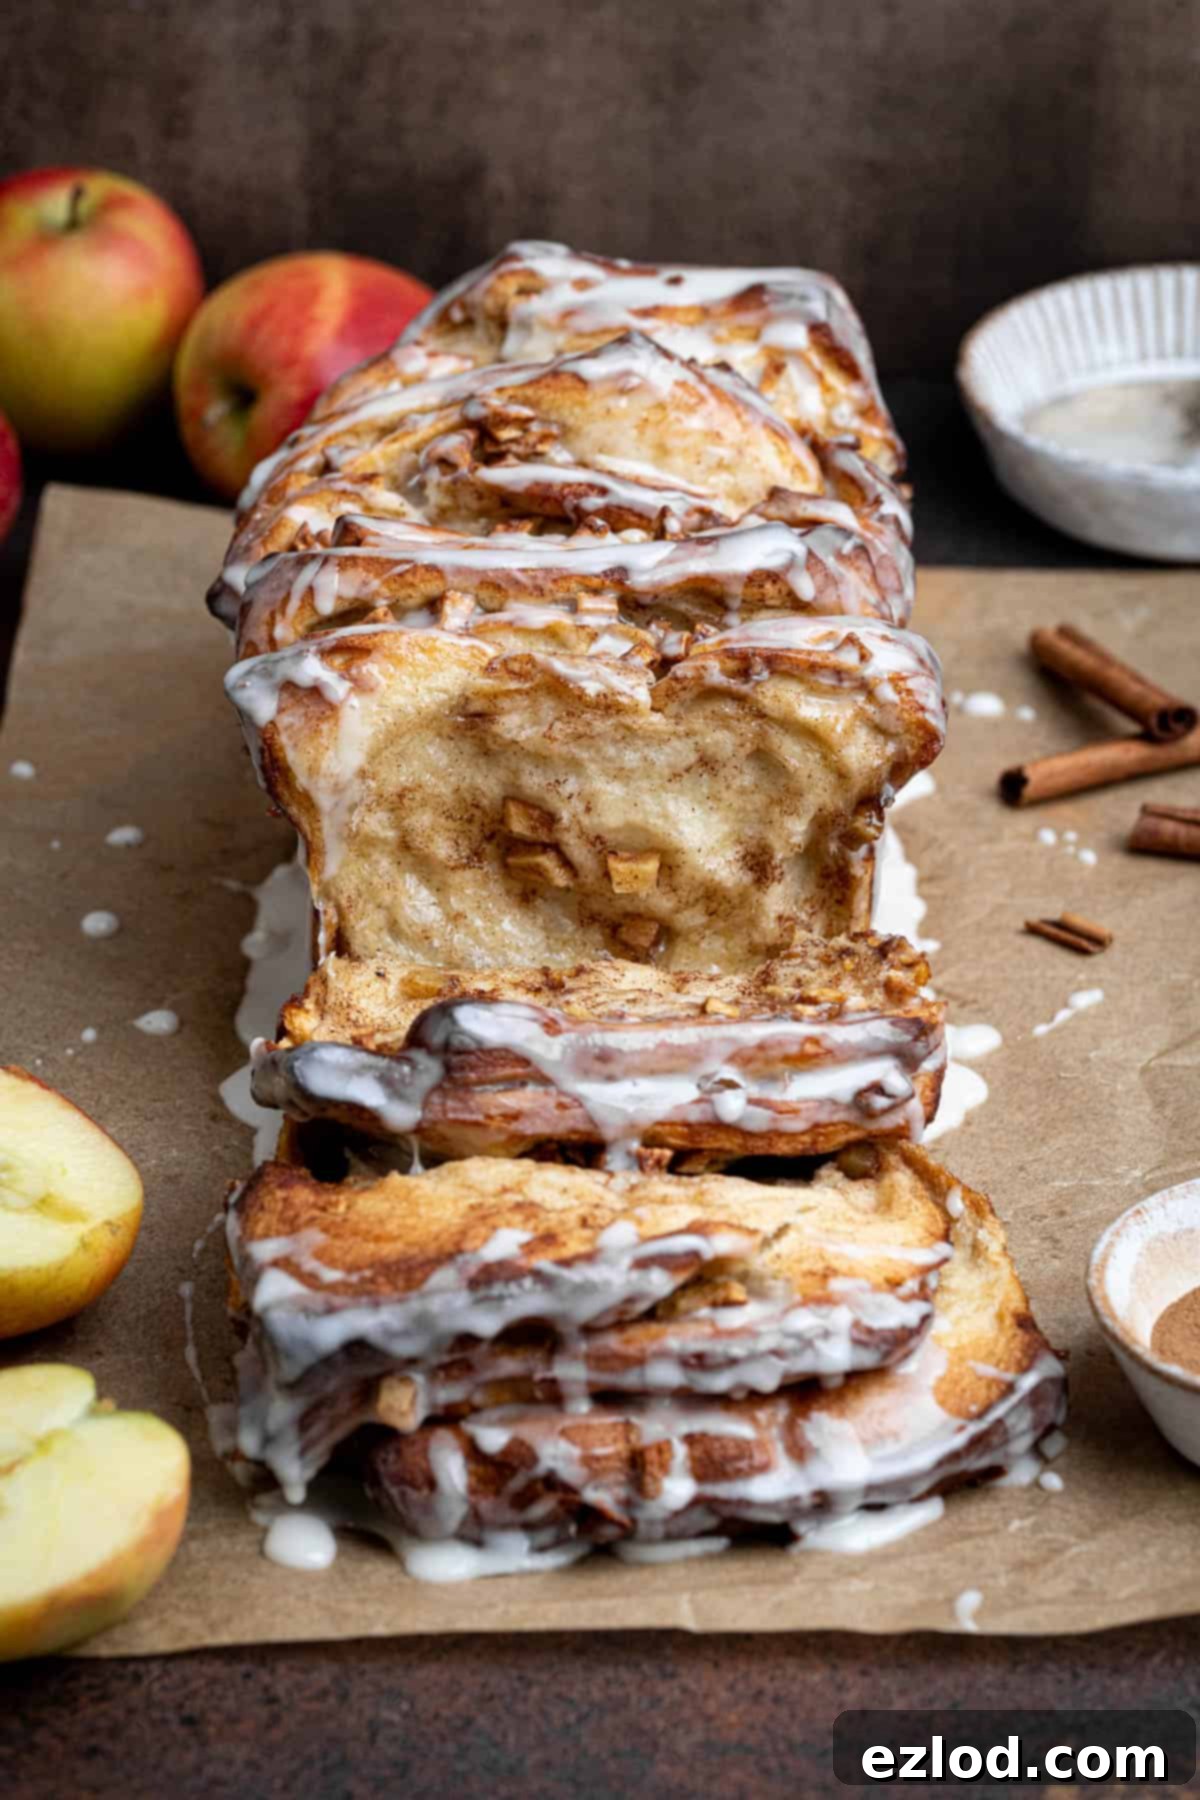
Crafting this delicious vegan sharing loaf involves a soft and enriched yeast dough, carefully prepared to achieve that perfect tender texture. The dough is then lavishly spread with a vibrant filling of diced apples, generously coated in a delectable mix of light brown sugar and aromatic cinnamon. The magic happens when the dough is cut into squares and skillfully stacked in a loaf tin, ensuring that every single layer is infused with the buttery, spiced apple goodness. This unique method guarantees that each bite is packed with consistent flavor, from the crisp outer crust to the moist, tender center.
Whether you’re an experienced baker or new to yeast dough, this recipe is designed to guide you through the process, resulting in a show-stopping bread that tastes as incredible as it looks. The blend of sweet apples and warm cinnamon truly embodies comfort, making this pull-apart bread a delightful addition to any meal or celebration.
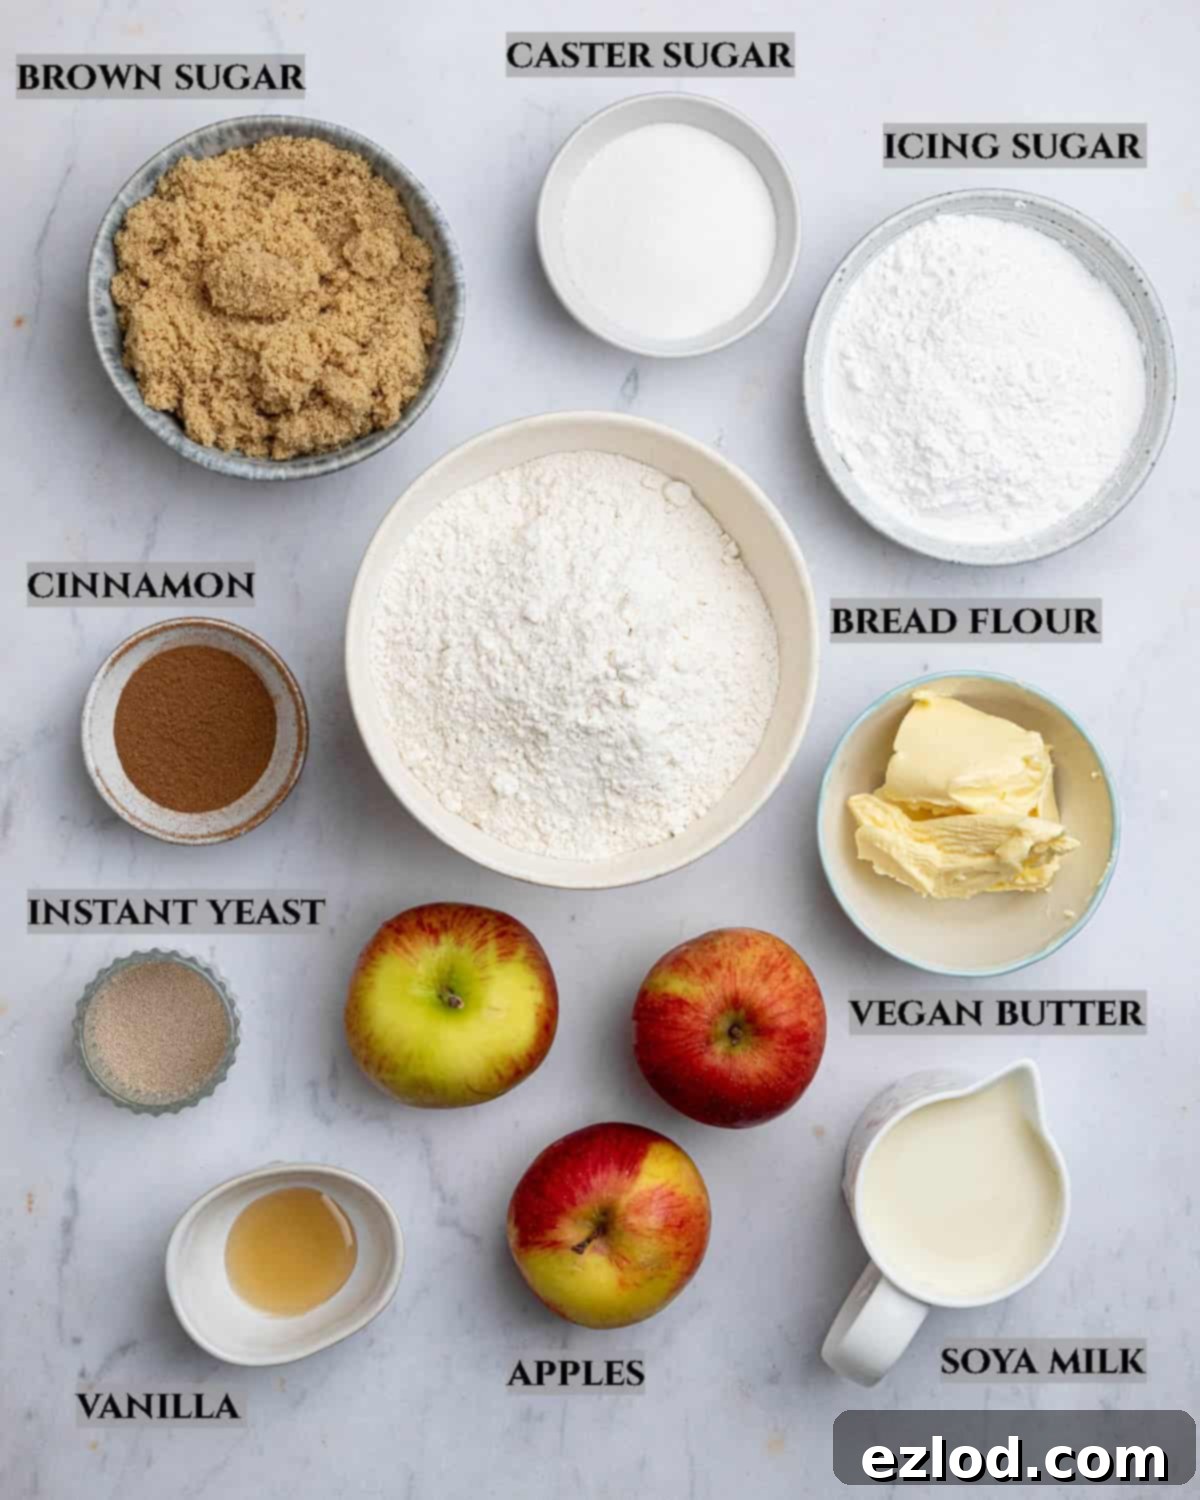
Key Ingredients for the Perfect Vegan Apple Cinnamon Pull-Apart Bread
Choosing the right ingredients is fundamental to achieving the best results for your homemade pull-apart bread. Here’s a detailed look at what you’ll need and why:
Bread flour: For that wonderfully soft, fluffy, and slightly chewy texture that defines excellent bread, white bread flour is highly recommended. Its higher protein content facilitates stronger gluten development, which is crucial for the dough’s elasticity and ability to trap gas, leading to a lighter crumb. While plain (all-purpose) flour can be used as a substitute, be aware that the final texture may not be quite as robust or airy. I strongly advise against using wholemeal flour for this recipe, as its higher fiber content can inhibit gluten formation, resulting in a much denser and heavier bread, which isn’t ideal for a light pull-apart loaf.
Instant/fast action yeast: My go-to choice for bread baking is always fast-action yeast. Its convenience is unmatched; it can be added directly to the flour without the need for prior activation in liquid, saving you time and an extra step. This type of yeast is very reliable and produces consistent rises. Ensure your yeast is fresh and not expired for optimal dough activity.
Salt: Salt is an absolutely non-negotiable ingredient in bread making. Far from just adding flavor, it plays a vital role in controlling yeast activity and strengthening the gluten structure. Omitting salt will lead to bland bread with an uncontrolled, often overly rapid rise, negatively impacting both texture and taste. Don’t skip it!
Non-dairy milk: When it comes to non-dairy milk for baking, soy milk is my preferred choice. It boasts the highest protein content among most plant-based milks, closely mimicking the properties of dairy milk, which contributes to a richer dough and a golden crust. However, any variety of unsweetened non-dairy milk will work effectively. Just opt for an unsweetened version to control the sweetness level of your bread. Ensure it’s lukewarm when added to the dough to properly activate the yeast without shocking it.
Sugar: Caster sugar is used in the dough because its fine granules dissolve quickly and evenly, ensuring a smooth texture without any grainy bits. If you only have granulated sugar, it’s a suitable swap. For the apple filling, light brown sugar is superior as it contributes a deeper, caramel-like flavor that beautifully complements the apples and cinnamon. Dark brown sugar can also be used for an even more intense molasses note. Finally, icing (powdered) sugar is essential for creating the smooth, pourable vanilla glaze that finishes the bread perfectly.
Vegan butter: The quality of your vegan butter significantly impacts the dough’s workability and the bread’s richness. A block-style vegan butter, such as Flora plant butter or Naturli vegan block, is strongly recommended. These types of butter have a firmer consistency, similar to dairy butter, which is crucial for achieving the desired dough structure and ease of handling during kneading and rolling. While a spreadable vegan butter can be used, it might result in a softer, stickier dough that is more challenging to work with.
Apples: The best apples for this recipe are sharper eating varieties that hold their shape well when baked. Braeburn, Cox, or Granny Smith apples are excellent choices as their tartness provides a lovely contrast to the sweet filling and glaze, preventing the bread from being overly saccharine. Dice them uniformly for even cooking and distribution throughout the layers.
Cinnamon: Ground cinnamon is the star spice here, providing that quintessential warm and comforting flavor. For a slightly different twist, you could experiment with pumpkin pie spice or apple pie spice blends, which typically contain cinnamon along with other complementary spices like nutmeg, ginger, and cloves.
How To Make Vegan Apple Cinnamon Pull-Apart Bread: A Step-by-Step Guide
(Full measurements and detailed instructions can be found in the recipe card at the bottom of the page)
Creating this delightful pull-apart bread is a rewarding experience. Follow these steps carefully for a perfect loaf:
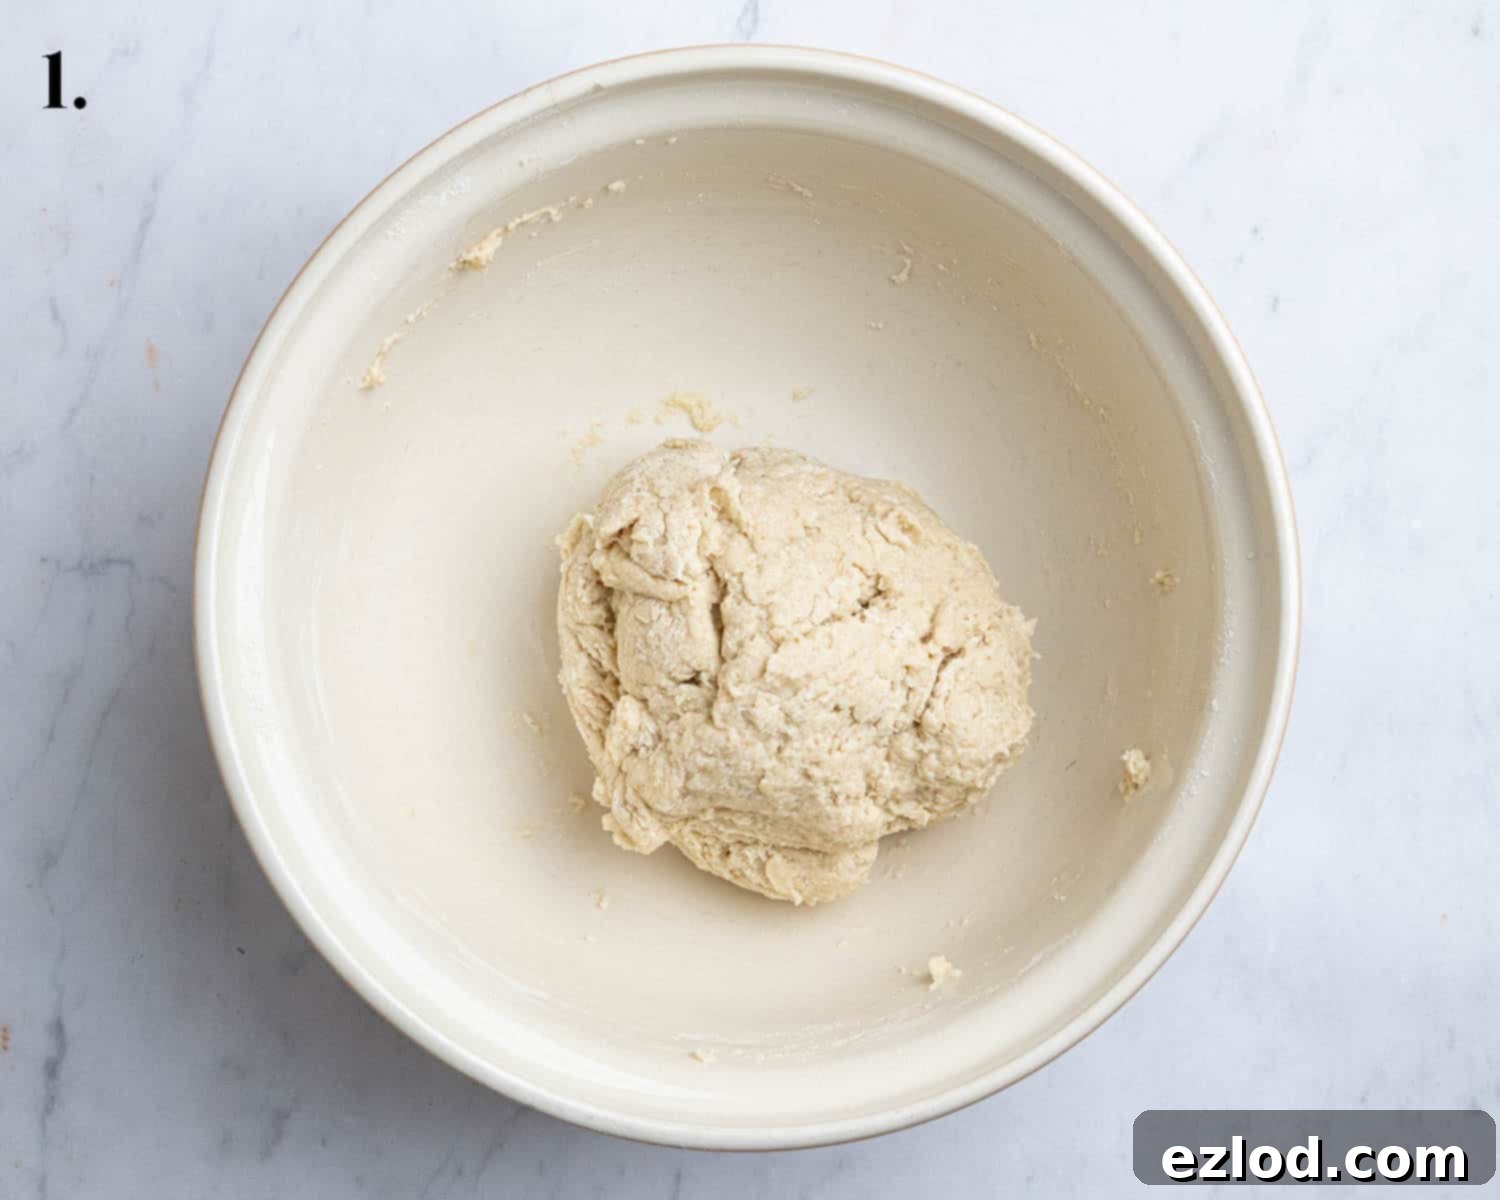
Step 1: Preparing the Dough Base. In a large mixing bowl, or the bowl of your stand mixer fitted with a dough hook, combine the bread flour, instant yeast, salt, and caster sugar. Make sure to keep the yeast separated from the salt initially, as salt can inhibit yeast activity if directly in contact. Give it a brief stir to ensure everything is well-distributed.
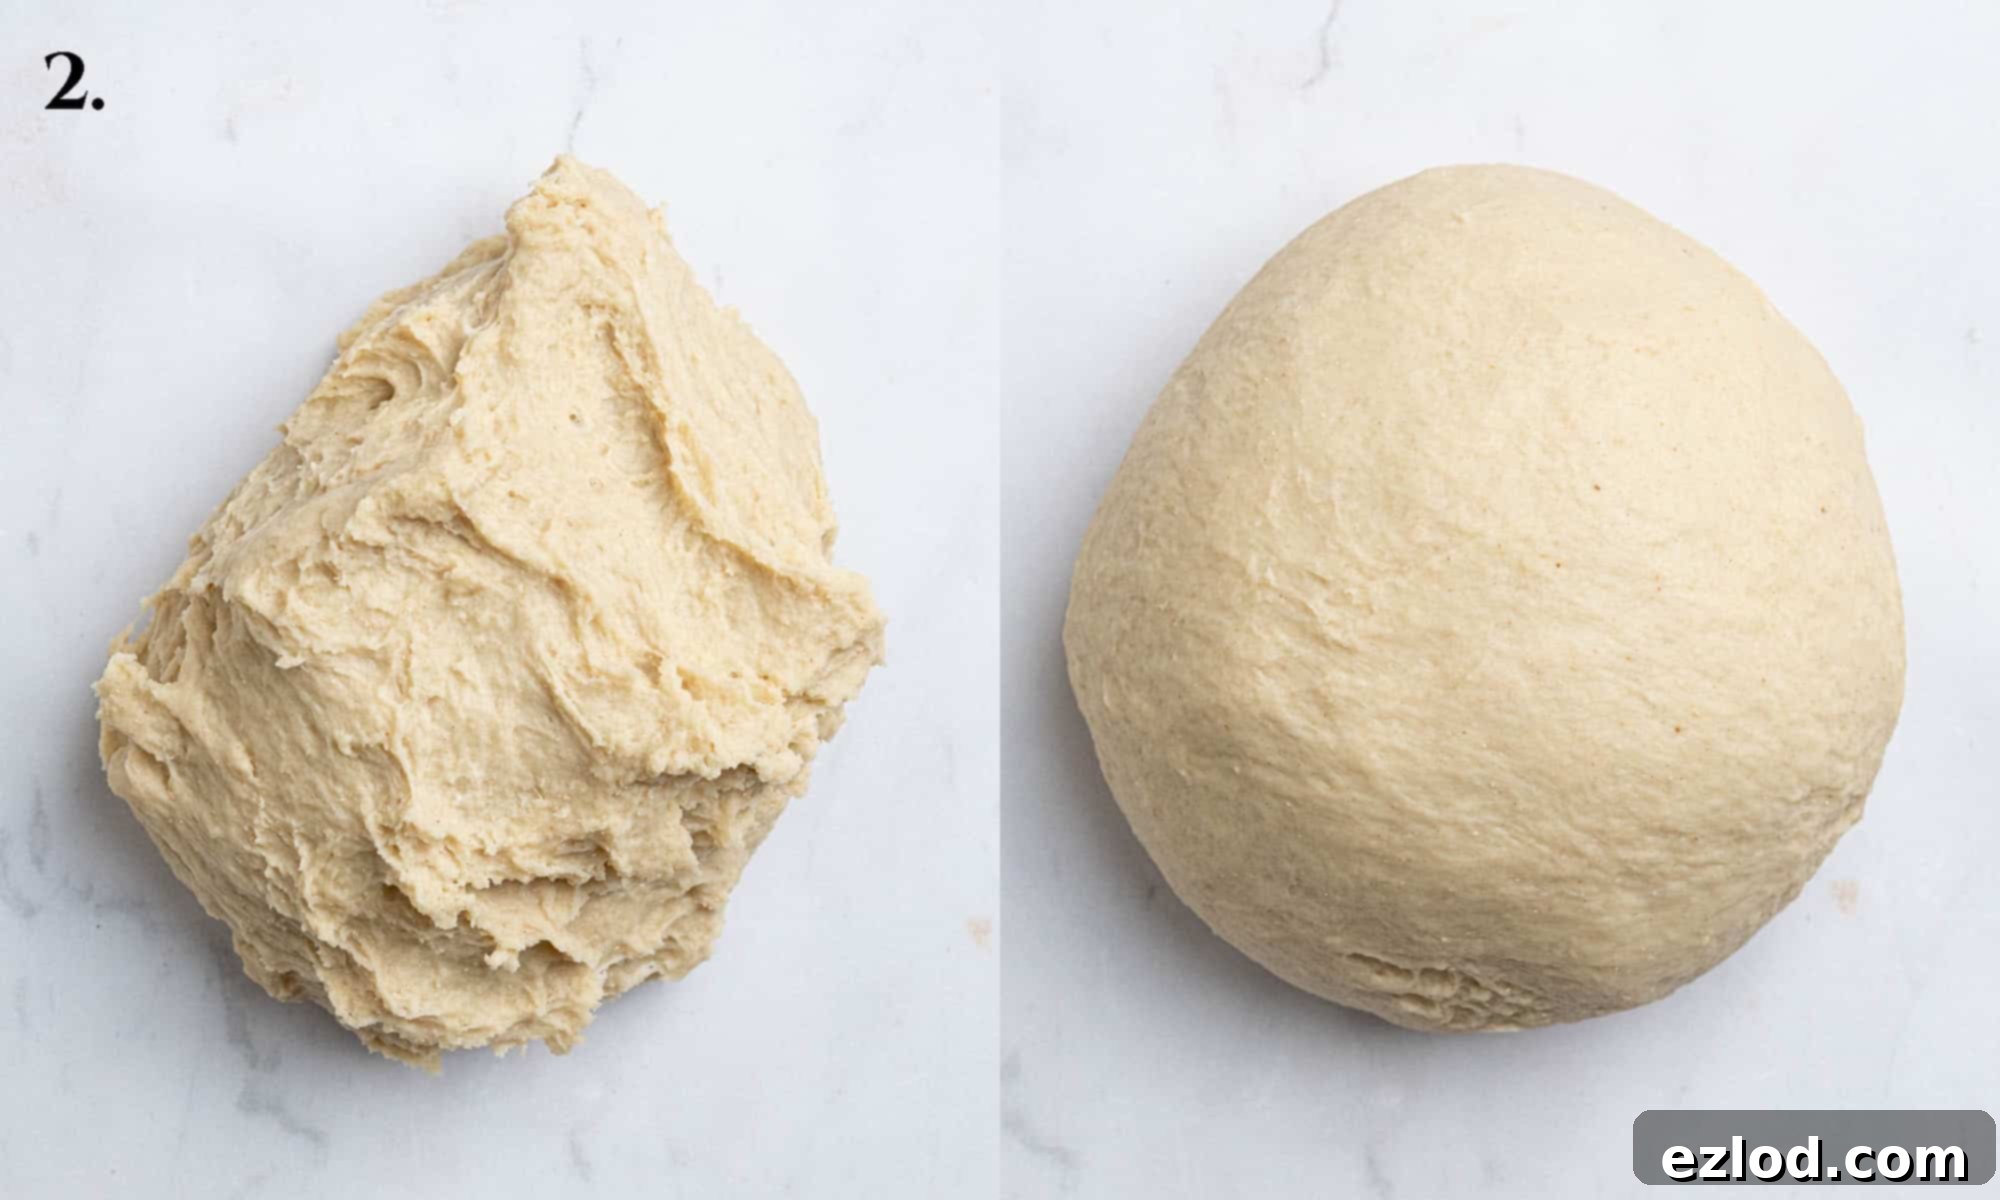
Step 2: Forming and Kneading the Dough. Pour in the lukewarm non-dairy milk and mix until a shaggy dough begins to form. Now, the kneading process begins. Whether using a stand mixer or kneading by hand on an unfloured surface, knead for 5-10 minutes. The dough will feel quite sticky at first – this is completely normal! Resist the urge to add more flour, as this can make your bread dry. Continue kneading; the stickiness will gradually reduce as the gluten develops, transforming into a smooth, elastic, and more manageable dough. A bench scraper is incredibly helpful here to scrape the dough off your work surface if kneading by hand.
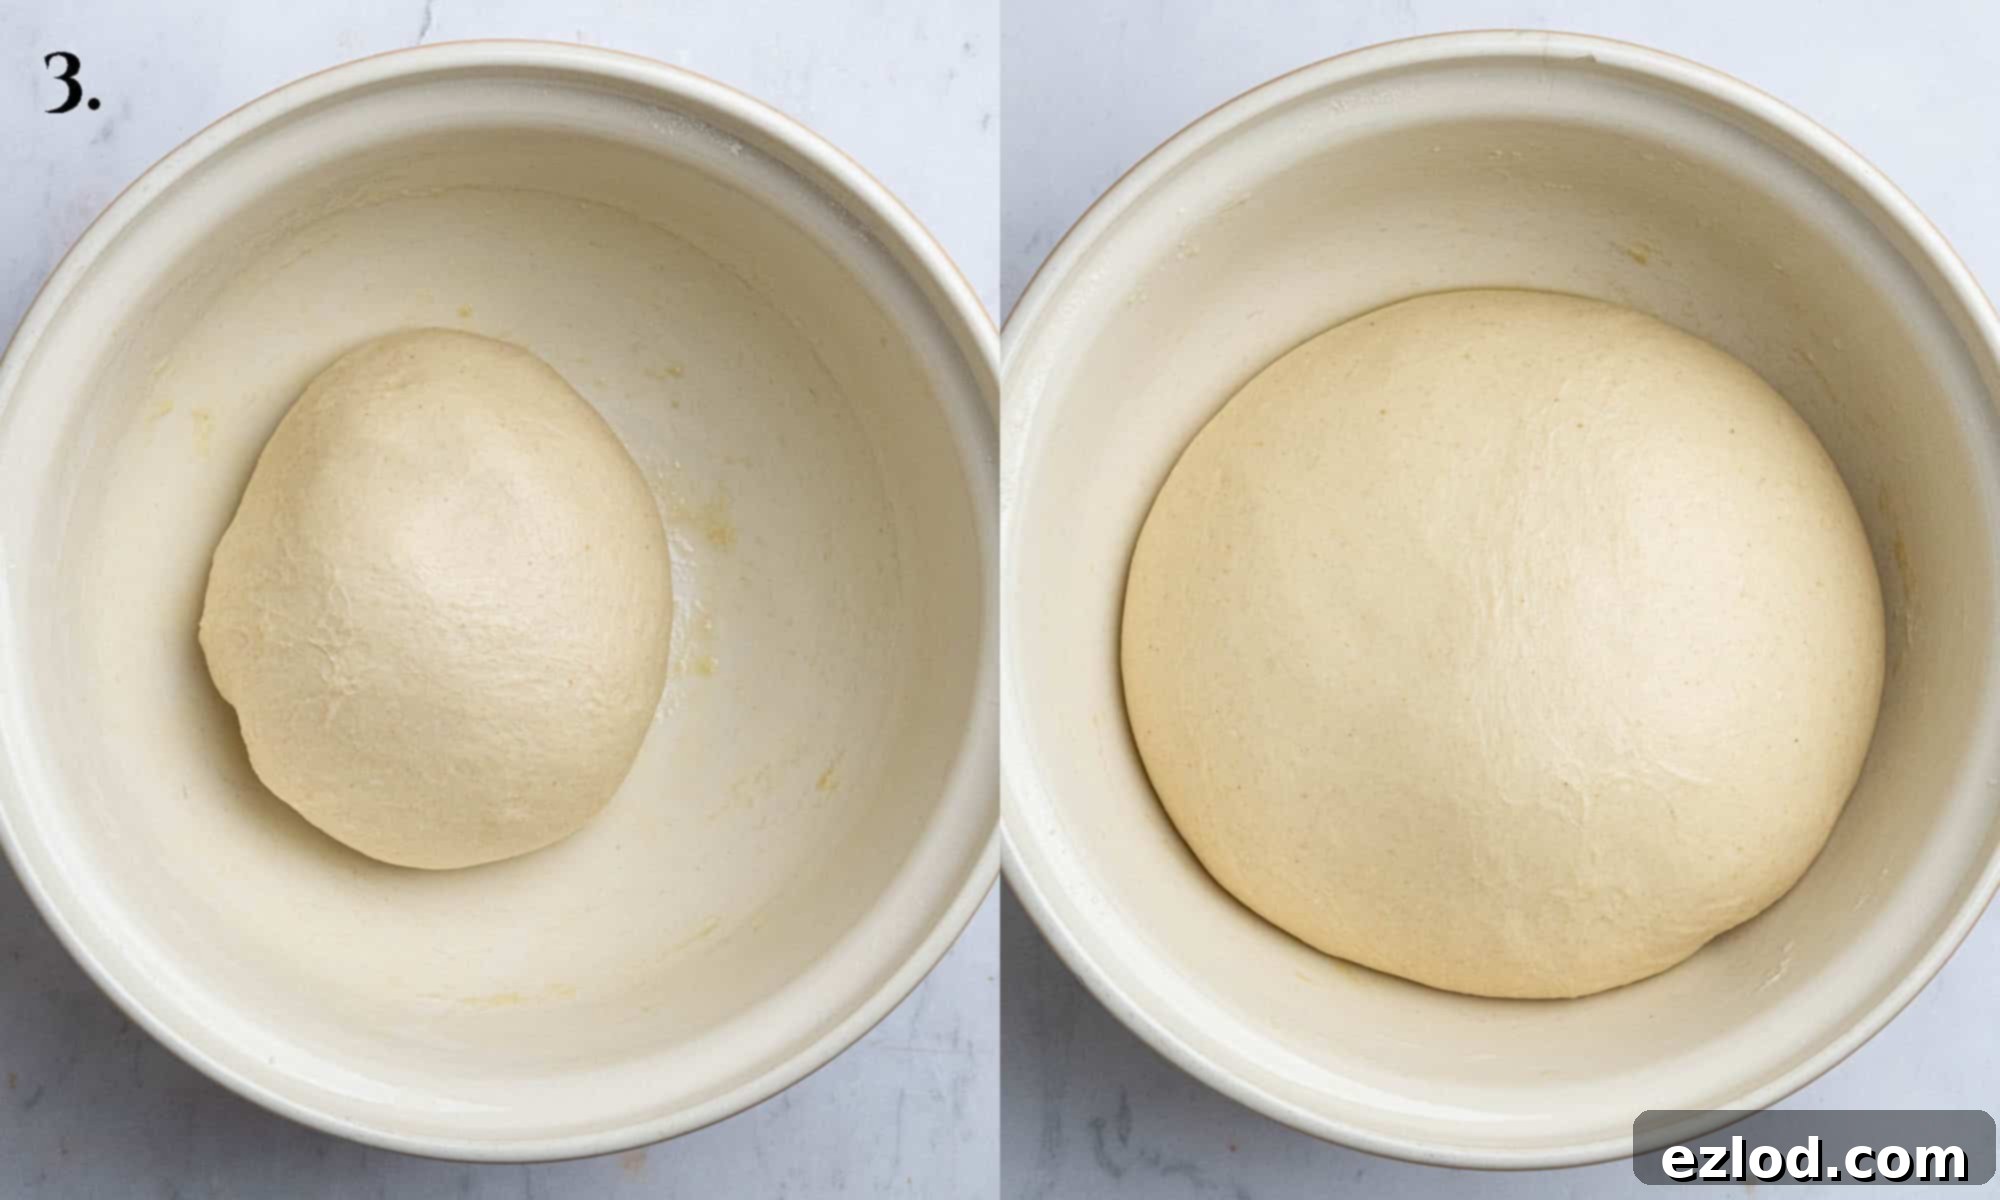
Step 3: Incorporating Butter and First Rise. Once your dough is smooth and elastic, it’s time to add the softened vegan block butter. Continue kneading until the butter is completely incorporated into the dough. This may seem messy and greasy initially, but persist, and the butter will blend in beautifully, leaving you with a smooth, silky, and slightly sticky dough. Transfer the dough to a lightly oiled bowl, cover it with a clean cloth or plastic wrap, and allow it to rise in a warm spot until it has doubled in size. This typically takes 1-2 hours, depending on your room temperature.
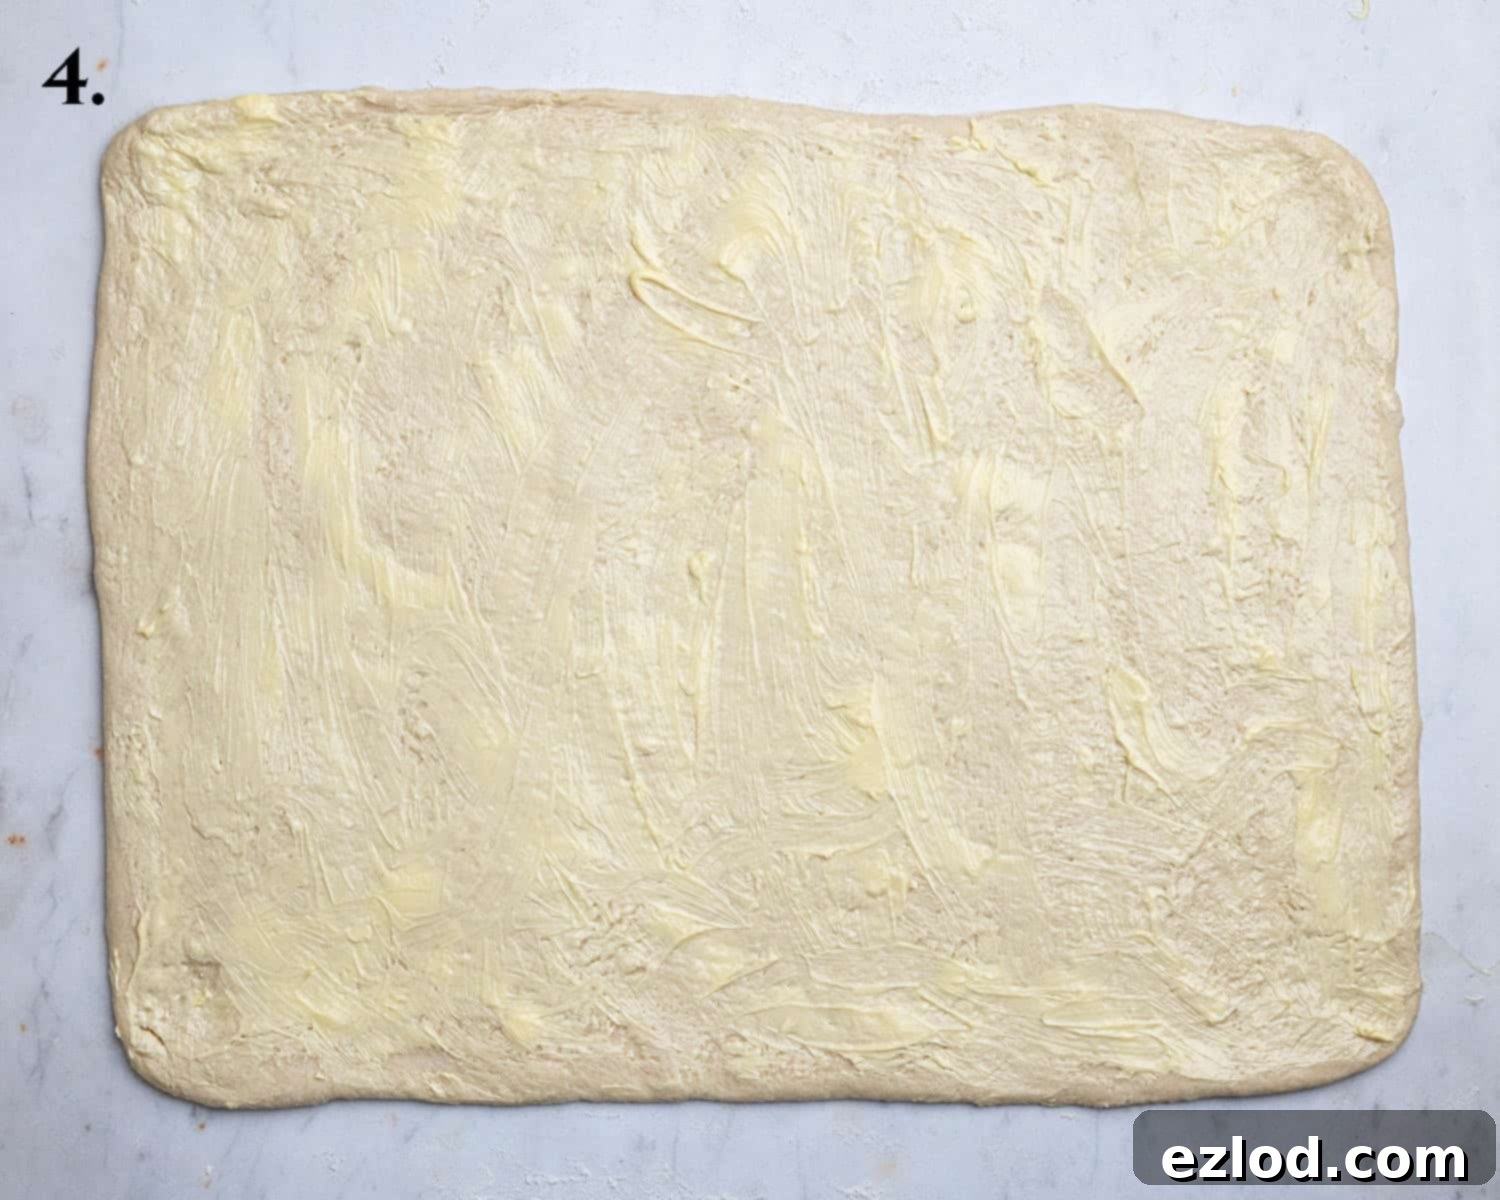
Step 4: Rolling and Buttering the Dough. Once the dough has risen, gently punch it down to release the air. Lightly flour your work surface and roll the dough out into a large rectangle, approximately 30 x 45 cm (12 x 18 inches). Take your softened vegan butter and spread it evenly over the entire surface of the rolled-out dough. This butter layer will create richness and help the filling adhere.
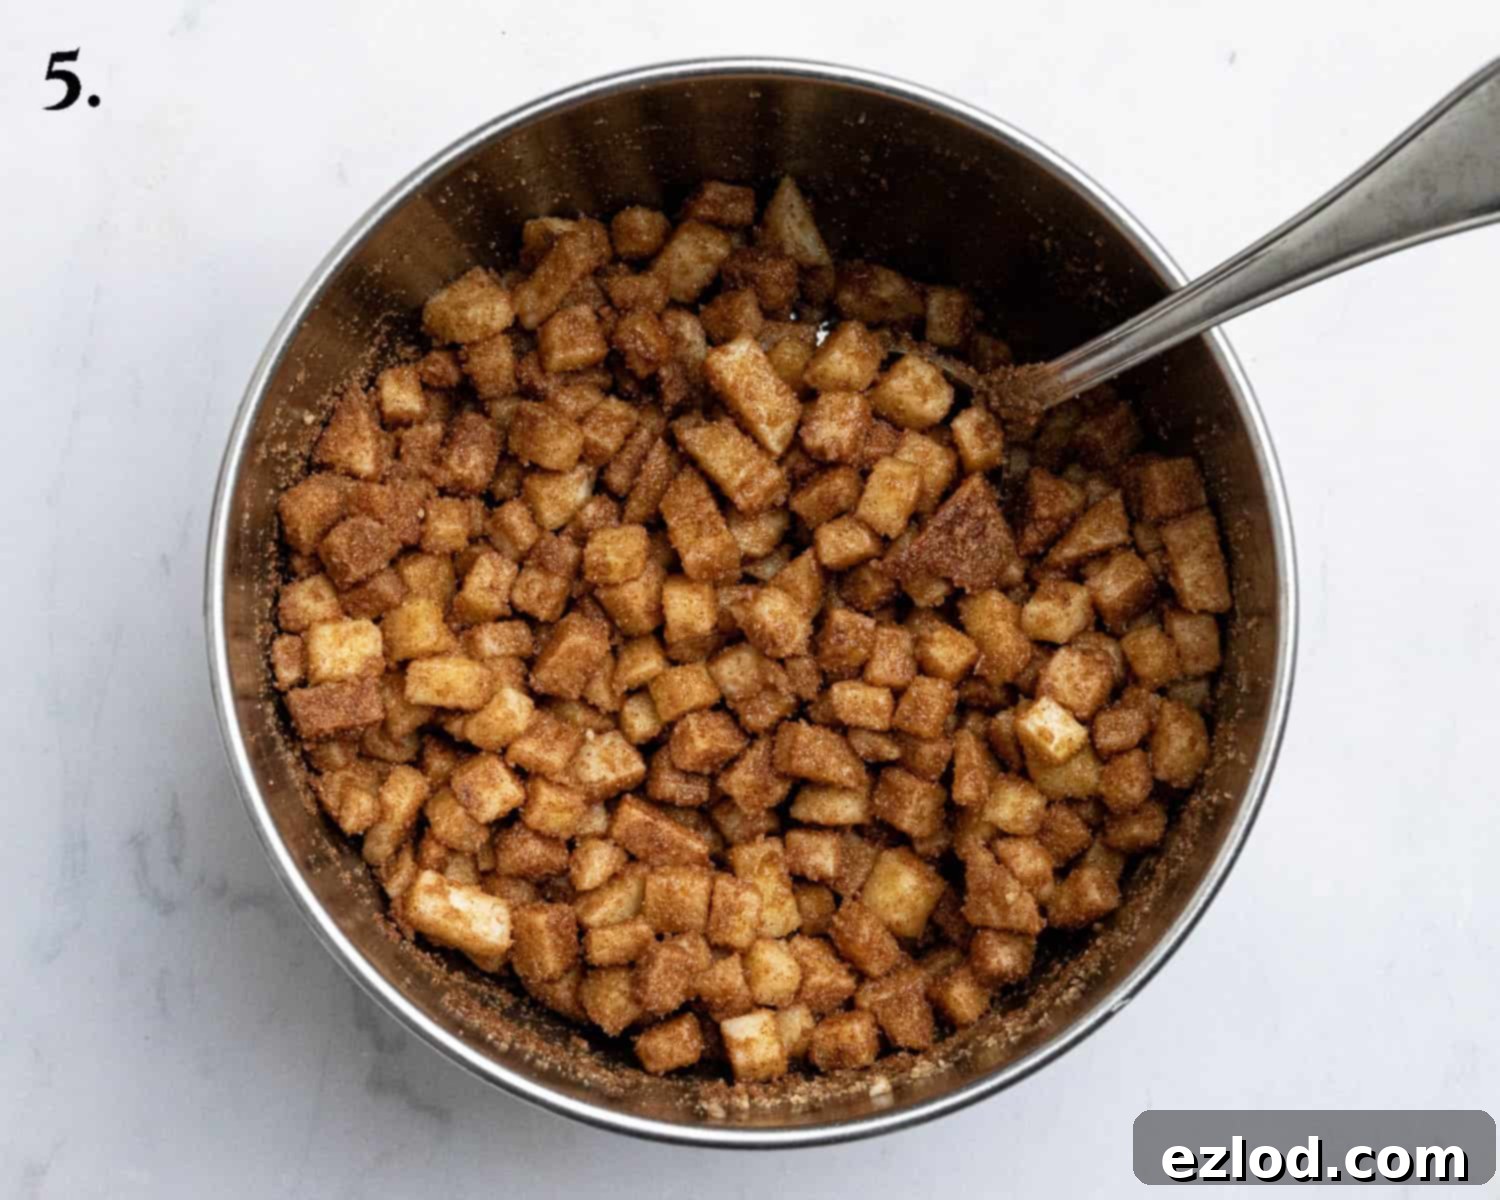
Step 5: Preparing the Apple Filling. While the dough is resting, prepare your delicious apple filling. Peel, core, and dice your chosen apples into small, uniform pieces. In a separate bowl, mix these diced apples with light brown sugar, ground cinnamon, and the optional cornflour. The cornflour helps to thicken any juices released by the apples during baking, preventing a soggy bread. Ensure you don’t prepare this step too far in advance, as apples can quickly release moisture.
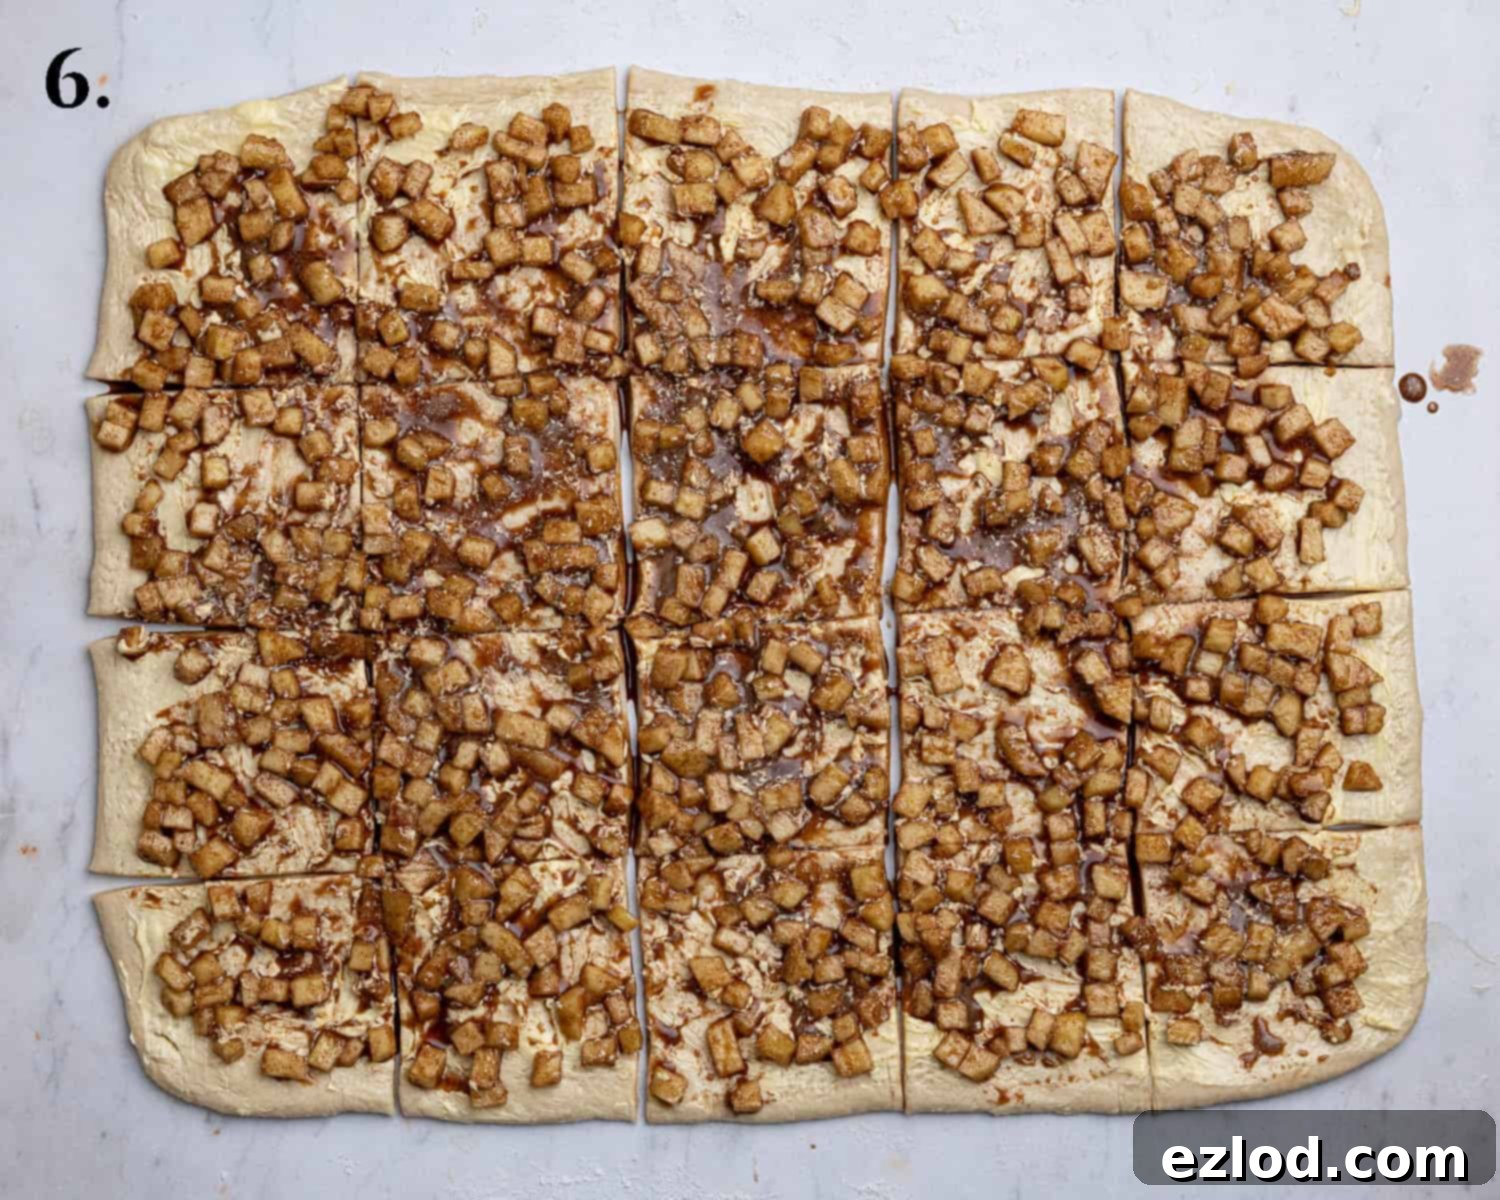
Step 6: Spreading the Filling and Cutting the Dough. Evenly spread the entire apple filling, including any juices, over the buttered dough rectangle. Use a pizza wheel or a sharp knife to carefully cut the dough into 20 equal squares. Start by cutting it width-wise into 5 strips, then lengthwise into 4 strips. Precision here ensures uniform pull-apart pieces.
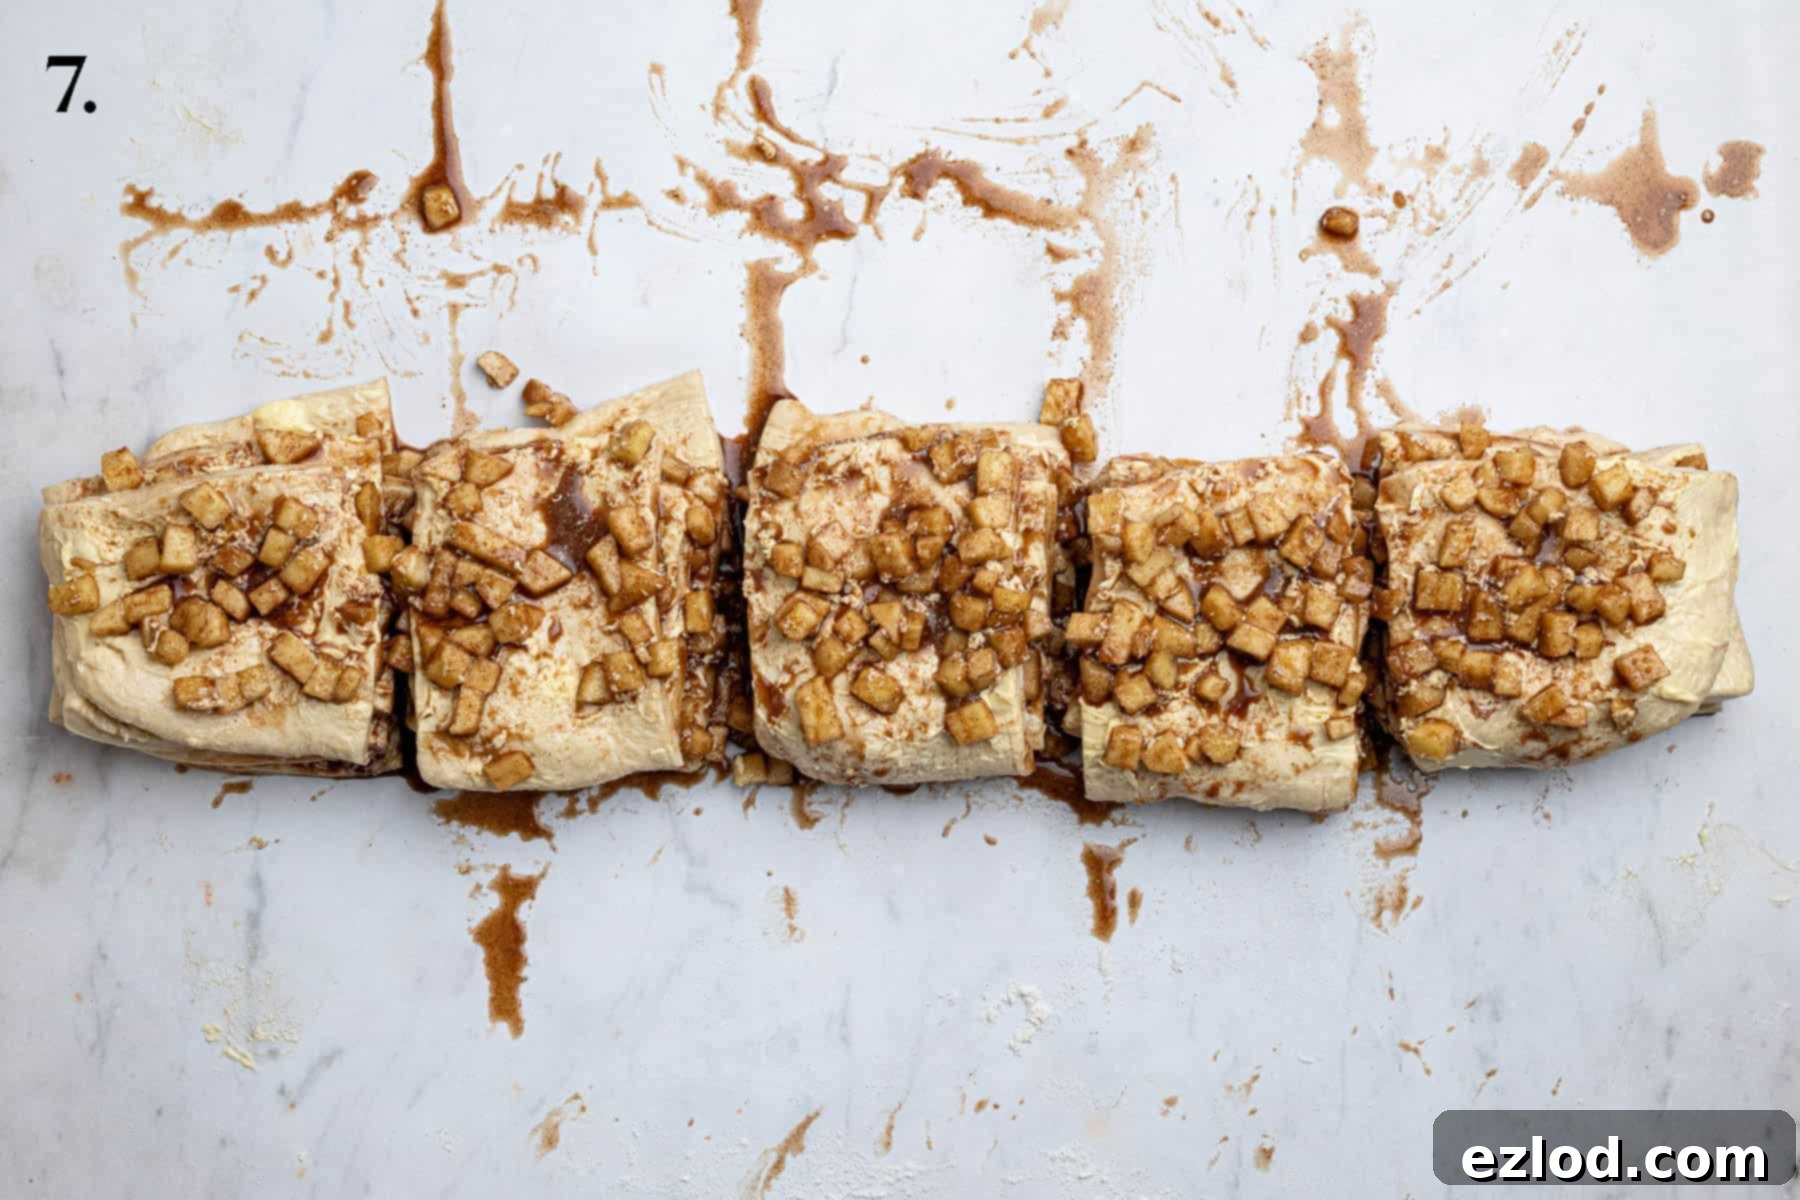
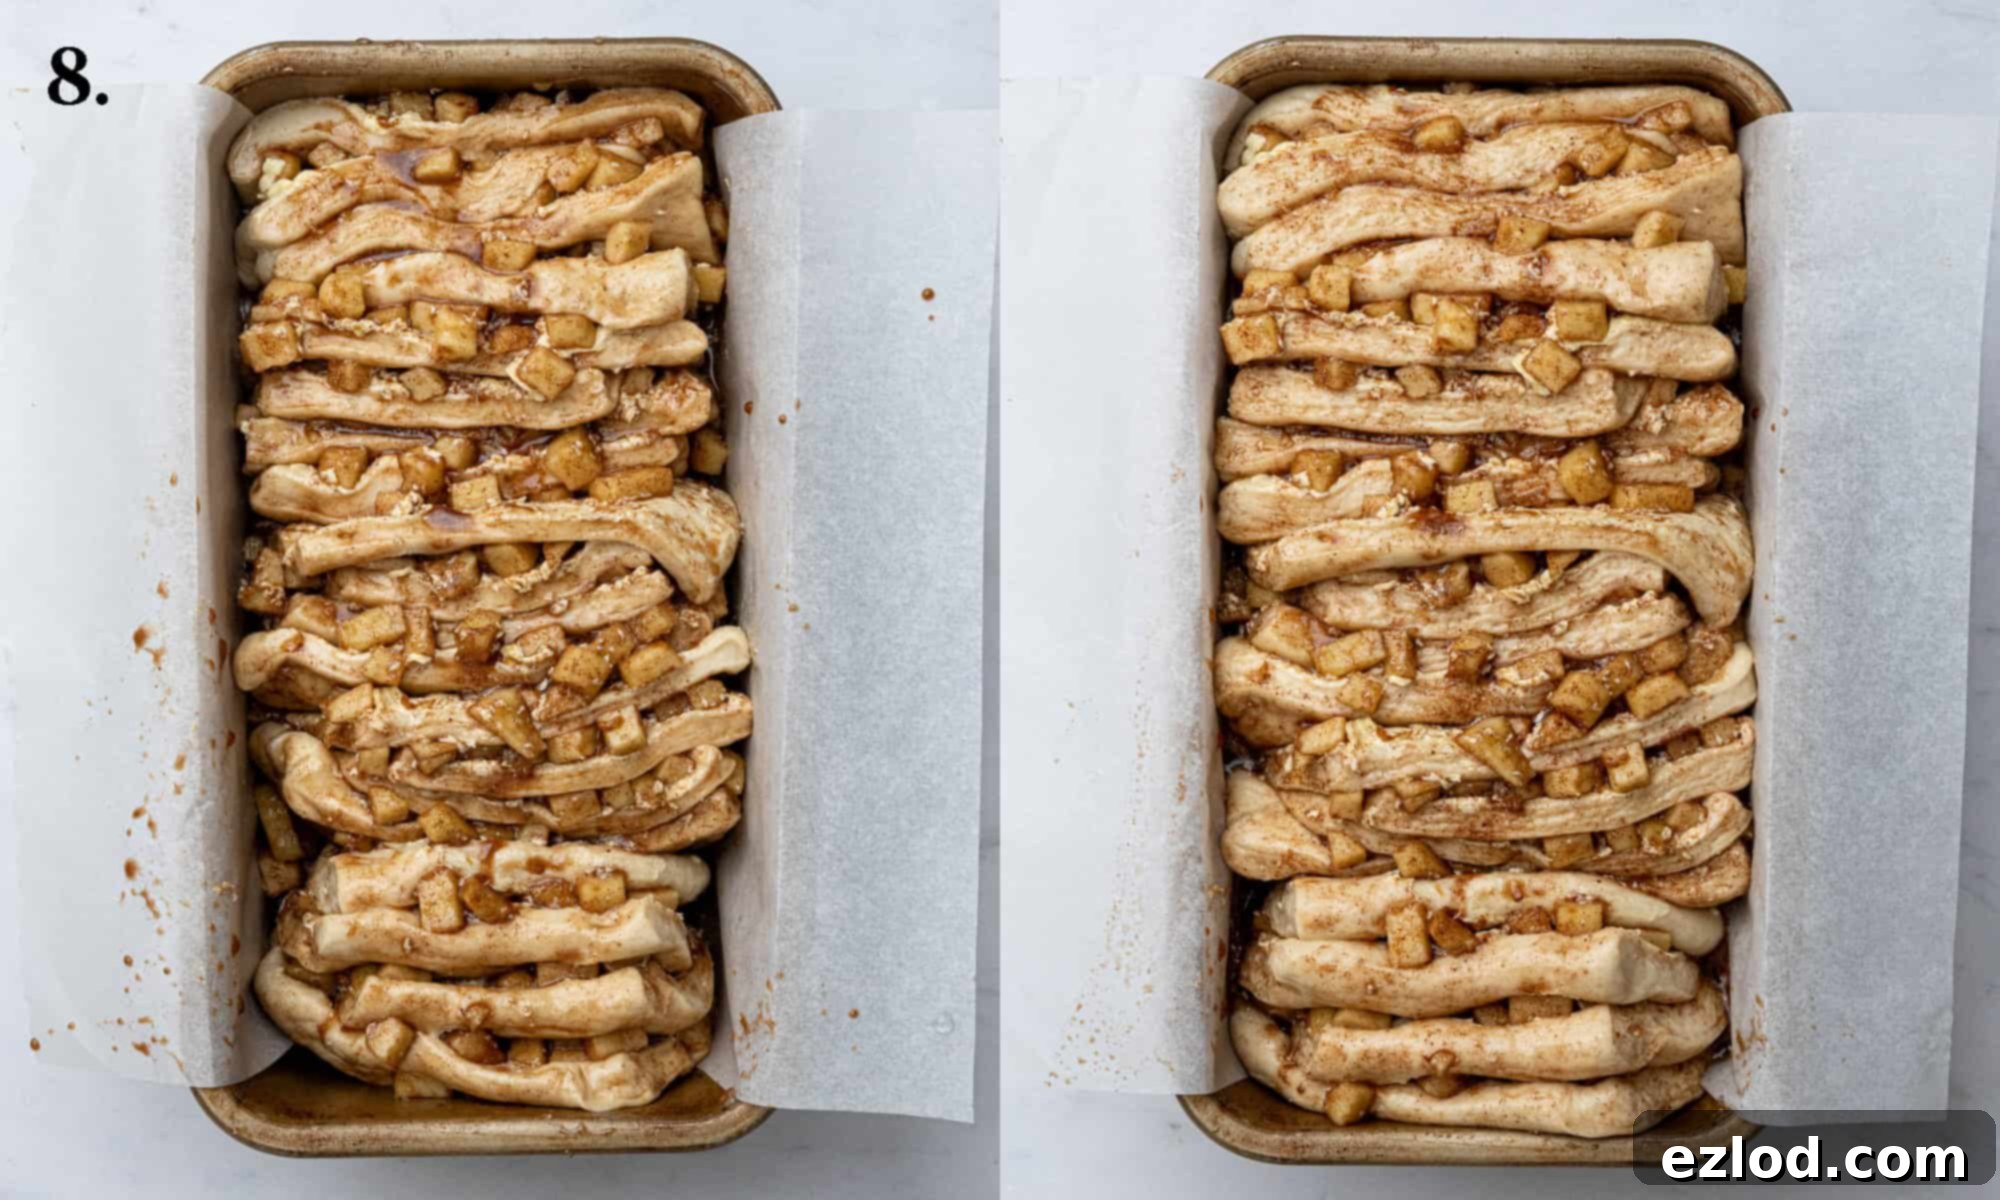
Step 7: Stacking the Squares. Carefully stack the cut dough squares into 5 piles, with each pile consisting of 4 squares. This method is key to creating the distinctive layered, pull-apart texture of the bread. Handle them gently to keep the filling intact.
Step 8: Arranging in the Loaf Tin and Second Rise. Line a 2lb loaf tin with parchment paper, leaving an overhang to help with removal. Carefully place the stacked dough piles upright into the prepared tin, gently squashing them together if necessary to fit. If any apple filling has fallen off, scatter it over the top of the dough in the tin. Cover the tin loosely with plastic wrap or a clean kitchen towel and let it rise in a warm place for approximately 45-60 minutes, or until the dough looks visibly puffy and has nearly doubled in volume.
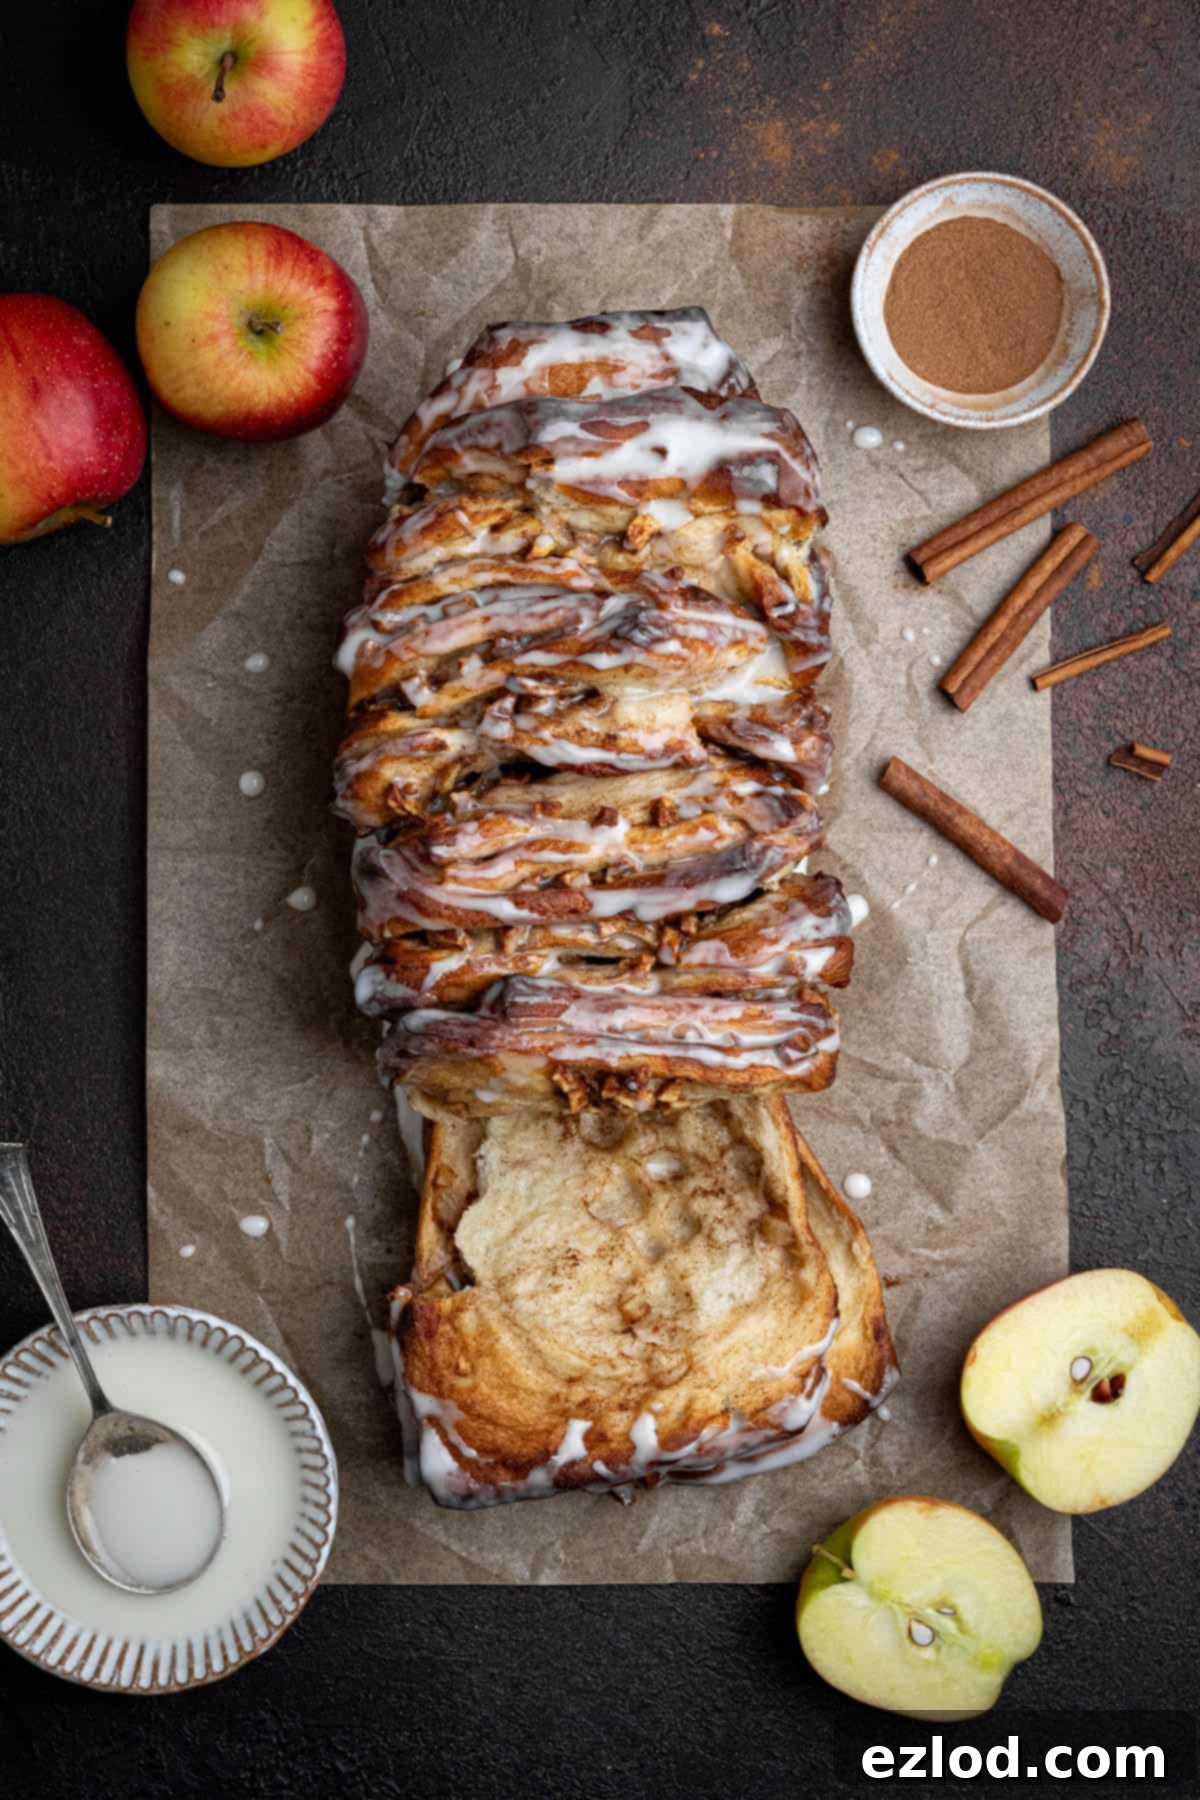
Step 9: Baking to Golden Perfection. While the bread is undergoing its second rise, preheat your oven to 190°C/170℃ fan/375°F/gas mark 5. Bake the bread for about 50 minutes. To ensure it’s perfectly cooked through, use a probe thermometer; the internal temperature should register at least 90°C (194°F). Alternatively, insert a skewer into the center – it should come out clean with no raw dough. If the top of the bread starts to brown too quickly, loosely tent it with aluminum foil to prevent over-darkening. Once baked, let it cool in the tin on a wire rack for 15 minutes before transferring it to a serving dish.
Top Tips for Vegan Baking Success
Achieving bakery-quality vegan pull-apart bread is easier with a few expert tips:
- Embrace Metric Measurements: For all my baking recipes, I wholeheartedly recommend using metric measurements with a digital scale rather than cup conversions. Cups are notoriously inaccurate and inconsistent, leading to varied results. A digital scale ensures precise ingredient ratios, giving you far better and more consistent outcomes, not to mention a cleaner kitchen with less mess!
- Check Your Yeast: The vitality of your yeast is paramount. Always double-check the expiration date on your yeast packet. Out-of-date or inactive yeast is the primary culprit behind bread that fails to rise. If you’re unsure, you can proof it by dissolving a small amount in lukewarm liquid with a pinch of sugar; if it bubbles, it’s active!
- Resist the Urge to Over-Flour: This dough is intentionally designed to be soft and slightly sticky. Adding too much flour is a common mistake that can lead to dry, dense bread instead of the light, fluffy texture you’re aiming for. Only add more flour if the dough is excessively wet and unworkable, not just sticky. A little stickiness indicates a well-hydrated dough that will bake up beautifully.
- Overnight Rise Option: For enhanced flavor and convenience, consider allowing the dough to undergo its first rise overnight in the refrigerator. This slow, cold fermentation develops deeper flavors in the bread and breaks up the workload, making baking day less hectic. Just remember to account for a longer second rise if you choose this method.
- Monitor Rising Times: Dough rising times are highly variable and depend significantly on the ambient temperature. In a warm kitchen, your dough will rise much faster than in a cool one. If you opted for an overnight cold rise, the subsequent second rise will naturally take longer to reach the desired puffiness compared to a dough that had its first rise at room temperature. Always use visual cues (doubled in size, puffy) rather than strict timings.
- The Thermometer Test: The most reliable way to confirm your bread is thoroughly cooked in the middle is to use a probe thermometer. Oven temperatures vary widely, making a one-size-fits-all baking time challenging. The bread should register an internal temperature of 90°C / 195°F when done. This ensures no raw spots and a perfectly baked loaf.
- Parchment Paper is Your Friend: Always line your loaf tin with parchment paper, allowing an overhang on the sides. This makes it incredibly easy to lift the baked bread out of the tin without any sticking, preserving its beautiful shape.
- Cooling is Crucial: While it’s tempting to dig in immediately, allowing the bread to cool for the recommended 15 minutes in the tin on a wire rack is important. This helps the bread set, making it easier to handle and glaze, and prevents it from becoming gummy.
Creative Flavor Twists & Variations
While the classic apple cinnamon combination is heavenly, feel free to get creative with these delicious variations:
1: Classic Cinnamon Delight: For a purist’s treat, simply omit the apples entirely. You’ll be left with a wonderfully aromatic and comforting classic cinnamon pull-apart bread, sticky and sweet.
2: Seasonal Spice Swap: Instead of regular cinnamon, infuse your bread with a different autumnal flavor. Swap it for an equal amount of pumpkin spice or apple pie spice blend to introduce notes of nutmeg, ginger, and cloves.
3: Nutty Addition: Add a delightful crunch and richness to your filling by folding in a couple of handfuls of finely chopped pecans or walnuts along with the apples. Toasting the nuts lightly beforehand can enhance their flavor.
4: Pear Perfection: Don’t limit yourself to apples! Try swapping them for an equal amount of firm, ripe pears, such as Bosc or Anjou, for a slightly different sweet and delicate fruit flavor. Follow the same dicing and mixing steps.
5: Dried Fruit Inclusion: Enhance the filling with some sweet and chewy dried fruits. Add raisins, sultanas, or dried cranberries. To prevent them from burning and to keep them plump during baking, soak them in warm water for about an hour, then drain them thoroughly before mixing them into the apple filling.
6: Chocolatey Indulgence: For the ultimate sweet tooth, replace the diced apples with your favorite vegan chocolate chips or chunks. The melting chocolate will create pockets of gooey deliciousness throughout the bread.
7: Alternative Glazes: While the vanilla glaze is fantastic, you can elevate your bread further with different toppings. Drizzle the warm loaf with a rich vegan caramel sauce for an indulgent touch, or spread a tangy and sweet cream cheese frosting (ensure it’s vegan!) for a more decadent finish.
8: Citrus Zest Brightness: Add a touch of brightness to your apple filling by grating in the zest of one lemon or orange. The citrus notes will provide a lovely counterpoint to the sweetness and spice.
9: Cardamom Kiss: For an exotic twist, add half a teaspoon of ground cardamom to your cinnamon mixture. Cardamom pairs beautifully with both apples and sweet doughs.
Frequently Asked Questions (FAQ’s)
This delicious apple cinnamon pull-apart bread is undoubtedly at its peak when enjoyed on the day it’s baked, offering the best soft texture and vibrant flavor. However, if you have leftovers, they can be stored in an airtight container at cool room temperature for 2-3 days. For best results, gently warm individual pieces in the microwave or oven before serving.
While I wouldn’t typically recommend freezing the entire loaf in advance of serving for optimal freshness, any leftover portions can be frozen successfully. Wrap individual pieces or the remaining loaf tightly in plastic wrap, then again in aluminum foil, and store in the freezer for up to 3 months. To serve, simply allow the bread to defrost completely at room temperature, then warm it gently in the oven for a freshly baked taste.
Absolutely, you can knead this dough by hand! Be prepared for it to be a soft and sticky dough, which means it’s easiest to manage in a stand mixer. If you don’t have one, just embrace the stickiness! When kneading by hand, avoid flouring your work surface excessively, as this will incorporate too much flour into the dough, making it dry and dense. Instead, if the dough becomes too sticky to handle, you can lightly oil your hands and the work surface. A bench scraper is an incredibly useful tool for unsticking the dough from your surface and gathering it during the kneading process.
Unfortunately, this specific recipe is not suitable for gluten-free flour. Crafting successful gluten-free bread requires a completely different approach to ingredients and ratios, as gluten is essential for the structure and elasticity of this type of yeast dough. The entire recipe would need significant re-engineering. As gluten-free baking is not my area of expertise, I cannot provide reliable advice on adapting this recipe. For gluten-free options, it is always best to seek out and use recipes specifically designed for gluten-free baking rather than attempting to convert a traditional recipe.
A standard 2 lb (approximately 9×5 inches or 23×13 cm) loaf pan is ideal for this recipe. Ensure it’s sturdy and made of metal for even heat distribution. Lining it with parchment paper is highly recommended for easy removal.
Several factors can cause bread to not rise. The most common reasons include expired or inactive yeast, using liquid that is too hot (which kills the yeast) or too cold (which inhibits yeast activity), or an environment that is too cold for proofing. Ensure your yeast is fresh, your milk is lukewarm (around 100-110°F or 38-43°C), and your dough is rising in a warm, draft-free spot.
More Sweet Vegan Breads to Explore
If you loved this vegan apple cinnamon pull-apart bread, be sure to check out these other delectable sweet vegan bread recipes:
- Maple Pecan Bread Wreath
- Lemon Coconut Pull-Apart Bread
- Jamaican Spice Bun
- Vegan Banana Monkey Bread
- Vegan Pumpkin Pecan Babka
- Almond Bread Twist
- Vegan Stollen Wreath
- Vegan Chocolate Babka
- Plum and Marzipan Bread
- Apple Cinnamon Brioche
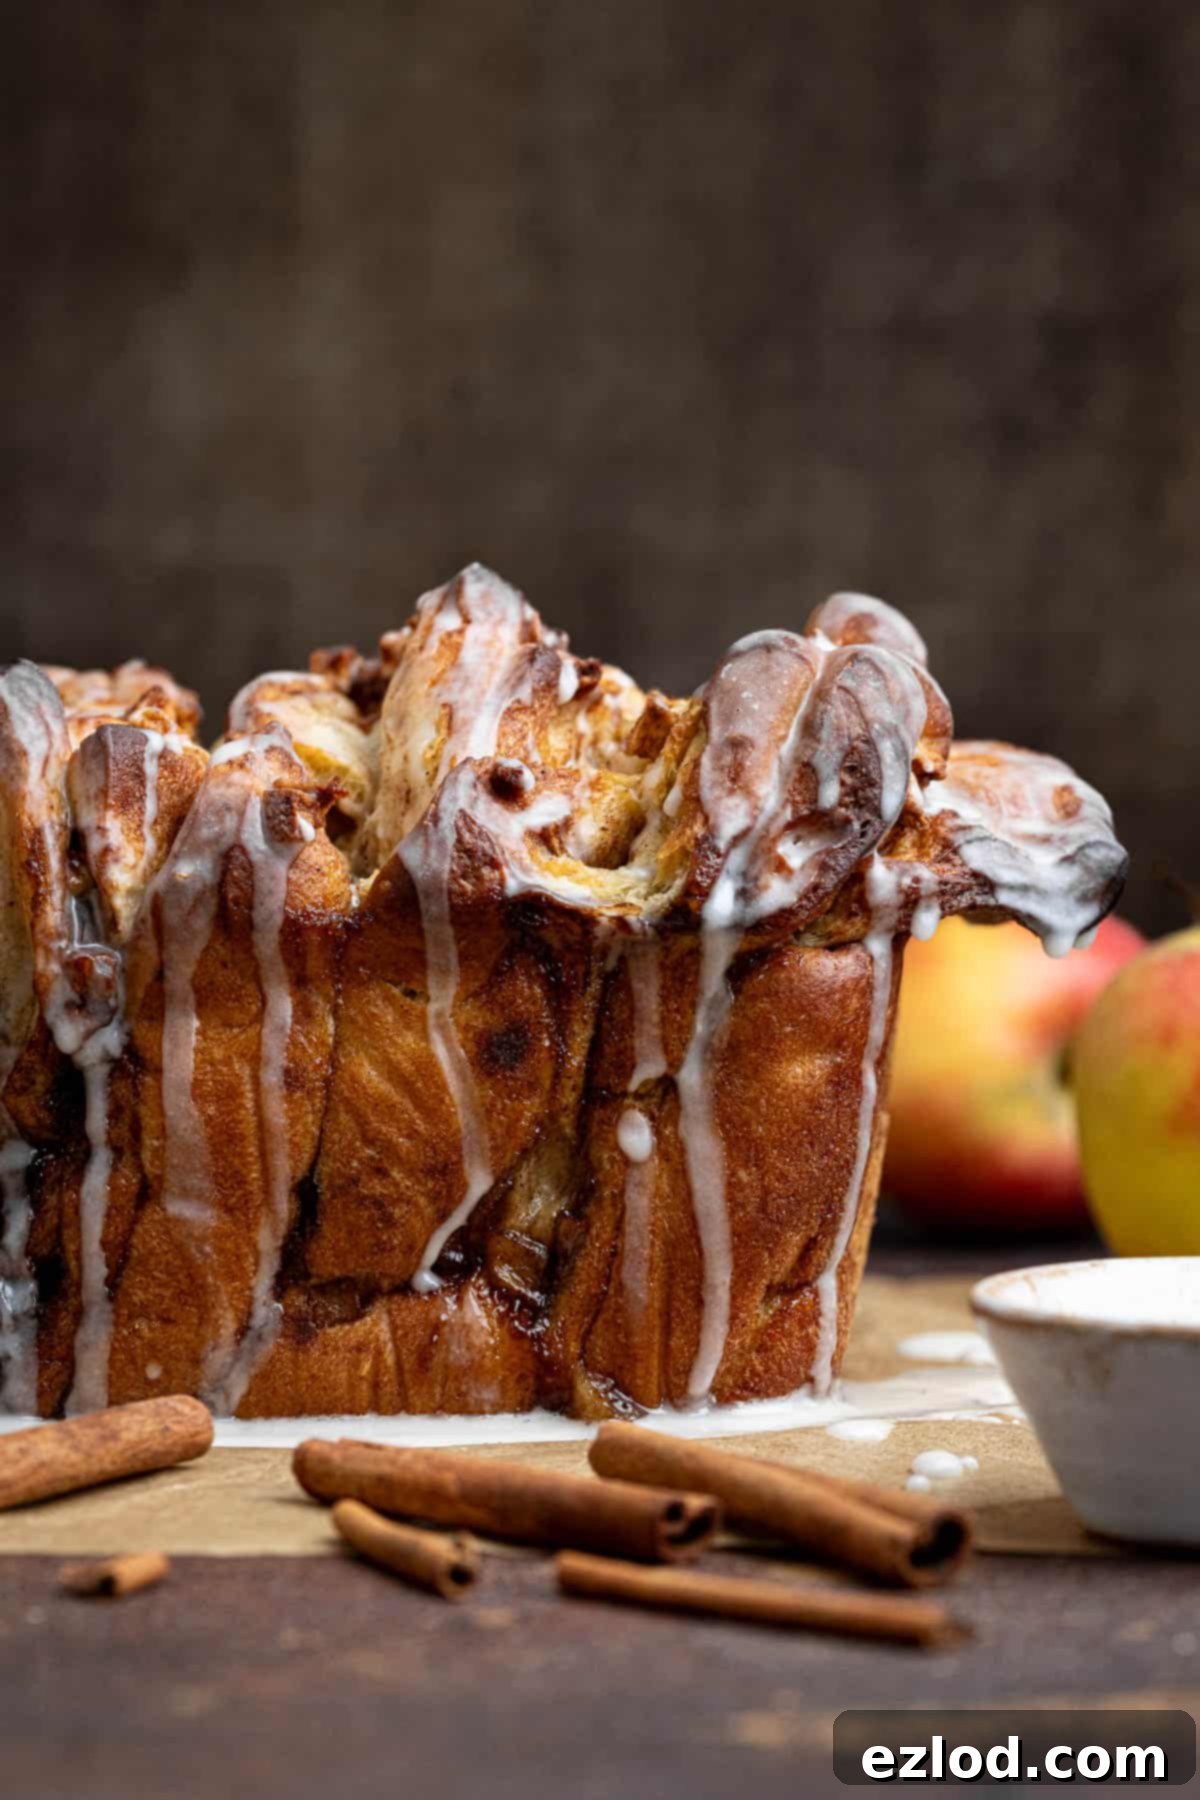
We hope you enjoyed making this recipe as much as we do! If you tried this delectable vegan apple cinnamon pull-apart bread, we’d love to hear from you. Please rate it, leave a comment below, or tag @domestic_gothess on Instagram and use the hashtag #domesticgothess. Your feedback helps us grow and inspires other bakers!
All images and content on Domestic Gothess are copyright protected. If you wish to share this recipe, please do so by utilizing the provided share buttons. We kindly request that you do not screenshot or post the recipe or content in full. Instead, please include a direct link to this post for the complete recipe. Thank you for respecting our work!

Print
Apple Cinnamon Pull-Apart Bread (Vegan)
Ingredients
Dough:
- 400 g (3 ⅓ cups) white bread flour
- 7 g (2 ¼ teaspoons) instant/fast action yeast
- 45 g (¼ cup) caster or granulated sugar
- 1 teaspoon table salt
- 270 g (1 cup + 2 Tablespoons) unsweetened non-dairy milk (I use soy) lukewarm
- 60 g (¼ cup) vegan block butter softened
Filling:
- 60 g (¼ cup) vegan butter softened
- 3 large eating apples
- 100 g (½ cup) light brown soft sugar
- 1 Tablespoon ground cinnamon
- 1 teaspoon cornflour (cornstarch) (optional, helps thicken apple juices)
Glaze:
- 110 g (1 cup) icing (powdered) sugar
- 1 teaspoon vanilla extract
- 1-2 Tablespoons non-dairy milk
Instructions
-
To initiate the dough, place the bread flour into a large bowl or the bowl of a stand mixer equipped with a dough hook. Add the instant yeast to one side of the bowl and the salt and sugar to the other side, then stir gently to ensure all dry ingredients are combined and the yeast doesn’t directly contact the salt.400 g (3 ⅓ cups) white bread flour, 7 g (2 ¼ teaspoons) instant/fast action yeast, 45 g (¼ cup) caster or granulated sugar, 1 teaspoon table salt
-
Introduce the lukewarm non-dairy milk and mix until a shaggy, cohesive dough forms. Knead this dough either with your stand mixer’s dough hook or manually on an unfloured surface for 5-10 minutes until it becomes smooth and elastic. The dough will initially be quite sticky; resist adding additional flour, as continued kneading will develop the gluten and reduce stickiness. A dough scraper can be very helpful for managing the dough.270 g (1 cup + 2 Tablespoons) unsweetened non-dairy milk (I use soy)
-
Add the softened vegan block butter to the dough. Continue kneading until the butter is fully integrated and the dough transforms into a smooth and highly elastic consistency. It might appear greasy and somewhat chaotic at first, but with consistent kneading, the butter will completely blend in, resulting in a cohesive and smooth dough.60 g (¼ cup) vegan block butter
-
Once the vegan butter is completely incorporated, the dough should exhibit a smooth and silky appearance. It should also cleanly pull away from your work surface or the sides of the mixing bowl, indicating proper gluten development. Nevertheless, it will retain a desirable soft and slightly sticky feel.
-
Transfer the kneaded dough to a lightly oiled bowl, then cover it securely. Place the bowl in a warm, draft-free location to rise until its size has doubled, a process that typically takes between 1 to 2 hours. While the dough is rising, prepare a 2 lb loaf tin by lining it with greaseproof paper, ensuring a slight overhang for easy removal.
-
Once the dough has risen, gently punch it down to deflate and release any trapped air bubbles. Lightly flour your work surface and roll the dough out into a large rectangular shape, approximately 30 x 45 cm (12 x 18 inches). Evenly spread the additional softened vegan butter across the entire surface of the rolled-out dough using your hands or an offset spatula.60 g (¼ cup) vegan butter
-
Peel, core, and dice the apples into small, uniform pieces. In a separate bowl, combine the diced apples with the light brown sugar, ground cinnamon, and the cornflour (if you are using it to help thicken the juices). Mix these ingredients thoroughly. It’s crucial not to prepare this apple mixture too far in advance, as the apples will start to release a significant amount of juice.3 large eating apples, 100 g (½ cup) light brown soft sugar, 1 Tablespoon ground cinnamon, 1 teaspoon cornflour (cornstarch)
-
Evenly distribute the prepared apple filling, along with any juices it may have released, over the entire surface of the buttered dough. Ensure the filling covers the dough from edge to edge for maximum flavor in every bite.
-
Using a pizza cutter or a sharp knife, slice the dough width-wise into 5 even strips. Then, slice it lengthwise into 4 strips, which will create a total of 20 individual dough squares. Carefully stack these squares into 5 distinct piles, ensuring each pile contains exactly 4 squares.
-
Arrange the stacked dough piles upright within the lined loaf tin, gently pressing them together to fit them snugly. Collect any apple filling that may have fallen off during handling and scatter it over the top of the stacked dough. Loosely cover the tin and allow it to rise in a warm place for approximately 45-60 minutes, or until the dough looks visibly puffy.
-
In the interim, preheat your oven to 190°C (170°C fan/375°F/gas mark 5) to ensure it’s at the correct temperature when the bread is ready to bake.
-
Bake the bread for approximately 50 minutes. To confirm doneness, the internal temperature in the center of the loaf should register at least 90°C (194°F) using a probe thermometer, or a skewer inserted into the center should come out clean, without any raw dough attached. If the top of the bread begins to brown too quickly, loosely cover it with aluminum foil during the final stages of baking to prevent over-darkening.
-
Once baked, allow the bread to cool in the loaf tin for 15 minutes, resting it on a wire rack. This helps the bread to set and makes it easier to handle.
-
While the bread is cooling, prepare the glaze. Sift the icing (powdered) sugar into a small bowl, then stir in the vanilla extract and 1-2 tablespoons of non-dairy milk. Mix until smooth and pourable. Adjust the consistency by adding a little more milk if it’s too thick, or a tiny bit more icing sugar if it’s too thin.110 g (1 cup) icing (powdered) sugar, 1 teaspoon vanilla extract, 1-2 Tablespoons non-dairy milk
-
Once slightly cooled, gently turn the bread out onto a serving dish. Generously pour the prepared vanilla glaze over the warm loaf, allowing it to drip down the sides. Serve immediately while warm for the best taste and “pull-apart” experience.
Notes
- For detailed tips, ingredient insights, and step-by-step photos to guide you through the process, please refer to the main article above the recipe card. Many common questions about the recipe might already be answered there!
- As with all my baking recipes, I highly recommend using metric measurements and a digital kitchen scale for optimal accuracy. Cup conversions can be quite imprecise and lead to inconsistent results. Using a scale ensures precise ingredient ratios, which is crucial for successful baking, and often results in less mess too!
