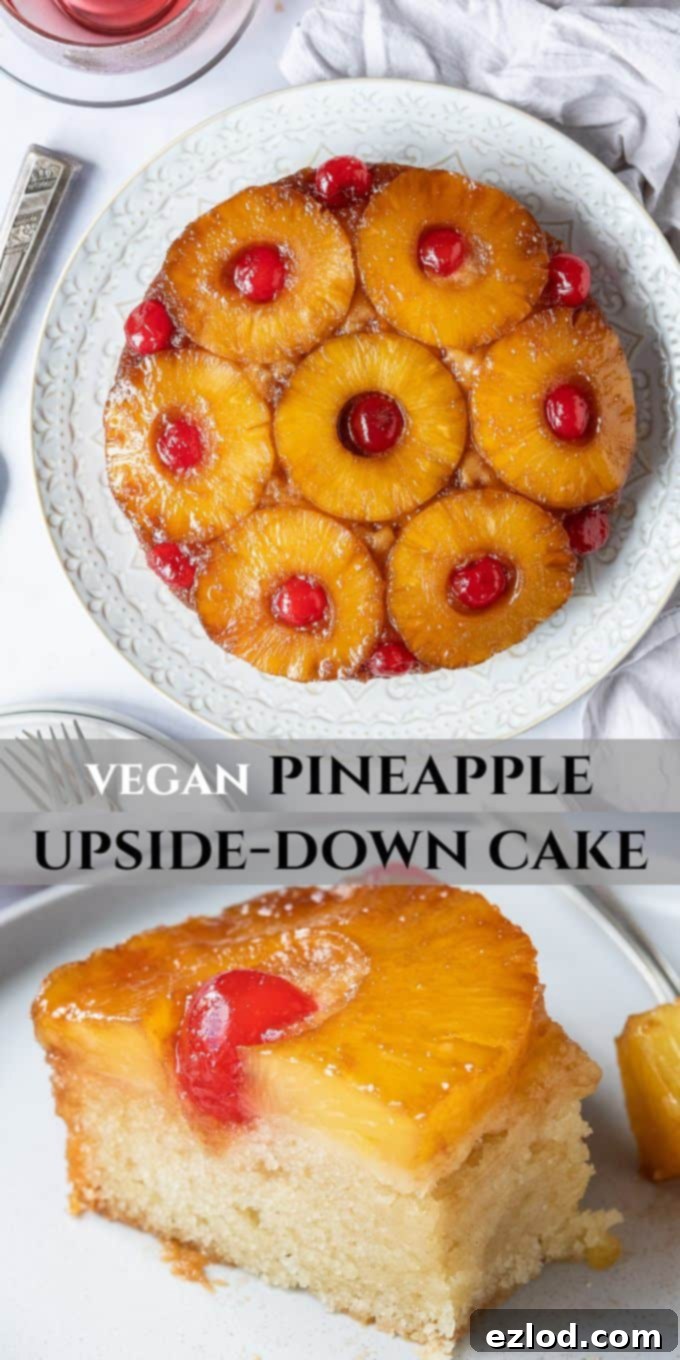
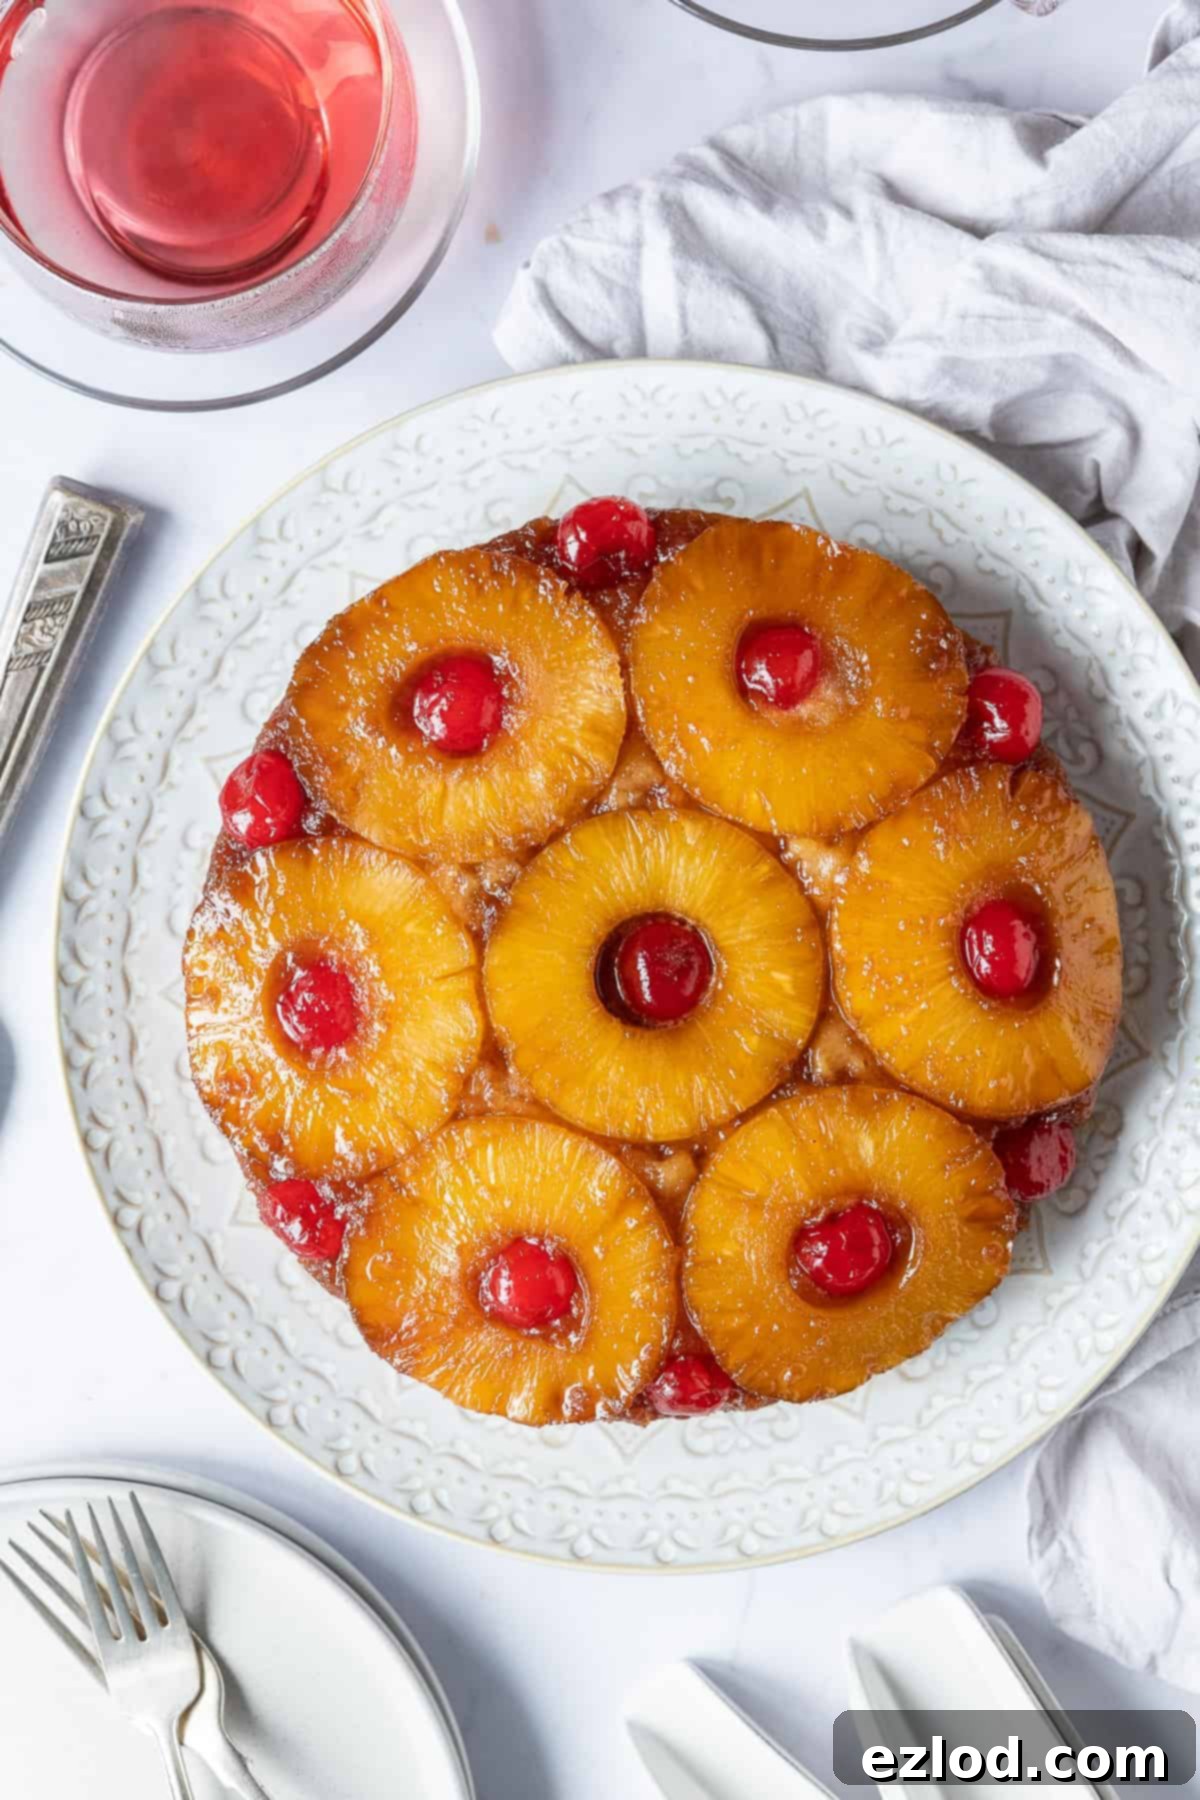
Delicious Vegan Pineapple Upside-Down Cake: A Moist & Gooey Classic (Eggless & Dairy-Free)
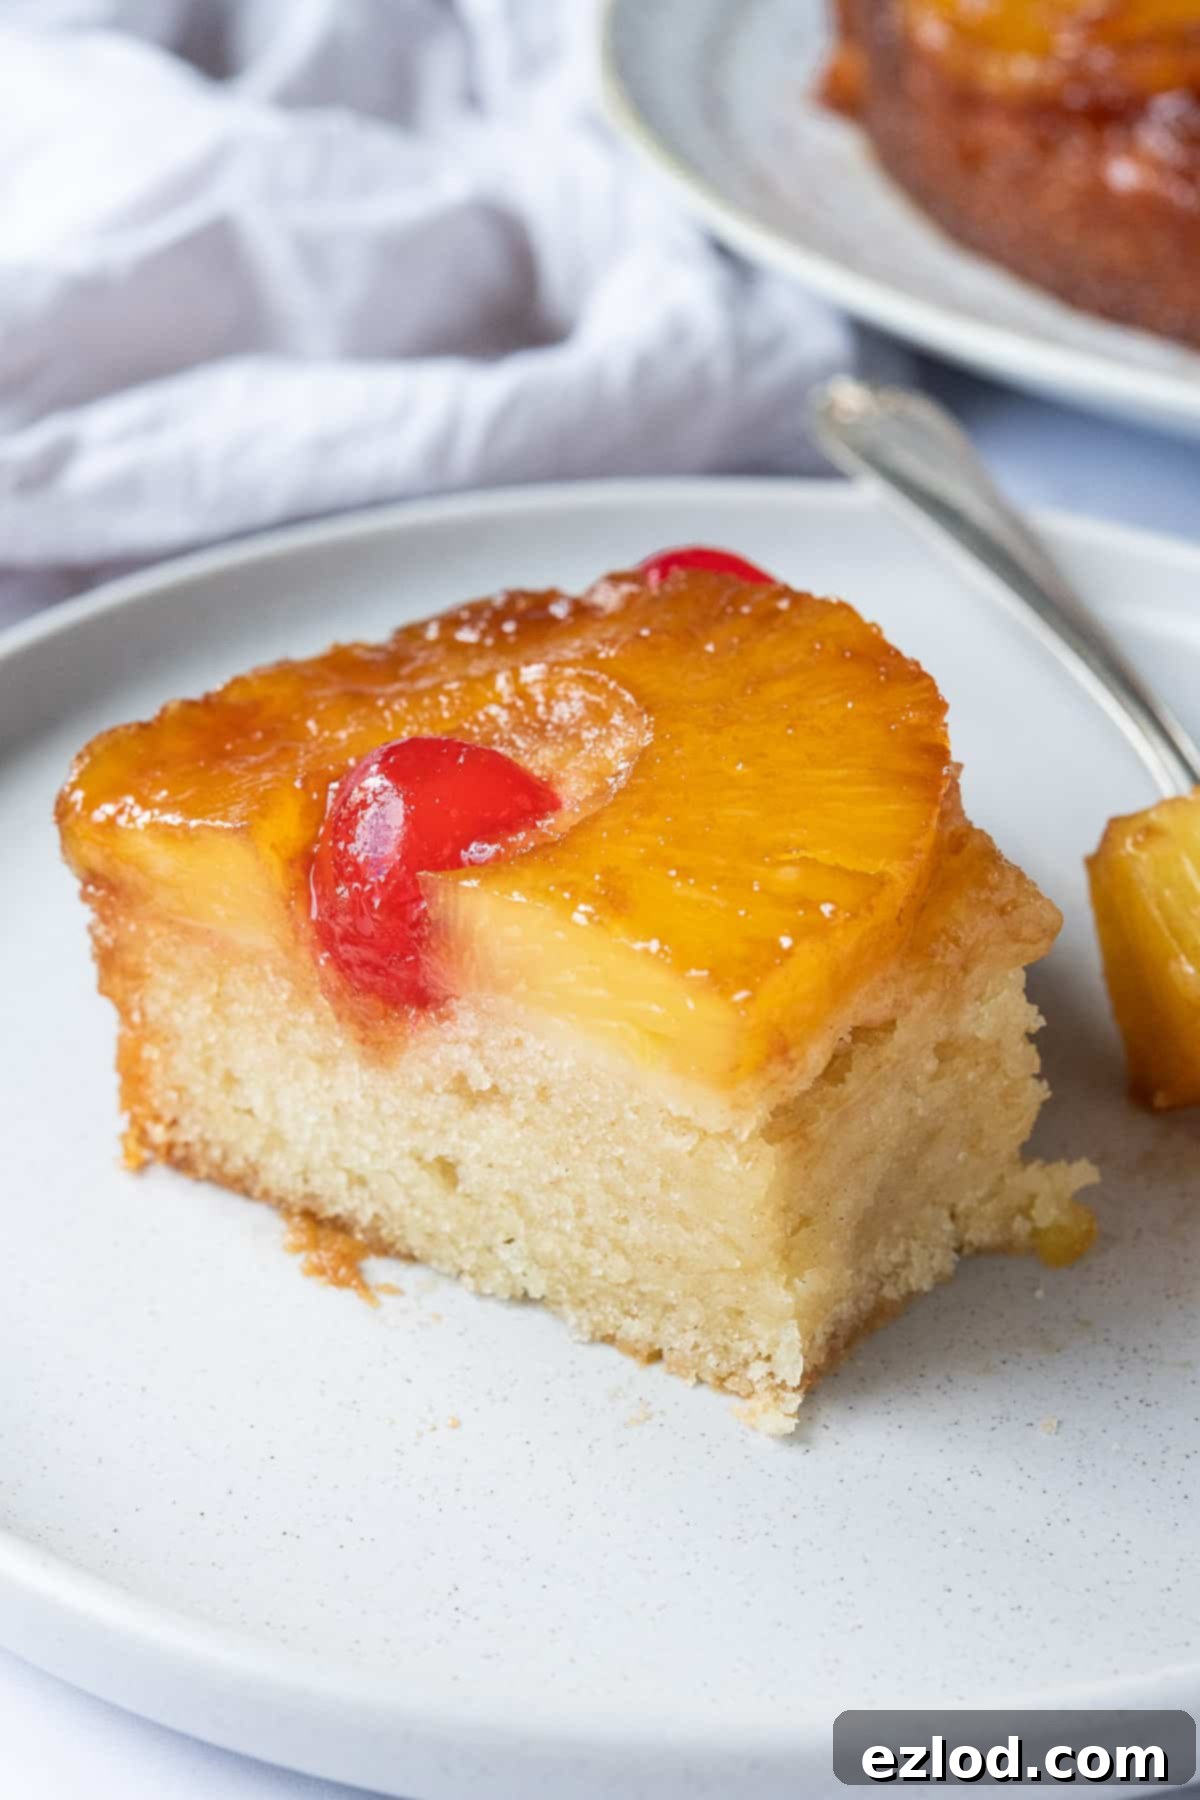
Discover the ultimate vegan pineapple upside-down cake recipe – a truly magnificent, eggless, and dairy-free rendition of a beloved childhood classic. This easy-to-make dessert boasts wonderfully gooey, caramelized pineapple slices and vibrant cherries atop an incredibly soft, moist, and tender vanilla cake. Perfect for any occasion, it’s exceptionally delicious served warm with a dollop of creamy custard or a scoop of vanilla ice cream!
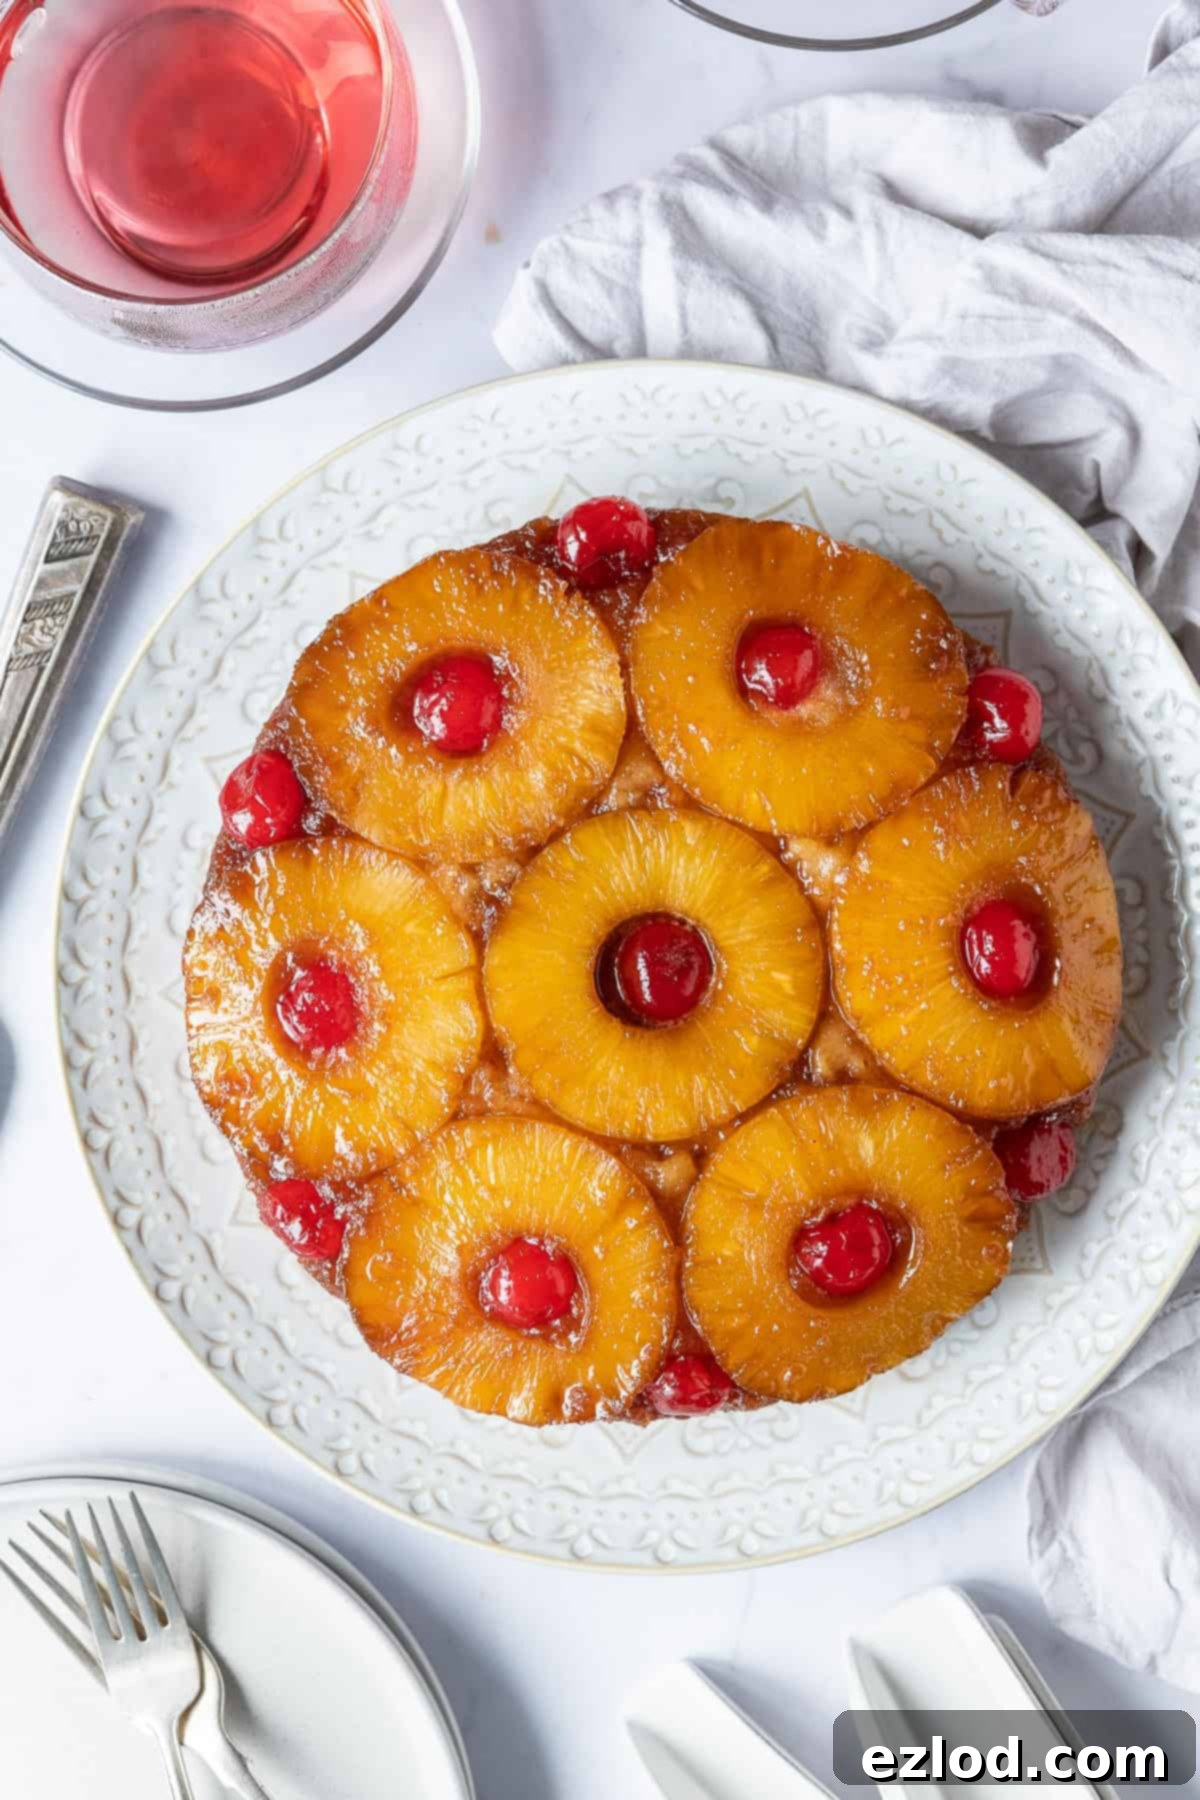
The pineapple upside-down cake holds a special place in the hearts of many, revered as a gloriously retro dessert that has stood the test of time. Its enduring popularity is no accident; the magical combination of a rich, sticky caramel topping, sweet and tangy pineapple, and a wonderfully soft cake base creates an irresistible symphony of flavors and textures that is truly hard to beat. It evokes a sense of nostalgia, transporting us back to simpler times and comforting family meals.
This particular recipe elevates that classic experience by offering a completely vegan version that sacrifices absolutely nothing in terms of taste or texture. In fact, many find this eggless and dairy-free rendition to be even more moist and tender than its traditional counterpart. It’s incredibly easy to prepare, making it accessible for bakers of all skill levels, and delivers a flavor profile that is remarkably true to the original. For those seeking a trip down memory lane, this cake is pure comfort food heaven, especially when enjoyed slightly warm with a generous pour of vegan custard or a scoop of your favorite non-dairy ice cream!
Despite the ever-changing landscape of culinary trends, some classics are simply timeless. This vegan pineapple upside-down cake may not be the ‘trendiest’ dessert on social media, but its inherent appeal lies in its unwavering ability to deliver pure, unadulterated comfort. It’s wonderfully sweet, delightfully sticky, and undeniably more-ish – you’ll find it incredibly difficult to stop at just one slice. As a heartwarming pudding or a show-stopping dessert, it remains an undefeated champion in the world of comforting bakes.
Beyond its delicious taste, this vegan pineapple upside-down cake offers a fantastic option for anyone with dietary restrictions or those simply looking to explore plant-based baking. By eliminating eggs and dairy, it becomes suitable for vegans, individuals with allergies, and those seeking lighter alternatives without compromising on the decadent experience of a classic dessert. This recipe proves that going vegan doesn’t mean giving up on your favorite treats; it simply opens up new avenues for delicious and compassionate baking.
Essential Ingredients for Your Vegan Pineapple Upside-Down Cake:
Creating this magnificent vegan pineapple upside-down cake requires a thoughtful selection of ingredients, each playing a crucial role in achieving that perfect balance of caramel, fruit, and moist cake. Here’s a detailed look at what you’ll need and why:
For the Irresistible Topping:
- Light Brown Soft or Muscovado Sugar: This is the secret to that deep, rich, and wonderfully complex caramel flavor. Unlike granulated sugar, brown sugars offer a molasses-like depth that truly defines an upside-down cake. Opting for light brown sugar is key; dark brown sugar, while delicious, can make the topping appear too dark, potentially obscuring the beautiful golden hue of the caramelized pineapple.
- Vegan Butter: Essential for creating a smooth, buttery, and luxurious caramel base. For the best results in terms of flavor and texture, I highly recommend using a high-quality block vegan butter (such as Naturli Vegan Block). These often have a higher fat content and a better flavor profile, mimicking traditional butter more closely. However, if a block variety isn’t available, a good tub-style vegan margarine can also work in a pinch.
- Tinned Pineapple Rings: While fresh pineapple is always a treat, tinned pineapple rings are undeniably more traditional for this specific cake and, frankly, a lot less hassle! They come pre-sliced and perfectly uniform, making arrangement a breeze. You’ll typically need about seven pineapple rings from a standard 435g tin. Crucially, choose pineapple packed in juice rather than heavy syrup, as you’ll be reserving some of that flavorful juice to incorporate into the cake batter, adding an extra layer of pineapple essence.
- Maraschino or Glace Cherries: These are technically optional, but they contribute significantly to the cake’s iconic, retro-fabulous appearance and add a delightful burst of color and sweetness. Maraschino cherries tend to have a slightly more distinct flavor and vibrant red hue, which I personally prefer, but glace cherries are also perfectly acceptable and will provide a similar visual appeal and sweet counterpoint to the pineapple.
For the Wonderfully Moist Cake:
- Plain (All-Purpose) Flour: The foundational dry ingredient for our cake. Regular white all-purpose flour provides the ideal structure and tenderness. I strongly advise against using wholemeal (whole wheat) flour for this recipe, as its higher fiber content will result in a denser, heavier cake, detracting from the desired light and moist texture.
- Cornflour (Cornstarch): A small but mighty addition! Incorporating a touch of cornflour helps to create a softer, more delicate crumb structure, contributing to the cake’s lovely texture. If you don’t have cornflour on hand, you can simply substitute it with an equal amount of plain flour, though the texture might be ever-so-slightly different.
- Baking Powder and Bicarbonate of Soda (Baking Soda): This dynamic duo of raising agents is essential for achieving the perfect lift and airy texture in eggless cakes. The combination of both ensures a reliable rise and contributes to a beautifully tender crumb. The bicarbonate of soda works in tandem with the acidic ingredients in the wet mixture (like vinegar and yogurt) to create the necessary chemical reaction for leavening.
- Caster (Superfine) Sugar: While granulated sugar can be used in a pinch, caster sugar is truly superior for baking. Its finer crystals dissolve more readily into the batter, ensuring a smoother consistency and a more even sweetness throughout the cake. I often opt for golden caster sugar for its subtle caramel notes, but standard white caster sugar works absolutely perfectly.
- Non-Dairy Milk: The liquid base for our vegan cake batter. Ideally, use unsweetened non-dairy milk to control the overall sweetness of the cake. While any variety will technically work, soy milk is often recommended for baking due to its higher protein content, which can help replicate some of the structural properties that eggs provide in traditional baking. Ensure it’s at room temperature for optimal mixing.
- Unsweetened Non-Dairy Yogurt: This ingenious ingredient replaces the eggs in this recipe, lending the cake a remarkably soft, tender, and moist texture. The acidity in the yogurt also helps activate the bicarbonate of soda, further enhancing the cake’s rise. Again, unsweetened is best. My personal favorite is the Coconut Collaborative, but any thick, plain vegan yogurt will do. If vegan yogurt isn’t available, unsweetened apple sauce or even aquafaba (the liquid from a can of chickpeas) can be experimented with as substitutes.
- Pineapple Juice: Remember that reserved juice from the tinned pineapple? This is where it comes into play! Adding a portion of this juice to the batter infuses the cake with an extra layer of delicious pineapple flavor, tying the whole dessert together. If you prefer, or if you don’t have enough reserved juice, you can simply use additional non-dairy milk instead.
- Melted Vegan Butter and Neutral Oil (Sunflower or Mild Olive Oil): This combination is the ultimate secret to a moist and flavorful vegan cake. Cakes made purely with oil tend to be incredibly moist, while those made with butter offer a richer, more complex flavor. By using both, we get the best of both worlds: a cake that is exceptionally moist and packed with delicious buttery notes. For the vegan butter, a block variety like Naturli Vegan Block is preferred. For the oil, any neutral-flavored oil such as sunflower, vegetable, canola, or a mild olive oil will work beautifully without imparting unwanted flavors.
- Vinegar: A crucial acidic component that works with the bicarbonate of soda to activate the raising agents. This reaction creates air bubbles, ensuring the cake bakes up light and fluffy. Both apple cider vinegar or white wine vinegar are excellent choices, and lemon juice can also be used effectively as a substitute.
- Vanilla Extract: For the finest flavor, always opt for a good quality pure vanilla extract (not artificial essence). Vanilla enhances all the other flavors in the cake, adding a warmth and depth that is indispensable. Brands like Nielsen-Massey are renowned for their superior vanilla extracts.
Crafting Your Perfect Vegan Pineapple Upside-Down Cake: A Step-by-Step Guide
(For a precise list of ingredients and full, detailed instructions, please refer to the comprehensive recipe card located further down this page.)
Embarking on the creation of this stunning vegan pineapple upside-down cake begins with careful preparation. First, ensure your cake tin is up to the task. It absolutely must be non-stick and have a minimum depth of 5cm (2 inches) to prevent any potential overflow during baking, especially with that luscious caramel topping. I typically use a 20cm (8-inch) round tin, but a 23cm (9-inch) tin will also work well; just be aware that the cake might be slightly thinner, and baking time could vary slightly. A crucial point: under no circumstances should you use a loose-bottomed or springform tin. The glorious, liquid caramel topping would simply leak out, creating a messy situation in your oven and ruining the cake. Unlike many other cakes, you won’t be lining the tin with baking parchment, as this can interfere with the beautiful caramelized topping; simply grease it thoroughly and generously.
Next, let’s assemble the star of the show – the topping. In a small bowl, combine your melted vegan butter with the light brown soft or muscovado sugar. Stir these two ingredients together until you achieve a wonderfully smooth, glossy mixture. This forms the rich caramel base for your cake. Once combined, carefully spread this caramel mixture evenly across the bottom of your prepared cake tin, ensuring it covers the entire surface.
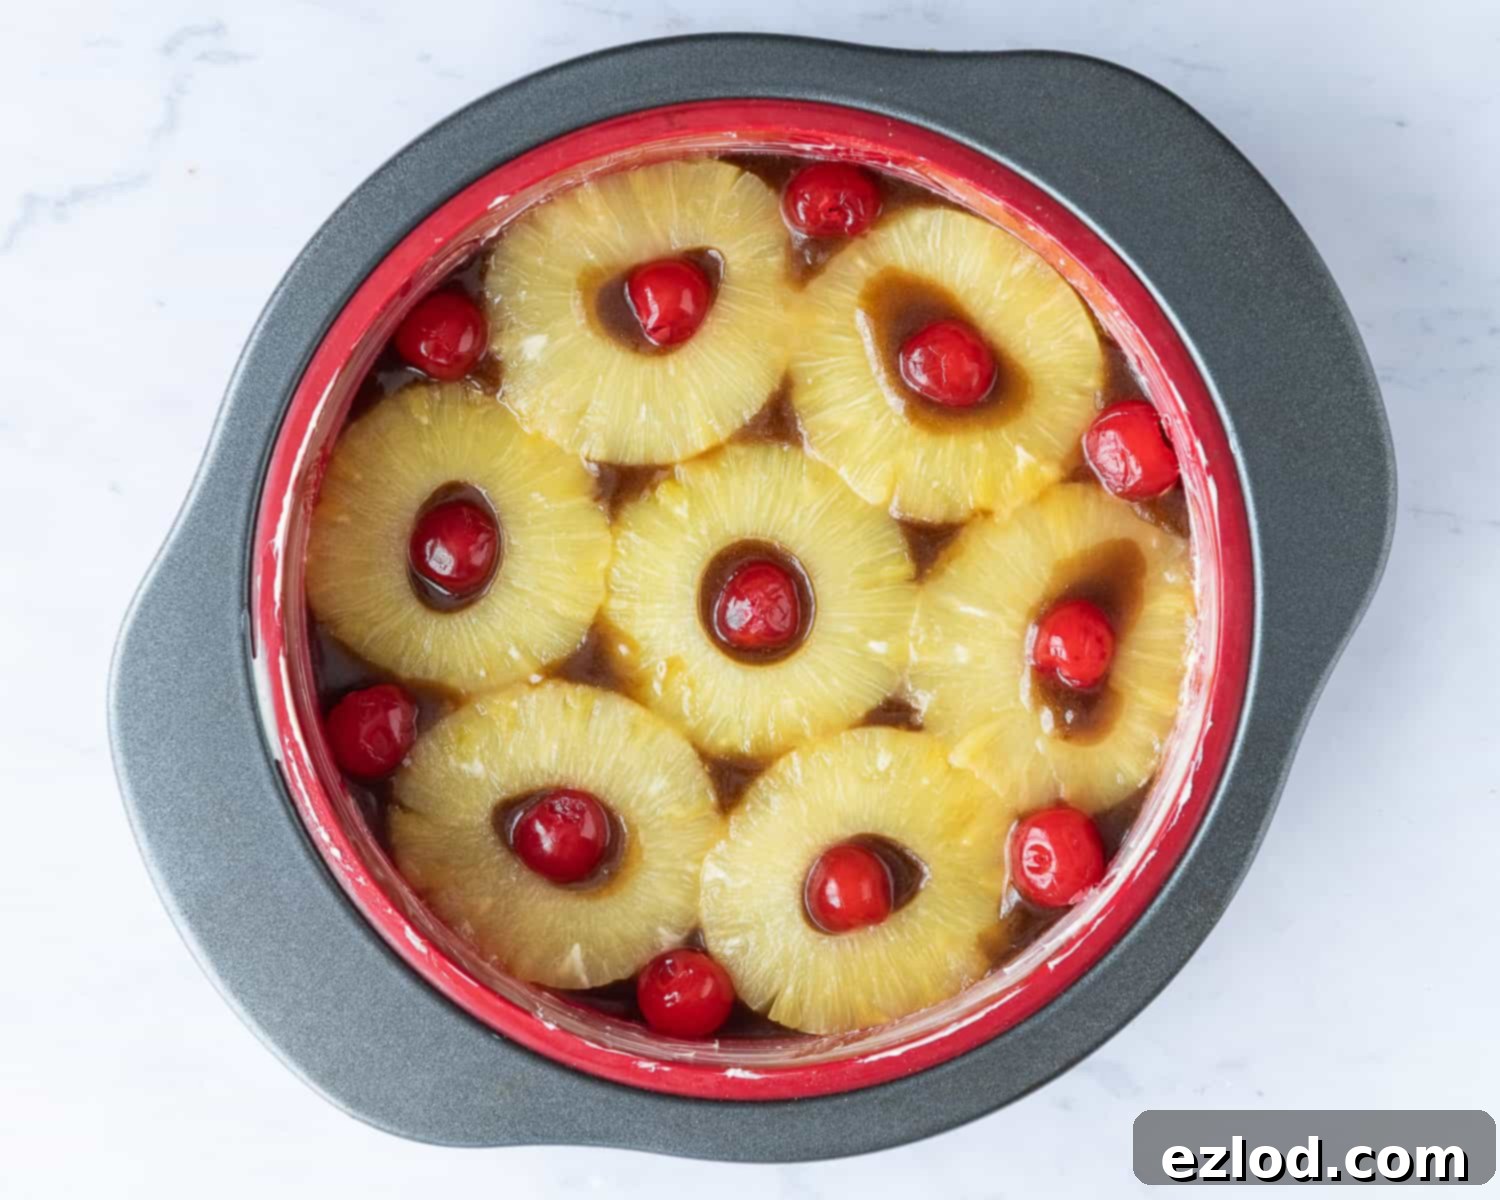
Now, for the fruit. It’s vital to thoroughly blot the tinned pineapple rings and any cherries you’re using dry with kitchen paper. Any excess liquid from the fruit can release into the cake during baking, potentially making the cake batter too wet or affecting the caramel’s consistency. Take your time with this step to ensure optimal results. Once blotted, artfully arrange the pineapple rings in the base of the tin. A classic arrangement involves placing one pineapple ring in the very center, then surrounding it with six more rings around the edge. You might need to gently ‘squish’ them together a bit to achieve a snug fit, which is perfectly fine. For that signature retro touch, nestle a cherry in the middle of each pineapple ring. If you desire even more color and sweetness, feel free to place additional cherries in the gaps between the rings. Once your fruit is perfectly arranged, place the entire cake tin into the fridge. This brief chilling period helps to set the caramel topping, preventing the fruit from shifting and ensuring a beautiful presentation once baked.
With the topping chilling, turn your attention to the cake batter. In a large mixing bowl, combine all your dry ingredients: the plain flour, cornflour, caster sugar, baking powder, bicarbonate of soda, and a pinch of salt. Use a balloon whisk to thoroughly combine these ingredients, ensuring they are evenly distributed. This step is important for an even rise and consistent texture throughout the finished cake.
In a separate jug or medium bowl, whisk together all the wet ingredients: the unsweetened non-dairy milk (ideally at room temperature), the reserved pineapple juice from the tin (or extra milk), the unsweetened non-dairy yogurt, neutral oil, melted vegan butter, vanilla extract, and vinegar. Whisk vigorously until the mixture is well combined and homogenous. The vinegar, in particular, will begin to react with the bicarbonate of soda once combined with the dry ingredients, contributing to the cake’s lift.
Now, gently pour the wet ingredients into the bowl containing the dry ingredients. Using your balloon whisk, stir the mixture until just combined. The goal is to mix until no dry lumps of flour remain, but it is absolutely crucial not to over-beat the batter. Over-mixing develops the gluten in the flour, which can lead to a tough, dense cake. A few small lumps are far preferable to an over-mixed batter.

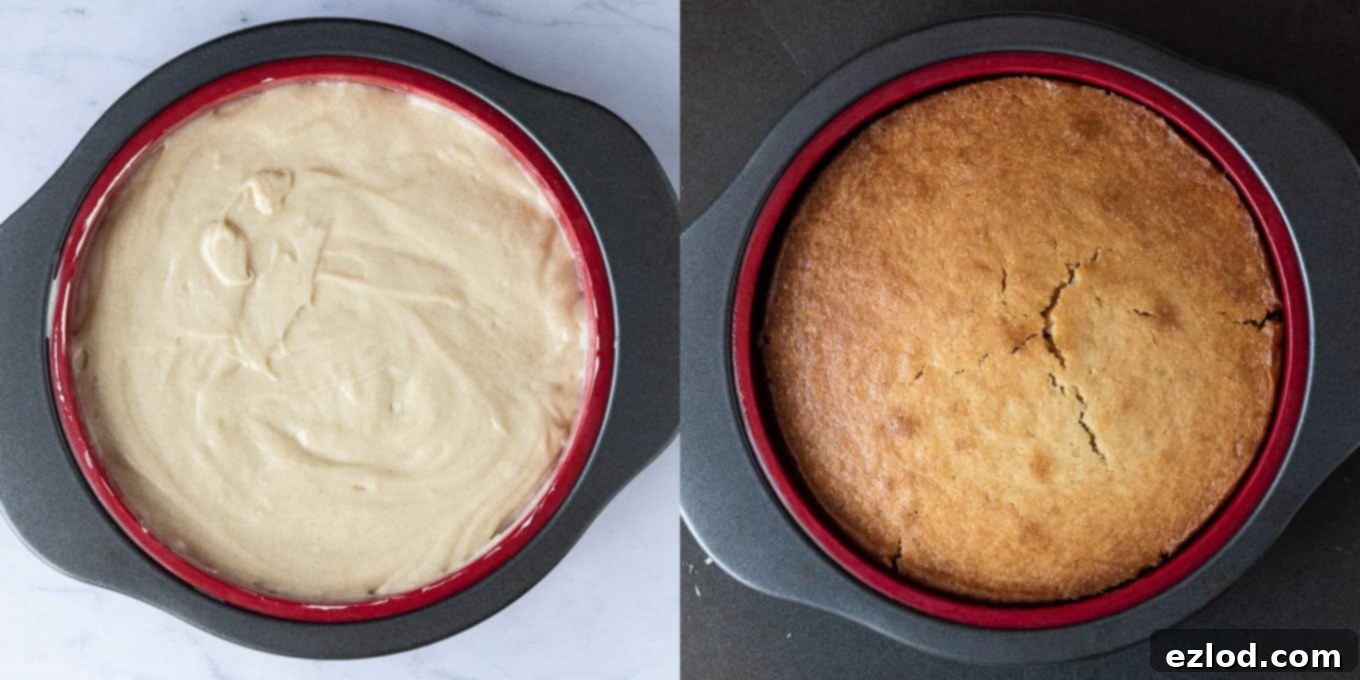
Retrieve your prepared cake tin from the fridge. Carefully and evenly pour the cake batter over the pineapple and cherry arrangement, spreading it gently with a spatula to create a level surface. Place the tin into your preheated oven (180°C/160° fan/350°F/gas mark 4) and bake for approximately 50 minutes. The cake is ready when it feels firm to the touch in the center, and a skewer inserted into the middle comes out clean or with a few moist crumbs attached. Be careful not to push the skewer all the way through to the pineapple topping, as the sticky caramel might give a false reading of wet batter.
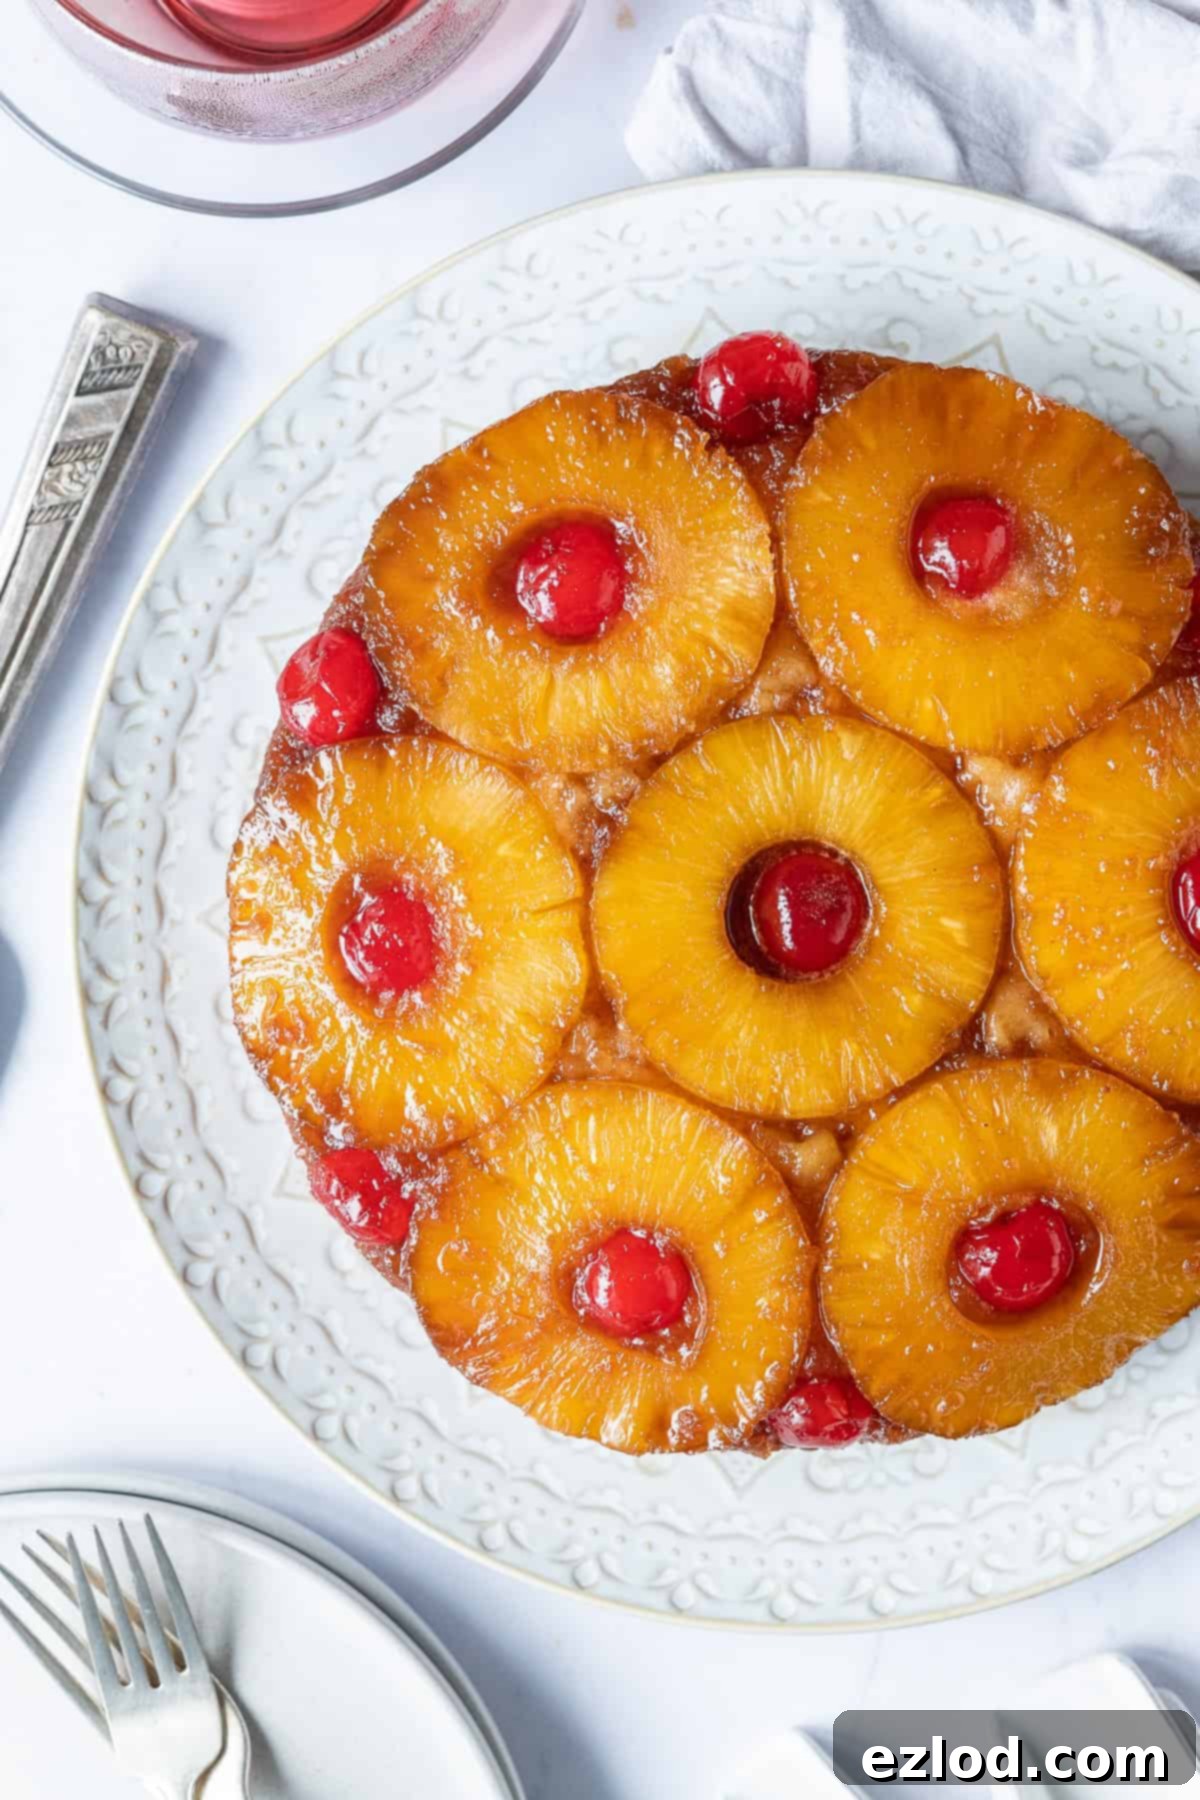
Once baked, resist the urge to immediately flip the cake! Allow it to cool in the tin for a crucial 15 minutes. This cooling period is essential as it allows the cake structure to settle and the caramel to firm up slightly, making it much easier to invert without breakage. After 15 minutes, carefully run a knife around the edge of the cake to loosen it from the sides of the tin. Place your chosen serving plate upside down on top of the cake tin, then, with confidence and care, carefully flip the entire tin and plate over. Gently lift off the cake tin to reveal your beautifully caramelized pineapple topping. If any fruit pieces stick, carefully nudge them back into place with a small spatula or knife.
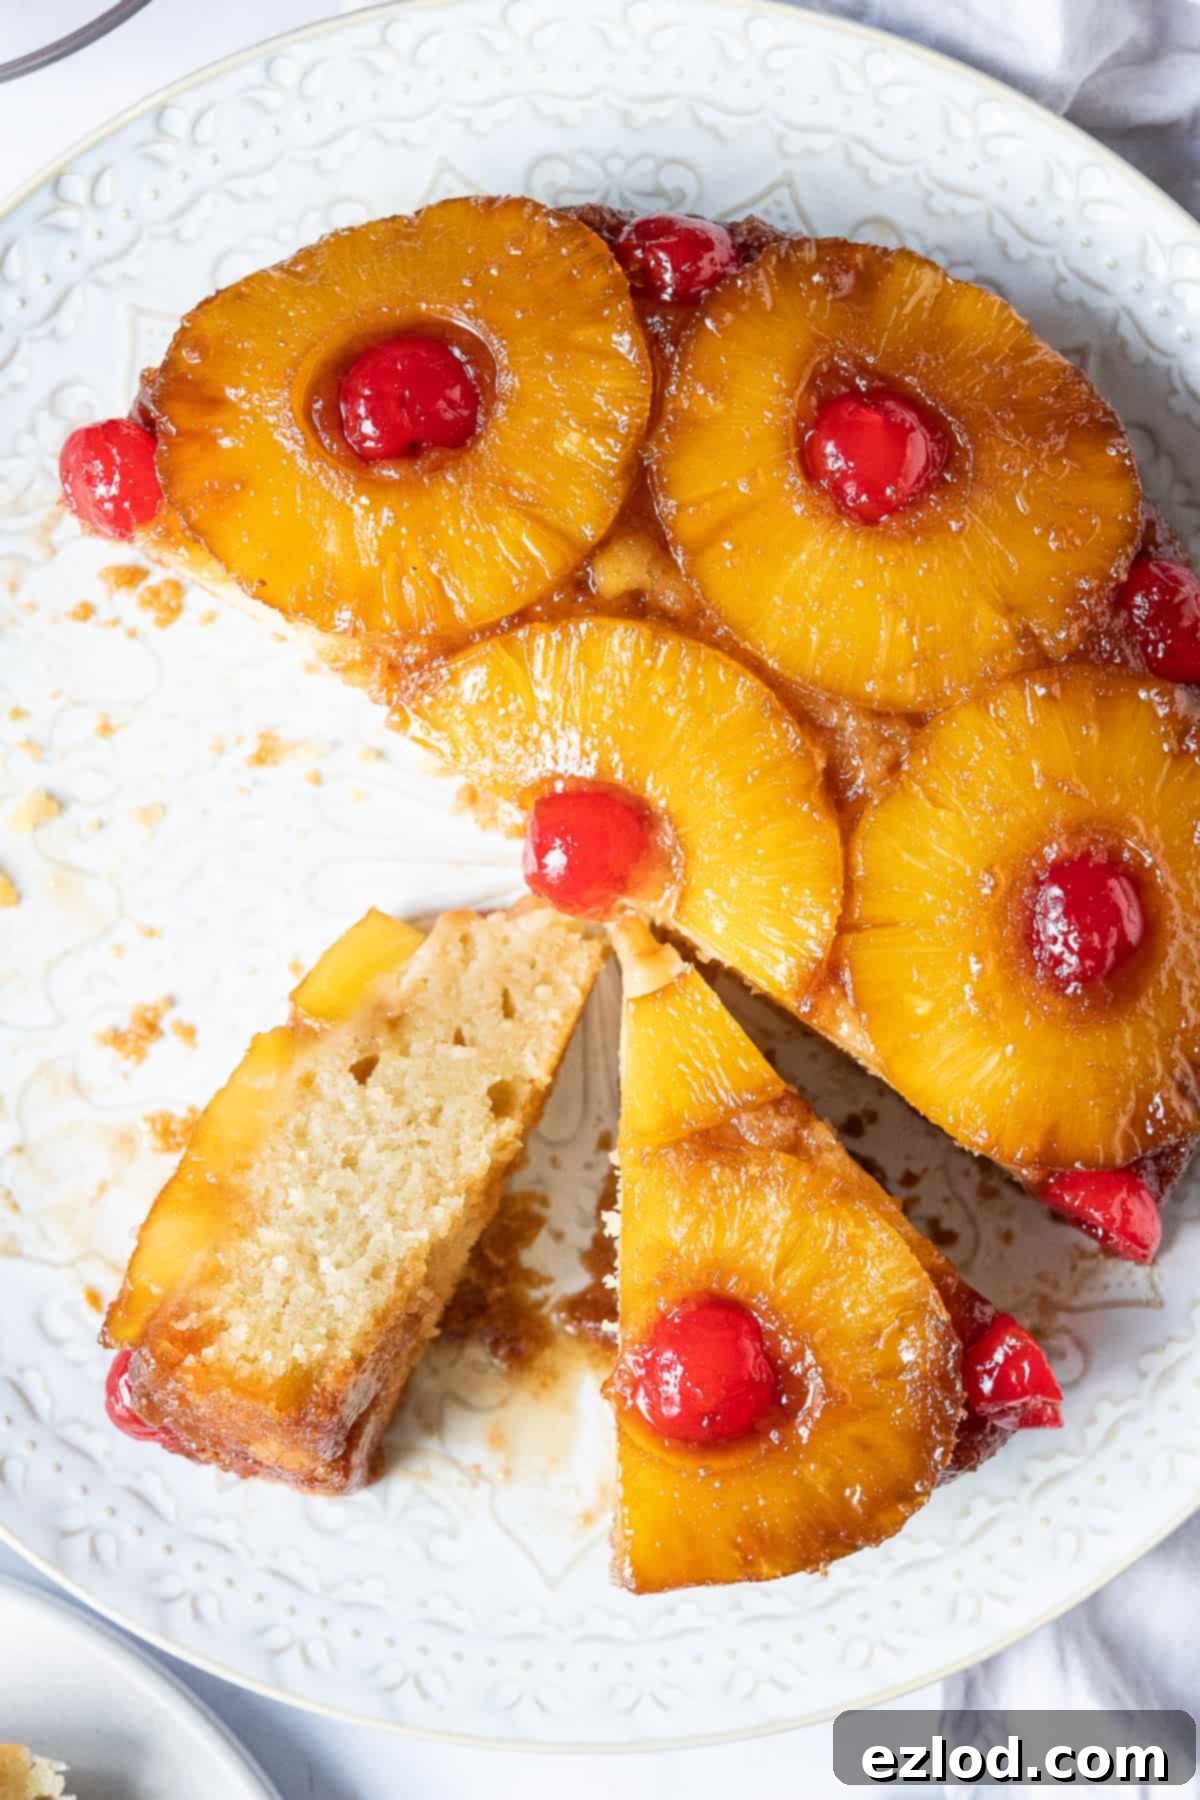
Finally, the hardest part: patience! While tempting to devour immediately, this tender cake will slice much more neatly once it has completely cooled. Allow the cake to cool fully at room temperature for at least a couple of hours before attempting to slice and serve. This cooling process allows the cake to fully set, resulting in clean, impressive slices. Serving it slightly warm is delightful, but for perfect presentation, a cool cake is best.

Expert Tips for the Perfect Vegan Pineapple Upside-Down Cake:
- Precision is Key for Baking: For consistently excellent results, baking requires precision. Always make sure to follow the recipe closely, and I cannot stress enough the importance of weighing your ingredients using gram measurements with a digital scale rather than relying on cup conversions. Cup measurements are simply not accurate enough for baking, leading to inconsistent results, and I cannot guarantee the best outcome if they are used.
- Choose the Right Tin: As mentioned, your cake tin must be non-stick and at least 5cm (2 inches) deep to prevent the batter from overflowing. While a 20cm (8-inch) round tin is ideal, a 23cm (9-inch) tin can also work, though baking time may need slight adjustment and the cake will be a bit flatter. Absolutely avoid loose-bottomed or springform tins, as the molten caramel topping will inevitably leak out, causing a considerable mess in your oven and ruining the cake.
- Dry Your Fruit Thoroughly: Do not skip the step of properly blotting the pineapple and cherries dry with kitchen paper. Excess moisture from the fruit can significantly impact the texture of the cake, potentially making it too dense or soggy, and can also dilute the caramel topping.
- Mindful Mixing: When combining your wet and dry ingredients, mix just until no dry streaks of flour remain. Over-mixing the batter is a common pitfall that develops gluten, resulting in a tough, chewy cake rather than the desired light and tender crumb. A few small lumps are perfectly acceptable and preferable to an over-mixed batter.
- Confirm Doneness: The cake is perfectly baked when it is firm to the touch in the center, and a wooden skewer or toothpick inserted into the middle comes out clean or with just a few moist crumbs attached. Be careful not to push the skewer all the way through to the base, as the sticky pineapple caramel can give a false reading of unbaked batter.
- The Critical Cooling Period: Allow the cake to cool in the tin for a full 15 minutes after baking. This crucial period allows the cake structure to set and the caramel to firm up slightly, ensuring that when you invert it, the cake comes out cleanly and the topping remains intact. However, don’t leave it in the tin for too long (e.g., more than 20-25 minutes), as this can cause the caramel to harden and make the cake stick to the tin.
- Patience for Perfect Slices: It’s incredibly tempting to cut into this delicious cake right away, but if you want neat, clean slices, patience is a virtue. This is a very tender cake, and attempting to slice it while still warm will likely result in crumbly, messy pieces. For pristine slices, you must allow the cake to cool completely at room temperature for several hours. Do not try to speed up the cooling process by placing it in the fridge, as this can negatively impact the cake’s texture, making it dense and potentially dry.
- Serving Warm: If you prefer to serve your vegan pineapple upside-down cake warm, once it has cooled completely and been sliced, individual slices can be gently reheated in the microwave for 10-20 seconds until just warm through. This will bring back that comforting, fresh-from-the-oven feel.
Can I Make It In Advance?
Unfortunately, this vegan pineapple upside-down cake is truly at its best when eaten fresh on the day it’s baked. The flavors are most vibrant, and the cake’s tender, moist texture is unparalleled. While it’s perfectly safe to consume leftovers, they are best stored in an airtight container in the fridge for a couple of days. Beyond that, the cake may start to dry out slightly or lose some of its fresh appeal. For the ultimate experience, plan to bake and enjoy it relatively close to serving time.
More Classic Vegan Cakes to Explore:
If you’ve enjoyed this delightful vegan pineapple upside-down cake, you might be keen to explore other classic cakes that have been lovingly adapted to be entirely plant-based. Here are some more fantastic vegan baking adventures:
- Vegan Battenberg Cake
- Vegan Victoria Sponge Cake
- Vegan Lemon Drizzle Cake
- Vegan Simnel Cake
- Vegan Coffee and Walnut Cake
- Easy Vegan Ginger Cake
- Vegan Christmas Cake
- Vegan Carrot Cake
- Vegan Apple Cake
If you tried this recipe, I’d love to know how it went! Please take a moment to rate it, leave a comment below, or tag @domestic_gothess on Instagram and use the hashtag #domesticgothess to share your wonderful creations. Your feedback helps me and other bakers!
*All images and content on Domestic Gothess are copyright protected. If you wish to share this recipe, please do so by using the provided share buttons. Do not screenshot or post the recipe or content in full.*

Vegan Pineapple Upside-Down Cake
Ingredients
Topping:
- 45 g (3 Tbsp) vegan butter/margarine melted
- 75 g (⅓ cup + 1 Tbsp) light brown soft or muscovado sugar
- about 7 tinned pineapple rings, from a 435g tin (reserve the juice)
- about 13 maraschino or glace cherries (optional)
Cake:
- 190 g (1 ½ cups + 1 Tbsp) plain (all-purpose) flour
- 10 g (1 Tbsp) cornflour (cornstarch) (or swap for more plain flour)
- 140 g (⅔ cup) caster (superfine) sugar
- ¾ tsp baking powder
- ¼ tsp bicarbonate of soda (baking soda)
- ⅛ tsp salt
- 100 ml (⅓ cup + 1 Tbsp + 1 tsp) unsweetened non-dairy milk (I use soy) room temperature
- 45 ml (3 Tbsp) of the reserved pineapple juice (or use more milk instead)
- 45 g (3 Tbsp) unsweetened non-dairy yogurt (I use the Coconut Collaborative)
- 60 ml (¼ cup) neutral oil (sunflower, olive, vegetable or canola)
- 60 g (¼ cup) vegan butter/margarine (block is best, I use Naturli vegan block) melted
- 1 ½ tsp vanilla extract
- 1 tsp cider or white wine vinegar (or lemon juice)
Instructions
-
Preheat the oven to 180°C/160° fan/350°F/gas mark 4. Grease a 5cm/2in deep, 20cm/8in round non-stick cake tin. It should NOT be loose bottomed or springform.
-
Stir together the melted vegan butter and the light brown soft sugar until smooth then spread it evenly across the bottom of the cake tin.
-
Thoroughly blot the pineapple rings and cherries dry with kitchen paper then arrange them in the base of the tin – one pineapple ring in the middle and six around the edge. You may need to squish them together a bit to fit them in. Place a cherry in the middle of each ring, and more in the gaps in between them if you like. Place the tin in the fridge while you prepare the cake batter.
-
In a large bowl, whisk together the plain flour, cornflour, sugar, baking powder, bicarbonate of soda and salt until well combined.
-
In a jug, whisk together the milk, pineapple juice, yogurt, oil, melted butter, vanilla and vinegar.
-
Pour the wet ingredients into the dry and stir with a balloon whisk until no dry lumps remain but do not over-beat the batter.
-
Pour the batter in to the pineapple lined cake tin and spread it level. Bake in the middle of the oven for about 50 minutes until the cake is firm to the touch and a skewer inserted into the centre comes out clean (don’t push it all the way to the bottom though otherwise it may not come out clean even when the cake is cooked.).
-
Let the cake cool in the tin for 15 minutes then run a knife around the edge to loosen it, place a serving plate on top of the tin, carefully flip it over and lift off the cake tin.
-
Let the cake cool at room temperature for a couple of hours before serving.
Notes
- For the best results make sure that you follow the recipe closely. As always, I highly recommend weighing your ingredients using the gram measurements (with a digital scale), rather than the cup conversions. Cup measurements are simply not accurate enough for baking and I cannot guarantee the best results if you use them.
- It is tempting to eat the cake right away, but as it is a very tender cake you will not be able to slice it neatly when it is warm. If you want to be able to cut clean slices you will need to leave it to cool for several hours at room temperature before slicing it. Don’t place it in the fridge to speed up cooling as this can make the cake dense.
