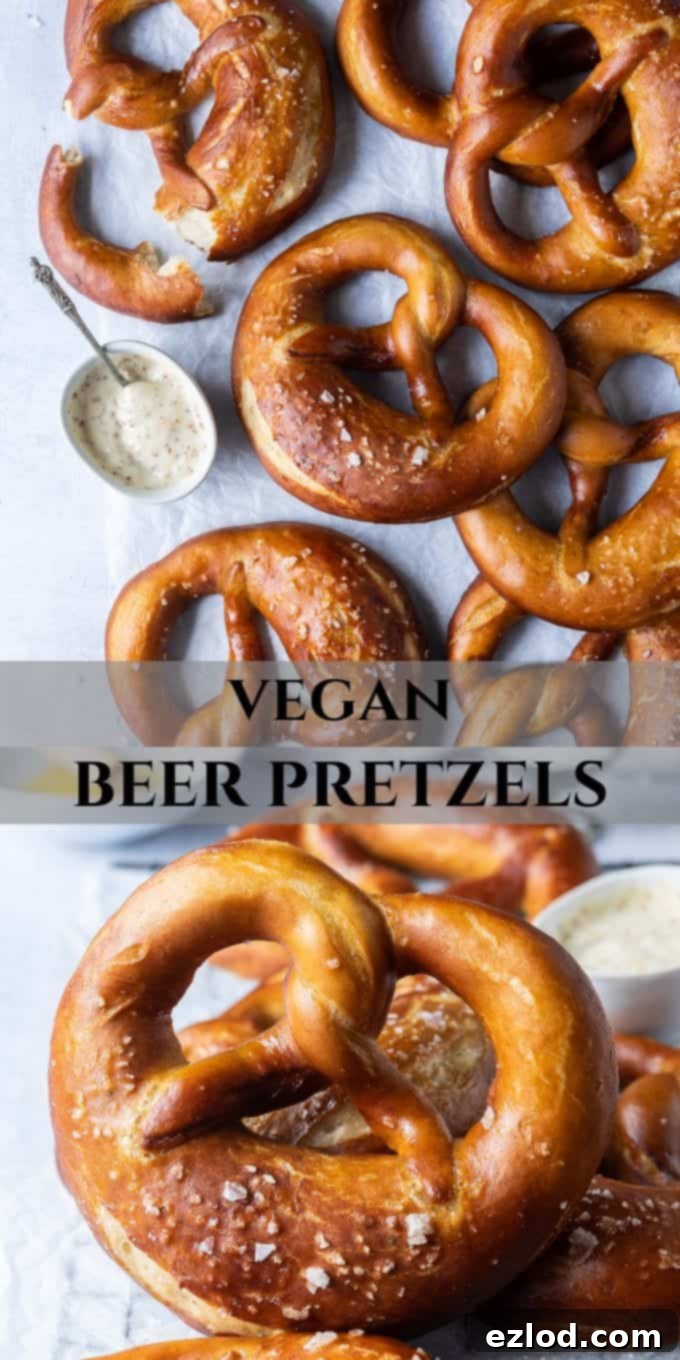
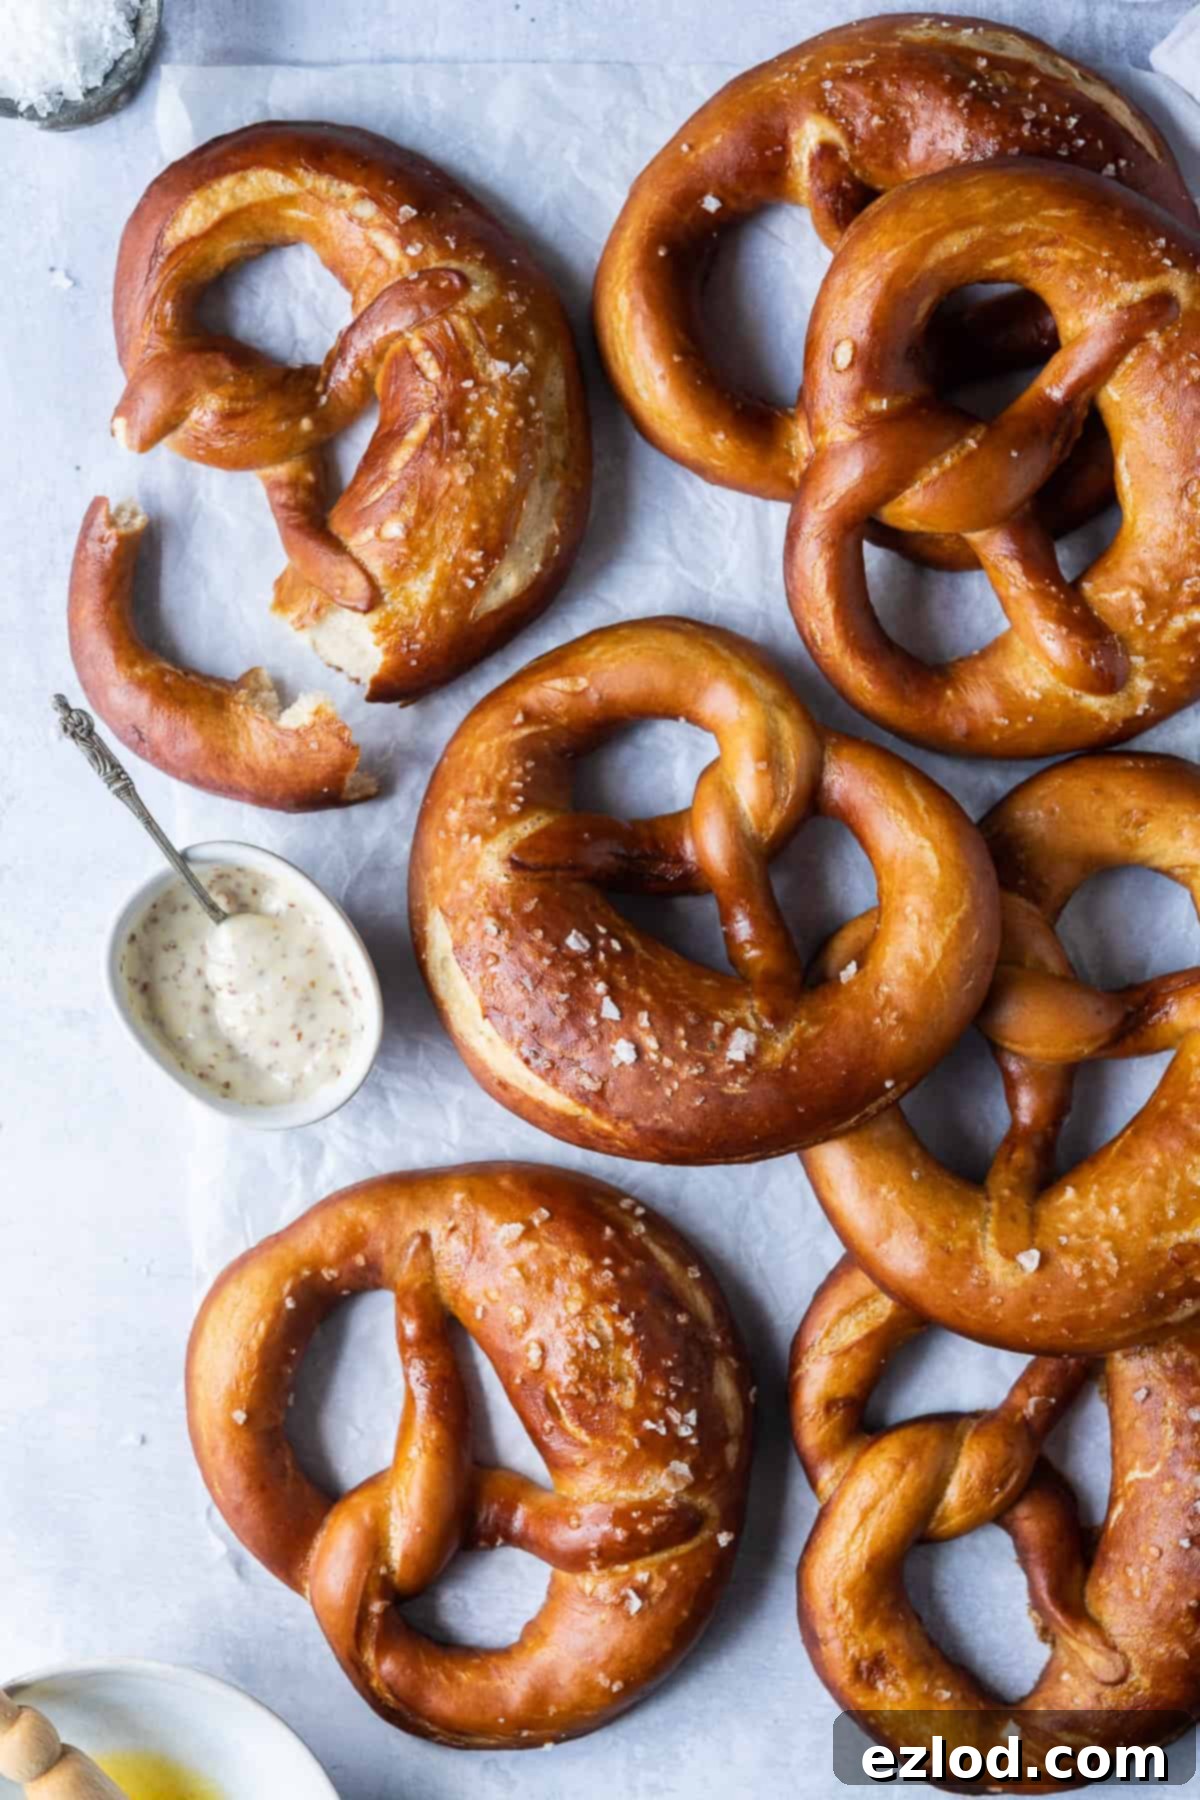
Ultimate Guide to Delicious Vegan Beer Pretzels: Soft, Chewy & Flavorful
Discover how to make the most incredible homemade vegan beer pretzels! These delightful soft pretzels, featuring an optional splash of beer for unparalleled depth of flavor, are incredibly soft, wonderfully chewy, and surprisingly simple to master. Get ready to bake a batch of perfect, dairy-free, and egg-free vegan pretzels right in your own kitchen!
The Inspiration Behind These Irresistible Vegan Pretzels
Many years ago, I shared a beloved recipe for beer pretzel hot dog buns. It was a firm favorite, offering that signature pretzel taste in a creative format. However, as time passed and my culinary journey evolved, that recipe faded into the background. It wasn’t until a recent site maintenance session that I rediscovered it, and a wave of inspiration hit: it was high time to adapt and perfect a truly authentic, vegan version of the classic pretzel shape, infused with the same incredible beer flavor.
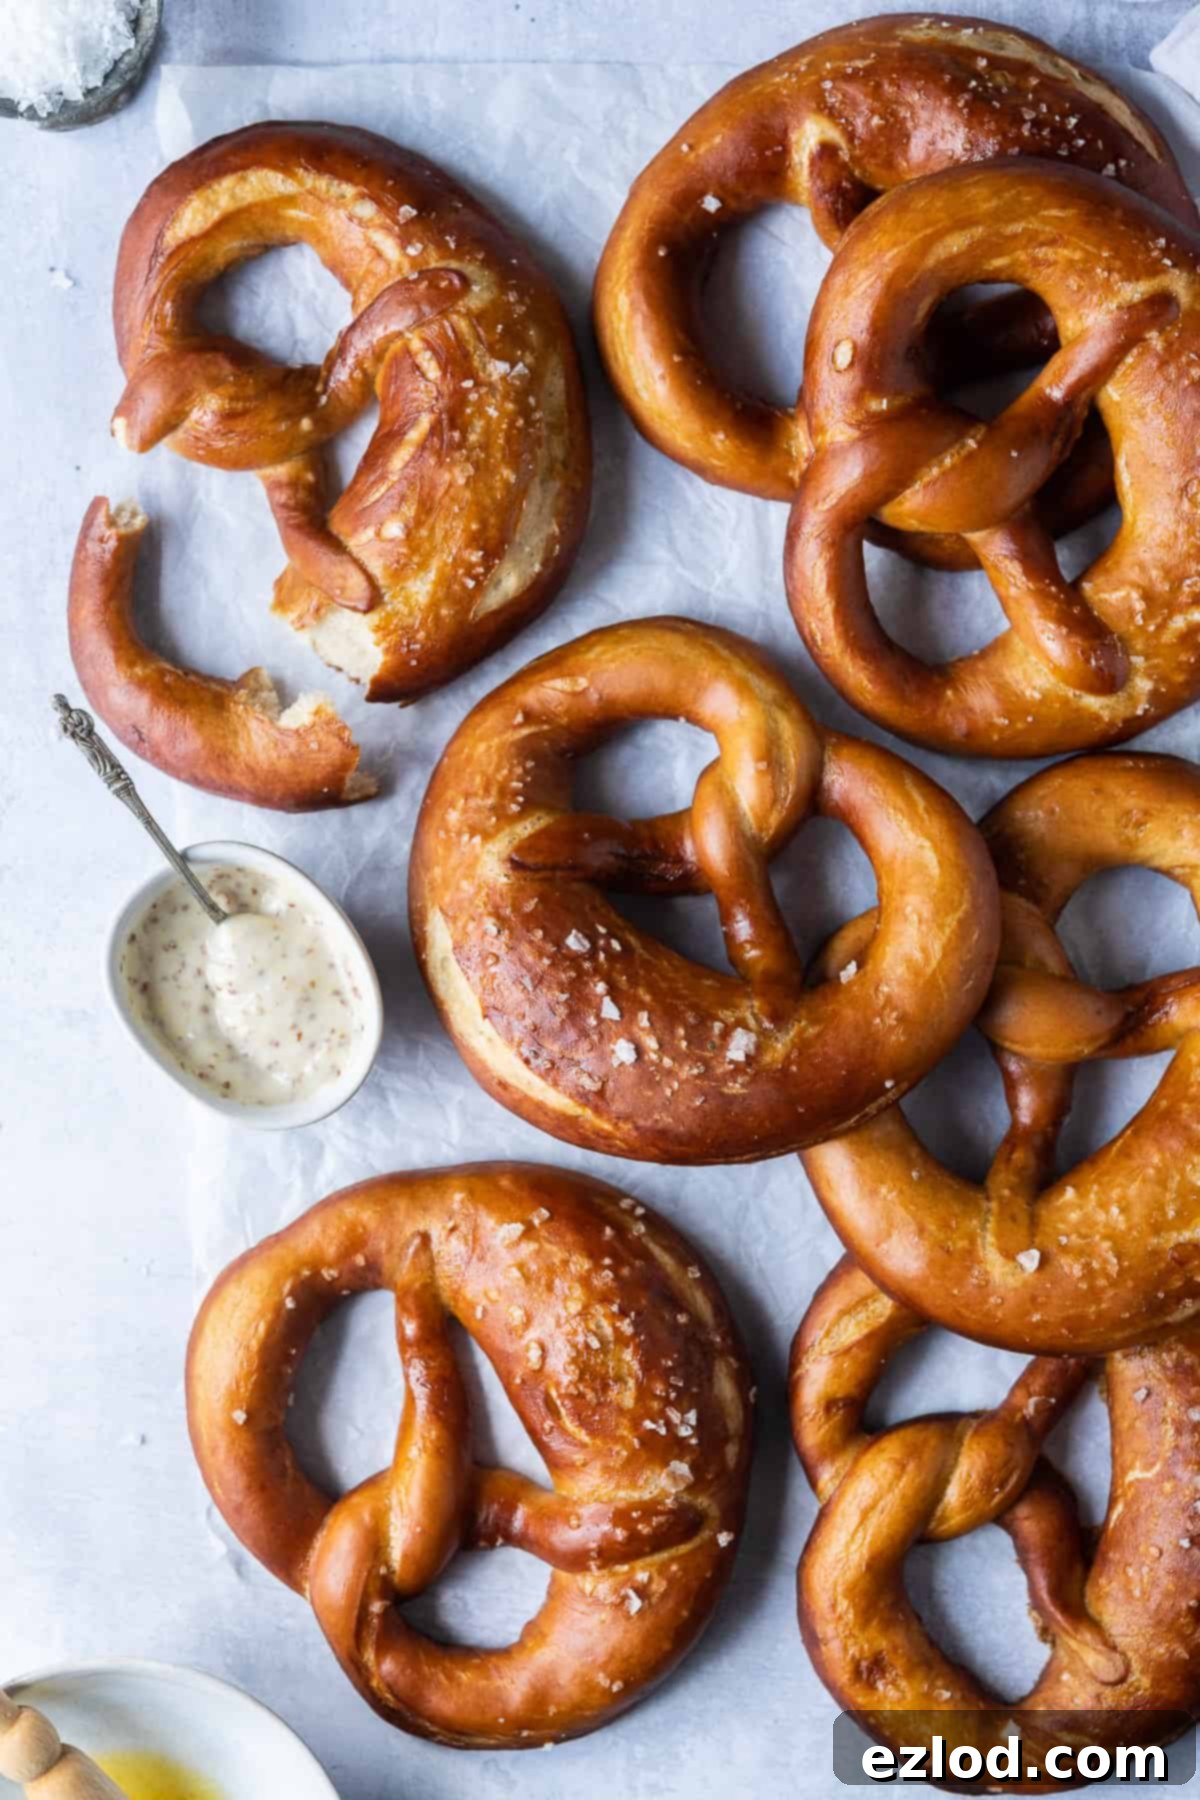
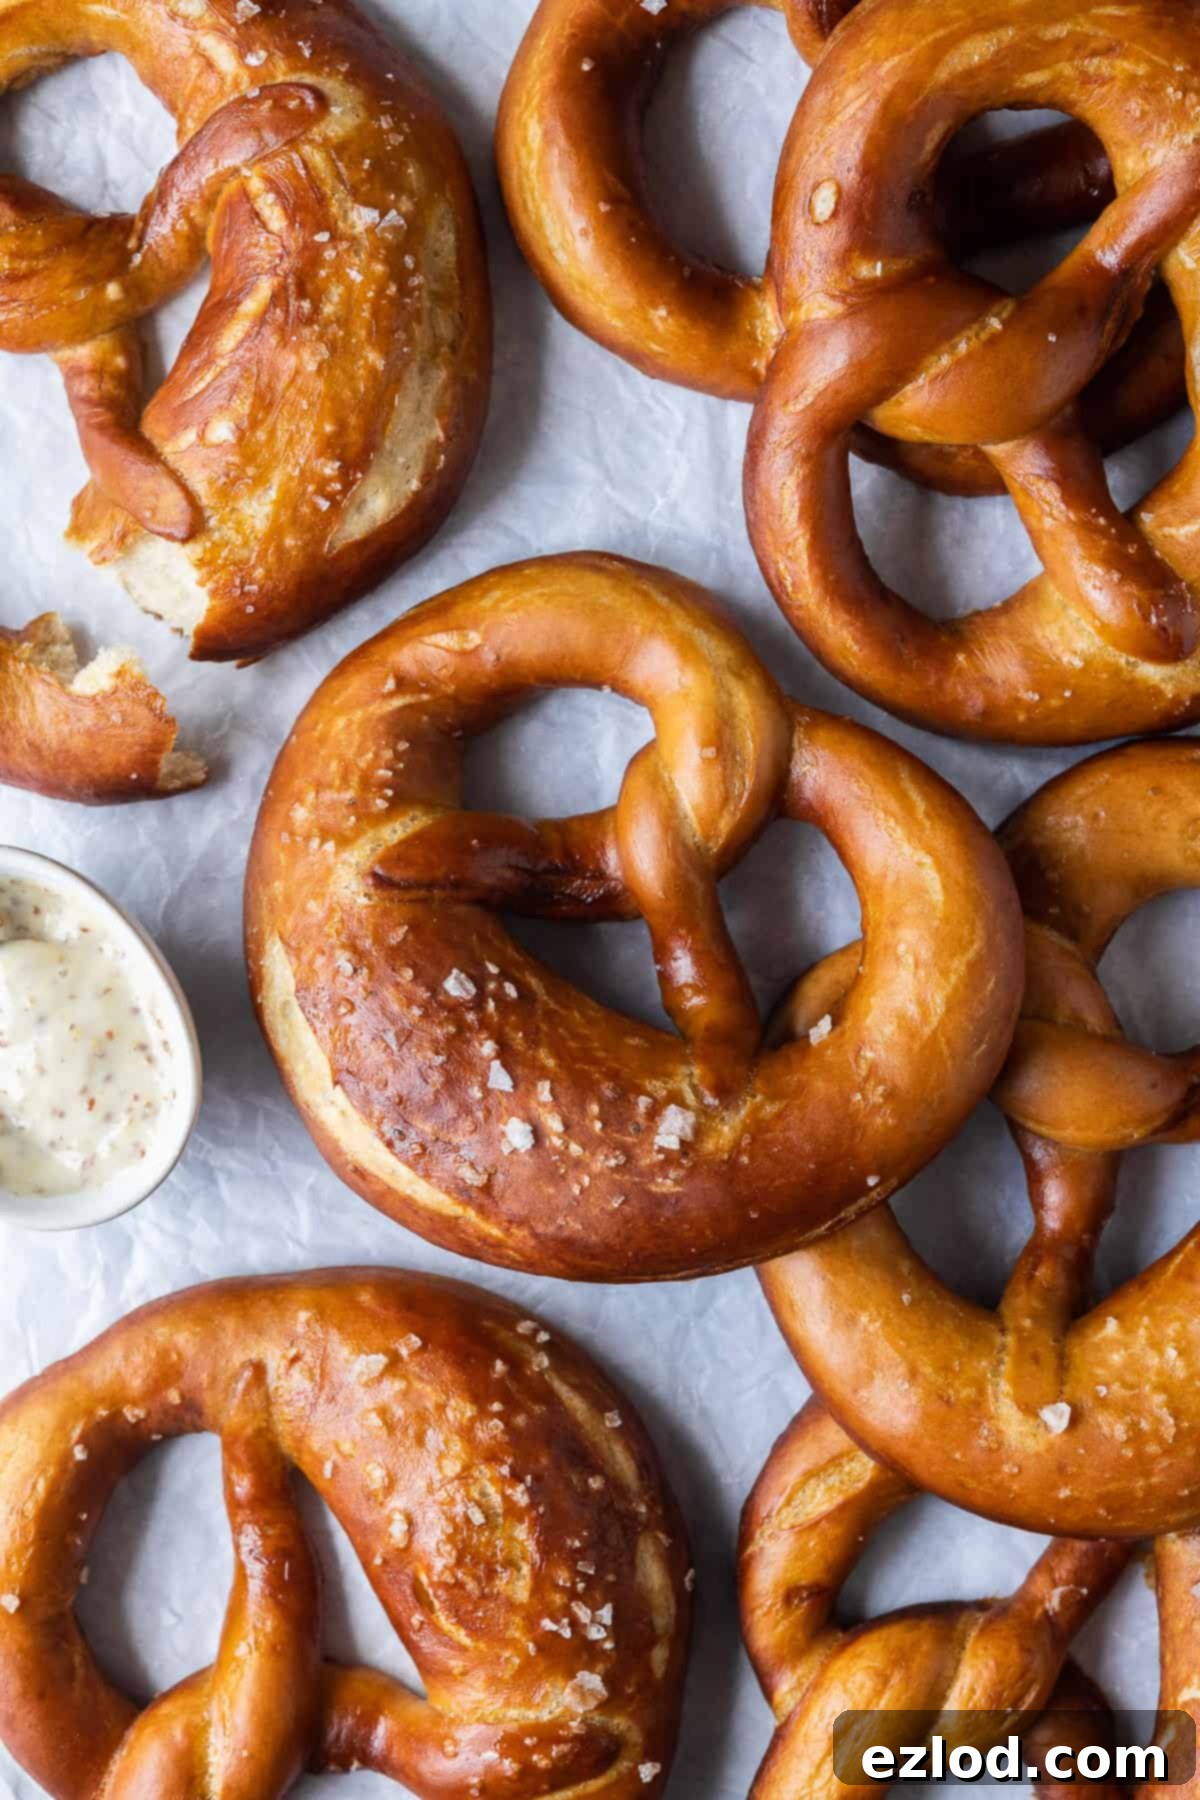
The result? These phenomenal vegan beer pretzels. They boast an irresistibly soft interior, a distinctively chewy crust, and that unmistakable, deep pretzel flavor that keeps you coming back for more. While traditional pretzels are undoubtedly delicious, the subtle addition of beer in this recipe elevates them to an entirely new level of flavor complexity, making them truly special. The malty notes from the beer infuse the dough, creating a richer and more nuanced taste that is simply captivating.
These homemade soft pretzels are so satisfying, I often find myself enjoying them plain, especially when they’re still warm from the oven, freshly brushed with a generous layer of melted vegan butter. The combination of warmth, crunchy salt, and rich butter is simply divine. Beyond eating them on their own, they make a fantastic accompaniment to various meals. Spread them with your favorite vegan butter or cream cheese, serve them alongside a variety of dips like hummus, a tangy beer cheese sauce, or a spicy mustard, or pair them with a hearty bowl of soup for an extra comforting touch. Their versatility makes them perfect for any occasion, from a casual snack to an impressive party appetizer. They’re also a fantastic addition to a vegan charcuterie board, bringing an element of sophisticated comfort.
What Exactly Are Pretzels? A Brief History and Culinary Significance
Pretzels, known as “Bretzel” in their native Germany, are one of the most iconic and celebrated baked goods originating from the German-speaking regions of Europe. Their popularity extends beyond Germany to areas like Alsace in France, Austria, and Switzerland, each having their own variations and traditions. Over centuries, they have also found a significant following in the United States, particularly in Pennsylvania, where a distinct type – the hard, crunchy, crisp-like pretzels – was famously invented and popularized.
At their core, traditional pretzels are a soft, leavened bread, distinctively shaped into a unique, symmetrical knot. This knot shape is believed to represent praying arms, linking pretzels to their monastic origins. While some sweet variations exist, they are most commonly prepared as a savory snack, typically adorned with coarse, crunchy salt. This salt not only provides a pleasant textural contrast but also enhances the overall flavor profile, creating a perfect balance between salty and subtly sweet dough.
The characteristic deep brown color and unique, slightly alkaline flavor of traditional pretzels come from a crucial step: a quick dip in a lye (sodium hydroxide) solution before baking. This alkaline bath causes the surface of the dough to gelatinize, allowing it to achieve that deep mahogany color and distinctive crisp exterior during baking, while keeping the inside soft. While lye delivers unparalleled results, it is a highly corrosive substance and can be dangerous for home bakers to work with. For safety and convenience, most home bakers, including myself, opt for a bicarbonate of soda (baking soda) bath instead. While the outcome isn’t *exactly* the same as a lye dip, it comes incredibly close, offering a much safer and easier alternative without compromising too much on that authentic pretzel experience. The baking soda solution creates the necessary alkaline environment to promote the Maillard reaction during baking, which is responsible for the deep color and distinct pretzel flavor that we all love.
Why Choose Vegan Pretzels? Accessible & Delicious!
Embracing a vegan diet doesn’t mean sacrificing classic comfort foods, and these vegan beer pretzels are a delicious testament to that. Traditional pretzel recipes often include dairy milk and butter, and sometimes eggs in the dough. By thoughtfully substituting these with plant-based alternatives like unsweetened non-dairy milk and vegan butter, we create a recipe that is entirely egg-free and dairy-free. This makes these incredibly flavorful and soft pretzels accessible to those with lactose intolerance, egg allergies, or ethical preferences, without compromising on the incredible taste or signature chewy texture. Everyone deserves to enjoy a warm, freshly baked pretzel, and this recipe ensures that’s possible for a wider audience. Plus, opting for vegan ingredients often means a lighter, yet equally satisfying, finished product.
The Role of Beer in Your Pretzel Recipe: Flavor Enhancer
The inclusion of beer in this pretzel dough isn’t just a gimmick; it genuinely enhances the pretzels’ flavor profile and can even subtly contribute to their texture. The malt and yeast components in beer introduce a subtle depth and complexity, adding a slightly tangy, earthy, and savory note that complements the classic pretzel taste beautifully. It creates a richer, more nuanced flavor than water alone could achieve, elevating the overall culinary experience.
When selecting your beer, several factors are worth considering to achieve the best results. Firstly, and crucially for a vegan recipe, ensure it’s vegan-friendly, as not all beers are. Many beers use animal-derived fining agents (like isinglass or gelatin) during their brewing process to clarify the liquid. Always check the label or consult a reliable vegan beer database or app. I personally used Brewdog Dead Pony Club for this recipe, which worked wonderfully and is widely available. Generally, I recommend choosing an ale over a lager for a more pronounced flavor contribution, as ales tend to have more robust, malty characteristics. However, avoid anything too dark or heavily flavored, such as very dark stouts or porters, as their intense, roasted notes might overpower the delicate, classic pretzel flavor we’re aiming for. A medium-bodied ale or even a lighter amber ale will provide the perfect balance of richness without being overwhelming.
For those who prefer not to use alcohol, or simply don’t have beer on hand, don’t worry! You can easily substitute the beer with an equal quantity of water. The pretzels will still be wonderfully soft, delightfully chewy, and flavorful, though they will naturally lack that distinct, subtle malty undertone that the beer provides. Rest assured, whether with beer or water, you’re in for a homemade pretzel treat!
Crafting Your Perfect Vegan Beer Pretzels: A Detailed Step-by-Step Guide
(For a detailed list of ingredients, precise measurements, and a full, printable recipe card, please refer to the recipe card located further down this page. I strongly recommend using a kitchen scale for accuracy in all baking recipes.)
1. Preparing the Dough: The Foundation of Flavor and Texture
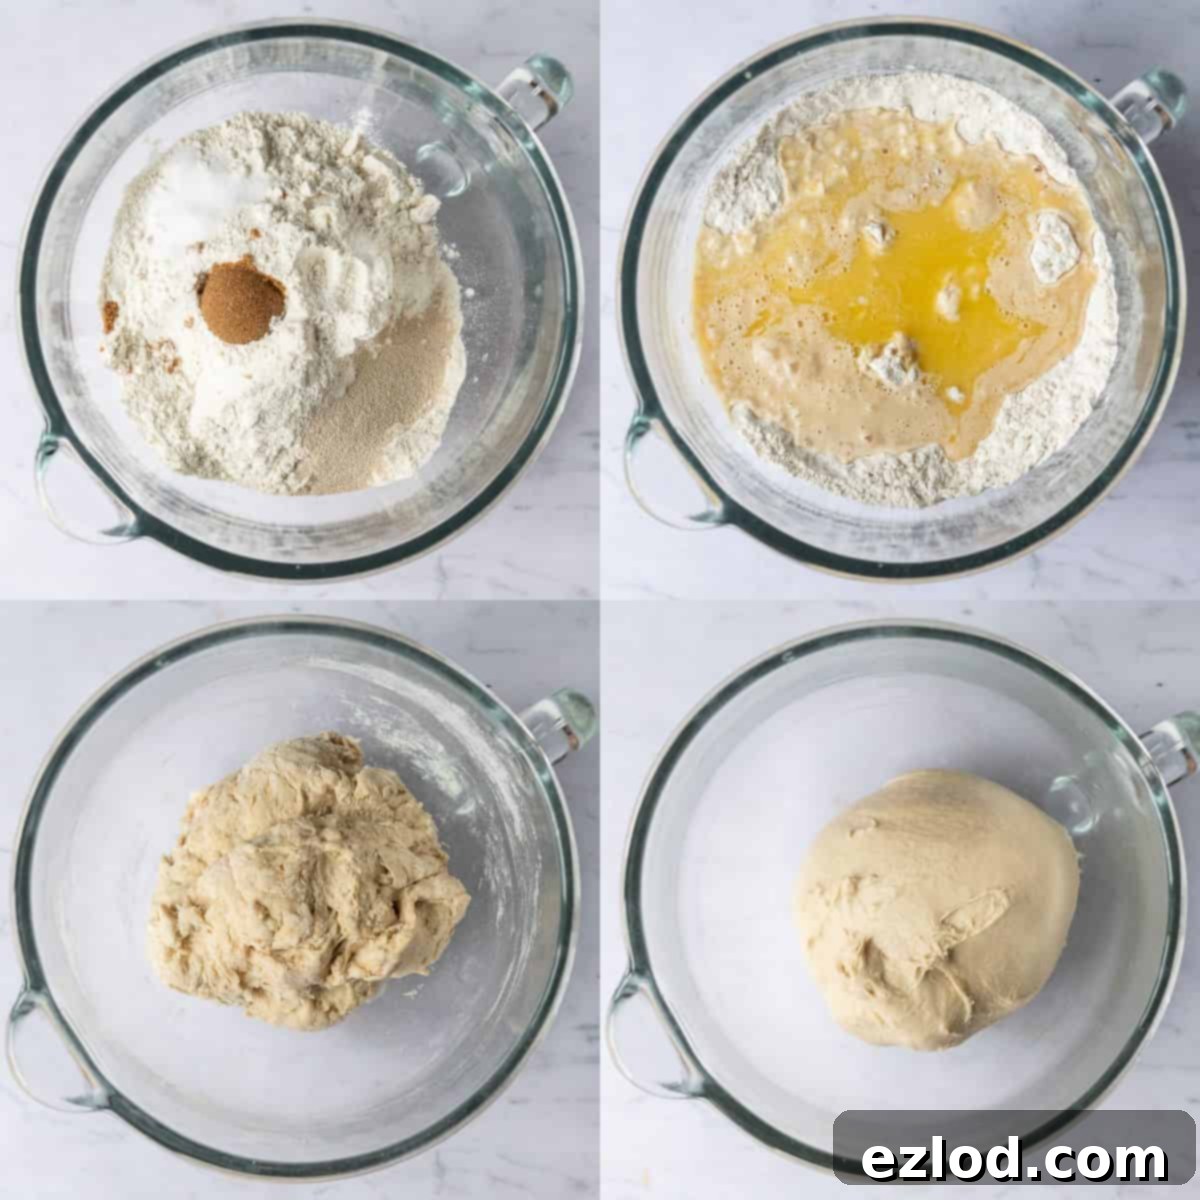
Begin by combining your dry ingredients in a large mixing bowl or the bowl of a stand mixer equipped with a dough hook. Add the white bread flour, fast-action yeast, salt, and dark brown soft sugar. White bread flour is highly recommended for this recipe due to its higher protein content. This protein develops stronger gluten during kneading, which is essential for achieving that desirable chewy texture characteristic of a perfect soft pretzel. The fast-action yeast ensures an efficient and reliable rise, while salt balances the flavors and regulates yeast activity. The dark brown soft sugar isn’t just for sweetness; it plays a crucial role in feeding the yeast, promoting a robust rise, and contributing significantly to the rich, deep brown crust that forms during baking. Its molasses content also adds a subtle depth of flavor. Do not omit or substitute this ingredient with white sugar for the best results!
Next, carefully pour in the beer (or water, if substituting), lukewarm unsweetened non-dairy milk, and the melted vegan butter. Start mixing these ingredients thoroughly until they come together to form a rough, shaggy dough. Once combined, it’s time for the most critical step for developing the pretzel’s texture: kneading. Knead the dough vigorously for approximately 10 minutes, either by hand on a lightly floured surface or using your stand mixer on a medium-low speed. You’ll know the dough is ready when it transforms from sticky and lumpy into a smooth, elastic, and supple ball that springs back when gently poked. Proper kneading develops the gluten network, which is absolutely essential for the pretzel’s characteristic chewiness and structure.
2. The First Rise: Developing Flavor and Volume
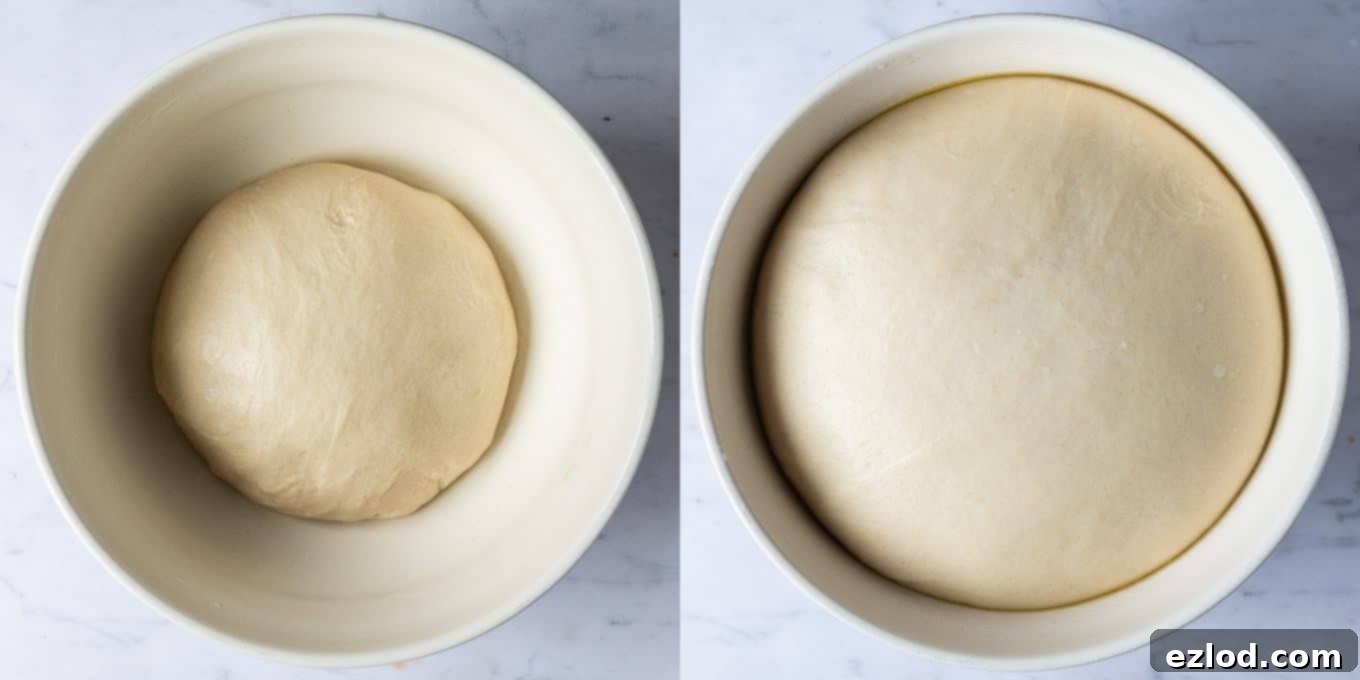
Once your dough is perfectly kneaded and smooth, transfer it to a large, lightly oiled bowl. Turn the dough once to ensure it’s lightly coated with oil on all sides, which prevents it from drying out and sticking. Then, cover the bowl securely with a clean tea towel or plastic wrap. Set it aside in a warm, draft-free place to rise until it has visibly doubled in size. This process typically takes about 1 ½ hours at a warm room temperature (around 20-24°C / 68-75°F). For an even deeper flavor development and a more complex crumb structure, you can opt for a slower, overnight rise in the fridge. A cold, slow rise allows the yeast to work more gradually, creating more complex, fermented flavors in the finished pretzel, similar to artisan bread.
3. Shaping Your Pretzels: A Simple Art Form
After the first rise, gently punch down the risen dough to release the accumulated gases. Give it a very brief knead on a clean surface to ensure all the air is knocked out, then divide the dough into eight equal pieces. For maximum accuracy and consistent pretzel sizes – which helps them bake evenly – I highly recommend using a digital kitchen scale for this step. Roll each individual piece of dough into a neat, tight ball, then cover them with a clean tea towel and let them rest for 10 minutes. This crucial resting period allows the gluten to relax after handling, making the dough much easier to roll and shape into long ropes without it snapping back or tearing.
How to Form the Classic Pretzel Knot:
While the pretzel’s iconic knot shape might appear intricate and challenging, it’s surprisingly simple to achieve with just a little practice. You’ll be a pretzel-shaping pro in no time! Here’s a detailed breakdown:
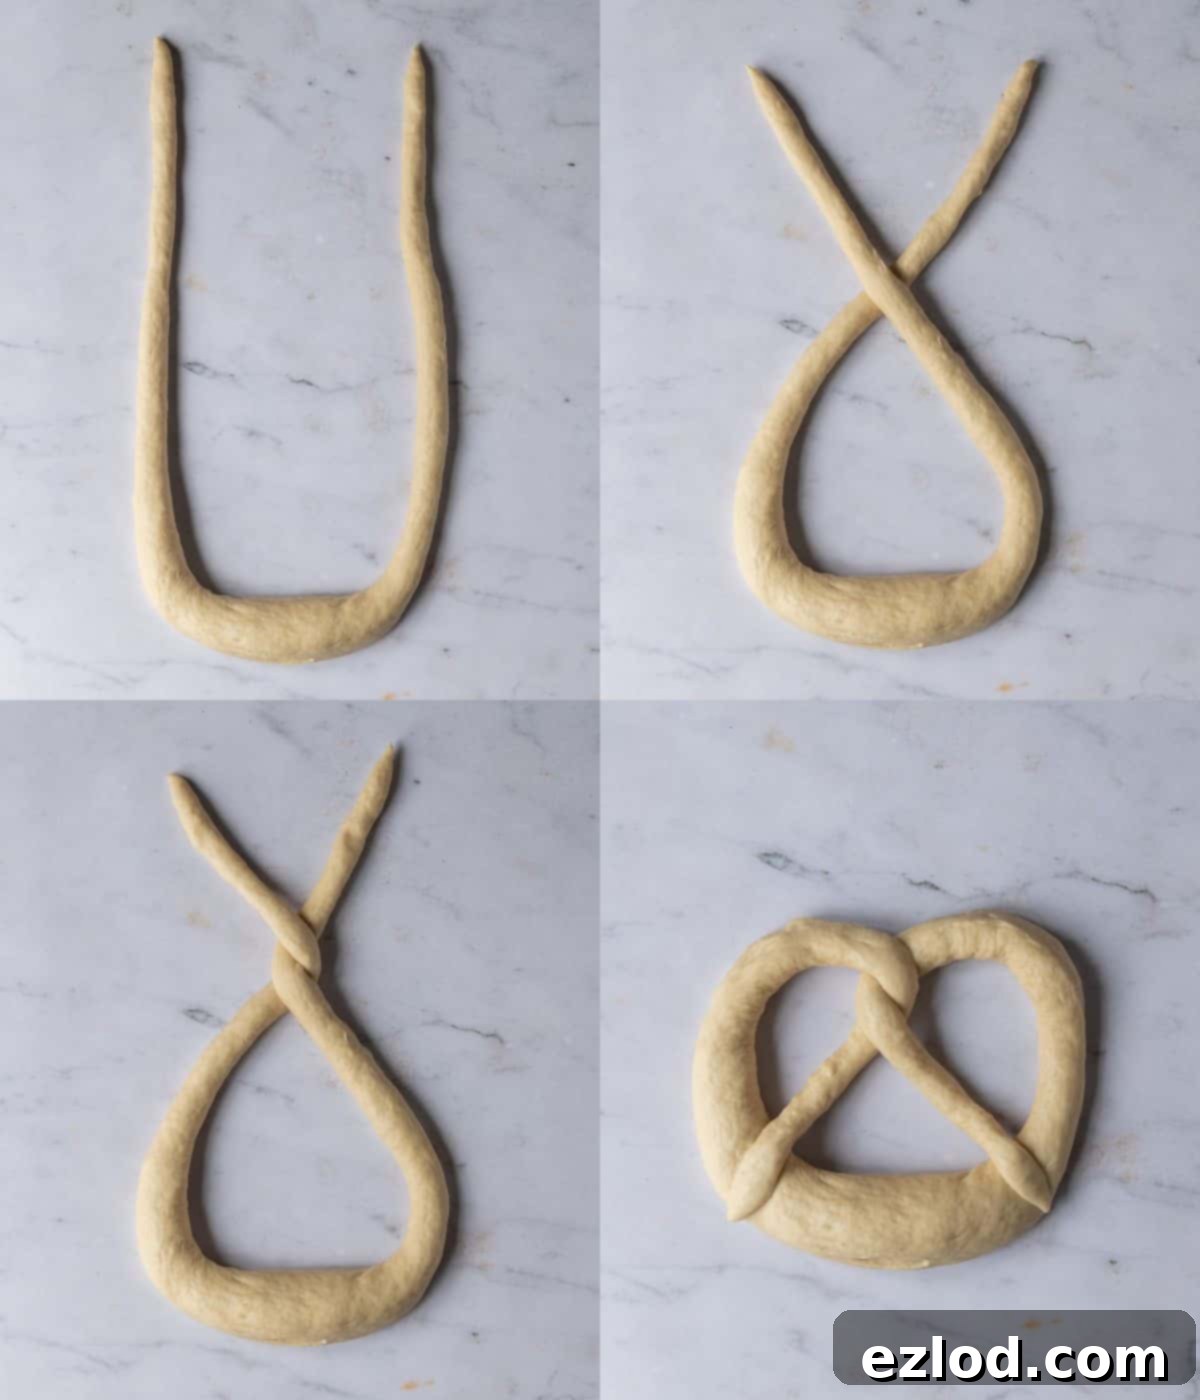
- Roll the Rope: Take one of the rested dough balls and, using both hands (starting from the middle and working your way outwards), roll it out into a long, thin rope. Aim for approximately 40 cm (16 inches) in length. The key is to create a slightly thicker section in the very middle of the rope, which gradually tapers off into thinner “arms” on either end. This central thicker part is strategically where you’ll make your characteristic slash later, so ensure it’s distinct.
- Form the “U”: Lay the rolled rope down on your clean, lightly floured work surface, forming a clear “U” shape with the thicker middle section facing directly towards you.
- First Cross: Take the two thin arms of the “U” and cross them over each other. This cross should occur about halfway along their individual lengths. Critically, ensure the right arm crosses over the left arm.
- Double Twist: Now, cross the right arm over the left arm *again*. This creates a neat double twist in the middle section of the arms. This double twist adds to the visual appeal and also contributes to the distinctive texture of the baked pretzel.
- Fold and Seal: Carefully pick up the two ends of the twisted arms. Gently fold them back towards the thicker bottom section of the initial “U” shape. Lightly press the ends onto the thickest part of the dough to securely seal them in place. Be gentle; you want them to adhere without squishing the dough too much.
Repeat this precise shaping process for all remaining dough balls. Don’t worry if your first few aren’t perfect; practice makes perfect, and they will still taste amazing! You’ll quickly get the hang of it.
4. The Second Rise (and Drying): Crucial for Crust
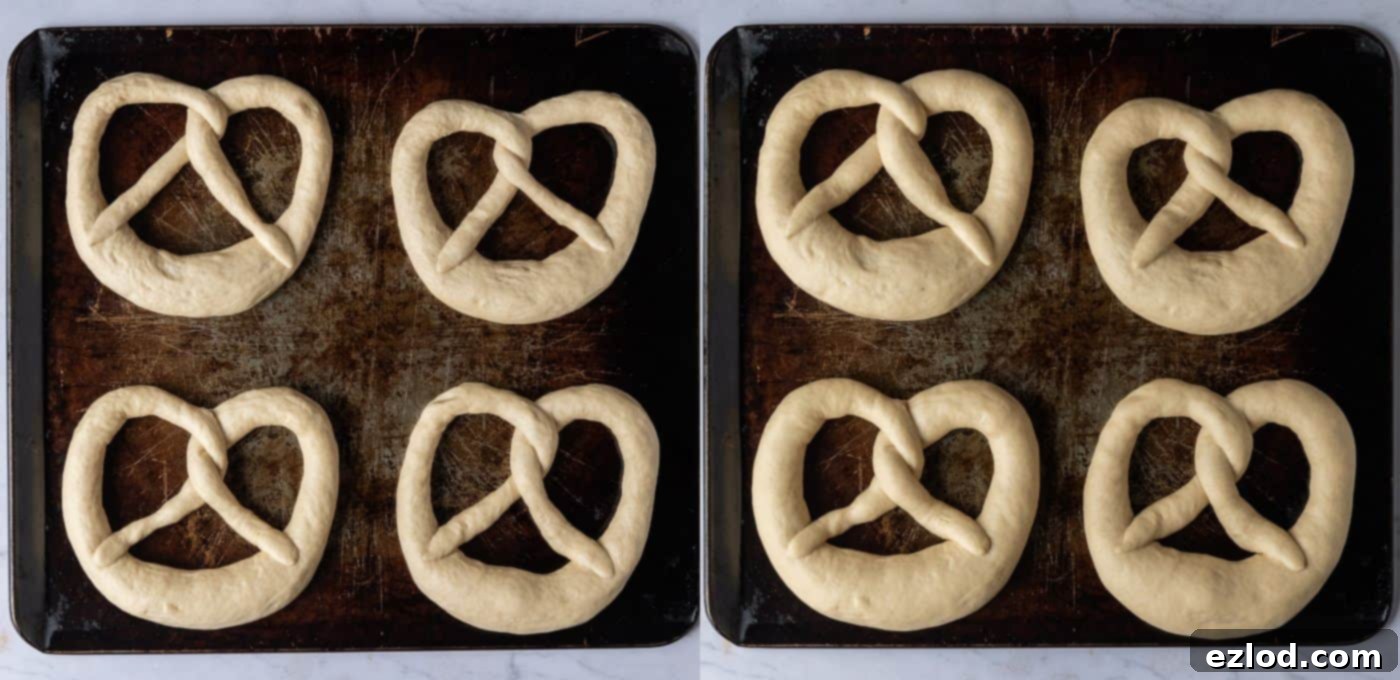
Grease two baking sheets generously, or line them with baking parchment to prevent any sticking. Carefully pick up each shaped pretzel by its top two holes and gently place it onto the prepared baking sheet. Re-shape it gently if necessary to ensure it maintains its classic, beautiful form. Arrange them with enough space between each to allow for expansion during this second rise and subsequent baking without crowding.
Leave the trays of shaped pretzels uncovered to rise for about 30 minutes at room temperature. During this second rise, they will become noticeably puffy and slightly larger. Critically, *do not cover them*! This specific instruction is vital for developing the signature pretzel crust. Allowing the surface of the dough to dry out slightly and form a thin, leathery skin is key. This skin helps the pretzels maintain their perfect shape during the baking soda bath and contributes significantly to a superior, crisp, and chewy crust. While they are undergoing their second rise, preheat your oven to 200°C/400°F/gas mark 6. Ensure it reaches this temperature completely before the pretzels are ready for the oven.
5. The Bicarbonate of Soda (Baking Soda) Bath: The Pretzel Secret Revealed
Now comes the truly unique step that gives pretzels their signature taste, deep brown color, and distinct chewy texture – the alkaline bath. While traditional, commercial pretzel recipes famously use lye (sodium hydroxide) for the ultimate finish, our safer, home-baker-friendly alternative is a bicarbonate of soda (baking soda) solution. This method provides nearly identical results without the handling dangers of lye.
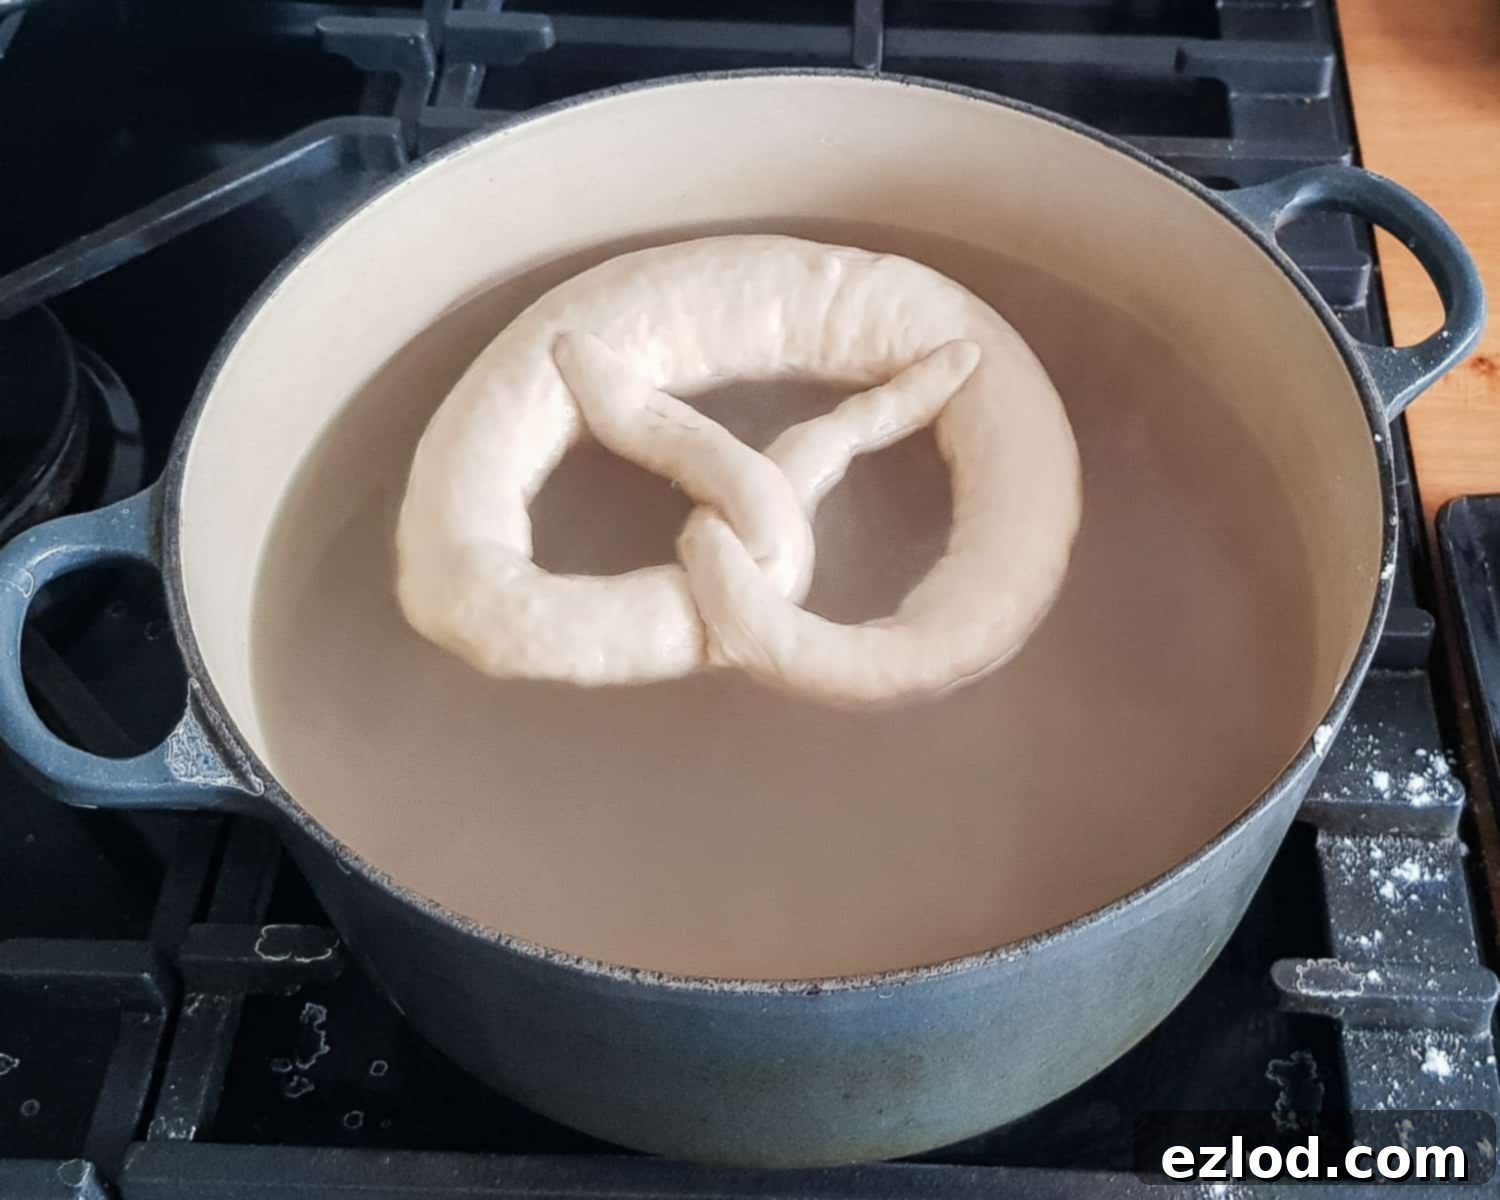
In a large, wide pan (large enough to submerge a pretzel without overcrowding), heat 2 liters (8 cups) of water until it comes to a rolling boil. Once boiling, immediately reduce the heat to the lowest possible setting – it should no longer be actively simmering, just barely maintaining warmth. Carefully stir in 5 heaped tablespoons of bicarbonate of soda (baking soda) until it is fully dissolved. Be cautious, as the solution can foam up initially; use a larger pan than you think you need. The smell might be slightly strong, but it’s safe.
Working with one pretzel at a time to maintain temperature, gently transfer it into the warm baking soda solution. The easiest and safest method is to pick up the pretzel by its top two holes (the points of the knot) and carefully lower it into the water. Poach each pretzel for precisely 30 seconds. During this crucial 30-second period, use a ladle to continually pour the bicarb solution over the top surface of the pretzel. This ensures even exposure to the alkaline solution, which is critical for achieving that distinct pretzel crust and color development during baking. After 30 seconds, use a large fish slice or a specialized wide pancake flipper (which I find perfect due to its wider, flexible surface) to carefully lift the pretzel out, allowing any excess solution to drip back into the pan. Immediately place the poached pretzel onto a baking tray lined with baking parchment. Repeat this precise process for all remaining pretzels, ensuring consistent poaching time for each.
6. Slashing, Salting, and Baking to Perfection
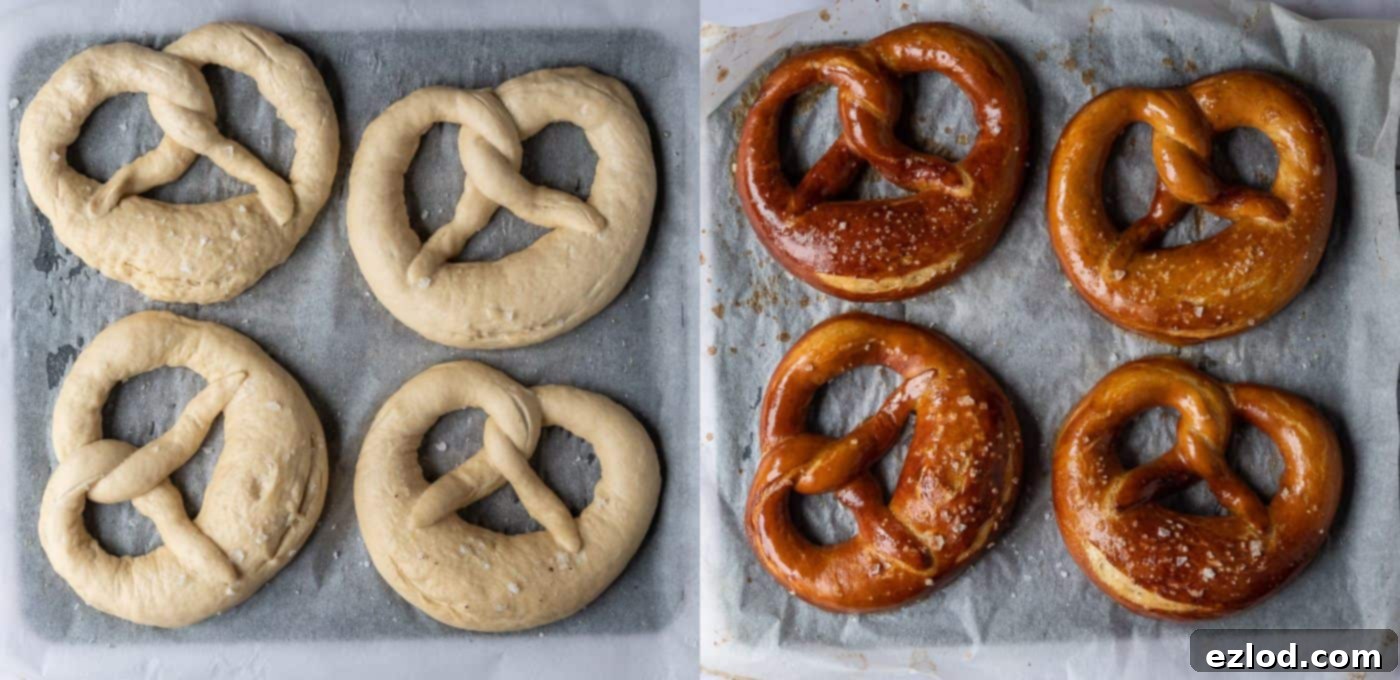
Once all the pretzels have had their essential baking soda bath and are neatly arranged on the parchment-lined trays, it’s time for the final preparations before they hit the hot oven. Using a bread lame (a specialized tool for scoring bread) or a very sharp knife (a razor blade works well), carefully cut a deep slash across the fat, central section of each pretzel. This slash is not just for aesthetics; it helps the pretzel expand correctly and evenly in the oven, preventing uncontrolled cracking and creating that classic, inviting pretzel appearance. Don’t be shy with the cut; a deep incision is necessary for the best results (my own slashing sometimes needs more work to be deep enough, so learn from my experience!).
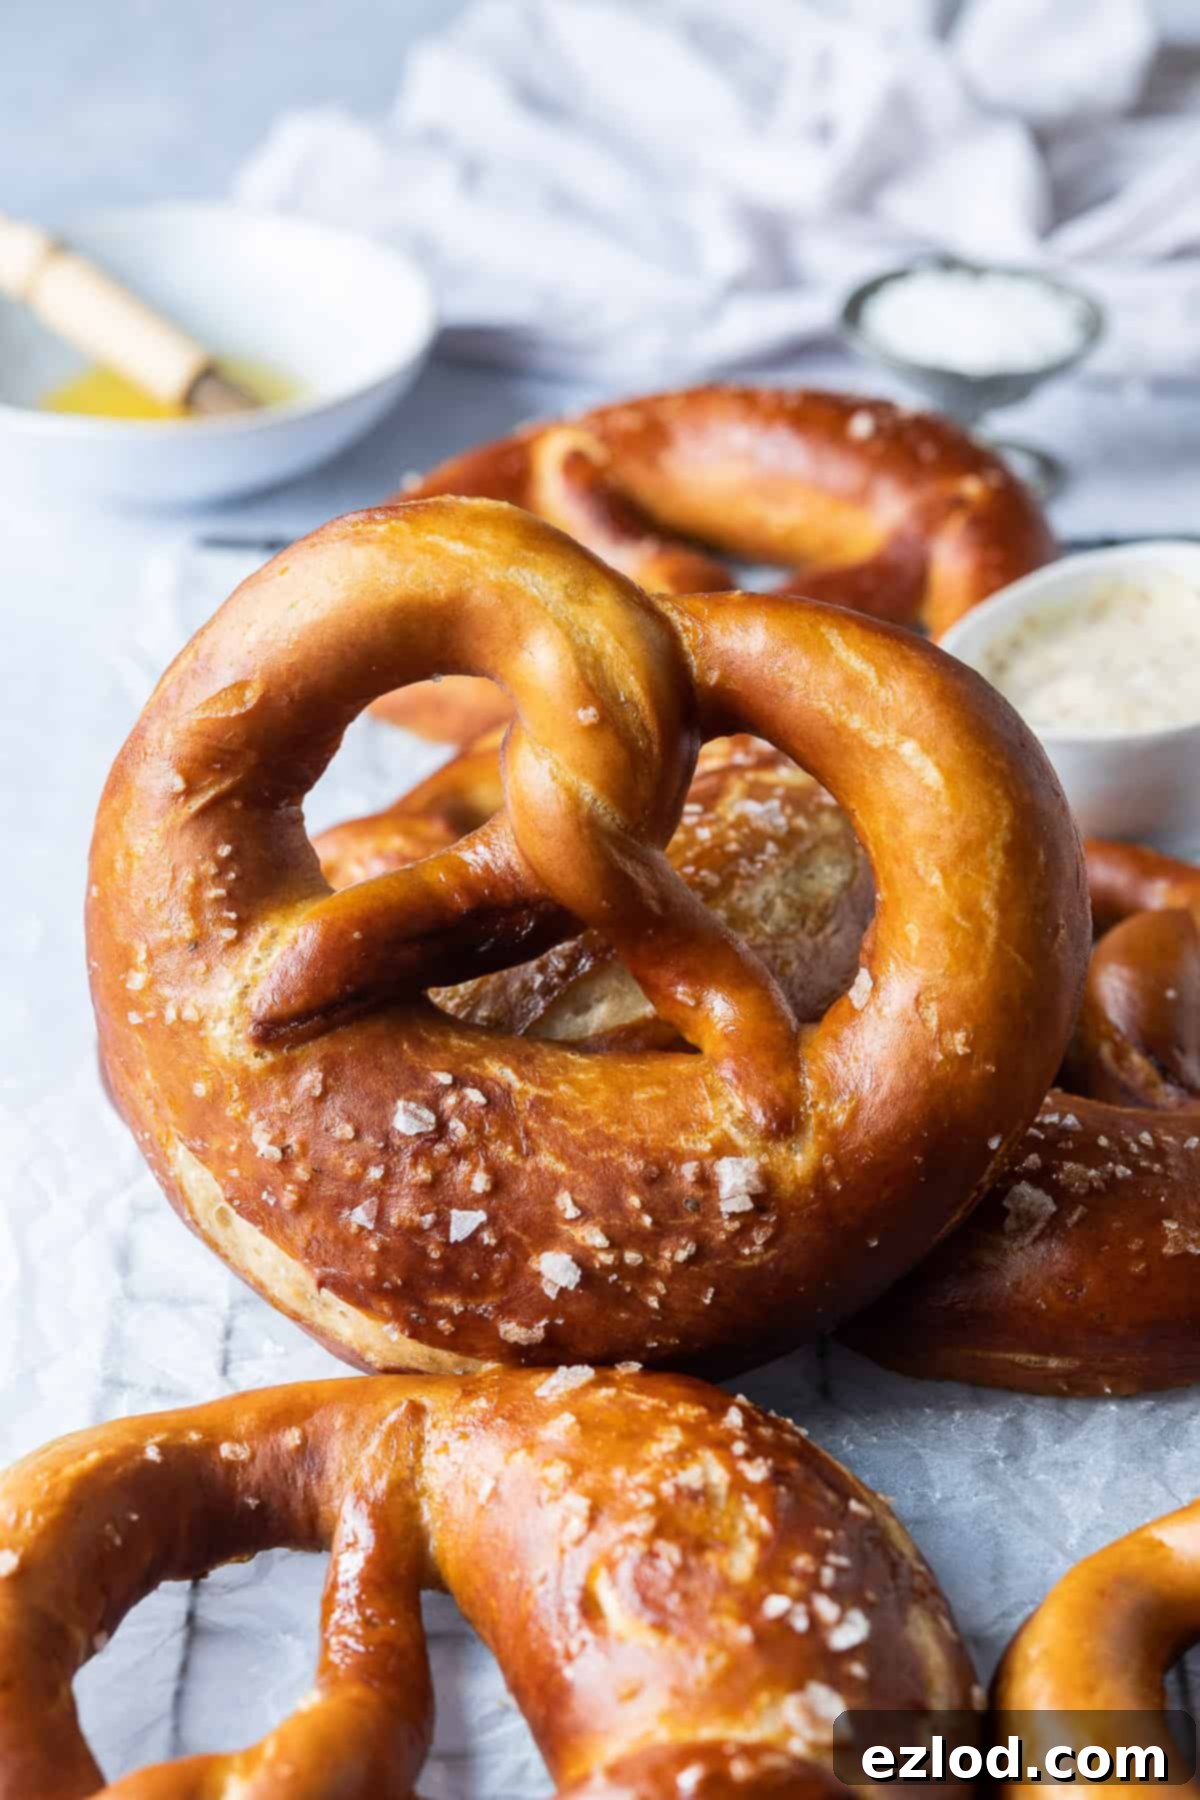
Generously sprinkle each pretzel with either authentic pretzel salt, known for its non-melting properties, or a good quality flaky sea salt like Maldon. Pretzel salt is ideal as it won’t dissolve during baking, maintaining its crunchy texture and prominent visual appeal, giving a truly professional finish. If using flaky sea salt, be aware it may dissolve slightly into the crust after baking due to its finer structure, but the flavor will still be fantastic and provide a wonderful salty kick.
Bake the pretzels in your preheated oven for 15-20 minutes. The key here is to aim for a deep, rich, mahogany brown color, not merely a light golden one. A darker crust signifies that the Maillard reaction has fully taken place, giving the pretzels their characteristic flavor, irresistible aroma, and that coveted chewy exterior. Resist the urge to pull them out too early; that deep color is crucial for true pretzel authenticity and the ultimate flavor experience. If they look too pale, give them a few more minutes until they achieve that perfect deep hue.
7. The Finishing Touch: Indulgent Melted Vegan Butter
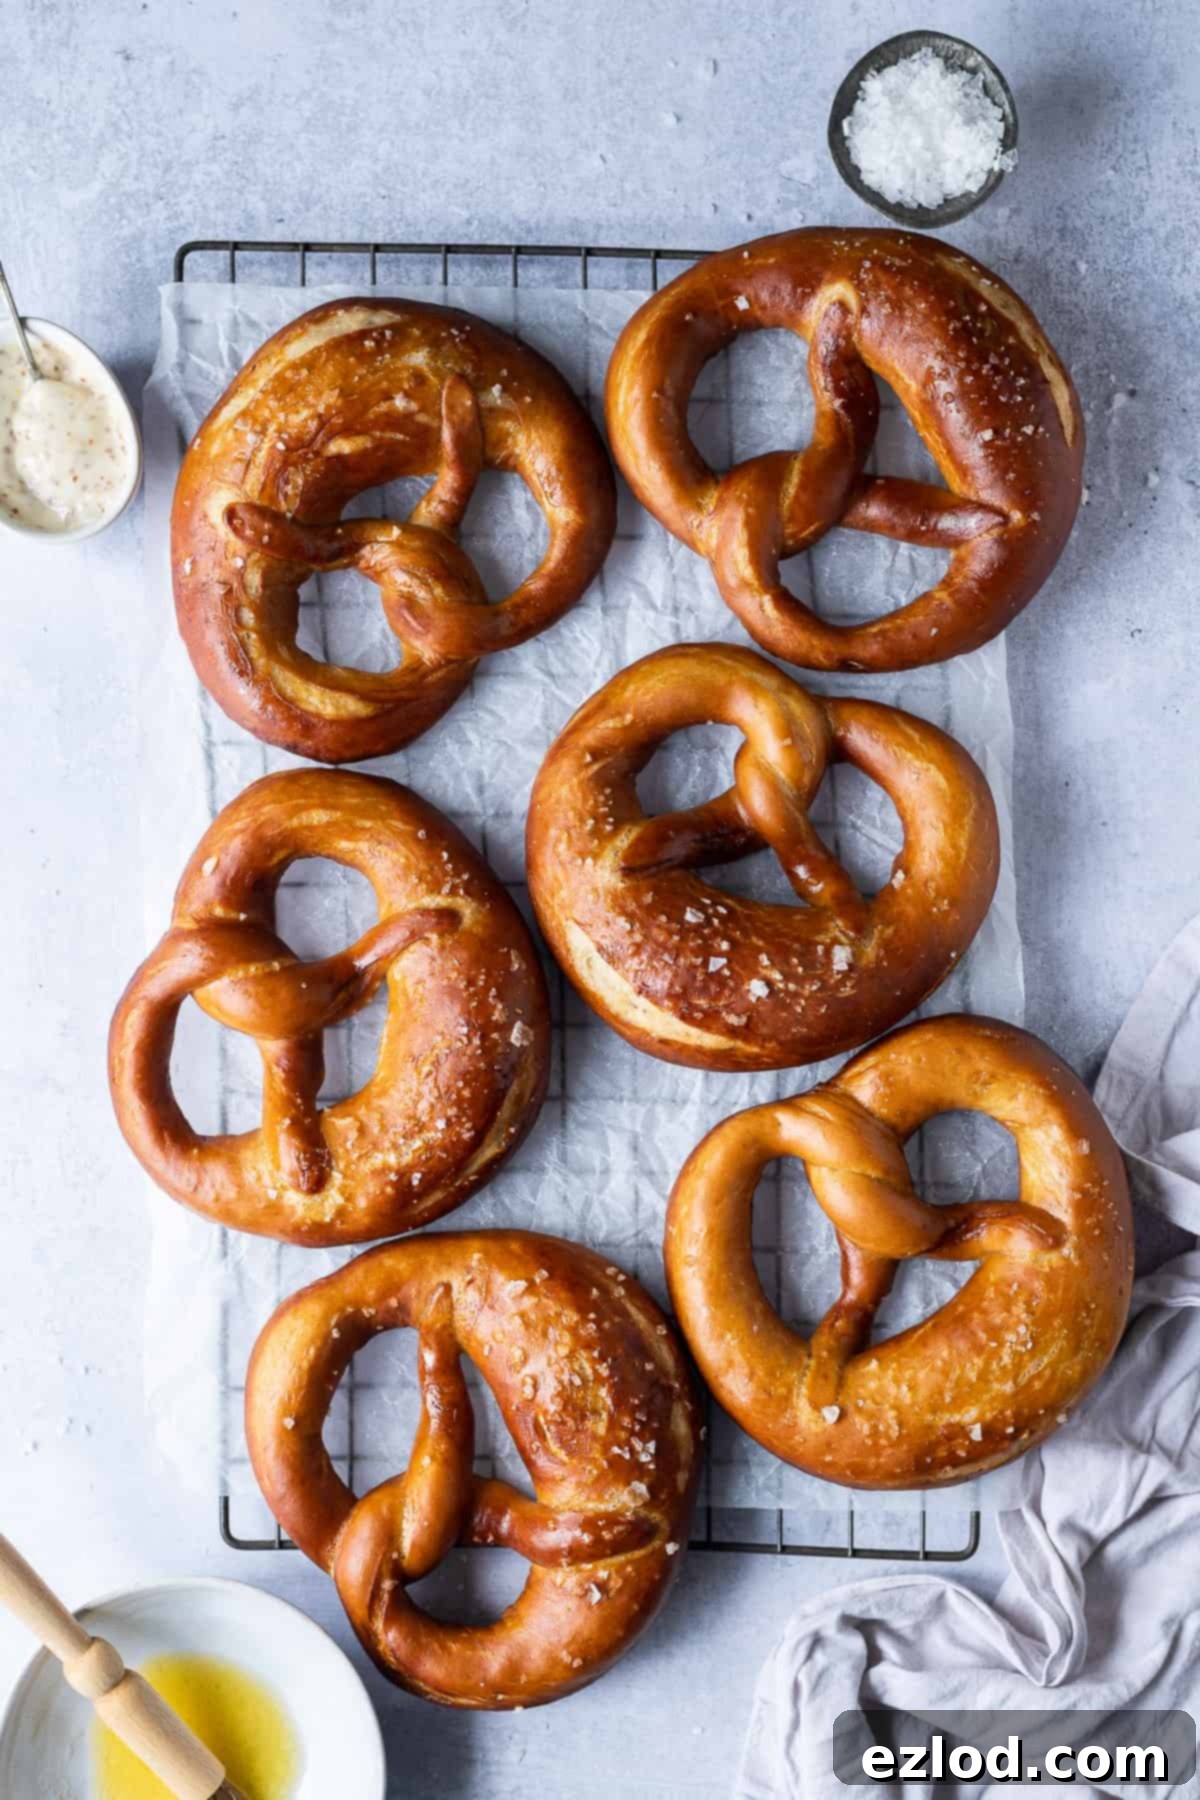
For an extra layer of flavor, a beautiful sheen, and an undeniably irresistible aroma, this final step is highly recommended – indeed, almost essential for the ultimate pretzel experience! As soon as the pretzels emerge from the oven, while they are still piping hot and their crust is at its most receptive, brush them generously and thoroughly with plenty of melted vegan butter. The warm, porous crust will eagerly soak up the butter, adding richness, moisture, and a glorious buttery flavor that complements the salt and the deep pretzel taste perfectly. This step also gives them a lovely, inviting shine. Transfer the brushed pretzels to a wire rack to cool slightly before serving. While they are delicious at any temperature, they are truly at their absolute best when still slightly warm, making them a perfect comfort food.
Expert Tips for Achieving Pretzel Perfection Every Time
To ensure your homemade vegan beer pretzels turn out absolutely perfect, keep these expert tips in mind. Baking is a science, and a little attention to detail goes a long way!
- Precision with Ingredients: For consistent and truly excellent results in baking, always use a digital kitchen scale to weigh your ingredients in grams. Cup measurements can be highly inaccurate and inconsistent, which may significantly impact the outcome and texture of your pretzels. Precision is key in baking, especially when working with yeast doughs!
- The Bicarb Bath is Non-Negotiable: This step is not just optional; it is absolutely fundamental for authentic pretzel flavor, color, and chewiness. It’s the critical process that differentiates a pretzel from a regular bread roll. Do not skip it, even if it seems a bit extra – it’s worth every moment!
- Butter Brush for Ultimate Indulgence: While technically optional, brushing the hot pretzels generously with melted vegan butter immediately after they come out of the oven elevates their flavor and appearance tremendously. It adds richness, gloss, and a melt-in-your-mouth quality that makes them utterly irresistible. If you want the ultimate indulgent experience, this step is a must.
- Choose Bread Flour for Optimal Chew: Using white bread flour (which has a higher protein content than all-purpose flour) is crucial for achieving that characteristic chewy pretzel texture that we all love. The higher protein content allows for better gluten development. If you absolutely don’t have bread flour, plain (all-purpose) flour can be used, but be aware that the final texture will be slightly less chewy and might be a bit softer.
- Dark Brown Sugar’s Essential Role: The dark brown soft sugar isn’t just for feeding the yeast; it plays a multifaceted role. It significantly contributes to the rich, dark coloring of the pretzels’ crust and adds a deeper, more complex flavor profile with subtle molasses notes. It also helps to activate the yeast. Do not substitute it with white sugar or, worse, omit it, as it will drastically change the outcome.
- Smart Beer Selection (or Water Option): Remember to always verify that your chosen beer is vegan-friendly (check the label or use online resources like Barnivore). Opt for a medium-bodied ale for the best flavor contribution, as it offers a balanced malty depth. Avoid very dark beers like stout or porter, which can impart too strong or bitter a flavor that might overpower the pretzel. If you’re alcohol-free, prefer not to use beer, or simply don’t have any on hand, an equal quantity of water will work perfectly, yielding delicious pretzels, albeit without that unique malty undertone.
- Pretzel Salt vs. Flaky Sea Salt: Genuine pretzel salt (also known as coarse food-grade lye salt or Bavarian pretzel salt) is specially designed to be non-melting, giving your pretzels that authentic, crunchy look and satisfying textural pop. While it might be harder to find and a bit more expensive outside of specific regions (like the US or Germany), flaky sea salt (such as Maldon) is an excellent and readily available substitute. It might dissolve slightly into the bread after baking due to its delicate structure, but the taste remains superb and provides a wonderful salty burst.
- Adjust for Size: This recipe yields 8 generously sized pretzels, perfect for a hearty snack or side. If you prefer smaller, more snack-sized portions for appetizers or kids, you can easily divide the dough into 10 or even 12 pieces. Remember to adjust the baking time slightly downwards if you make smaller pretzels, as they will cook faster.
Storing and Freezing Your Homemade Pretzels for Lasting Enjoyment
How To Store Vegan Beer Pretzels:
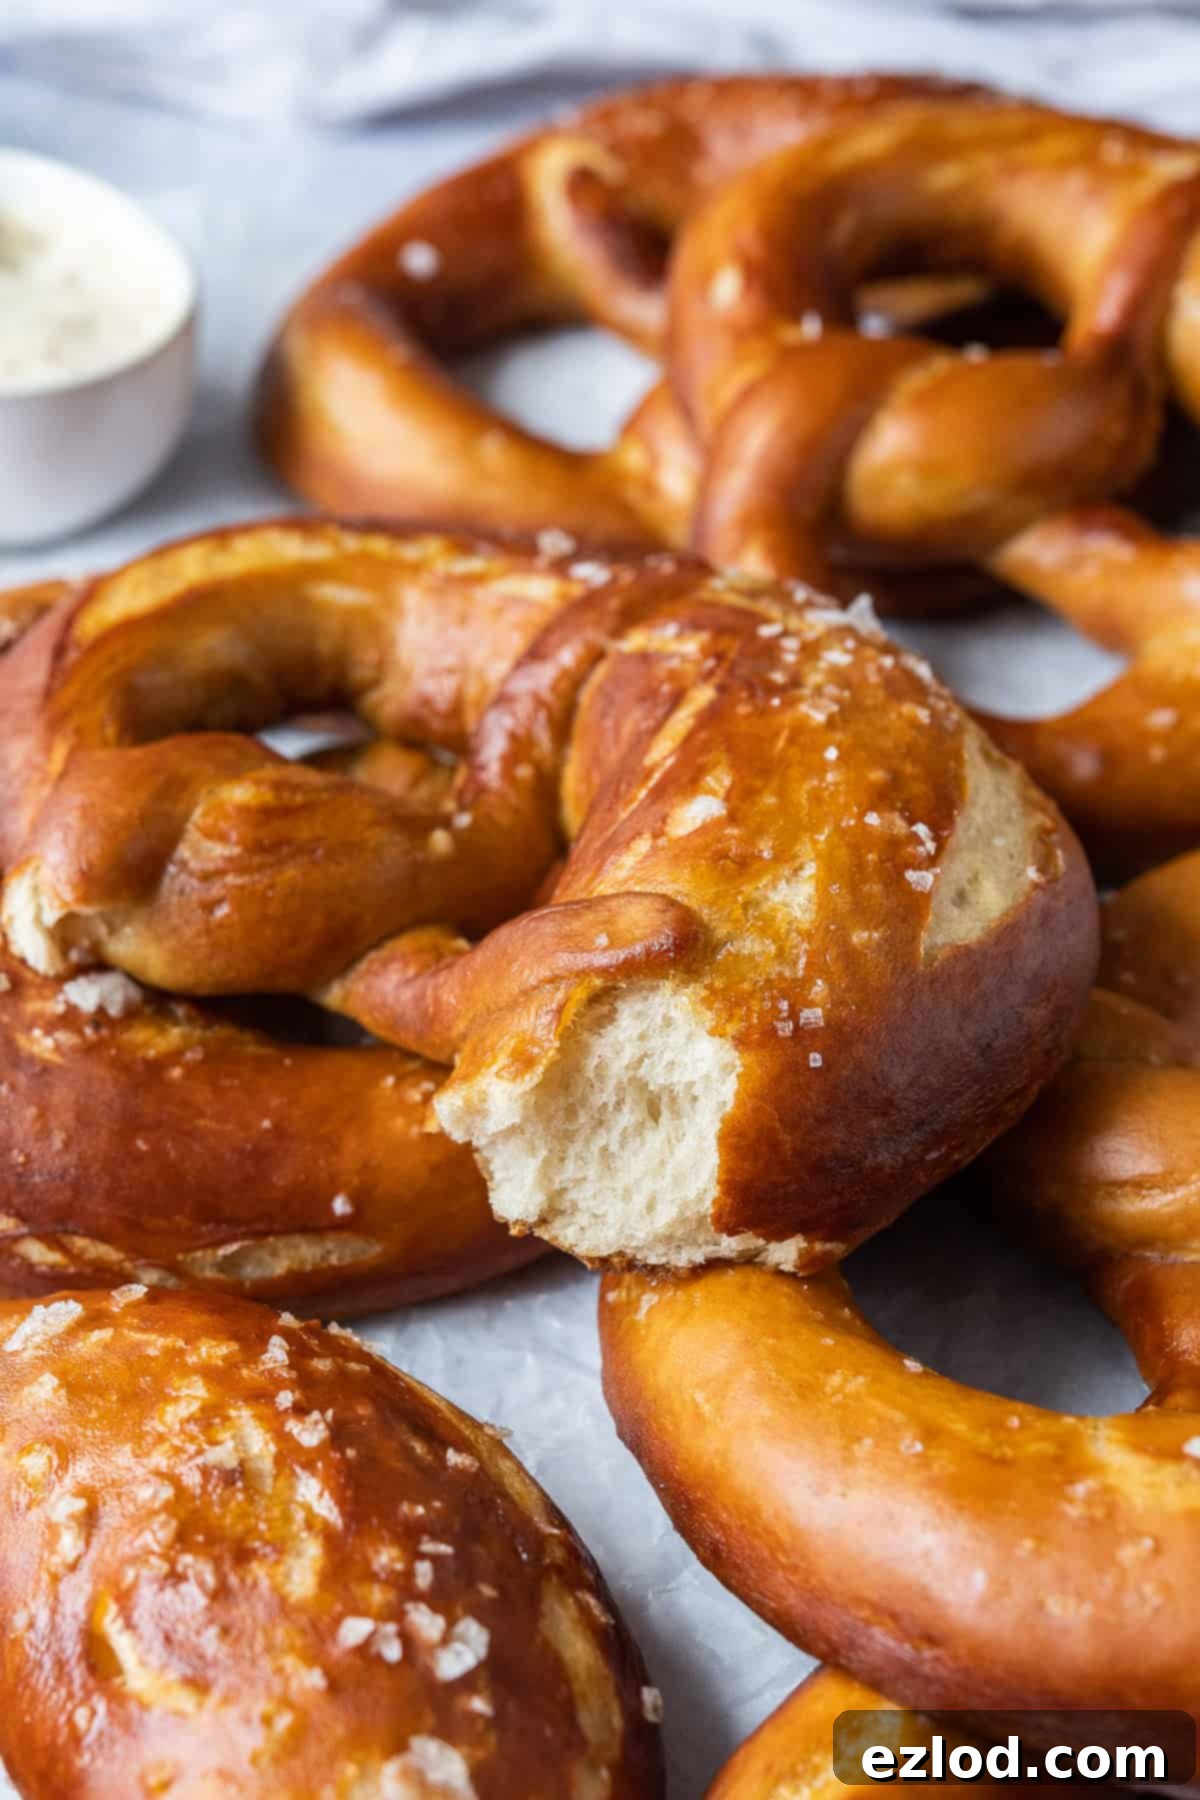
These homemade vegan beer pretzels are undeniably at their absolute peak freshness and flavor on the day they are baked. The soft, airy interior, the distinct chewiness of the crust, and the wonderful aroma are most pronounced when enjoyed warm from the oven. This is when they truly shine!
If you happen to have any leftovers (a rare occurrence with these delicious treats!), they can be stored in an airtight container at room temperature for up to two days. To revive their texture, softness, and warmth, I highly recommend warming them through in a low oven (around 150°C/300°F/Gas Mark 2) for 5-10 minutes before serving. This gentle reheating process will bring back much of their original softness and makes them significantly more enjoyable than eating them cold. Avoid microwaving, as this can make them rubbery.
Can I Freeze Them for Later?
Absolutely! Pretzels freeze exceptionally well, making them perfect for meal prepping, ensuring you always have a quick, homemade snack on hand, or for batch baking. For optimal freshness, freeze them on the same day they are baked, but only after they have cooled completely to room temperature. Freezing them while still warm can lead to undesirable ice crystals forming and a soggy texture upon thawing.
To freeze effectively, first arrange the cooled pretzels in a single layer on a baking sheet and flash freeze them for about an hour until they are solid. This initial freezing step prevents them from sticking together. Once solid, transfer them to an airtight freezer-safe container or a heavy-duty ziplock bag, ensuring as much air as possible is removed to prevent freezer burn. They can be stored in the freezer for up to 2-3 months without a significant loss in quality.
When you’re ready to enjoy them, simply remove the desired number of pretzels from the freezer and allow them to defrost at room temperature for a couple of hours. Once thawed, refresh them in a low oven (150°C/300°F/Gas Mark 2) for 5-10 minutes until warmed through and slightly crisp on the outside. They will taste almost as good as freshly baked, providing a convenient and delicious treat whenever you crave them!
More Delicious Vegan Bread Recipes to Explore
If you’ve enjoyed the rewarding process of making these vegan beer pretzels, you might love exploring other homemade vegan bread recipes from my kitchen. There’s a whole world of plant-based baking to discover, and bread is one of the most satisfying things to bake. Here are some of my favorite and most popular vegan bread recipes:
- Fluffy Vegan Naan Bread
- Rich & Braided Vegan Challah Bread
- Incredibly Soft Vegan Hokkaido Milk Bread
- Aromatic Sea Salt and Rosemary Focaccia
- Quick & Easy Vegan Flatbreads
- Hearty & Moist Vegan Cornbread
- Luxurious Vegan Brioche
- Seasonal & Soft Pumpkin Bread Rolls
If you tried this delightful recipe, I’d absolutely love to see your creations! Please tag @domestic_gothess on Instagram and use the hashtag #domesticgothess. Your culinary adventures inspire me!
*All images and content on Domestic Gothess are copyright protected. If you wish to share this recipe, please do so by using the provided share buttons. Please refrain from screenshotting or posting the full recipe or content in its entirety. Thank you for respecting my work.*

Print
Vegan Beer Pretzels
Ingredients
Dough:
- 500 g (4 cups) white bread flour
- 7 g (1 sachet/2 tsp) fast action/instant yeast
- 1 rounded tsp salt
- 1 heaped Tbsp dark brown soft sugar
- 200 ml (½ + ⅓ cup) beer (or water)
- 110 ml (⅓ cup + 2 Tbsp) lukewarm unsweetened non-dairy milk
- 40 g (scant 3 Tbsp) melted vegan butter/margarine
Bicarb Bath:
- 2 liters (8 cups) water
- 5 Tbsp bicarbonate of soda (baking soda)
- flaky sea salt or pretzel salt for sprinkling
- 30 g (2 Tbsp) melted vegan butter/margarine for brushing
Instructions
-
In a large bowl, or the bowl of a stand mixer fitted with a dough hook, mix together the flour, yeast, salt and sugar.
-
Add the beer, lukewarm milk and melted vegan butter and mix to form a rough dough. Knead the dough for about 10 minutes until it is smooth and elastic.
-
Place the dough in a large, lightly oiled bowl, cover and set aside to rise until it is doubled in size, about 1 ½ hours at warm room temperature, or overnight in the fridge.
-
Punch down the risen dough and give it a very brief knead to knock out the air then divide it into eight even pieces, I use a scale for accuracy. Shape each piece into a ball then cover them with a clean tea towel and let them rest for 10 minutes before shaping.
-
Start by rolling out one of the balls of dough with your hands into a long rope, about 40cm/16in. You want there to be a fat section in the middle which tapers off into thin arms on either side.
-
Place the rope into a U shape with the fat section facing you. Form the arms into a cross about half way along their length, with the right hand one crossed over the left.
-
Cross the right hand rope over the left again so that you have a double twist. Pick up the two ends and fold them over towards you, press the ends onto the fat section gently to seal. (See the step-by-step photos above).
-
Grease two baking sheets. Pick up the shaped pretzel by the top two holes and place it on the greased baking sheet, re-shaping it as necessary. Repeat with the rest of the balls of dough.
-
Leave the trays of pretzels to rise for about 30 minutes until they are puffy but don’t cover them! You want the surface of the dough to dry out and form a skin.
-
Preheat the oven while they are rising to 200°C/400°F/gas mark 6. Line two baking sheets with baking parchment.
-
Heat the 2 litres of water in a large pan until it comes to the boil then turn down the heat so that it is not even simmering and stir in the 5 Tbsp of bicarbonate of soda (baking soda).
-
Transfer one of the pretzels into the pan of water. The easiest way to do this is to pick it up by the top two holes and carefully lower it into the water.
-
Poach the pretzel for 30 seconds, using a ladle to gently pour the bicarb solution over the top of the pretzel the whole time. Use a large fish slice to carefully lift it out and place it on the prepared baking tray.
-
Repeat with the rest of the pretzels then use a lame or a very sharp knife to cut a deep slash across the fat section of each pretzel.
-
Sprinkle each pretzel with some pretzel salt or flaky sea salt and bake for 15-20 minutes until they are deep brown. Don’t take them out of the oven too early, you want them to be dark rather than light brown.
-
When the pretzels come out of the oven, brush them generously with melted vegan butter then transfer them to a wire rack to cool a little before serving.
Notes
- For the best results make sure that you follow the recipe closely. As always, I highly recommend weighing your ingredients using the gram measurements (with a digital scale), rather than the cup conversions. Cup measurements are simply not accurate enough for baking and I cannot guarantee the best results if you use them.
- Bread flour will give you the best texture; but you can use plain (all-purpose) flour instead if you don’t have any.
- Not all beers are vegan friendly so do check the label just in case. I used Brewdog Dead Pony Club. Any kind of beer will work though I would pick ale over lager and avoid using anything too dark (such as stout or porter).
- If you don’t want to use beer then you can just use an equal quantity of water instead, the pretzels will still taste great.
- The recipe makes 8 large pretzels but you can make 10 smaller ones if you prefer.
