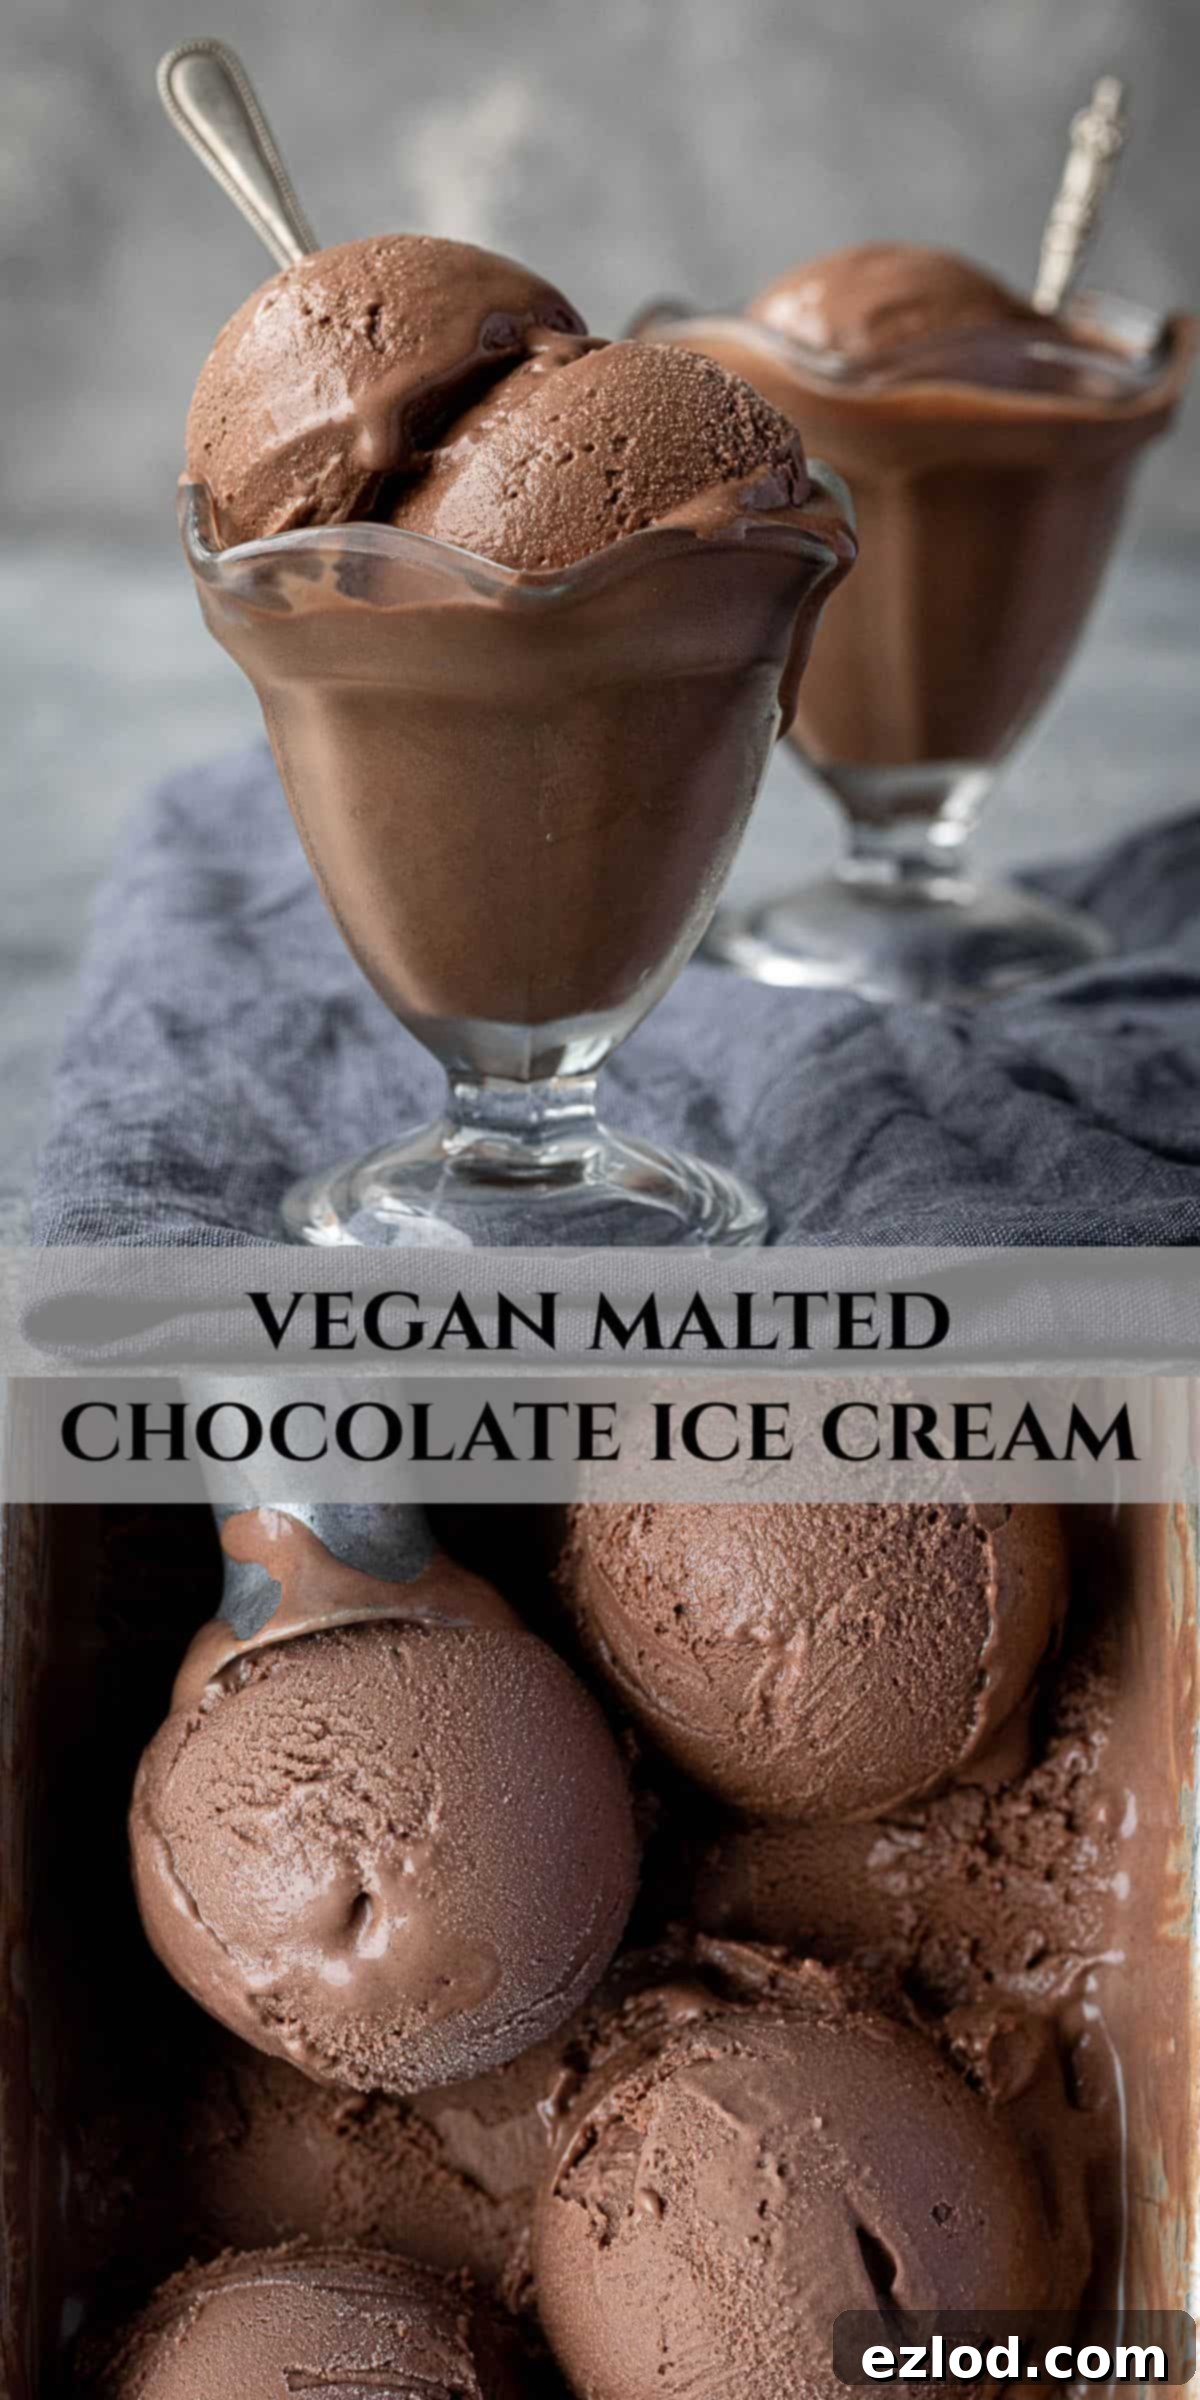
Indulge in Creamy Vegan Malted Chocolate Ice Cream: Your Ultimate Coconut-Free Dessert
Experience the magic of homemade vegan ice cream with this irresistible malted chocolate recipe. Rich, incredibly creamy, and bursting with an addictive malty chocolate flavor, this dessert is a true game-changer for dairy-free indulgence. The best part? It’s remarkably easy to make and features a special secret ingredient for its luscious texture: oats, ensuring a completely coconut-free experience!
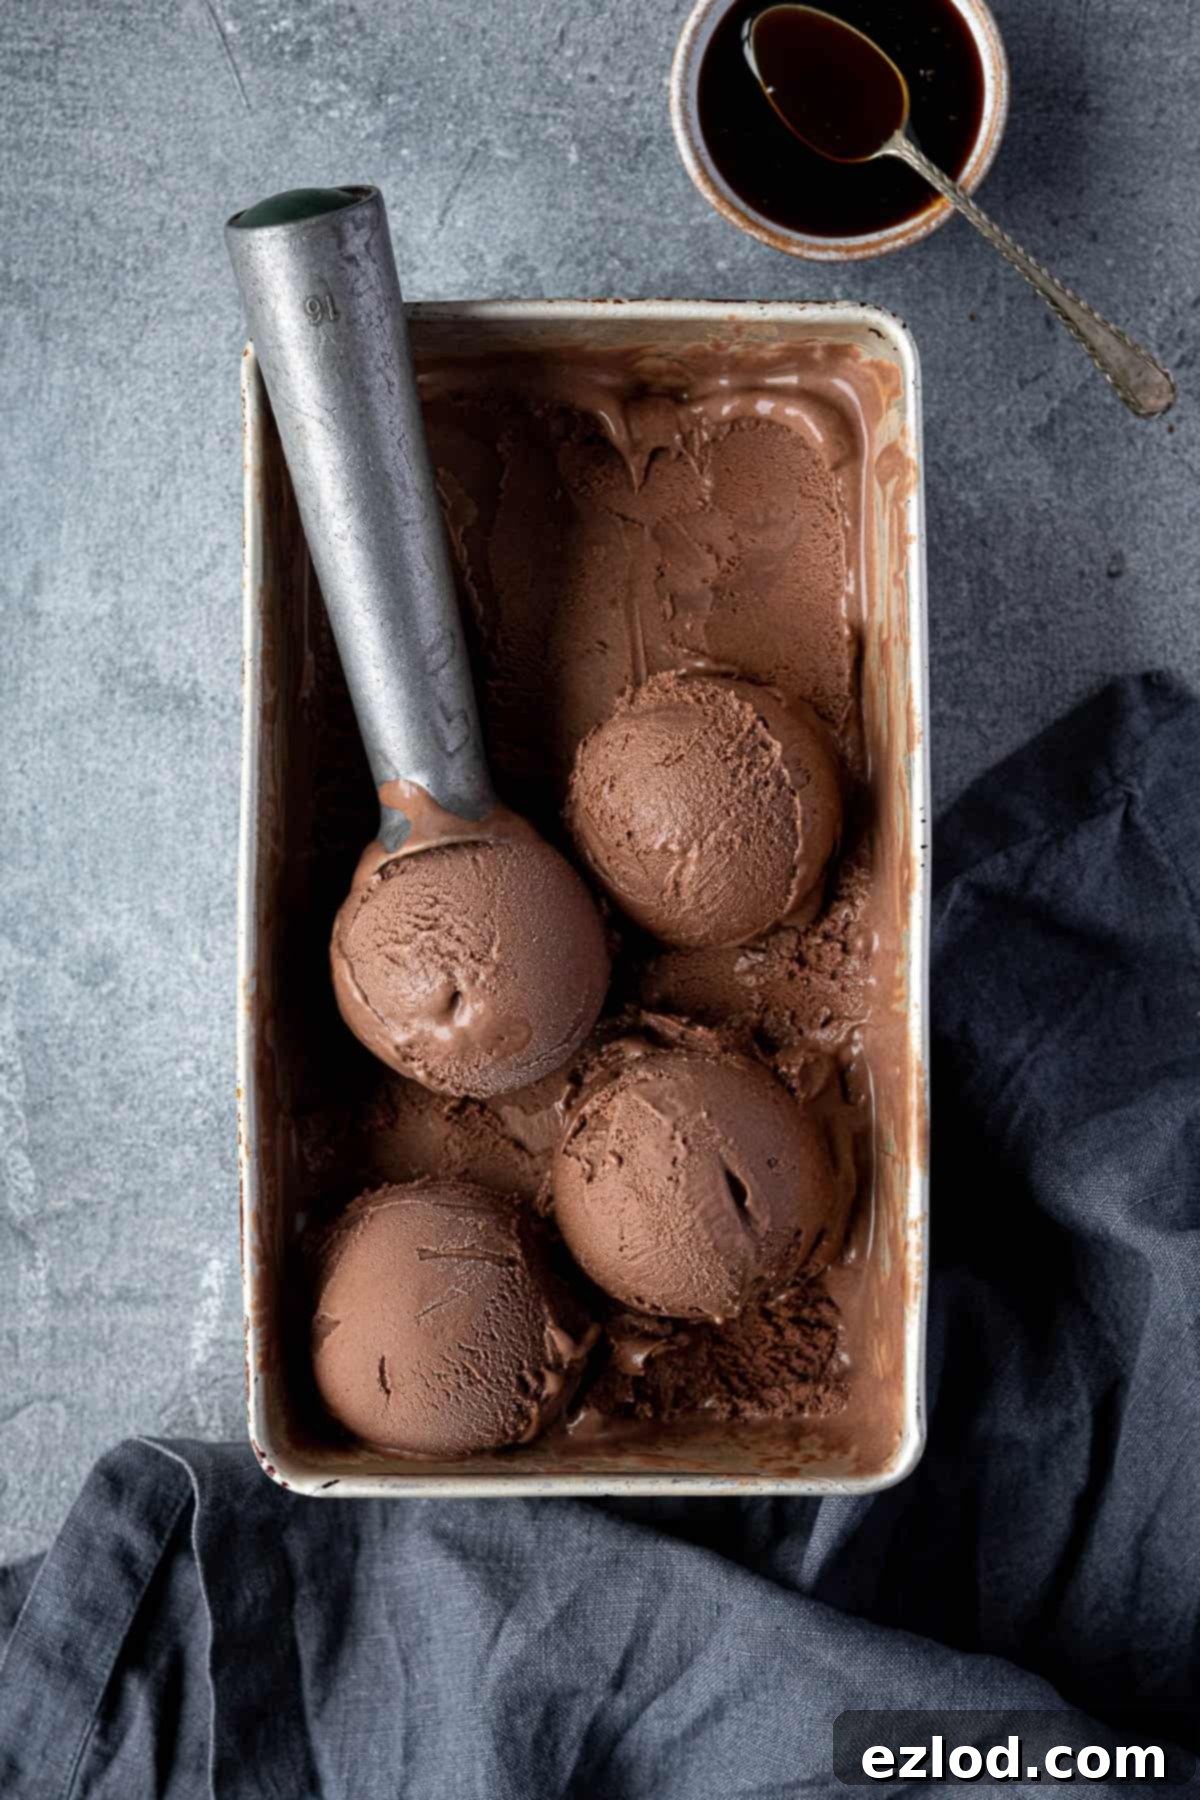
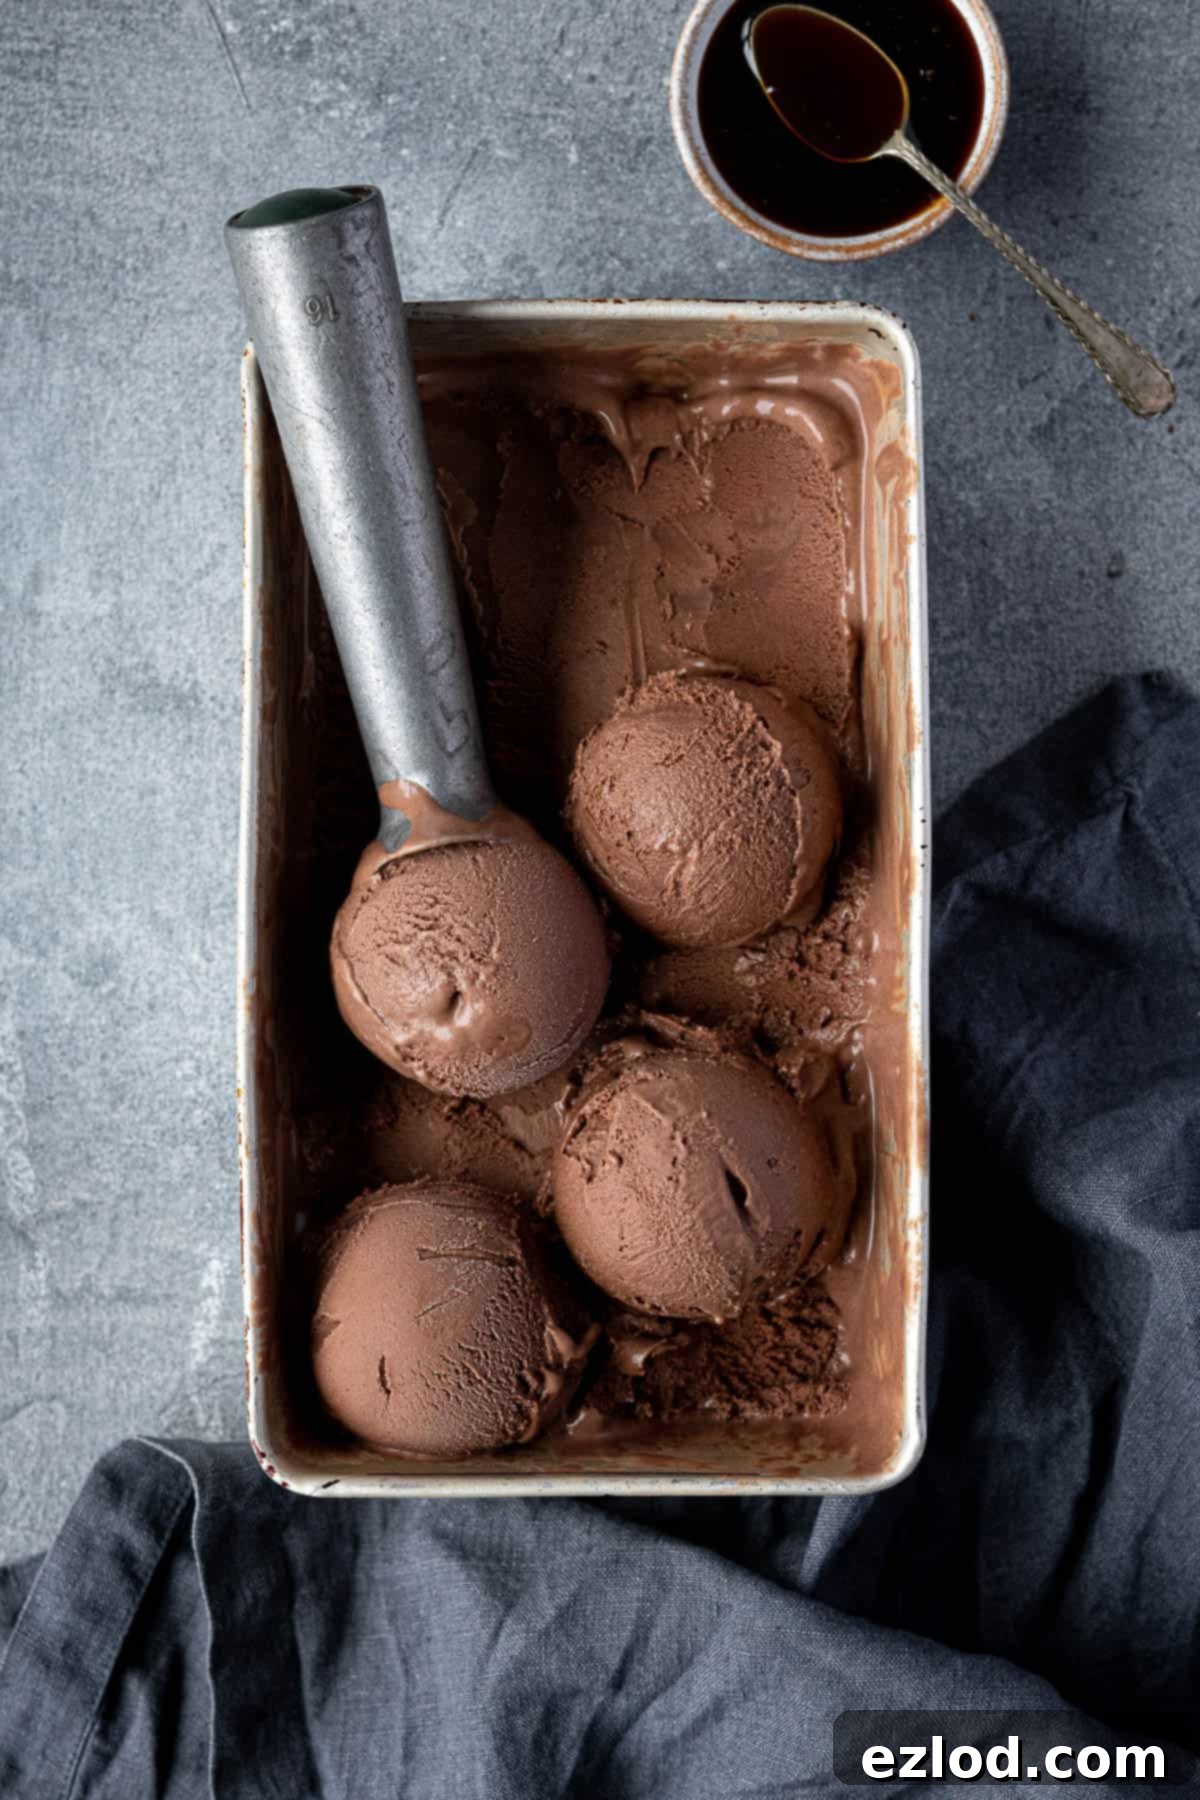
This exceptional vegan malted chocolate ice cream draws inspiration from our popular vegan vanilla ice cream recipe, utilizing a clever base of cooked oats and cashews. Unlike many dairy-free ice creams that rely heavily on coconut milk, this unique foundation offers a distinctly neutral flavor profile. This means that whatever delicious flavor you choose to infuse your ice cream with—in this case, rich malt and chocolate—can truly shine without competing against an overpowering coconut taste. It’s a versatile base that opens up a world of possibilities for creating a wide array of delightful vegan ice cream flavors.
Our malted chocolate rendition is a testament to this versatility. Each spoonful delivers a wonderfully creamy texture combined with deep chocolate notes and a subtle, yet unmistakable, malty essence reminiscent of beloved classic treats like Malteasers. It’s a nostalgic flavor reborn in a luscious, plant-based form that’s sure to become a new favorite.
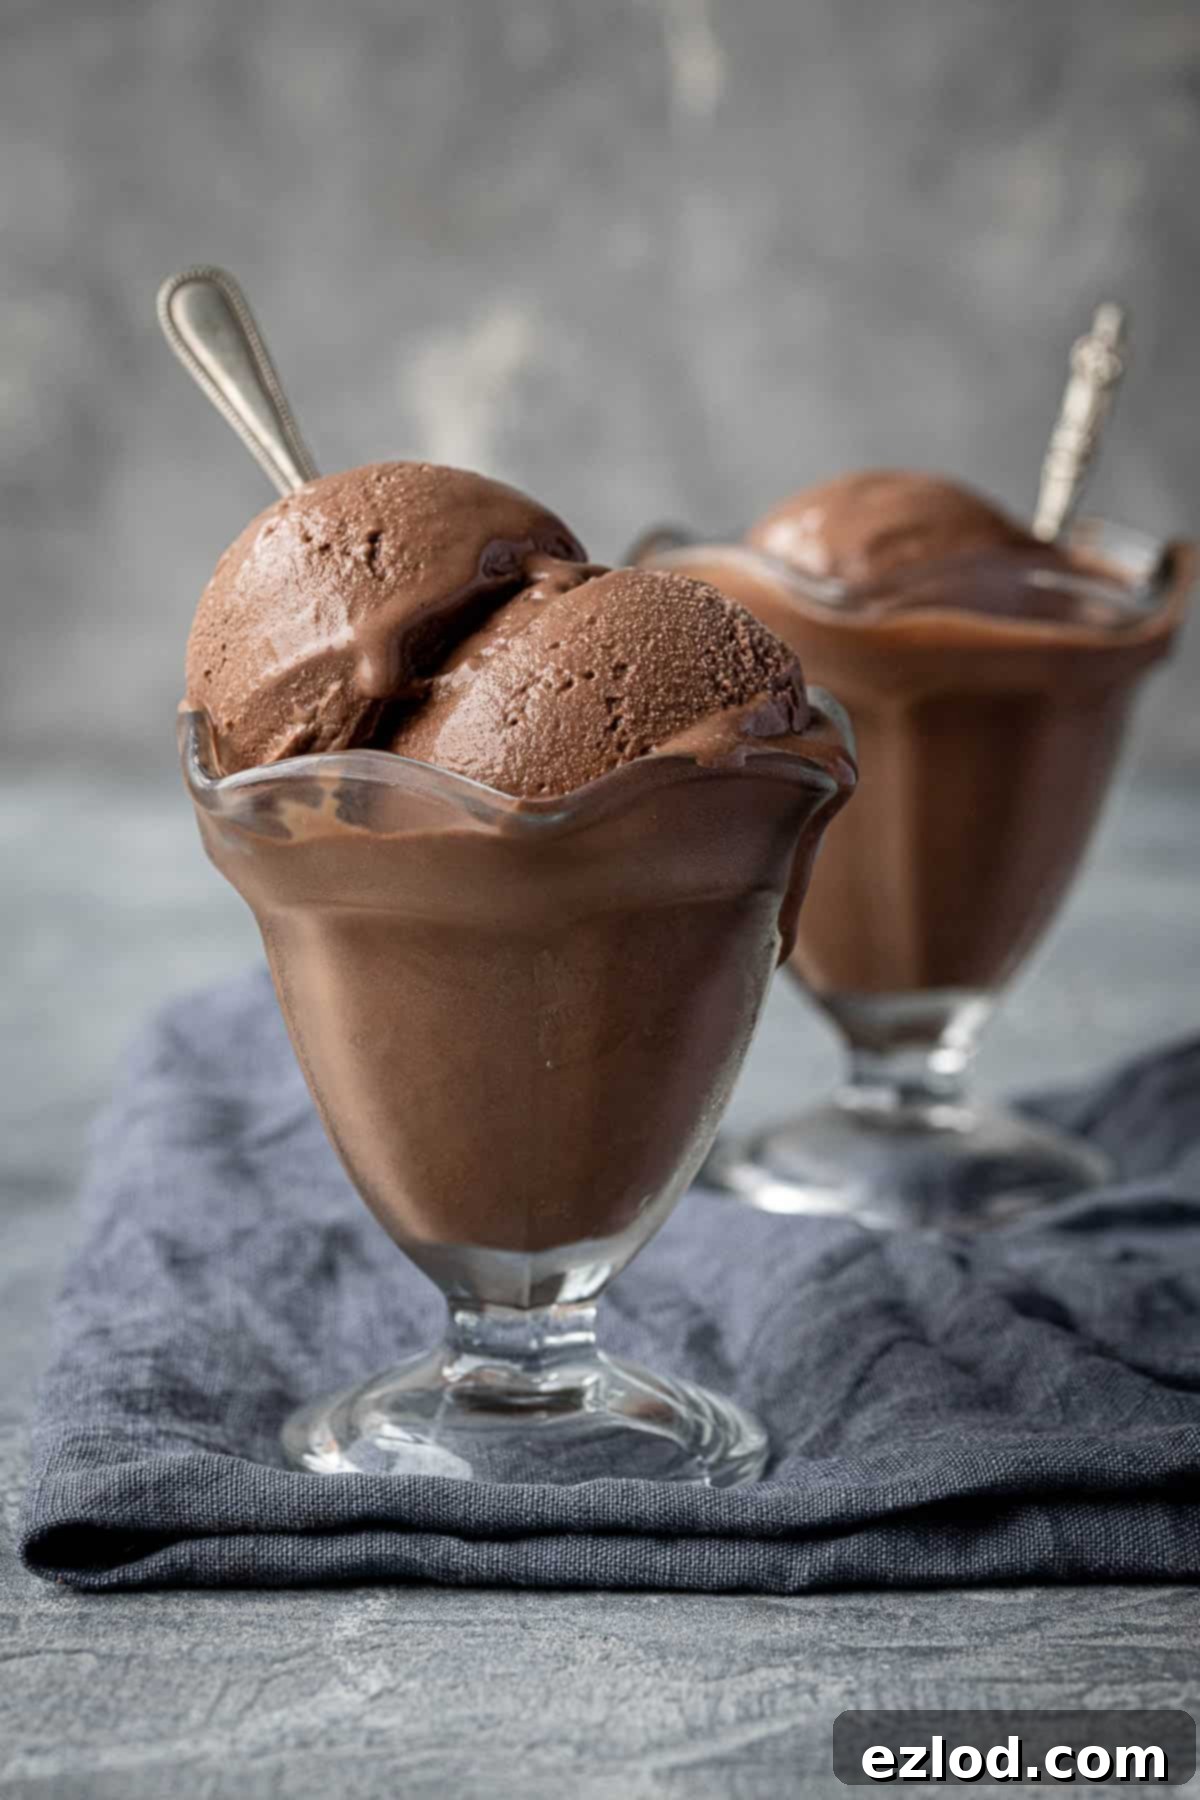
Essential Ingredients for Perfect Vegan Malted Chocolate Ice Cream:
Crafting this dairy-free delight requires a few key components that work in harmony to create its signature flavor and texture. Here’s a detailed look at what you’ll need:
- Barley Malt Extract: This is the star ingredient responsible for the distinctive malty flavor. It’s a thick, sticky, dark brown syrup known for its rich, sweet, and slightly toasty notes. Often used in baking for items like malt loaf, it provides that authentic malted taste that sets this ice cream apart. You can usually find a jar in the baking aisle of larger supermarkets or health food stores. If you have trouble locating it locally, it’s readily available online.
- Cashews: Unroasted cashews are absolutely crucial for achieving the unbelievably creamy texture in this vegan ice cream. When properly soaked and blended, they transform into a silky, dairy-like cream that forms the backbone of our dessert. To ensure they blend into a perfectly smooth consistency, they must be adequately softened. You have two convenient options for soaking: either cover them with boiling water and let them sit for approximately one hour, or submerge them in cold water and allow them to soak overnight. Both methods yield excellent results.
- Porridge Oats (Rolled Oats): The “secret ingredient” that replaces coconut and contributes significantly to the ice cream’s creamy body. Regular rolled porridge oats or quick-cooking oats will work wonderfully. These oats are simmered with plant milk until soft, then blended into the base, adding bulk and a smooth, rich mouthfeel without any starchy taste. They also help prevent excessive ice crystal formation, leading to a smoother final product.
- Plant Milk: Unsweetened soy milk is highly recommended as the plant milk of choice for this recipe. Its neutral flavor ensures that the malt and chocolate notes truly shine, and its naturally creamy texture contributes to the overall richness of the ice cream. (We particularly like Alpro Unsweetened Soya Milk for its consistent quality.) While you can experiment with other plant milks, be mindful that their inherent flavor will influence the final taste of your ice cream, and milks with lower fat content might result in a slightly icier texture.
- Light Brown Soft Sugar: This isn’t just for sweetness; light brown soft sugar, or muscovado sugar, adds a lovely depth of flavor with caramel-like undertones that complement the malt and chocolate beautifully. It’s also vital for the ice cream’s texture, as sugar helps to lower the freezing point, preventing it from becoming rock-hard and ensuring a creamy, scoopable consistency. Do not significantly reduce the amount of sugar, as this will compromise both the texture and the delicious taste of the finished ice cream.
- Xanthan Gum: A natural hydrocolloid widely used as a thickener and stabilizer. Much like commercial ice creams often use stabilizers like guar gum, xanthan gum performs a similar role in homemade versions. It helps prevent ingredients from separating, enhances the smooth and creamy texture, and significantly reduces the formation of large ice crystals. Xanthan gum is increasingly available in most major supermarkets, often in the baking or gluten-free aisle. While optional, its inclusion is highly recommended for the best possible texture.
- Cocoa Powder: A combination of cocoa powder and dark chocolate is key to achieving a robust and complex chocolate flavor. You can use either Dutch-processed cocoa, natural cocoa powder, or cacao powder; all will contribute to the rich chocolate base. Dutch-processed cocoa will provide a darker color and milder flavor, while natural cocoa will be slightly more acidic and intense.
- Dark Chocolate: We opt for a 70% dark chocolate to deliver a deep, intense chocolate experience. Since chocolate is a prominent flavor here, selecting a good quality dark chocolate is essential for an exquisite result. The quality of your chocolate will directly impact the overall richness and enjoyment of your ice cream.
- Salt: A small but mighty ingredient! Just a tiny pinch of salt works wonders to enhance and balance the sweetness of the sugar and deepen the flavors of both the malt and chocolate. It elevates the entire flavor profile, making the ice cream truly irresistible.
- Vanilla Extract: A minor yet important flavor enhancer that rounds out the overall taste, adding a subtle warmth and complexity. While you can omit it if necessary, a good quality vanilla extract will elevate the final product.
How to Prepare Creamy Vegan Malted Chocolate Ice Cream:
(For precise measurements and detailed instructions, please refer to the comprehensive recipe card located at the bottom of this page.)
Creating this rich and creamy vegan malted chocolate ice cream is a straightforward process, but careful attention to each step ensures the best possible texture and flavor:
- **Prepare Your Ice Cream Maker:** The first and most crucial step for any churned ice cream is to ensure your ice cream maker bowl is thoroughly frozen. This typically requires at least 11-12 hours in the freezer, so plan ahead and place it in well in advance. A perfectly frozen bowl is key to achieving the desired consistency during churning.
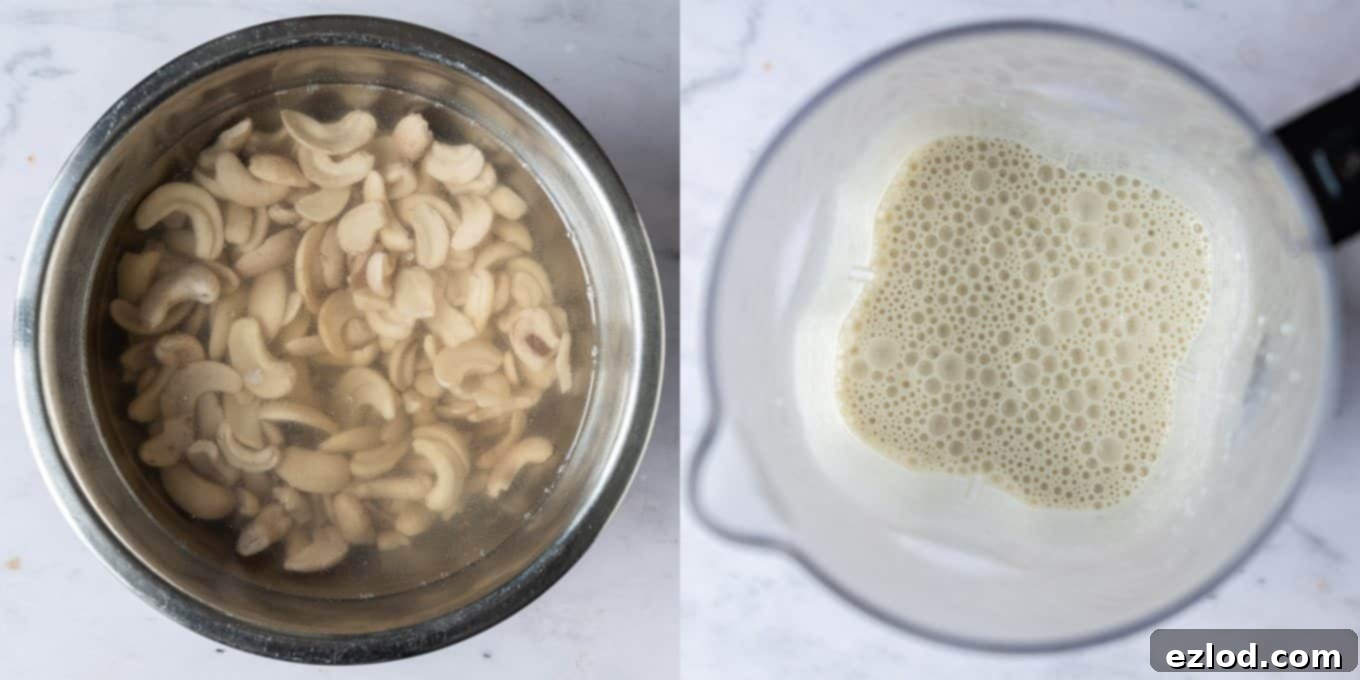
- **Soak the Cashews:** For that incredibly smooth, dairy-like creaminess, your cashews need to be properly softened. You have two options: For a quicker soak, cover the cashews generously with boiling water and let them sit for about one hour. Alternatively, for a longer soak, cover them with cold water and leave them overnight. Both methods will make them soft enough to blend perfectly smooth.
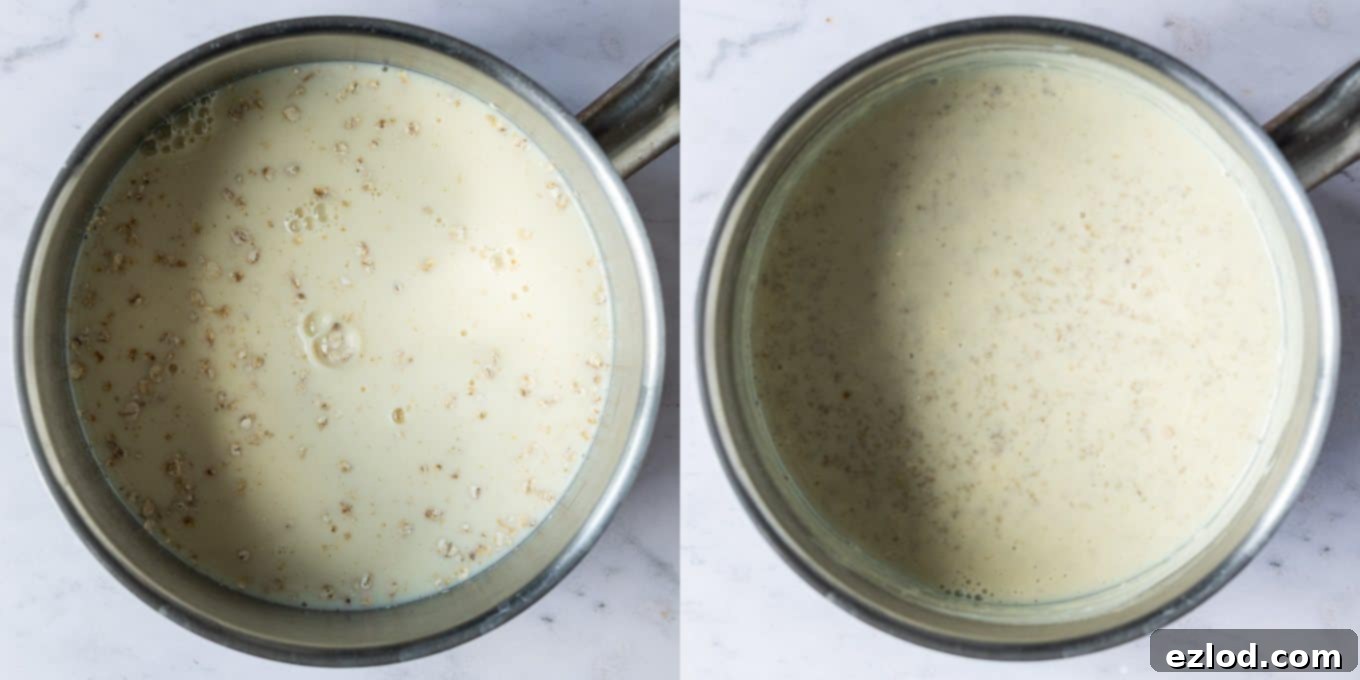
- **Cook the Oats:** In a medium saucepan, combine the porridge oats with half of the unsweetened soy milk. Bring this mixture to a gentle simmer over medium heat. Cook for approximately 10 minutes, stirring frequently to prevent the oats from sticking to the bottom of the pan. Continue cooking until the oats are very soft and have absorbed much of the liquid, creating a thick, creamy porridge.
- **Begin Blending the Base:** Once your cashews are fully soaked, drain them thoroughly. Transfer the drained cashews to a high-speed blender, along with the remaining half of the plant milk. Blend on high speed until the mixture is incredibly smooth and creamy, with absolutely no cashew bits remaining. This step is vital for a silky ice cream texture.
- **Combine All Ingredients:** Now, add the cooked oat mixture to the blender with the cashew cream. Introduce the barley malt extract, light brown soft sugar, cocoa powder, melted dark chocolate, xanthan gum (if using), salt, and vanilla extract. Blend everything together on high speed until the entire mixture is utterly smooth and perfectly homogenous. Stop and scrape down the sides of the blender jar as needed to ensure all ingredients are fully incorporated.
- **Chill the Base:** Pour the beautifully blended ice cream base into a bowl, cover it tightly, and refrigerate until it is completely chilled. This cooling process is essential for the ice cream to churn properly and achieve a creamy texture. Ideally, leave it in the refrigerator overnight, but it will require a minimum of four hours. Do not skip this step!
- **Churn the Ice Cream:** Once the ice cream mixture is thoroughly chilled, give it a good whisk to ensure everything is well combined. Pour the cold base into your pre-frozen ice cream maker bowl. Churn according to your machine’s instructions, typically for 20-30 minutes, until the mixture reaches the consistency of soft-serve ice cream. It should be thick, creamy, and somewhat firm.
- **Final Freeze:** After churning, carefully transfer the soft-serve ice cream to a freezer-safe container. Smooth the top, cover it tightly to prevent ice crystals, and place it in the freezer for approximately 4 hours. This final freezing period allows the ice cream to firm up completely, making it ready for perfect scoops and ultimate enjoyment.
By following these steps, you’ll be well on your way to enjoying a decadent, homemade vegan malted chocolate ice cream that rivals any store-bought premium brand.
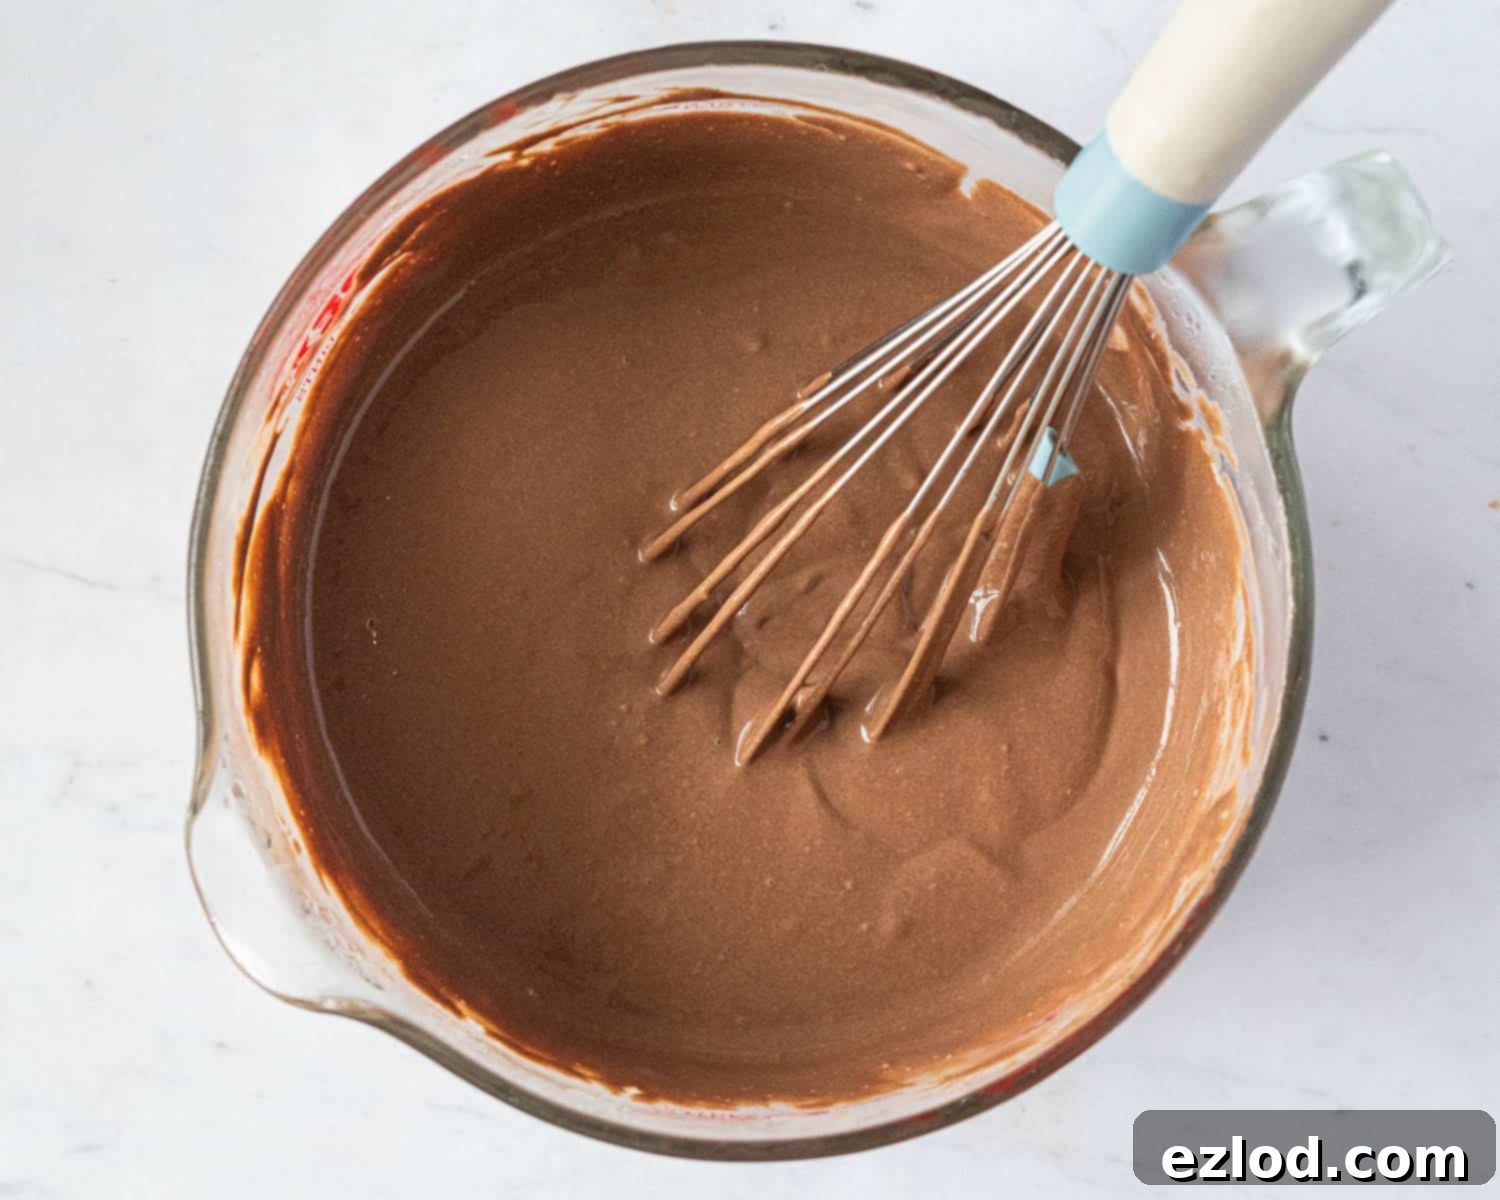
After blending all the key ingredients to a harmonious mix, this rich chocolatey base is almost ready for its chilling process, crucial for developing its full flavor and ensuring a smooth churn.
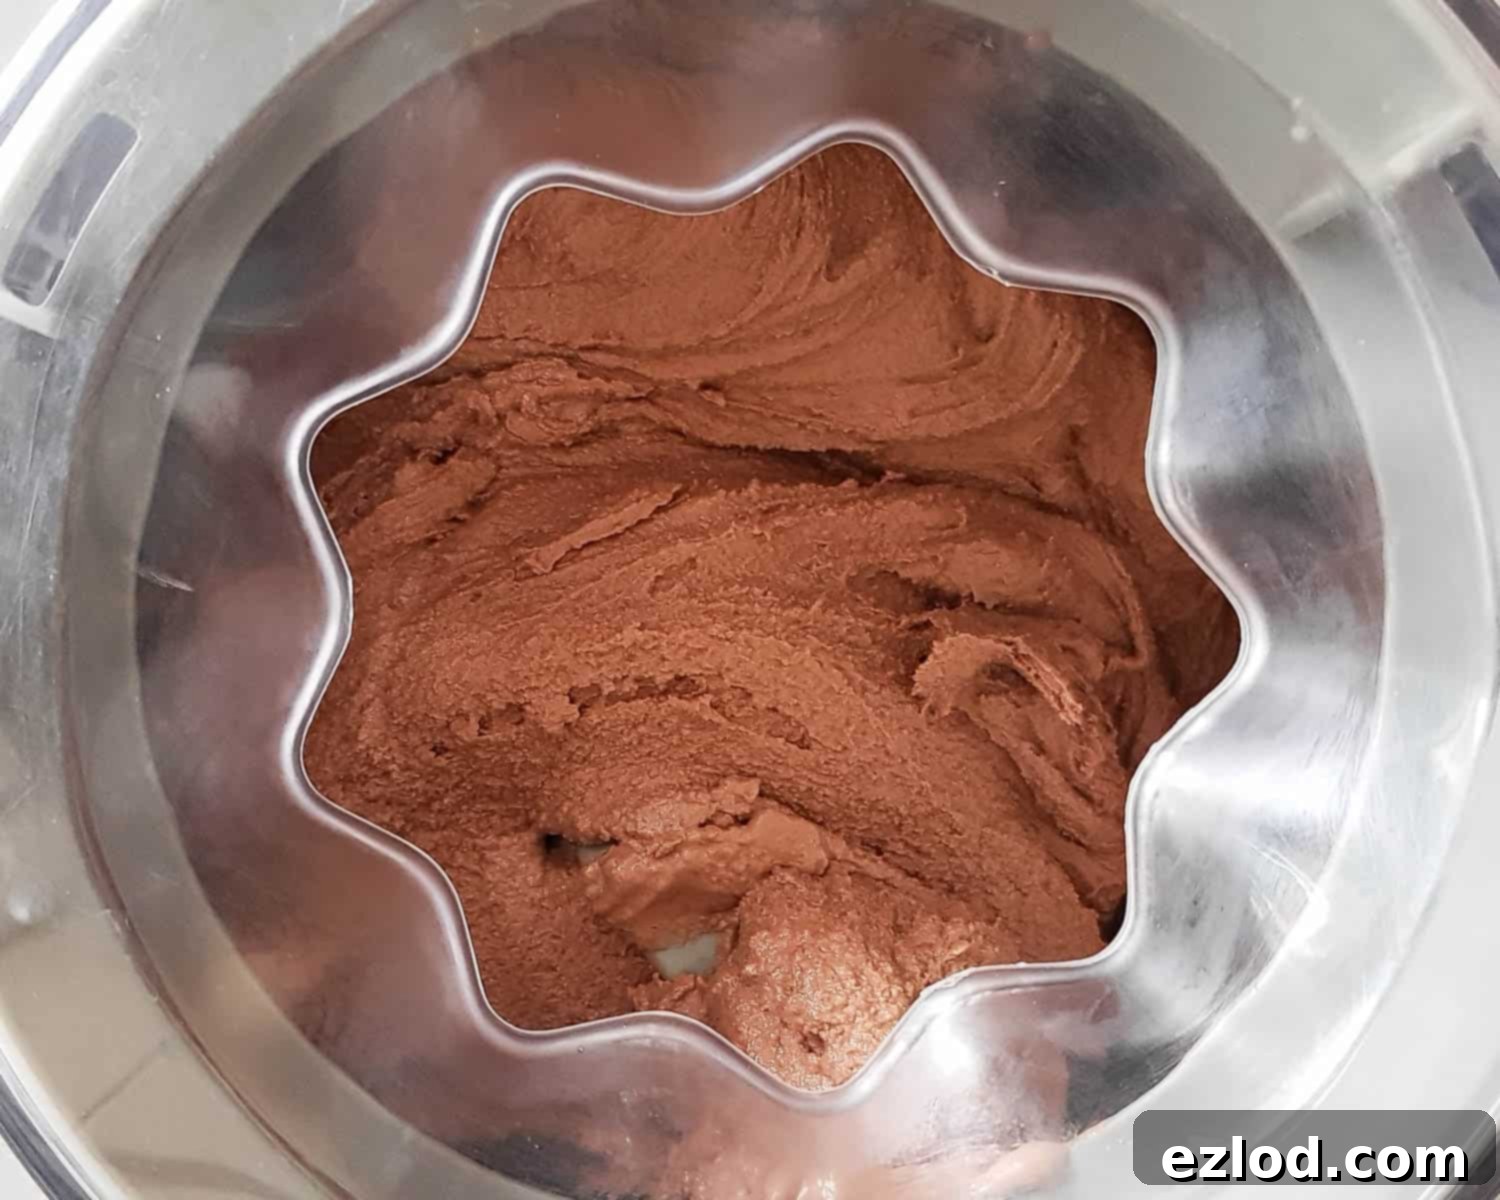
The ice cream base, now perfectly chilled, transforms into a luscious, soft-serve consistency within the churning bowl, demonstrating the power of the ice cream maker to create a perfectly aerated and smooth dessert.
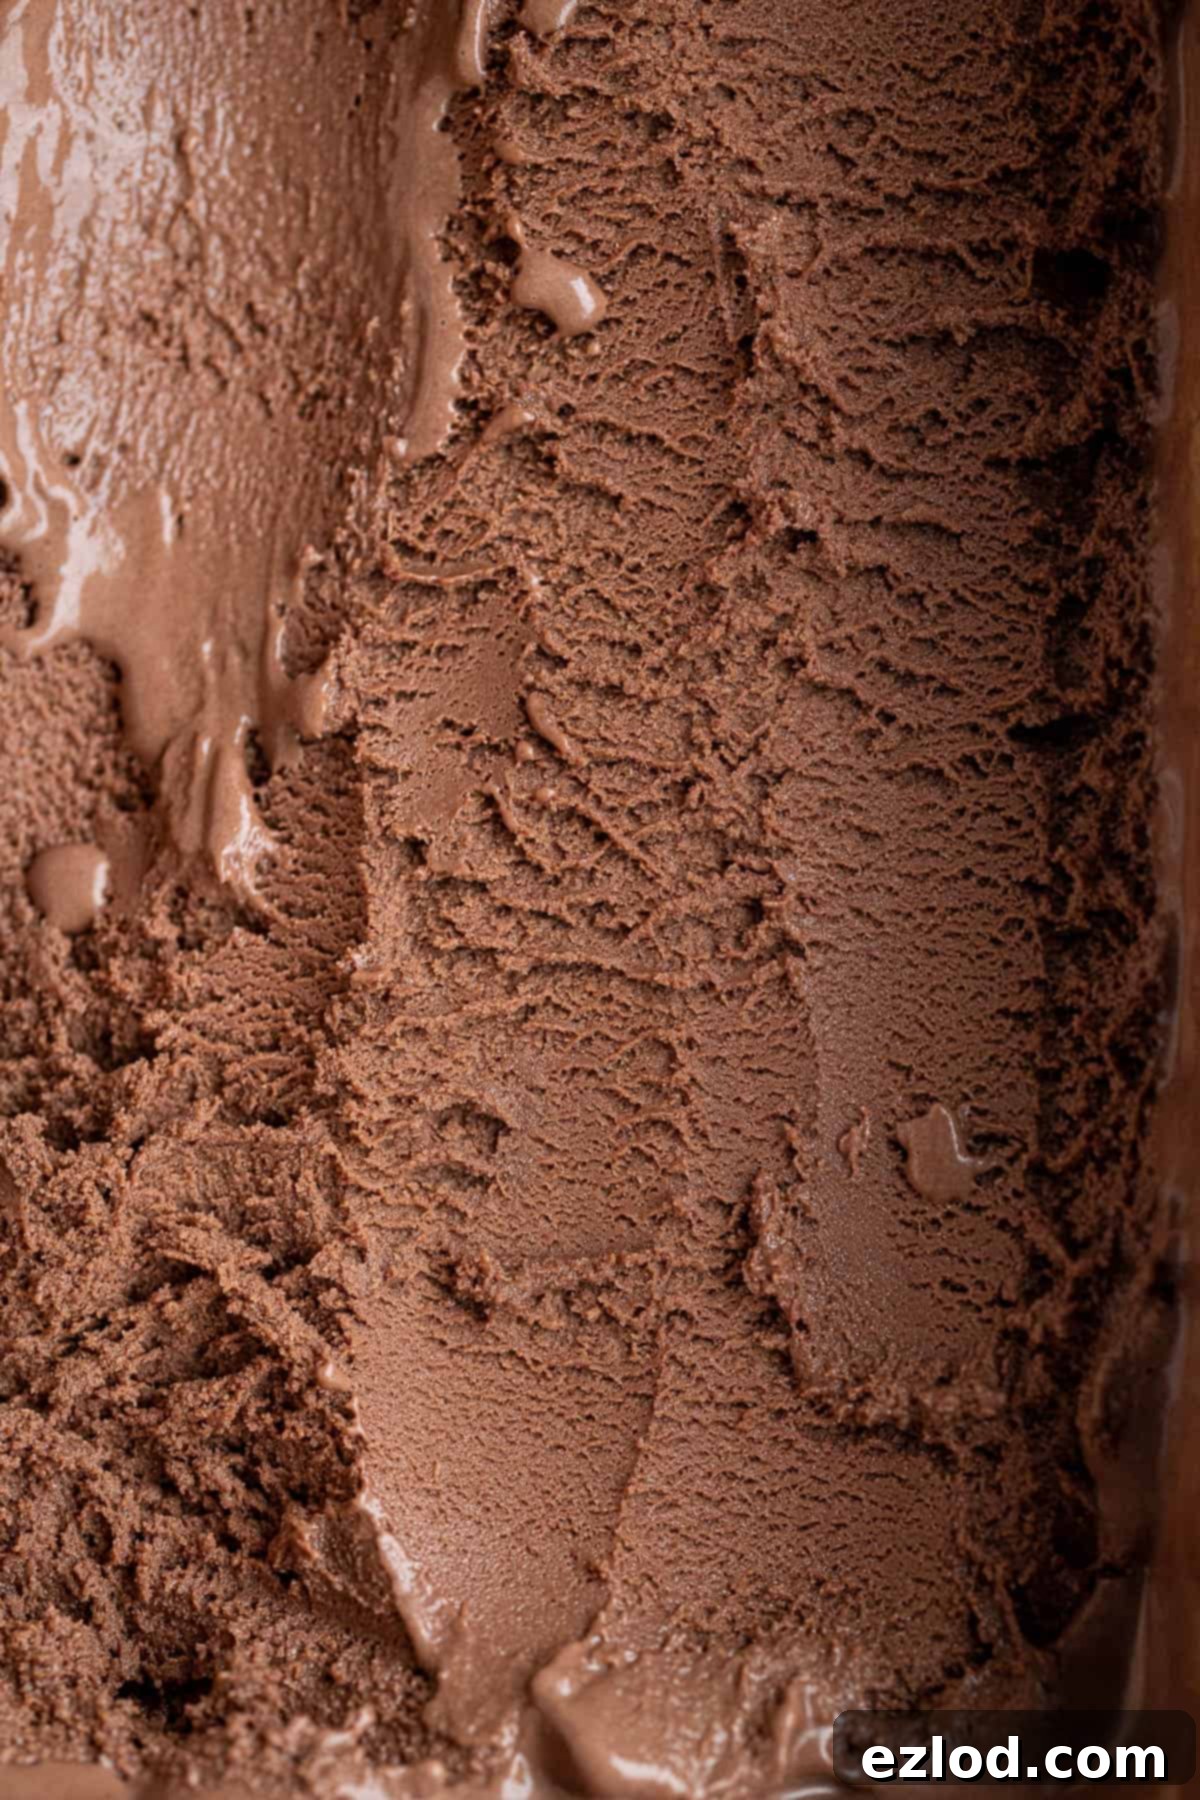
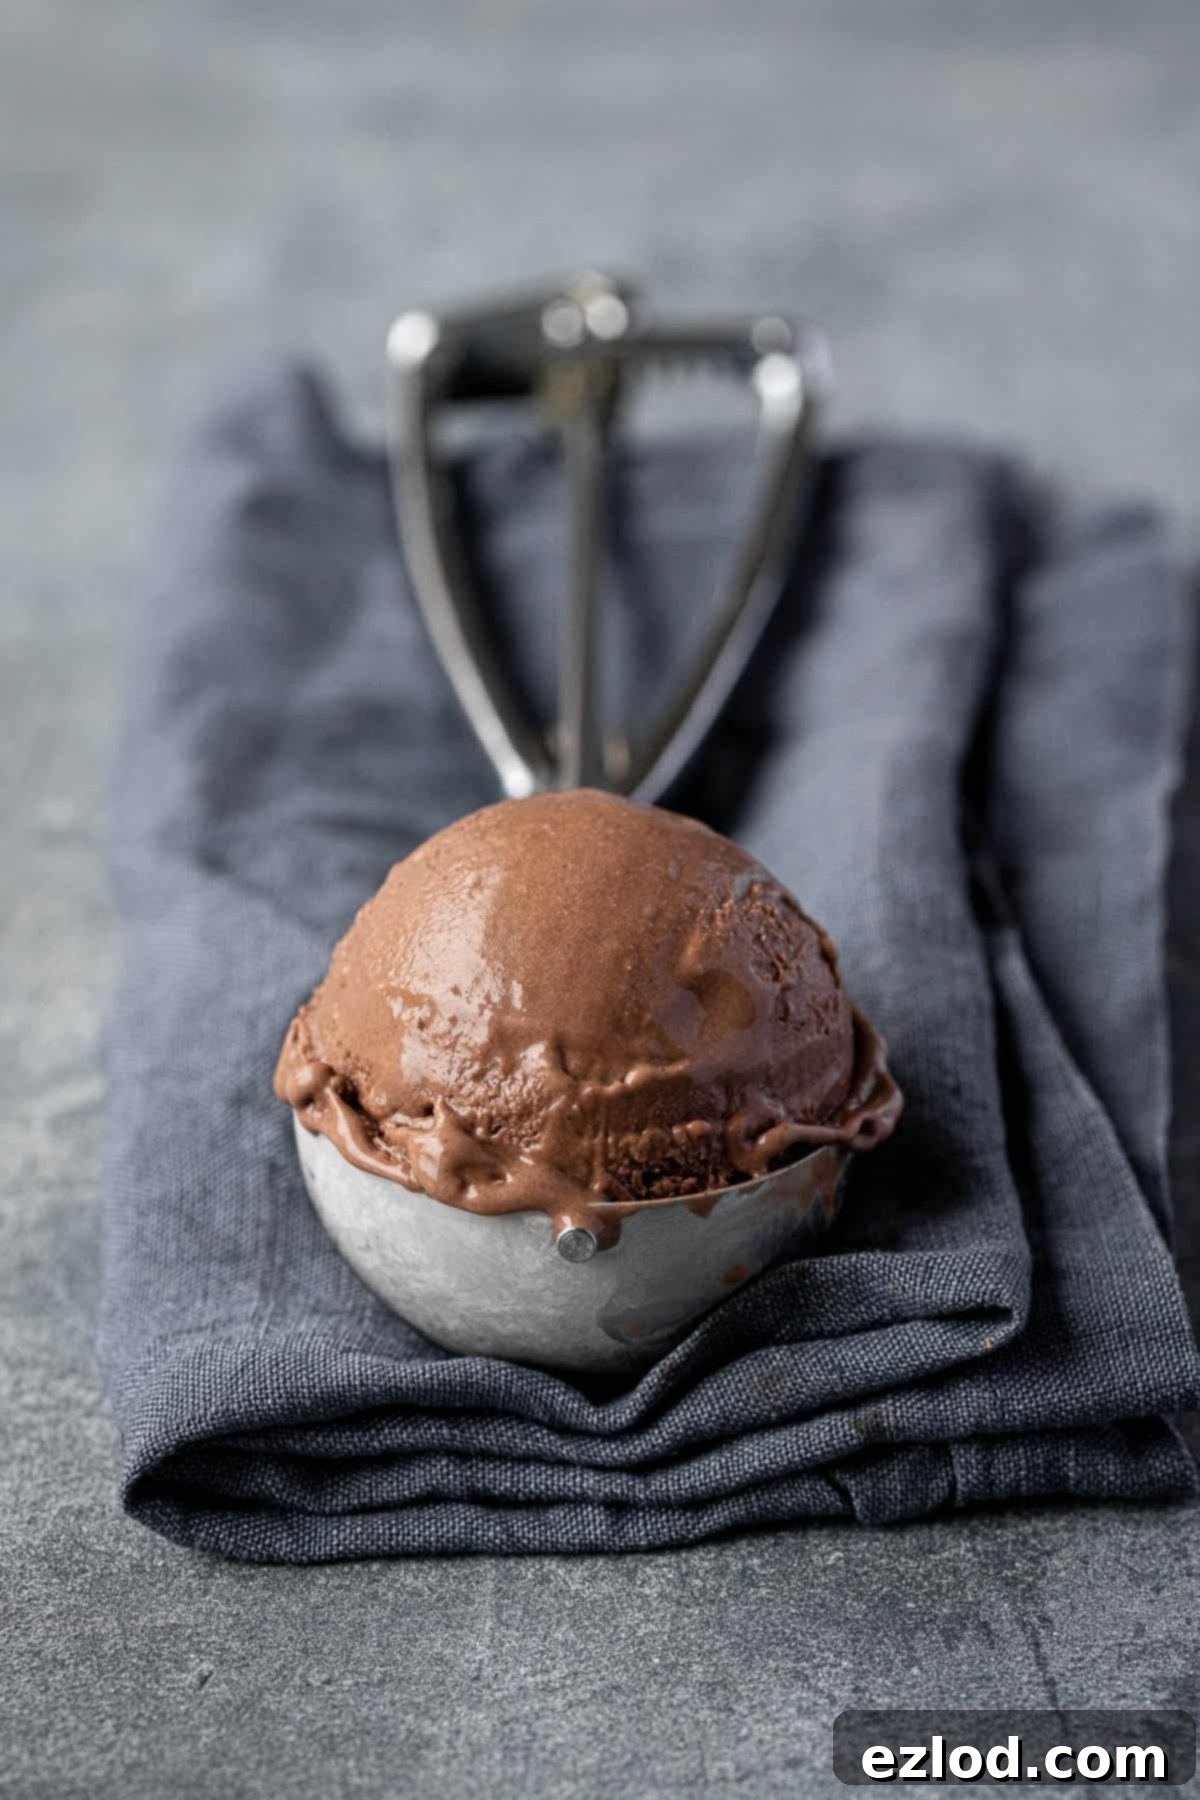
Once the churning is complete and the ice cream has firmed up in the freezer, it’s ready to be served. Each scoop promises a delightful blend of creamy texture and deep, satisfying flavor.
No Ice Cream Maker? No Problem!
Even without a dedicated ice cream maker, you can still enjoy this incredible vegan malted chocolate ice cream. It requires a little more hands-on effort, and the final texture might be slightly icier than a churned version, but it will still be utterly delicious.
Once your ice cream base is thoroughly chilled from the refrigerator, pour it into a large, freezer-safe container, preferably one made of metal, as this helps it freeze faster. Place the container in your freezer. Every 30-45 minutes, remove the container from the freezer and give the mixture a vigorous whisk with an electric mixer (or a strong hand whisk). This process is crucial for breaking up any ice crystals that are forming and incorporating air, which helps create a smoother, creamier texture. Repeat this whisking process for about 2-3 hours, or until the ice cream reaches a soft-serve consistency. At this point, you can stop whisking and allow it to freeze for another couple of hours until it becomes firm enough to scoop and serve. Remember, consistency is key in the no-churn method to prevent it from becoming a solid block of ice.
Expert Tips for the Best Vegan Malted Chocolate Ice Cream:
Achieving the perfect scoop of homemade vegan ice cream is an art, and these tips will help you master it:
- Precision is Key: As with all baking and dessert recipes, I highly recommend using metric measurements with a digital scale rather than relying on cup conversions. Cups are notoriously inaccurate and can lead to inconsistent results. A digital scale ensures precision, delivering far better and more reliable outcomes, not to mention making the process less messy.
- Patience for Softening: This ice cream tends to be quite firm straight out of the freezer due to its lack of dairy fat. For the best serving experience, make sure to take it out of the freezer at least 15 minutes before you plan to serve it. This allows it to soften slightly, making it much easier to scoop and giving it a more enjoyable, yielding texture.
- Blender Quality Matters: For the smoothest, silkiest ice cream base, a powerful high-speed blender (such as a Froothie or Vitamix) is ideal. These blenders can thoroughly pulverize the cashews and oats into an incredibly fine, creamy emulsion. While you can certainly make this recipe with a regular blender, be aware that the final texture might not be quite as velvety smooth and creamy. If using a regular blender, blend for longer and in smaller batches, pausing to scrape down the sides frequently.
- Storage Best Practices: To keep your homemade ice cream at its best, store it in an airtight, shallow freezer-safe container. This minimizes exposure to air, which can cause freezer burn and lead to an icy texture. Placing a piece of parchment paper directly on the surface of the ice cream before sealing the container can also help. Enjoy within 1-2 weeks for optimal freshness and texture.
- Serving Suggestions: This malted chocolate ice cream is fantastic on its own, but it also makes a wonderful base for sundaes. Consider topping it with vegan whipped cream, a drizzle of extra barley malt extract, chocolate sauce, crushed vegan cookies, or a sprinkle of flaky sea salt to enhance the chocolate and malt flavors even further.
- Troubleshooting Icy Ice Cream: If your ice cream turns out too icy, it’s often due to insufficient fat, too much water, or not enough sugar/stabilizer. Ensure your measurements are accurate, especially for sugar. If using a no-churn method, more frequent whisking is crucial. A powerful blender also helps create a smoother base by thoroughly emulsifying the ingredients.
- Flavor Variation: Plain Malted Ice Cream: If you’re craving a pure malt experience without the chocolate, you can easily adapt this recipe. Simply omit both the cocoa powder and the dark chocolate. To maintain a rich texture, add 3 tablespoons of melted refined coconut oil to the blender along with the other ingredients. Refined coconut oil has a neutral flavor and will provide the necessary fat content.
- Flavor Variation: Plain Chocolate Ice Cream: For a decadent chocolate ice cream without the malt, omit the barley malt extract entirely. To compensate for the sweetness and structure, increase the light brown soft sugar to 170g (approximately ¾ cup packed). This will ensure your chocolate ice cream is perfectly balanced and wonderfully creamy.
Explore More Vegan Ice Cream Recipes:
- Classic Vegan Vanilla Ice Cream
- Refreshing Vegan Mint Choc Chip Ice Cream
- Invigorating Vegan Coffee Ice Cream with Chocolate Swirl
- Nutty Vegan Pistachio Ice Cream
- Rich and Creamy Vegan Chocolate Ice Cream
- Decadent Vegan Peanut Butter and Cookies Ice Cream
- Sweet and Spicy Vegan Biscoff Ice Cream
- Fun Vegan Chunky Monkey Ice Cream
- Light and Zesty Vegan Chocolate Coconut Sorbet
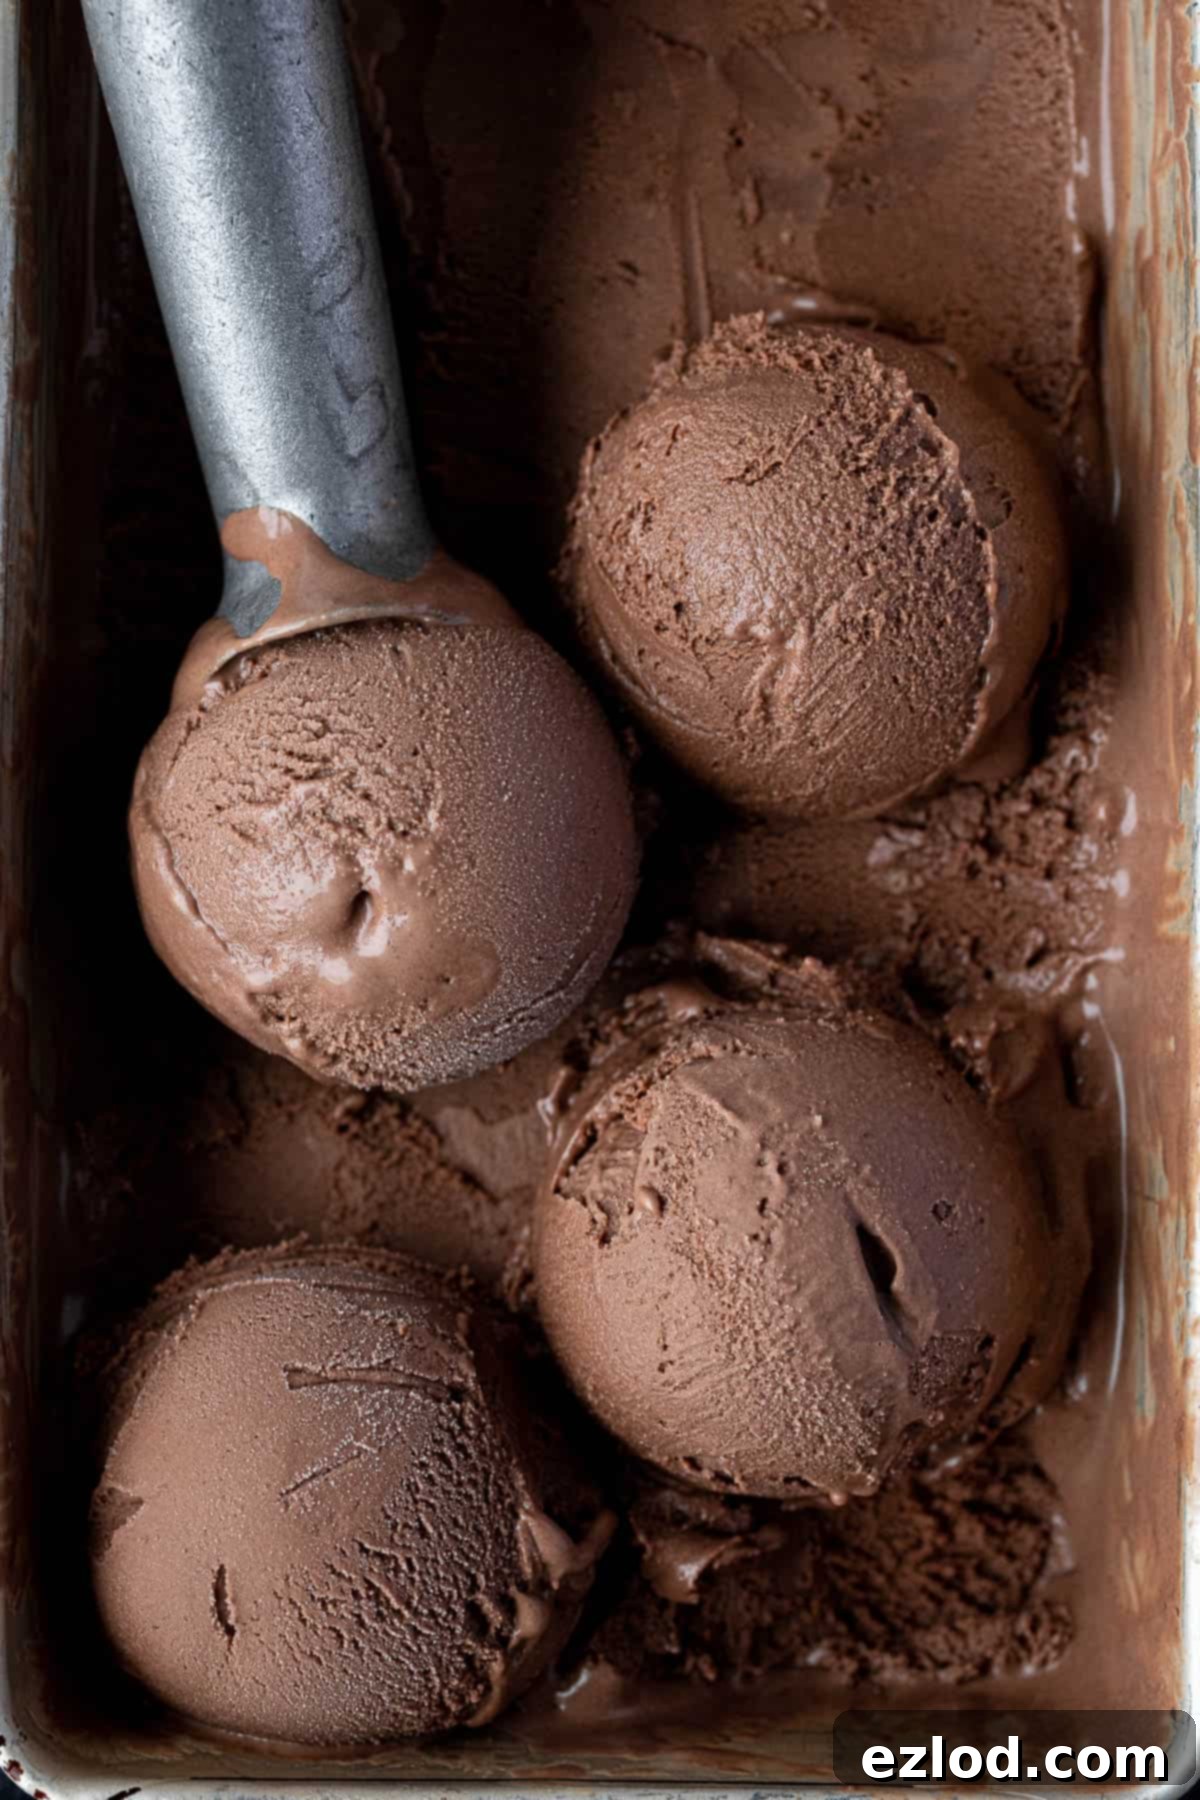
If you’ve tried this delightful recipe, we’d love to hear from you! Please take a moment to rate it, leave a comment below, or tag @domestic_gothess on Instagram and use the hashtag #domesticgothess to share your creations!
All images and content featured on Domestic Gothess are protected by copyright. If you wish to share this recipe, please do so by utilizing the provided share buttons or including a direct link to this post. Kindly refrain from screenshotting, re-posting, or using the recipe or content in full. Thank you for respecting our work!

Malted Chocolate Ice Cream (Vegan)
Equipment
-
ice cream maker
-
blender
Ingredients
- 150 g (1 cup) unroasted cashews
- 25 g (¼ cup) porridge oats (rolled oats)
- 800 ml (3 ⅓ cups) unsweetened non-dairy milk (soy is best)
- 150 g (5 ⅓ oz) barley malt extract (syrup)
- 100 g (packed ½ cup) light brown soft sugar
- 30 g (¼ cup) cocoa powder
- 1 teaspoon vanilla extract
- ⅛ teaspoon xanthan gum (optional)
- ¼ teaspoon salt
- 100 g (3 ½ oz) dark chocolate (about 70%) melted
Instructions
-
Make sure that the bowl of your ice cream maker has been in the freezer for long enough, mine takes 11 hours to fully freeze. This is crucial for proper churning.
-
You need to soak the cashews so that they are soft enough to blend to a smooth cream. Either cover them with plenty of boiling water and leave to soak for an hour, or cover with cold water and leave to soak overnight.
-
Place the porridge oats in a saucepan with half of the soy milk and bring to a gentle simmer. Cook for about 10 minutes, stirring often to prevent the bottom from catching, until the oats are soft and creamy.
-
Drain the soaked cashews well then place them in a high-speed blender with the other half of the milk. Blitz until perfectly smooth, ensuring no cashew bits remain.
-
Add the cooked oat mixture to the blender along with the malt extract, sugar, cocoa powder, vanilla extract, xanthan gum (if using), salt, and melted chocolate. Blend until the mixture is very smooth and completely homogenous. Stop and scrape down the sides of the blender jar as needed to ensure all ingredients are fully incorporated.
-
Pour the blended base into a bowl, cover it, and refrigerate until completely cold. For best results and optimal chilling, I recommend leaving mine overnight, but it will take at least four hours.
-
Once the ice cream mixture is thoroughly chilled, give it a good whisk to ensure everything is well combined. Then, pour it into your pre-frozen ice cream maker bowl and churn until it reaches a soft-serve consistency, usually about 20-30 minutes depending on your machine.
-
Once the ice cream is done churning, transfer it to a freezer-proof container. Cover tightly and freeze for about 4 hours, or until firm, before serving to allow it to fully set.
Notes
