Ultimate Vegan Biscoff Cake: Moist Layers, Creamy Buttercream & Irresistible Drip
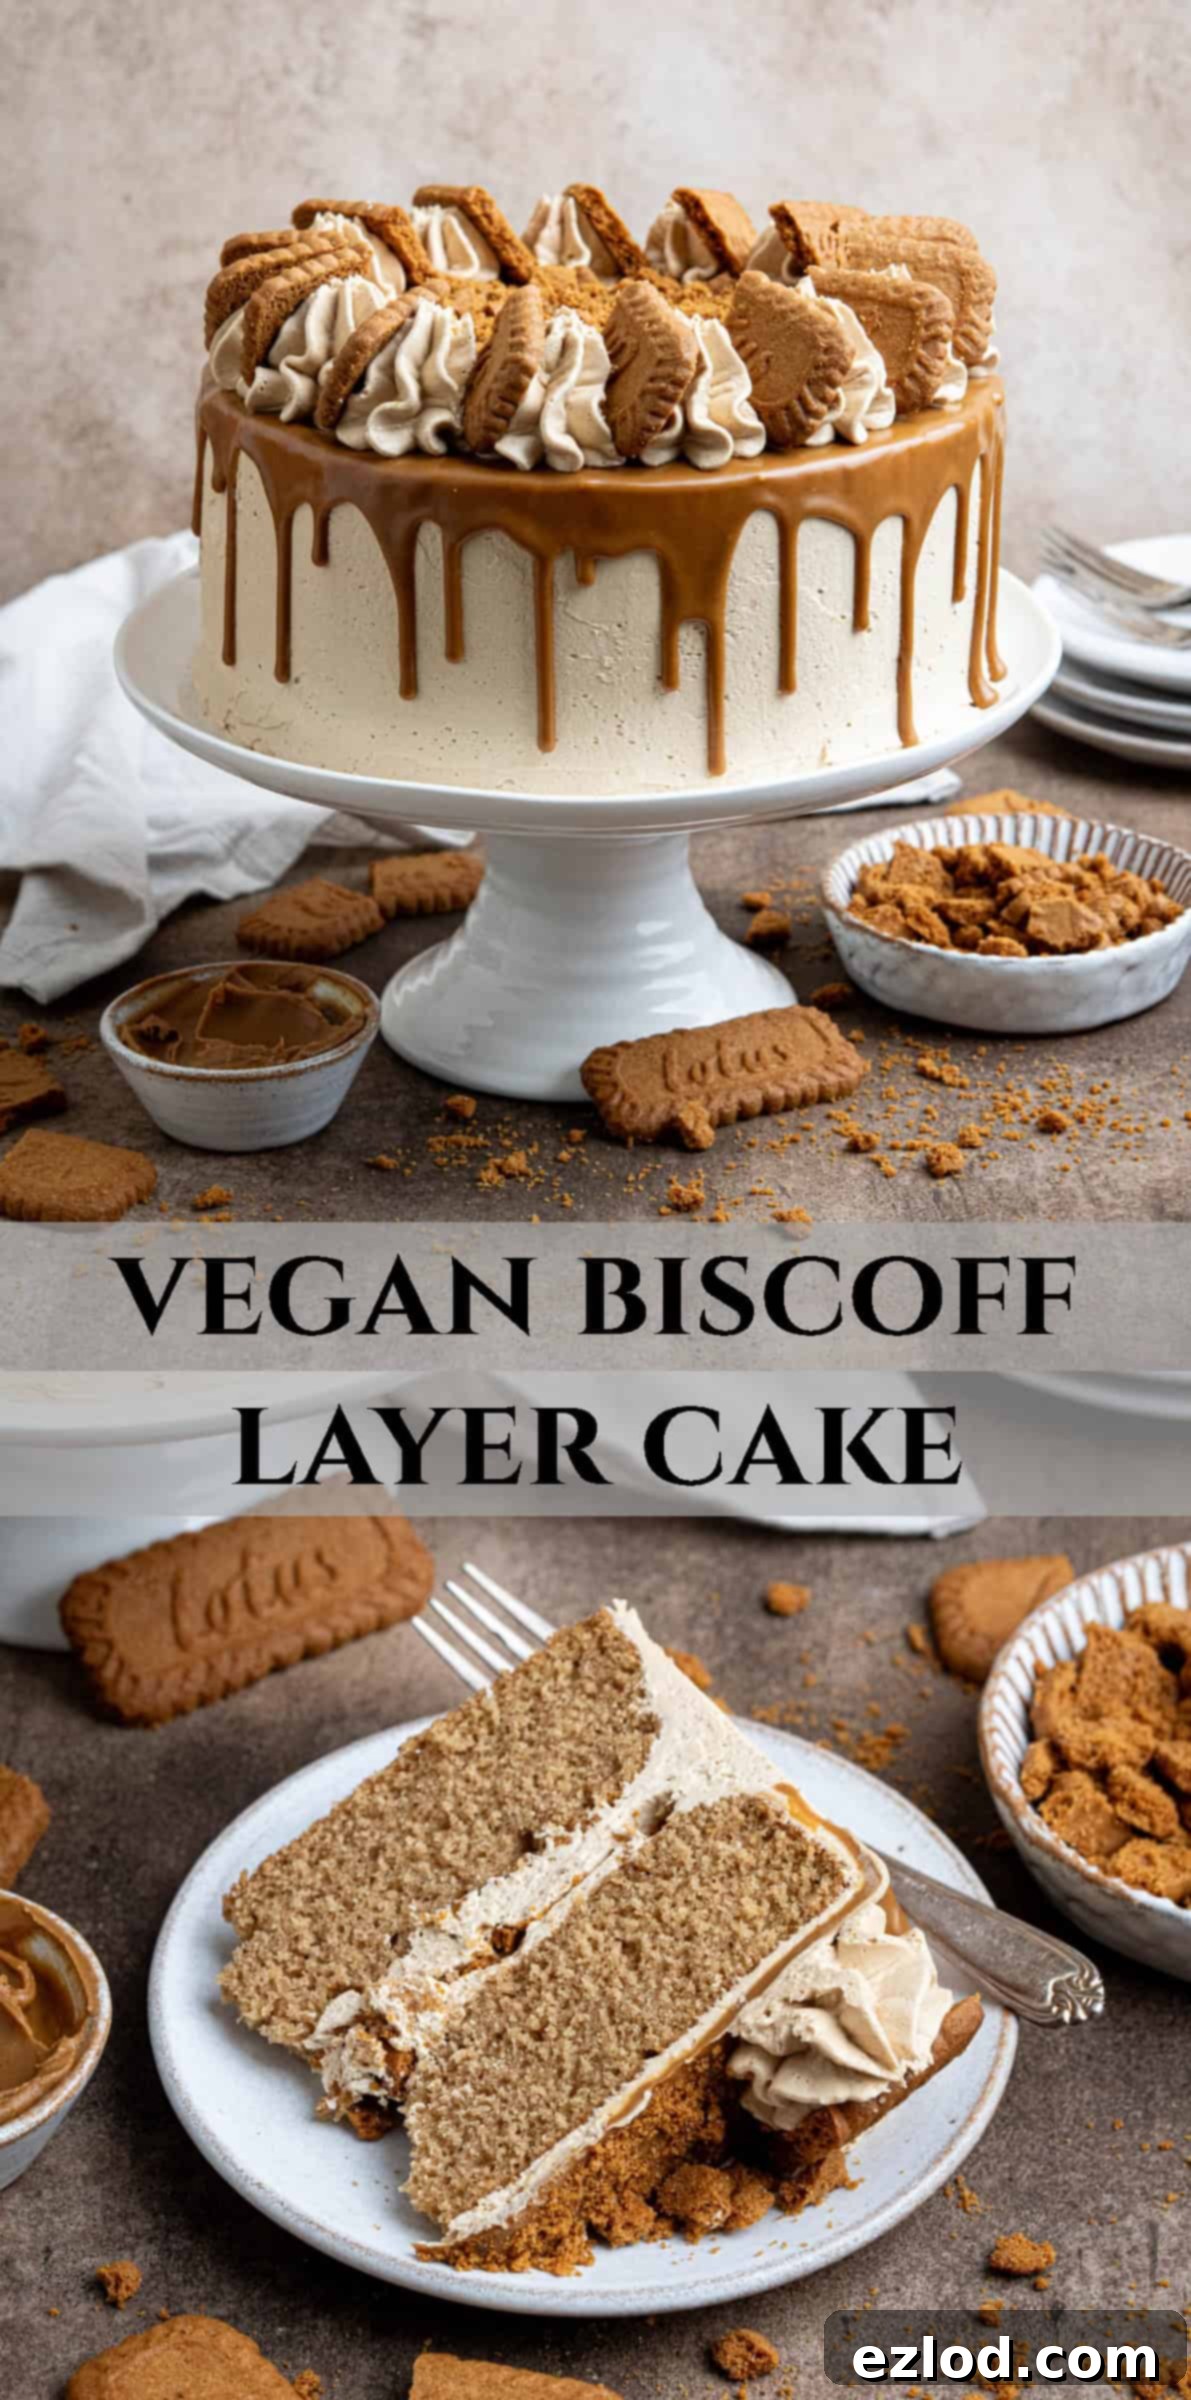
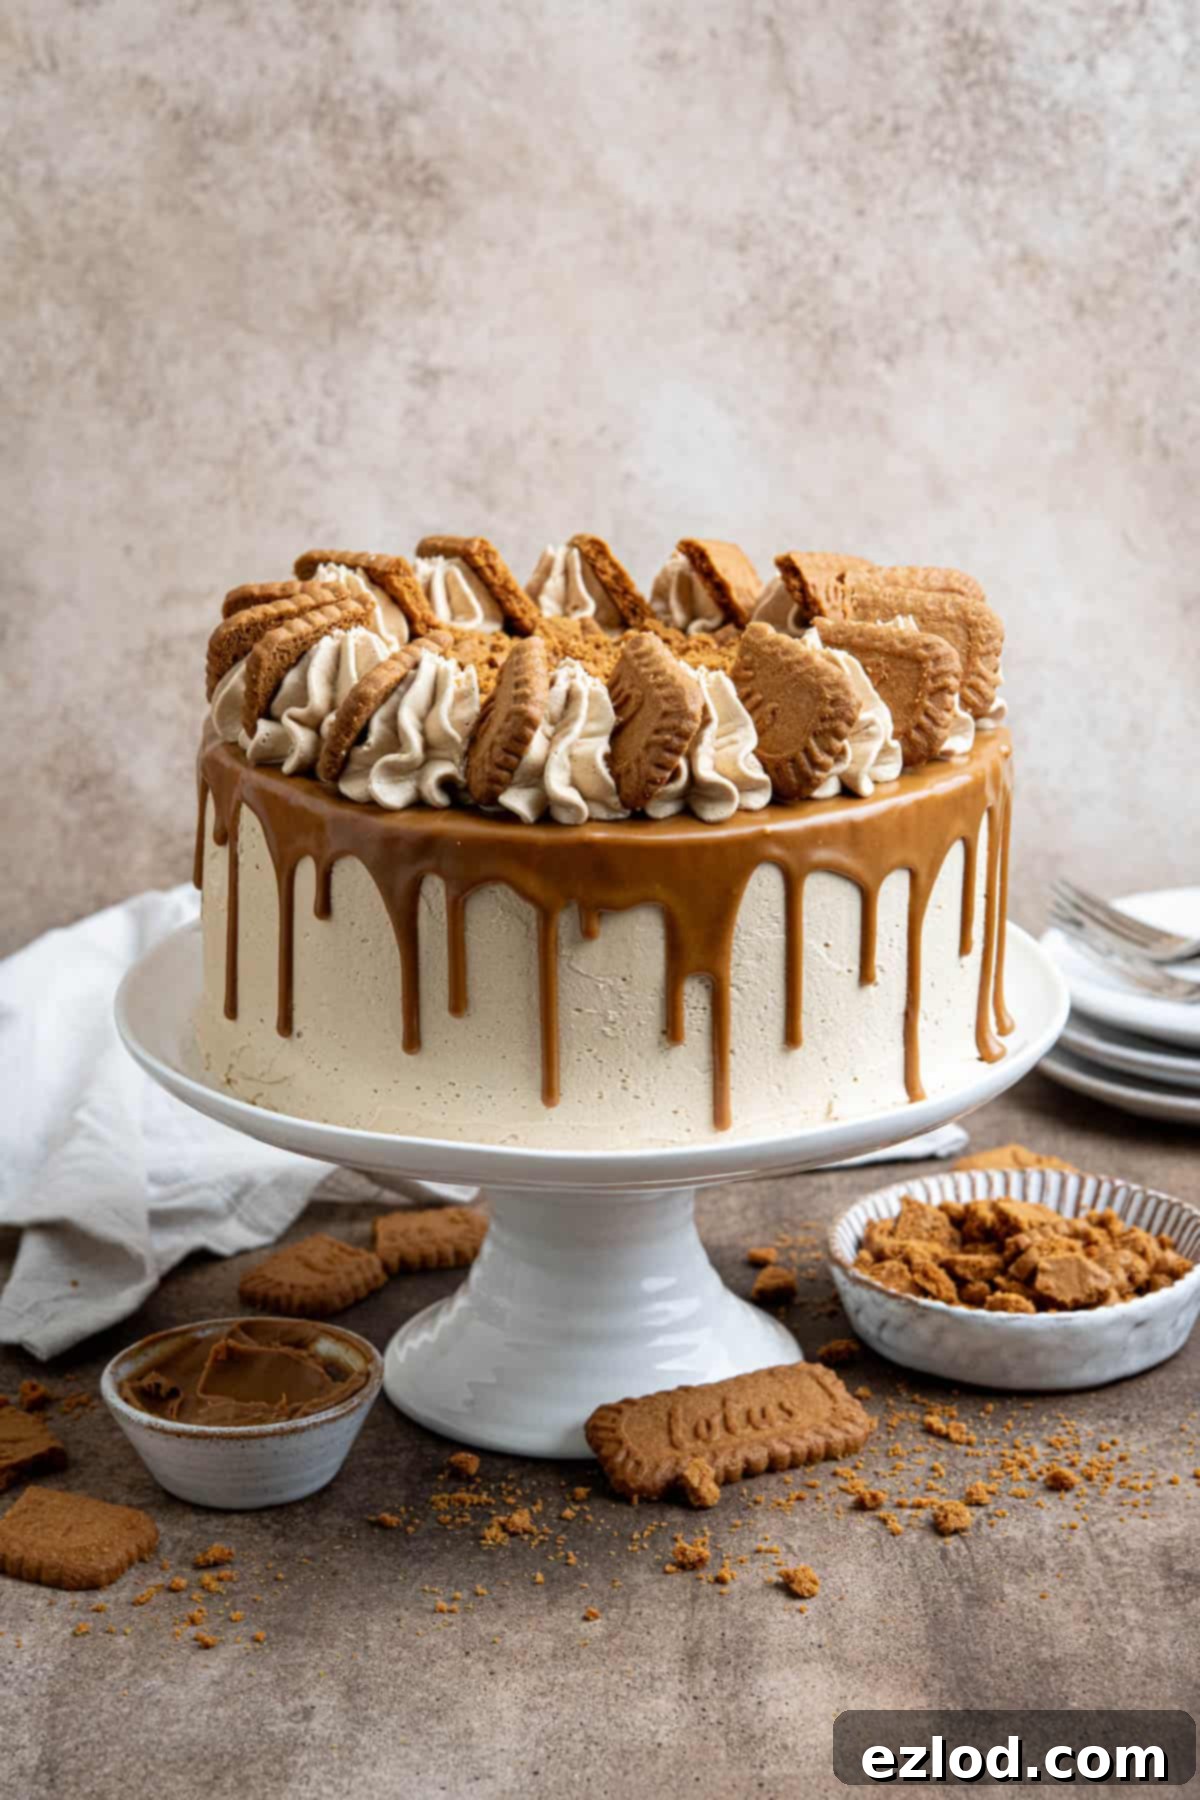
Prepare to enter Biscoff heaven with this truly impressive vegan Biscoff layer cake. It’s a showstopping dessert that combines light, incredibly moist, and fluffy brown sugar Biscoff-infused cake layers with a rich Biscoff buttercream filling. To complete this masterpiece, it’s crowned with a decadent Biscoff drip and adorned with iconic Biscoff cookies. This cake isn’t just a treat; it’s an experience, perfect for birthdays, holidays, or any special celebration throughout the year.
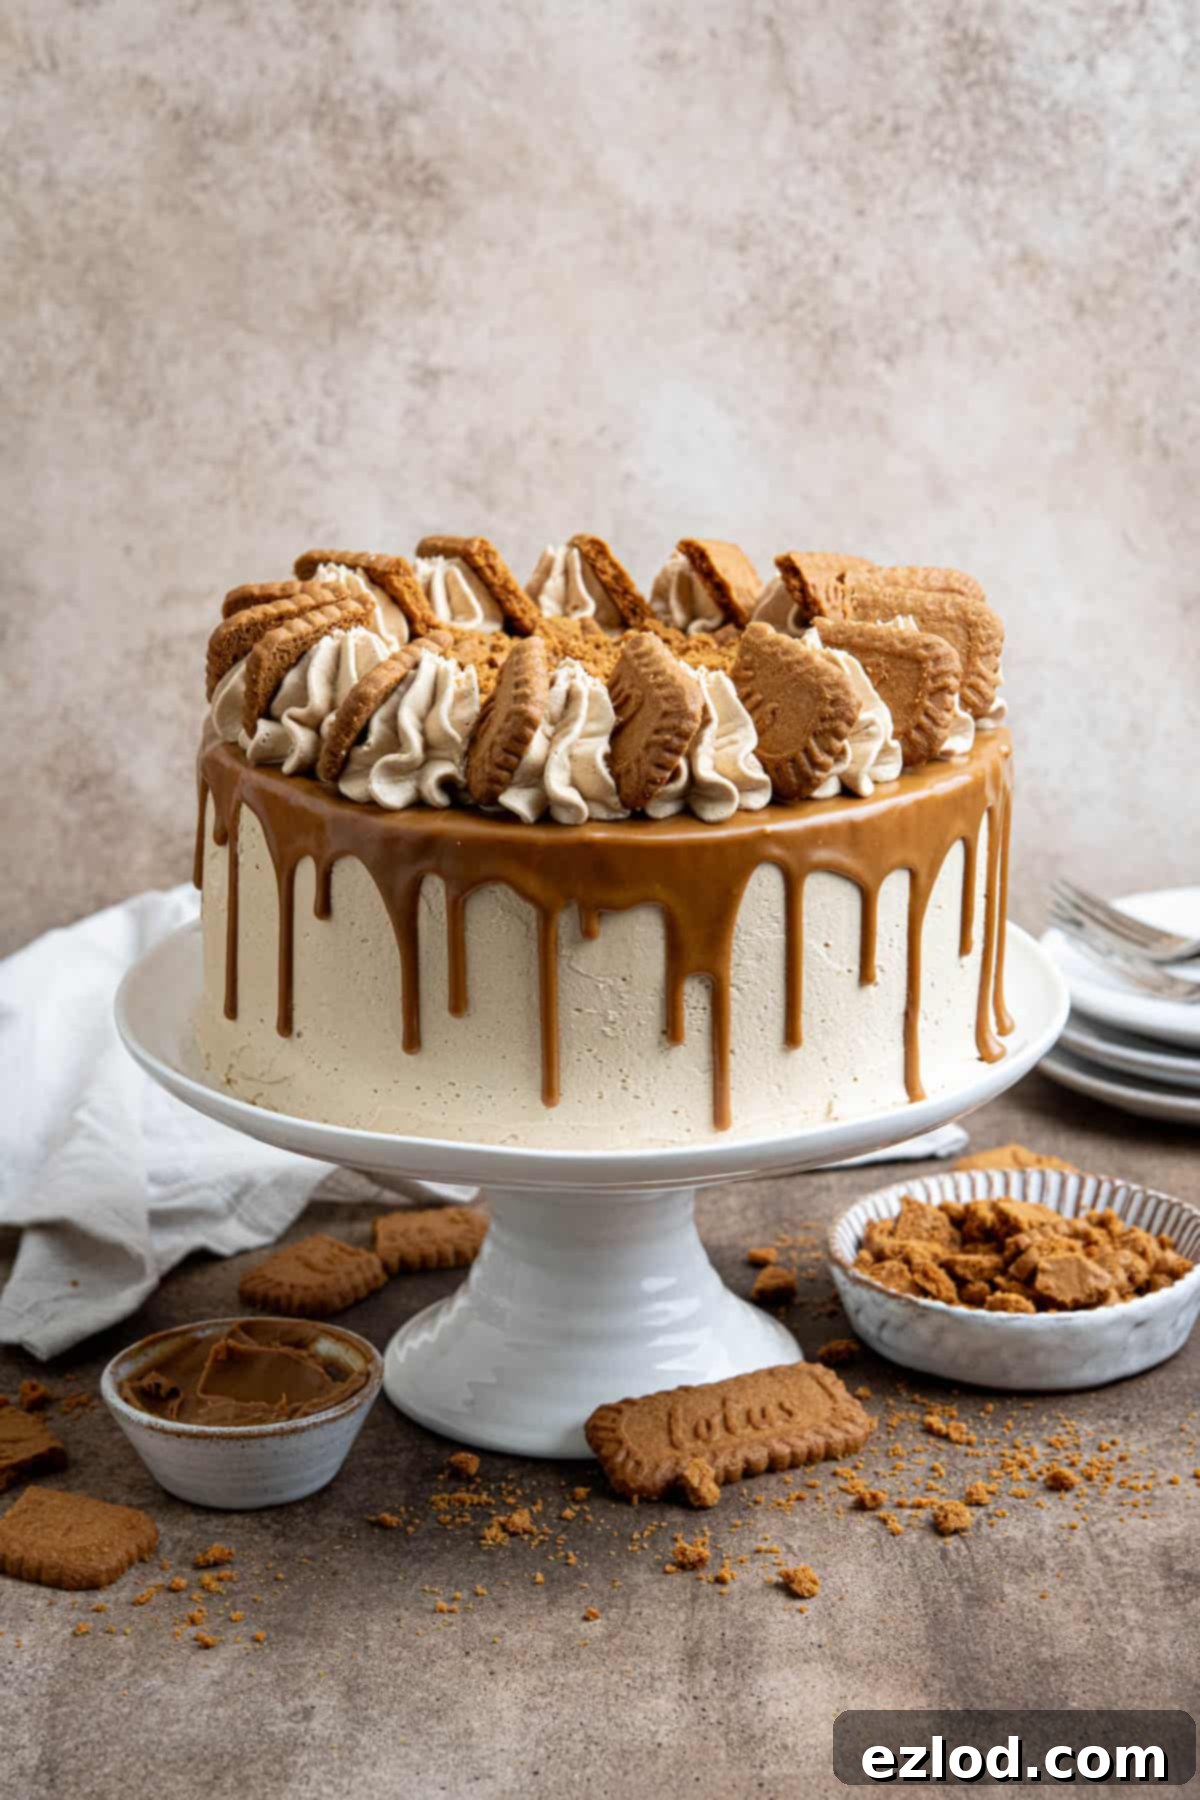
This recipe is tailor-made for serious Biscoff enthusiasts, generously loaded with an astonishing 500g of smooth Lotus Biscoff cookie butter spread throughout the cake layers, buttercream, and decadent drip. Plus, a generous scattering of Biscoff cookies adds the perfect finishing touch. The unique, lightly spiced caramel flavor of Biscoff is intensely addictive and creates a cake that is truly unforgettable. Despite its rich appearance and flavor profile, the cake itself remains wonderfully light and not overly sweet, ensuring every slice is a pure delight. And while it looks like it came straight from a professional bakery, you’ll be pleasantly surprised by how straightforward it is to achieve this stunning result in your own kitchen!
Why You’ll Love This Vegan Biscoff Cake
This isn’t just another cake; it’s a celebration of all things Biscoff, crafted to be completely plant-based without compromising on flavor or texture. Here’s why this recipe will become your go-to for special occasions and sweet cravings:
- Irresistibly Biscoff-Packed: From the moist cake layers to the creamy buttercream and the glorious drip, every element is infused with that signature spiced caramel goodness. This cake delivers a quadruple dose of Biscoff, ensuring every bite is bursting with flavor.
- Remarkably Moist & Fluffy: Our special combination of ingredients, including brown sugar and a precise balance of leavening agents, ensures a cake crumb that is incredibly tender, airy, and never dry, despite being entirely vegan and dairy-free.
- Showstopper Appeal, Simple Execution: Don’t let its elegant, layered appearance intimidate you. We’ve broken down each step to make the baking and decorating process approachable and enjoyable for home bakers of all skill levels, allowing you to create a professional-looking dessert with ease.
- Perfect for Any Celebration: Whether it’s a birthday, an anniversary, a holiday gathering, or just a treat-yourself moment, this Biscoff cake is guaranteed to impress and delight everyone, becoming the centerpiece of any dessert table.
- Dairy-Free and Delicious: Enjoy all the richness, depth, and satisfying flavor of a traditional layer cake, with the added benefit of knowing it’s made with ethical, plant-based ingredients, making it suitable for a wider range of dietary preferences.
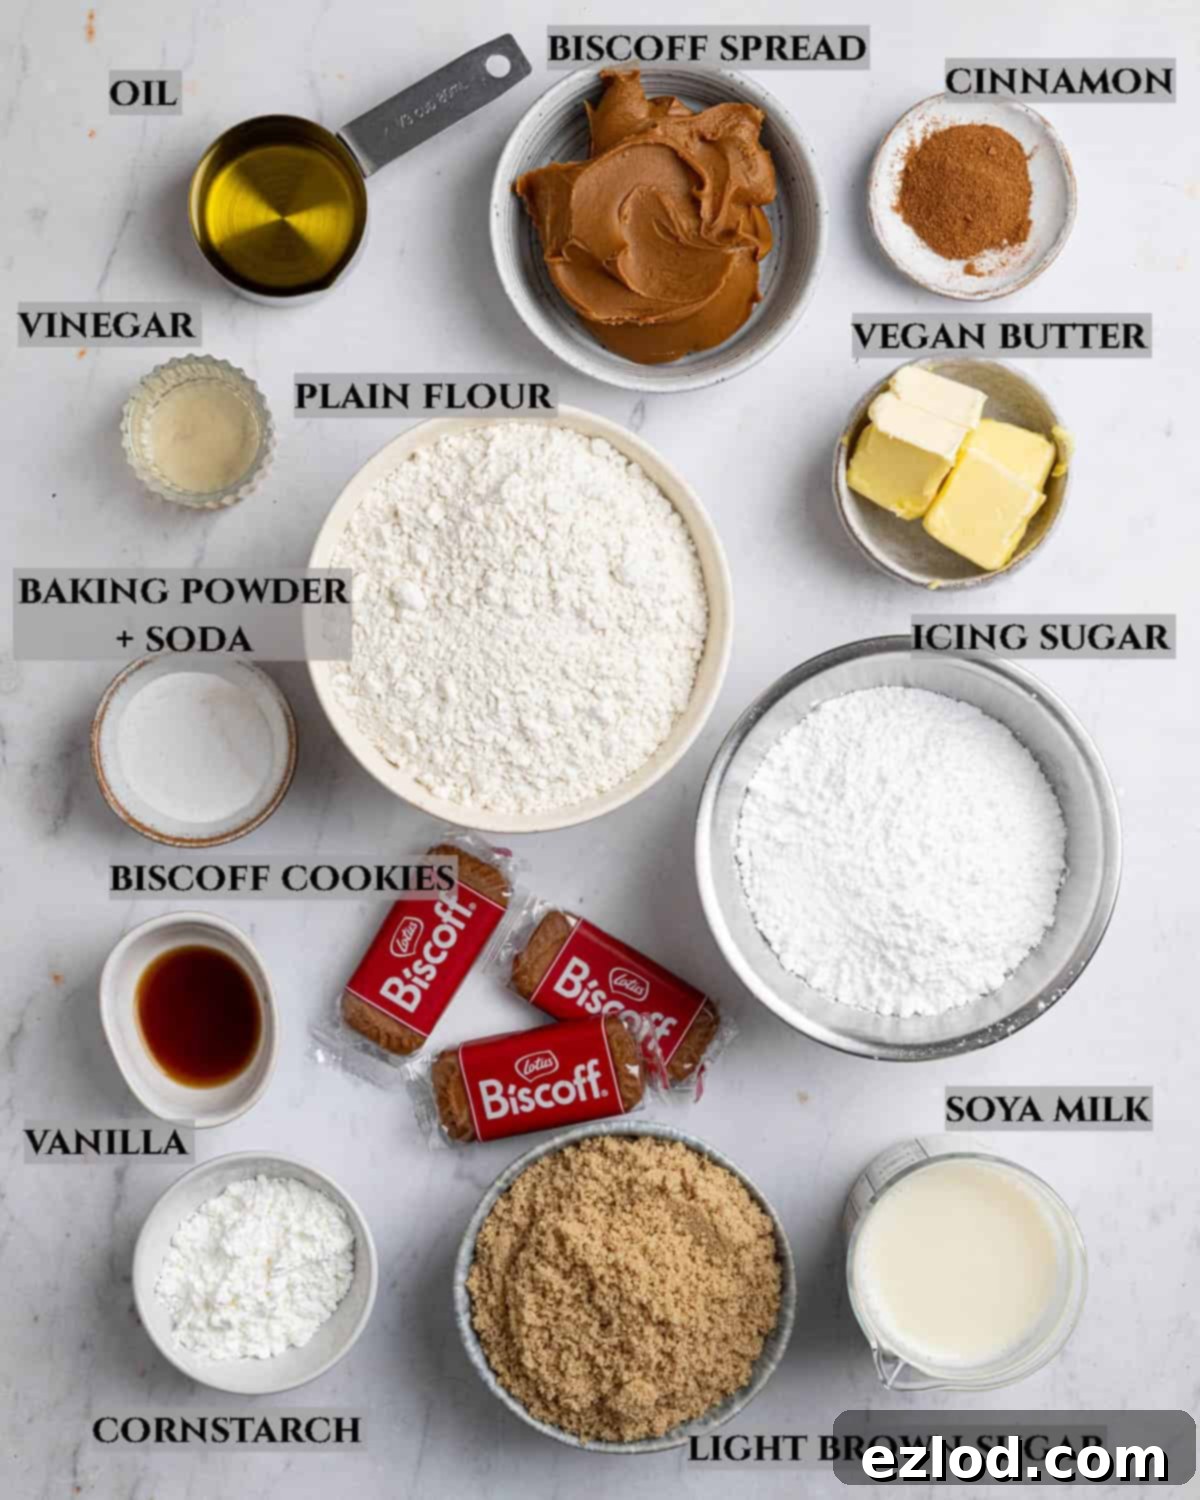
Essential Ingredient Details for the Perfect Vegan Biscoff Cake
Crafting this exquisite vegan Biscoff cake begins with understanding the role of each ingredient. Here’s a detailed look at what you’ll need and why it matters, ensuring you get the best possible results:
- Biscoff Spread + Cookies: The undeniable star of our show! It’s absolutely crucial to use smooth Biscoff spread for this recipe. Crunchy spread can introduce unwanted textural inconsistencies into the cake batter and buttercream, and may even throw off the overall moisture balance. You’ll need a substantial amount—a total of 500g for the cake, buttercream, and drip—so plan to purchase two standard jars or one of the larger tubs to ensure you have plenty. The Biscoff cookies are primarily for decoration, adding delightful crunch and visual appeal. The exact quantity you need will depend on your desired level of cookie adornment; one to two packets should be enough to allow for both crushed and whole cookies on top and between layers.
- Non-Dairy Milk: Any unsweetened non-dairy milk will work well here, but I consistently find that soy milk yields the best results in vegan baking due to its slightly higher protein content and creamy texture, which contributes wonderfully to a moist and tender cake. Avoid tinned full-fat coconut milk as its high fat content and distinct flavor are not suitable for this recipe. Good alternatives include unsweetened almond, oat, or cashew milk, just ensure they are plain and unsweetened.
- Neutral Oil + Vegan Block Butter: This strategic combination is key to achieving the ultimate cake texture and flavor. The neutral oil (such as olive oil, sunflower oil, or canola oil) provides essential moisture, contributing to a tender, light crumb that stays fresh longer. The vegan block butter, on the other hand, adds richness and a lovely, authentic buttery flavor without any dairy. For the buttercream, using a firm block variety of vegan butter (like Flora Plant Butter, Miyoko’s Kitchen, or similar) is absolutely essential. Spreadable vegan butter from a tub has a higher water content and will result in a runny, unstable buttercream that won’t hold its shape or whip up light and fluffy. Ensure your block butter is softened to room temperature for the buttercream for optimal whipping and creaming.
- Vinegar: A surprisingly vital component! The vinegar, typically apple cider vinegar or white wine vinegar, plays a crucial role in leavening the cake. It reacts with the bicarbonate of soda (baking soda) to create carbon dioxide gas, which helps the cake rise beautifully, resulting in a wonderfully light, airy, and fluffy texture. This acid-base reaction is fundamental to vegan baking. Lemon juice can be used as an equally effective substitute if you don’t have vinegar on hand.
- Plain Flour and Cornflour (Cornstarch): The foundation of our cake’s structure. Regular plain (all-purpose) flour provides the main framework, while a small but significant addition of cornflour (cornstarch) acts as a secret weapon for an even softer, more delicate, and tender crumb. It works by reducing the gluten formation slightly, mimicking the effect of cake flour. If you don’t have cornflour, you can substitute it with an equal weight of plain flour, but I highly recommend using it if possible for that superior, melt-in-your-mouth texture.
- Baking Powder and Bicarbonate of Soda (Baking Soda): Both these leavening agents are indispensable for optimal rise and a perfectly textured cake. Baking powder provides initial lift and ensures even expansion throughout the baking process, while bicarbonate of soda (activated by the acidic vinegar) works synergistically to further enhance the cake’s airy quality and tender crumb. Using both ensures your cake reaches its full, delicious potential.
- Sugar: For the cake layers, light brown soft sugar or muscovado sugar is ideal. These sugars are not just for sweetness; their rich molasses content adds a deep, complex caramel-like flavor that perfectly complements and enhances the Biscoff notes. For the buttercream, you will need finely ground icing sugar (powdered sugar) to achieve a smooth, lump-free consistency that whips up beautifully. If you can find golden icing sugar, it will impart an even richer, slightly deeper caramel note to your buttercream, making it extra special and visually appealing.
- Vanilla Extract: A good quality vanilla extract is always superior to artificial vanilla essence, offering a deeper, more authentic, and nuanced flavor that elevates the overall taste profile of the cake. For an even more intense vanilla boost and delightful flecks, you can use vanilla bean paste. It subtly enhances the sweetness and complexity, creating a well-rounded flavor.
- Ground Cinnamon: A subtle touch of ground cinnamon in the cake batter significantly enhances the inherent spiced caramel notes of the Biscoff, adding warmth and depth that elevate the entire flavor experience. If you happen to have a speculoos spice blend (which typically includes cinnamon, nutmeg, cloves, and ginger), it would be an excellent substitute for an even more authentic Biscoff-like warmth and complexity.
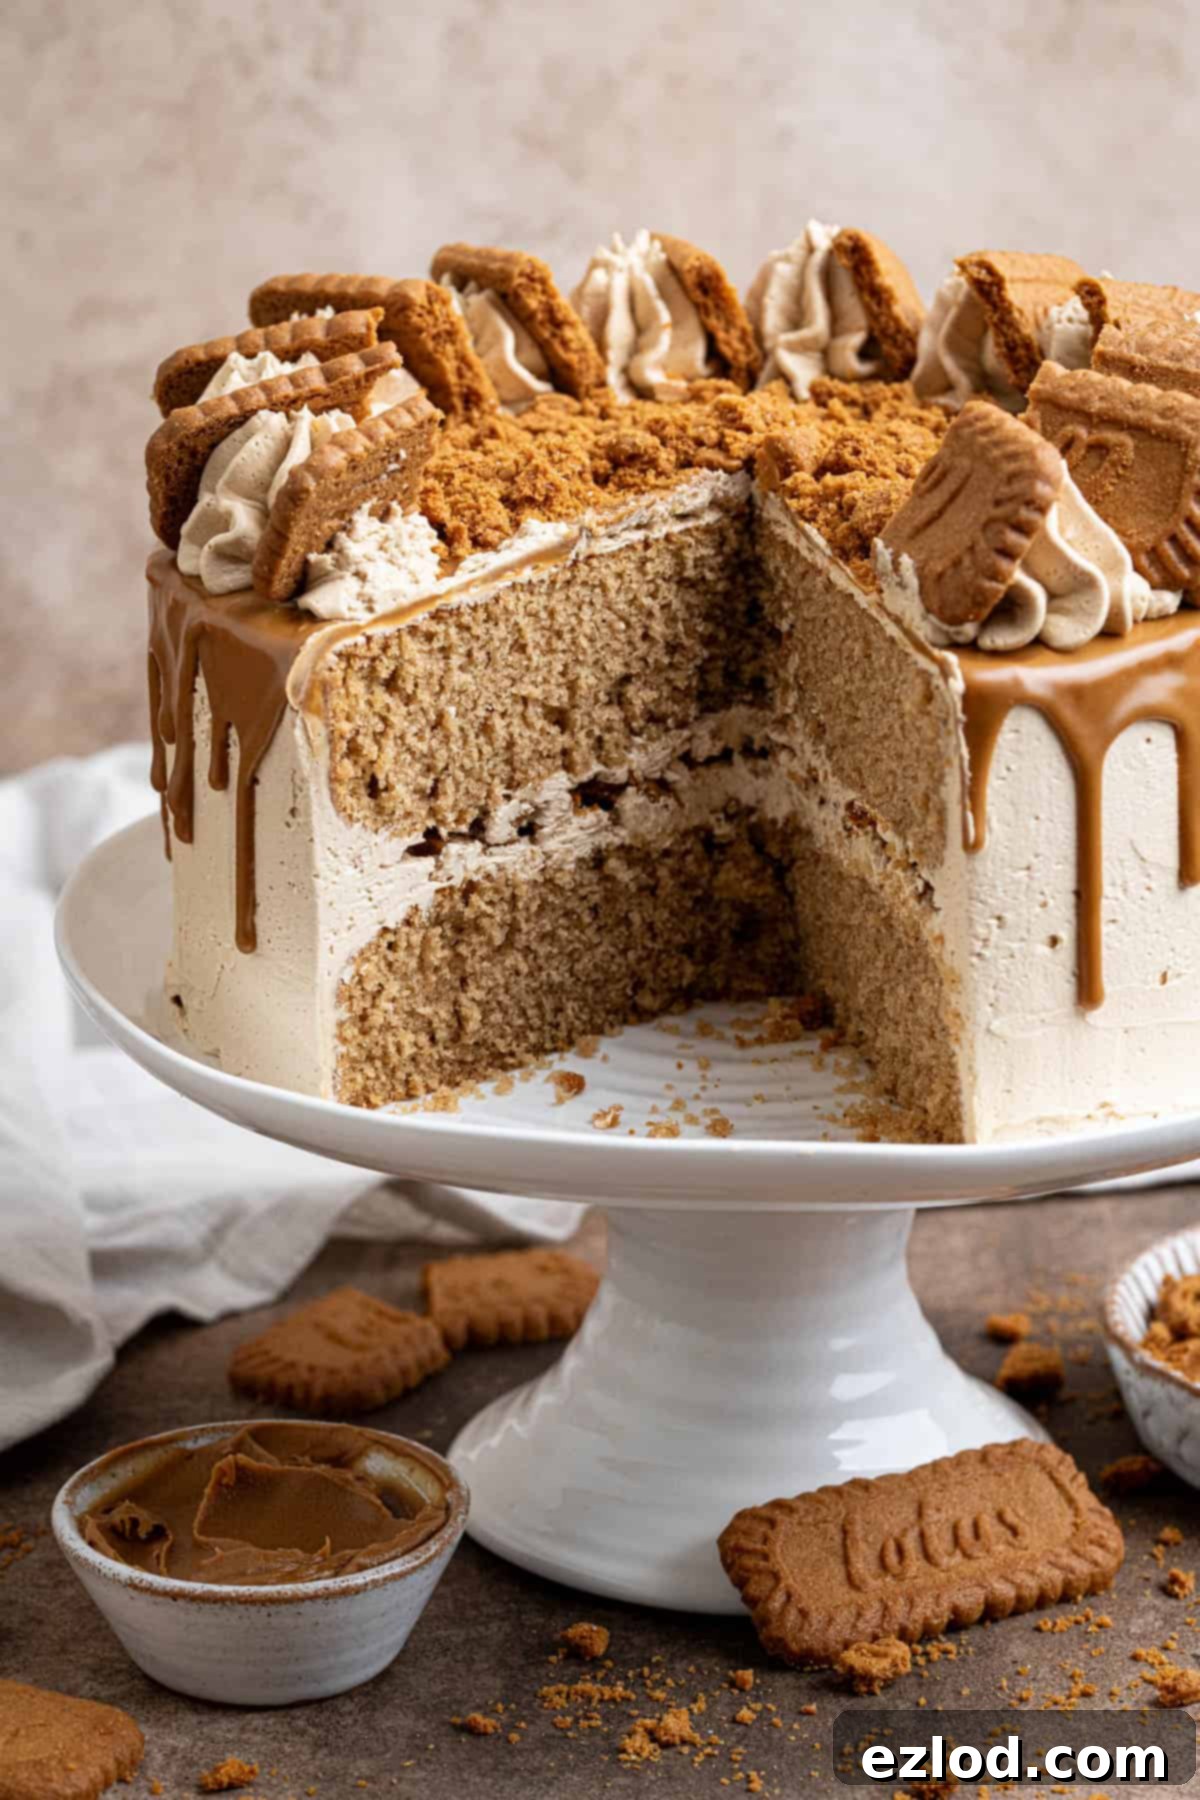
How To Bake Your Dreamy Vegan Biscoff Cake: Step-by-Step Guide
(For precise measurements and complete instructions, please refer to the detailed recipe card conveniently located at the bottom of this page.)
Part 1: Making the Moist Biscoff Cake Layers
-
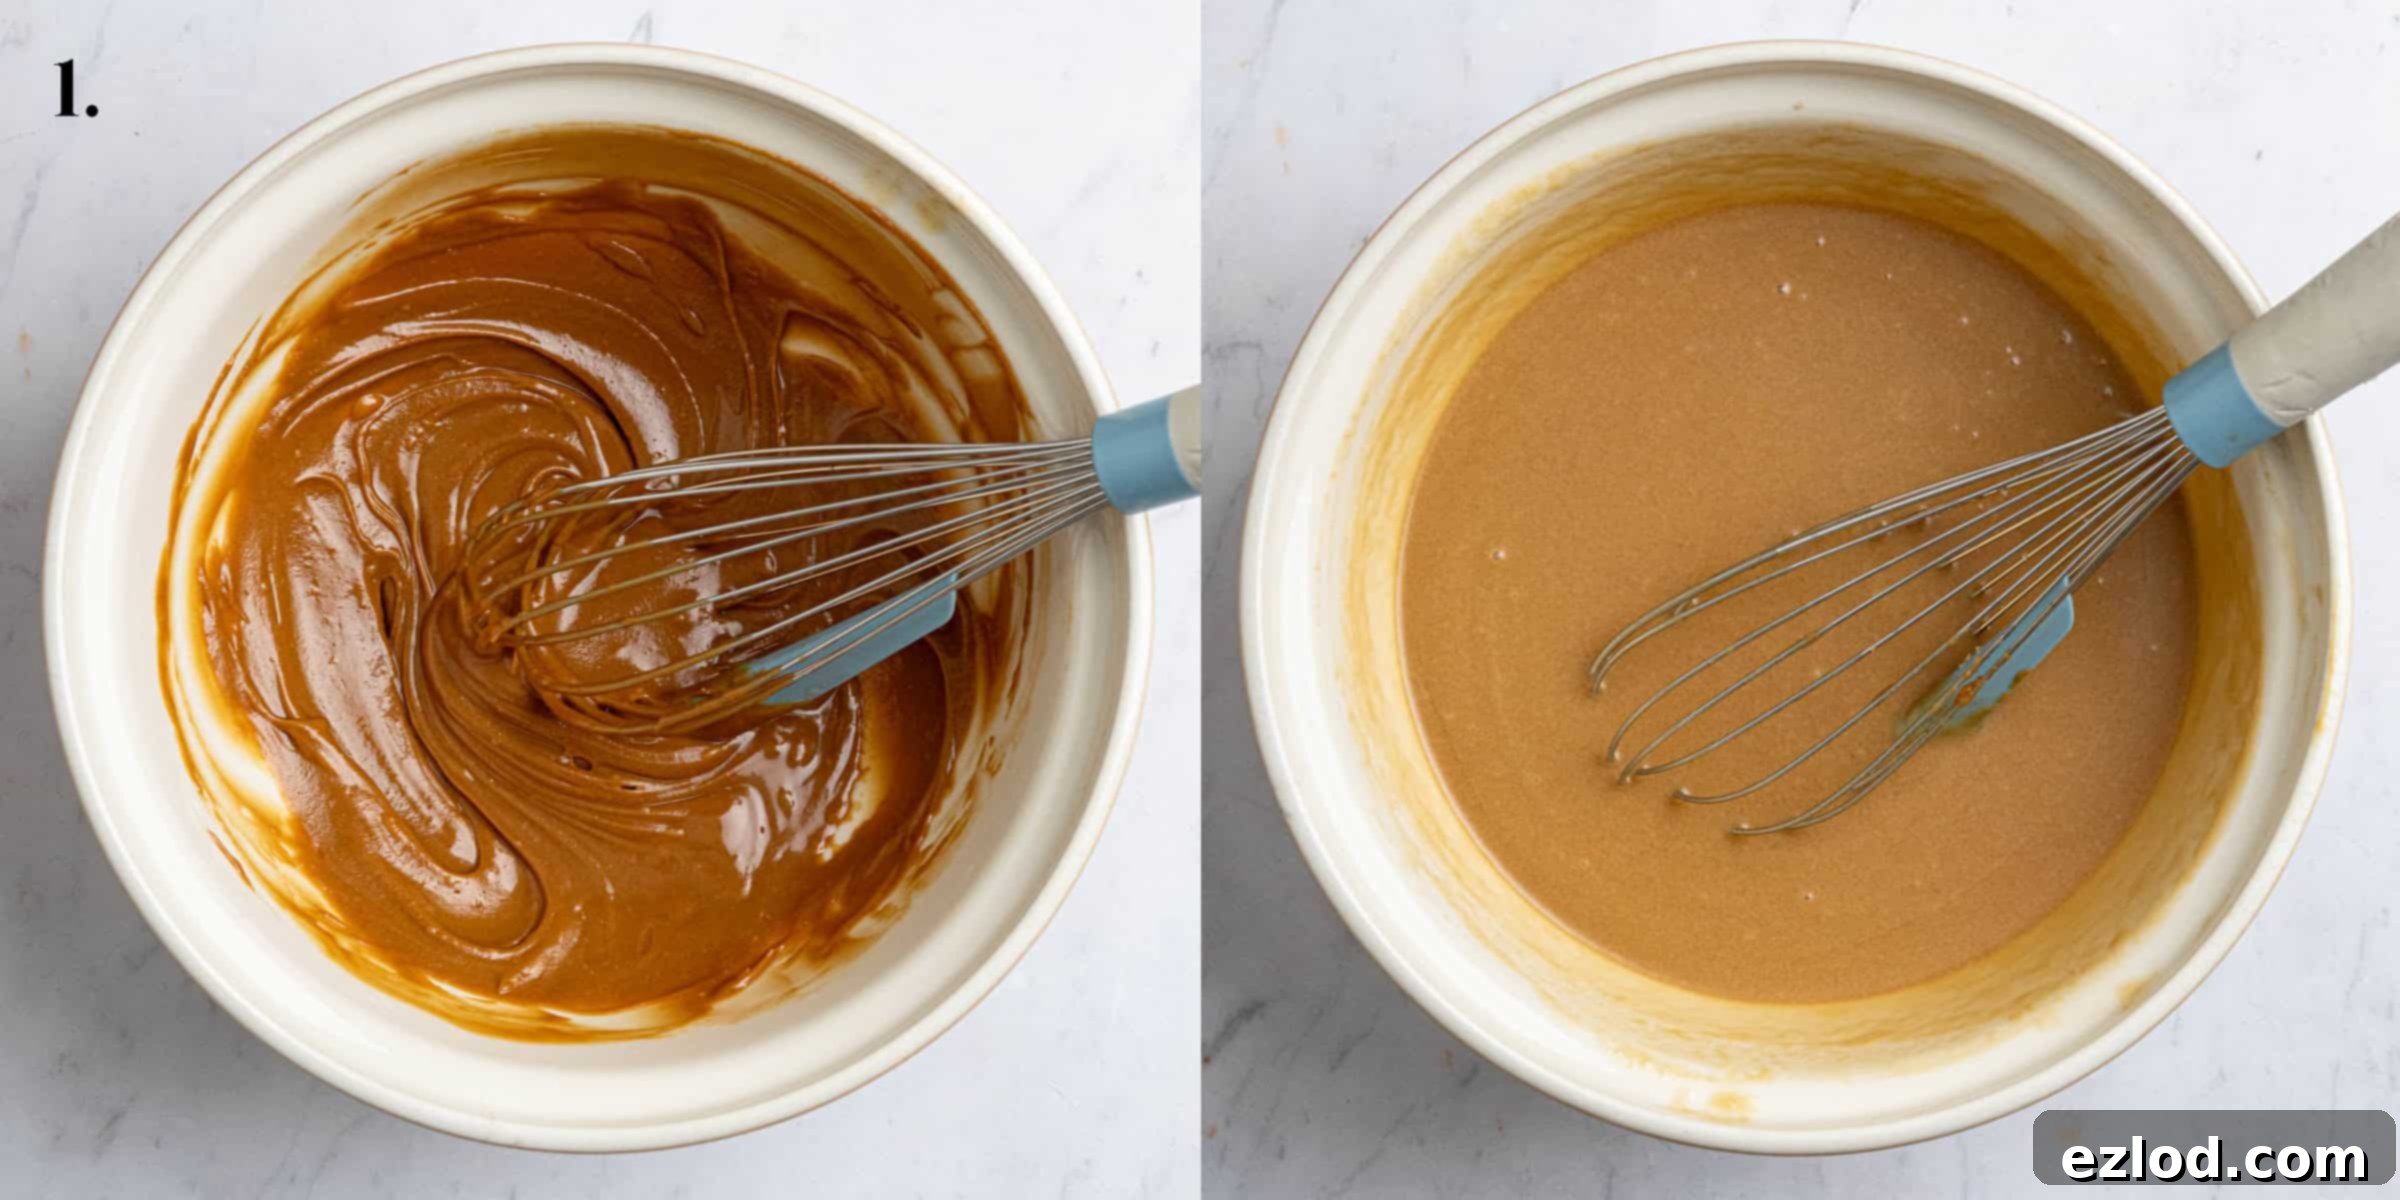
Step 1: Prepare the Wet Ingredients. Start by preheating your oven and preparing your cake tins as instructed in the recipe card. In a large mixing bowl, thoroughly whisk together the smooth Biscoff spread and the melted vegan butter. This initial step is vital to loosen the Biscoff spread, ensuring it incorporates smoothly and evenly into the batter without clumping. Next, whisk in the neutral oil and the light brown soft sugar until the mixture is well combined and slightly lighter in color. Finally, add the unsweetened non-dairy milk, vinegar, and vanilla extract, whisking gently until the mixture is uniform and completely smooth. This creates a beautifully flavored and well-emulsified liquid base for your cake layers.

-
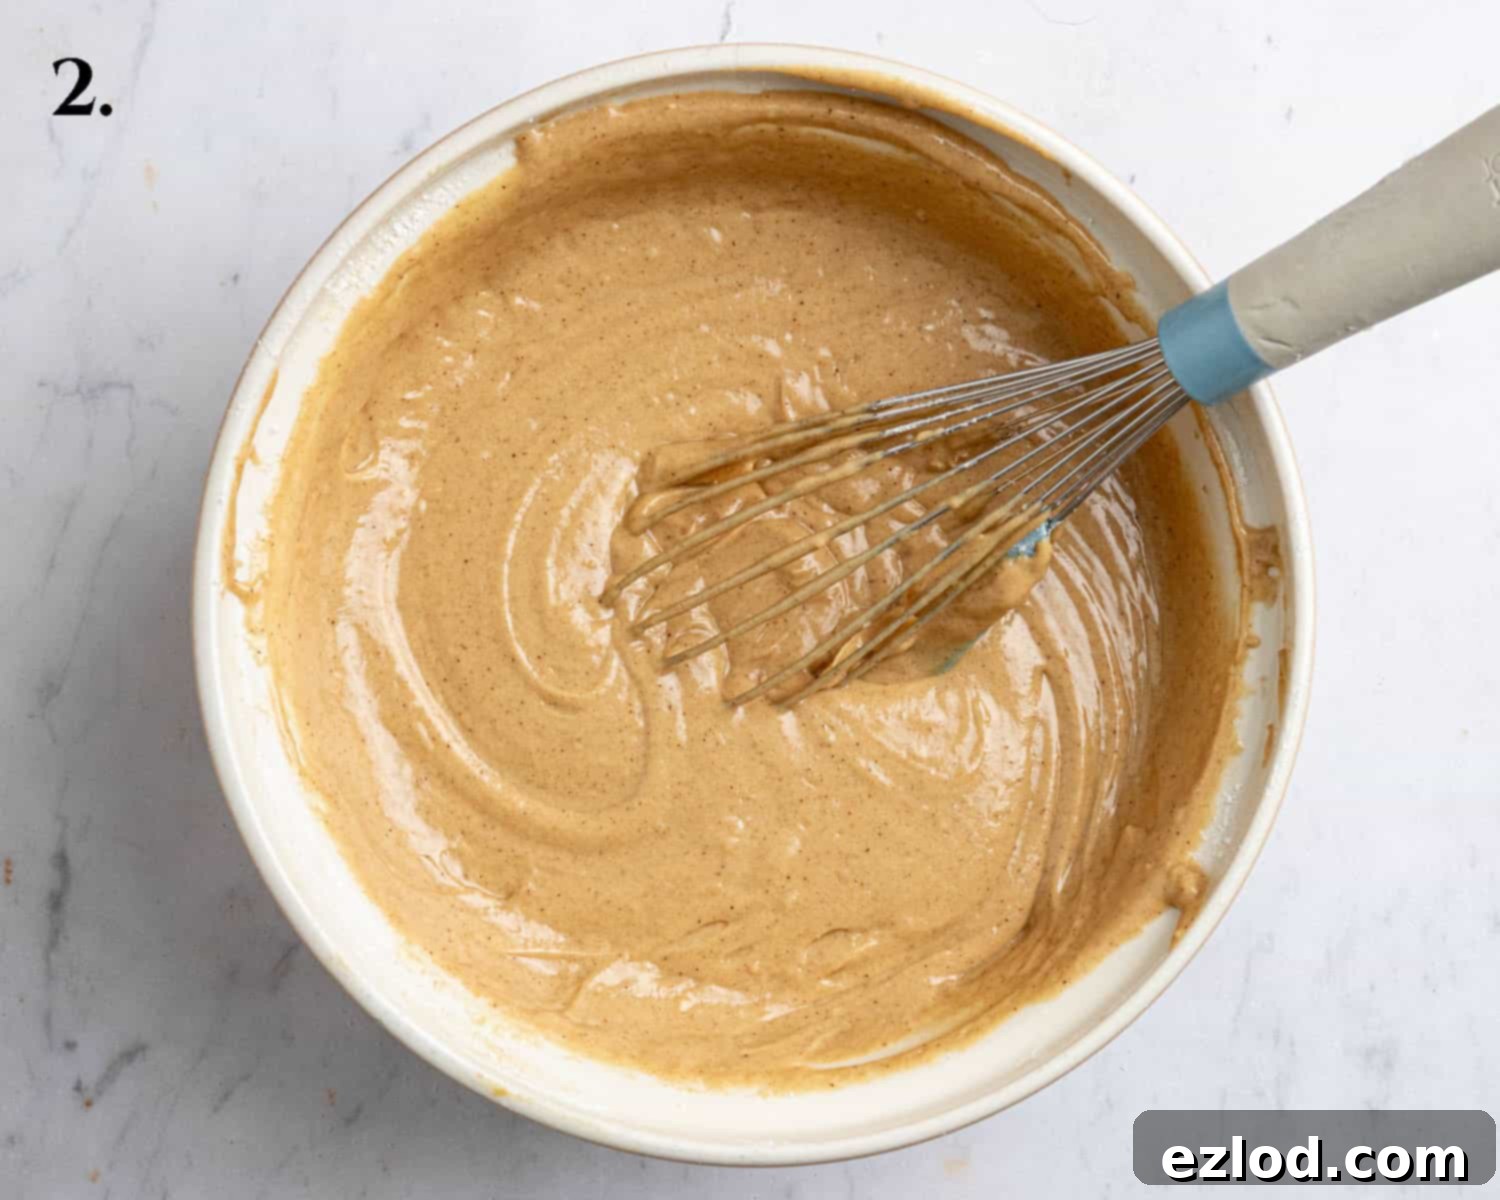
Step 2: Combine Wet and Dry Ingredients. Sift the plain flour, cornflour, baking powder, bicarbonate of soda, ground cinnamon, and salt directly into the bowl with your wet ingredient mixture. Sifting is a crucial step that helps to aerate the dry ingredients and prevents any lumps, which contributes to a finer, lighter cake crumb. Using a balloon whisk, gently fold and stir the ingredients together until they are just combined and no dry pockets of flour remain visible. It’s very important not to over-mix the batter at this stage, as overworking the flour can develop the gluten too much, leading to a tough and dense cake texture.

-
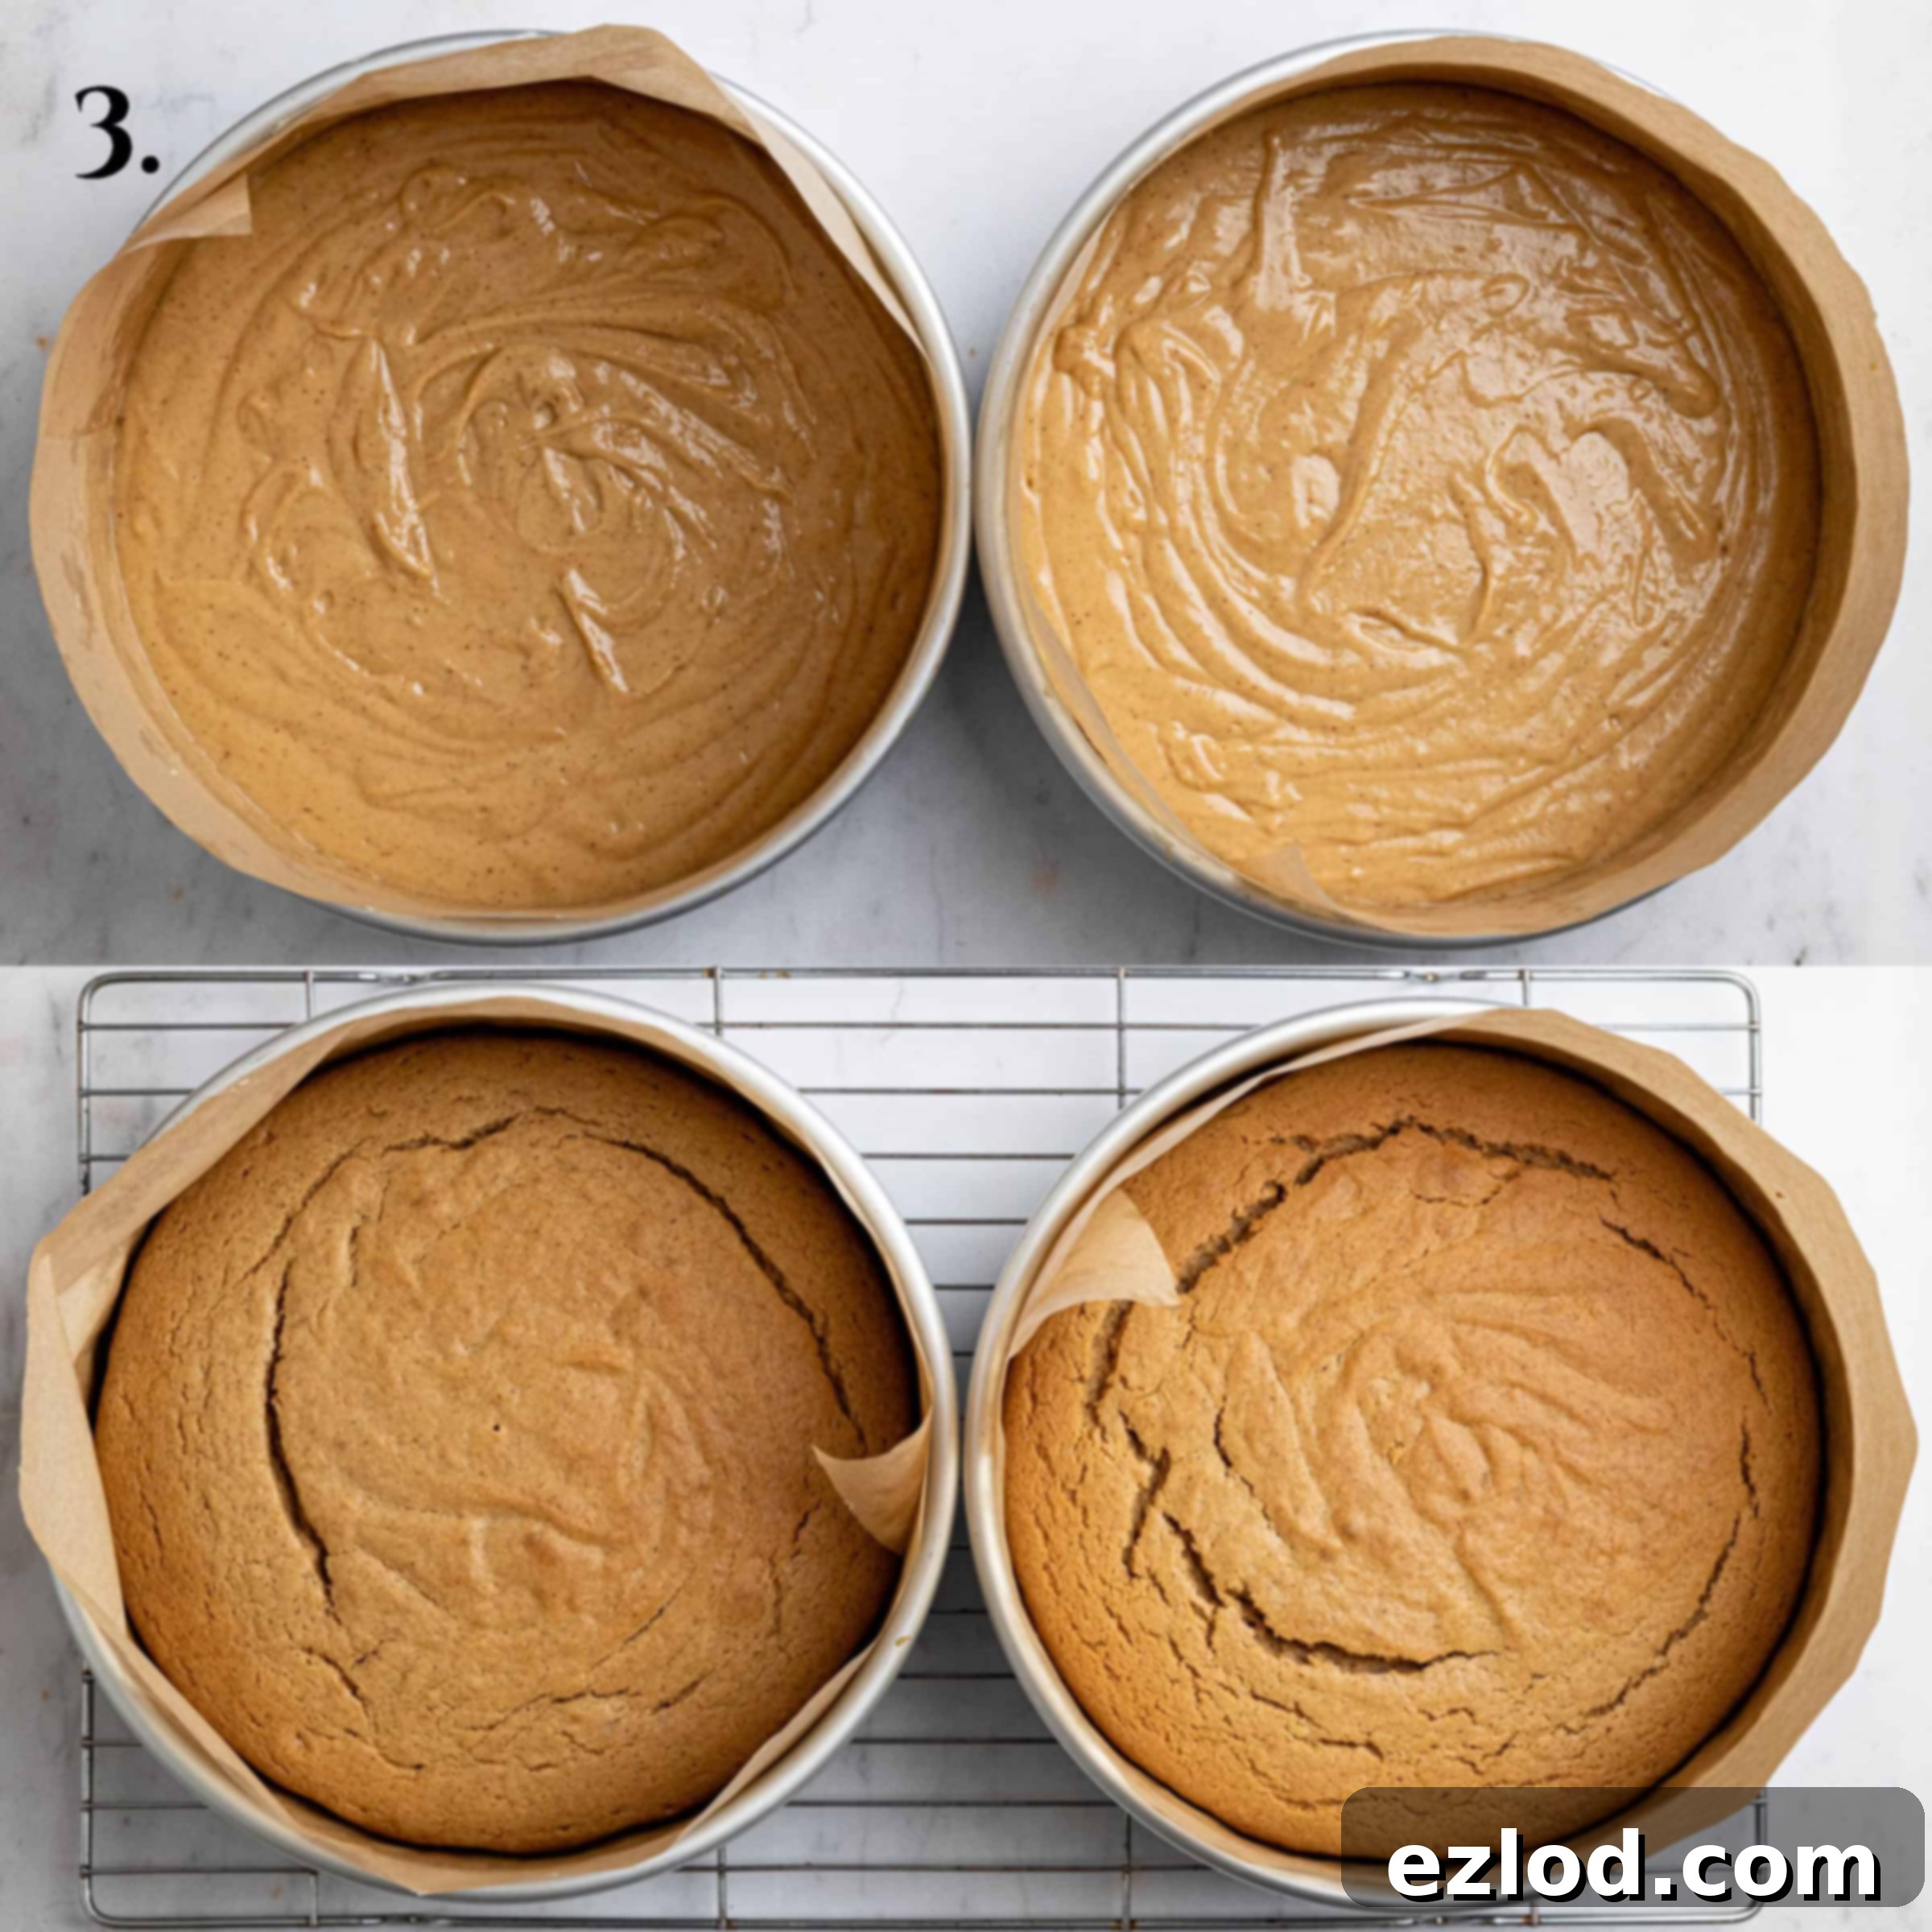
Step 3: Bake and Cool the Cake Layers. Divide the prepared cake batter evenly between your two greased and lined 20cm (8-inch) round cake tins. Gently smooth the tops with a spatula to ensure even baking. Bake in your preheated oven for approximately 25-30 minutes. The cakes are ready when they feel firm to the touch in the center, and a wooden skewer or toothpick inserted into the very middle comes out clean or with just a few moist crumbs attached (but absolutely no wet batter). Allow the cakes to cool in their tins for about 15 minutes on a wire rack before carefully inverting them out onto the rack to cool completely. This crucial cooling period prevents them from sticking and helps to retain their lovely moisture.

Part 2: Crafting the Decadent Biscoff Buttercream
-
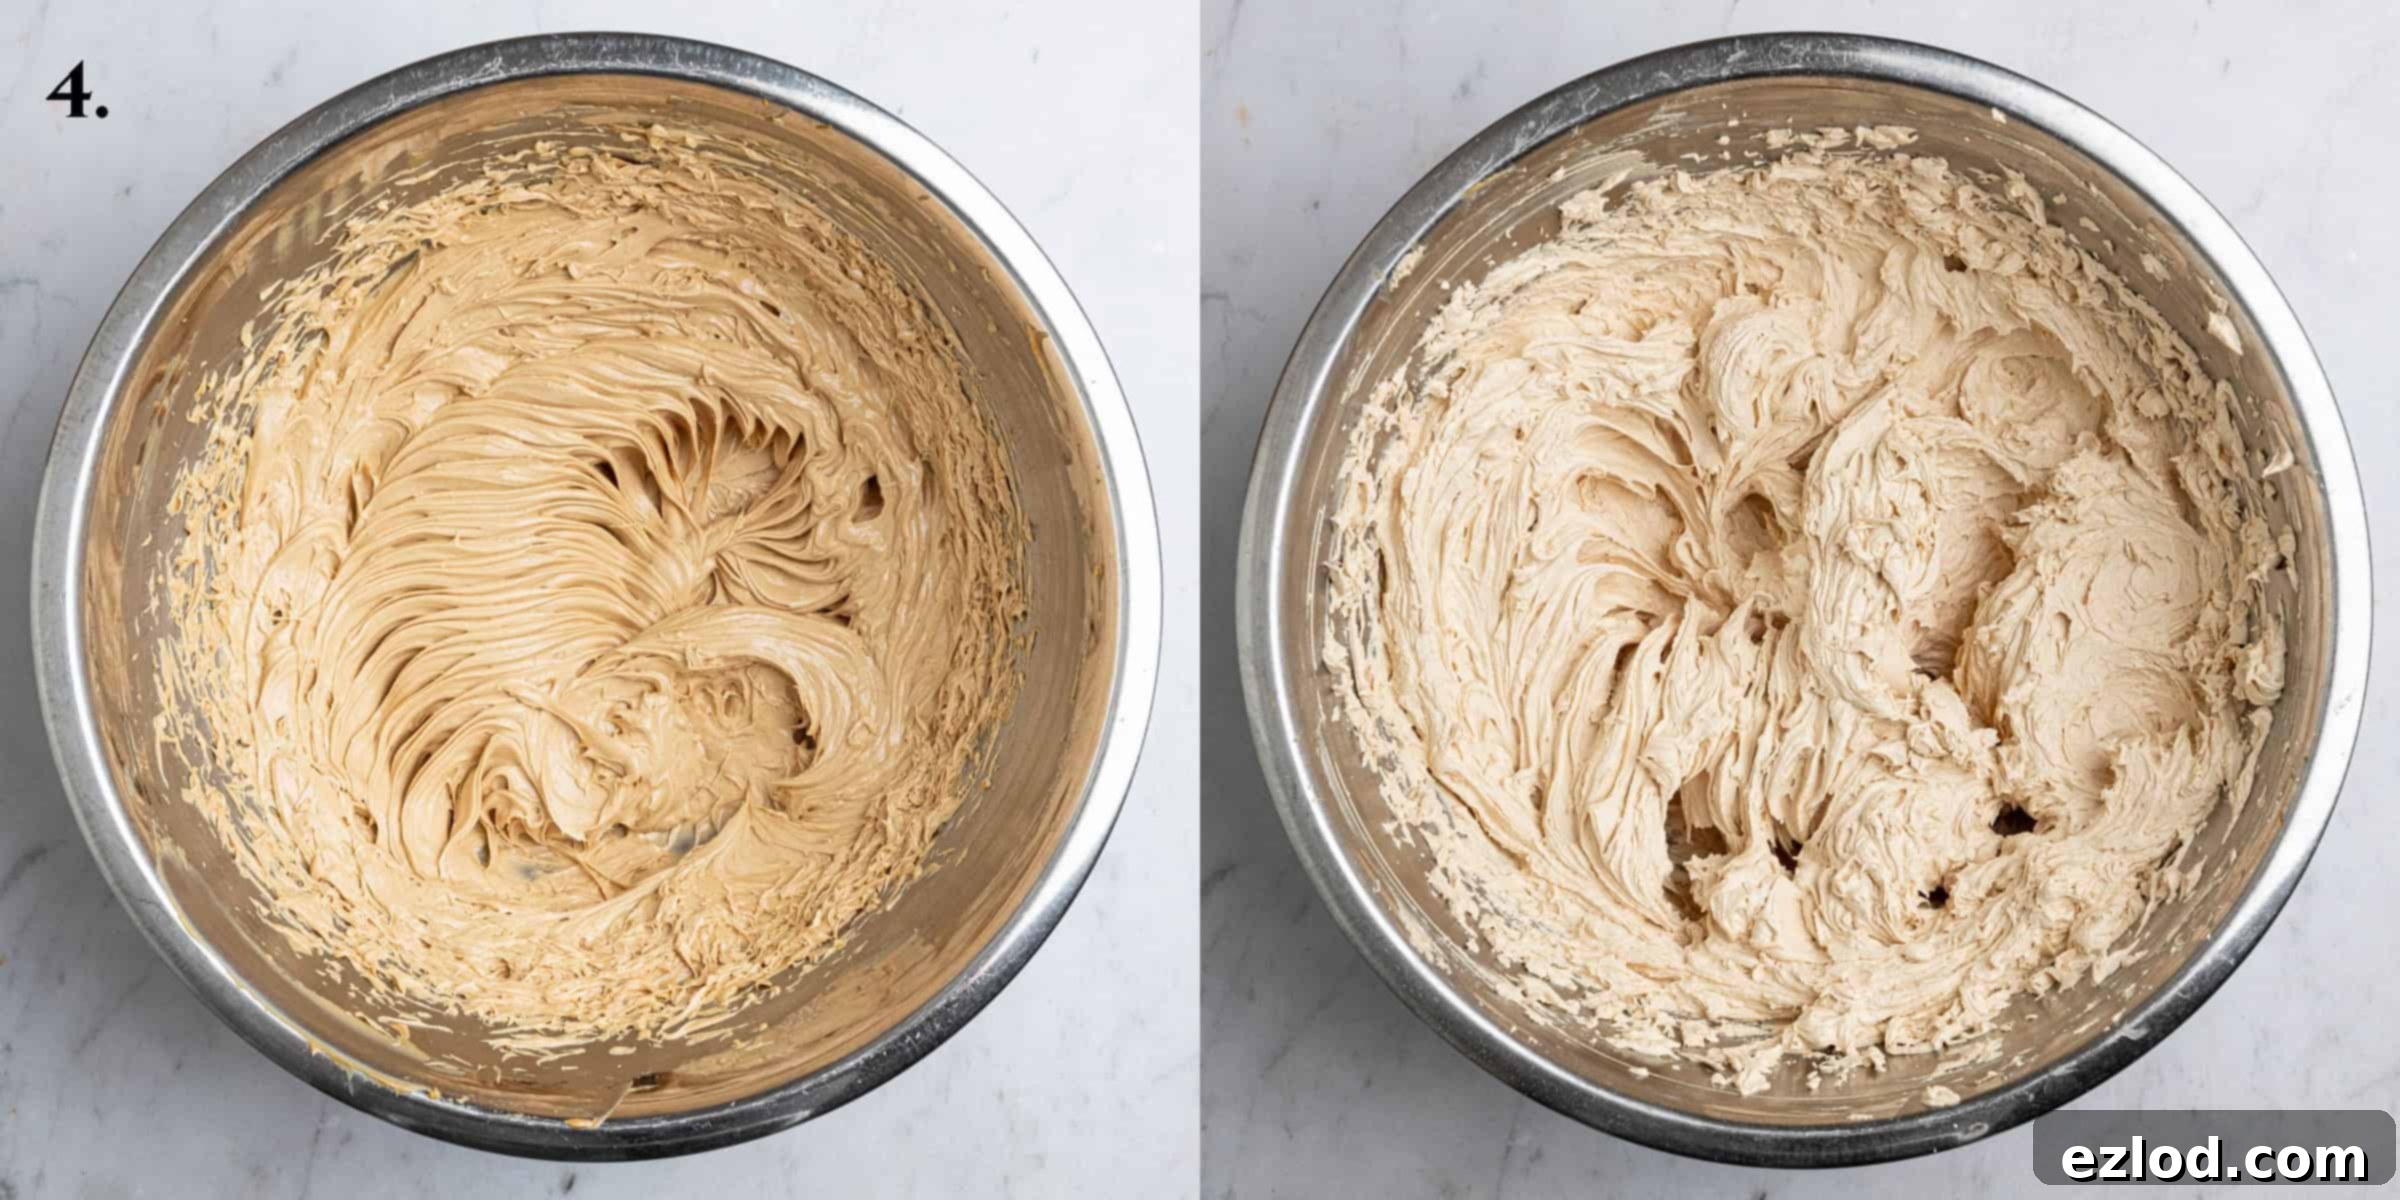
Step 4: Prepare the Buttercream. In a large mixing bowl, using an electric mixer, cream together the softened vegan block butter and the smooth Biscoff spread until they are thoroughly combined, light, and fluffy. Gradually sift in the icing (powdered) sugar, starting on a low speed to avoid a cloud of sugar escaping. Once all the icing sugar is incorporated, increase the mixer speed to medium-high and whisk for a good few minutes (at least 3-5 minutes). This prolonged whipping is essential to incorporate plenty of air, resulting in a wonderfully light, airy, and fluffy Biscoff buttercream that’s easy to spread, pipe, and utterly delicious.

Part 3: Assembling and Decorating Your Biscoff Masterpiece
-
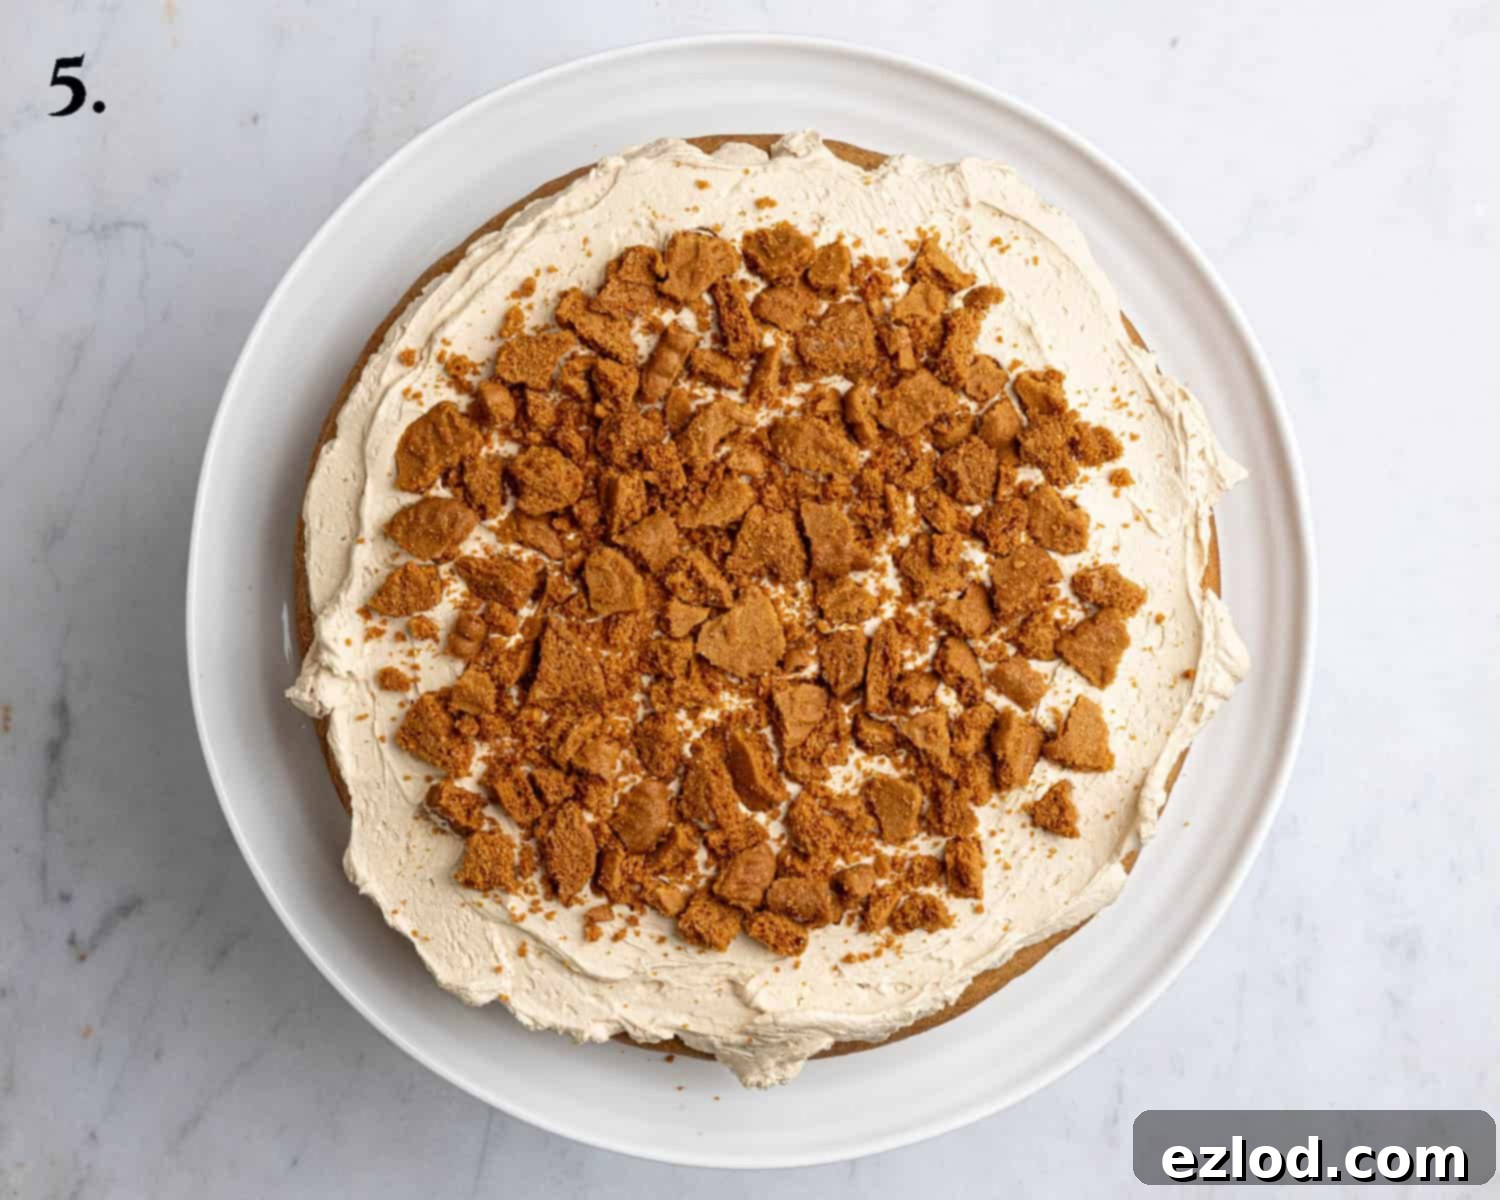
Step 5: Level and Layer the Cakes. Once your cake layers are completely cool to the touch, use a long serrated knife to carefully trim the tops if they are domed, creating perfectly flat, level surfaces. Place one cake layer on your chosen serving plate or cake stand. Spread an even, generous layer of the luscious Biscoff buttercream over its top, extending almost to the edge. On this layer, sprinkle a handful of crushed Biscoff cookies, making sure to keep them slightly away from the very edges to prevent them from spilling out when the next layer is added.

-
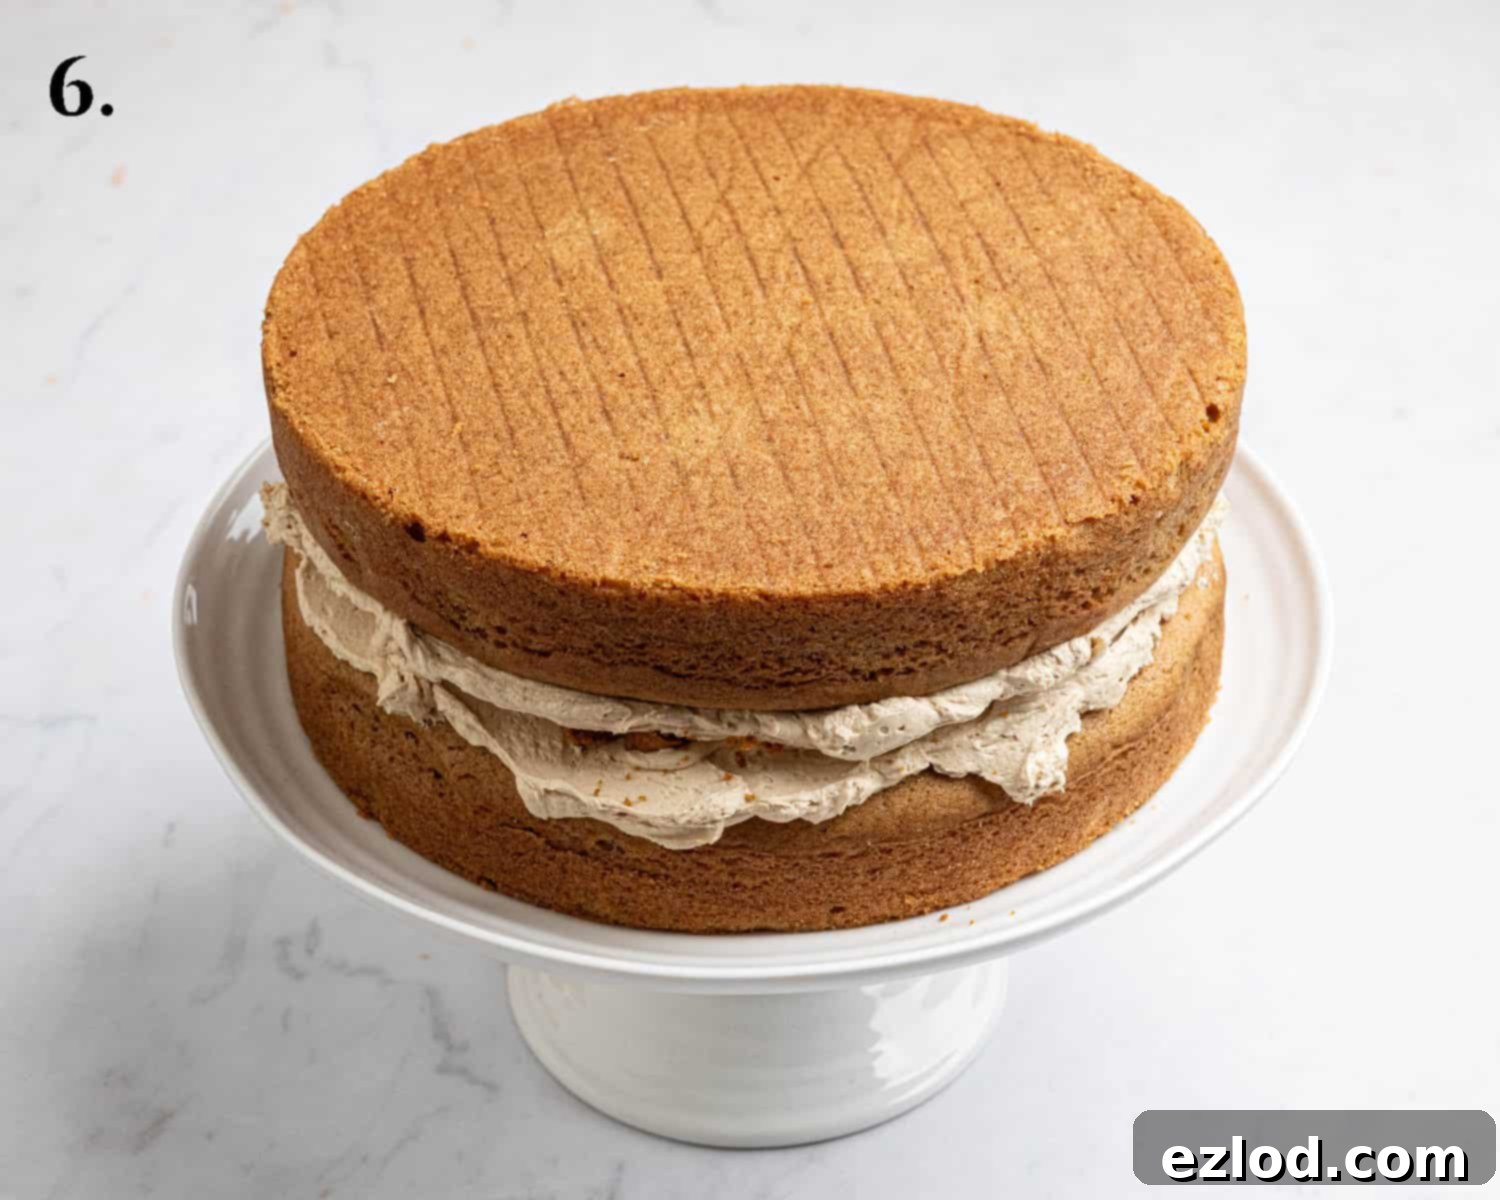
Step 6: Stack the Cake Layers. Carefully place the second cake layer directly on top of the first, ensuring the buttercream-coated side is facing downwards. Gently press down on the top layer to secure the layers together, creating a stable and even foundation for the rest of your cake. This step helps to sandwich the filling perfectly and prepares the cake for its outer coating of frosting.

-
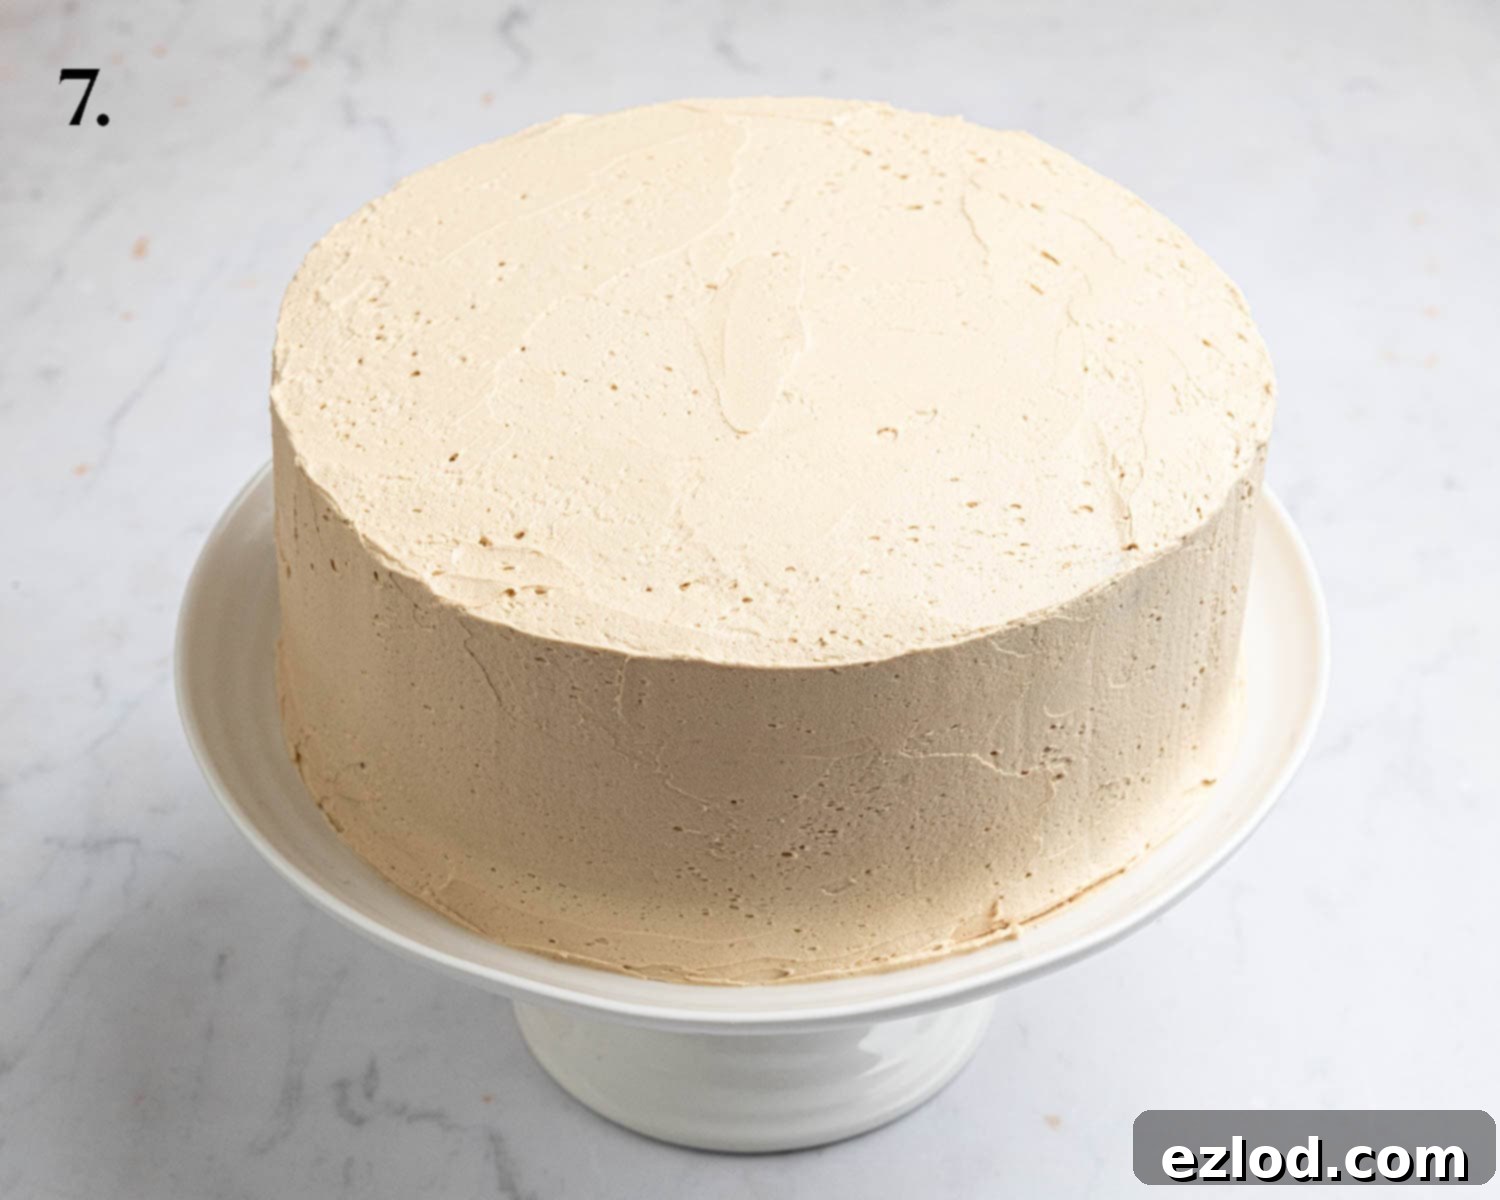
Step 7: Crumb Coat and Final Frosting. Using a palette knife or offset spatula, generously cover the top and sides of the stacked cake with the remaining Biscoff buttercream. For the best, smoothest finish, I recommend applying a thin initial layer, known as a “crumb coat,” to trap any loose crumbs. Once applied, place the cake in the fridge to chill for 10-15 minutes, allowing the crumb coat to set. After chilling, apply the remaining buttercream, striving for a smooth and even finish across the entire cake. Don’t worry if it’s not absolutely perfect; the upcoming drip and cookies will add plenty of charm and character!

-
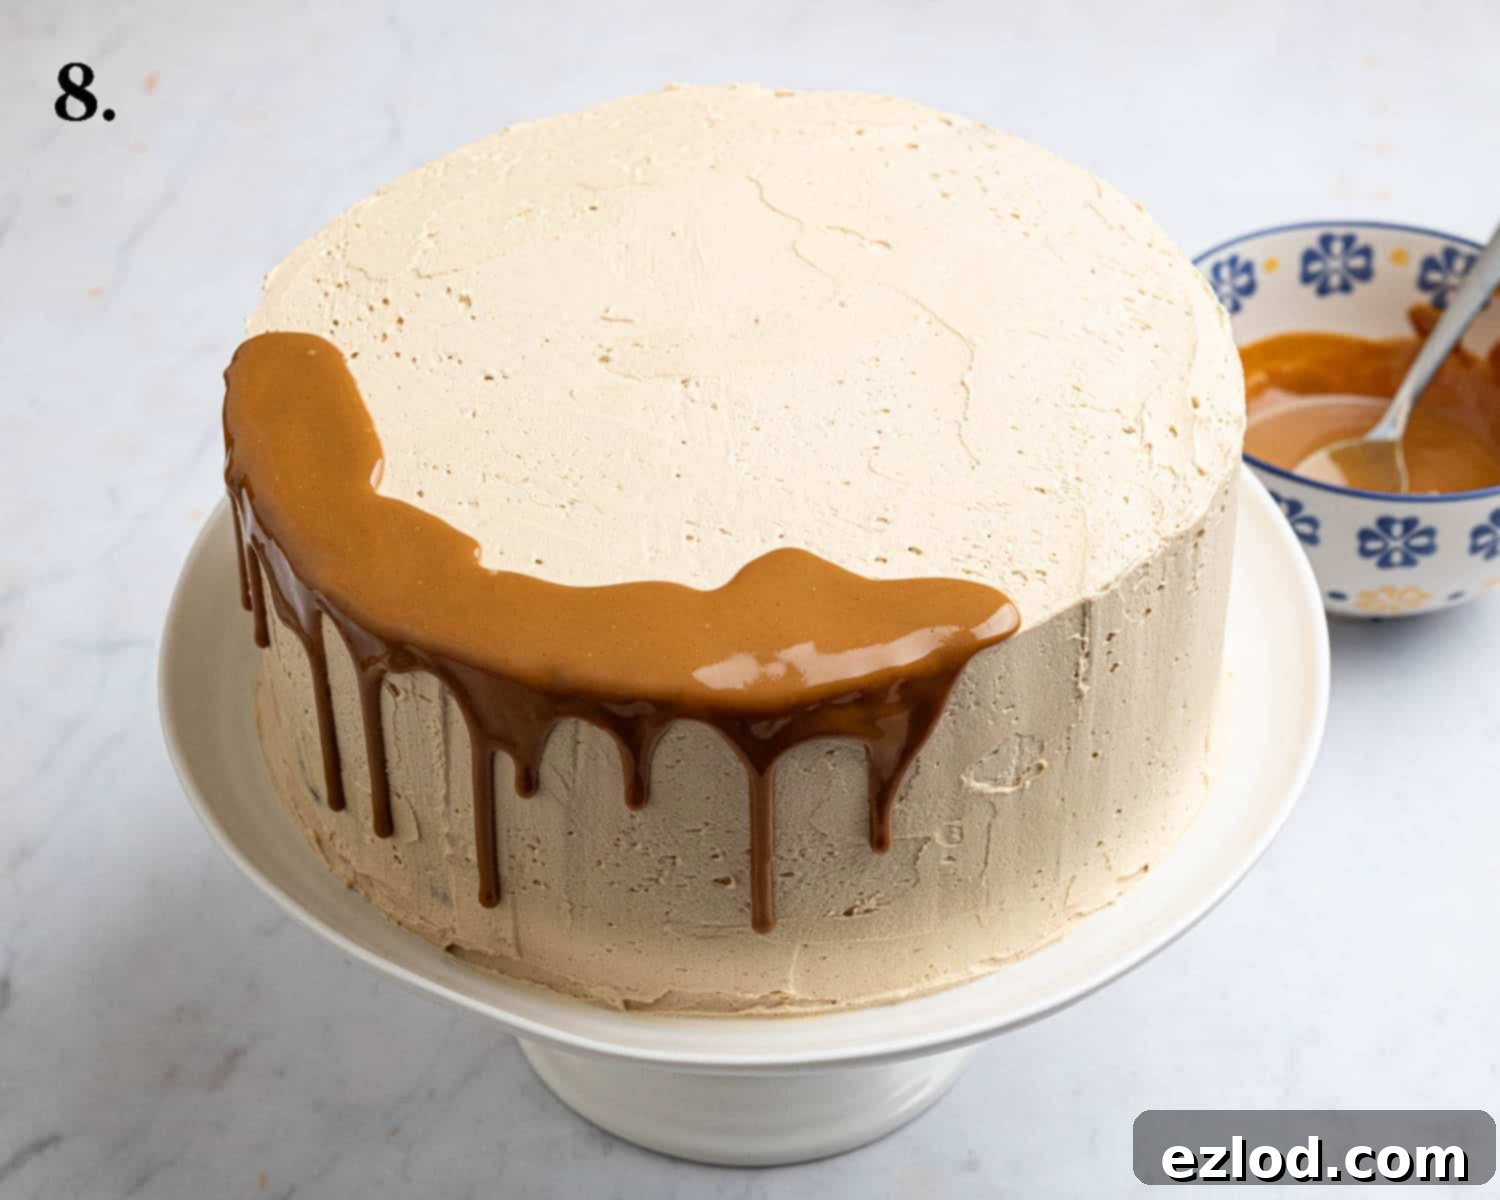
Step 8: Create the Signature Biscoff Drip. Gently warm the extra 100g of smooth Biscoff spread in short bursts (15-30 seconds) in the microwave until it’s runny but crucially, not hot. It’s important to let it cool slightly to a warm, thick, pourable consistency. If the spread is too hot, it will melt your beautifully frosted buttercream; if it’s too thick, it won’t drip elegantly. Spoon the cooled, runny Biscoff onto the top edge of the chilled cake, using the back of the spoon to gently coax it to drip elegantly over the sides. Once you’ve created your desired drip effect around the edges, fill in the center of the cake with the remaining Biscoff spread. Place the cake back in the fridge for another 10-15 minutes to allow the drip to set firmly.

-
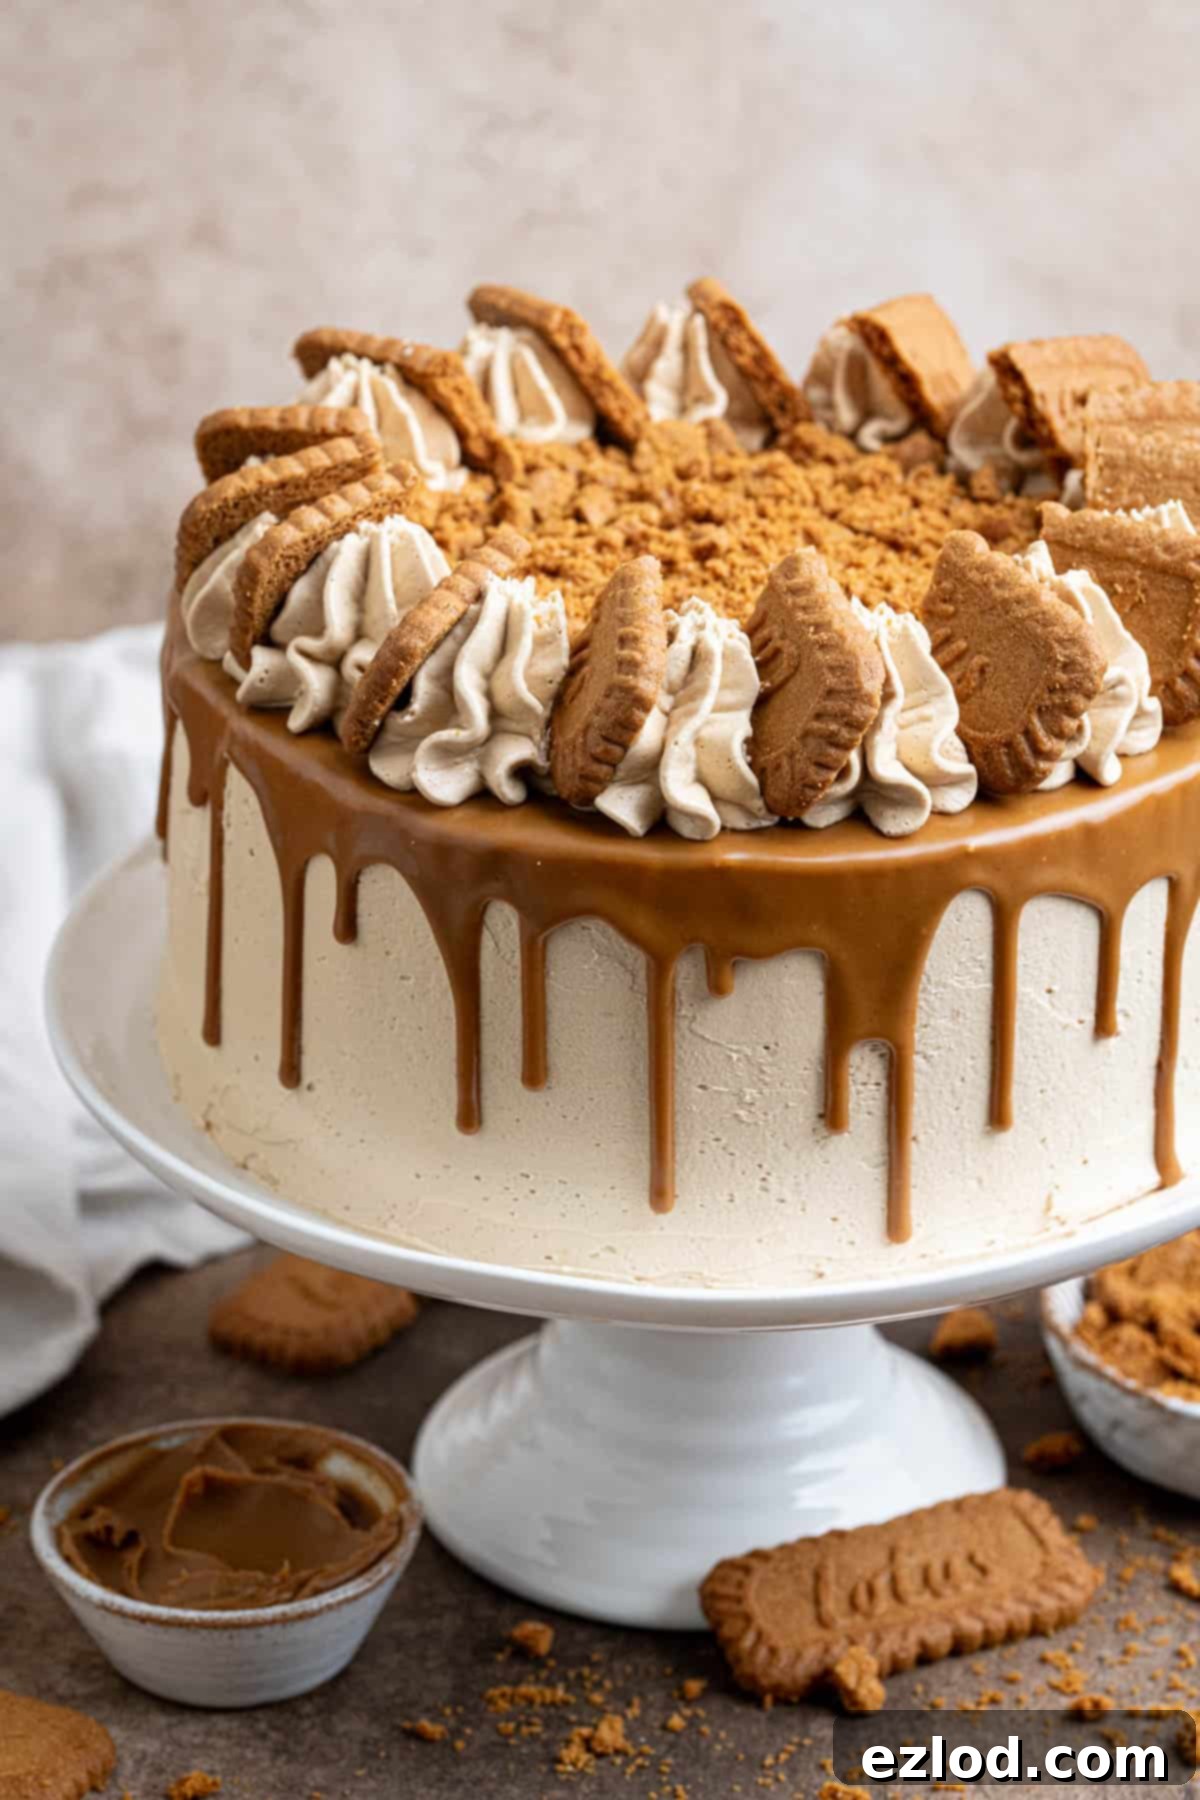
Step 9: Final Flourish with Piping and Cookies. Transfer any remaining Biscoff buttercream into a piping bag fitted with your favorite large star nozzle (or any decorative nozzle you prefer). Pipe elegant swirls, rosettes, or a border around the top edge of the cake, directly on top of the set Biscoff drip. Finally, arrange whole and/or crushed Biscoff cookies artfully on top of the piped buttercream and the Biscoff drip. This adds both visual appeal and an irresistible crunch. Your spectacular vegan Biscoff cake is now ready to impress and be devoured!

Top Tips for Vegan Biscoff Cake Success
Achieving a consistently perfect vegan Biscoff cake is simple with these expert tips and tricks:
- Use a Digital Scale for Unmatched Accuracy: As with all my baking recipes, I cannot stress enough the importance of using metric measurements with a digital kitchen scale instead of volume-based cup conversions. Volume measurements are notoriously inaccurate and can lead to inconsistent results, especially for cakes where precision in ingredient ratios is key. Using a scale ensures you get the exact amount of each ingredient every single time, leading to a consistently perfect cake texture and flavor, and it’s often much less messy too!
- Ensure Proper Measuring Spoons are Essential: For teaspoon and Tablespoon measurements, it is absolutely vital to use proper, standardized measuring spoons, not just regular kitchen spoons. A true teaspoon measures 5ml, and a Tablespoon measures 15ml. Using incorrect spoons can significantly throw off the delicate balance of your recipe, particularly for leavening agents and flavorings.
- Avoid Over-mixing the Cake Batter: Once you’ve added the dry ingredients to the wet, stir with a balloon whisk until they are just combined and no streaks of dry flour remain. Over-beating the batter develops the gluten in the flour excessively, which can lead to a tough, rubbery, and dense cake texture rather than the desired light and tender crumb. Mix just enough to incorporate.
- How to Tell When Your Cake is Done: The cake is perfectly baked when it feels firm and springy to the touch in the center, and a wooden skewer or toothpick inserted into the very middle comes out completely clean or with just a few moist crumbs clinging to it – but absolutely no wet batter. An overbaked cake will quickly become dry and crumbly, so keep a close eye on it during the last few minutes of baking!
- Ensure Ingredients are at Room Temperature: For the best emulsion and smoothest texture in both the cake batter and especially the buttercream, ensure your non-dairy milk, vegan block butter (for buttercream), and Biscoff spread are all at room temperature before you begin mixing. Cold ingredients can cause the batter to seize or the frosting to become lumpy and difficult to work with.
- Patience with Cooling is Key: Resist the urge to frost warm cakes! It is absolutely essential that your cake layers are completely cool to the touch before attempting to level, stack, or apply any frosting. Attempting to frost a warm cake will inevitably cause the buttercream to melt, slide right off, and ruin all your hard work. Allow ample cooling time on a wire rack.
- Adapting to Alternative Baking Tin Sizes: While this recipe is meticulously optimized for two 20 cm (8-inch) round cake tins to achieve ideal height and baking time, you can also bake it in a larger 23 x 33 cm (9 x 13 inch) rectangular cake tin for a sheet cake style, or in three 15 cm (6-inch) round tins for a taller, more elegant presentation. However, be aware that baking times will vary significantly with different tin sizes, so begin checking for doneness after 20 minutes and adjust as needed, as cooking times can be shorter or longer.
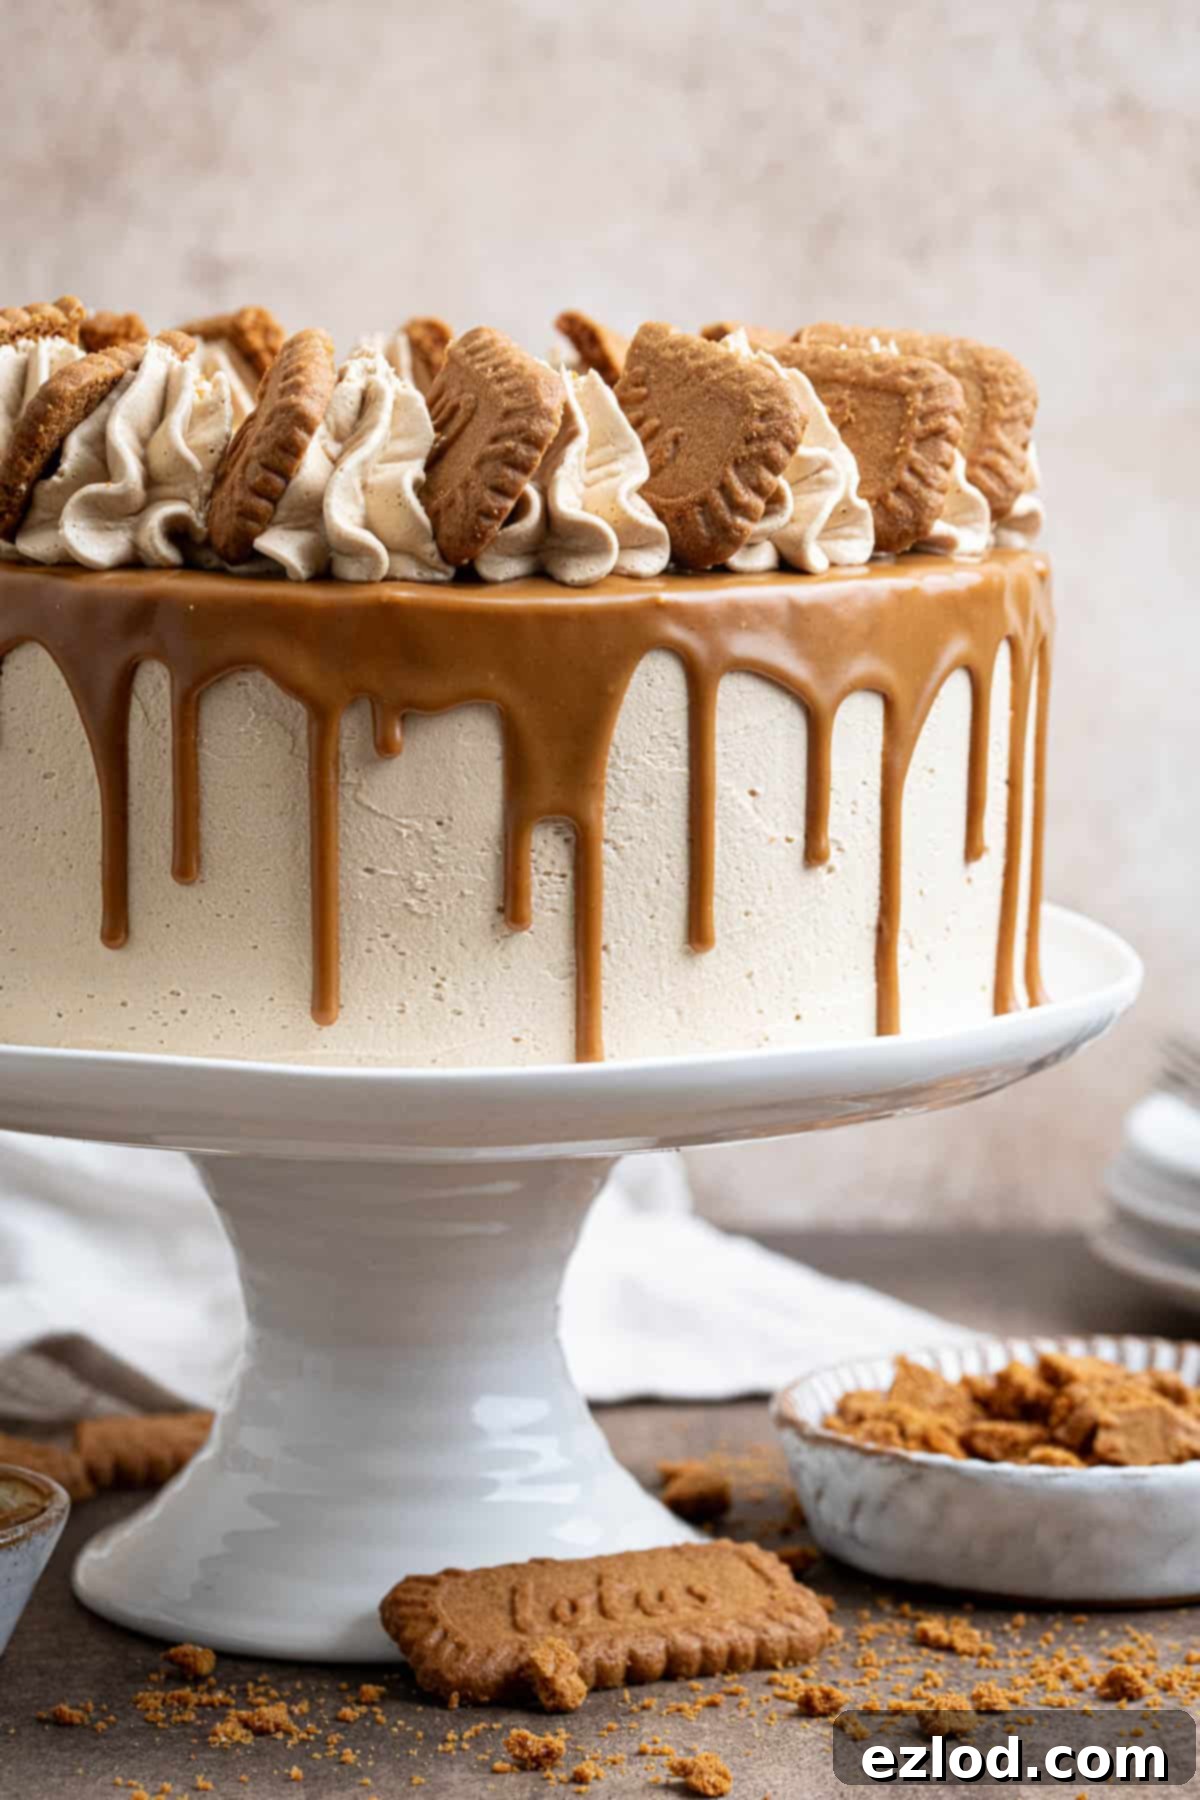
Frequently Asked Questions About Vegan Biscoff Cake
For those unfamiliar with this delightful treat that has captured hearts worldwide, Biscoff cookies are a beloved type of speculoos biscuit, famously made by the Lotus brand. They are renowned for their uniquely delicious caramel flavor, beautifully balanced with warm hints of cinnamon and other comforting spices. Biscoff cookie butter spread is essentially these popular cookies finely ground into a creamy, spreadable butter, much like peanut butter or Nutella, but with that signature spiced caramel taste. Both the original Lotus Biscoff cookies and the smooth Biscoff spread are naturally vegan and dairy-free, making them a perfect and easy addition to plant-based baking!
While this cake is absolutely at its peak flavor and texture on the day it’s made, offering the softest crumb and crispest decorations, it will remain wonderfully delicious and moist for several days. Store any leftover cake in an airtight container at room temperature for up to 5 days. It’s important to note that the decorative Biscoff cookies on top will soften quite quickly once exposed to air and moisture from the cake. For the crispest cookies, you might consider adding them just before serving if possible.
I do not recommend freezing the fully assembled and decorated cake, as the buttercream and Biscoff drip may not thaw perfectly, and the decorative cookies will certainly become soft and lose their crunch. However, the plain, unfrosted cake layers freeze beautifully! Once the baked cake layers have cooled completely, wrap each layer tightly in plastic wrap, then again in aluminum foil, to prevent freezer burn. They can be frozen for up to 3 months. To thaw, simply unwrap them and let them come to room temperature on a wire rack before assembling and frosting as usual.
Unfortunately, this vegan Biscoff cake cannot be made gluten-free. The core ingredient, Biscoff cookies and Biscoff spread, both contain wheat flour and therefore gluten. While you can substitute other ingredients in the recipe to be gluten-free, the essential Biscoff components mean that a truly gluten-free version of *this specific cake* is impossible without fundamentally changing its iconic character and flavor profile.
I strongly advise against baking this recipe in one deep tin. Attempting to bake such a large volume of cake batter in a single deep tin can lead to several significant issues: the cake may sink in the middle, have a dense or gummy texture due to uneven cooking, or require a significantly longer baking time which could inevitably dry out the edges before the center is cooked. For the best light, fluffy, and evenly baked texture, please strictly stick to the recommended two 20 cm (8-inch) round cake tins.
Explore More Delicious Vegan Layer Cakes
If you loved creating and enjoying this magnificent vegan Biscoff cake, you’ll be thrilled to discover these other incredible plant-based layer cake recipes that are just as delightful and perfect for any occasion:
- Vegan Boston Cream Pie
- Vegan Coffee and Walnut Cake
- Vegan Guinness Chocolate Cake
- Vegan German Chocolate Cake
- Classic Vegan Victoria Sponge Cake
- Luxurious Vegan Coconut Layer Cake
- Spiced Vegan Pumpkin Layer Cake
- Indulgent Vegan Chocolate Fudge Cake
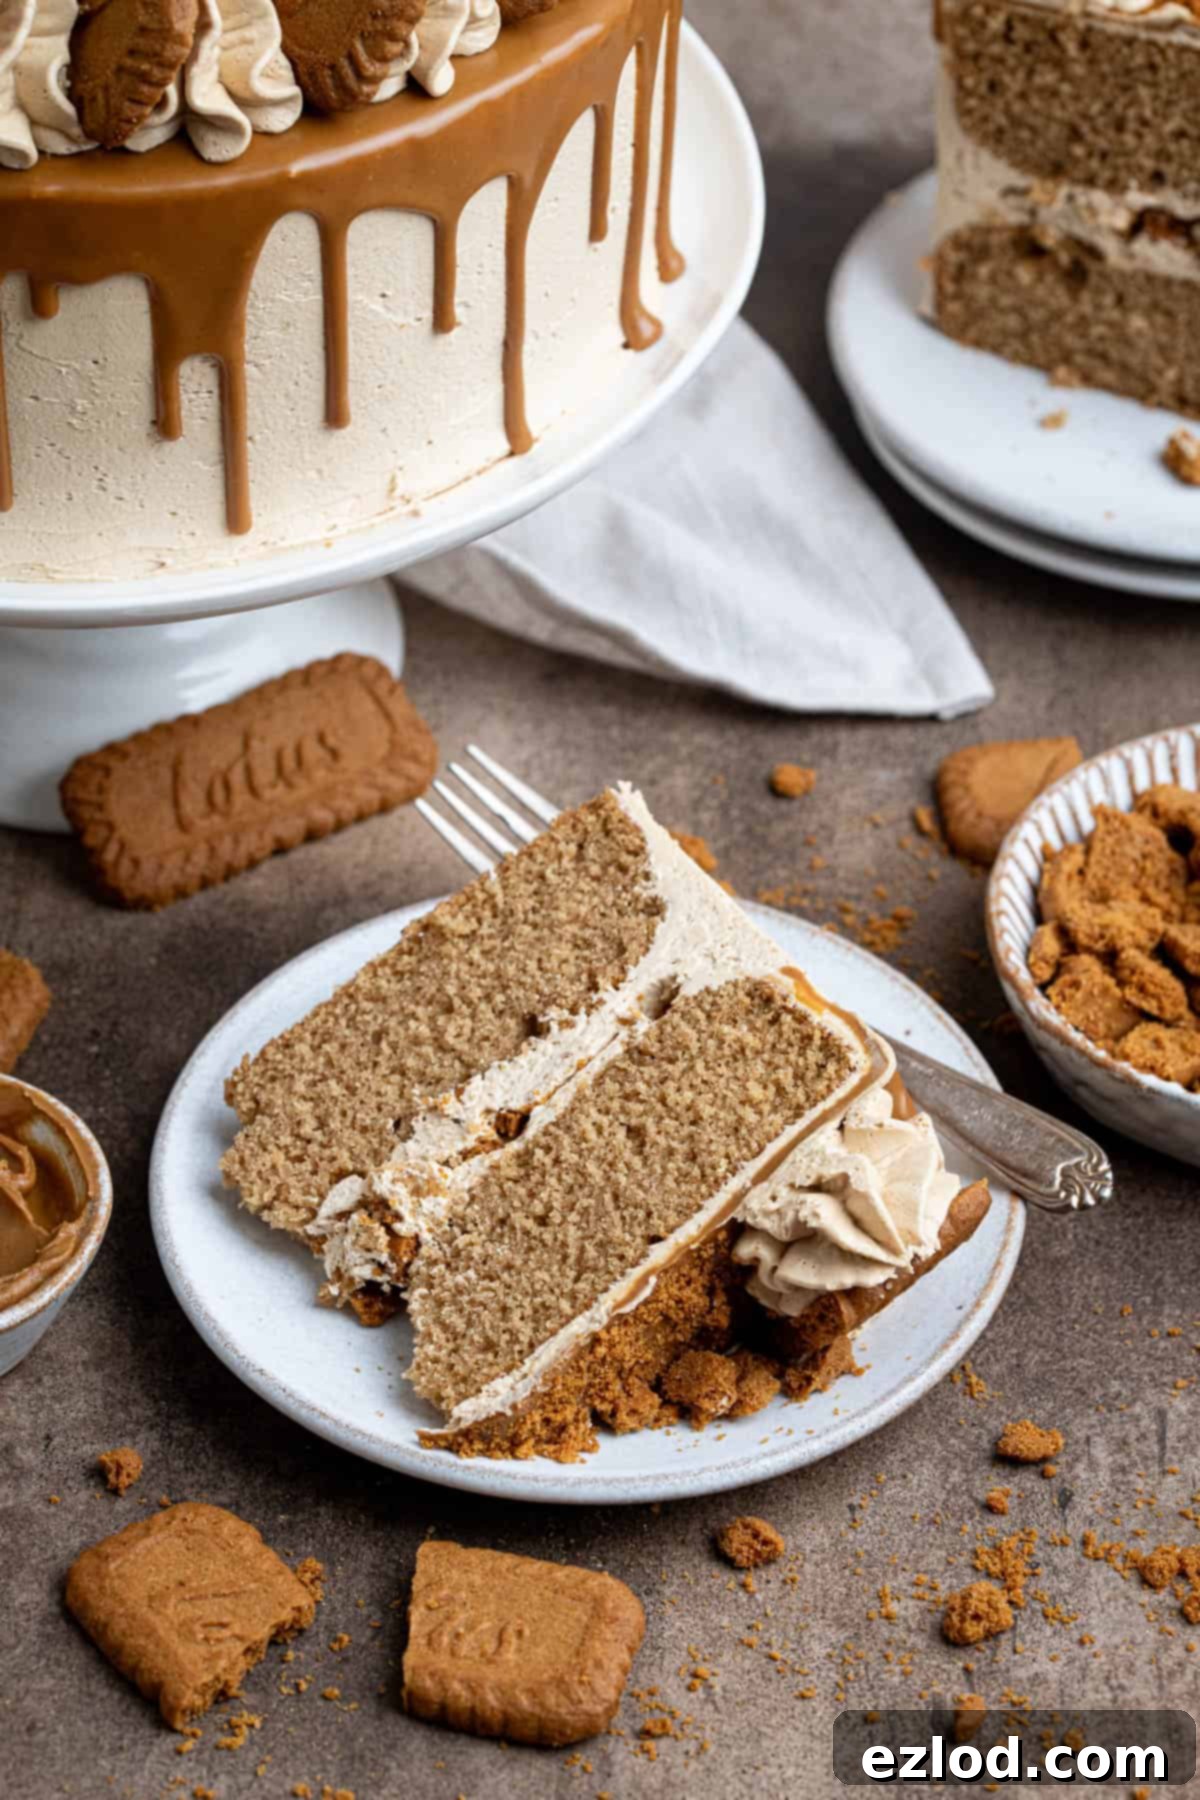
If you tried this incredible vegan Biscoff cake recipe, I would absolutely love to hear how it turned out for you! Please take a moment to rate it, leave a comment below, or share your delicious creation on Instagram by tagging @domestic_gothess and using the hashtag #domesticgothess. Your feedback and beautiful photos are greatly appreciated and inspire me to create more delightful vegan recipes!
All images and content on Domestic Gothess are copyright protected. If you wish to share this recipe, please do so by utilizing the provided share buttons or by linking directly to this page. Please do not screenshot, copy, or post the full recipe or content directly on other platforms; instead, always include a direct link back to this original post for the complete recipe. Thank you for respecting intellectual property and supporting independent recipe creators.

Vegan Biscoff Cake
Ingredients
For the Cake Layers:
- 160 g (⅔ cup) smooth Biscoff spread
- 60 g (¼ cup) vegan butter melted
- 80 ml (⅓ cup) neutral oil (I use olive)
- 200 g (1 packed cup) light brown soft sugar
- 300 ml (1 ¼ cups) unsweetened non-dairy milk (I use soy)
- 2 teaspoons vinegar (apple cider or white wine)
- 2 teaspoons vanilla extract
- 380 g (3 cups) plain (all-purpose) flour
- 20 g (2 packed Tablespoons) cornflour (cornstarch)
- 3 teaspoons baking powder
- ½ teaspoon bicarbonate of soda (baking soda)
- 1 ½ teaspoons ground cinnamon
- ½ teaspoon salt
For the Biscoff Buttercream:
- 200 g (7 oz) vegan block butter softened
- 240 g (1 cup) smooth Biscoff spread
- 250 g (2 cups) icing (powdered) sugar
For Decoration:
- 100 g (6 Tablespoons) smooth Biscoff spread for the drip
- Biscoff cookies whole and/or crushed
Instructions
-
Preheat your oven to 180℃/160℃ fan/350℉/gas mark 4. Prepare two 20 cm/8 inch round cake tins by lightly greasing them and lining the bottoms with baking paper.
-
In a large mixing bowl, whisk together the Biscoff spread and the melted vegan butter until smooth and well combined. Then, whisk in the neutral oil and light brown soft sugar until uniform. Finally, incorporate the unsweetened non-dairy milk, vinegar, and vanilla extract.
-
Sift the plain flour, cornflour, baking powder, bicarbonate of soda, ground cinnamon, and salt directly over the wet ingredients. Using a balloon whisk, stir gently until all ingredients are just combined and no dry lumps remain. Be careful not to over-beat the batter, as this can make the cake tough.
-
Divide the cake batter evenly between your two prepared cake tins and smooth the tops. Bake for approximately 25-30 minutes. The cakes are ready when they are springy to the touch and a skewer inserted into the center comes out clean or with a few moist crumbs (no wet batter).
-
Allow the cakes to cool in their tins for 15 minutes. After this time, carefully invert them onto a wire rack and let them cool completely before proceeding with frosting.
-
To prepare the Biscoff buttercream, in a large bowl, use an electric mixer to whisk together the softened vegan block butter and the smooth Biscoff spread until thoroughly combined. Sift in the icing sugar, and then continue to whisk for a good few minutes until the buttercream becomes very light, airy, and fluffy.
-
Once the cakes are cool, level the tops if necessary by trimming them with a serrated knife. Place one cake layer on your chosen serving plate. Spread an even layer of buttercream over the top. Sprinkle this layer with crushed Biscoff cookies, ensuring they are kept slightly away from the edges.
-
Carefully place the second cake layer on top of the first, with its buttercream-coated side facing downwards, creating a neat stack.
-
Use a palette knife or offset spatula to apply a generous coating of buttercream to the top and sides of the stacked cake. For best results, apply a thin “crumb coat” first, chill for 10-15 minutes, then apply the final, smooth layer of buttercream.
-
Gently melt the reserved 100g of Biscoff spread in short bursts in the microwave until it is runny but not hot. Allow it to cool slightly to a warm, thick liquid consistency before using.
-
Spoon the slightly cooled Biscoff drip around the top edge of the cake, using the back of the spoon to gently encourage elegant drips over the sides. Once the edges are done, fill in the middle of the cake with the remaining Biscoff spread. Place the cake in the fridge for 10-15 minutes to allow the drip to set.
-
Transfer any remaining Biscoff buttercream into a piping bag fitted with a large star nozzle. Pipe decorative flourishes on top of the cake as desired. Finish by decorating with whole and/or crushed Biscoff cookies, arranging them artfully for a stunning presentation.
Notes
- For comprehensive insights, additional tips, ingredient details, and step-by-step photos, please refer to the full blog post above.
- Crucial Baking Tip: Always Use a Digital Scale. For all my baking recipes, I highly recommend using metric measurements with a digital kitchen scale. Cup conversions are imprecise and can lead to inconsistent results. A scale ensures accuracy and often results in less mess!
- Use Accurate Measuring Spoons: For teaspoon and Tablespoon measures, it’s vital to use proper, standardized measuring spoons (5ml for teaspoon, 15ml for Tablespoon) to maintain recipe integrity.
- Don’t Over-mix: Over-mixing the cake batter will develop gluten, leading to a dense and tough cake. Stir only until just combined.
- Ensure Cakes are Cooled Completely: Always allow cake layers to cool completely on a wire rack before frosting. Attempting to frost warm cakes will cause the buttercream to melt and slide off.
- Baking Time for Different Tins: If using a different size tin (e.g., a 9×13 inch rectangular tin or three 6-inch round tins), adjust baking time accordingly. Start checking for doneness after 20 minutes as times will vary.
