Vegan Hokkaido Milk Bread: Your Guide to a Perfectly Soft & Fluffy Dairy-Free Loaf
Craving the renowned softness and pillowy texture of Hokkaido milk bread, but following a vegan lifestyle? Look no further! This comprehensive guide reveals how to create an incredibly delicious, eggless, and dairy-free version of this beloved Japanese classic. Prepare to be amazed by its cloud-like crumb, subtle sweetness, and irresistible aroma – it’s truly the softest vegan bread you’ll ever bake!
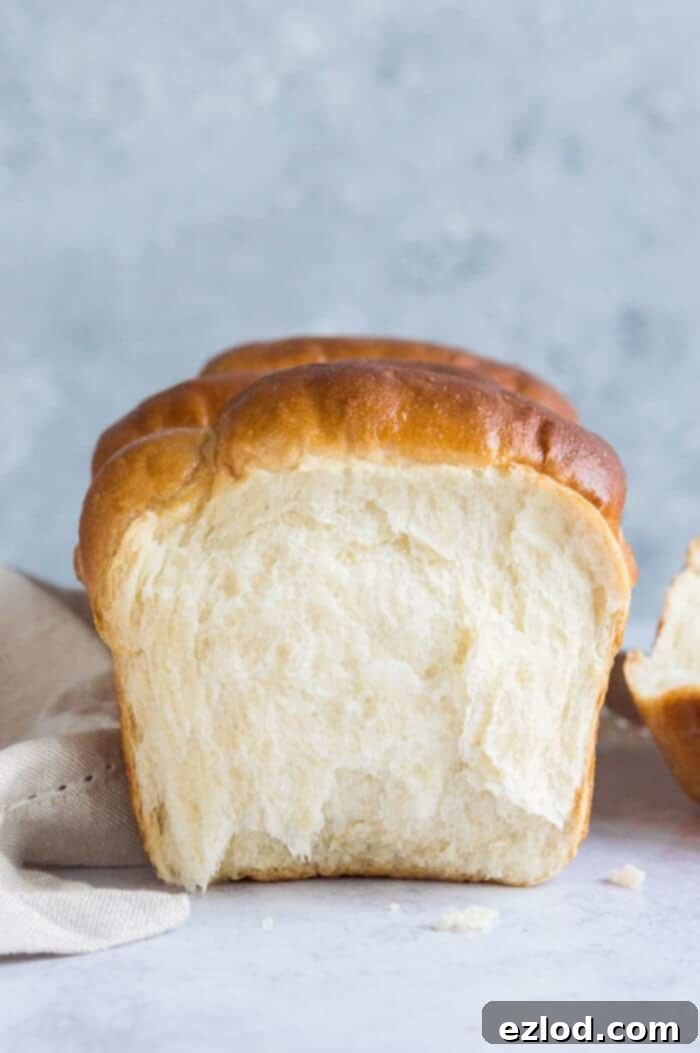
For years, I’ve wanted to perfect a plant-based rendition of my cherished Hokkaido milk bread recipe. After a few attempts and careful adjustments, I’ve finally cracked the code! This vegan Hokkaido milk bread achieves the same legendary softness, fluffiness, and mouthwatering flavor as the original, without any eggs or dairy. It’s so dangerously good, you’ll need serious willpower to resist eating the entire loaf in one sitting!
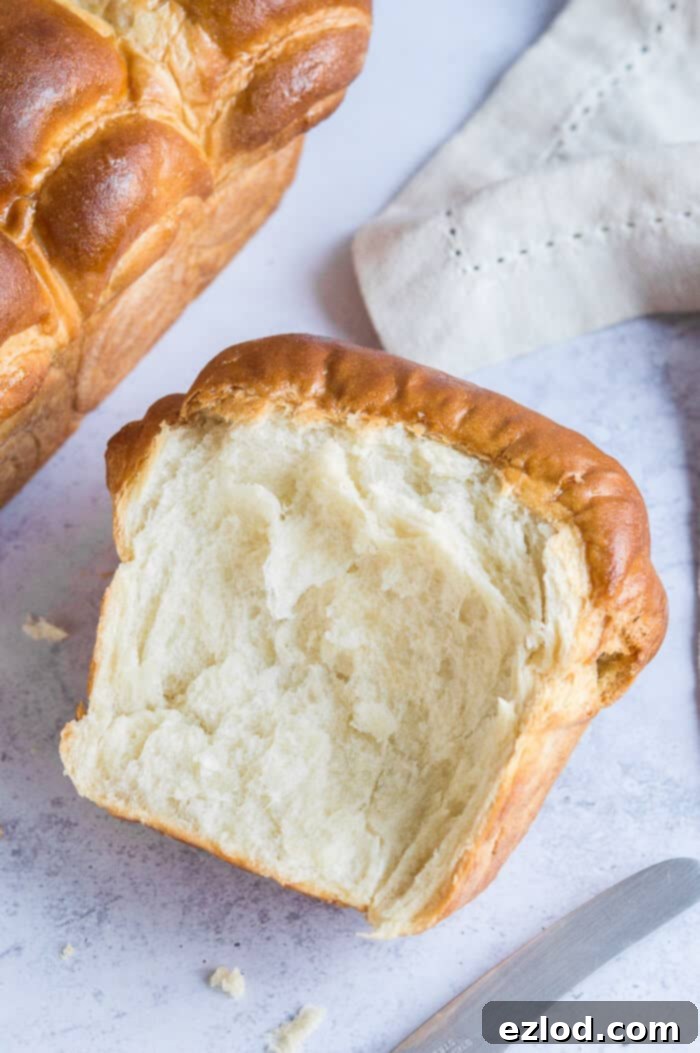
What Makes Hokkaido Milk Bread So Special?
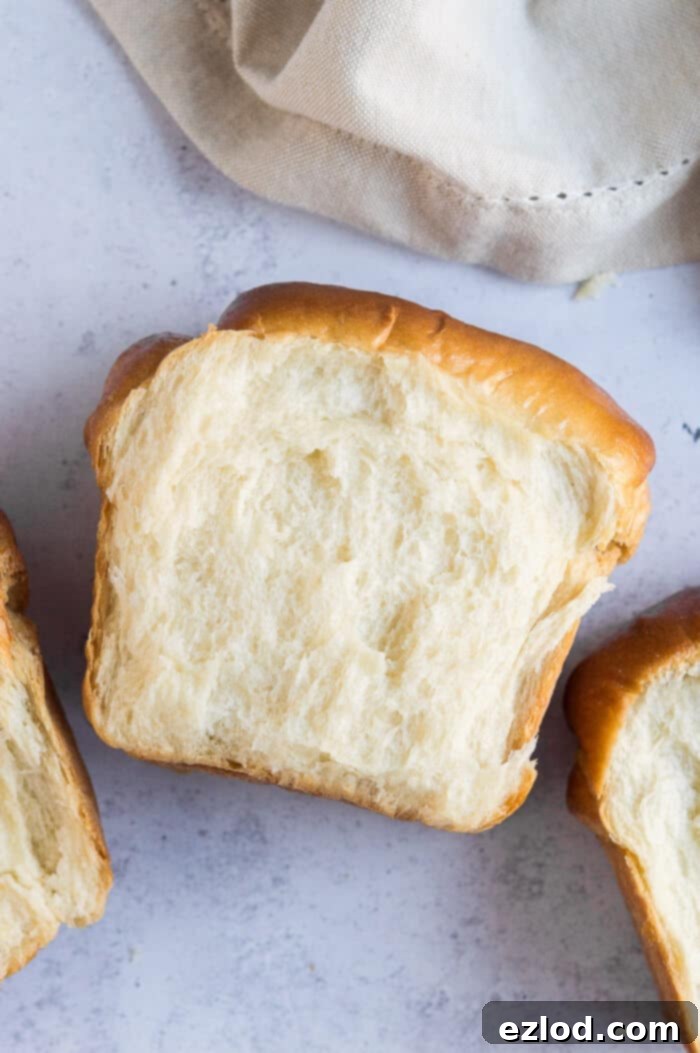
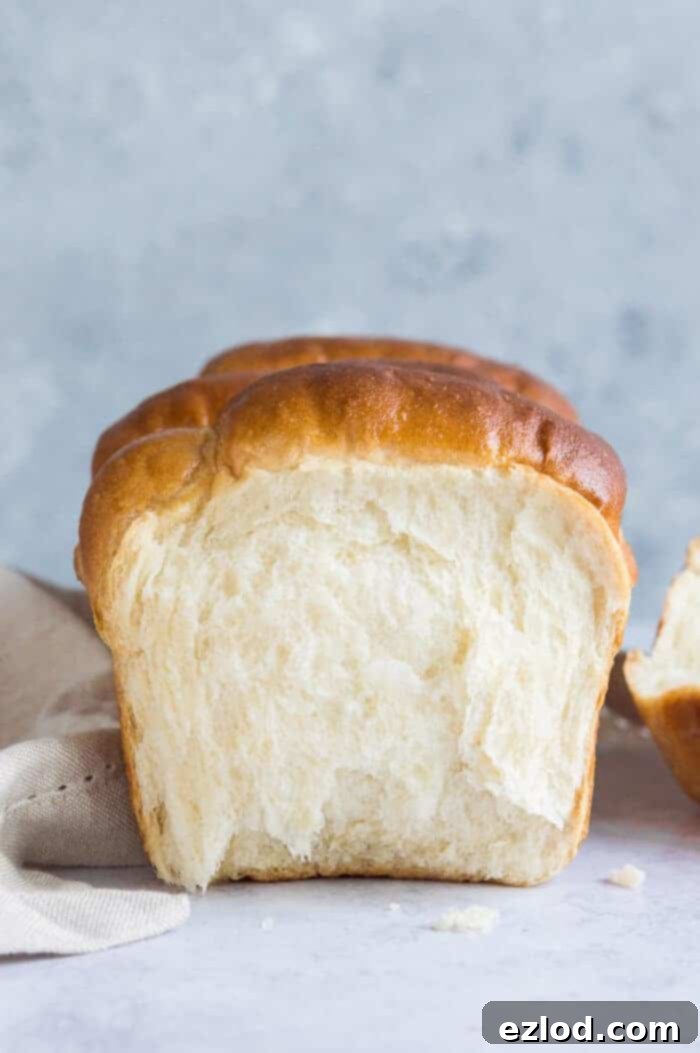
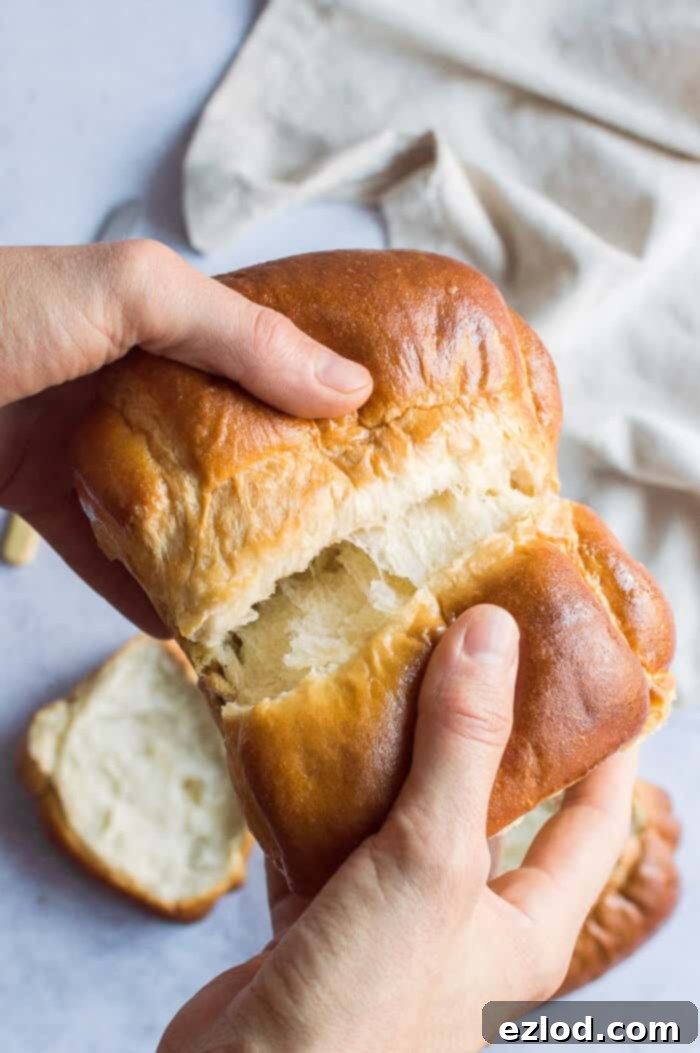
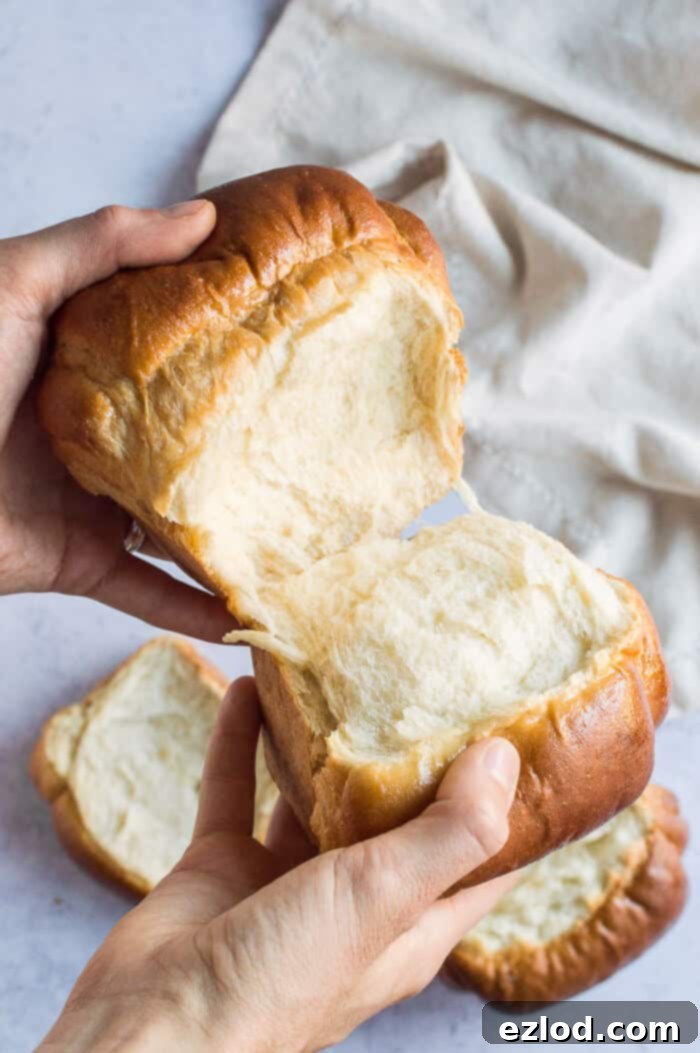
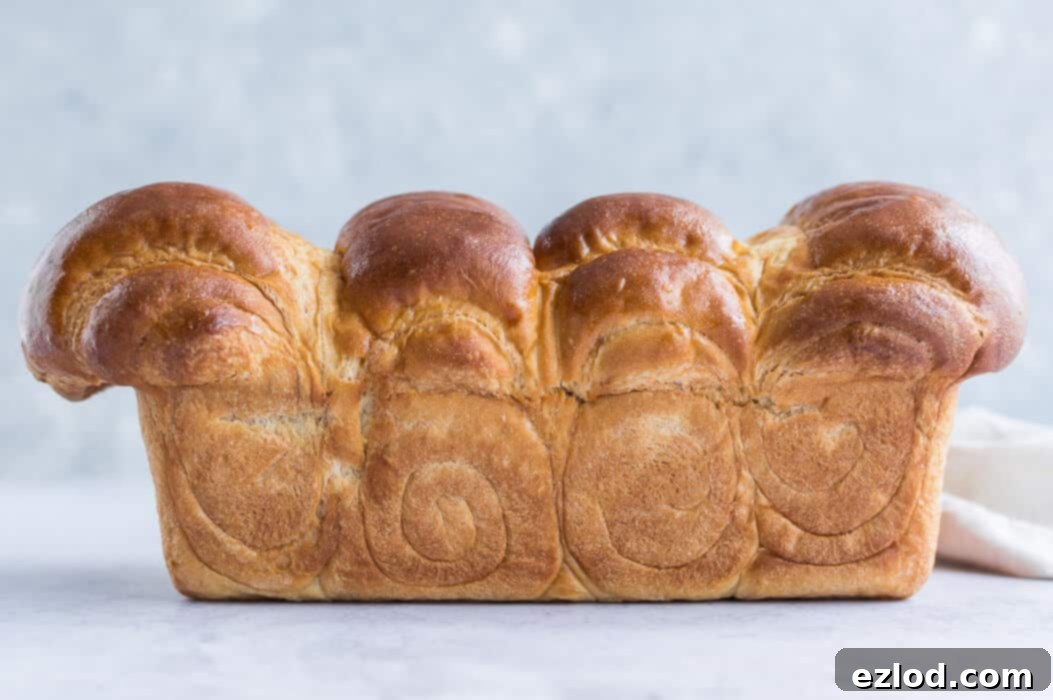
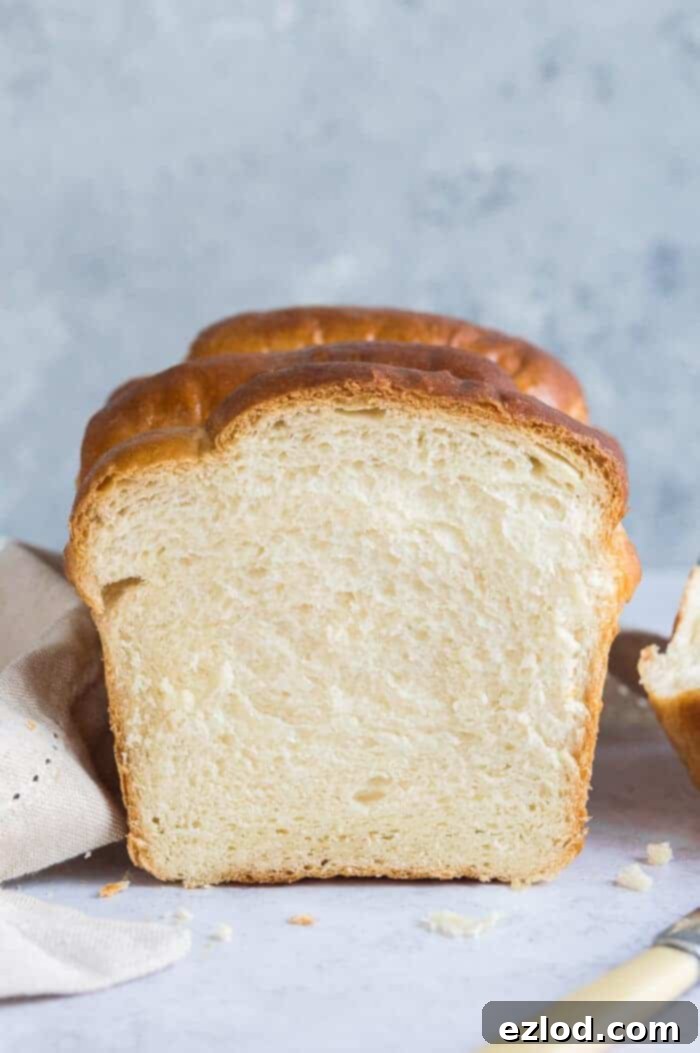
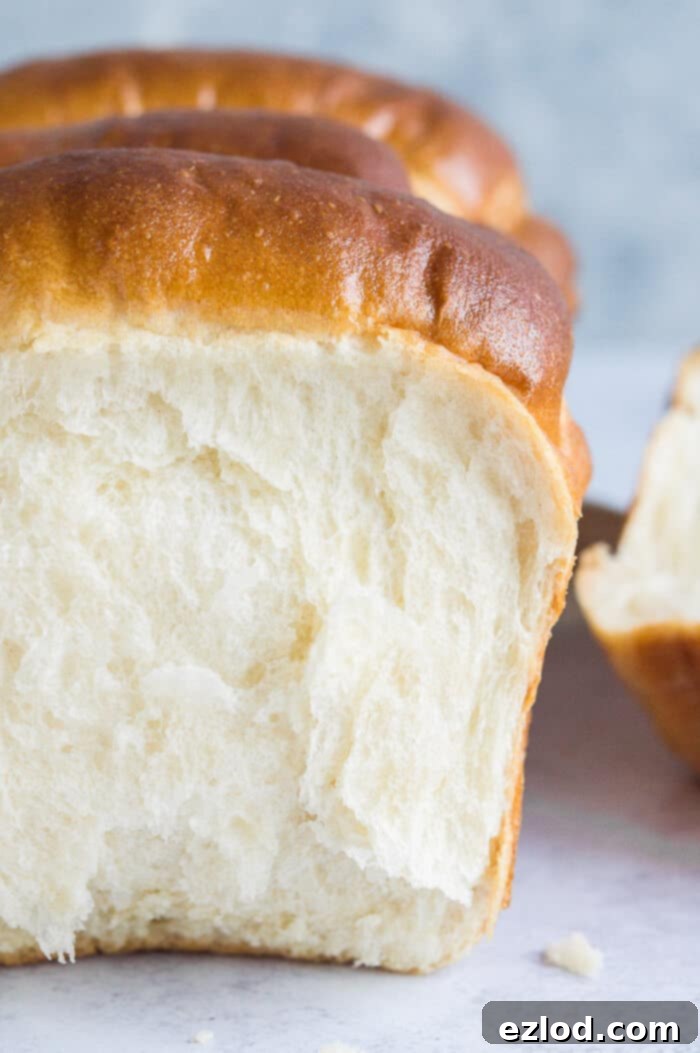
Hokkaido milk bread is often described as the Asian counterpart to brioche, yet it surpasses brioche in its unparalleled softness and requires significantly less butter. Its distinctive cloud-like, tender crumb can be effortlessly pulled apart into delicate, flaky layers. This bread is a revelation, whether enjoyed simply with jam for breakfast or as a delightful snack.
Beyond breakfast, this versatile loaf can be sliced for exquisite sandwiches or toasted to perfection. Its inherent sweetness and rich flavor mean it’s utterly delicious even when eaten plain. The secret to its enduring softness lies in the unique tangzhong method, which helps the bread retain moisture and stay fresh for much longer without relying on excessive fats.
Understanding the Tangzhong Method
The tangzhong method, also known as a water roux, is an ancient Asian technique that has gained global popularity for its ability to produce extraordinarily soft and moist breads. It involves cooking a small portion of the recipe’s flour and liquid (in this vegan version, soy milk) together until it forms a thick, pudding-like paste. This paste, or tangzhong, is then cooled and incorporated into the main bread dough.
This pre-cooking process gelatinizes the starches in the flour, allowing them to absorb and trap a remarkable amount of liquid – almost twice as much as ungelatinized flour. This additional moisture is held within the starch cells throughout the kneading, baking, and cooling phases. The result is a dough with higher hydration, leading to a superior rise in the oven due to increased internal steam, complementing the carbon dioxide produced by the yeast.
Crucially, because the bread retains more water during baking, it emerges from the oven exceptionally soft and moist, and, perhaps best of all, remains fresh and tender for several days. This technique is particularly beneficial for vegan baking, as it compensates for the moisture and structure typically provided by eggs and dairy, ensuring a truly luxurious texture.
Crafting Your Vegan Hokkaido Milk Bread: A Step-by-Step Guide
Achieving the perfect vegan Hokkaido milk bread requires attention to detail, but the process is incredibly rewarding. Here’s how to do it:
1. Prepare the Tangzhong
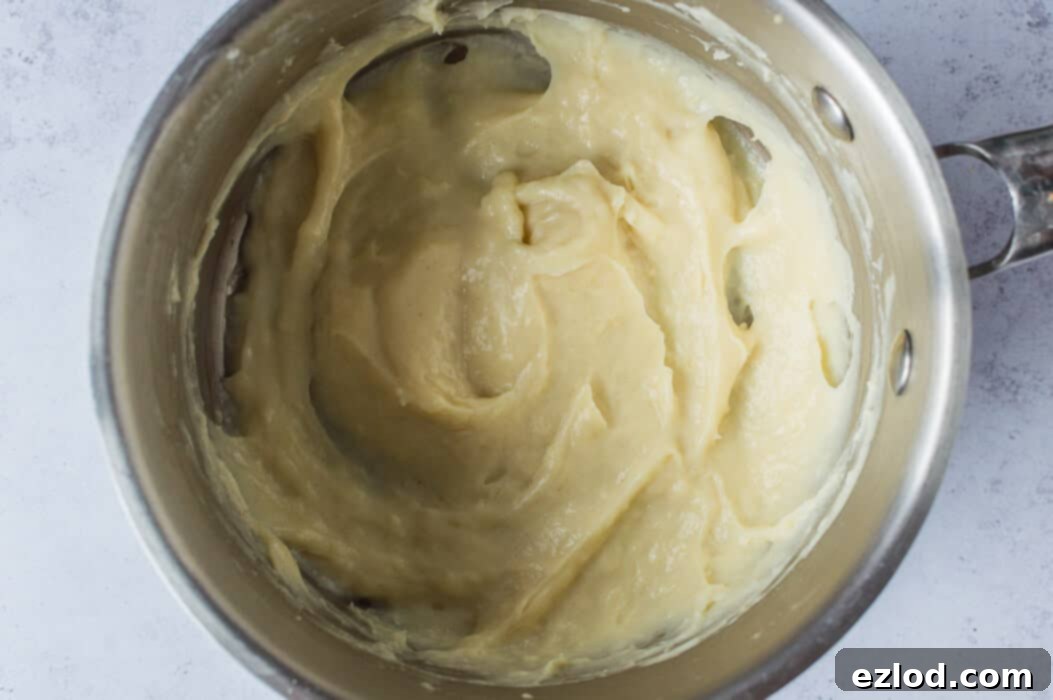
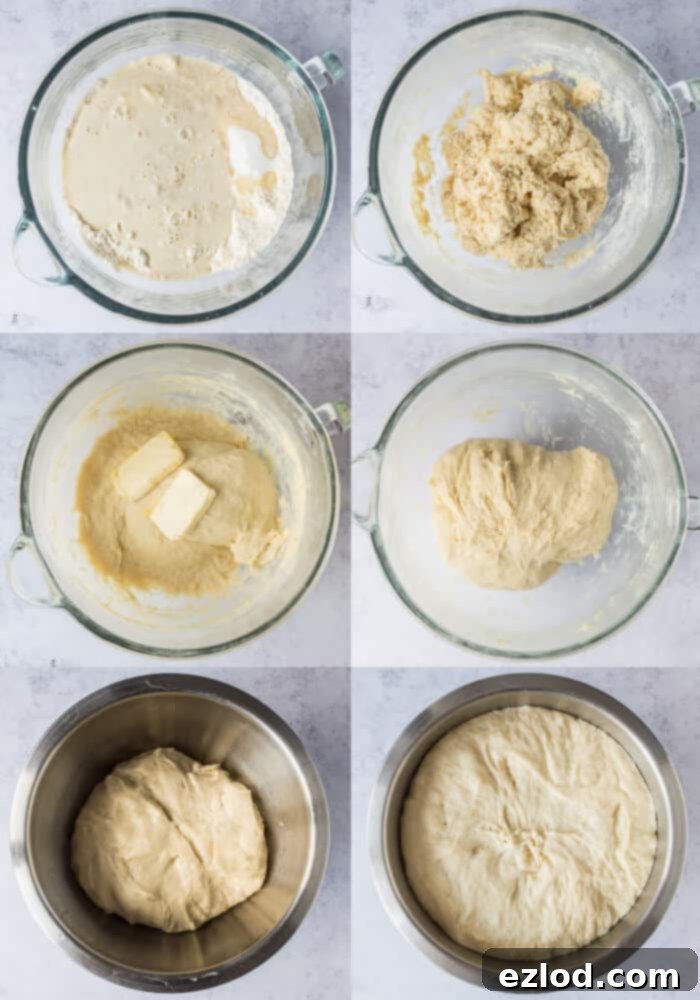
Begin by creating the tangzhong. In a small saucepan, vigorously whisk together 30g of bread flour and 150ml of unsweetened soy milk until no lumps remain. Place the pan over a medium-low heat and continue to whisk constantly. The mixture will gradually thicken into a paste-like, almost pudding-like consistency – think of the texture of wallpaper paste. Once achieved, scrape the tangzhong into a small bowl, cover it directly with baking parchment (this prevents a skin from forming), and set it aside to cool completely to room temperature. This typically takes about 30 minutes. As it cools, it will become even thicker, which is perfectly normal.
2. Activate the Yeast
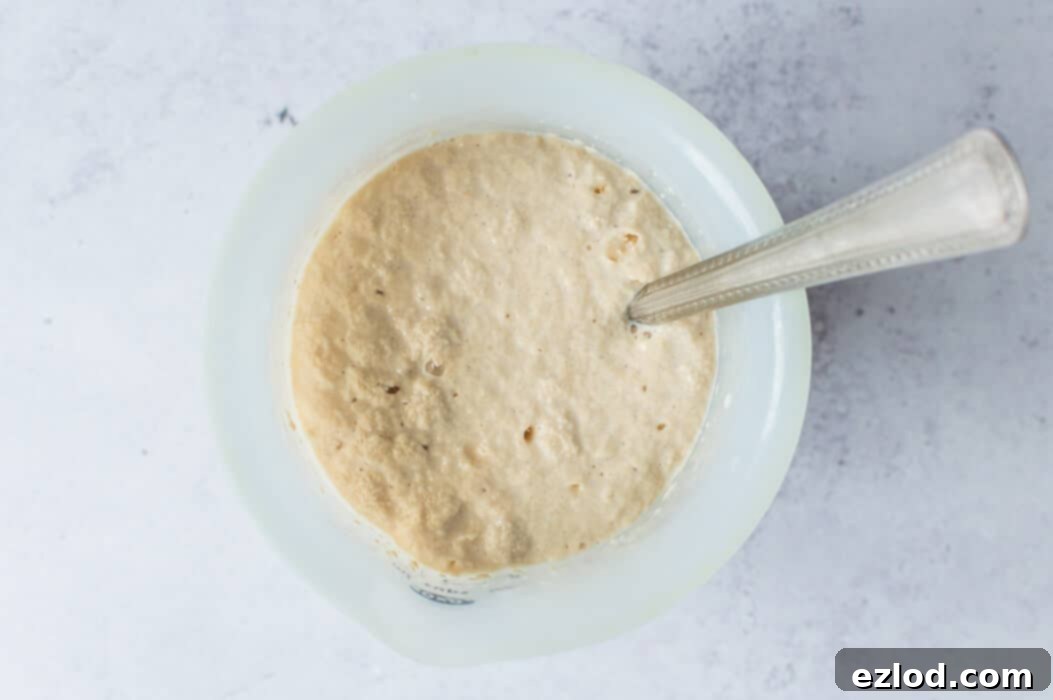
Once your tangzhong is cool, prepare your yeast. In a separate bowl, combine 7g of instant/fast action or active dry yeast with 150ml of lukewarm unsweetened soy milk and 5g of sugar. Stir gently and set aside for approximately 10 minutes until a foamy layer appears on the surface. This “bloom” indicates your yeast is active and ready to work its magic. While this step is crucial for active dry yeast, I recommend doing it even with instant yeast as a quick check to ensure your yeast is still potent. If no foam forms, your yeast may be expired, and you’ll need fresh yeast.
3. Prepare and Knead the Dough
In the bowl of a stand mixer, combine 400g of white bread flour, 55g of caster sugar, and 1 teaspoon of salt. Add the cooled tangzhong, the activated yeast mixture, and 3 tablespoons of aquafaba (the liquid from a can of chickpeas). Mix on a low speed until a rough dough forms.
Increase the mixer speed to medium and knead for about 10 minutes. At this stage, the dough should become noticeably stretchy and elastic. It will be soft and a bit sticky, which is desirable for a rich bread like this. If it appears excessively wet, add a small amount of extra bread flour, one tablespoon at a time, until it reaches the right consistency. Conversely, if it’s too dry, a tiny splash of milk can help.
Next, incorporate 40g of softened vegan block butter. Continue kneading for another 5-10 minutes until the butter is fully integrated, and the dough transforms into a smooth, highly elastic, and no longer greasy mass. This extended kneading is vital for developing the gluten structure that gives Hokkaido milk bread its characteristic chew and softness.
If you don’t have a stand mixer, you can knead the dough by hand. Be prepared for a sticky endeavor, and allocate a longer kneading time, up to 25 minutes, as manual kneading is a slower process.
4. First Rise (Bulk Fermentation)
Lightly oil a large bowl. Transfer the kneaded dough into the bowl, turning it once to coat. Cover the bowl tightly with cling film or a damp tea towel. For optimal flavor development and convenience, place the dough in the fridge to rise overnight. Alternatively, for a quicker rise, leave it in a warm spot for 1-2 hours until it has doubled in size.
Shaping Your Hokkaido Milk Bread Loaf
On the following day (or once your dough has doubled in size at room temperature), gently “knock back” the dough to release the accumulated air. Give it a brief 30-second knead to ensure even air distribution.
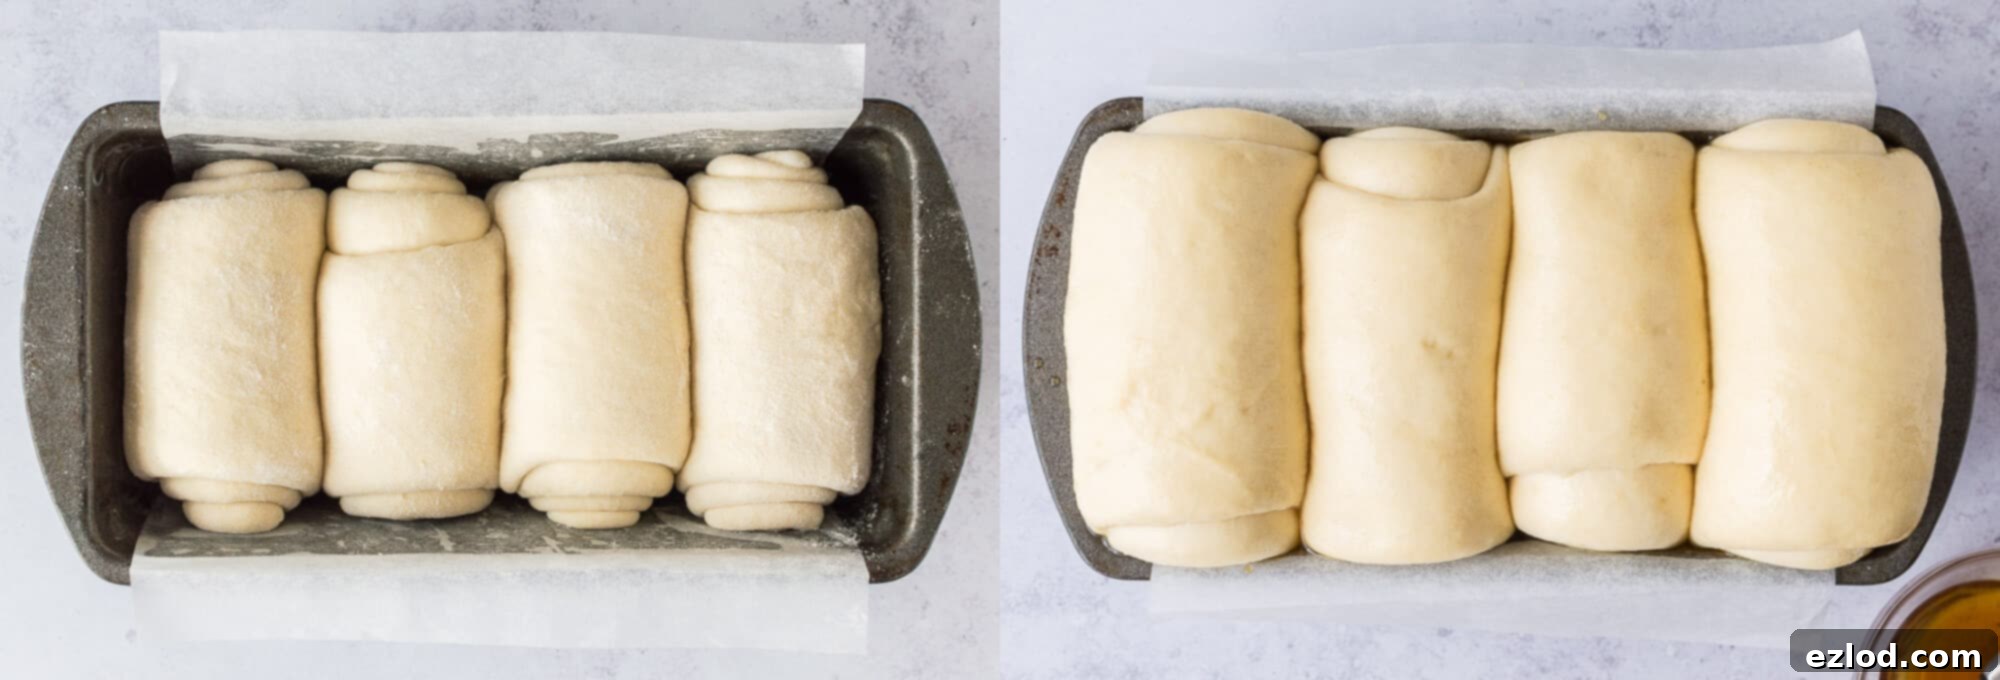
Divide the dough into 3 or 4 equal pieces. For a loaf with 4 distinct humps, as often seen in traditional Hokkaido milk bread, use 4 pieces. For a loaf with 3 humps, use 3 pieces. Roll each piece into a smooth ball. Line an approximately 11.5 x 21.5 cm (4.5 x 8.5 inch) loaf tin with baking parchment, leaving an overhang to easily lift the baked bread.
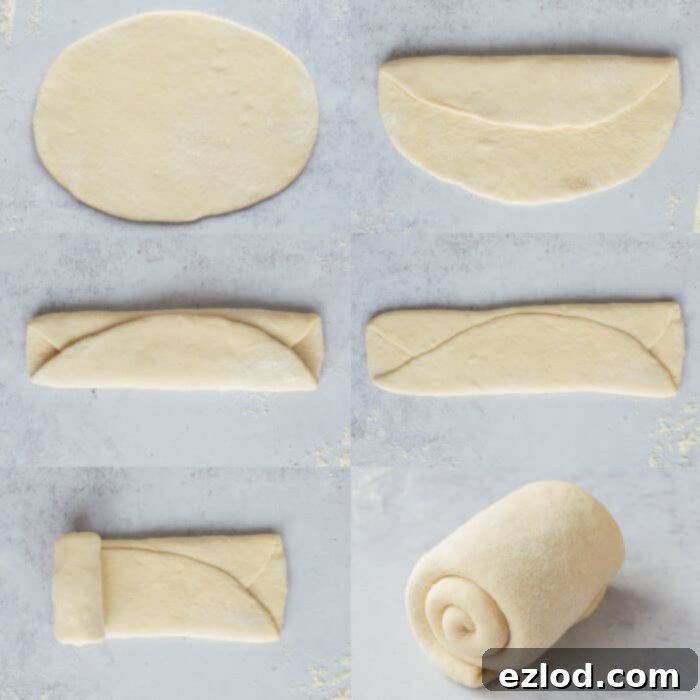
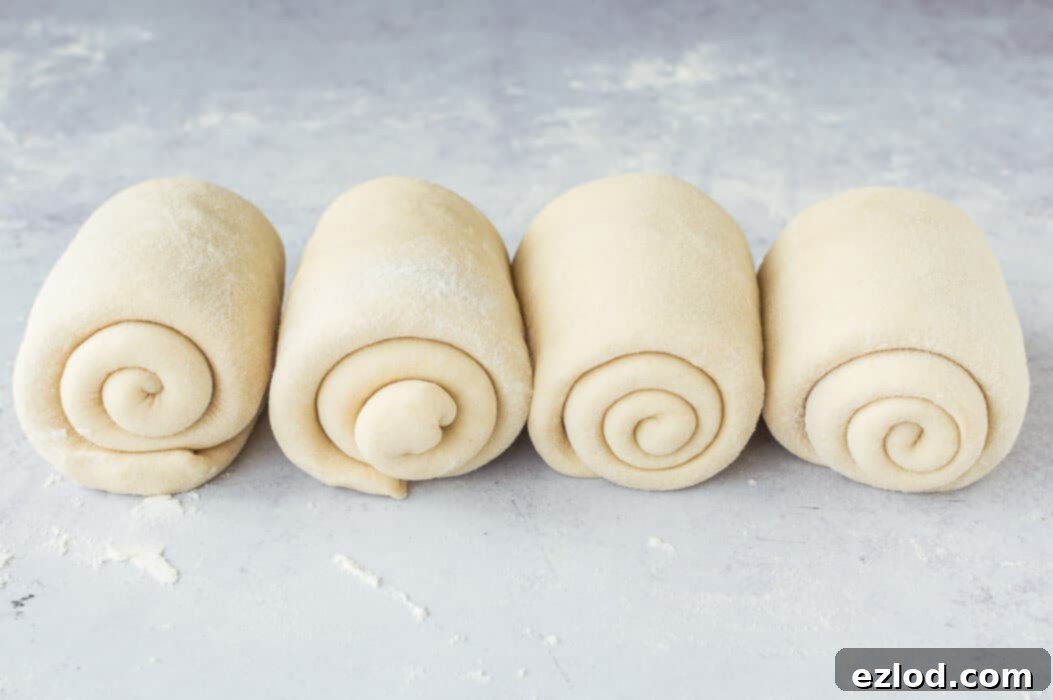
Take one dough ball and roll it out into a long oval shape. Fold one-third of the oval over the middle (from the long side), then fold the other third over the top to create a long, narrow packet. Gently roll over the seam to flatten it slightly. Finally, roll the packet up tightly from one end to form a plump sausage shape. Repeat this process with the remaining dough balls. Arrange these shaped dough sausages in the prepared loaf tin, seam-side down, ensuring they are evenly spaced.
Second Rise (Proofing) and Baking
Loosely cover the loaf tin and allow the dough to rise in a warm place until it has at least doubled in size and has risen noticeably above the top of the tin. This secondary rise can take anywhere from 1 to 2.5 hours (it took me about 1.5 hours). Be aware that if your dough was refrigerated overnight for its first rise, this second rise may take a bit longer. To check if it’s ready, gently press the dough with your finger; the indentation should spring back slowly but remain visible. If it springs back quickly, it needs more time to proof.
While the dough is completing its second rise, preheat your oven to 180°C (350°F / Gas Mark 4). In a small bowl, whisk together ½ tablespoon of maple syrup and 1 tablespoon of water to create a simple glaze.
Once the loaf has adequately risen, carefully brush the top with the maple syrup glaze. Be mindful not to let any glaze drip down the sides, as this can cause the bread to stick to the tin. If you prefer a less sweet crust, you can brush it with a little plain unsweetened soy milk or aquafaba instead.
Place the loaf in the preheated oven and bake for 30-50 minutes. The ultimate indicator of doneness is an internal temperature of 94°C (201°F) when measured with a probe thermometer inserted into the center of the loaf. Oven temperatures vary, so this is more reliable than relying solely on time. If the top of your loaf begins to brown too quickly, loosely cover it with aluminum foil partway through baking. For an even shinier crust, you can brush the loaf with more maple syrup glaze halfway through the baking process.
Once baked, remove the vegan Hokkaido milk bread from the oven and give it a final brush with the remaining glaze. Allow it to cool in the tin for about 10 minutes before carefully transferring it to a wire rack to cool completely. Resist the urge to slice it warm; cooling allows the internal structure to set, resulting in the best possible texture.
Storing and Freezing Your Vegan Milk Bread
Once completely cool, store your vegan Hokkaido milk bread in an airtight container at room temperature for up to 3-4 days. Its tangzhong-enhanced moisture means it stays fresh longer than many other breads.
Can I Freeze Vegan Hokkaido Milk Bread?
Absolutely! This vegan milk bread freezes beautifully. I highly recommend slicing the cooled loaf into individual portions and then freezing them. This way, you can easily grab a slice or two as needed and pop them directly into the toaster or under the grill from frozen for a quick and delicious treat.
Key Vegan Ingredient Swaps and Considerations
Converting a traditional enriched bread recipe like Hokkaido milk bread to a vegan version involves thoughtful ingredient substitutions:
- Milk: Unsweetened soy milk is the star here. While other non-dairy milks can work, soy milk is superior due to its higher protein and fat content, closely mimicking dairy milk. It also contains lecithin, which is beneficial for developing a fine, consistent crumb structure.
- Eggs: Aquafaba, the liquid drained from a can of chickpeas, is an excellent egg replacer in this recipe. Its binding and emulsifying properties are similar to eggs, contributing to the dough’s structure and moisture. Commercial egg replacers can also be used. I advise against ground flax or chia seeds, as they tend to create a speckled crumb and can alter the desired smooth texture.
- Butter: A high-quality vegan block butter is essential. Opt for solid stick varieties rather than spreadable margarines in tubs, which often have too high a water content for baking and can negatively impact the final texture. Brands like Naturli vegan block are ideal. I’ve also slightly increased the butter quantity to compensate for the fat typically provided by egg yolks. I tested this recipe with coconut oil, but found the resulting bread to be denser and less flavorful, so it’s not a recommended swap.
It’s worth noting that the vegan version often requires slightly higher hydration than its non-vegan counterpart, which explains some differences in the ingredient ratios from original recipes.
Expert Tips for Vegan Hokkaido Milk Bread Success
- Sweetness Adjustment: This bread is designed to be sweet, but you can halve the sugar amount if you prefer it less sweet. However, do not omit sugar entirely, as it’s crucial for both texture and aiding the yeast in rising.
- Aquafaba Source: Simply use the liquid drained from a can of chickpeas for aquafaba.
- Baking Schedule: For convenience and to break up the work, I recommend preparing the dough the day before you plan to bake. However, if preferred, the entire process can be completed in a single day.
- Stand Mixer Advantage: A stand mixer is highly recommended for this recipe. The dough is quite soft and sticky and requires extensive kneading, making it challenging (though not impossible!) to work by hand.
- Enriched Dough: This is an enriched bread dough (containing milk, fats, and sugar), which contributes to its incredible softness and flavor. Enriched doughs typically take longer to rise than lean doughs (made with just water, flour, salt, and yeast). Rising times will vary significantly based on your kitchen’s temperature and whether you chose an overnight cold rise or a warmer room-temperature rise.
- Flour Choice: Always use bread flour for the best texture. Its higher protein content is essential for developing strong gluten, which is key to that signature fluffy crumb.
- Dough Consistency: The exact amount of flour may vary slightly due to differences in flour brands and their absorption rates. Start with the specified quantity and add a little more, one tablespoon at a time, only if the dough appears excessively wet. Remember, this dough should remain soft and somewhat sticky; adding too much flour will result in a dry bread.
- Perfect Doneness: The most reliable way to determine if your bread is fully baked is by using a probe thermometer. Insert it into the center of the loaf; it should read 94°C (201°F). Baking times are always approximate due to oven variations.
If you tried this recipe, we’d love to see it! Tag @domestic_gothess on Instagram and use the hashtag #domesticgothess.
