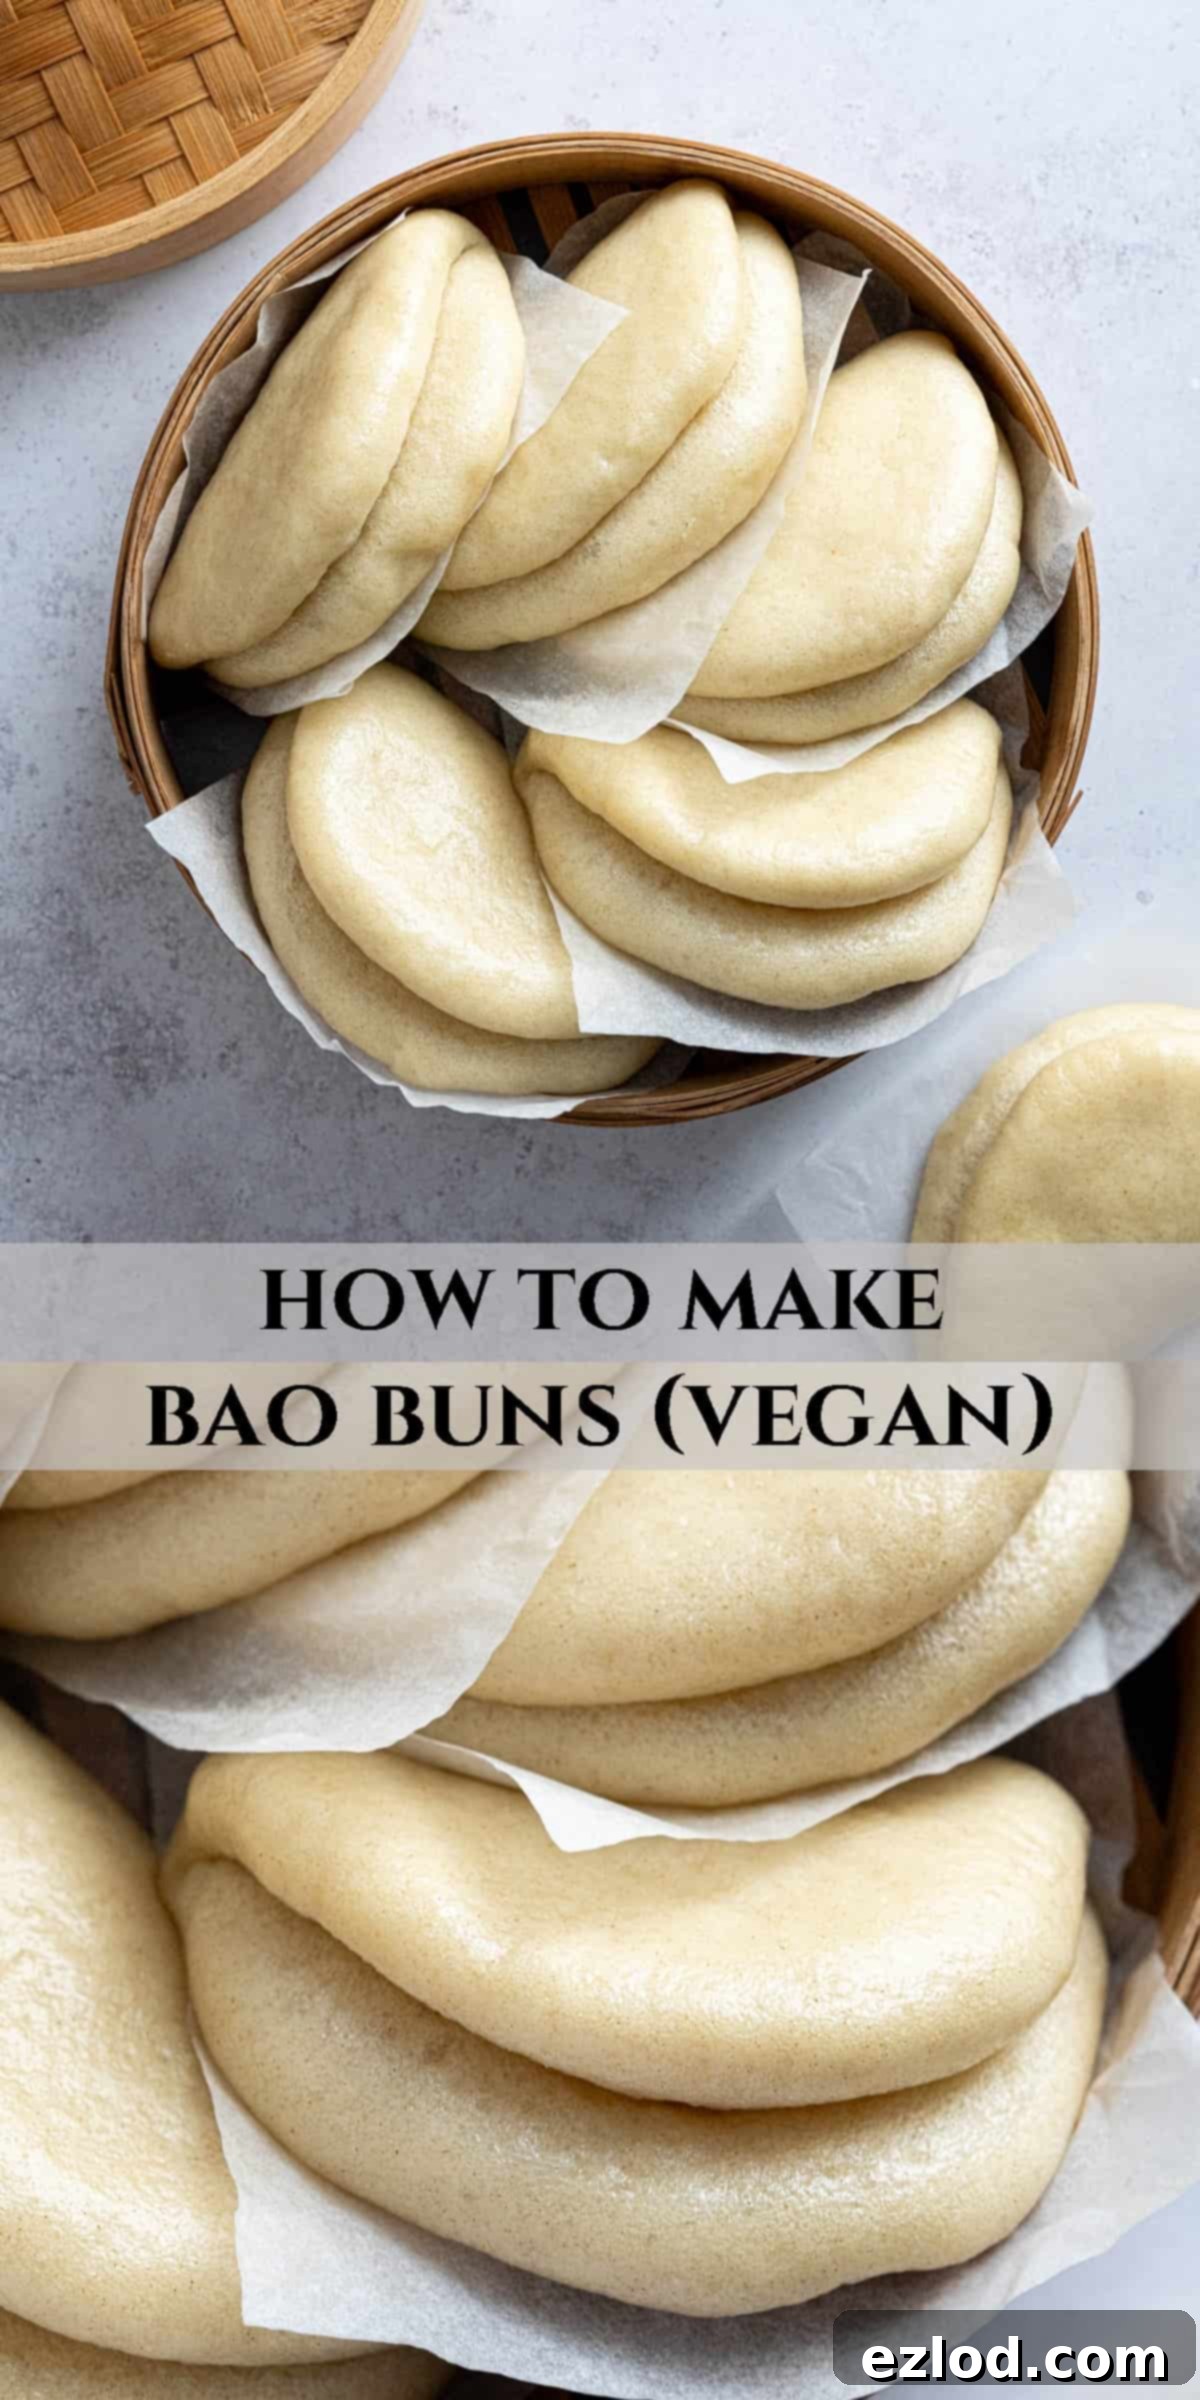
Homemade Vegan Bao Buns: Soft, Fluffy, and Perfectly Steamed for Any Filling
Discover the joy of making incredibly soft and fluffy steamed lotus leaf bao buns right in your own kitchen! This comprehensive guide will walk you through every step, proving that these delightful Chinese steamed buns are far easier to prepare than you might imagine. Not only are they delightfully light and airy, but they are also entirely vegan-friendly and freeze exceptionally well, making them perfect for meal prep or a spontaneous treat. Get ready to fill them with your favorite sweet or savory fillings for a truly delicious and satisfying meal.
What Exactly Are Bao Buns? Unveiling the Steamed Chinese Delight
The term “bao buns” is a bit of a linguistic redundancy, as ‘bao’ itself translates to ‘bun’ or ‘package’ in Chinese. So, technically, we’re saying “bun buns”! However, this nomenclature has become widely accepted and understood in Western culture, and for clarity, we’ll continue to use it. At their core, bao are a type of yeasted Chinese bread, celebrated for their incredibly soft, slightly sweet, and cloud-like texture. They are a staple in Chinese cuisine and have gained immense popularity worldwide.
There’s a vast array of bao types, each with its unique characteristics. Some are plain, serving as a versatile canvas for various fillings, while others come pre-stuffed with either sweet or savory delights. While steaming is the most traditional and common method of cooking bao, you might occasionally encounter baked or pan-fried variations, offering different textures and flavors.
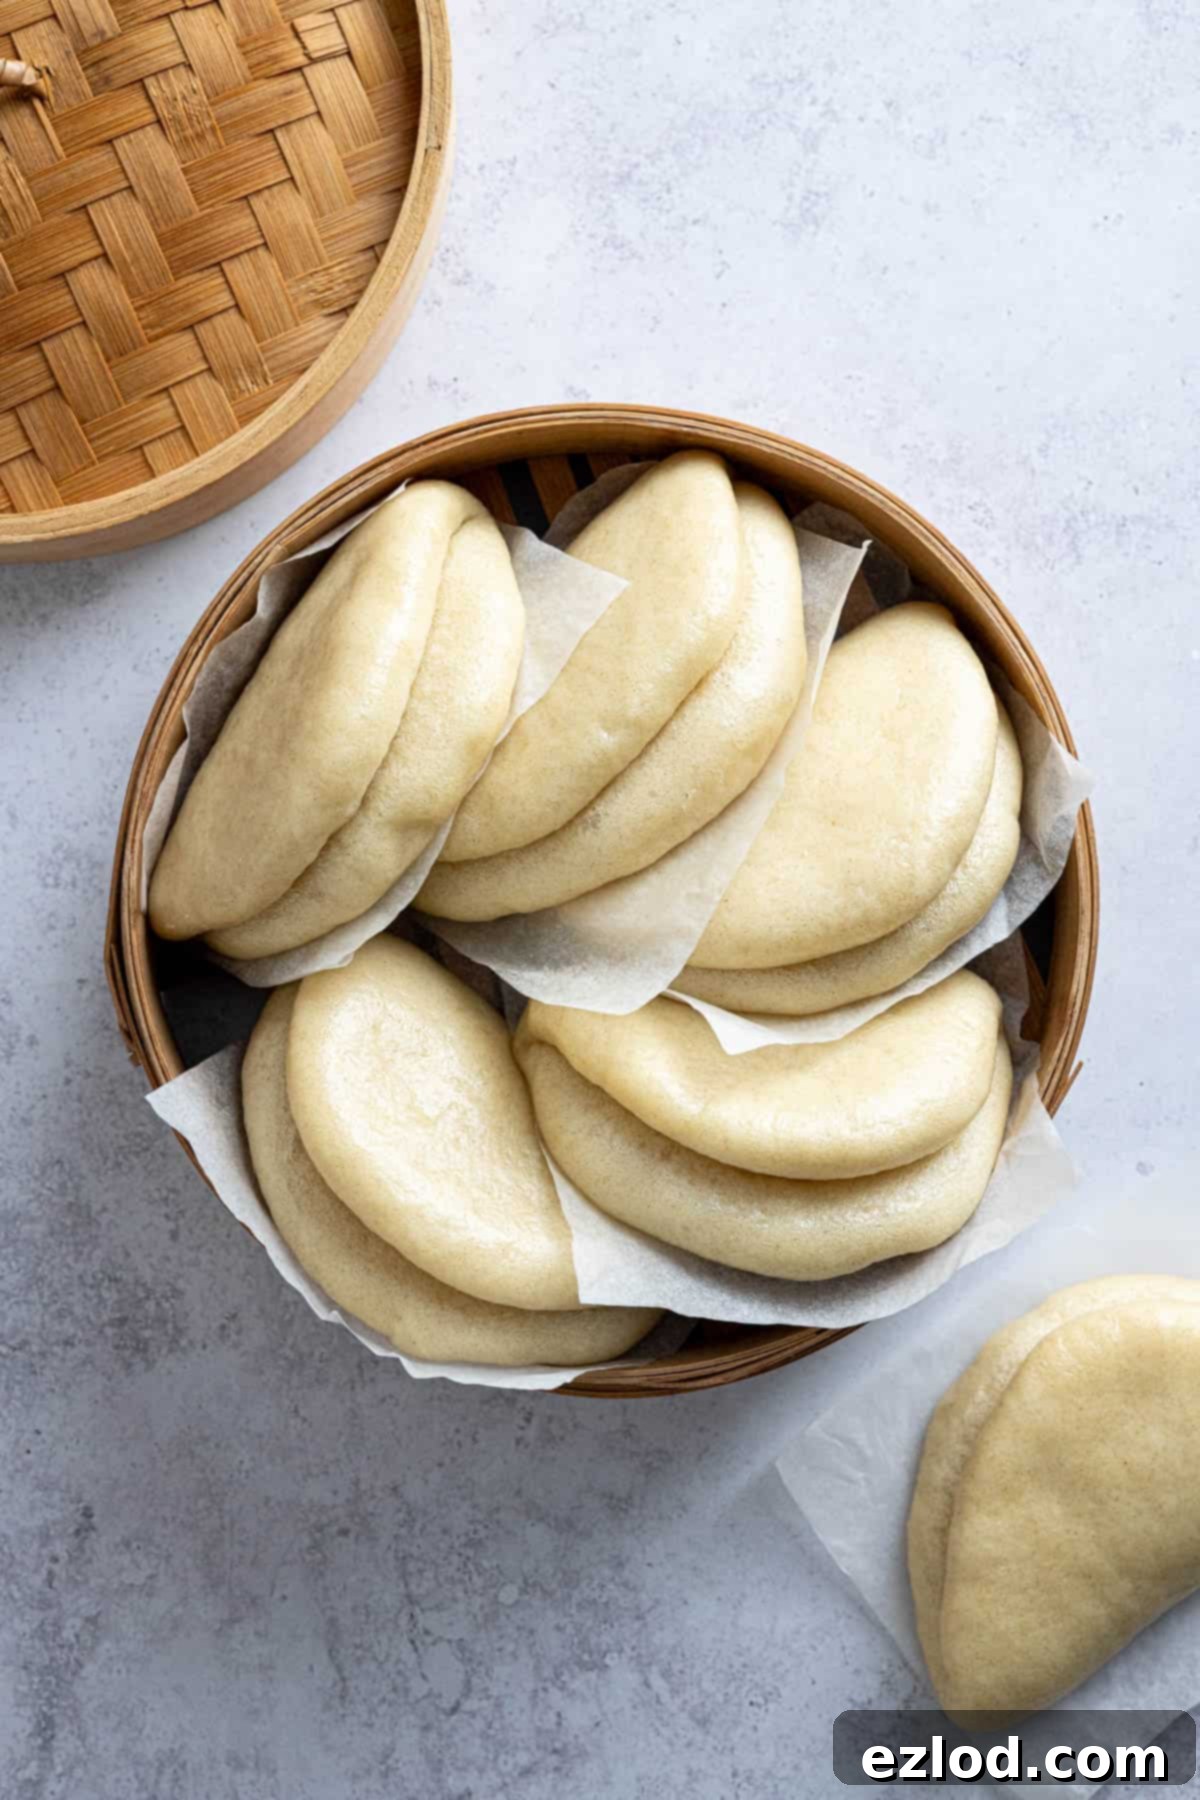
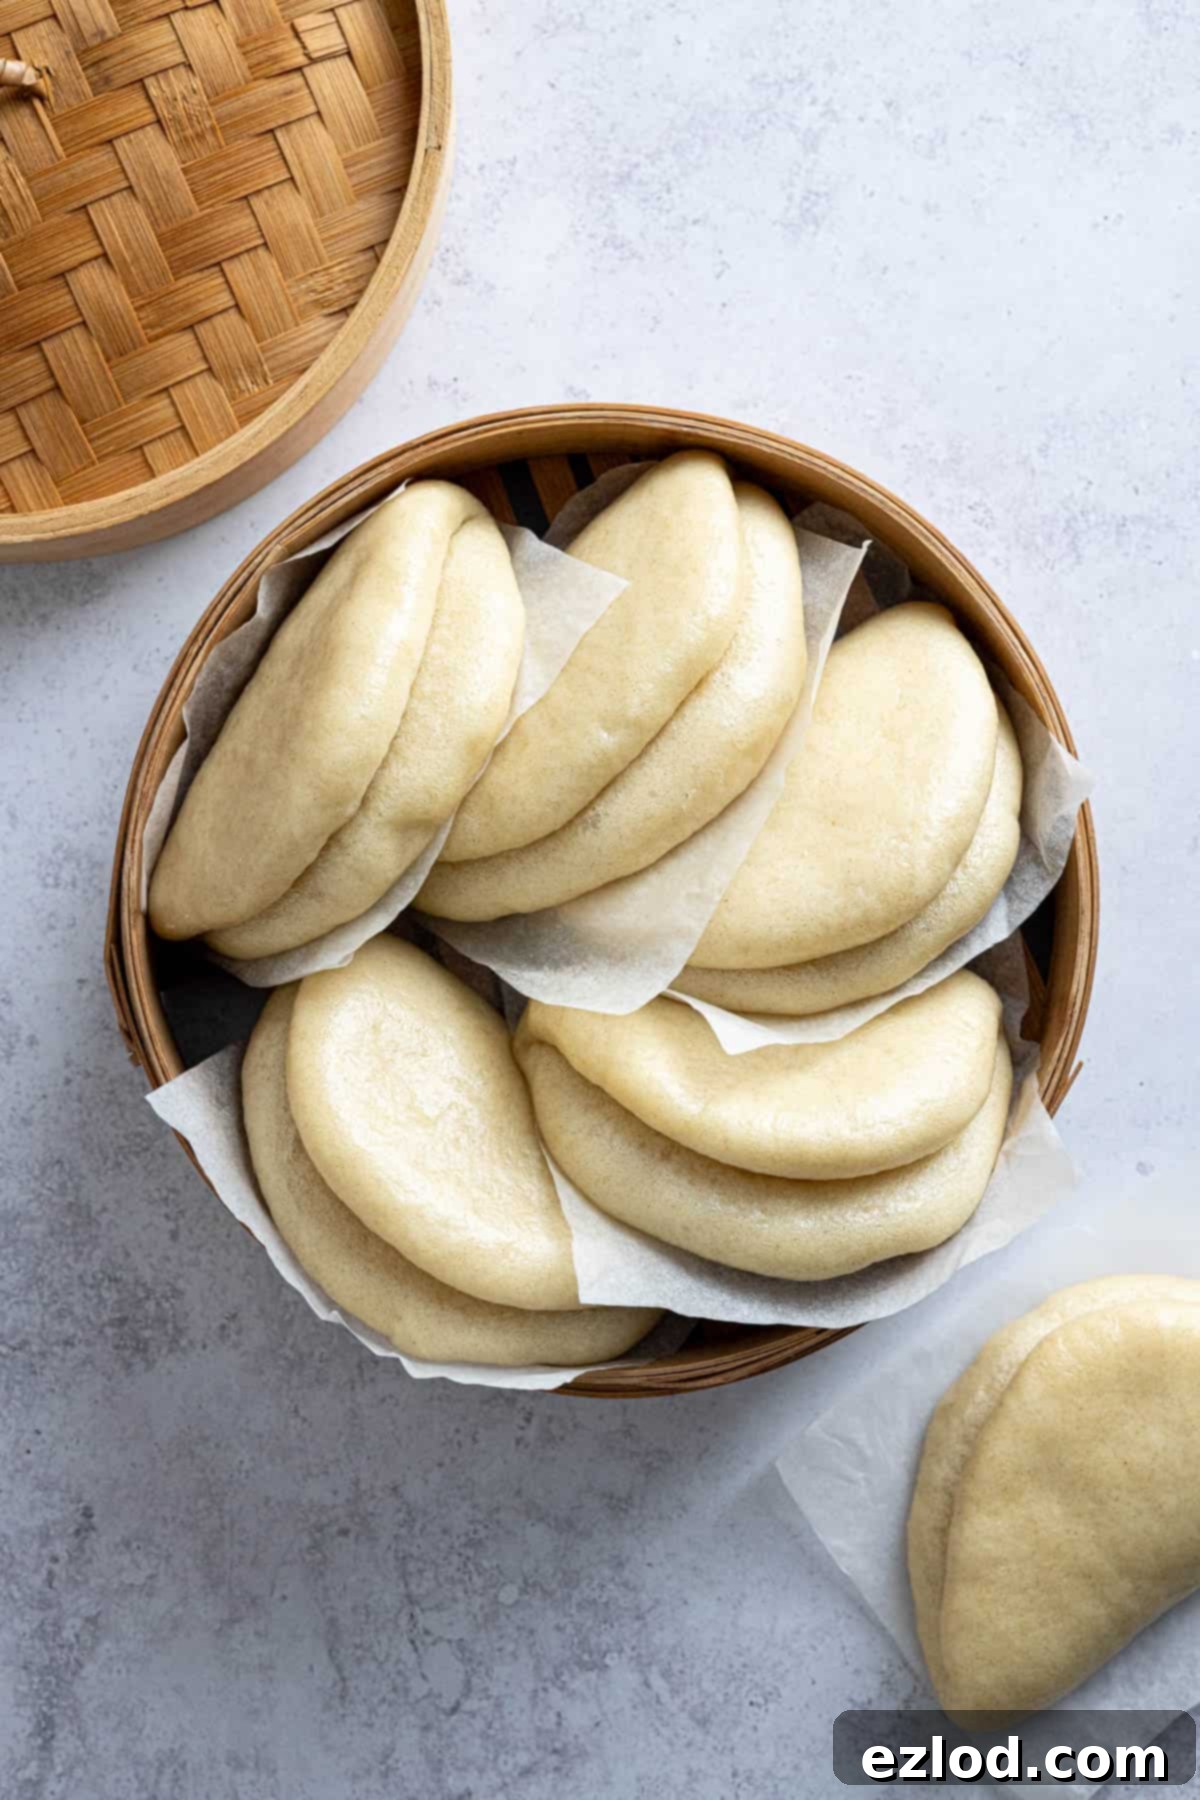
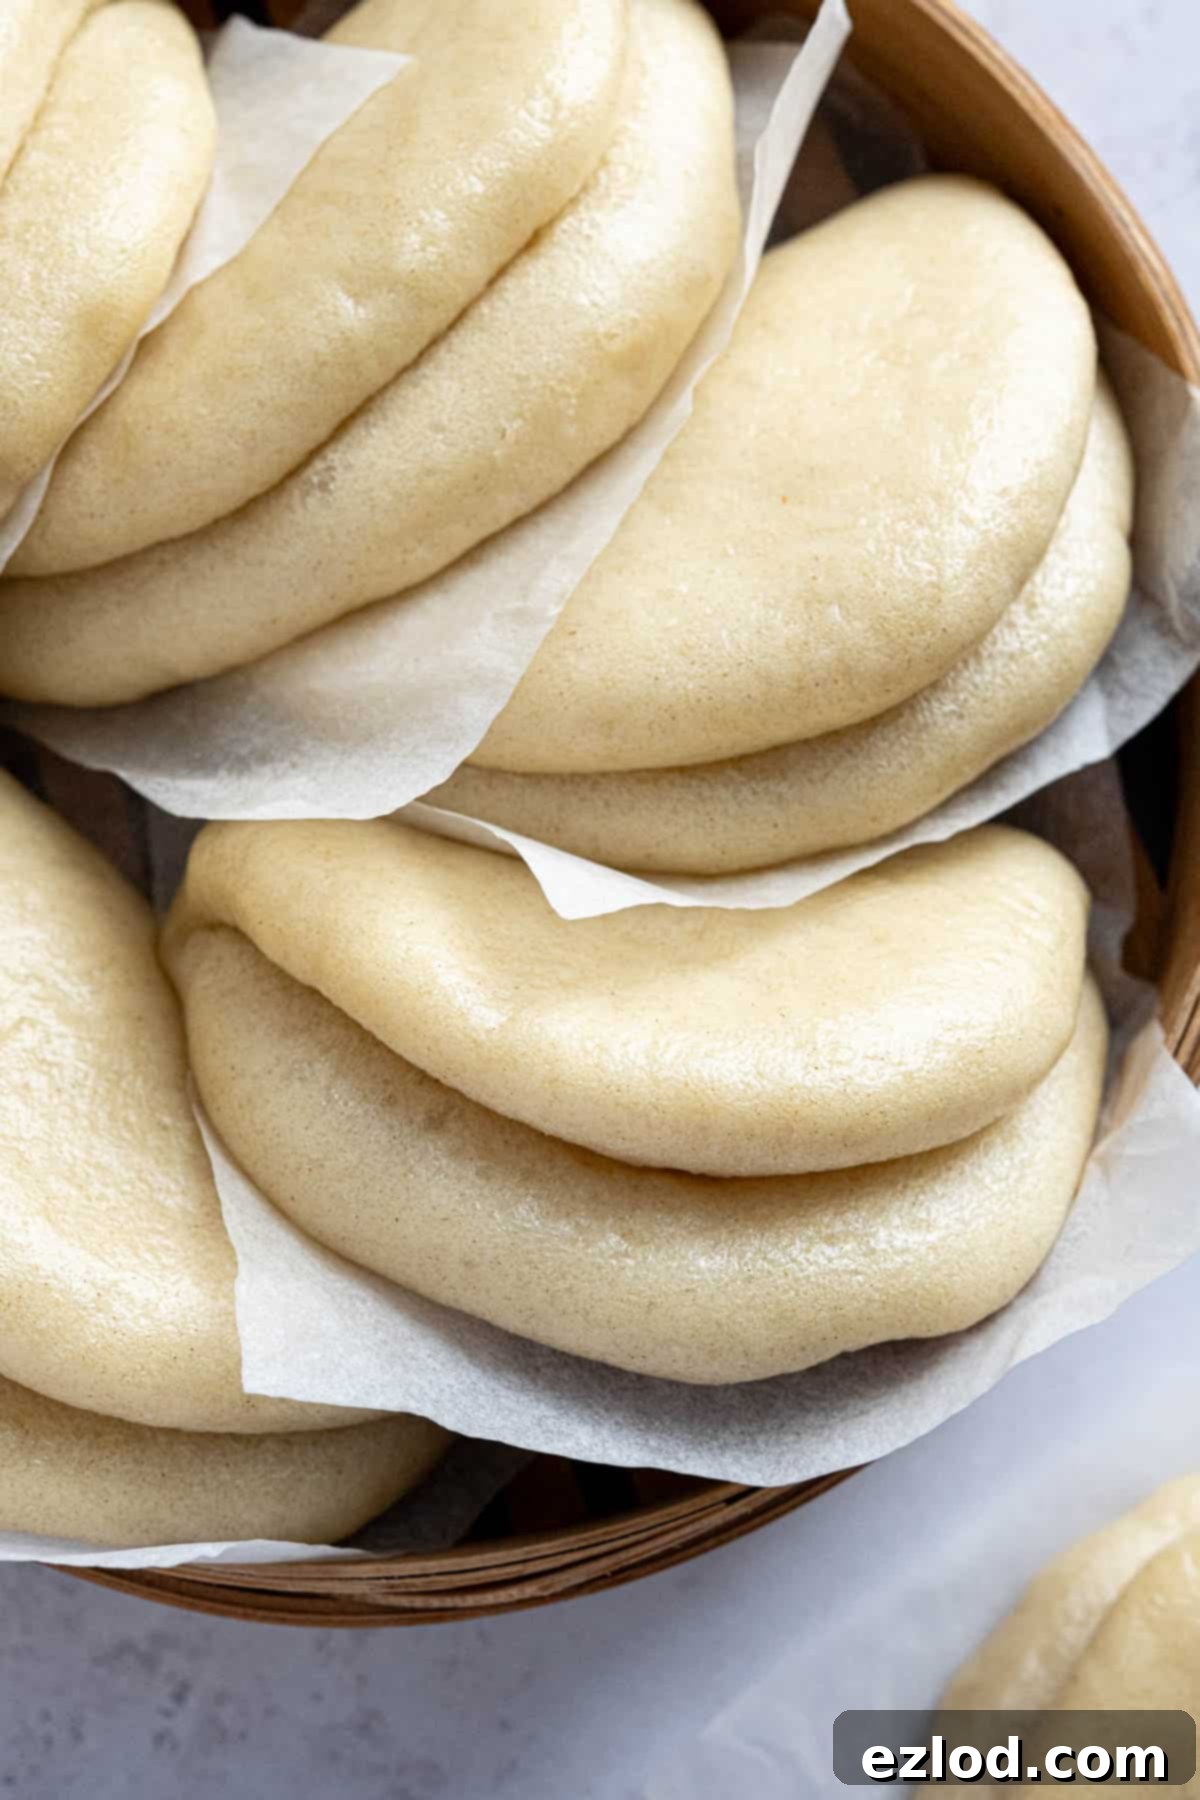
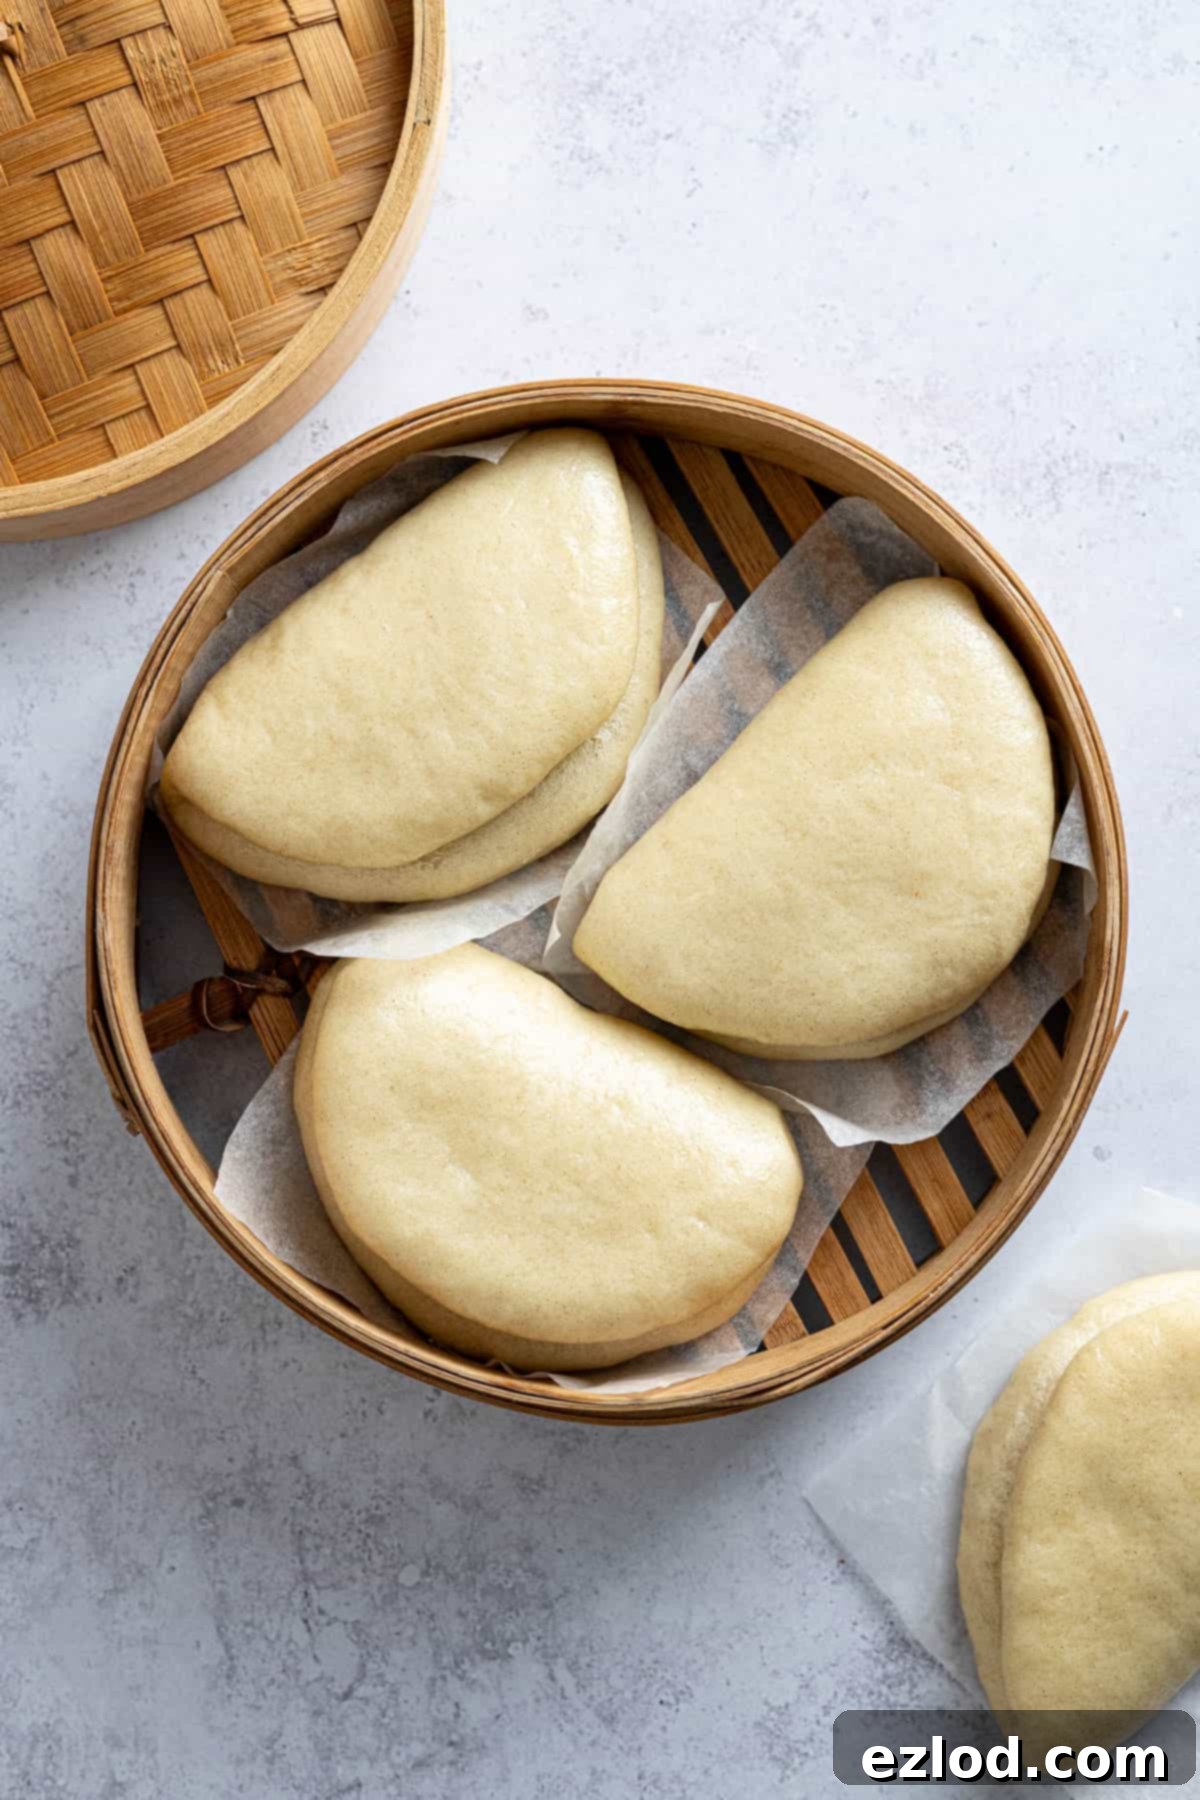
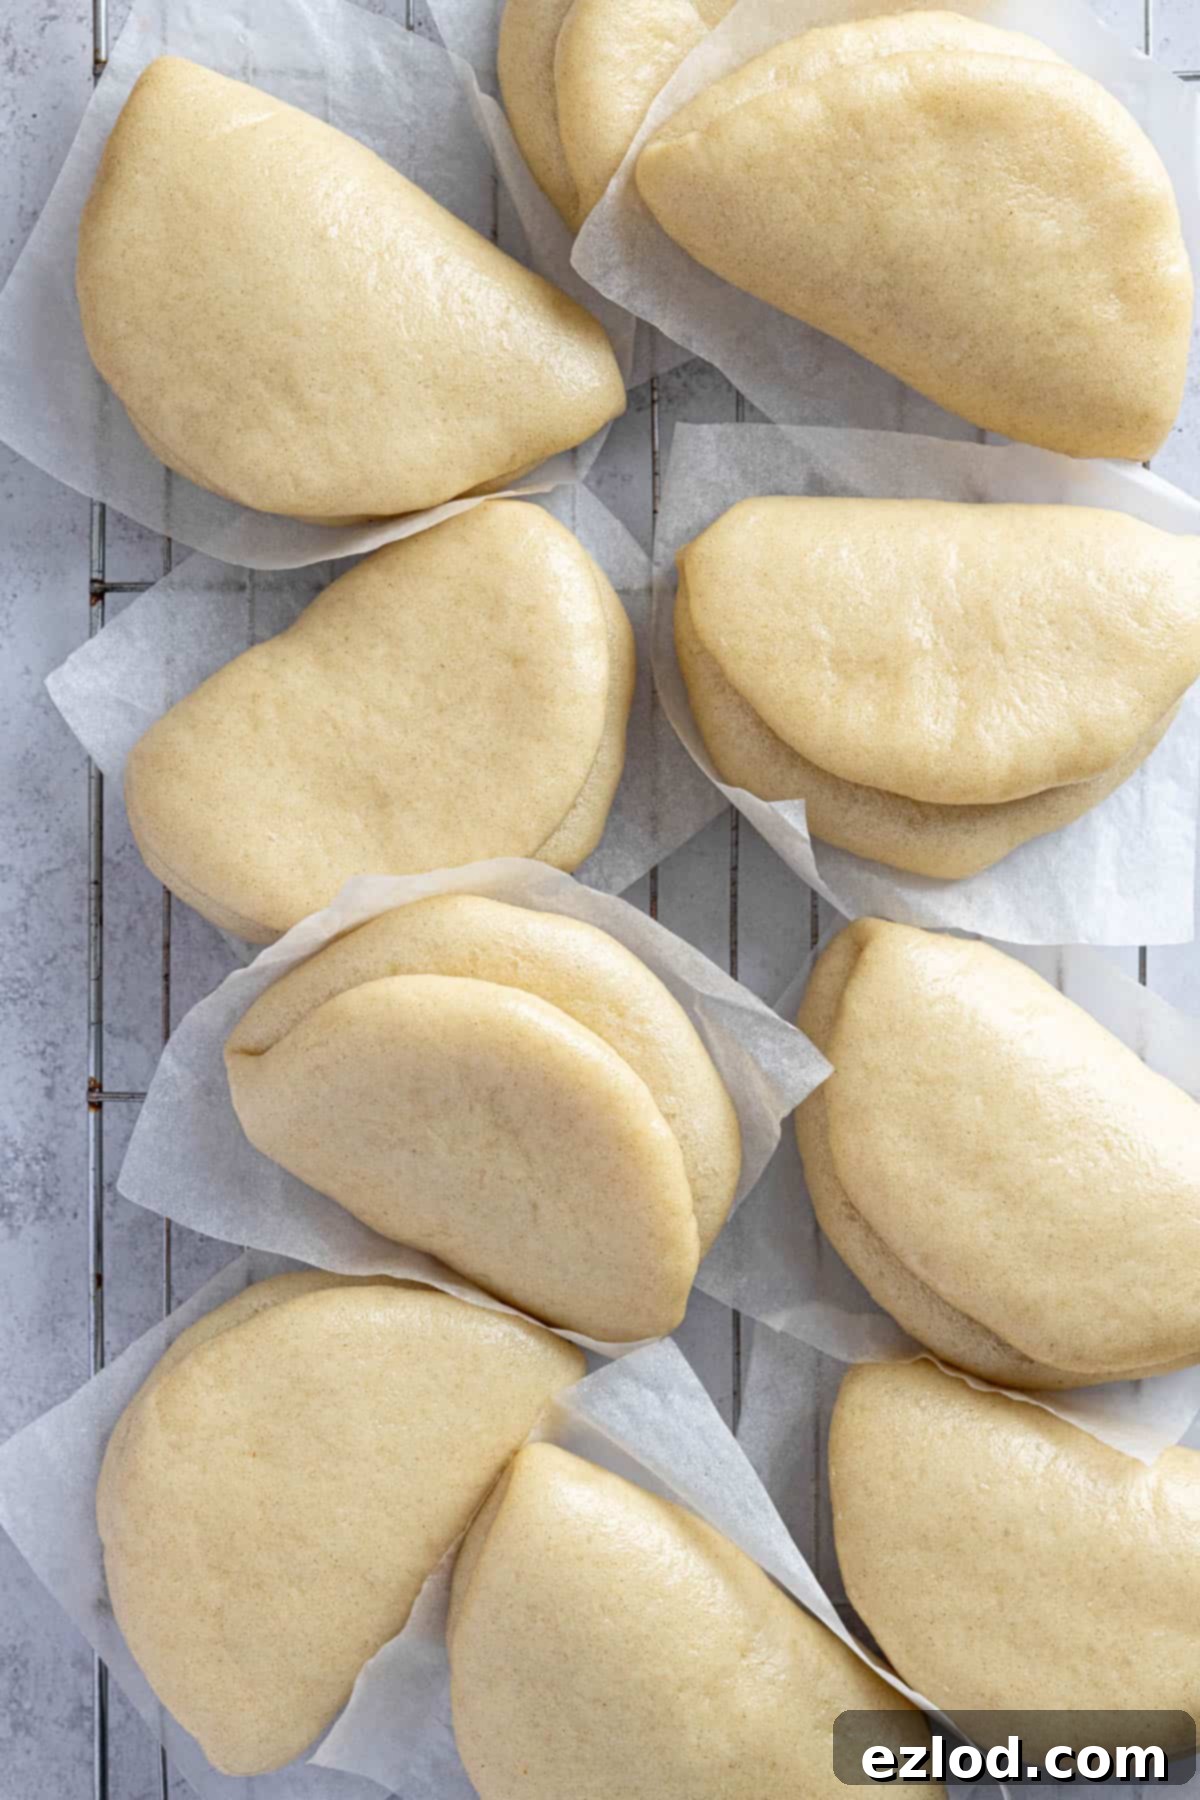
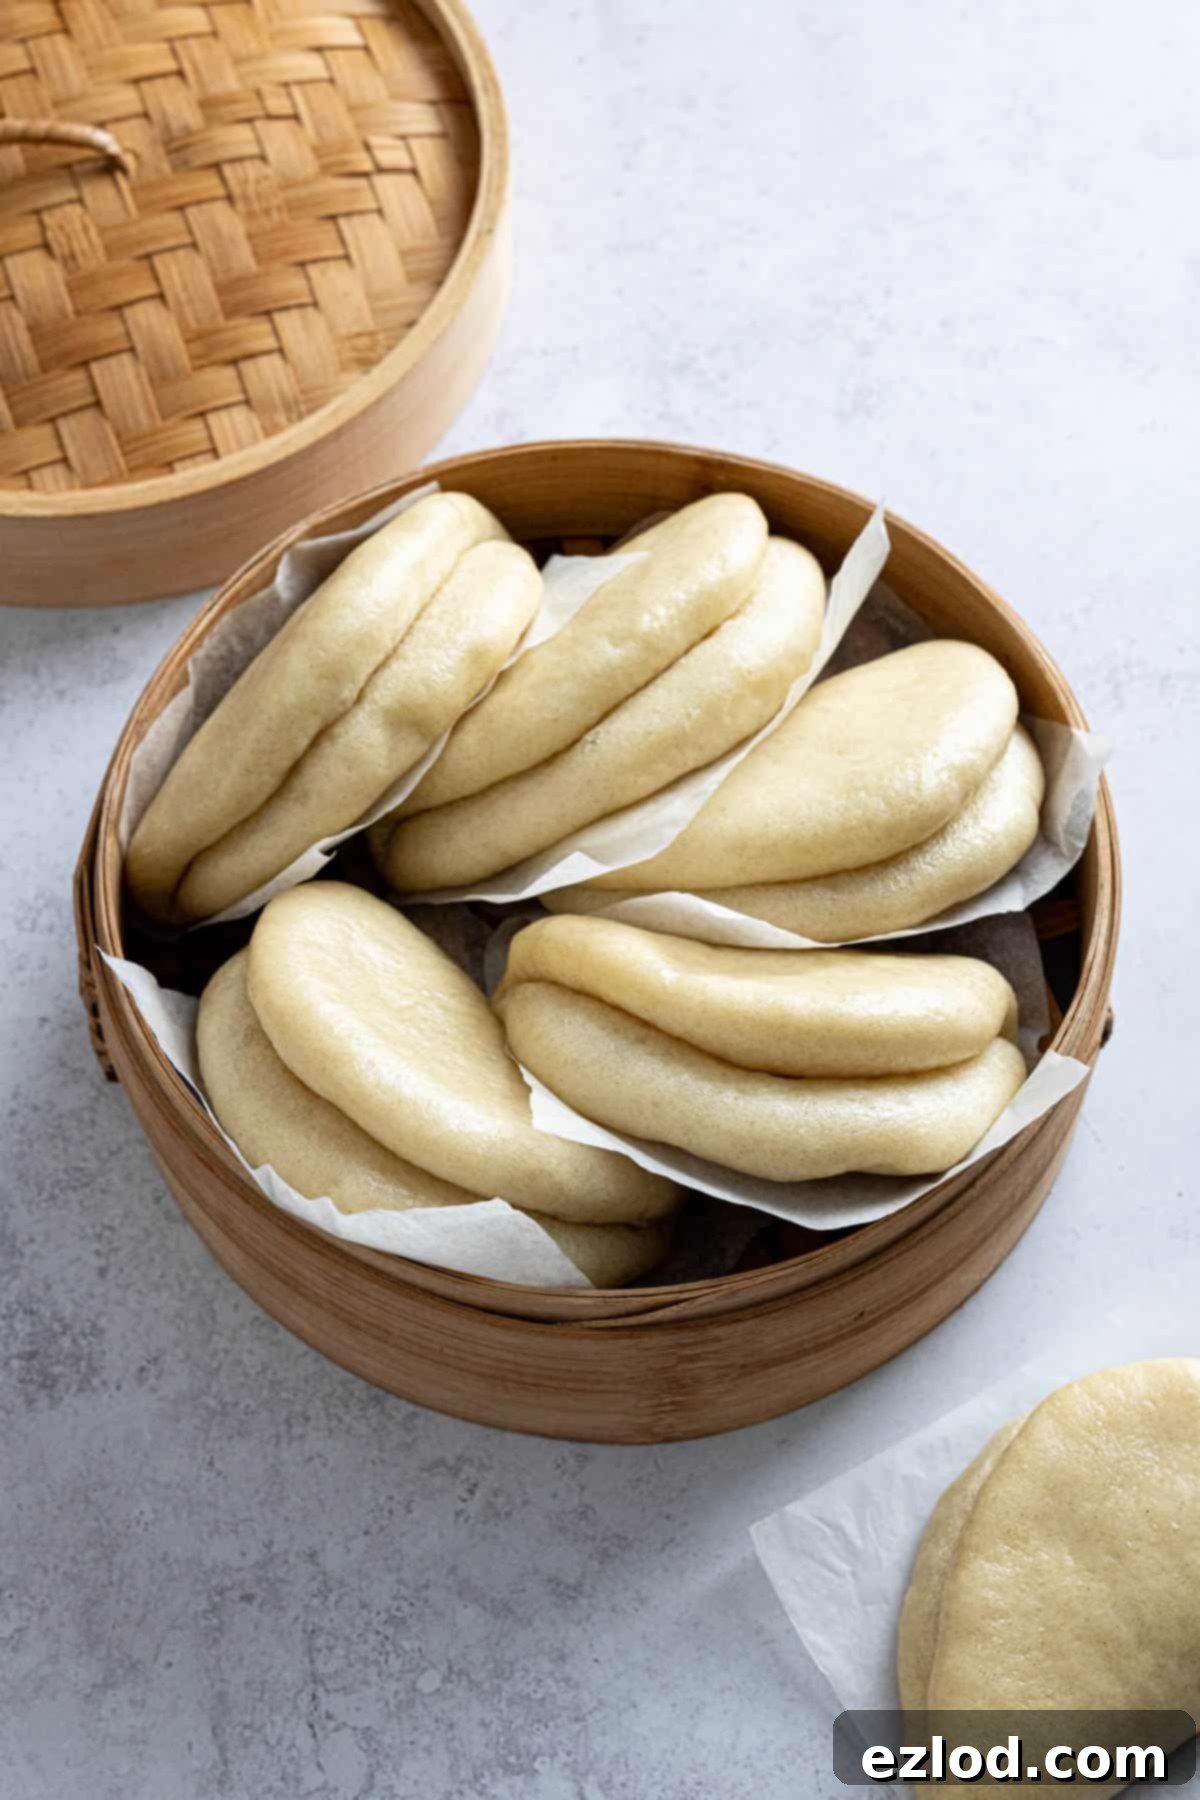
This particular recipe focuses on a type of bao that is arguably the most recognizable and beloved in many parts of the world: the lotus leaf bun, or He Ye Bao (荷葉包). Their distinctive shape, a folded semicircle, resembles a lotus leaf. Once steamed to perfection, these buns can be gently opened, much like a pita or a sandwich, creating a pocket ready to be generously filled. Their soft, neutral flavor makes them the ideal accompaniment to a wide range of fillings, from rich, savory meats and vegetables to sweet, dessert-like creations.
These versatile vegan bao buns are perfect for crafting your own culinary masterpieces. For a truly unforgettable experience, consider pairing them with my delectable hoisin tofu bao buns recipe, which utilizes these very buns as its foundation!
A Brief History and Cultural Significance of Bao
Bao has a rich history, with roots tracing back to ancient China. Legend has it that Zhuge Liang, a strategist during the Three Kingdoms period, invented the steamed bun as an offering. Over centuries, these buns evolved, becoming a versatile food consumed across all social strata. They are a cornerstone of dim sum, a traditional Chinese brunch that features a variety of small, delicious dishes. Beyond their culinary appeal, bao often symbolize prosperity and good fortune, making them a popular food during festivals and celebrations.
The beauty of homemade bao lies in the ability to control ingredients, ensuring freshness and catering to dietary needs, such as this delicious vegan version. Preparing them from scratch also offers a deeply satisfying connection to traditional cooking methods and a rewarding culinary experience.
Key Ingredients for Perfect Bao Buns: What You Need to Know
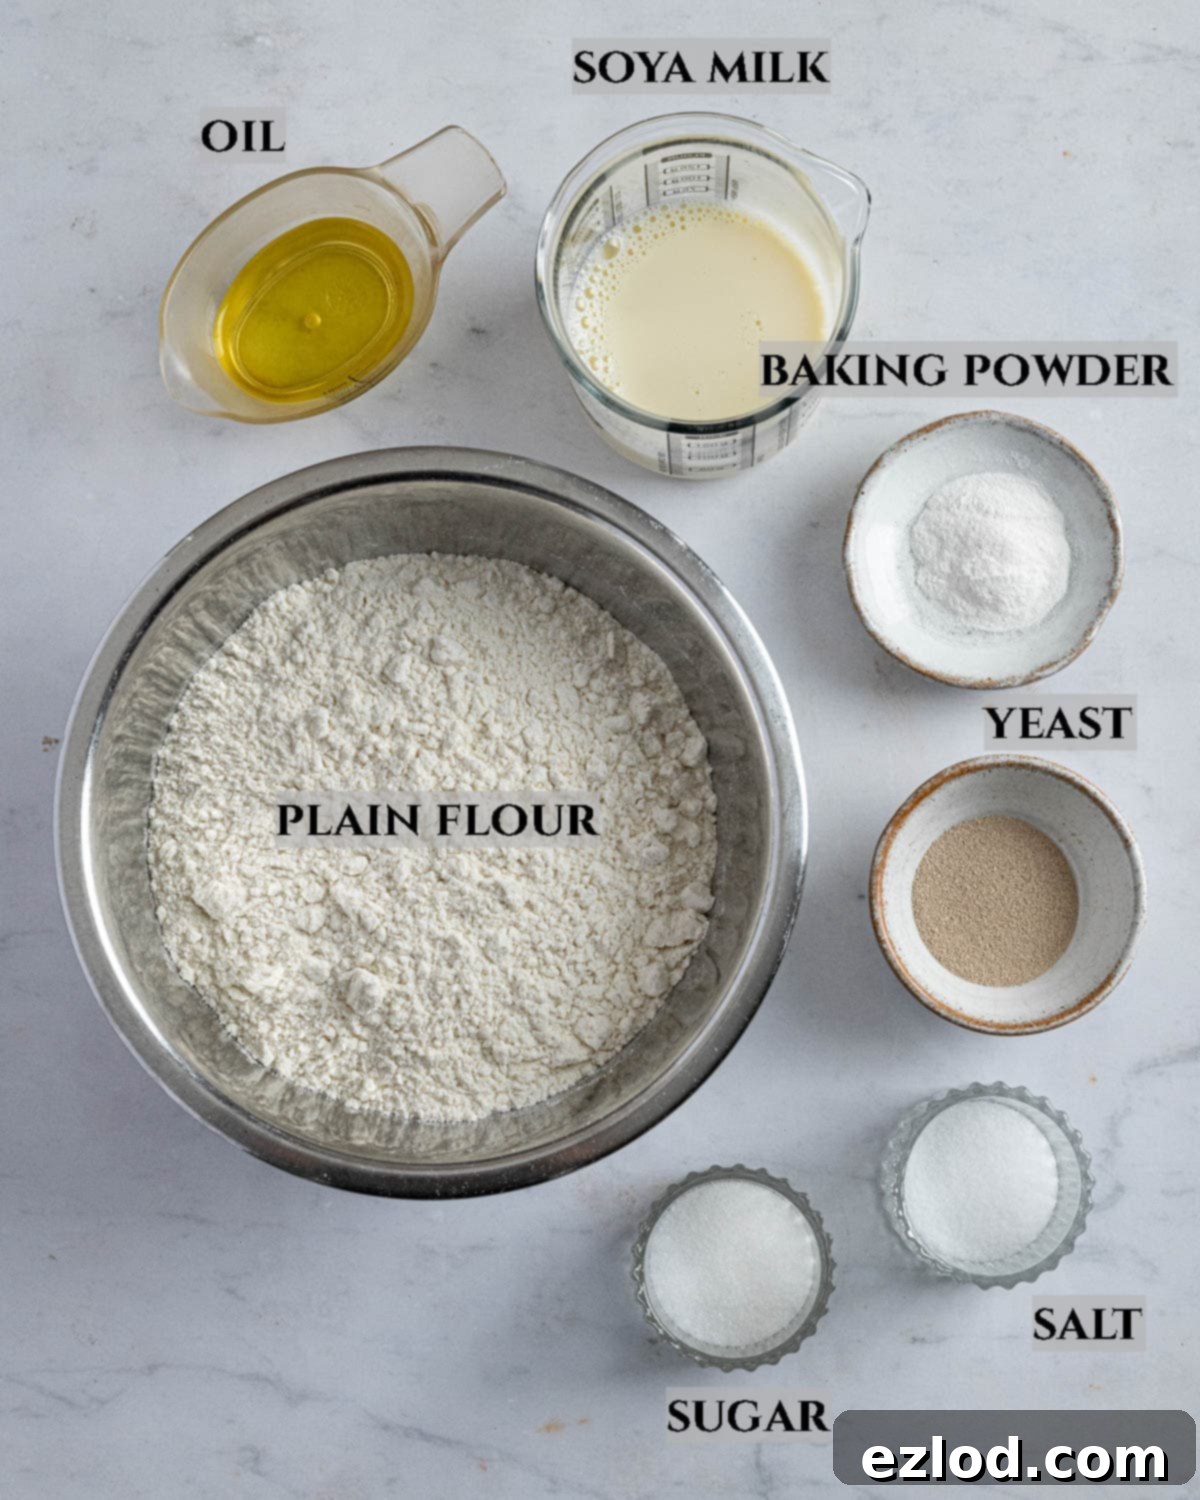
Crafting the perfect soft and fluffy bao buns requires a careful selection of ingredients. Each component plays a crucial role in achieving the desired texture, flavor, and rise. Here’s a detailed look at what goes into these delightful vegan steamed buns:
- Plain Flour (All-Purpose Flour): Unlike many bread recipes where strong, high-protein flour is preferred for a chewy crumb, bao buns demand a softer, lighter texture. Plain (or all-purpose) flour, with its moderate protein content, is ideal here. It allows for a tender crumb that gives way easily when bitten, contributing to that signature cloud-like softness. Using a strong flour might result in a chewier bun, which isn’t the goal for this particular style of bao.
- Instant Yeast: For convenience and consistent results, instant yeast is my go-to for bread making. It’s a fantastic choice because it can be added directly to your dry ingredients without the need for prior activation in warm liquid. This saves time and simplifies the process, making it perfect for both novice and experienced bakers alike. Ensure your yeast is fresh and within its expiration date for optimal rising power.
- Baking Powder: While yeast is responsible for the primary rise, baking powder acts as a complementary leavening agent in bao dough. Its inclusion ensures an extra lift and contributes to the incredibly light, airy, and fluffy texture that makes these buns so irresistible. It helps create a fine, even crumb structure.
- Milk (Unsweetened Non-Dairy): Soy milk is highly recommended for this recipe due to its higher protein content, which closely mimics the properties of dairy milk in baking. This contributes to a richer dough and a slightly golden hue. However, any unsweetened non-dairy milk (such as almond, oat, or cashew milk) will work effectively. Just be sure it’s unsweetened to avoid altering the delicate balance of flavors in the bun.
- Neutral Oil: A small amount of neutral-flavored oil, such as olive oil, sunflower oil, or vegetable oil, is essential for enhancing the dough’s softness and elasticity. It helps create a more tender crumb and prevents the buns from becoming dry. It also contributes to the smooth texture of the dough during kneading.
- Sugar: A touch of sugar (caster or granulated) in the dough serves multiple purposes. It provides a subtle hint of sweetness that balances the savory fillings, and crucially, it acts as food for the yeast, encouraging a robust rise. The sugar also aids in achieving a beautiful, slightly glossy finish on the steamed buns.
- Salt: Never underestimate the power of salt in bread making! It’s not just for flavor; salt also helps to control the yeast’s activity, strengthens the gluten structure, and adds depth to the overall taste of the bao. Omitting it would result in bland, less structured buns.
Always measure your ingredients accurately, ideally using a digital scale for dry ingredients, to ensure the best possible outcome for your homemade vegan bao buns.
Essential Equipment for Steaming Bao Buns
While making the dough is half the battle, the other half is in the steaming. The right equipment can significantly impact the final texture and appearance of your bao buns. Here’s what you’ll need and some tips for choosing the best steamer:
- Steamer: A steamer is non-negotiable for achieving the signature soft, moist texture of bao buns.
- Bamboo Steamer: A bamboo steamer is often considered the traditional and ideal choice. Bamboo naturally absorbs excess condensation, preventing water from dripping onto your buns and making them soggy. This is key for maintaining their fluffy integrity.
- Metal Steamer Pan or Insert: A metal steamer pan or an insert designed to fit into a larger pot with a lid will also work perfectly fine. If using a metal steamer, a crucial tip is to cover the inside of the lid with a clean tea towel or a couple of sheets of kitchen roll. This absorbs condensation, replicating the effect of a bamboo steamer and preventing soggy buns.
- Parchment Paper Squares: You’ll need squares of parchment paper to place under each bao bun. This prevents the buns from sticking to the steamer basket and each other, ensuring they lift out cleanly once cooked. You can either cut your own squares or purchase pre-cut steamer liners.
- Large Bowl: For mixing and the first rise of your dough.
- Rolling Pin: Essential for rolling out the dough into the desired oval shape.
- Digital Kitchen Scale: Highly recommended for accurate measurement of ingredients, especially flour and yeast, for consistent results.
- Wok or Large Frying Pan: To hold the water for steaming, over which your bamboo or metal steamer will sit. Ensure the pan is wide enough for your steamer.
Most bamboo steamers can accommodate about 6 buns at a time. If you’re making a larger batch, you can steam them in batches. While waiting for their turn, place the shaped, risen buns in the fridge. This “cold proofing” slows down the yeast activity, preventing them from over-proofing and potentially collapsing during steaming.
How To Make Fluffy Vegan Bao Buns: A Step-by-Step Guide
(For precise measurements and a detailed printable recipe, please refer to the recipe card at the bottom of this page.)
Making homemade bao buns is a rewarding process that yields incredibly delicious results. Follow these steps carefully for soft, pillowy steamed buns every time:
Step 1: Combine Dry and Wet Ingredients
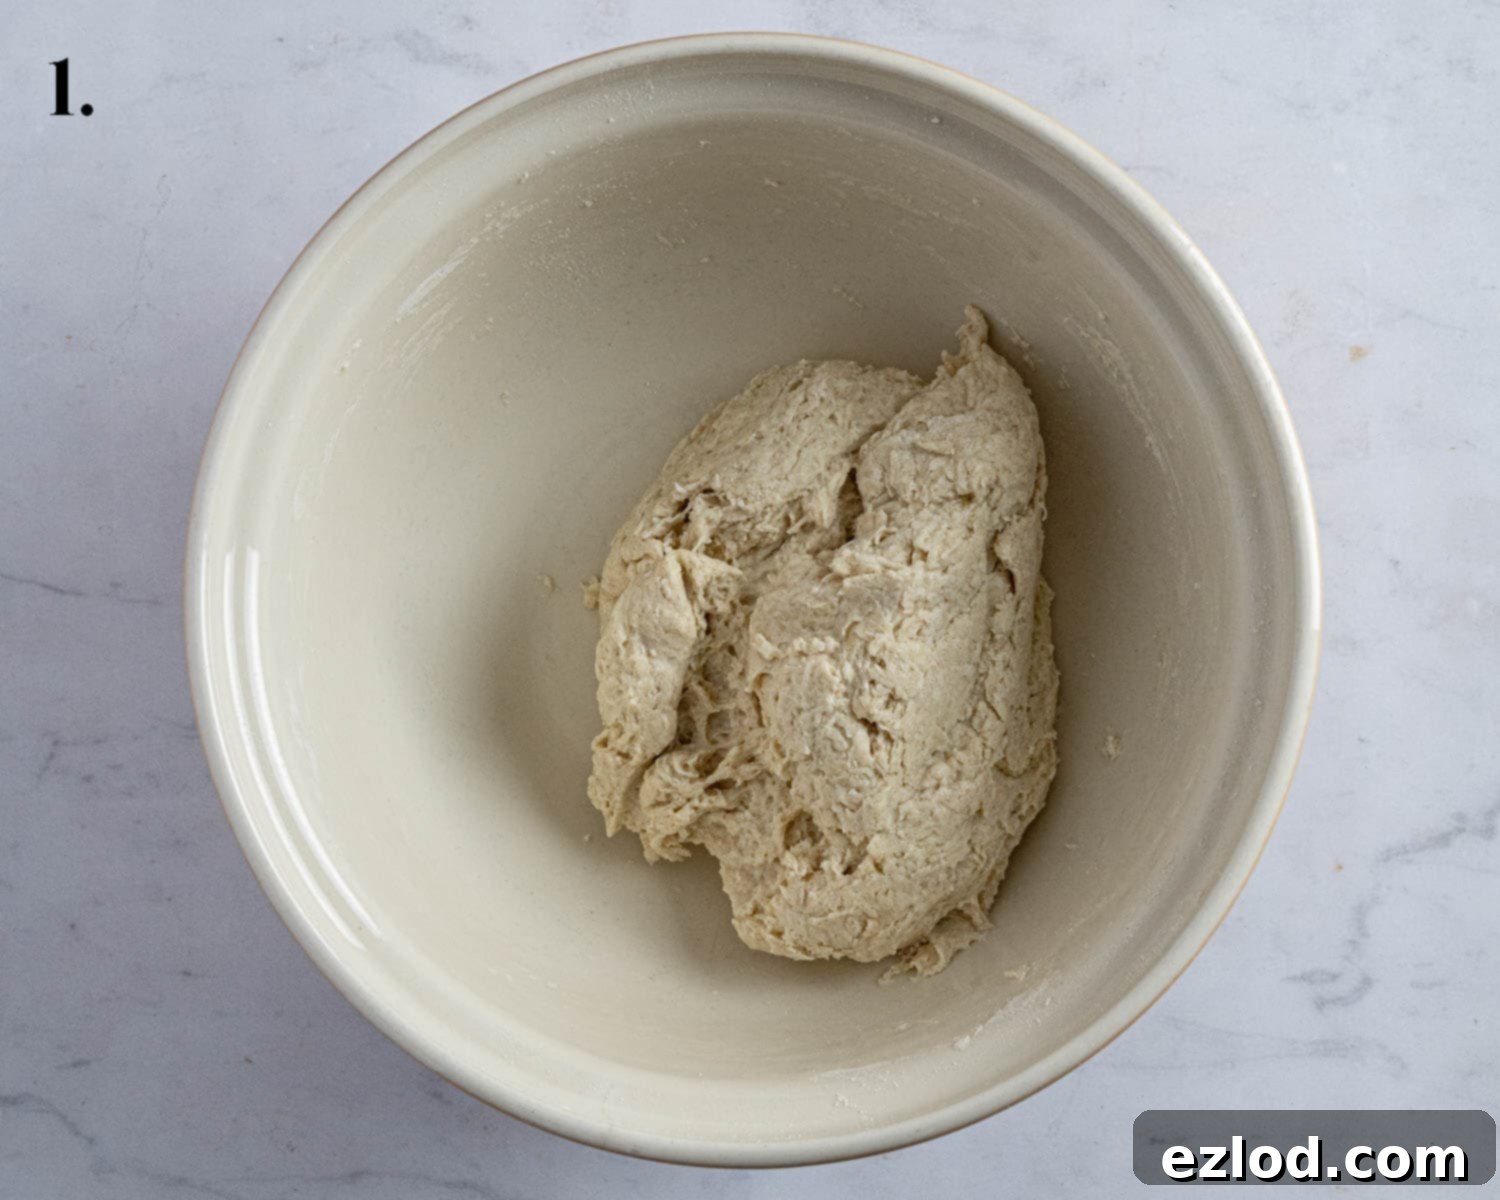
In a large mixing bowl (or the bowl of a stand mixer fitted with a dough hook), combine the plain flour, instant yeast, baking powder, sugar, and salt. Whisk them together briefly to ensure they are well distributed. Then, gradually stir in the unsweetened non-dairy milk, warm water, and neutral oil. Mix until a rough, shaggy dough forms. It doesn’t need to be smooth at this stage, just well combined.
Step 2: Knead the Dough to Perfection
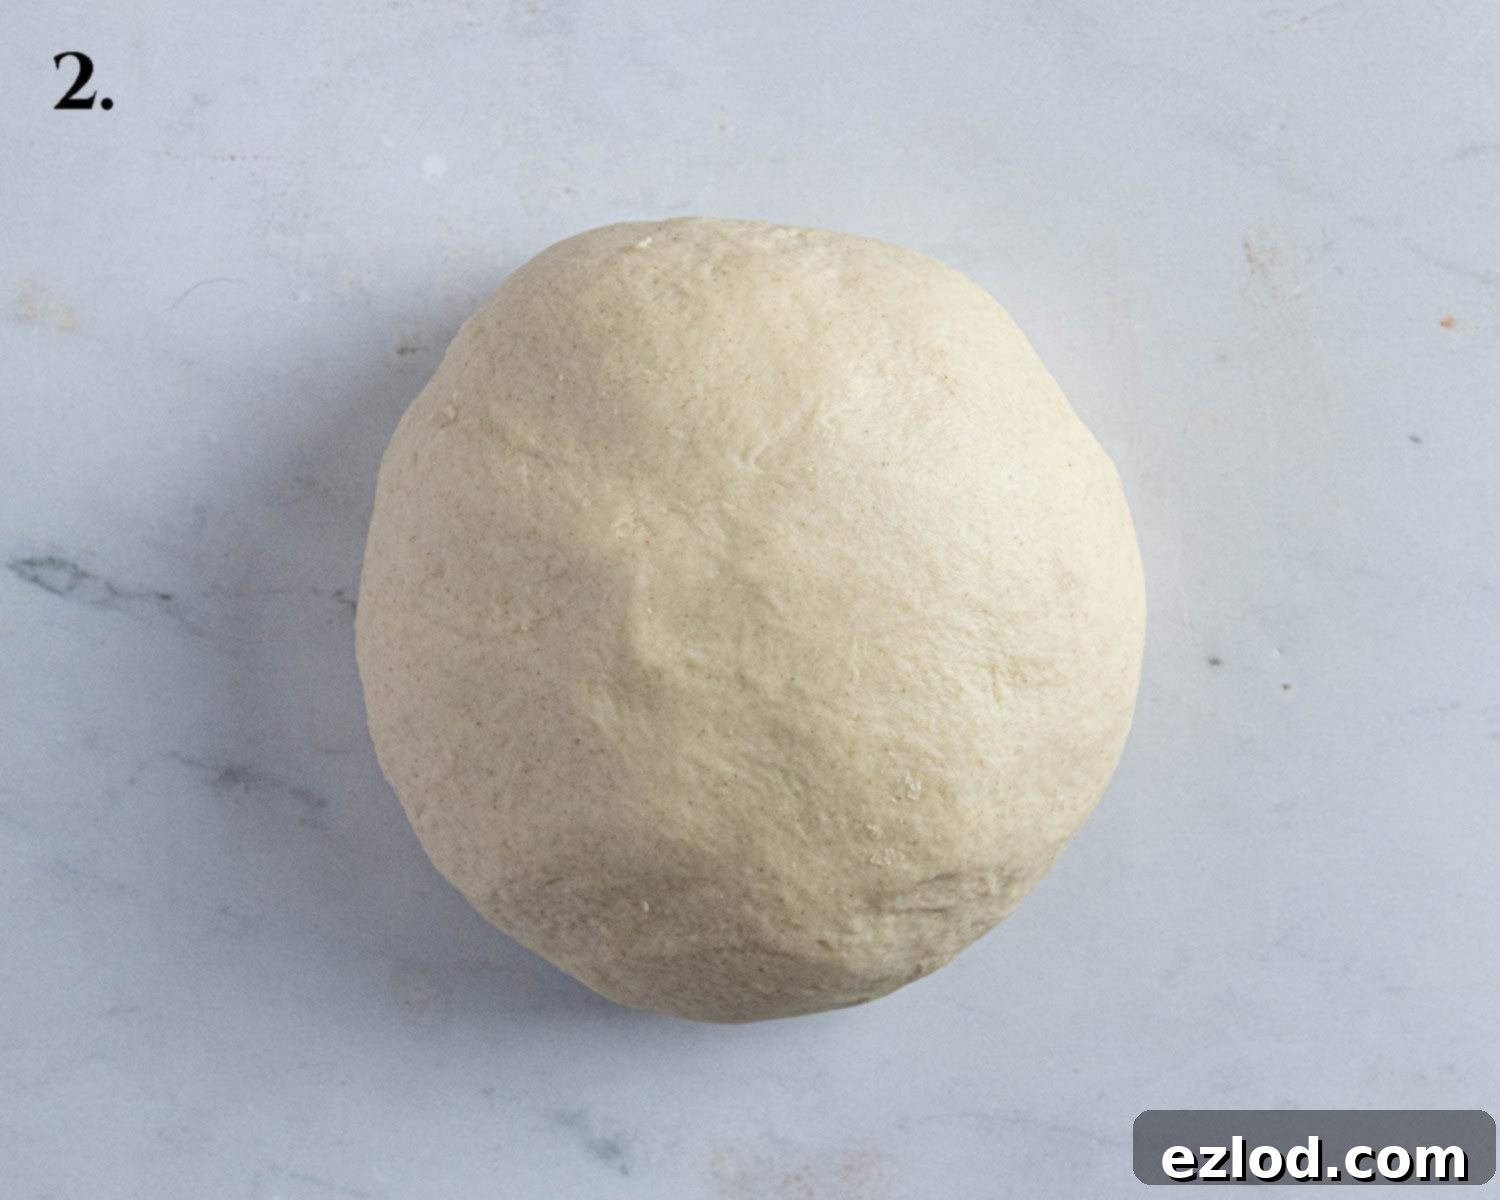
Transfer the rough dough to a lightly floured surface or continue in your stand mixer. Knead for approximately 10 minutes. If kneading by hand, push the dough away from you with the heels of your hands, then fold it back and turn. Repeat this motion. The dough should transform from sticky and rough to smooth, elastic, and stretchy. To test for readiness, gently pull a small piece of dough; it should stretch without tearing easily (the windowpane test). It might remain slightly sticky, which is desirable for soft buns, but shouldn’t be unmanageable. Add a tiny bit more flour if it’s excessively sticky, but avoid adding too much, as this can result in dry buns.
Step 3: First Rise (Bulk Fermentation)
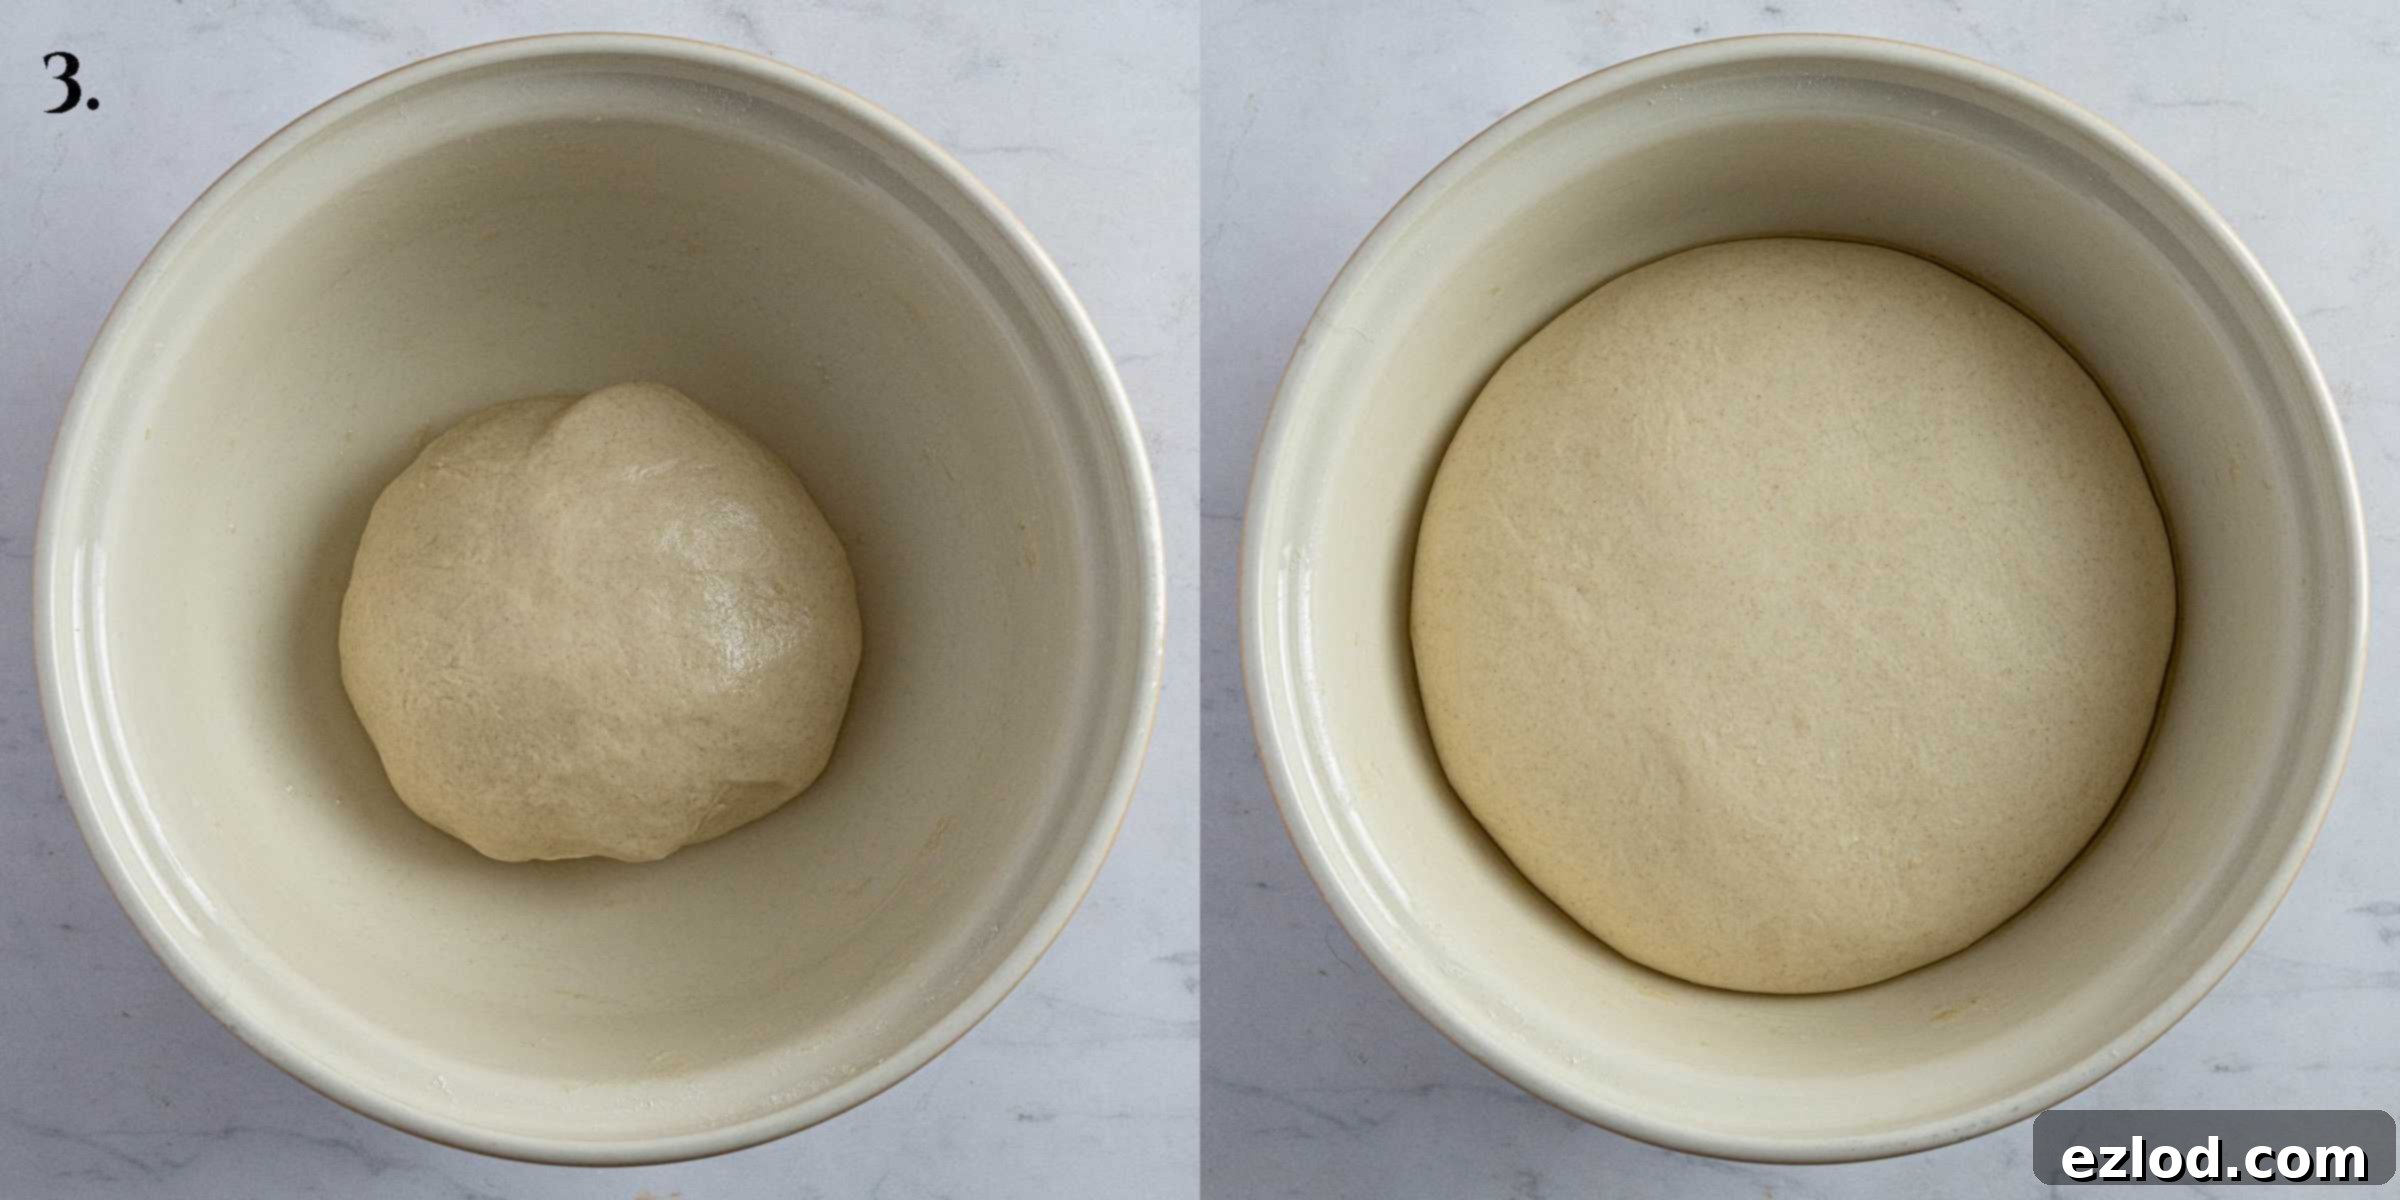
Lightly oil a clean bowl and place the kneaded dough inside. Turn the dough over once to coat it lightly with oil. Cover the bowl tightly with plastic wrap or a damp kitchen towel to prevent it from drying out. Set it aside in a warm, draft-free place to rise until it has doubled in size. This usually takes about 1 hour, but rising times can vary significantly depending on the room temperature. On warmer days, it will rise faster; on colder days, it may take longer.
Step 4: Divide and Shape into Balls
Once the dough has doubled, gently punch it down to release the air. Transfer it to a clean surface and knead it briefly for about a minute to redistribute the yeast. Use a kitchen scale to divide the dough into 10 equal pieces for consistent bun sizes. Roll each piece into a neat, smooth ball. This is done by gathering the edges of the dough and pinching them together at the bottom, then flipping the ball over and rolling it against the counter with a cupped hand until the top surface is smooth and taut. Place these dough balls on a large plate and cover them with plastic wrap to prevent them from drying out while you work.
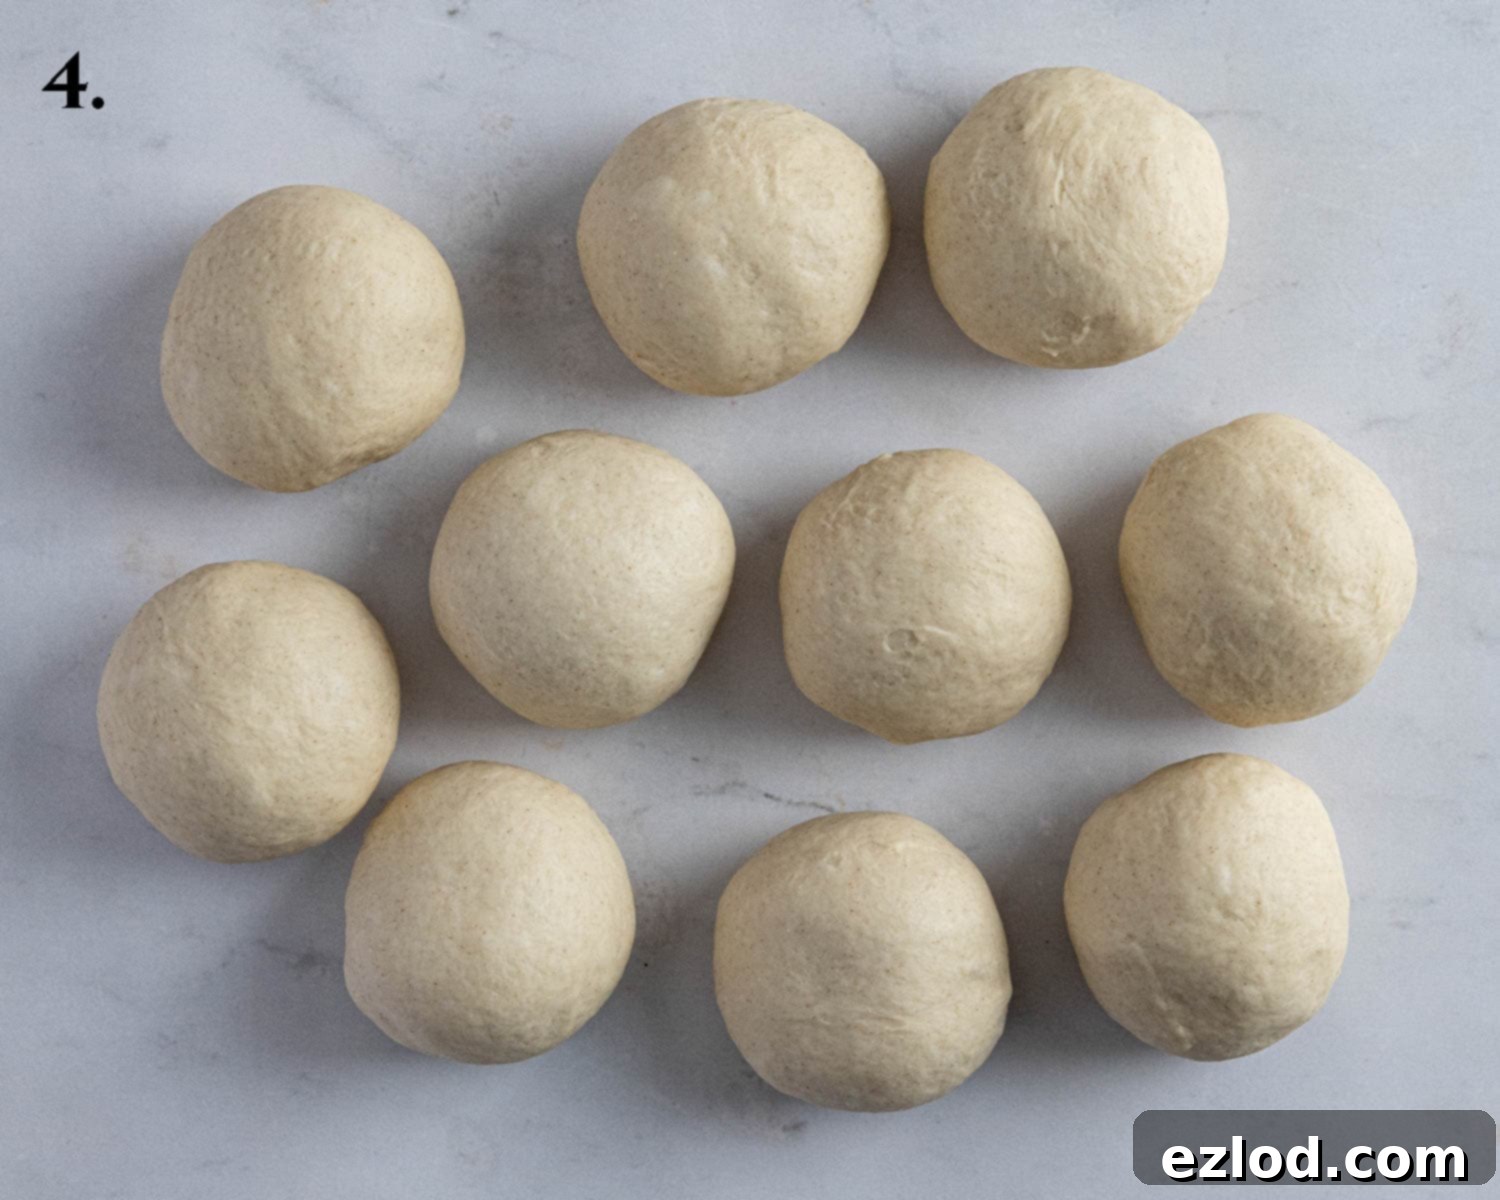
Step 5: Create the Signature Lotus Leaf Shape
Lightly flour your work surface. Take one dough ball and use a rolling pin to roll it out into an oval shape, approximately ½ cm (about ¼ inch) thick and around 9 x 12 cm (3.5 x 4.7 inches) in dimension. Lightly brush one half of the oval surface with a neutral oil. Then, carefully fold the dough in half to form a semi-circle. Gently press down along the folded edge to seal it slightly. This oil layer prevents the halves from sticking together during steaming, allowing you to open the bun easily for fillings. Repeat this process with the remaining dough balls, ensuring they are covered while you work to prevent drying.
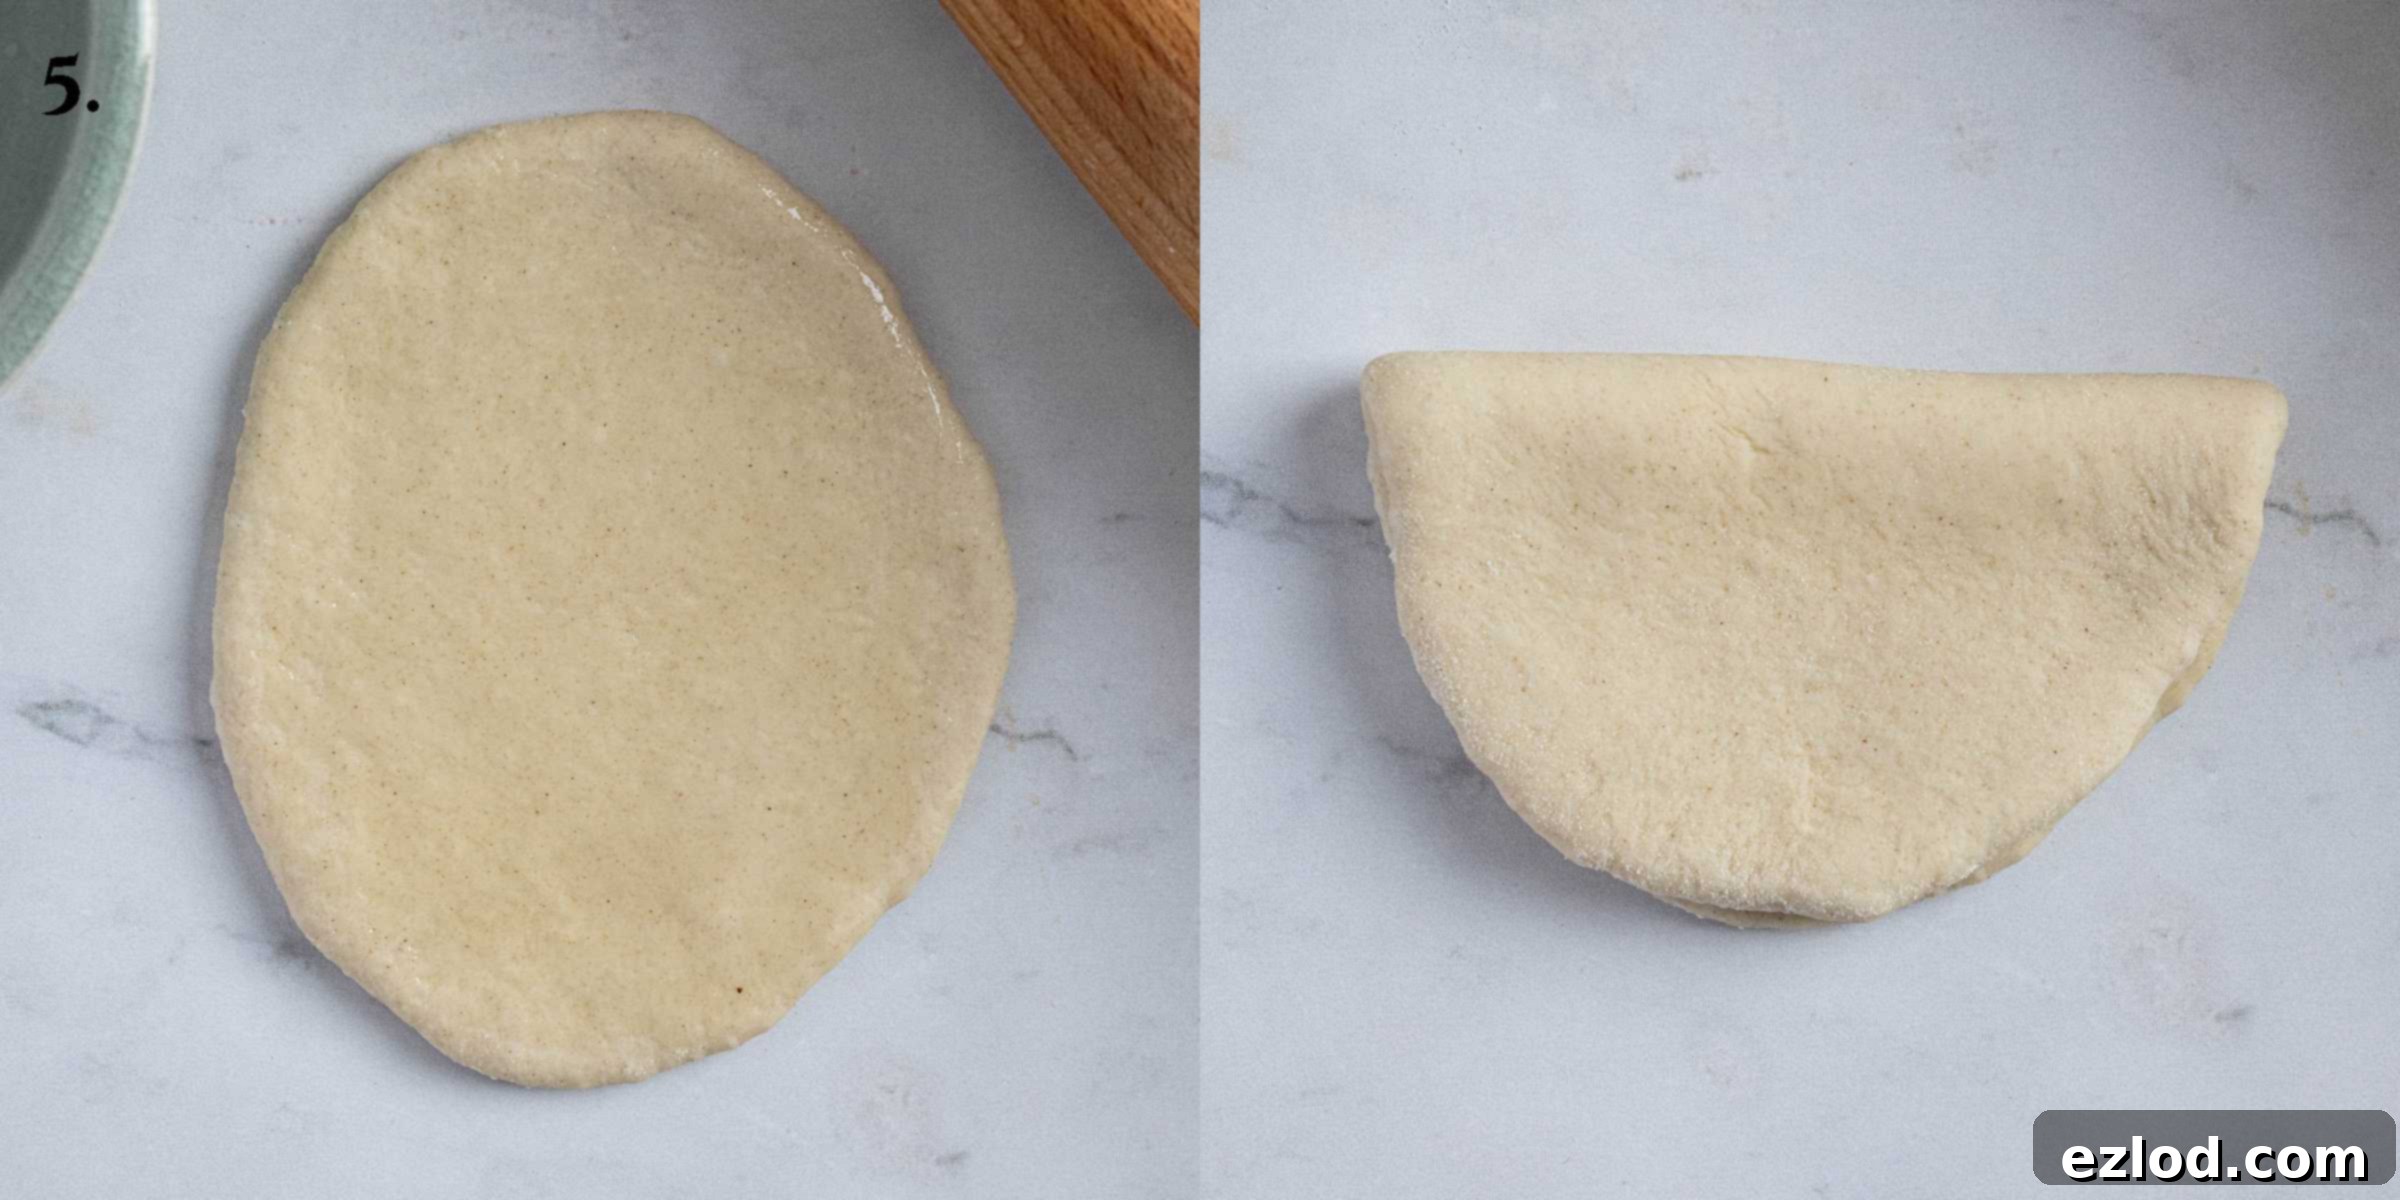
Step 6: Second Rise (Proofing) in the Steamer
Cut squares of baking paper (or use pre-cut steamer liners) large enough to comfortably hold each bao bun. Place each shaped bao bun on a piece of baking paper and arrange them in your steamer basket, ensuring they are spaced apart to allow for expansion. Cover the steamer basket with its lid and leave the buns to rise for another 30-40 minutes, or until they look visibly puffy and light. They should have increased significantly in volume. This second rise is crucial for light and fluffy buns.
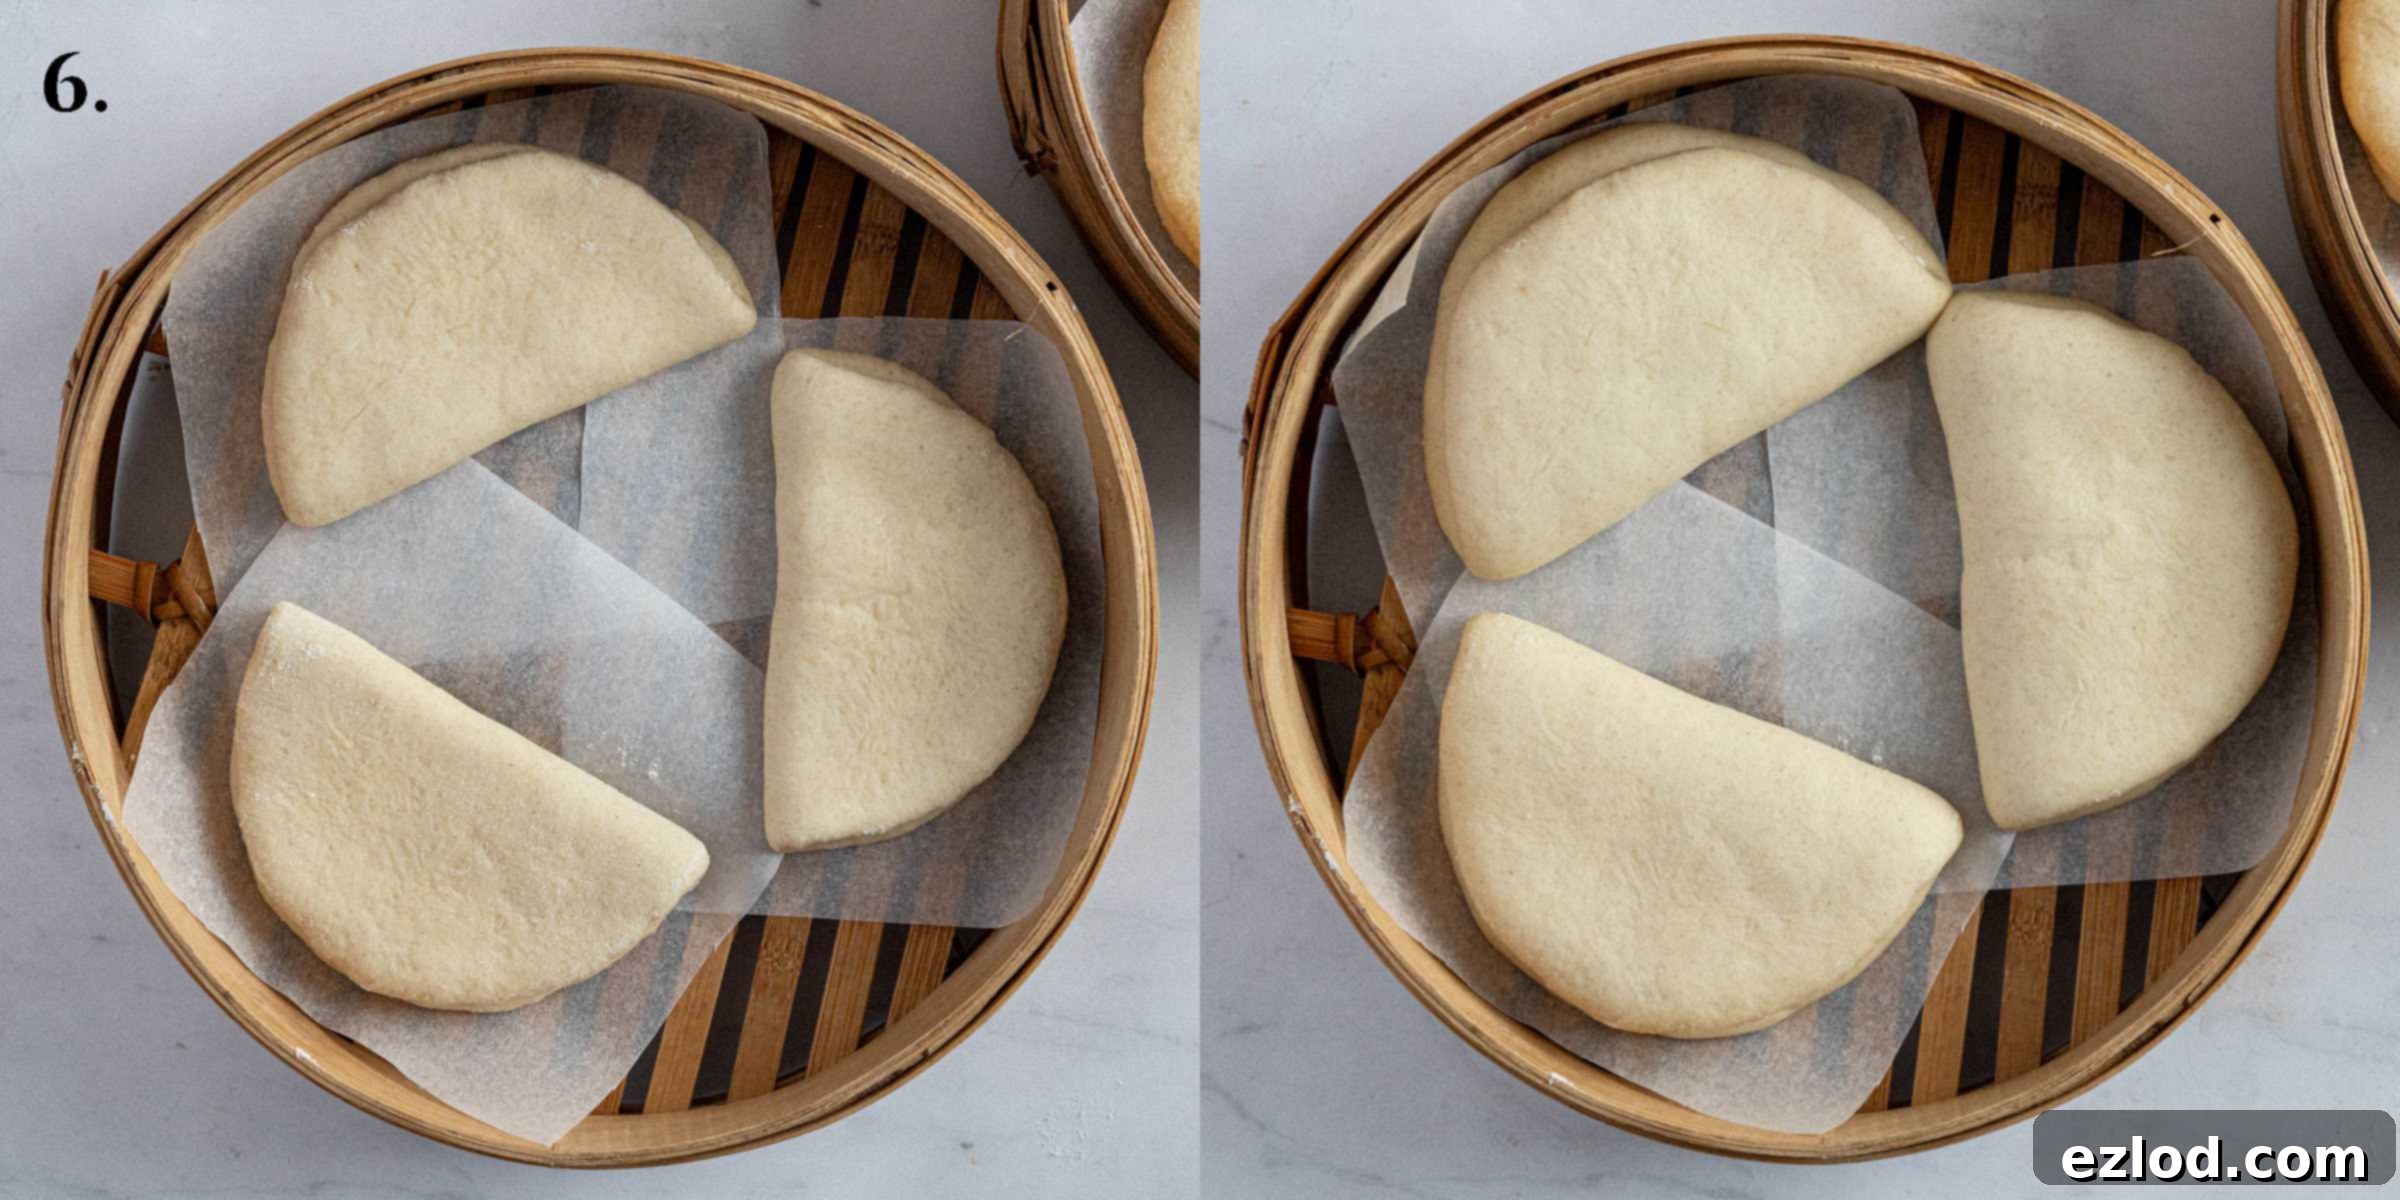
Step 7: Set Up Your Steamer
Place your steamer basket (or baskets if using multiple tiers) over a wok or large frying pan. Add cold water to the pan, ensuring that the water level is low enough so it won’t touch the bottom of the steamer basket or the buns themselves once boiling. Place the lid securely on the steamer basket. Starting with cold water and gradually heating it with the buns inside helps the buns to slowly come up to temperature and ensures an even, gentle steam, preventing them from shrinking or collapsing.
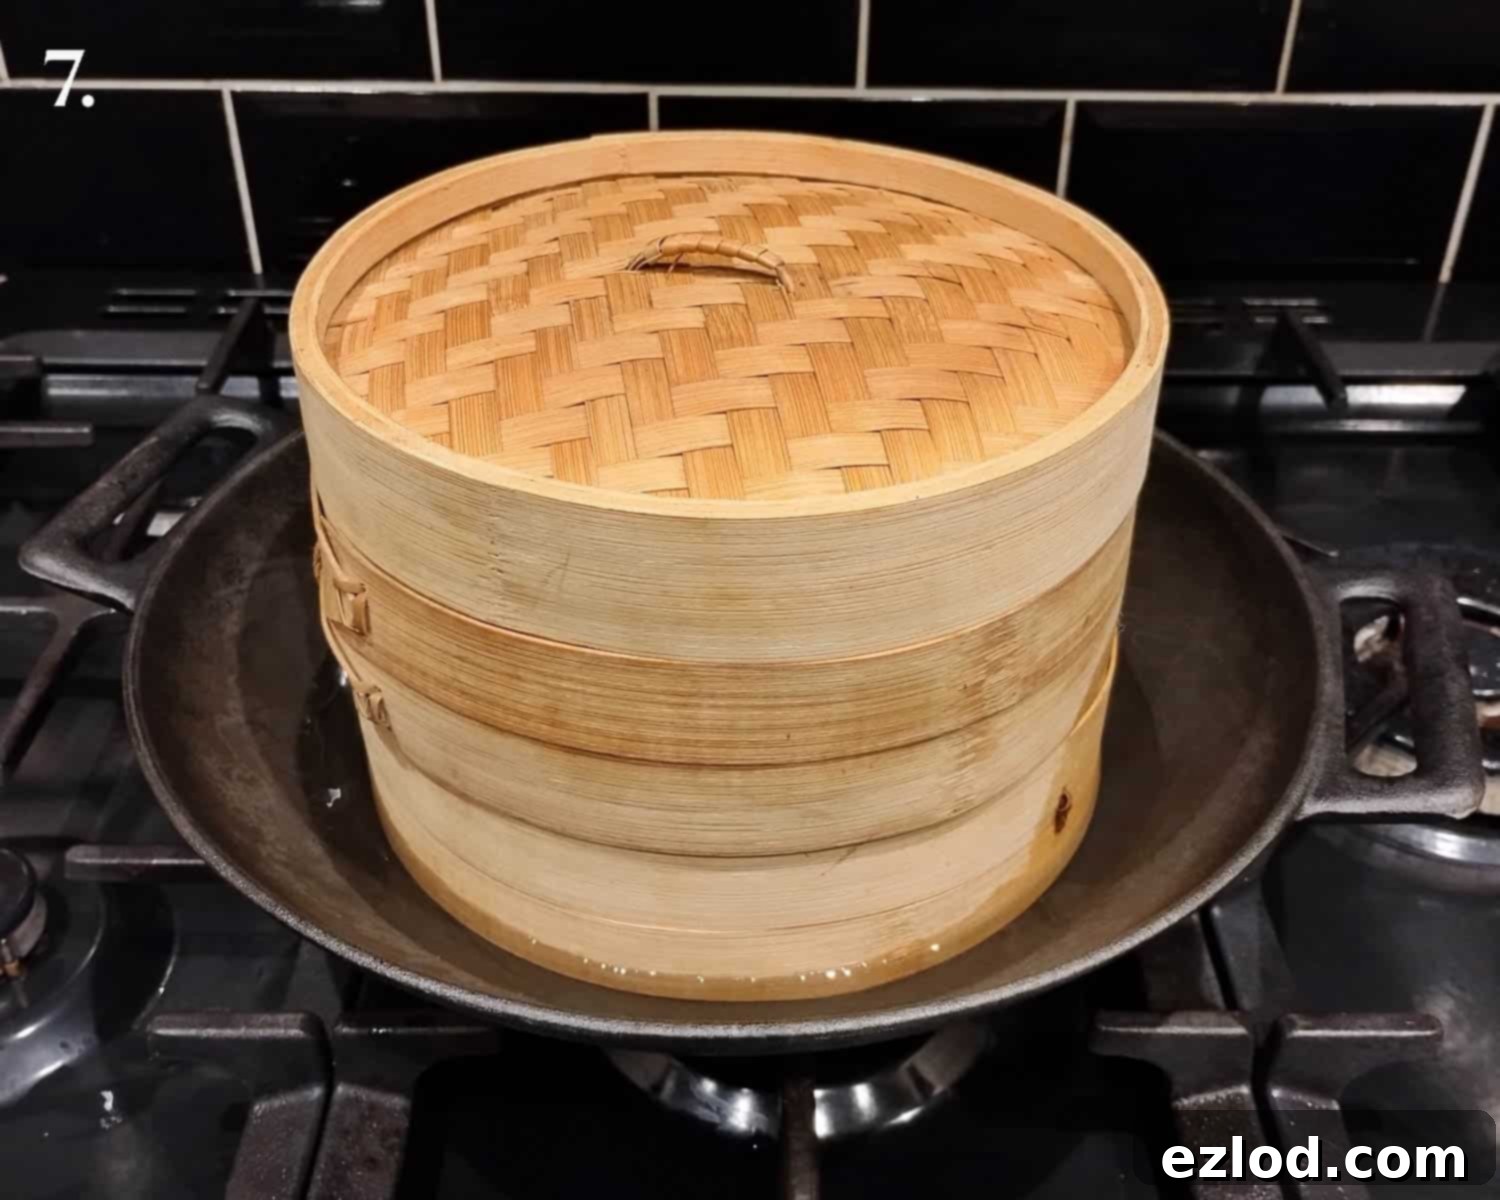
Step 8: Steam and Rest for Perfect Bao
Place the pan with the steamer over a high heat. Once the water comes to a rolling boil, reduce the heat to medium and continue to steam the buns for exactly 10 minutes. It’s important to maintain a steady steam throughout this period. After 10 minutes, turn off the heat but **do not remove the lid**. Leave the steamer to rest, undisturbed, on the pan for another 5 minutes. This crucial resting period prevents the buns from suddenly deflating due to a sudden change in temperature and pressure. Once rested, carefully remove the lid, and your incredibly soft, fluffy bao buns are ready to be served and enjoyed!
Expert Tips for Making the Best Vegan Bao Buns
Achieving perfectly soft and fluffy bao buns consistently can be made easier with a few key tips and tricks. Here’s how to ensure success every time:
- Embrace a Digital Scale: For all baking endeavors, especially with yeast doughs, I cannot stress enough the importance of using a digital kitchen scale for metric measurements. Cup conversions, while provided for convenience, are notoriously inaccurate and can lead to inconsistent results. A scale ensures precision, leading to superior and repeatable outcomes, plus it’s often less messy!
- Check Your Yeast: Yeast is a living organism, and its freshness is paramount for a good rise. Always check the expiration date on your yeast package. If your yeast is old or inactive, your dough won’t rise properly, resulting in dense, heavy buns. If in doubt, a quick activation test (mix a small amount with warm water and a pinch of sugar; it should foam within 5-10 minutes) can confirm its vitality.
- Dough Consistency Matters: The exact amount of flour needed can fluctuate based on factors like brand differences (different flours absorb liquid differently) and even environmental humidity. Start with the quantity given in the recipe. The dough should be slightly sticky, but manageable. If it feels too wet and impossible to handle, add an extra tablespoon of flour at a time until it reaches the right consistency. Be cautious not to add too much flour, as an overly dry dough will yield tough, dry bao buns.
- Patience with Rising Time: Dough rising times are highly dependent on temperature. A warm kitchen will encourage faster rising, while a cooler environment will slow it down. Don’t strictly adhere to the time given; instead, rely on visual cues – the dough should have visibly doubled in size for the first rise and become puffy for the second.
- The Cold Water Steaming Trick: Always start your steaming process with cold water in the pot, with the buns already in the steamer basket above it. Gradually bringing the water to a boil allows the buns to warm up slowly and expand gently. This prevents a sudden shock of heat that can sometimes cause the buns to wrinkle or collapse.
- The Post-Steaming Rest: This is a critical step that many overlook! Once the steaming time is complete, turn off the heat but resist the urge to immediately lift the lid. Allow the buns to rest inside the steamer, undisturbed, for at least 5 minutes. This gentle cool-down period helps to stabilize the structure of the buns, preventing them from deflating or shrinking due to a rapid change in temperature and pressure.
- Batch Steaming & Proofing: If your steamer can’t accommodate all 10 buns at once, prepare them in batches. While the first batch is steaming, place the remaining shaped buns on a baking sheet, loosely covered with plastic wrap, and store them in the refrigerator. The cold temperature will significantly slow down the yeast activity, preventing them from over-proofing while they wait. Once the first batch is done, proceed with steaming the refrigerated buns.
- Preventing Condensation Drip (Metal Steamers): If you’re using a metal steamer with a lid, condensation can collect and drip onto your buns, making them soggy. To combat this, line the inside of the steamer lid with a clean tea towel or a few layers of kitchen paper. This will absorb the moisture, ensuring your bao remain perfectly dry and fluffy.
- Optimal Fillings: These bao buns are designed to be opened and filled like a sandwich. Think flavorful, savory fillings like sticky hoisin tofu, shredded jackfruit, glazed mushrooms, or even sweet options like red bean paste or sweetened coconut. Ensure your fillings are not too wet to prevent the buns from becoming soggy.
With these tips in mind, you’re well on your way to mastering the art of homemade vegan bao buns!
Frequently Asked Questions About Vegan Bao Buns
Here are answers to some common questions you might have when making these delicious steamed buns:
While a bamboo steamer is ideal due to its natural ability to absorb condensation, it is not strictly essential. You can certainly use a metal steamer pan or a steamer insert within a large pot with a tight-fitting lid. To prevent condensation from dripping and making your bao soggy, make sure to cover the inside of your metal lid with a clean tea towel or a couple of sheets of kitchen paper.
Absolutely! These vegan bao buns freeze exceptionally well, making them perfect for meal prep. Once they are fully steamed and have cooled completely, transfer them to a well-sealed freezer bag or an airtight, freezer-safe container. Freeze them on the same day they are made to lock in their freshness. To serve, simply thaw them at room temperature for a few hours, then gently reheat them in a steamer for a couple of minutes until warm and soft, or for a few seconds in the microwave if you’re in a hurry. They will regain their original soft, fluffy texture.
For the best quality and texture, bao buns are truly best enjoyed on the day they are made. However, if you have leftovers (and haven’t frozen them), they will keep for one to two days in an airtight container at room temperature. To restore their freshness and softness before serving, reheat them in a steamer for a couple of minutes, or briefly microwave them for a few seconds until warm.
Unfortunately, this specific recipe is not suitable for gluten-free flour. Crafting good gluten-free bread is a complex culinary challenge, as gluten is fundamental to the structure and elasticity of traditional doughs. Adapting a recipe like this for gluten-free ingredients would require a complete overhaul of the ratios and techniques, and it’s not an area of my expertise. For successful gluten-free bao buns, it is highly recommended to seek out a recipe specifically developed and tested with gluten-free flours.
The beauty of lotus leaf bao buns is their versatility! For savory options, consider hoisin-glazed shredded mushrooms or jackfruit, spicy sriracha tofu, stir-fried vegetables with a savory sauce, or a flavorful tempeh crumble. For a sweeter treat, you could fill them with sweetened red bean paste, a creamy coconut custard, or even fresh fruit with a sprinkle of sugar. The possibilities are endless!
Deflation after steaming is a common issue often caused by opening the steamer lid too quickly after cooking. The sudden change in temperature and pressure can cause the delicate structure of the buns to collapse. To prevent this, always follow the crucial resting step: turn off the heat and leave the buns in the covered steamer for at least 5 minutes before opening the lid. This allows them to gently cool and set.
If you’ve tried this delightful vegan bao bun recipe, I’d love to hear about your experience! Please rate it, leave a comment below, or tag @domestic_gothess on Instagram and use the hashtag #domesticgothess to share your creations.
All images and content on Domestic Gothess are copyright protected. If you wish to share this recipe, please do so by using the provided share buttons or by including a link back to this post. Kindly refrain from screenshotting or reposting the full recipe or content directly.

Print
How To Make Bao Buns (Vegan)
Equipment
-
bamboo steamer, steamer pan or steamer insert
Ingredients
- 300 g (2 ½ cups) plain (all-purpose) flour
- 5 g (1 ½ teaspoons) instant yeast
- 1 teaspoon baking powder
- 2 teaspoons sugar
- 1 teaspoon salt
- 90 ml (6 Tablespoons) unsweetened non-dairy milk (I use soy)
- 90 ml (6 Tablespoons) warm water
- 1 Tablespoon neutral oil (I use olive) (plus extra for brushing)
Instructions
-
Mix the flour, yeast, baking powder, sugar and salt together in a large bowl or the bowl of a stand mixer fitted with a dough hook. Stir in the milk, water and oil to form a rough dough.
-
Knead the dough for about 10 minutes until it is smooth and stretchy. It should be a bit sticky but not overly so; knead in a spoonful of extra flour if needed but don’t add too much otherwise the buns may be dry.
-
Place the dough in a lightly oiled bowl, cover and set aside to rise until doubled in size, about 1 hour.
-
Punch down the risen dough and knead briefly. Use a scale to divide it into 10 even pieces.
-
Roll each piece into a ball by gathering the edges up and pinching them together. Keep going until you have a neat, well-sealed ball. Flip the ball over, cup it with your hand over the top and roll it until it is smooth. Place the dough balls on a large plate and cover them with plastic wrap to prevent them from drying out.
-
Using a rolling pin, roll one of the balls of dough out on a lightly floured surface into an approx 9 x 12 cm oval. Lightly brush the dough with oil and then fold it in half to form a semicircle. Repeat with the rest of the balls of dough.
-
Place each bao on a square of baking paper (or line your steamer with baking paper with holes punched in it) and arrange them spaced apart in the steamer. Cover and leave to rise for about 30-40 minutes until puffy.
-
Place the steamer over a wok or frying pan (or just the steamer base if using a metal tower one). Add cold water to the pan, making sure that it doesn’t come up so high that it will touch the buns. Place the lid on the steamer basket.
-
Place the pan over a high heat until it comes up to a boil then turn the heat to medium and steam for 10 minutes.
-
Without removing the lid, remove the pan from the heat and set aside to rest for 5 minutes. The buns are now ready to eat.
Notes
- See post above for tips, details and step-by-step photos.
- As with all of my baking recipes I really do recommend using the metric measurements with a digital scale rather than the cup conversions. Cups are a wildly inaccurate measuring system and you will get far better, more consistent results using a scale, not to mention that it is also easier and less messy than cups!
- If you cannot fit all of the buns in your steamer at once, place the extras on a baking sheet and loosely cover. Once they have risen, place them in the fridge to stop them from over proving while you steam the first batch of buns. Once the first batch is cooked, transfer the uncooked buns to the steamer and repeat the steaming process.
- If you are using a metal steamer pan or a steamer insert inside a large pan with a lid rather than a bamboo one the you will need to cover the inside of the pan lid with a tea towel or a couple of sheets of kitchen roll to prevent condensation from dripping on the buns and making them soggy.
