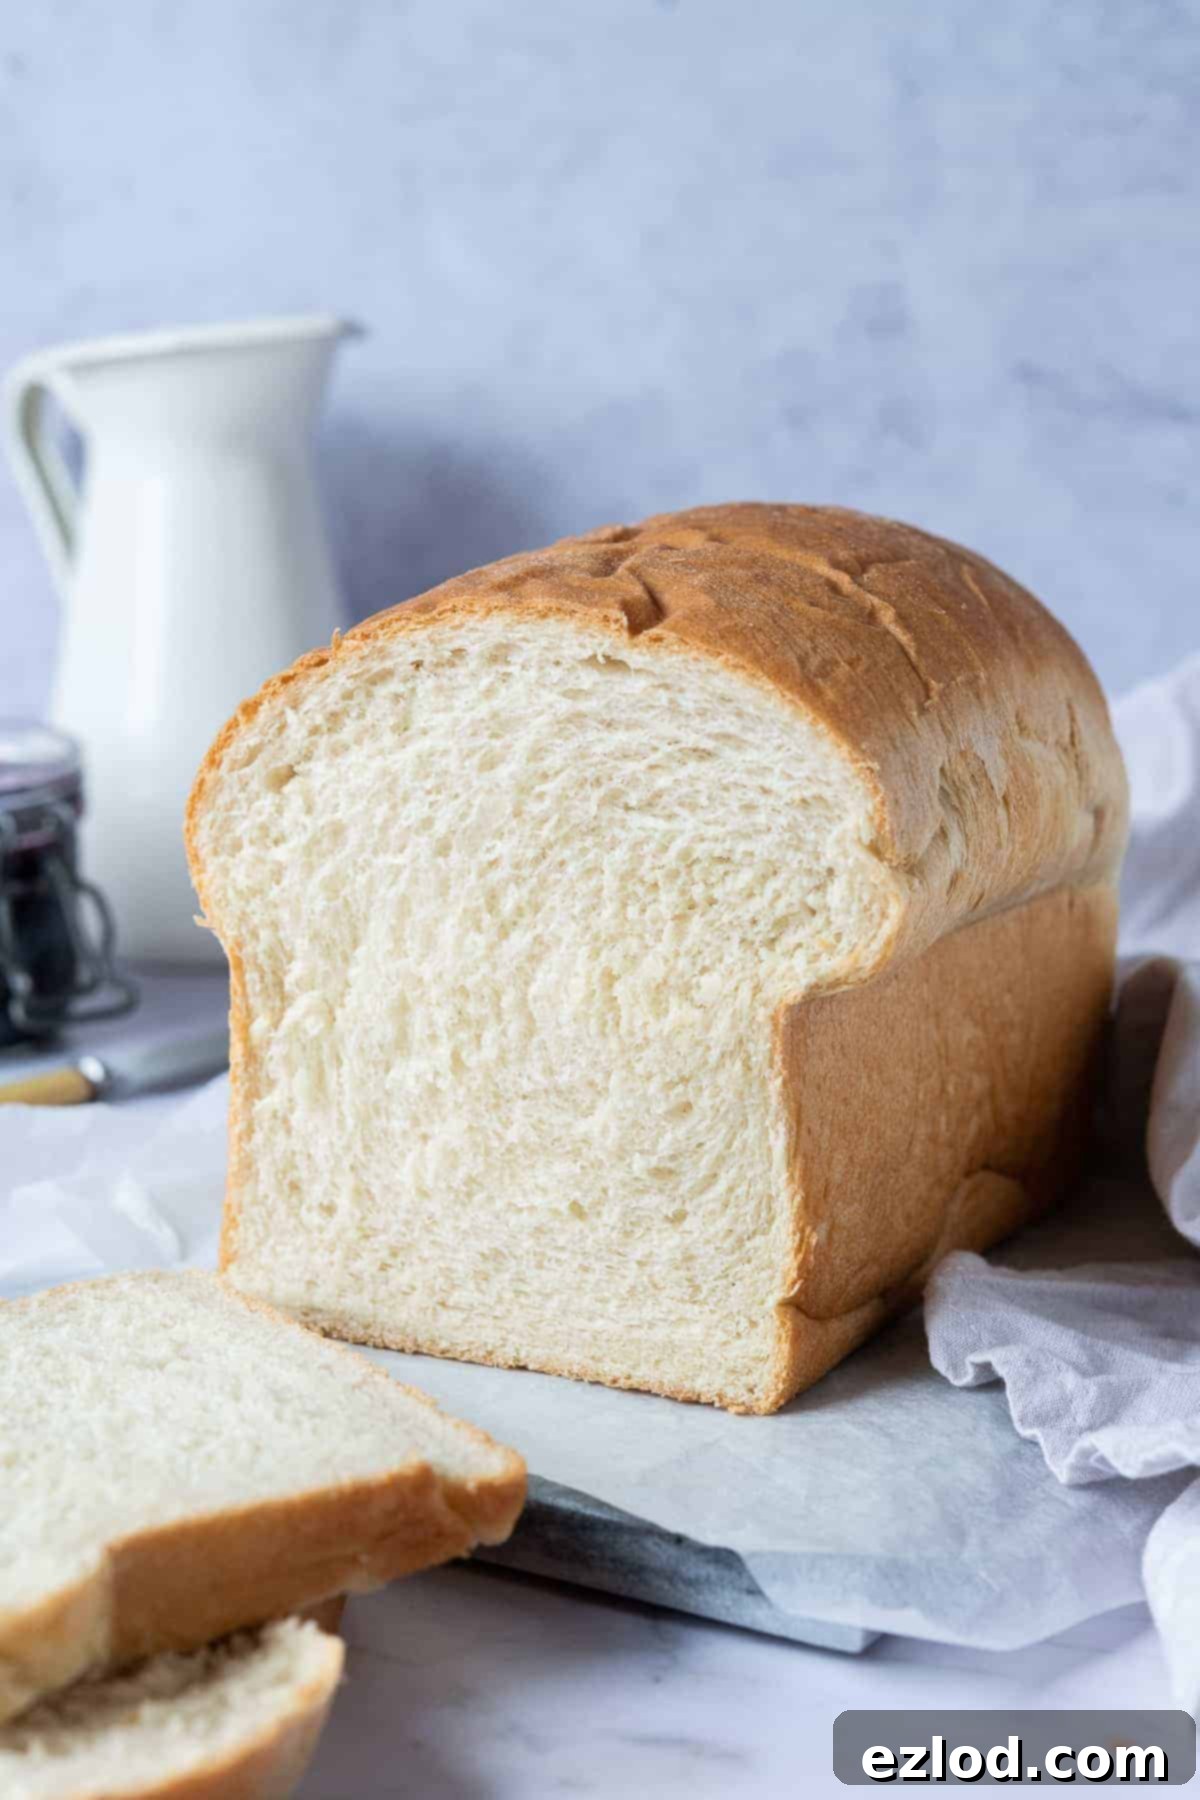
The Ultimate Guide to Baking Soft & Delicious Vegan White Sandwich Bread (Dairy-Free & Eggless)
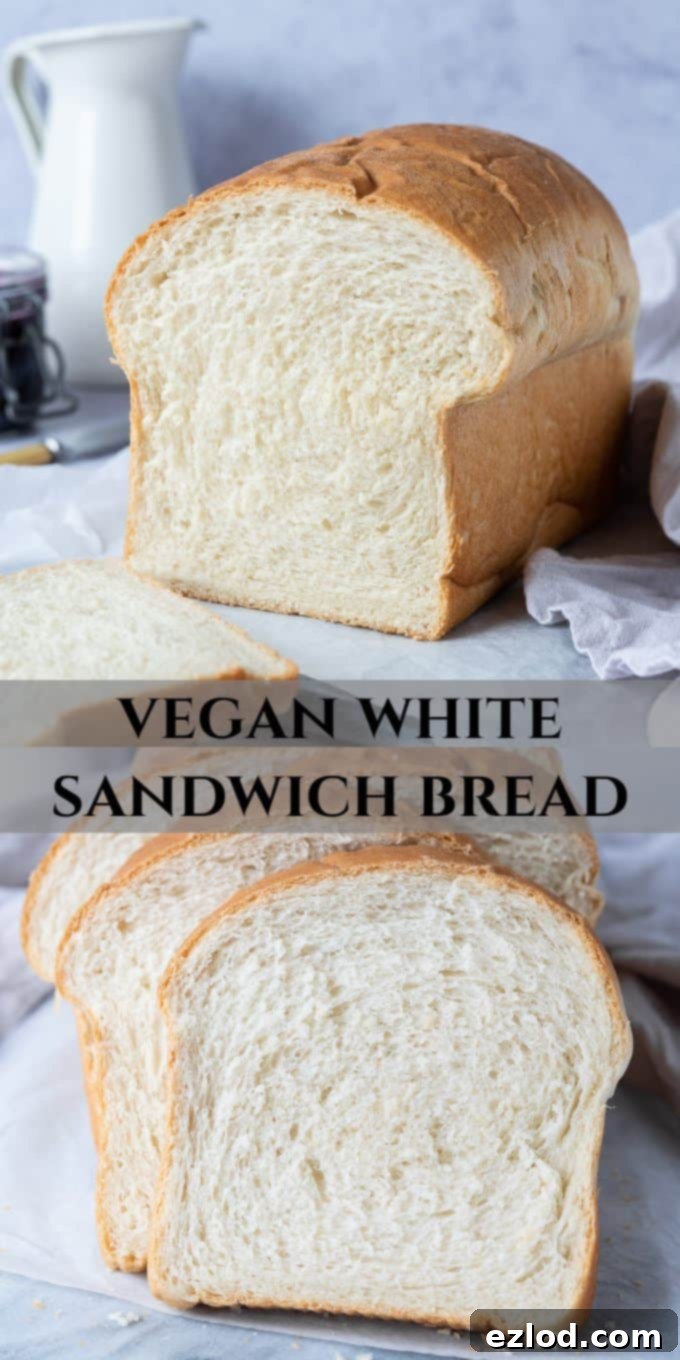
This vegan white bread loaf is incredibly easy to make, remarkably soft, and absolutely delicious – making it perfect for your favorite sandwiches! So good, it’s destined to become your staple everyday bread recipe. Completely eggless and dairy-free, this plant-based loaf offers superior taste and texture compared to store-bought options.
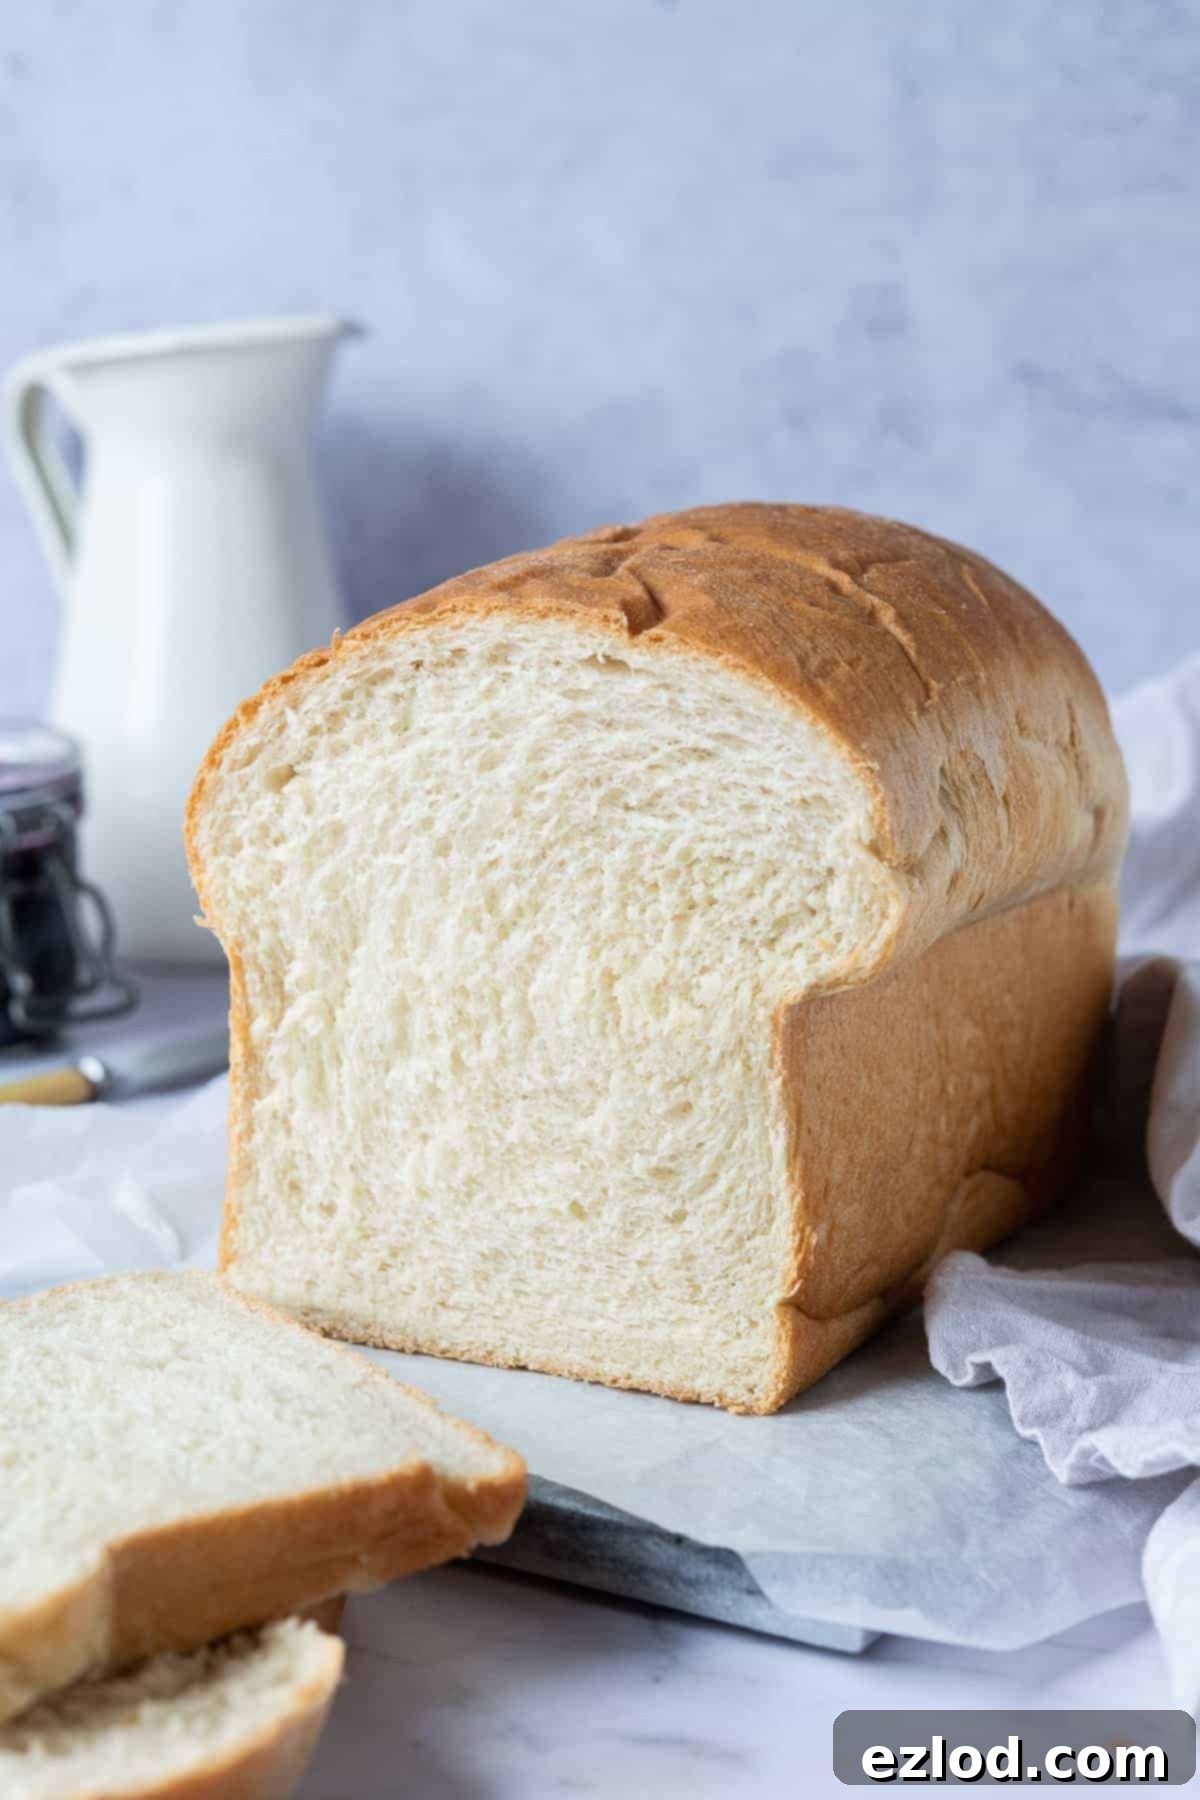
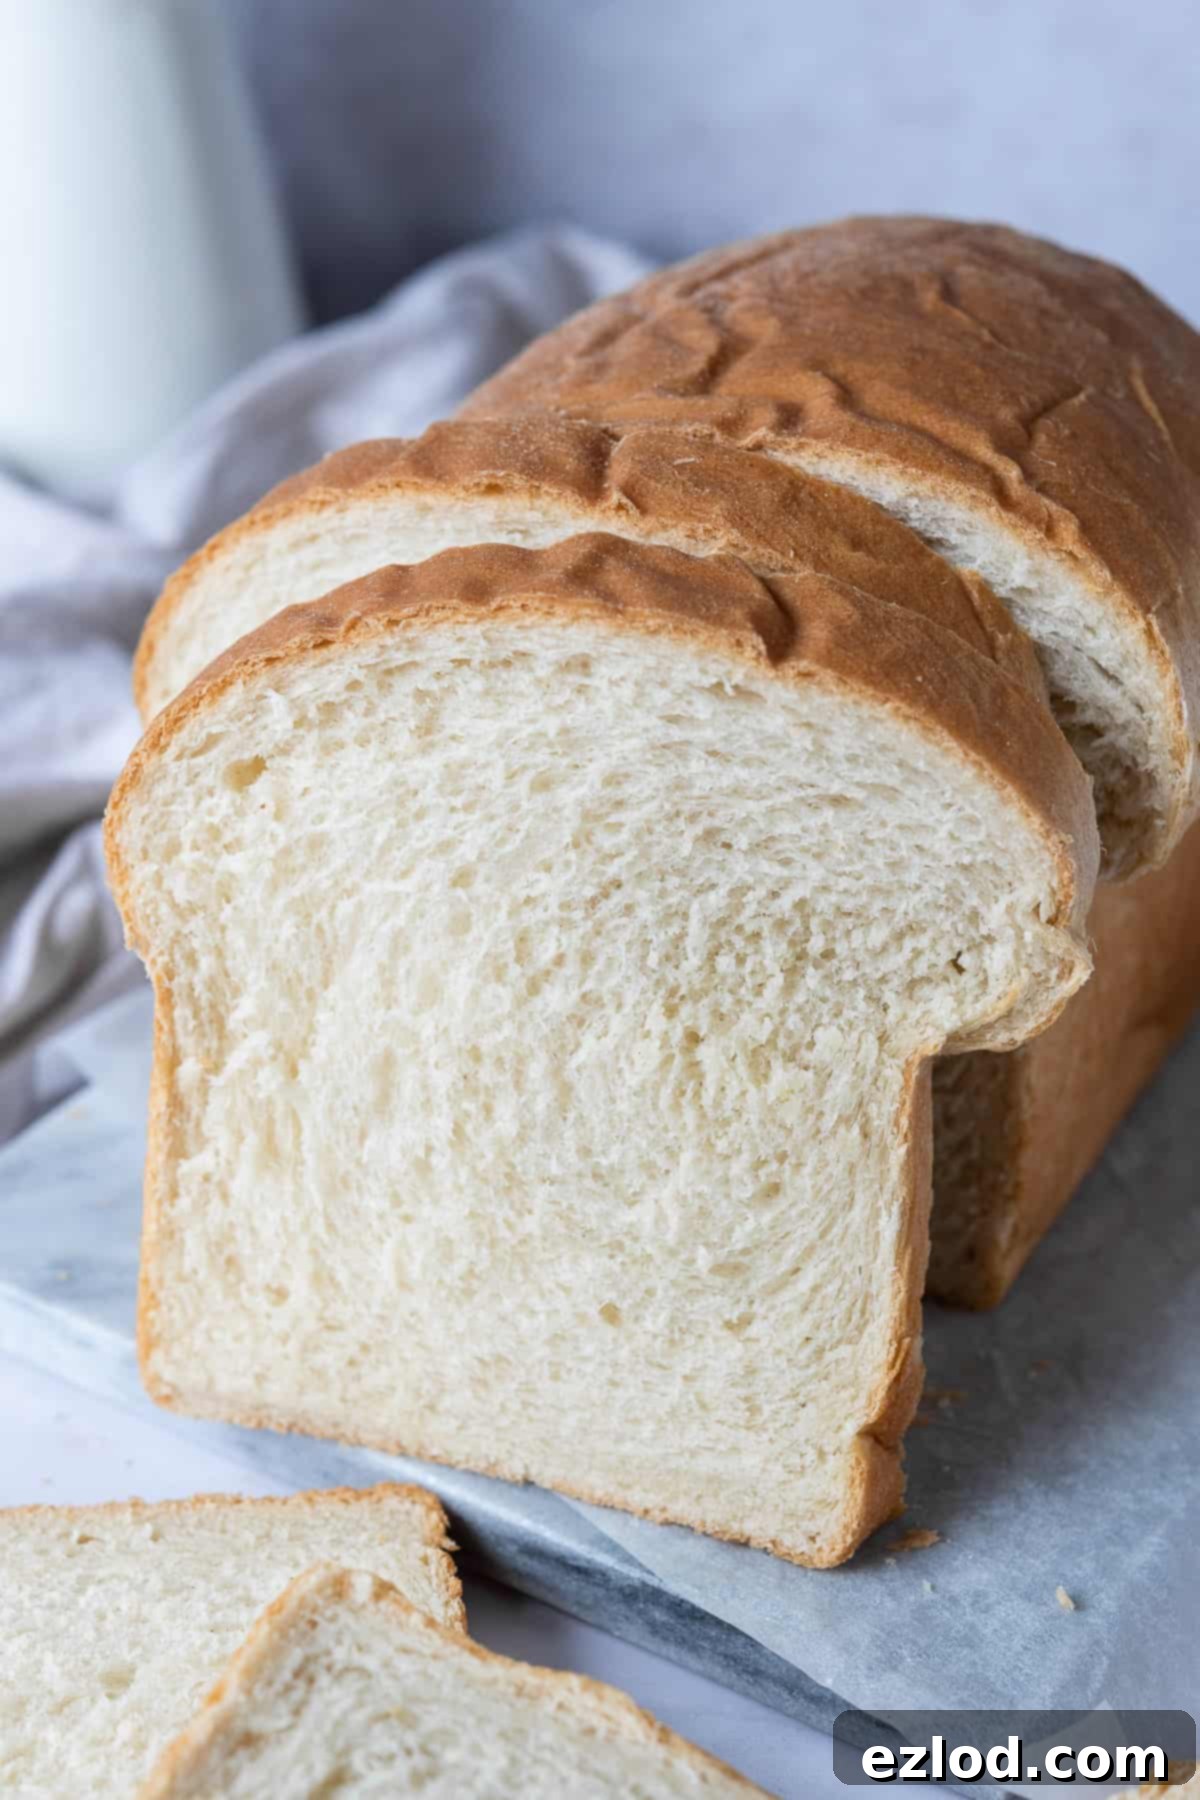
Finding a truly satisfying vegan white sandwich bread at the grocery store can be a challenge. Often, store-bought options lack the desired softness, flavor, or simply don’t hold up well for a variety of uses. That’s precisely why this homemade vegan white sandwich bread recipe will quickly become your new kitchen essential. It yields an incredibly soft, buttery (without dairy!), and versatile loaf that’s ideal for everything from classic sandwiches and morning toast to delightful snacking or dunking into a hearty bowl of soup.
Beyond its incredible taste and texture, this recipe stands out for its simplicity. You don’t need to be an experienced baker or possess any specialized equipment to create this wonderfully soft vegan bread. With just a few common pantry ingredients and a little bit of patience, you’ll be enjoying warm, freshly baked bread that far surpasses anything you can buy. It’s a truly rewarding experience to pull a golden-brown loaf from your oven, knowing it’s made with wholesome, plant-based ingredients.
Why Bake Your Own Vegan Sandwich Bread?
There’s an undeniable charm and superior quality to homemade bread that commercial alternatives simply can’t match. When you bake your own vegan white sandwich bread, you gain complete control over the ingredients, ensuring it’s free from preservatives, artificial flavors, and unwanted additives. The aroma of freshly baked bread filling your home is a joy in itself, but the taste and texture are where homemade truly shines.
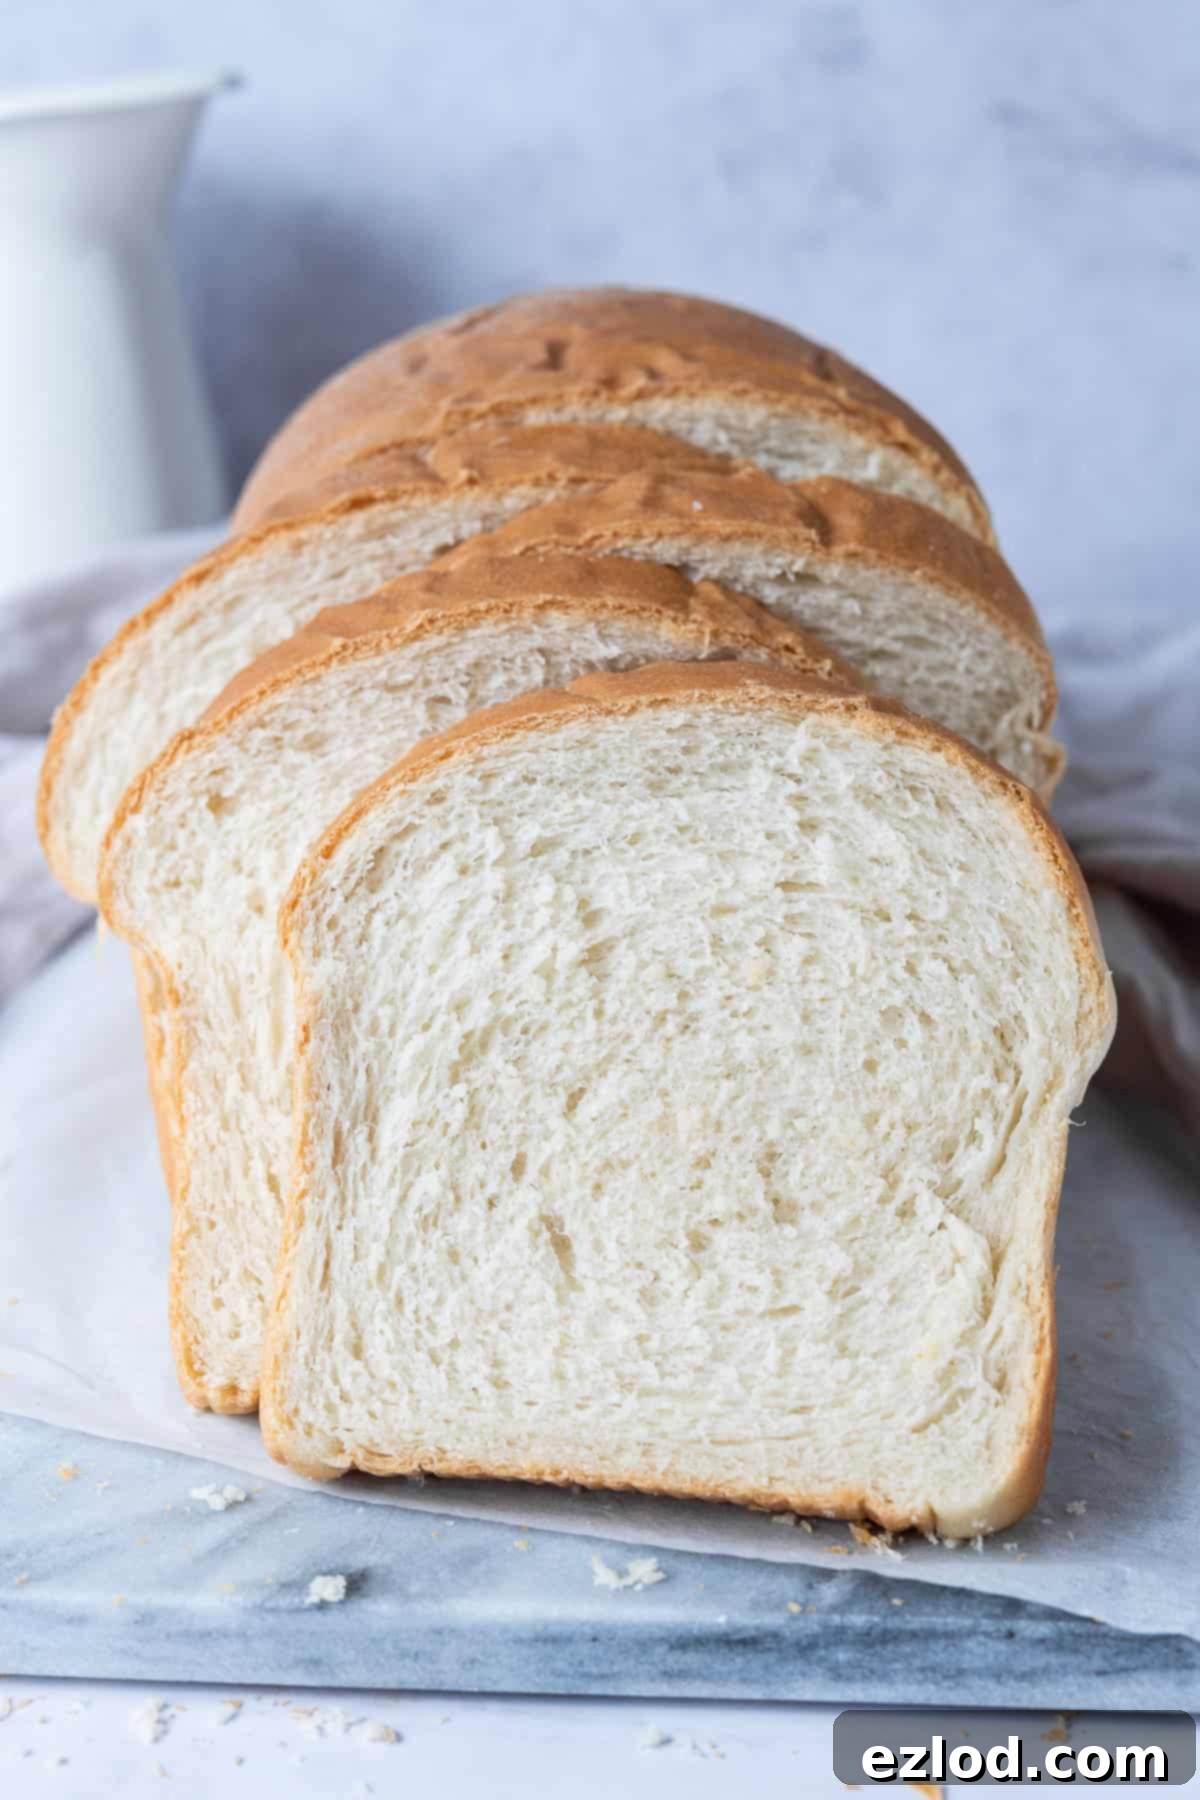
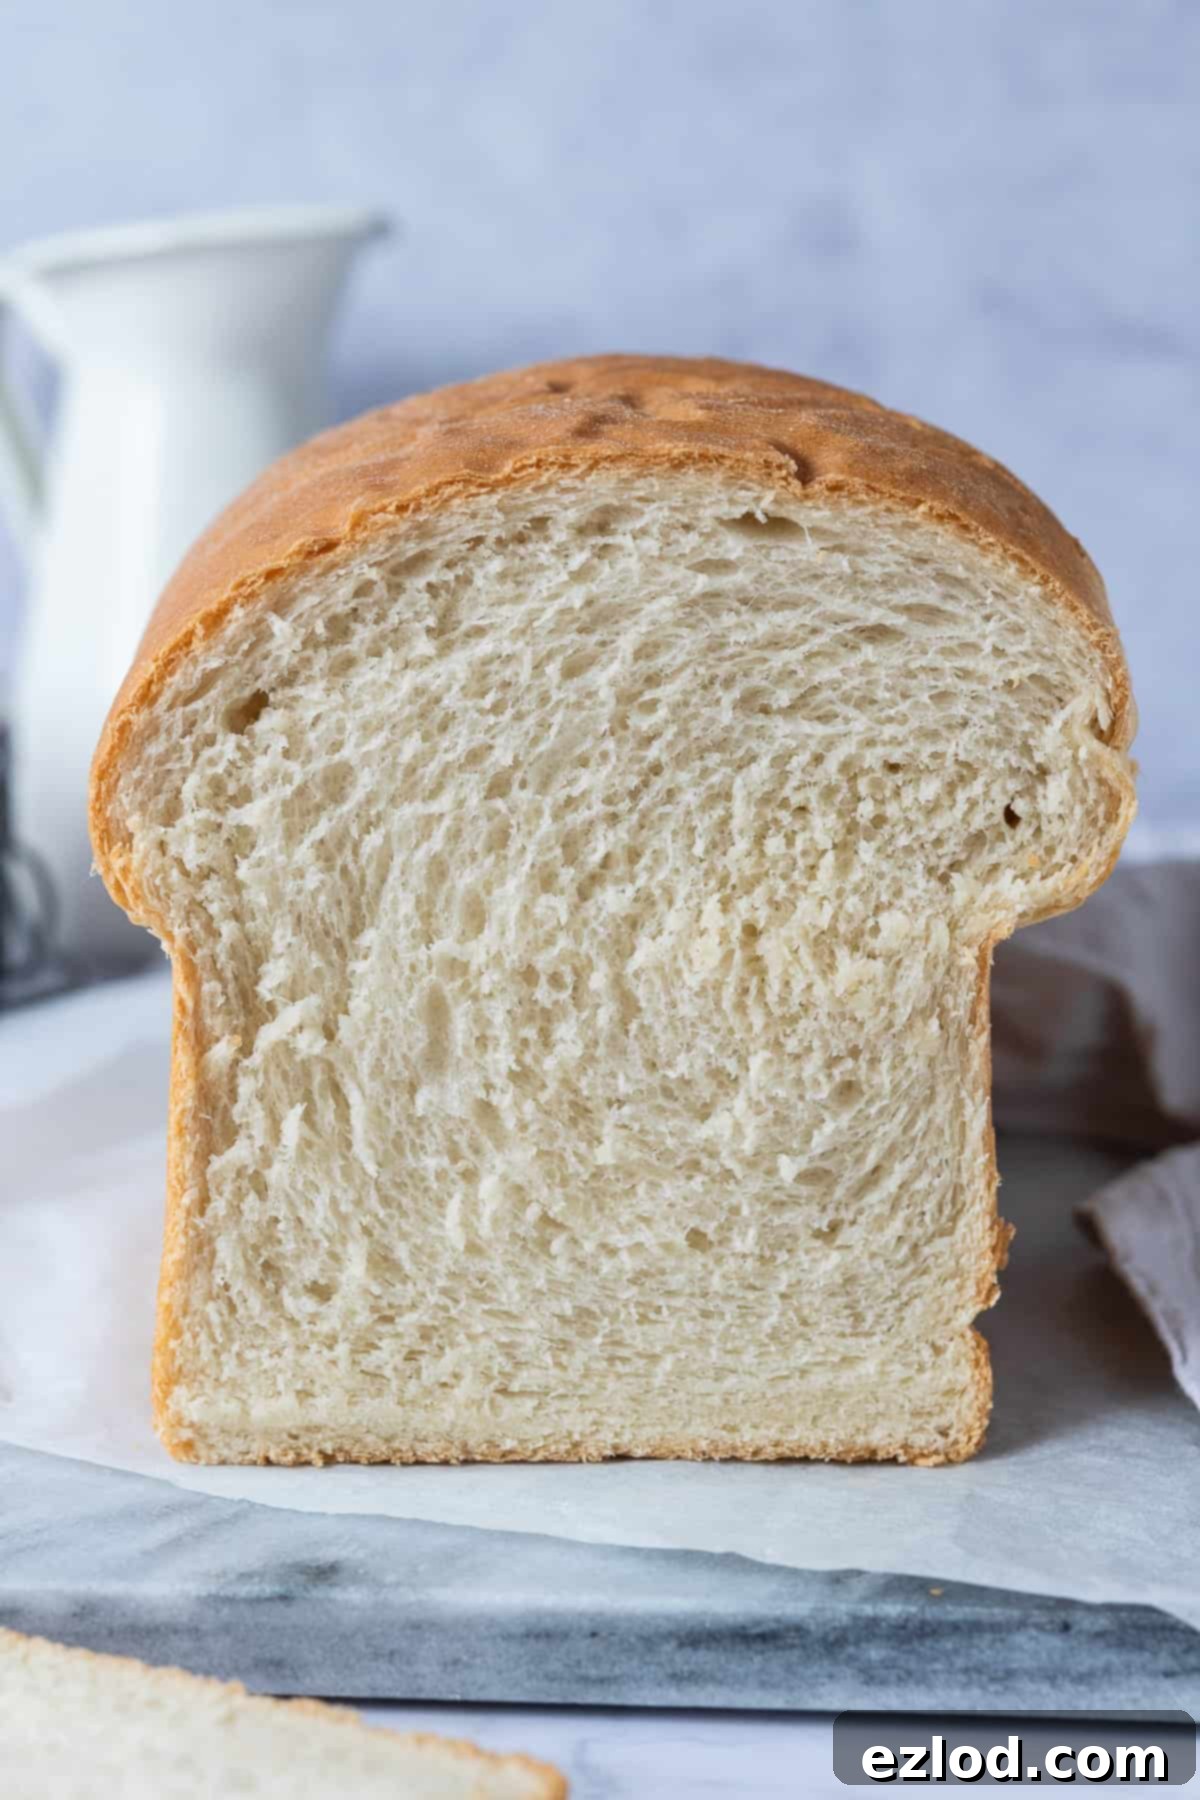
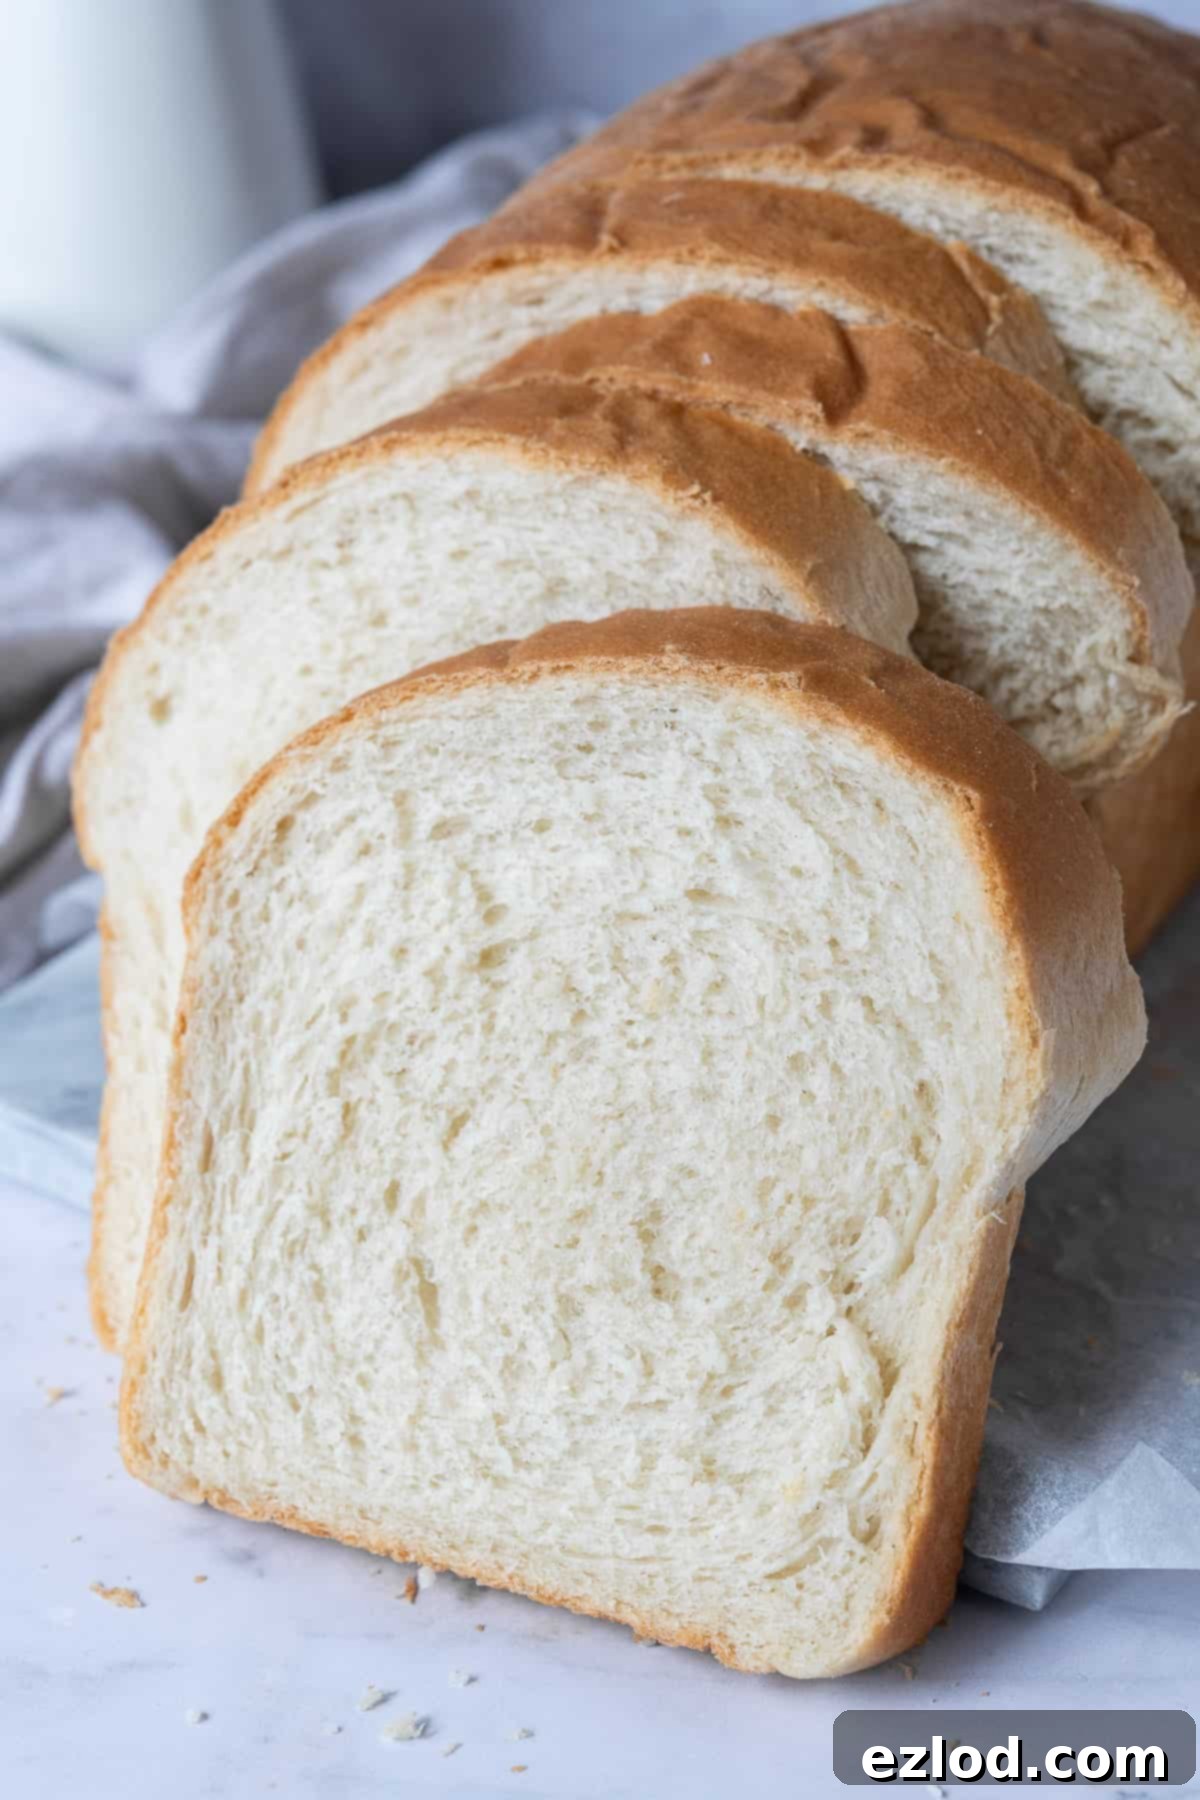
This recipe provides a wonderfully soft and delicious loaf that slices beautifully, making it perfect for any sandwich creation. Its fluffy interior and slightly crisp crust are utterly irresistible. While baking bread does require a bit of time, most of it is hands-off, allowing the yeast to work its magic. The small amount of effort involved is profoundly rewarding, resulting in a comforting, satisfying, and utterly delicious loaf that will quickly become a household favorite.
Essential Ingredients for Your Perfect Vegan Loaf
You’ll be delighted to find that this amazing vegan white sandwich bread requires only a handful of basic, readily available ingredients. No need for exotic items or a trip to a specialty store! Here’s what you’ll need to gather:
- Bread Flour: The foundation of our loaf, providing the structure and chewiness we desire.
- Instant Yeast: The leavening agent that makes our bread rise and become fluffy.
- Granulated Sugar: A touch of sweetness that also helps activate the yeast and contributes to browning.
- Salt: Essential for flavor balance and controlling yeast activity.
- Vegan Butter/Margarine: For that rich, tender texture and delightful flavor, all without dairy.
- Unsweetened Non-Dairy Milk: Adds moisture and richness, making the bread extra soft.
- Lukewarm Water: Used to hydrate the dough and activate the yeast.
These simple ingredients, when combined with care, transform into an extraordinary loaf of vegan bread. You likely have most of these in your pantry already, making this recipe incredibly accessible for everyday baking.
How To Make The Best Vegan White Sandwich Bread: A Step-by-Step Guide
Baking homemade bread might seem daunting, but this recipe simplifies the process, ensuring a successful and delicious outcome every time. Follow these detailed steps to create your perfect vegan loaf.
1. Prepare Your Dough (The Mixing Phase)
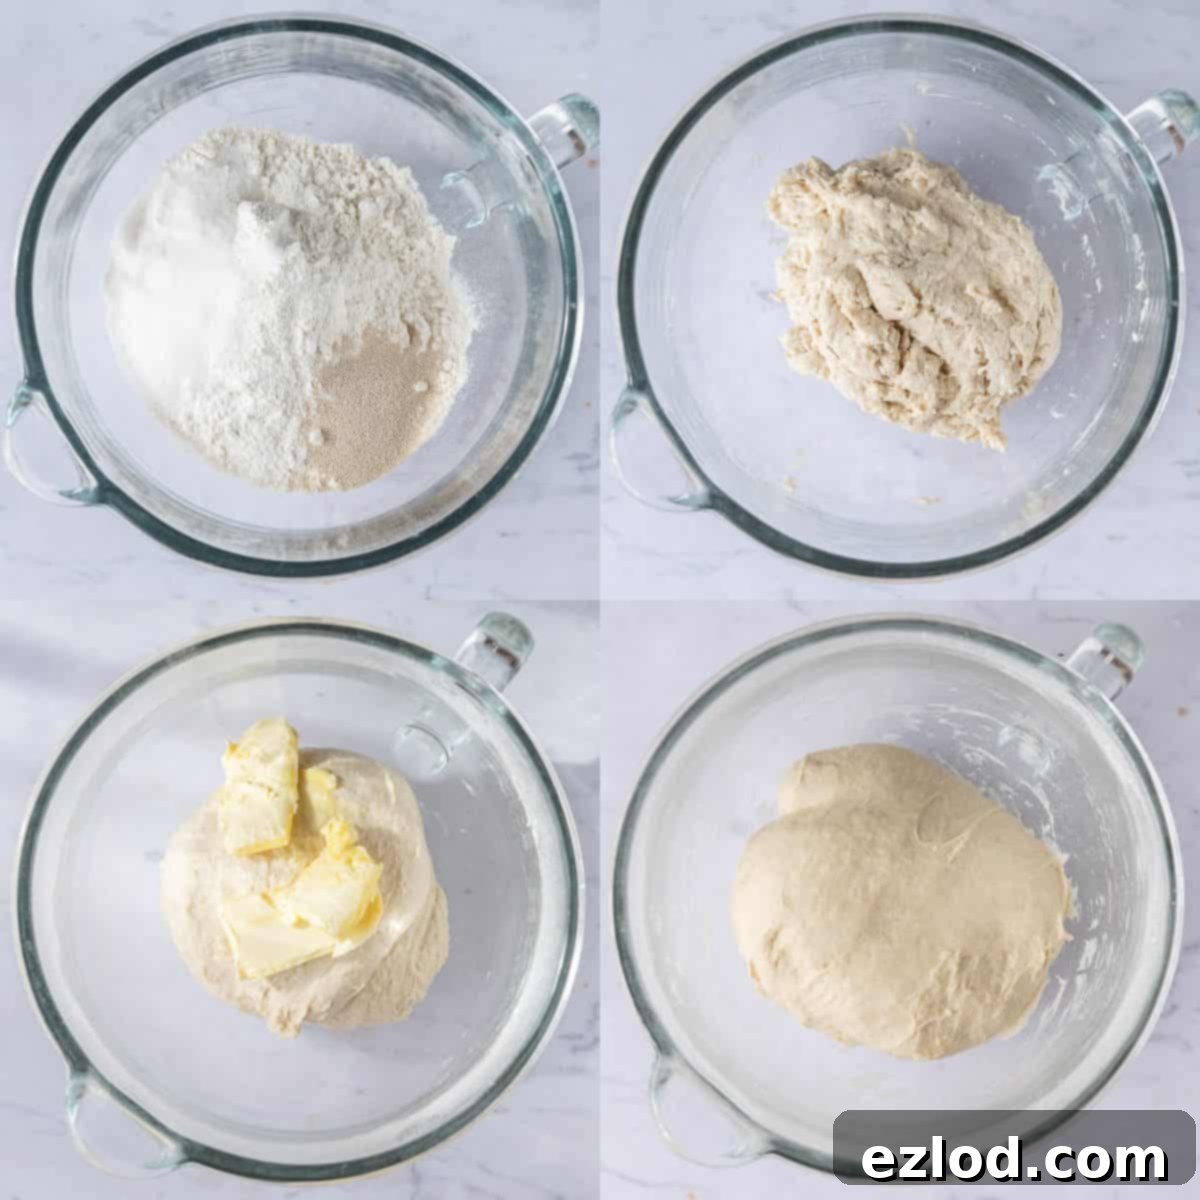
- Begin by combining your dry ingredients. In a large mixing bowl, or the bowl of a stand mixer fitted with a dough hook, add the bread flour, instant yeast, granulated sugar, and salt. Give them a good whisk to ensure they are evenly distributed. This prevents pockets of undissolved salt or yeast, which can affect the final texture and rise.
- Next, it’s time to introduce the liquids. Gradually stir in the lukewarm non-dairy milk. Then, add enough lukewarm water to form a soft, slightly sticky dough. The exact amount of water can vary based on your flour’s absorption rate and environmental humidity, so add it gradually until you achieve the right consistency. The dough should be soft but not overly wet.
- Knead the dough for approximately 5 minutes. If using a stand mixer, let it do the work until the dough appears smooth and comes together. If kneading by hand, push and fold the dough until it loses its shagginess and becomes more uniform.
- Now, incorporate the softened vegan butter or margarine. Add it to the dough and continue kneading. This step is crucial for developing a rich flavor and tender crumb. Keep kneading until the butter is fully absorbed, and the dough becomes smooth, elastic, and pulls away cleanly from the sides of the bowl. It should feel pliable and stretchy. If it still feels too wet, you can knead in a tiny bit more flour, but remember, a slightly sticky dough is what we’re aiming for – don’t over-flour it!
2. The First Rise (Bulk Fermentation)
- Once your dough is perfectly kneaded, transfer it to a lightly greased bowl. Ensure the entire surface of the dough is lightly coated with oil to prevent it from drying out.
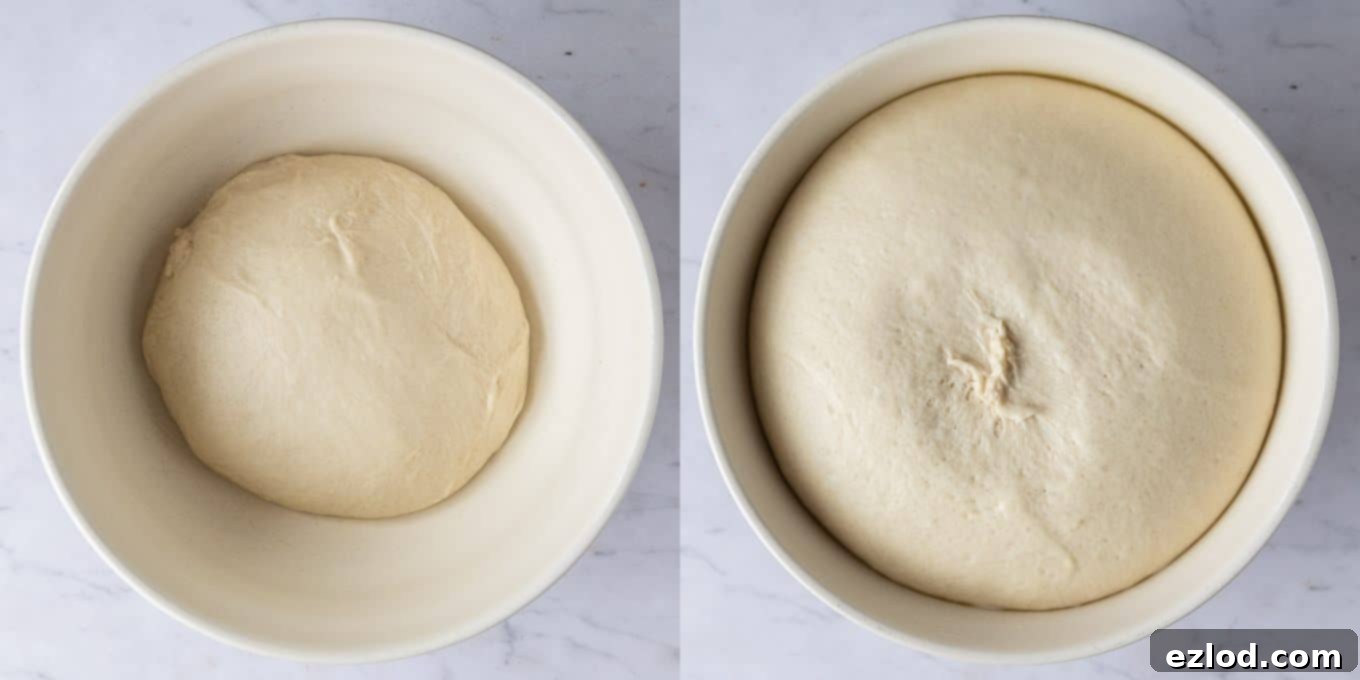
- Cover the bowl loosely with plastic wrap or a clean kitchen towel. Set it aside in a warm spot in your kitchen to rise. This first rise, also known as bulk fermentation, is vital for flavor development and texture. The dough should at least double in size, which typically takes about 1-2 hours at warm room temperature. On colder days, it might take a bit longer, so patience is key!
3. Shaping Your Loaf
- After the dough has successfully risen and doubled, gently punch it down to release the trapped air. Give it a brief 30-second knead to ensure even air distribution.
- Allow the dough to rest for 10 minutes. This short rest period helps the gluten relax, making the dough easier to handle and shape.
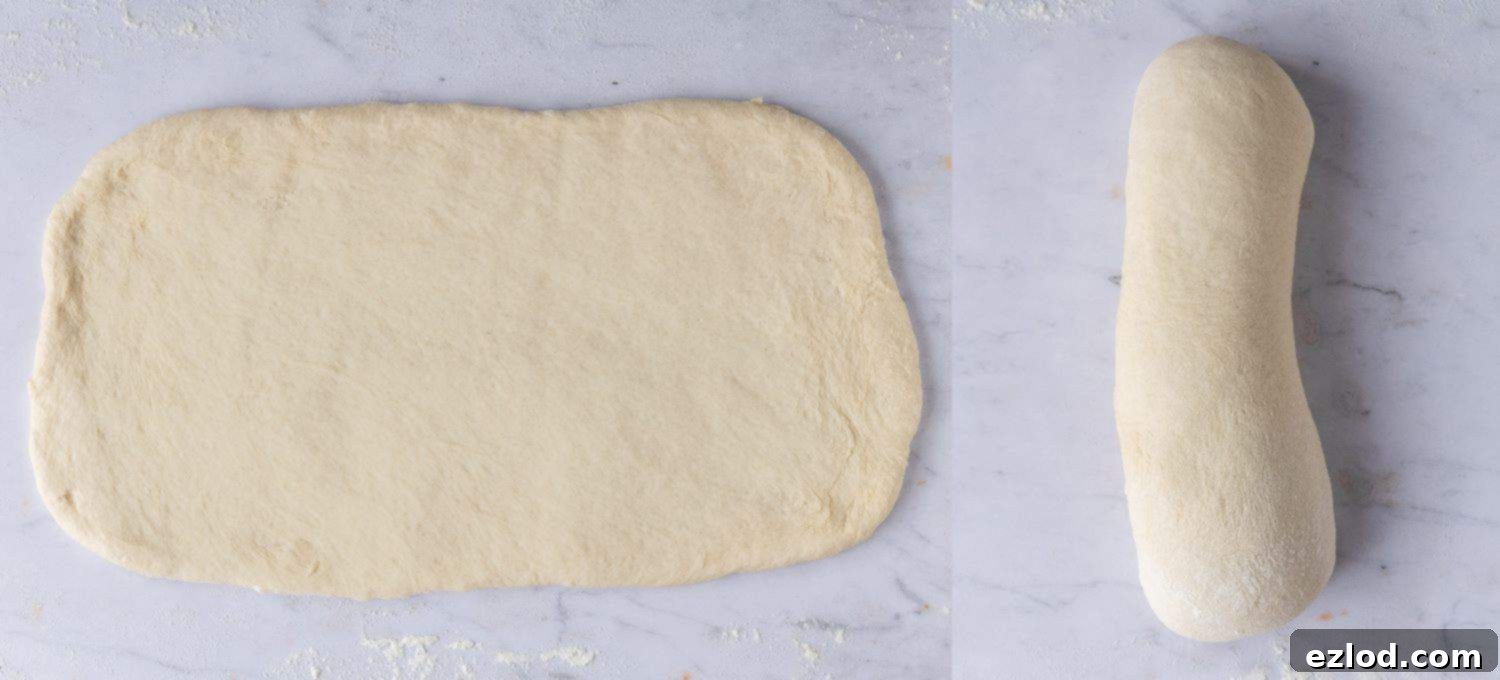
- Lightly flour your work surface and roll the dough out into a rectangle, approximately 20 x 38 cm (8 x 15 inches). Don’t worry if it’s not perfectly precise; a rough rectangular shape is sufficient for this step.
- Starting from one of the shorter edges, tightly roll the dough up into a log. Aim for a snug roll to create a good structure for your final loaf. The finished log should be about 20 cm (8 inches) long, fitting neatly into your loaf tin.
4. The Second Rise (Proofing) and Baking
- Grease an 11.5 x 21.5 cm to 13 x 23 cm (8.5 x 4.5 to 9 x 5 inches) loaf tin. Carefully place the dough log into the prepared tin, ensuring the seam side is facing down. This helps maintain a smooth top surface during baking.
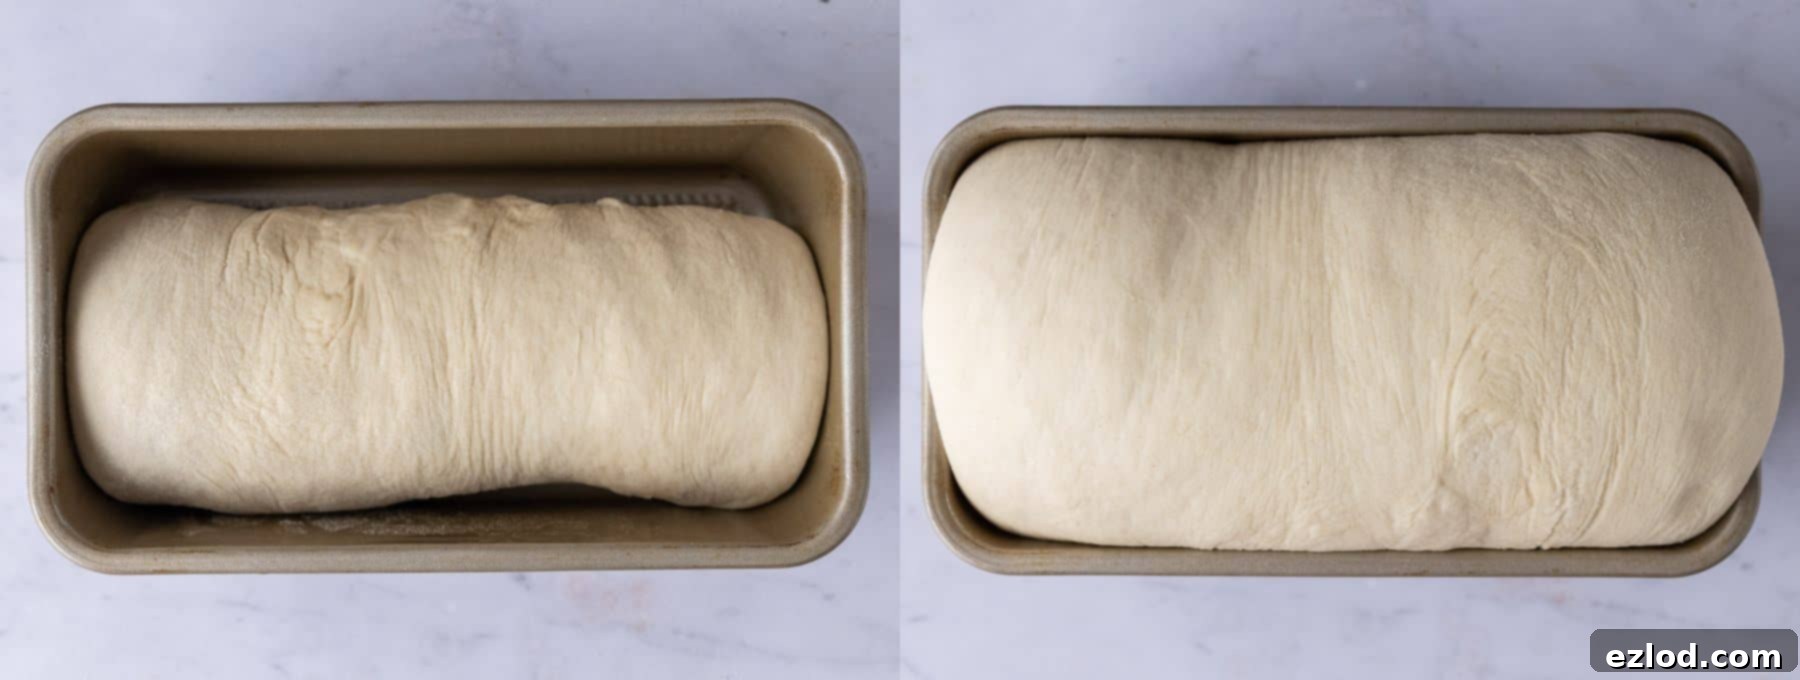
- Loosely cover the tin once more and set it aside in a warm spot for its second rise, or proofing. This final rise is crucial for the bread’s airy texture. The dough should rise until it extends about 2.5 cm (1 inch) above the top of the tin. To test if it’s ready, gently press it with a finger: it should spring back slowly and leave a small indentation. If it springs back quickly, it needs more time to rise. This usually takes about 45-60 minutes.
- While the dough is proofing, preheat your oven to 190°C (170° fan/375°F/gas mark 5). Getting the oven to the correct temperature beforehand is important for a consistent bake.
- Bake the risen loaf for 30-35 minutes. It should turn a beautiful golden brown on top. For absolute certainty of doneness, use a probe thermometer inserted into the center of the loaf. It should read 94°C (201°F). If you don’t have a thermometer, tap the bottom of the loaf; it should sound hollow.
- Once baked, immediately transfer the loaf from the tin to a wire rack. This allows air to circulate around all sides, preventing the bottom from becoming soggy. It’s crucial to let the bread cool completely before slicing. Slicing warm bread can lead to a gummy texture and crumbly slices.
Expert Tips for Perfect Vegan White Sandwich Bread Every Time
Achieving a consistently perfect loaf of homemade vegan bread is easier with a few key considerations in mind. These tips will help you navigate common baking challenges and ensure delicious results.
- Weigh Your Ingredients: For the most accurate and consistent results in baking, always use a digital scale to weigh your ingredients in grams rather than relying on cup measurements. Cup measurements can be highly inaccurate due to variations in how ingredients are packed. Precision is crucial for bread making!
- Choose the Right Flour: Bread flour is highly recommended for its higher protein content, which develops more gluten and results in the best chewy, yet tender, texture. If you don’t have bread flour, all-purpose (plain) flour can be used, but the final texture may be slightly different. Avoid wholemeal or whole wheat flour for this recipe, as it will yield a denser, heavier loaf.
- Adjust Flour and Water as Needed: The exact amount of flour or liquid can vary slightly due to different flour brands absorbing moisture differently, and even humidity levels in your kitchen. Start with the recipe’s specified quantities. If your dough feels too wet or sticky to handle (beyond being slightly sticky), add a tiny bit more flour, a tablespoon at a time, until it feels right. Conversely, if it seems too stiff, a teaspoon of extra water can help. Remember, this is meant to be a soft, slightly sticky dough, so avoid adding too much flour, which can lead to dry bread.
- Optimal Non-Dairy Milk: While any unsweetened non-dairy milk works, soy milk is often preferred for baking due to its higher protein content, which can contribute to a better structure and browning in baked goods.
- Understanding Rising Times: The time it takes for your dough to rise is highly dependent on the ambient temperature. In a warm kitchen, the dough will rise much faster than in a cool one. Trust the visual cues (doubled in size) and the finger test (slow spring back) over strict time limits.
- Overnight First Rise (Cold Fermentation): For an even deeper flavor and to spread out your baking workload, consider giving the dough its first rise overnight in the fridge. The cold temperature slows down fermentation, enhancing the bread’s flavor complexity. Just allow it to come closer to room temperature before shaping for the second rise.
- Confirm Doneness with a Thermometer: The most reliable way to know if your bread is fully baked is by checking its internal temperature with a probe thermometer. It should reach 94°C (201°F). Oven temperatures vary greatly, so baking times are always approximate. A hollow sound when tapping the bottom of the loaf is a good indicator, but the thermometer is foolproof.
Understanding Yeast Types
Yeast is the magical ingredient that gives our bread its wonderful lift and airy texture. There are a few common types, and understanding them will help you adapt the recipe if needed.
- Fast Action/Instant Yeast: This is my go-to choice and what this recipe is designed for. It’s also known as instant or easy yeast. The beauty of fast-action yeast is that it doesn’t require activation; you simply mix it directly with your dry ingredients. It’s convenient and reliable.
- Active Dried Yeast: If you only have active dried yeast on hand, you can still use it, but you’ll need an extra step. First, dissolve the active dried yeast in a small portion of the lukewarm water (from the recipe’s total liquid amount) along with a pinch of the granulated sugar. Let this mixture sit for 10-20 minutes until it becomes foamy and bubbly. This indicates the yeast is active and alive. Once activated, proceed with the rest of the recipe as written, incorporating this yeast mixture with the other wet ingredients.
Storing and Freezing Your Vegan White Sandwich Bread
Proper storage is key to enjoying your delicious homemade vegan bread for as long as possible. Here’s how to keep it fresh and maximize its shelf life:
How to Store:
Once your vegan white sandwich bread has cooled completely, store it in an airtight container or a bread bin at room temperature. It’s important not to store fresh bread in the refrigerator, as the cold environment can actually cause it to go stale much faster. While homemade bread is always best on the day it’s baked, this loaf will remain wonderfully soft and enjoyable for about 3 days when stored correctly.
If your bread starts to lose a bit of its freshness after a couple of days, don’t throw it out! It’s still perfect for making other delicious dishes. Consider transforming it into savory French toast, creating homemade croutons for salads or soups, or blending it into fresh breadcrumbs to use in various recipes. There’s always a way to enjoy every last crumb!
Can I Freeze This Vegan White Sandwich Bread?
Absolutely! Freezing is an excellent way to extend the life of your homemade vegan bread and ensure you always have a delicious loaf on hand. You can freeze the entire loaf or slice it first for convenience.
To freeze, place the cooled loaf (or slices) into a ziplock bag, squeezing out as much air as possible, then seal tightly. It will keep well in the freezer for up to three months. For optimal freshness, it’s best to freeze the bread on the same day it’s baked, once it has completely cooled.
When you’re ready to enjoy it, you have a few options:
- For Slices: You can toast individual slices directly from the freezer. They’ll crisp up beautifully and taste almost like they were freshly baked.
- For a Whole Loaf: Allow the frozen loaf to defrost at room temperature for several hours or overnight. Once thawed, you can refresh it by warming it in a low oven (around 150°C/300°F) for 5-10 minutes. This gentle reheating will bring back its soft interior and slightly crisp crust, restoring it to its former glory.
More Delicious Vegan Bread Recipes to Try
If you loved baking this vegan white sandwich bread, you might enjoy exploring other plant-based bread recipes. Here are some fantastic options to expand your baking repertoire:
- Vegan Naan Bread
- Vegan Challah Bread
- Vegan Hokkaido Milk Bread
- Vegan Beer Pretzels
- Sea Salt and Rosemary Focaccia
- Easy Vegan Flatbreads
- Vegan Cornbread
- Vegan Brioche
- Pumpkin Bread Rolls
Vegan White Sandwich Bread Recipe Card
Soft, fluffy, and perfectly suited for all your sandwich needs, this dairy-free and eggless loaf is a true vegan baking triumph.

Print Recipe
Rating: 5 out of 5 stars (from 7 votes)
Recipe Details
- Course: Side Dish
- Cuisine: Vegan
- Keyword: Bread
- Prep Time: 25 minutes
- Cook Time: 30 minutes
- Rising Time: 2 hours
- Total Time: 2 hours 55 minutes
- Servings: 1 loaf
- Author: Domestic Gothess
Ingredients
- 450 g (3 ¾ cups) white bread flour
- 1 ½ tsp salt
- 25 g (2 Tbsp) caster/granulated sugar
- 7 g (2 ¼ tsp) fast action/instant yeast
- 150 ml (½ cup + 2 Tbsp) unsweetened non-dairy milk (soy is best), lukewarm
- 150 ml (½ cup + 2 Tbsp) water, lukewarm
- 60 g (¼ cup) vegan butter/margarine (block is best, like Naturli Vegan Block), softened
Instructions
- Place the flour, yeast, sugar, and salt in a large bowl or the bowl of a stand mixer fitted with a dough hook and mix to combine.
- Stir in the lukewarm non-dairy milk and gradually add enough of the water to form a soft, slightly sticky dough. You may not need all of the water or you may need a little more; adjust as necessary.
- Knead the dough for about 5 minutes until it is smooth. Then, add the softened vegan butter/margarine and continue to knead until the butter is fully combined and the dough is smooth and elastic. It should pull away cleanly from the sides of the bowl and feel stretchy. The dough should remain slightly sticky; if it feels excessively wet, knead in a small amount of additional flour as needed.
- Place the dough in a lightly greased bowl, cover, and set aside to rise until it has at least doubled in size, which typically takes about 1-2 hours at a warm room temperature.
- Once the dough has risen, gently punch it down and knead briefly for 30 seconds to knock out the air. Let it rest for 10 minutes, then roll it out on a lightly floured surface into a rectangle measuring approximately 20 x 38 cm (8 x 15 inches).
- Starting at one of the short edges, tightly roll the dough up into a log. The log should be about 20 cm (8 inches) long.
- Grease an 11.5 x 21.5 cm to 13 x 23 cm (8.5 x 4.5 to 9 x 5 inches) loaf tin and place the dough log in the tin, seam side down.
- Loosely cover the tin and set it aside in a warm spot to rise again until the dough has risen about 2.5 cm (1 inch) above the top of the tin. If you gently press it with a finger, it should spring back slowly and perhaps leave a small indentation. If it springs back quickly, it needs to rise a bit longer. This second rise usually takes around 45-60 minutes.
- While the dough is undergoing its second rise, preheat your oven to 190°C (170° fan/375°F/gas mark 5).
- Bake the risen loaf for about 30-35 minutes, or until it is golden brown. A probe thermometer inserted into the center should reach 94°C (201°F). If a thermometer is not available, the loaf should sound hollow when tapped on the bottom.
- Transfer the baked loaf to a wire rack and allow it to cool completely before slicing to ensure the best texture.
Recipe Notes
- For the best results, always weigh your ingredients using a digital scale. Cup measurements are less accurate for baking.
- Bread flour yields the best texture, but plain (all-purpose) flour can be substituted. Avoid wholemeal/whole wheat flour for this recipe, as it results in a dense loaf.
- The amount of flour or liquid may need slight adjustment based on flour brand and humidity; aim for a soft, slightly sticky dough.
- Unsweetened soy milk is recommended for its higher protein content, which is beneficial for baking.
If you tried this recipe, we’d love to hear how it went! Please rate it, leave a comment below, or tag @domestic_gothess on Instagram and use the hashtag #domesticgothess. Your feedback is greatly appreciated!
*All images and content on Domestic Gothess are copyright protected. If you wish to share this recipe, please use the provided share buttons. Do not screenshot or reproduce the recipe or content in full.*
