Irresistible Roasted Red Pepper and Chilli Hummus: The Perfect Homemade Dip with Crispy Pitta Chips
Discover a vibrant and flavourful twist on classic hummus, infused with the sweetness of roasted red peppers and a delightful kick of red chilli. Served alongside incredibly crunchy, seasoned pitta chips, this recipe is guaranteed to elevate your snacking experience.
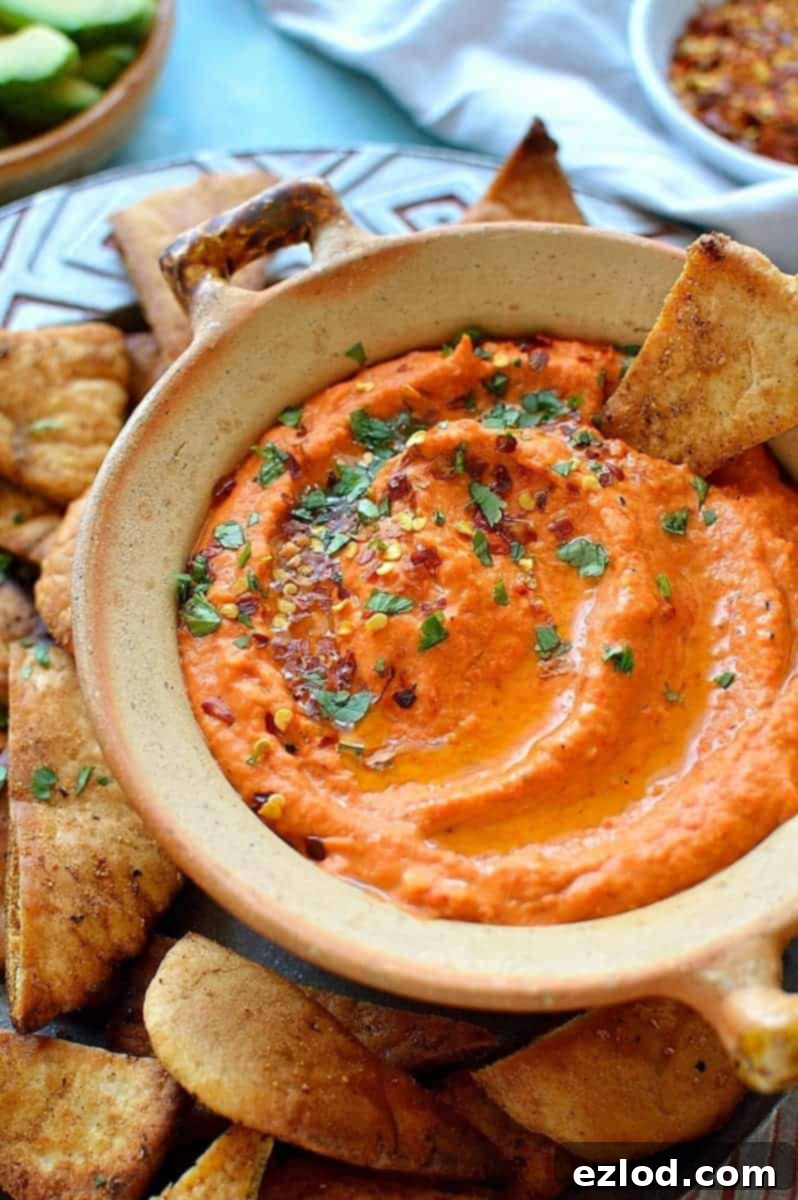
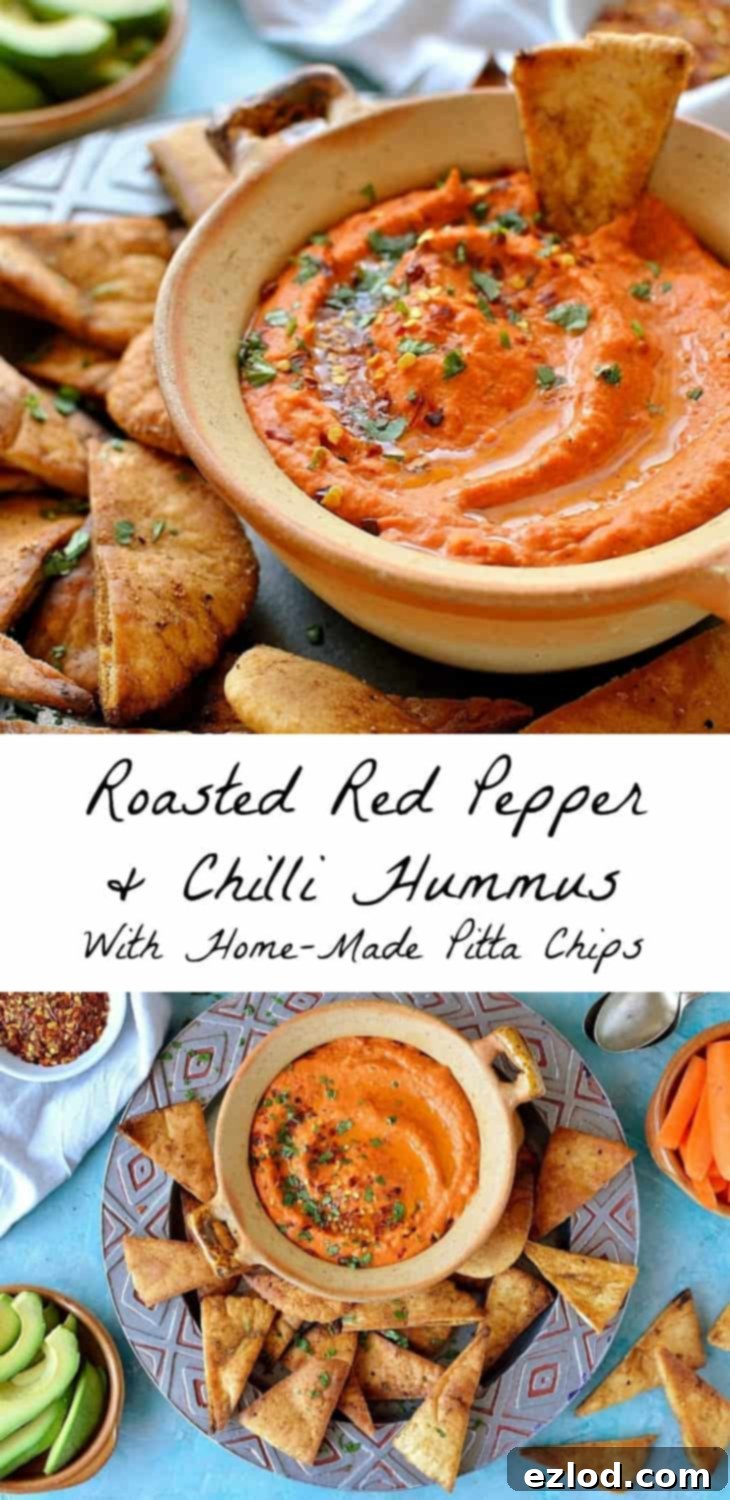
There are few culinary delights as universally adored and versatile as hummus. For many, including myself, it’s a staple – a creamy, dreamy dip that transforms a simple meal into a delightful experience. My ideal lunch often involves a generous pot of hummus, accompanied by crusty bread and an array of fresh, crunchy vegetable sticks for dipping. It’s a confession I happily make: an entire tub can, and often does, disappear in one sitting when it’s particularly good.
While store-bought hummus offers undeniable convenience, there’s a unique magic to making your own at home. It’s surprisingly quick and straightforward, and the benefits are manifold. When you prepare hummus from scratch, you gain complete control over the ingredients, allowing you to fine-tune the balance of tangy lemon, pungent garlic, and rich olive oil to perfectly suit your palate. This means no artificial preservatives, no excessive sodium, and only the freshest, most vibrant flavours hitting your taste buds. Plus, the sense of accomplishment from crafting such a delicious dip yourself is incredibly rewarding.
Why Homemade Hummus is Always Best
Beyond customization, making your own hummus ensures peak freshness. The chickpeas are blended right before serving, the lemon juice is freshly squeezed, and the olive oil is at its aromatic best. This contrasts sharply with commercial versions, which often sit on shelves for days or weeks, inevitably losing some of their zing and desirable texture. Moreover, homemade hummus is typically more cost-effective, especially if you enjoy it regularly. Canned chickpeas are inexpensive, and the other core ingredients – tahini, lemon, garlic, and olive oil – are pantry staples that go a long way.
This particular roasted red pepper and chilli hummus recipe takes the classic hummus base and elevates it with two star ingredients: sweet roasted red peppers and a touch of fiery red chilli. The roasted peppers lend a beautiful smoky sweetness and a vibrant crimson hue, making the hummus not just delicious but also visually appealing. The chilli introduces a welcome warmth and subtle heat, creating a more dynamic flavour profile that tantalizes the taste buds without overpowering them. For those who prefer a milder kick, simply remove the seeds from the chilli. If you crave a bolder heat, feel free to leave them in or even add a pinch of chilli flakes during blending or as a garnish.
The Art of Roasting Peppers for Perfect Hummus
Roasting red peppers is a simple step that yields incredible flavour depth, truly setting this roasted red pepper hummus apart. The heat of the oven caramelizes their natural sugars, transforming them from crisp, slightly bitter vegetables into tender, sweet, and smoky morsels. This process takes a little time, but the resulting depth of flavour is well worth the effort and is crucial for achieving the characteristic taste of this vibrant dip. However, if you’re pressed for time and need your homemade hummus fix in a hurry, don’t fret! You can absolutely use pre-roasted red peppers from a jar. Just make sure to drain them well before adding them to your food processor to avoid excess moisture, which could thin out your hummus.
Achieving Your Desired Hummus Texture: Smooth or Rustic?
The texture of hummus is a deeply personal preference. Some adore a velvety-smooth consistency, almost like a purée, while others, like myself, appreciate a slightly more rustic, hearty texture that still offers a satisfying creaminess. This recipe, as presented, results in a wonderfully textured hummus, providing a delightful mouthfeel with just a hint of character. If your heart yearns for that ultra-smooth, almost silky hummus that glides off the spoon, there’s an extra step you can take to achieve it: meticulously peeling both the chickpeas and the roasted peppers.
Peeling chickpeas might sound tedious, and indeed, it requires a bit of patience! To do this, gently take a chickpea between your thumb and your next two fingers, with the pointy end facing your palm. Apply a gentle squeeze, and the chickpea should pop right out of its thin outer skin. While this extra effort does contribute to a smoother final product, it is a labour of love, and honestly, it’s why I often skip this step – my patience has its limits when a delicious dip awaits!
Peeling roasted peppers is a bit simpler and less time-consuming. Once they come out of the oven, while still hot, place them immediately into a plastic bag or a bowl covered tightly with cling film. Seal it and let them steam for about ten minutes. This steaming process creates condensation that loosens the skin, making it incredibly easy to peel off with your fingers. If you’re using jarred roasted peppers, they will already be peeled for you, conveniently saving you this step.
Homemade Pitta Chips: The Ultimate Hummus Companion
What’s a fantastic homemade hummus without an equally fantastic dipping vehicle? While vegetable sticks and fresh, crusty bread are always wonderful, these homemade seasoned pitta chips take the dipping experience to another level. They are incredibly easy to make, require minimal ingredients, and fair warning: they are seriously addictive! Crisp, savoury, and perfectly seasoned, they provide the ideal textural contrast to the creamy hummus. Making them at home means you can control the saltiness and spice level, ensuring they perfectly complement your dip, and are far superior to any store-bought alternative.
How to Make Roasted Red Pepper and Chilli Hummus: A Step-by-Step Guide
Crafting this vibrant dip is simpler than you might think. Follow these easy steps to create a flavour explosion in your kitchen.
Step 1: Roast the Red Peppers to Perfection
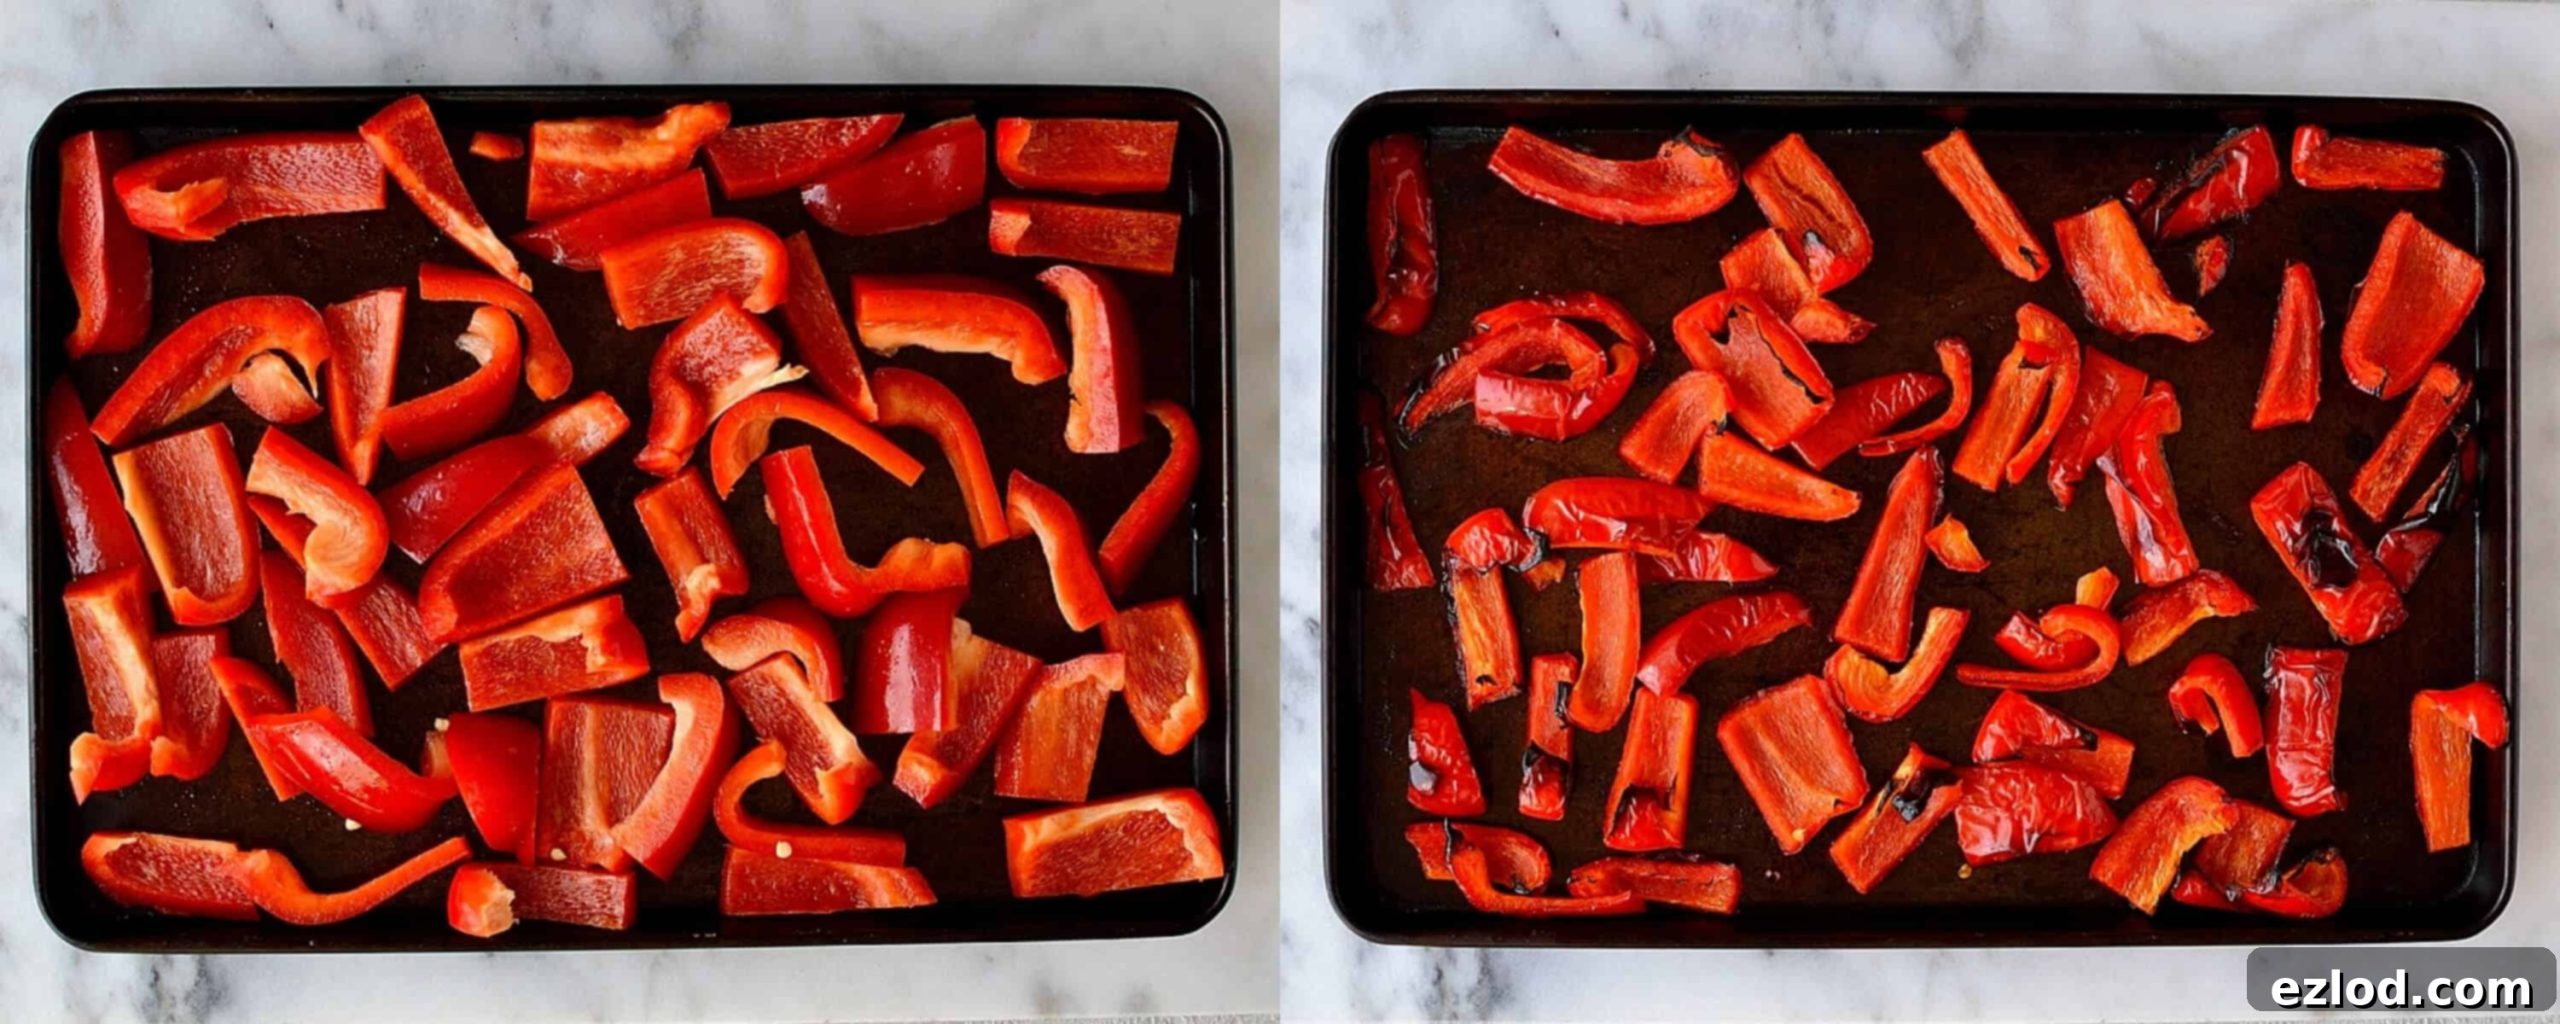
Begin by preheating your oven to 200°C (400°F, Gas Mark 6). De-seed and chop your large red bell peppers into substantial chunks. Spread these evenly on a baking tray, drizzle with a teaspoon of olive oil, and toss to coat thoroughly. Roast them for approximately 25-30 minutes, or until they are beautifully soft, tender, and show charming hints of charring around the edges. This charring adds a crucial smoky depth and sweetness to your roasted red pepper hummus. Once done, remove them from the oven and set them aside to cool slightly before moving to the next step.
Step 2: Prepare Your Aromatic Additions
While the peppers are cooling, prepare your chilli and garlic. De-seed and roughly chop your red chilli. Remember, if you desire a hotter chilli hummus, you can leave some or all of the seeds in, as that’s where much of the heat resides. For a milder flavour, discard them entirely. Next, peel and crush your garlic clove – fresh garlic is key for that pungent kick. Lastly, finely grate the zest from your large lemon and squeeze out its fresh juice. These aromatics will provide the essential bright, zesty, and pungent notes to your dip.
Step 3: Blend to Creamy Perfection
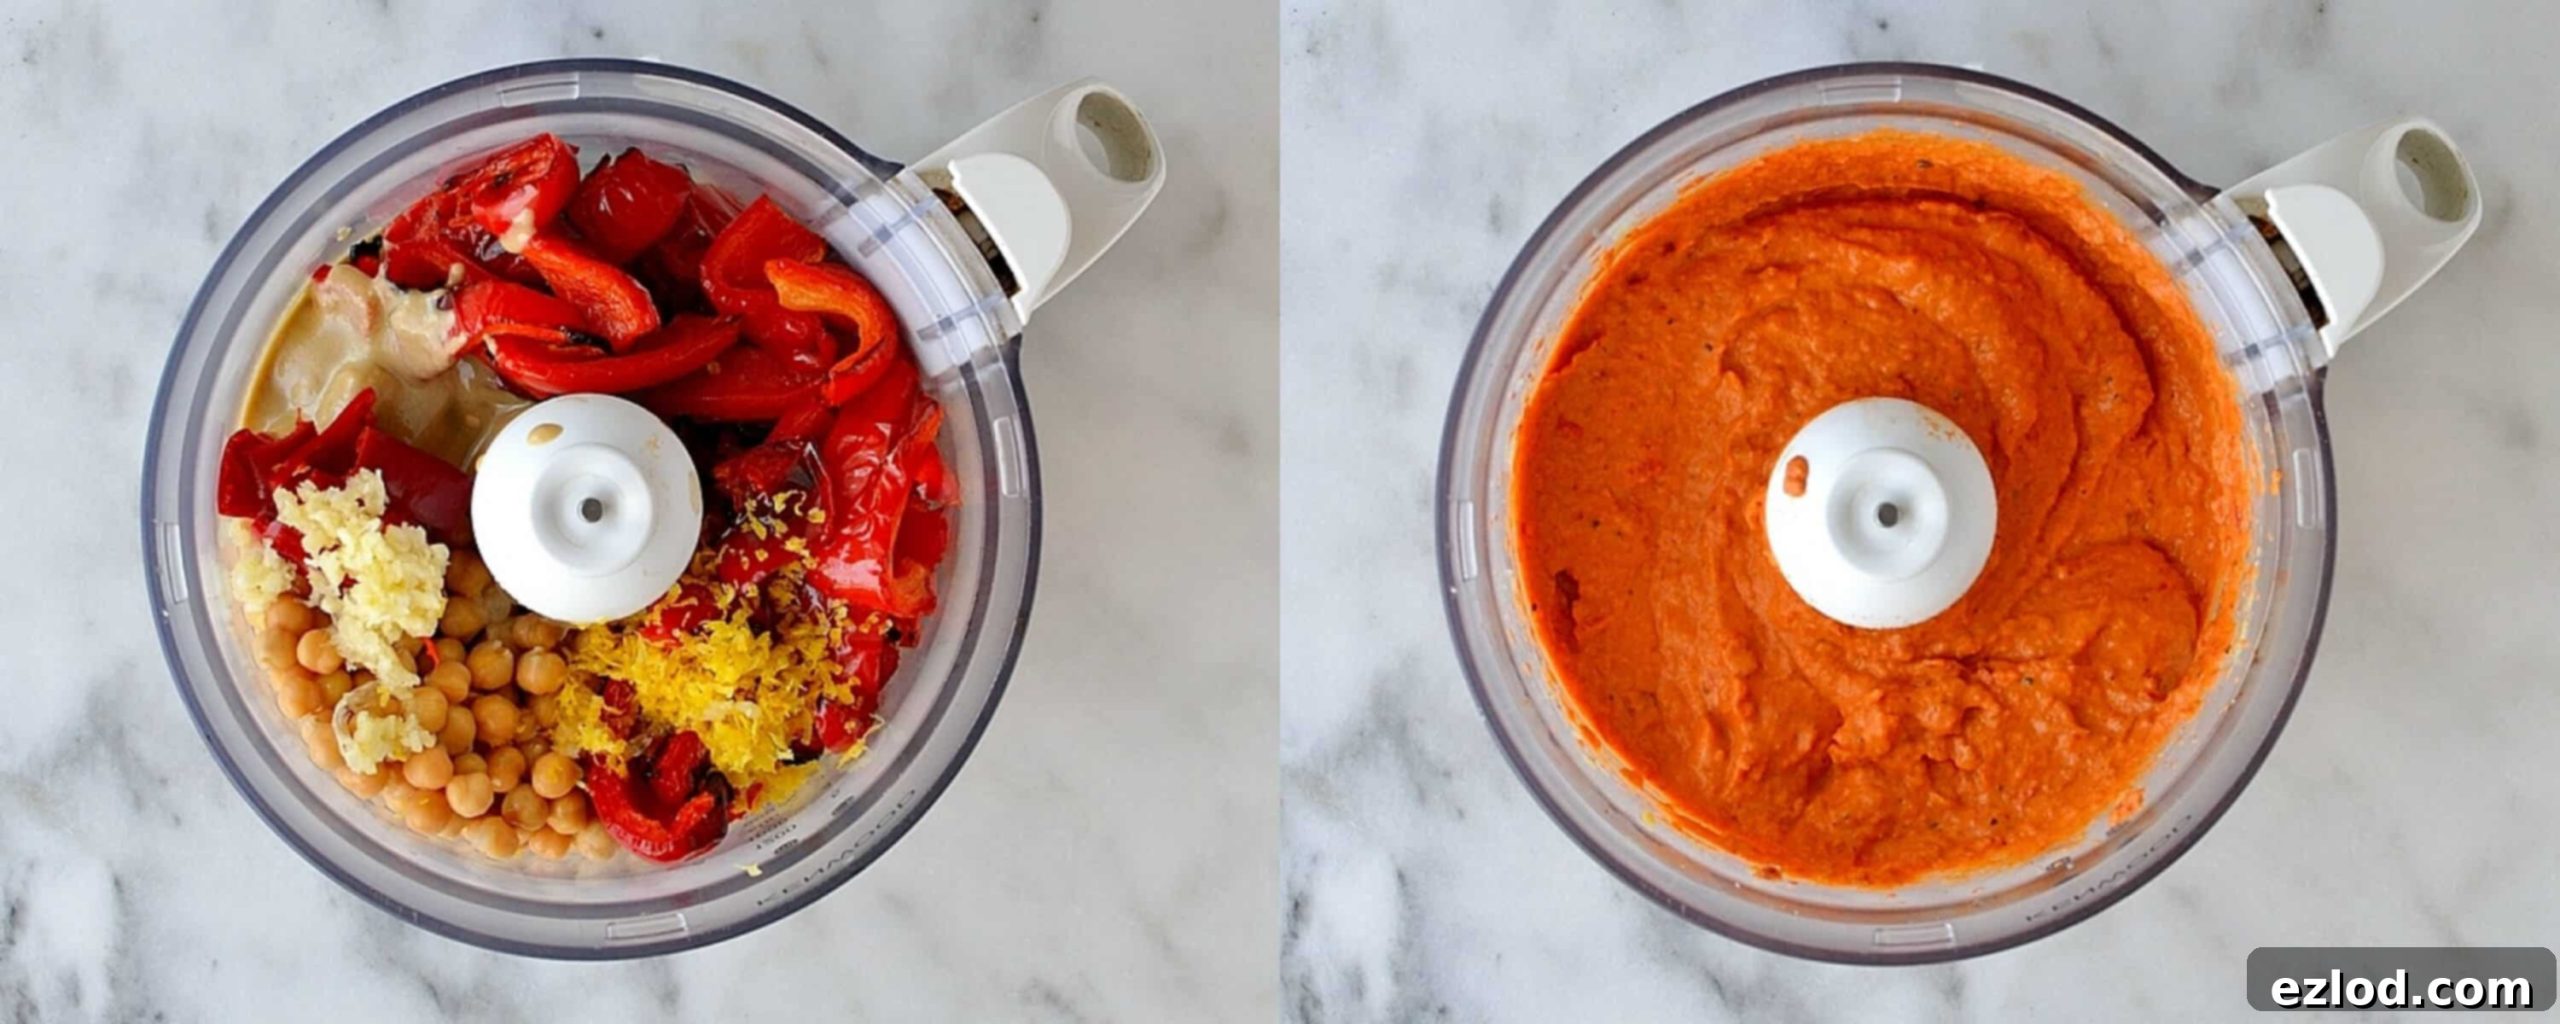
Now for the magic! Transfer the cooled roasted peppers, chopped chilli, crushed garlic, lemon zest, lemon juice, extra virgin olive oil, tahini, and the drained tin of chickpeas into a food processor. Secure the lid and blend thoroughly until the mixture reaches your desired consistency. You may need to pause occasionally and scrape down the sides of the food processor bowl to ensure everything is incorporated evenly. Continue blending until it’s smooth and creamy (or rustic, if you prefer, with a slight texture!).
Step 4: Season and Chill
Once blended, taste your hummus and season generously with salt and freshly ground black pepper. This is your chance to adjust any of the flavours as needed – perhaps a little more lemon juice for brightness, another dash of olive oil for richness, or a pinch more salt. Transfer the finished roasted red pepper and chilli hummus to a serving bowl or an airtight container and place it in the fridge. Chilling allows the flavours to meld beautifully, making it even more delicious and refreshing.
How to Make Crispy Homemade Pitta Chips: A Simple Recipe
These crunchy dippers are the perfect accompaniment to your homemade hummus.
Step 1: Prepare the Pitta Breads
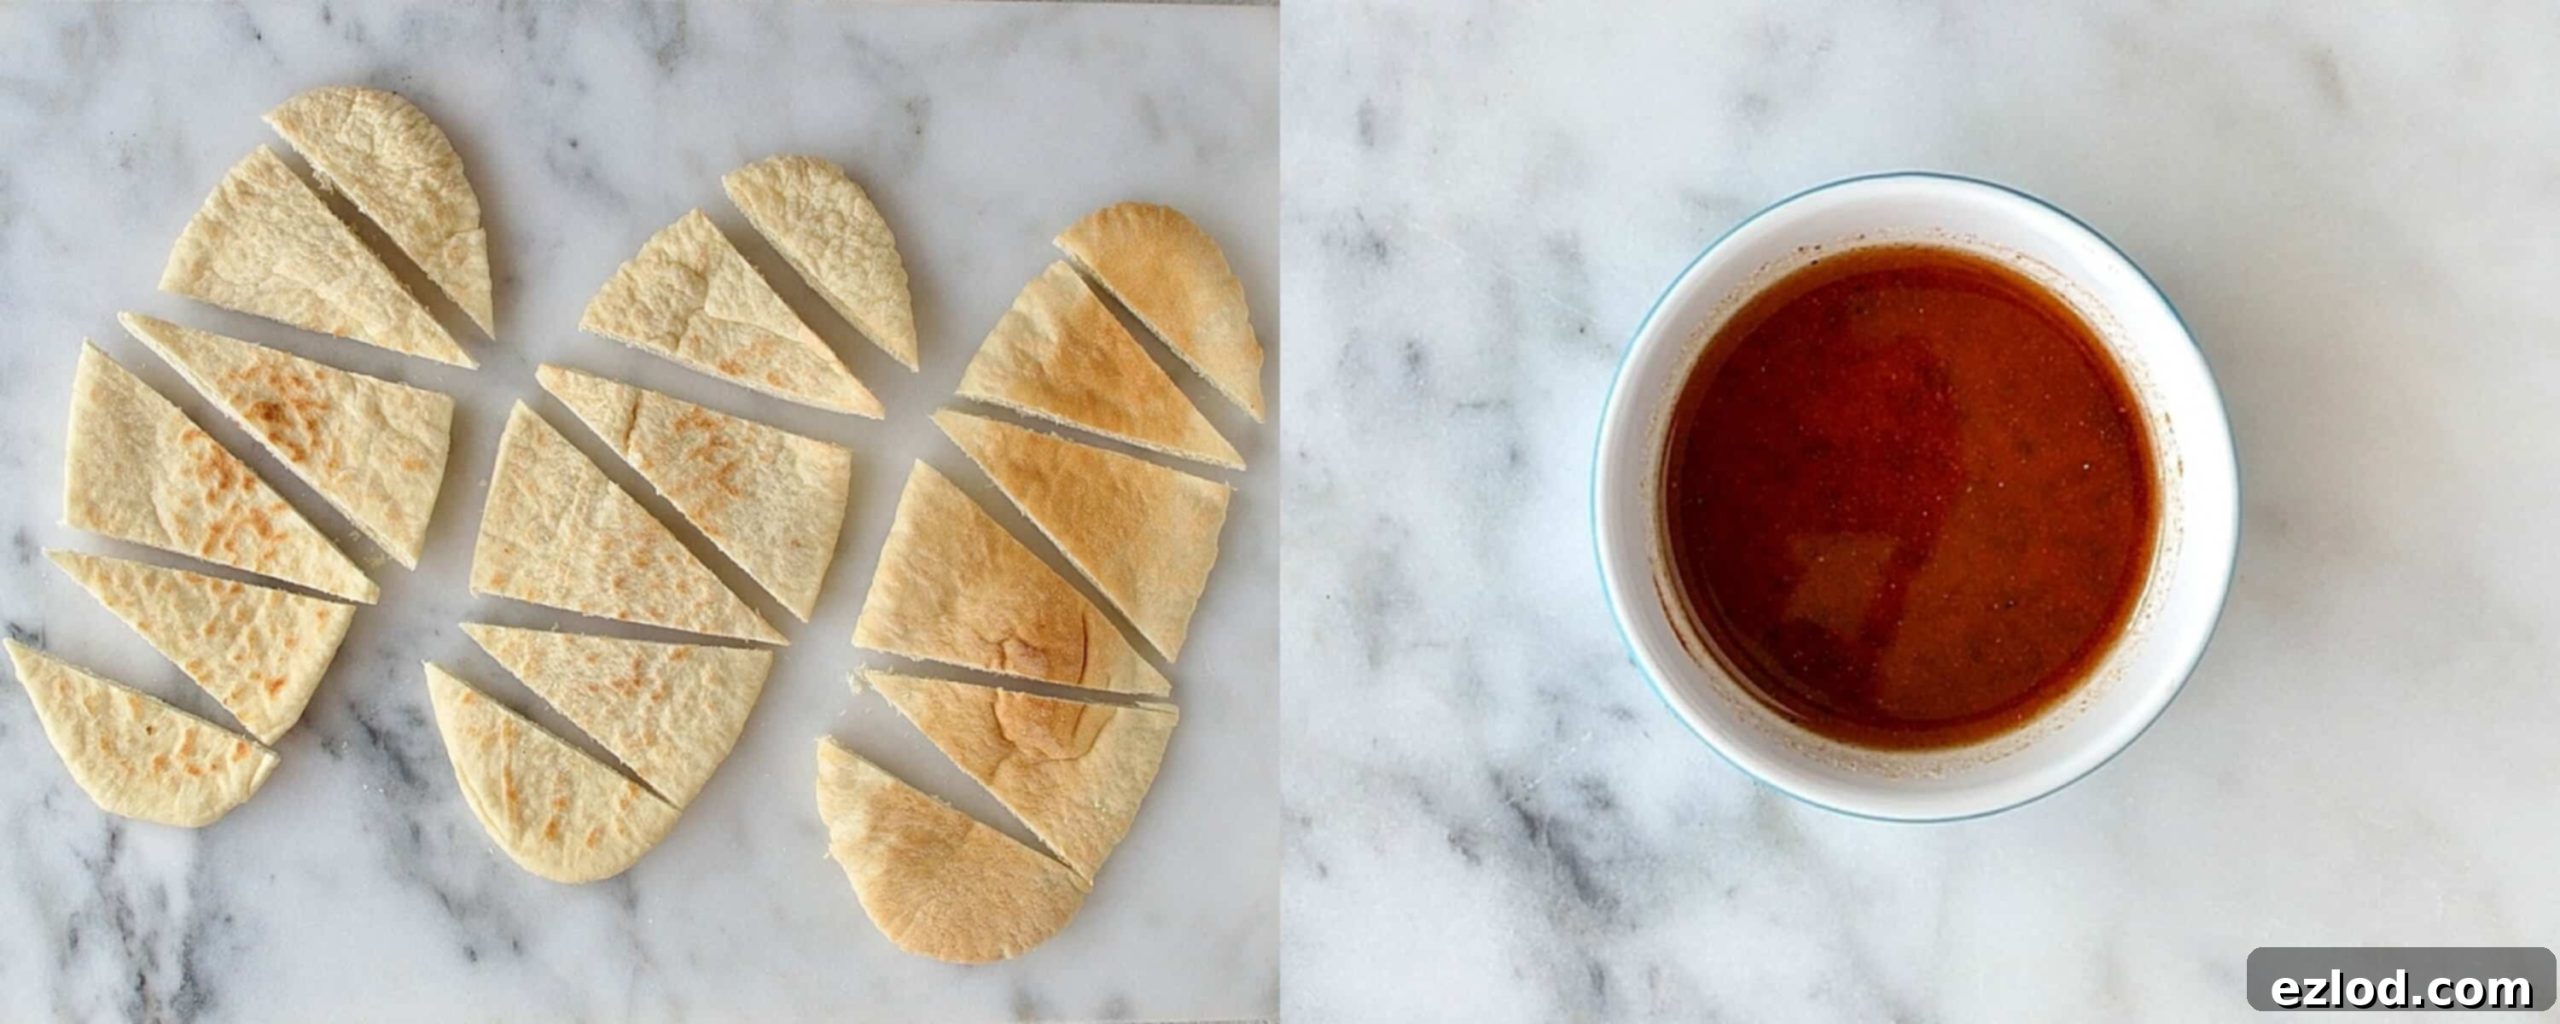
While your oven is still at 200°C (400°F, Gas Mark 6) from roasting the peppers, prepare your pitta chips. Take your white pitta breads and slice them into neat triangles. Think of them as ideal scooping shapes for your delicious homemade hummus, ensuring each chip can hold a generous amount of dip.
Step 2: Create the Seasoning Mixture
In a small bowl, whisk together the olive oil with salt, pepper, garlic granules, and paprika. This simple yet effective blend will infuse your pitta chips with incredible savoury flavour, making them wonderfully addictive and a perfect match for the creamy dip.
Step 3: Coat and Bake to Crisp Perfection
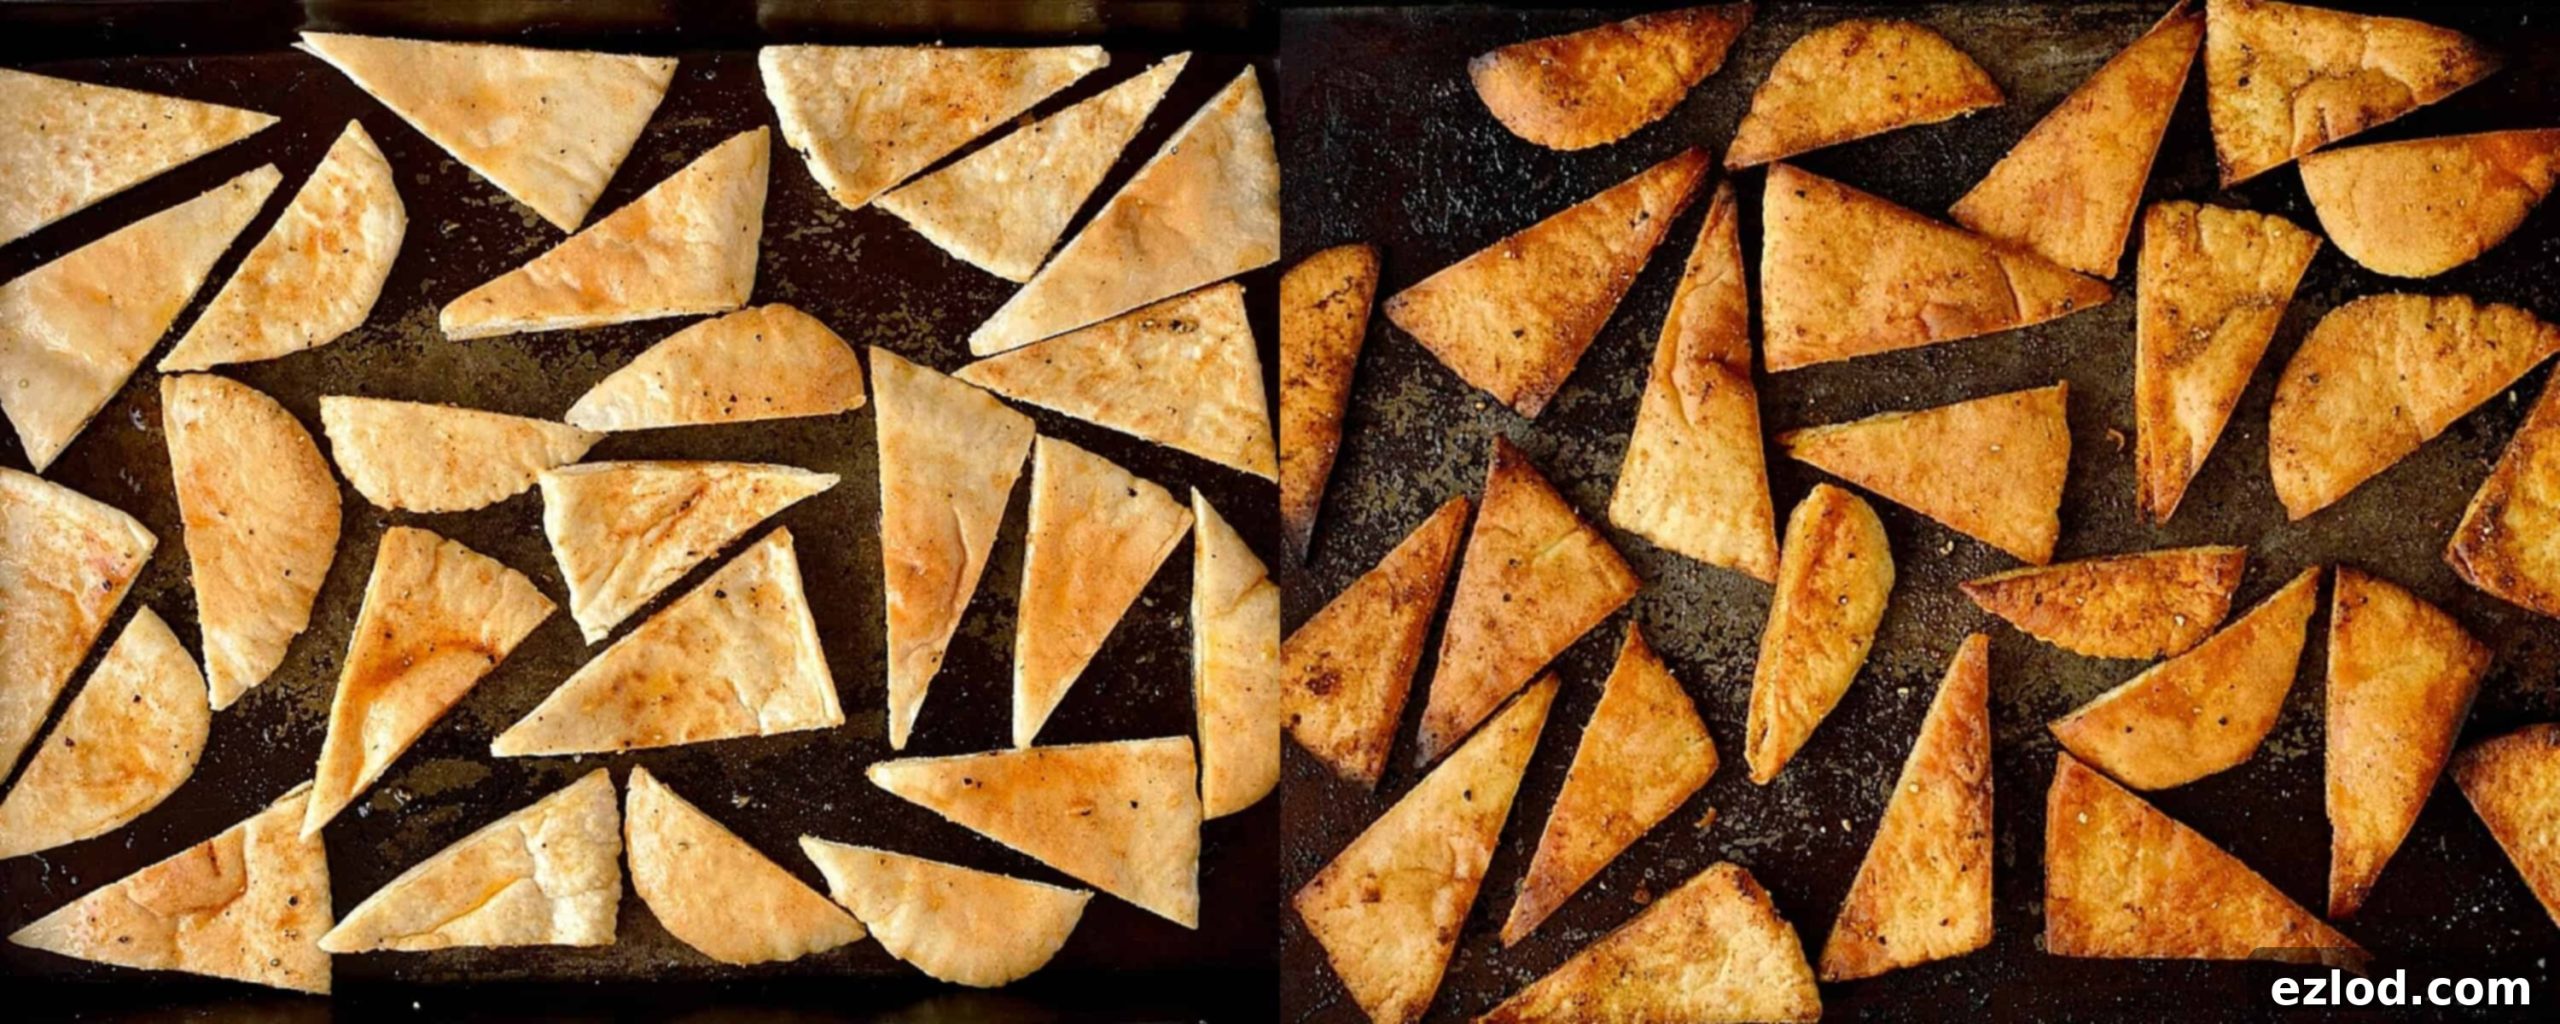
Spread the pitta triangles out in a single layer on a baking tray, ensuring they don’t overlap too much for even cooking. Drizzle the seasoned olive oil mixture evenly over them, then use your hands to gently rub it in, ensuring both sides of each pitta triangle are thoroughly coated. Bake for approximately 15 minutes, flipping them halfway through to ensure even browning and crispness. They should turn golden brown and become delightfully crunchy to the bite.
Step 4: Serve and Enjoy!
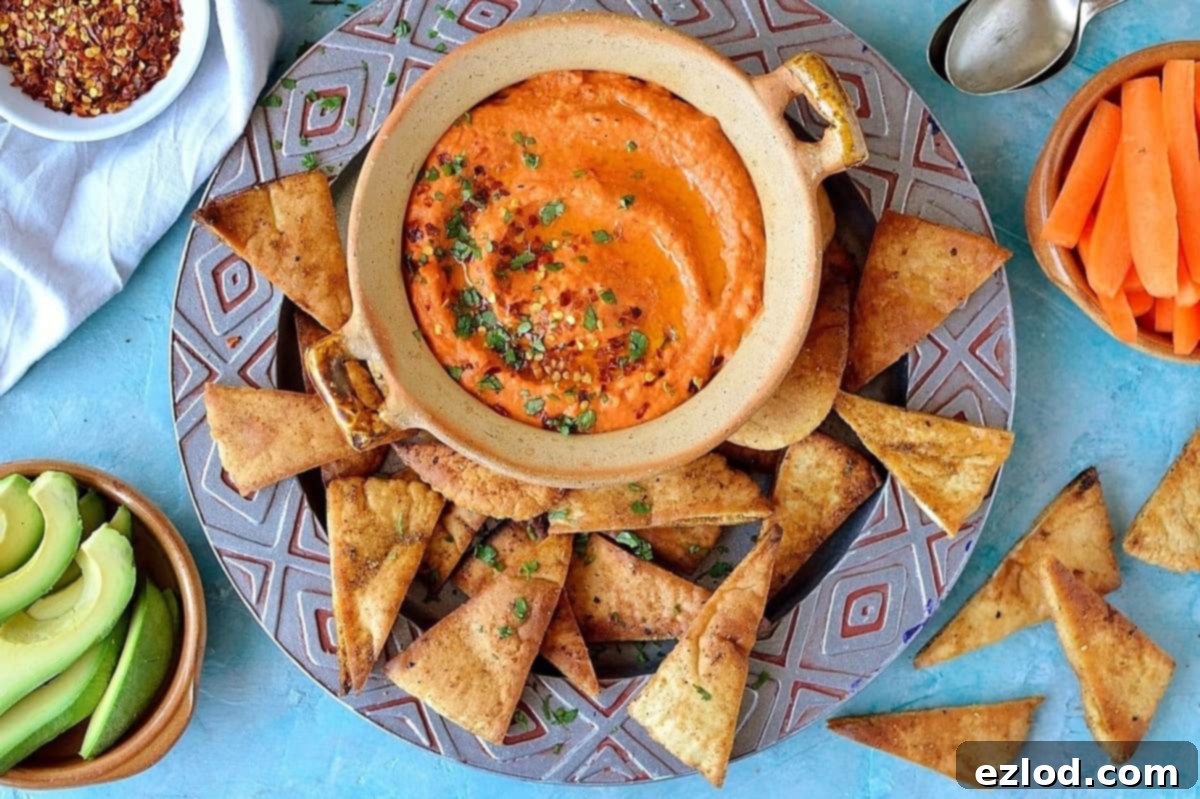
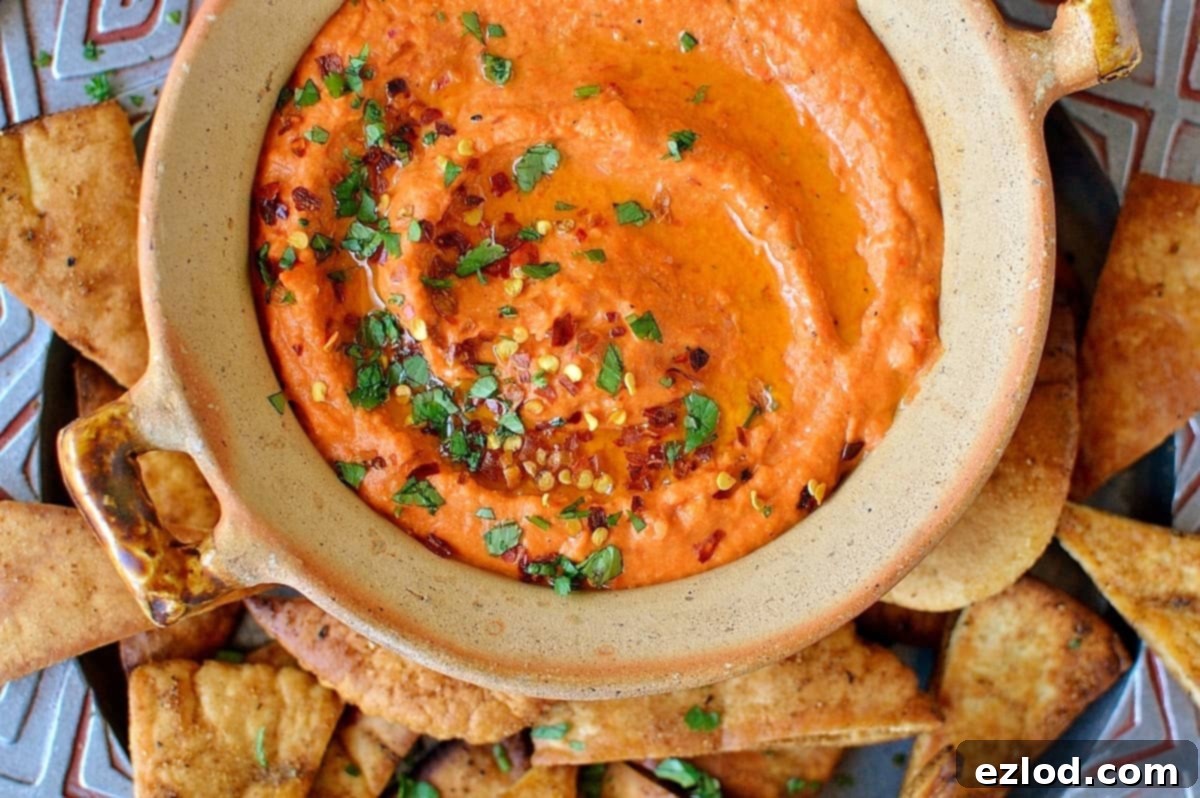
Remove the crispy pitta chips from the oven and allow them to cool slightly. Serve them immediately alongside your chilled roasted red pepper and chilli hummus. For an extra touch of gourmet flair and presentation, drizzle the hummus with a little more extra virgin olive oil, sprinkle with a few chilli flakes for added visual appeal and a gentle warmth, and a scattering of freshly chopped coriander. This not only enhances the flavour but also makes for a stunning appetizer or snack. Enjoy every crunchy, creamy bite!
Serving Suggestions and Versatility
While our homemade seasoned pitta chips are the perfect pairing, this roasted red pepper and chilli hummus is incredibly versatile and can elevate a multitude of dishes. Here are a few more ideas to enjoy this delectable dip beyond just snacking:
- Crudités: A colourful platter of fresh carrot sticks, crisp cucumber slices, vibrant bell pepper strips, crunchy celery, and juicy cherry tomatoes makes for a healthy and refreshing snack or appetizer.
- Sandwiches & Wraps: Spread a generous layer of this hummus on your favourite bread or tortilla for a flavourful and protein-packed filling. It pairs wonderfully with grilled vegetables, falafel, halloumi, or grilled chicken, adding moisture and taste.
- Salad Topping: Dollop a spoonful onto a fresh green salad or a grain-based salad for an instant boost of creaminess, texture, and Mediterranean flavour. It can even act as a dressing when thinned slightly.
- Grain Bowls: Integrate it into a vibrant grain bowl with quinoa, couscous, or bulgur, roasted vegetables, and a protein source like grilled tofu or chickpeas for a complete and satisfying meal.
- As a Side Dish: Serve alongside grilled meats (chicken, lamb, beef), fish, or roasted vegetables for a delightful Mediterranean-inspired meal, offering a creamy counterpoint.
- Breakfast Toast: A surprising but delicious option! Spread it on toasted sourdough or whole-grain bread and top with sliced avocado, a sprinkle of everything bagel seasoning, or even a poached egg for a unique and nutritious breakfast.
Storage and Make-Ahead Tips for Your Homemade Hummus
This roasted red pepper and chilli hummus is an excellent candidate for meal prep, making healthy snacking easy throughout the week. Store any leftovers in an airtight container in the refrigerator for up to 5-7 days. The flavours tend to deepen and meld beautifully overnight, so it often tastes even better the next day! If you notice it has thickened too much in the fridge due to chilling, you can easily loosen it with a splash of cold water, a little extra olive oil, or a touch more lemon juice when you’re ready to serve, stirring until it reaches your desired creamy consistency.
Nutritional Benefits of This Wholesome Dip
Beyond its incredible taste and versatility, this homemade hummus offers a wealth of nutritional benefits, making it a smart addition to any diet. Chickpeas, the foundation of hummus, are a fantastic source of plant-based protein and dietary fibre, promoting satiety, aiding digestion, and helping to regulate blood sugar levels. Olive oil provides healthy monounsaturated fats, known for their heart-healthy properties and anti-inflammatory benefits. Red peppers are packed with essential vitamins (especially A and C), powerful antioxidants, and anti-inflammatory compounds. With fresh garlic and lemon adding their own immune-boosting properties and essential vitamins, this roasted red pepper and chilli hummus is not just delicious but also a genuinely wholesome and nourishing dip that you can feel good about enjoying.
I originally made this roasted red pepper and chilli hummus for DIYs, check them out for some awesome craft and recipe ideas.
Roasted Red Pepper and Chilli Hummus Recipe Card

Print
Roasted Red Pepper and Chilli Hummus with Homemade Pitta Chips
Ingredients for Roasted Red Pepper and Chilli Hummus
For the Hummus
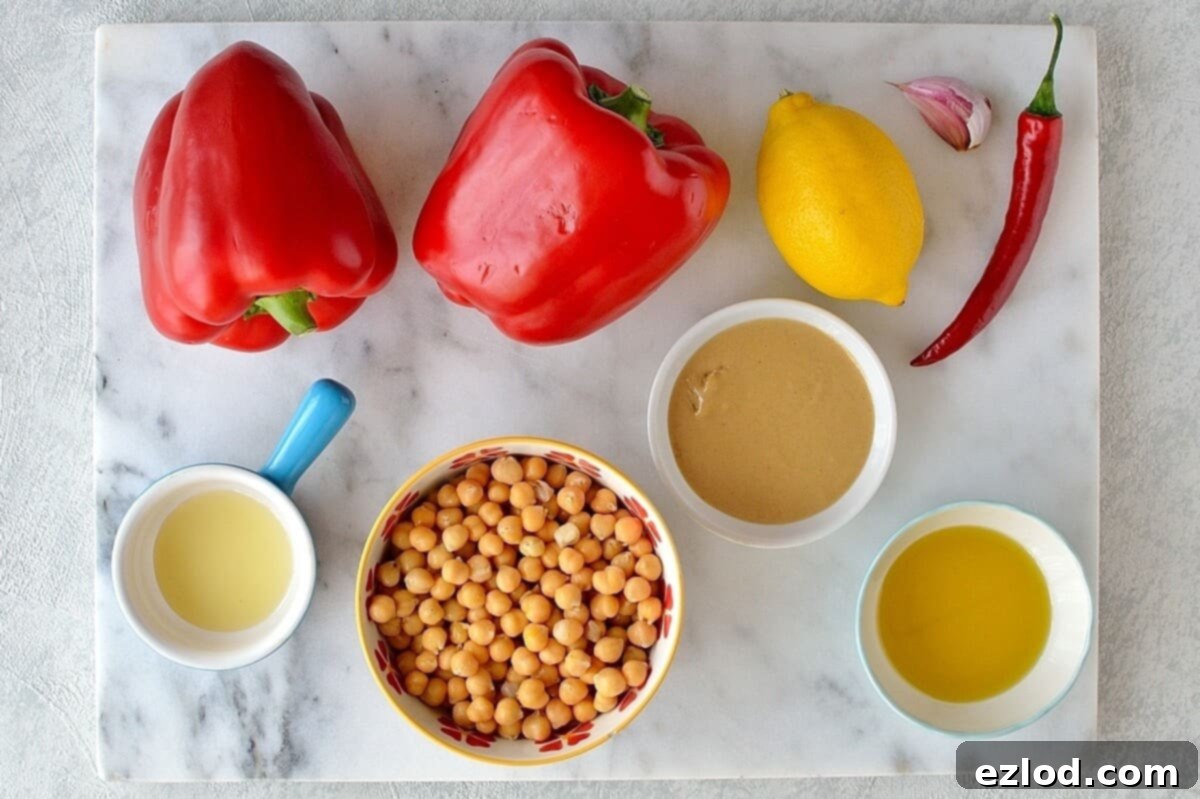
- 2 large red bell peppers
- 1 tsp olive oil (for roasting peppers)
- 1 red chilli (de-seeded for milder, seeds in for hotter)
- 1 clove garlic (peeled and crushed)
- 1 large lemon, finely grated zest and juice
- 2 Tbsp extra virgin olive oil (for blending)
- 2 Tbsp tahini
- 1 400g/14oz tin of chickpeas (drained and rinsed)
- salt and pepper (to taste)
For the Pitta Chips
- 4 white pitta breads
- 3 Tbsp olive oil
- ½ tsp salt
- ½ tsp pepper
- ½ tsp garlic granules
- ½ tsp paprika
Instructions for Roasted Red Pepper and Chilli Hummus and Pitta Chips
For the Roasted Red Pepper and Chilli Hummus:
-
Preheat your oven to 200°C/400°F/Gas Mark 6. De-seed the red peppers and chop them into generous chunks. Spread them evenly on a baking tray, drizzle with 1 teaspoon of olive oil, and toss to coat. Roast for 25-30 minutes until they are soft, tender, and slightly charred at the edges. Remove from the oven and set aside to cool.
-
De-seed and roughly chop the red chilli (leave seeds in if you prefer a hotter hummus). Peel and crush the garlic clove. Finely grate the zest from the lemon and then squeeze out its fresh juice.
-
Place the cooled roasted peppers, chopped chilli, crushed garlic, lemon zest, lemon juice, 2 tablespoons of extra virgin olive oil, tahini, and the drained and rinsed chickpeas into a food processor. Blend thoroughly until the mixture is smooth and creamy, scraping down the sides as needed to ensure everything is well combined.
-
Taste the hummus and season generously with salt and freshly ground black pepper. Adjust the seasoning as desired. Transfer the finished hummus to a serving bowl or airtight container and chill in the refrigerator until ready to serve.
For the Homemade Pitta Chips:
-
Keep the oven temperature at 200°C/400°F/Gas Mark 6. Take your white pitta breads and chop them into convenient triangular shapes.
-
In a small bowl, whisk together the 3 tablespoons of olive oil, ½ teaspoon of salt, ½ teaspoon of pepper, ½ teaspoon of garlic granules, and ½ teaspoon of paprika until well combined.
-
Spread the pitta triangles out in a single layer on a baking tray. Drizzle the seasoned olive oil mixture over them and gently rub it in with your hands, ensuring both sides of the pitta are thoroughly coated with the delicious seasoning.
-
Bake for approximately 15 minutes, making sure to turn the pitta chips halfway through the cooking time. Continue baking until they are golden brown and wonderfully crisp. Remove from the oven and allow to cool slightly before serving.
-
Serve the warm, crispy pitta chips alongside your chilled roasted red pepper and chilli hummus. For an optional flourish, drizzle the hummus with a little extra virgin olive oil and sprinkle with additional chilli flakes and fresh chopped coriander for an added layer of flavour and visual appeal. Enjoy!
If you like this recipe, you might also be interested in my recipe for loaded hummus bowl with crispy North African chickpeas – another fantastic way to enjoy this beloved dip.