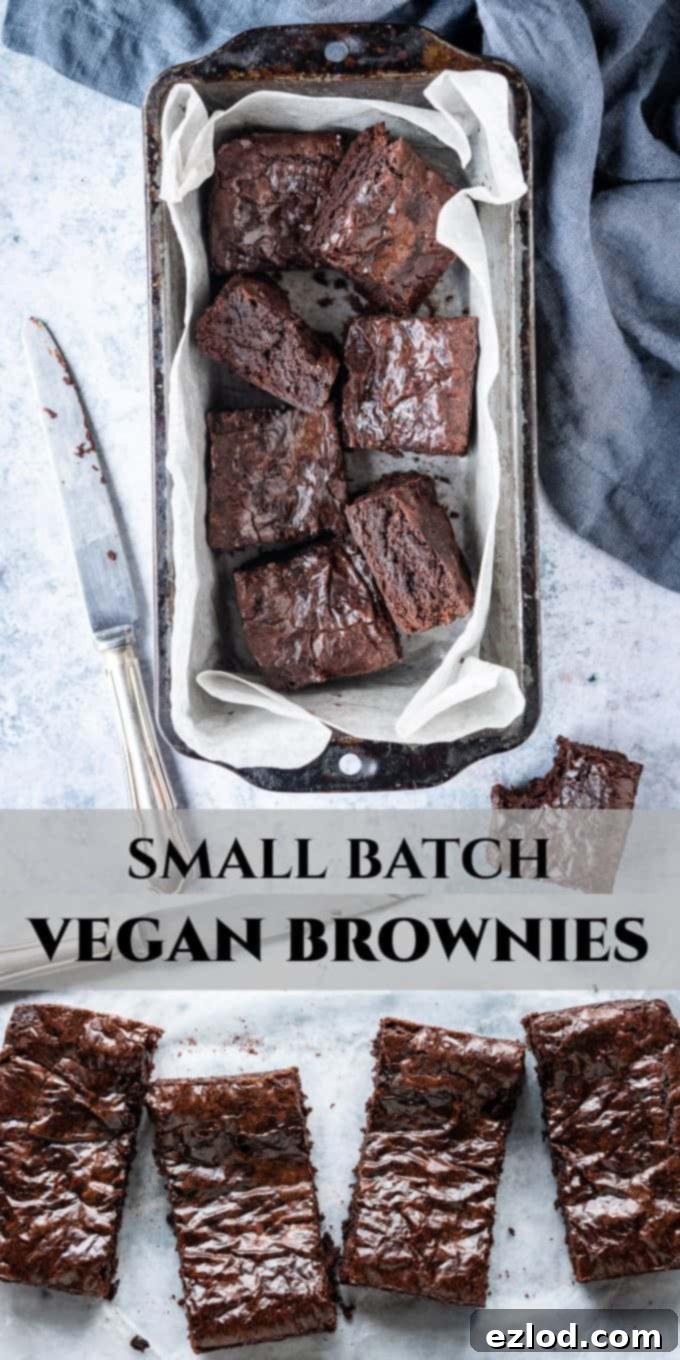
Irresistible Small Batch Fudgy Vegan Brownies: The Perfect Recipe for Two
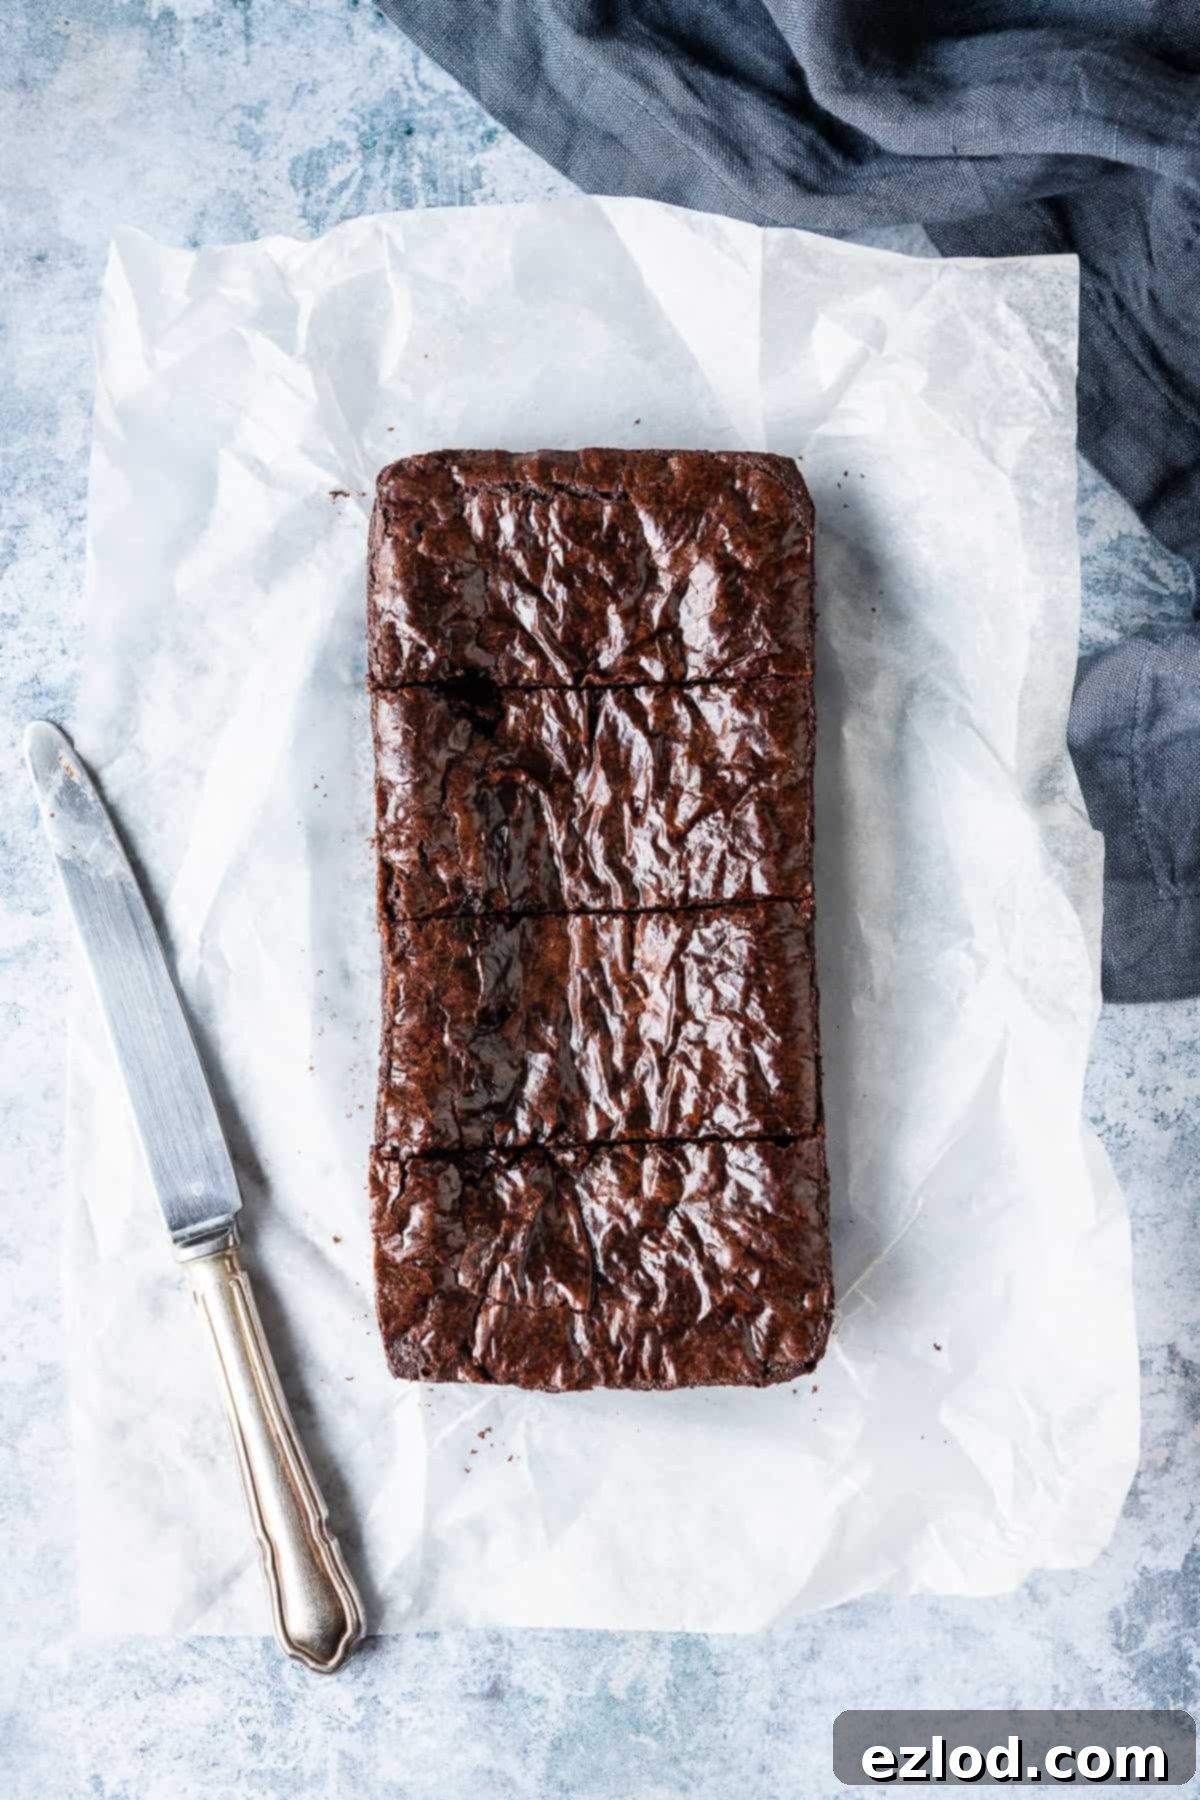
Craving a rich, decadent brownie but don’t want a huge batch? This easy small batch vegan brownie recipe is your answer! Designed to make just four perfectly sized brownies (or eight adorable mini brownie bites), it’s baked conveniently in a standard loaf tin. Prepare to indulge in perfectly dense, intensely fudgy, deeply chocolatey, and wonderfully chewy delights. This recipe is truly the ultimate solution to satisfy any brownie craving when there are just one or two of you in need!
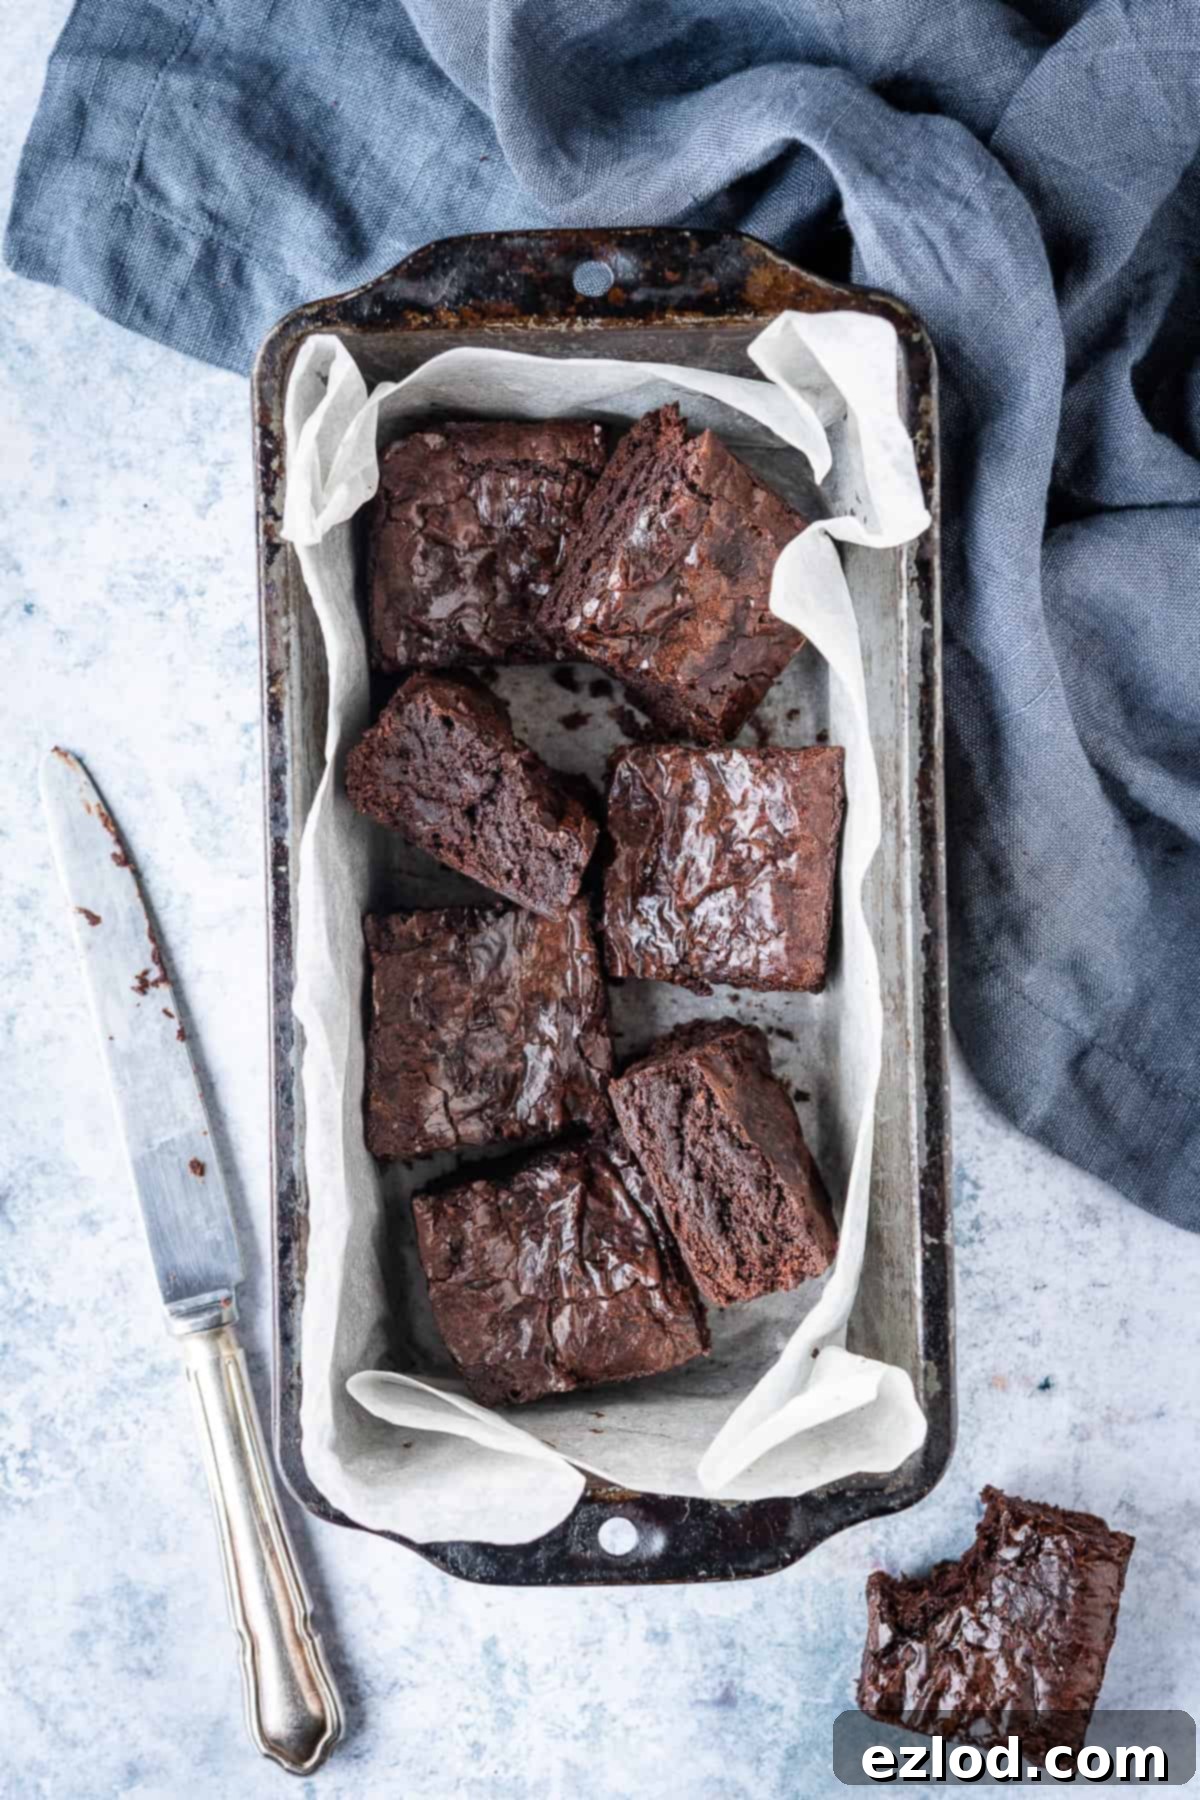
There’s nothing quite like the comforting allure of a freshly baked brownie, especially when it’s warm, gooey, and intensely chocolatey. However, many baking recipes are designed for larger gatherings, leaving smaller households with the dilemma of either over-indulging or letting delicious leftovers go stale. That’s where this small batch vegan brownie recipe shines! It’s perfectly portioned to satisfy those spontaneous dessert cravings without the commitment of a full-sized pan. This particular recipe yields four generously sized brownies or, if you prefer, eight delightful mini brownie bites, making it absolutely ideal for couples, small families, or even a solo treat when you need a little pick-me-up.
With this ingenious small batch option, you no longer have to face the difficult choice between missing out on the joy of homemade brownies or feeling obligated to consume an entire pan by yourself. It’s about enjoying fresh, warm brownies tailored to your needs, whenever the craving strikes.
Following the tremendous success and positive feedback from my vegan chocolate chip cookies for one recipe, it became clear that there was a strong demand for more recipes designed for smaller households. The idea of baking simply for the joy of it, rather than for a crowd, resonated with many – especially during times like spring 2020, when large gatherings were out of the question. Small batch recipes empower you to bake whenever inspiration strikes, ensuring you always have fresh, homemade treats on hand.
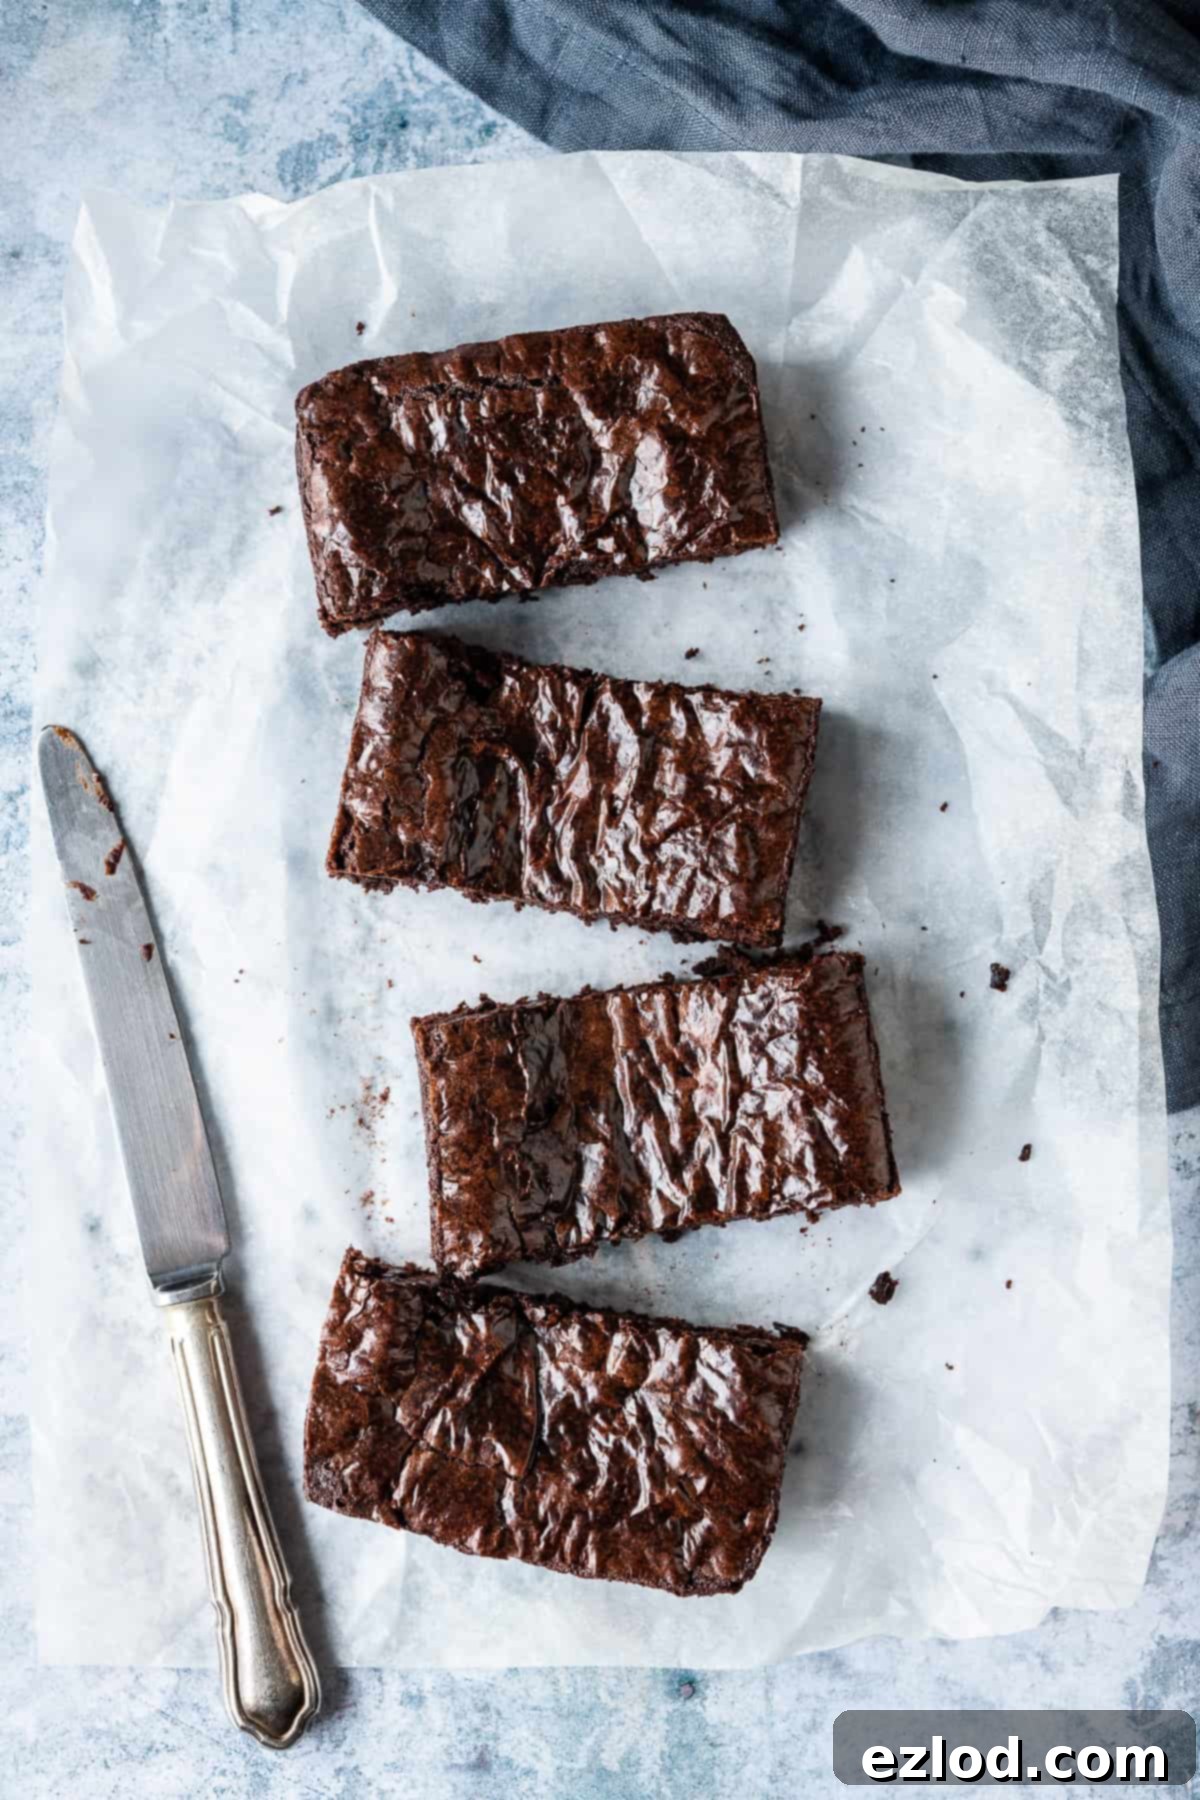
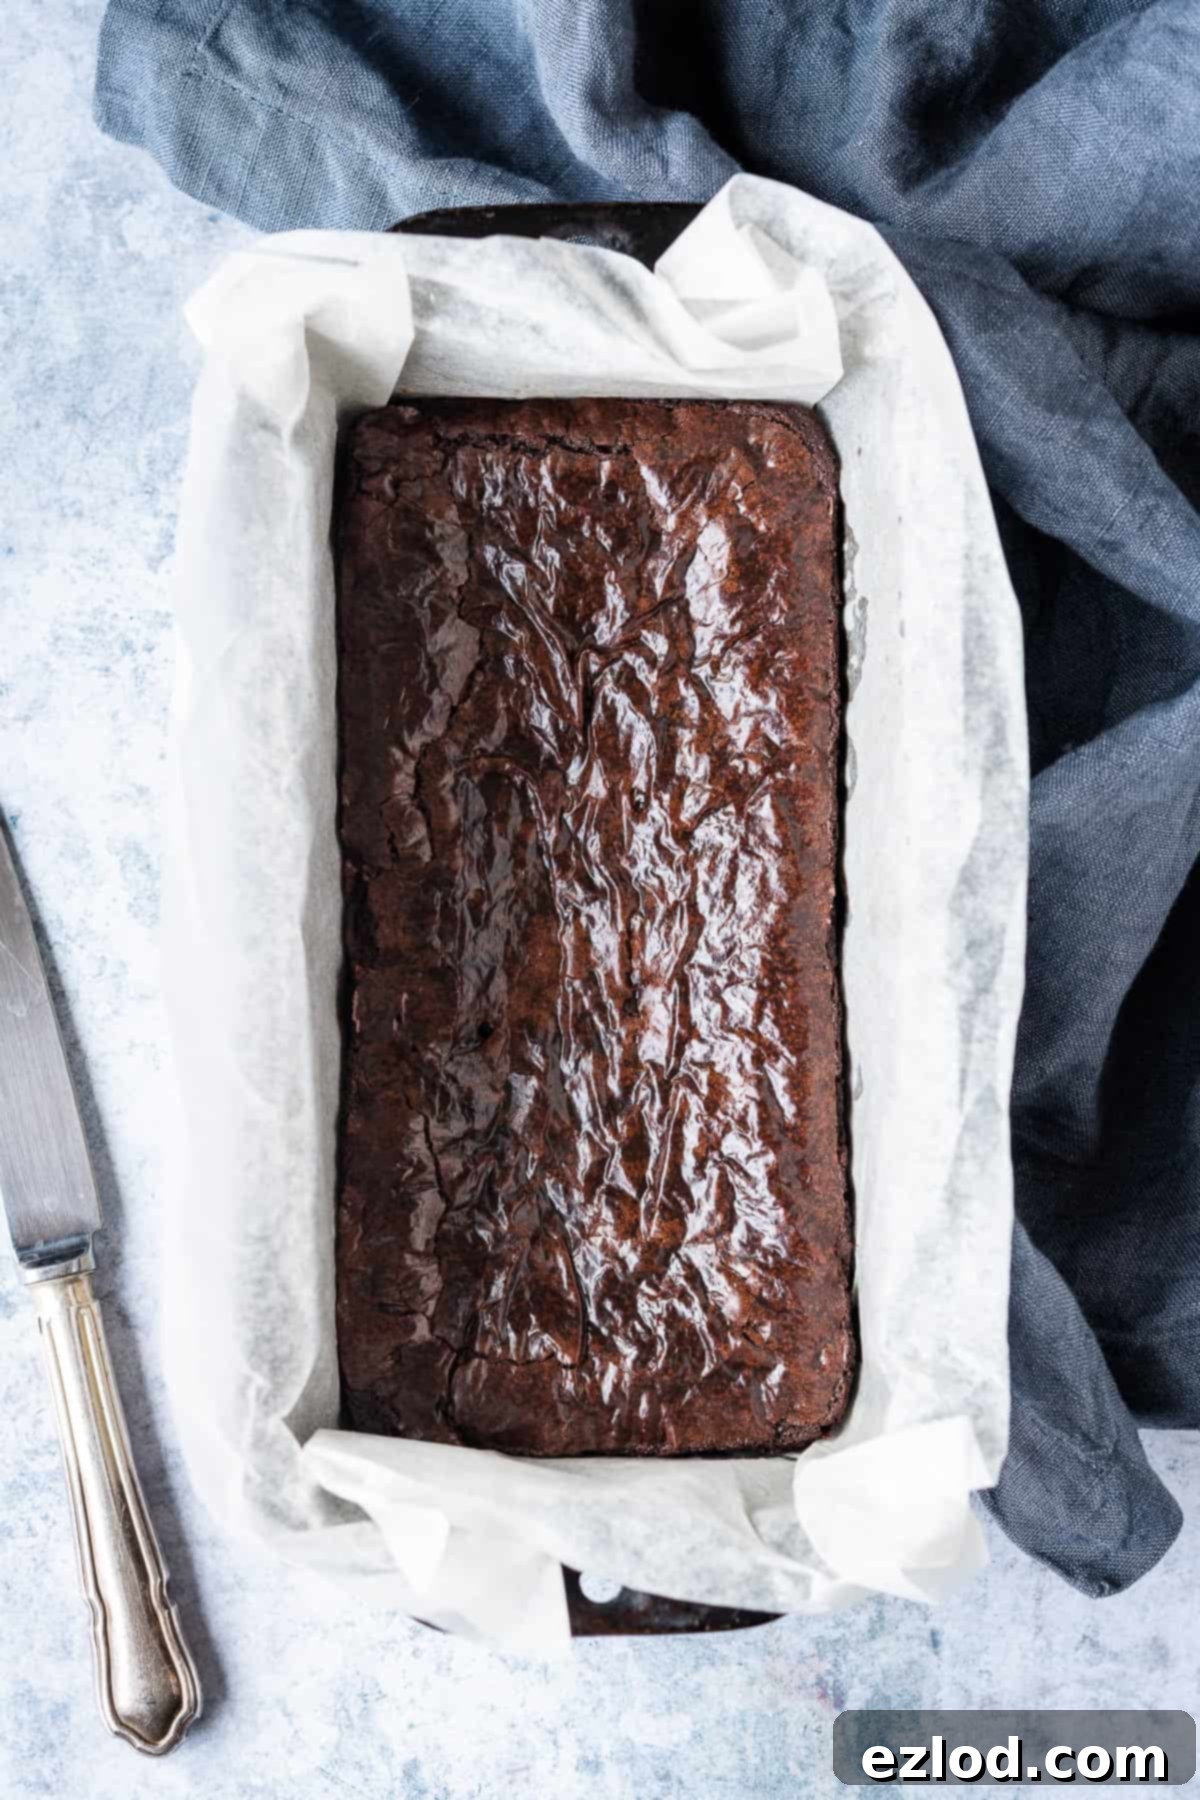
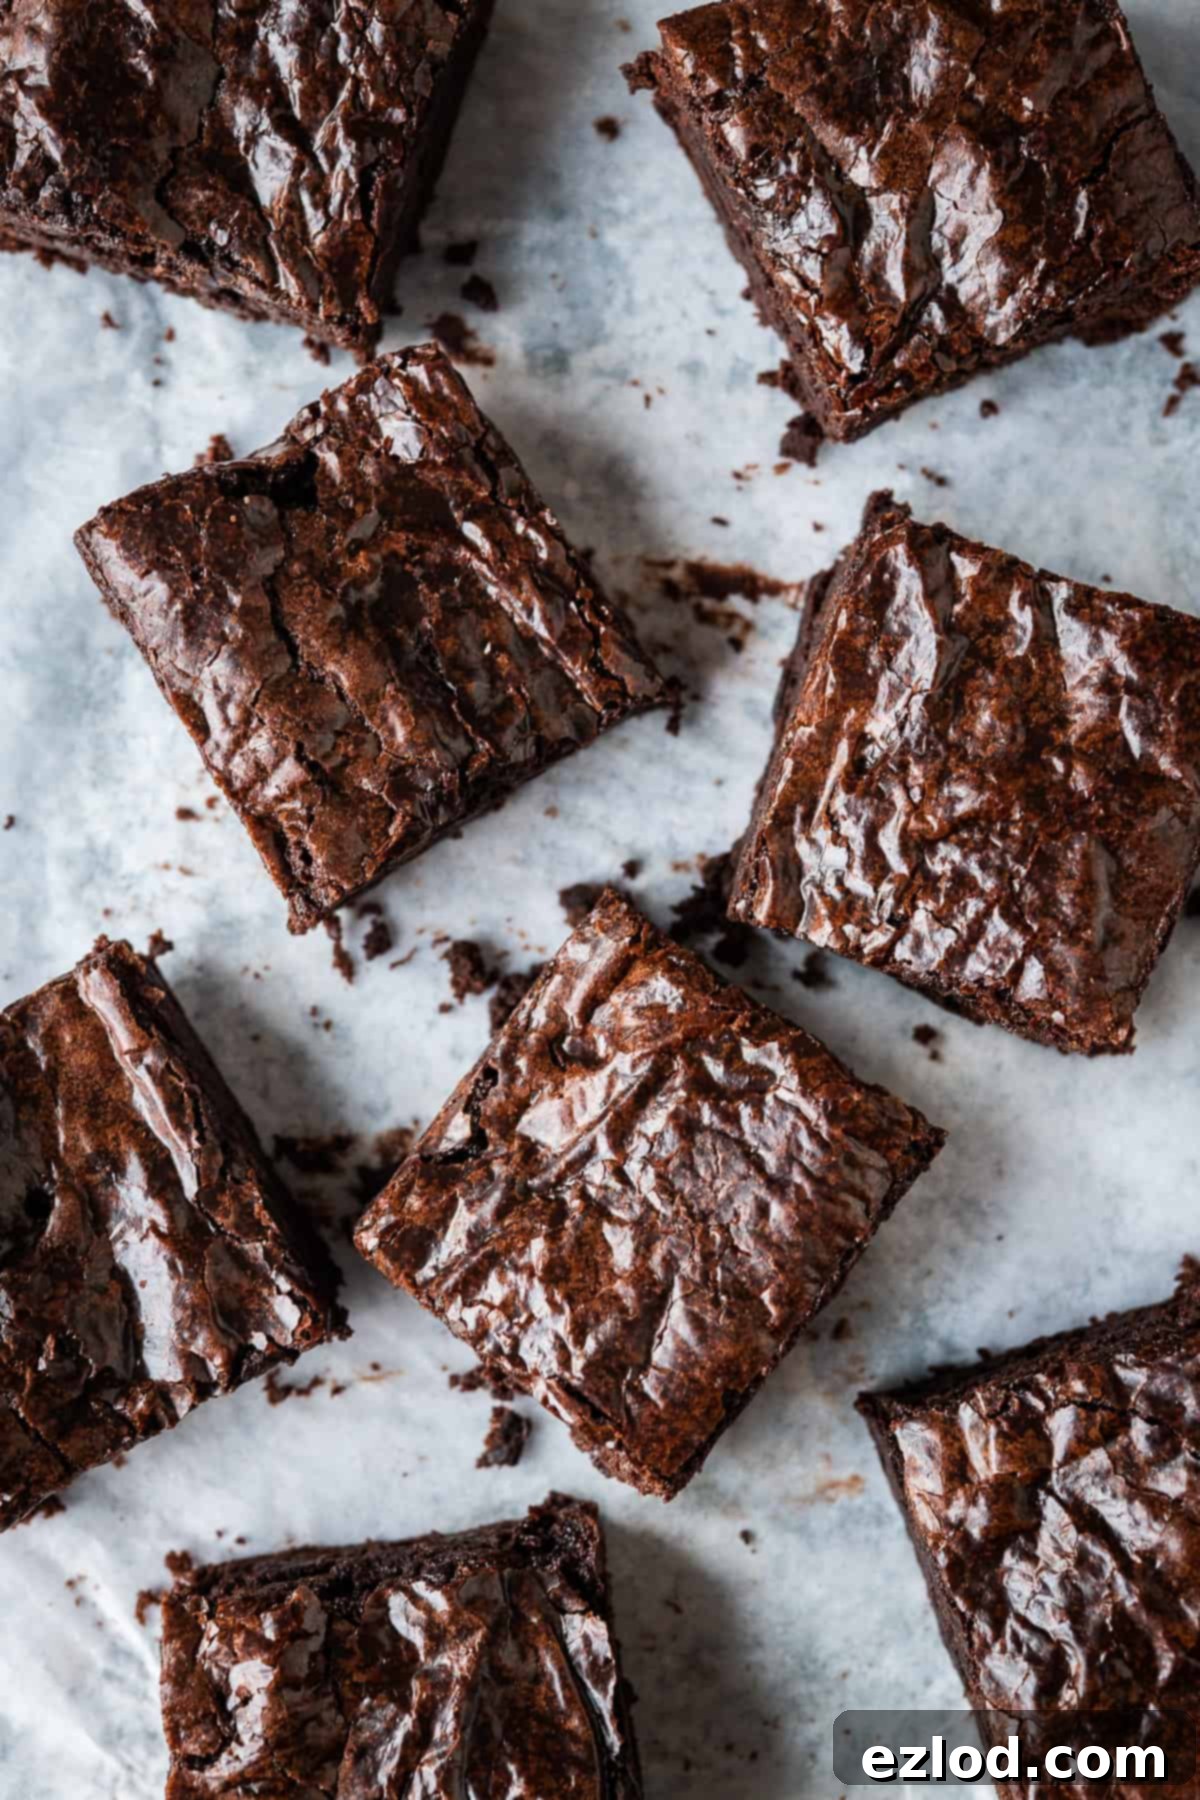
This recipe isn’t just a downsized version of any brownie; it’s a meticulously adapted iteration of my acclaimed chewy vegan brownies. Many consider that original recipe to be the pinnacle of vegan brownie perfection. They are celebrated for their incredible density, satisfying chewiness, deep fudgy texture, and intense chocolate flavor – truly brownie lovers’ heaven! Rest assured, this smaller batch retains all those glorious qualities, delivering an equally satisfying experience in a more manageable portion. Plus, these brownies are incredibly easy to whip up, and just look at that absolutely super shiny, crisp crust – a hallmark of a truly great brownie!
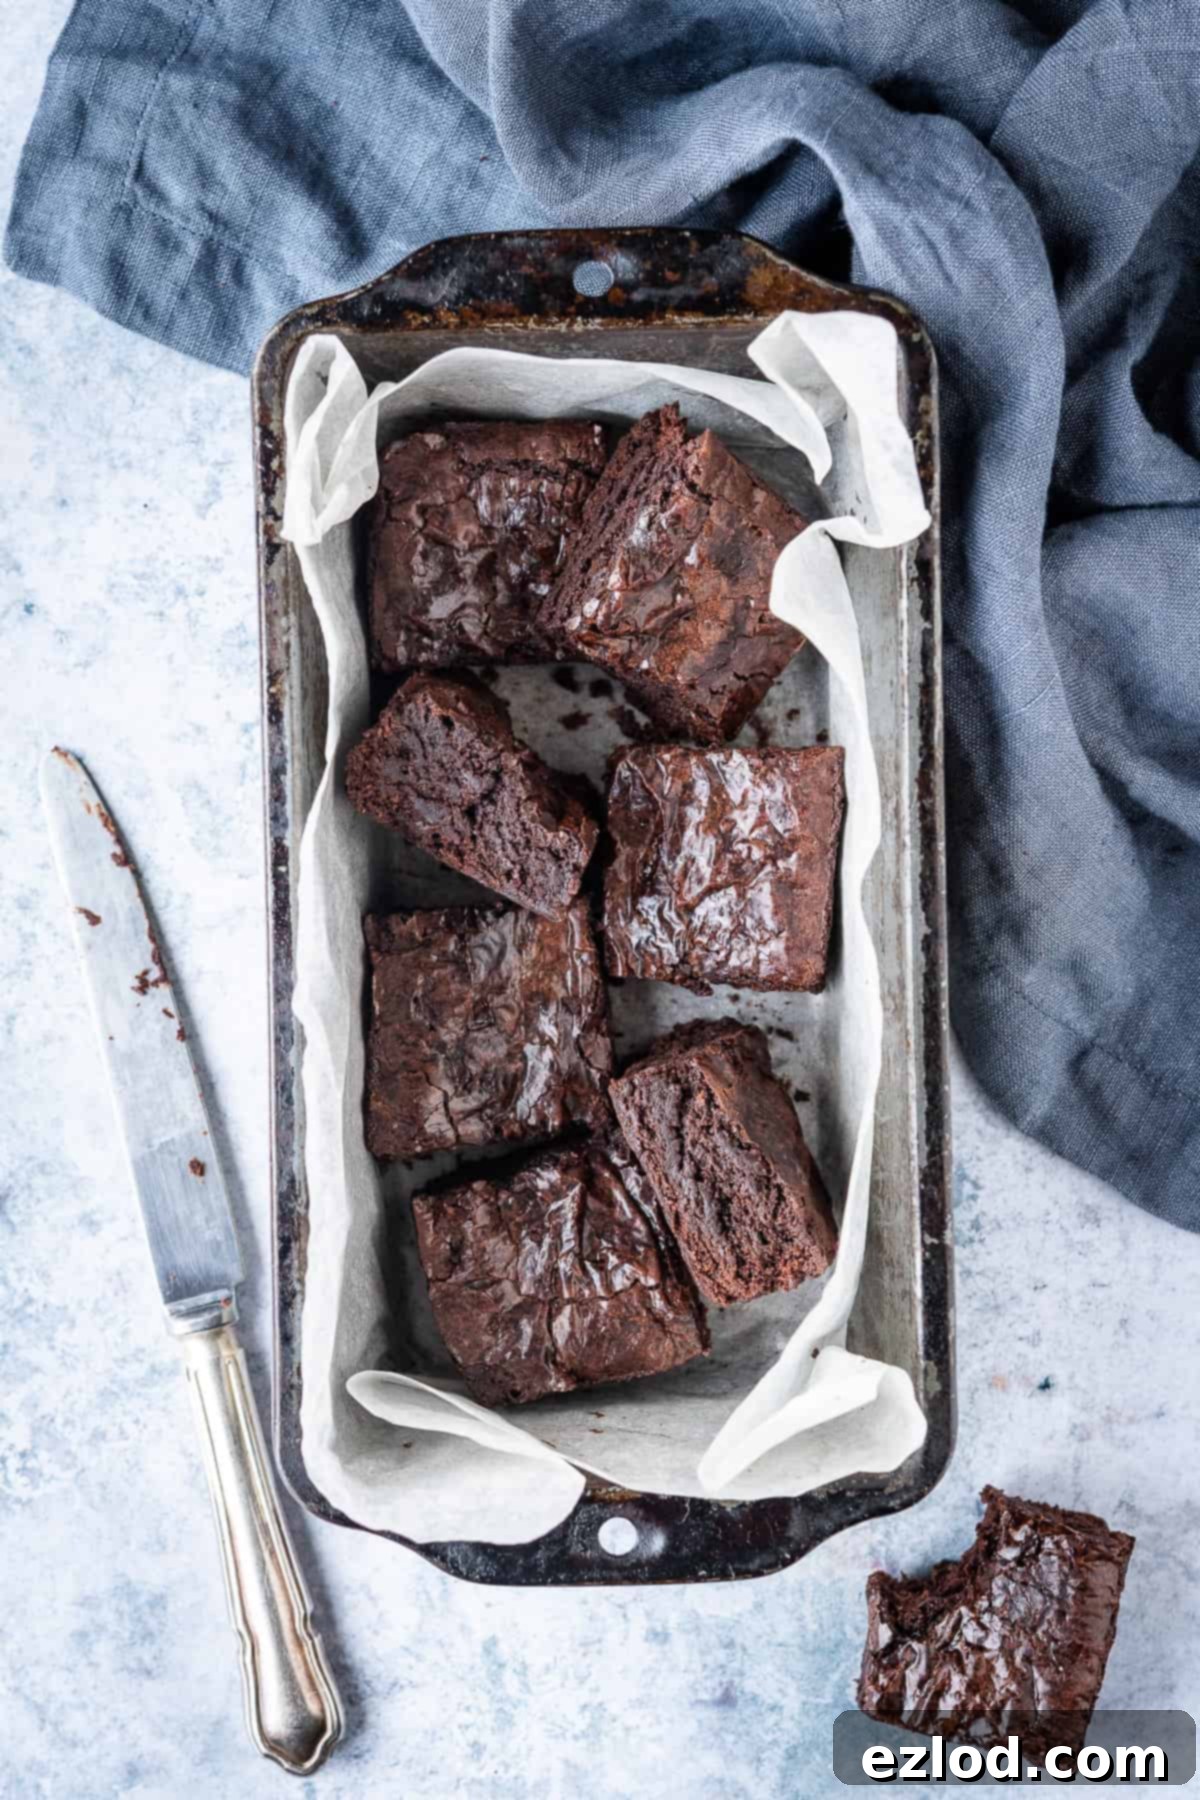
A standard 10 x 20cm / 4 x 8 inch loaf tin (my personal tin measures 9 x 19cm at the base) proves to be the absolute perfect vessel for baking this small batch. It’s a common kitchen item that many people already own, making this recipe accessible to a wider audience. If you don’t have a loaf tin, don’t worry – I’ve included helpful tips below for other suitable baking dishes and how to adjust your baking accordingly!
How To Make Irresistibly Fudgy Small Batch Vegan Brownies:
Making these decadent small batch vegan brownies is a straightforward process, designed for ease and enjoyment. Here’s a detailed breakdown of the steps. (For precise ingredient quantities and full, detailed instructions, please refer to the comprehensive recipe card located below.)
1. Prepare Your Dry Ingredients:
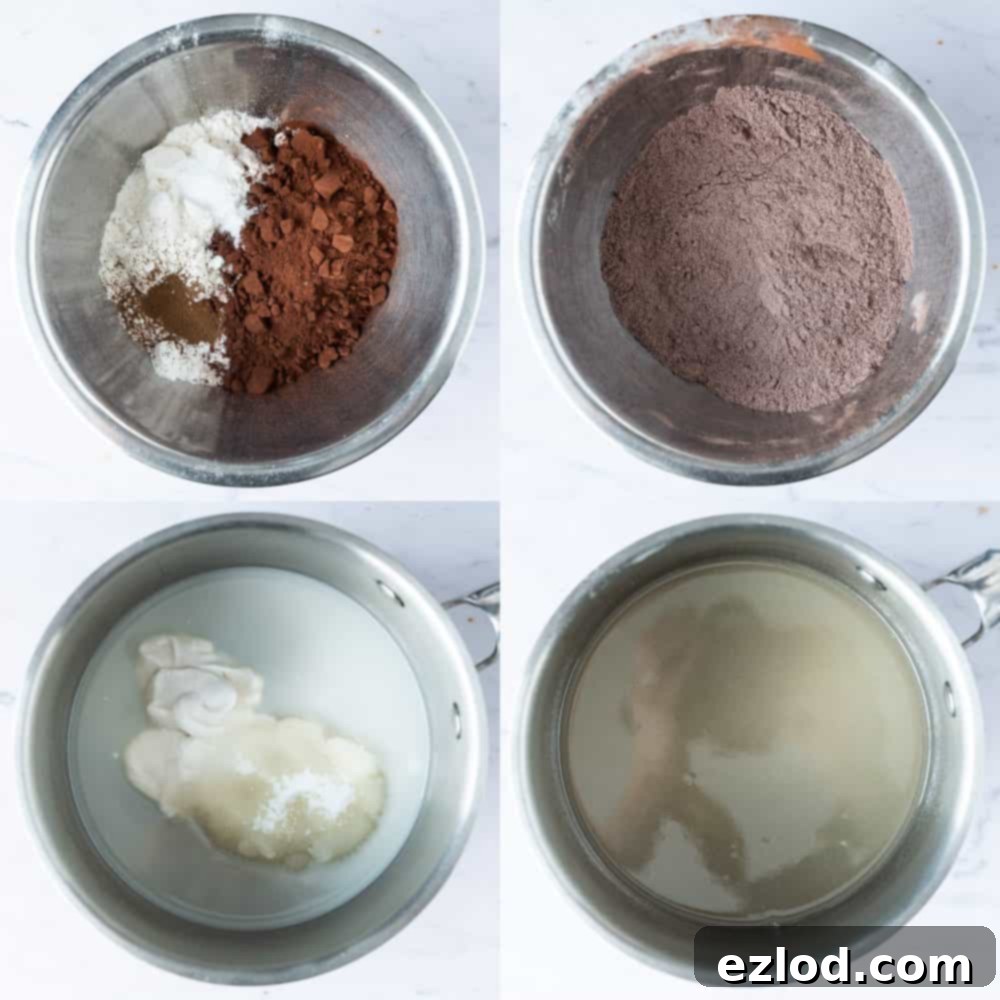
Begin by taking a medium-sized bowl and sifting together all your dry ingredients. This includes the plain (all-purpose) flour, rich cocoa powder, a pinch of instant espresso powder (which brilliantly deepens the chocolate flavor without making it taste like coffee), baking powder for a slight lift, and a touch of salt to balance the sweetness. Sifting is a crucial step that helps to remove any lumps, ensuring a smooth, even texture in your final brownies. Once sifted, give them a quick whisk to combine thoroughly and set this mixture aside.
2. Gently Heat Your Wet Ingredients:
In a separate pan, combine the granulated or caster sugar, your chosen non-dairy yogurt, and non-dairy milk. Place this pan over a low heat on your stovetop. Stir the mixture regularly and patiently. The goal here is to fully dissolve the sugar, which is key to achieving that signature shiny, crisp crust on top of your brownies. Continue stirring until the sugar granules are completely gone and the mixture looks hot and glossy, but make sure it doesn’t reach a full rolling boil. This gentle heating method ensures everything melds together beautifully.
3. Incorporate Chocolate and Flavorings:
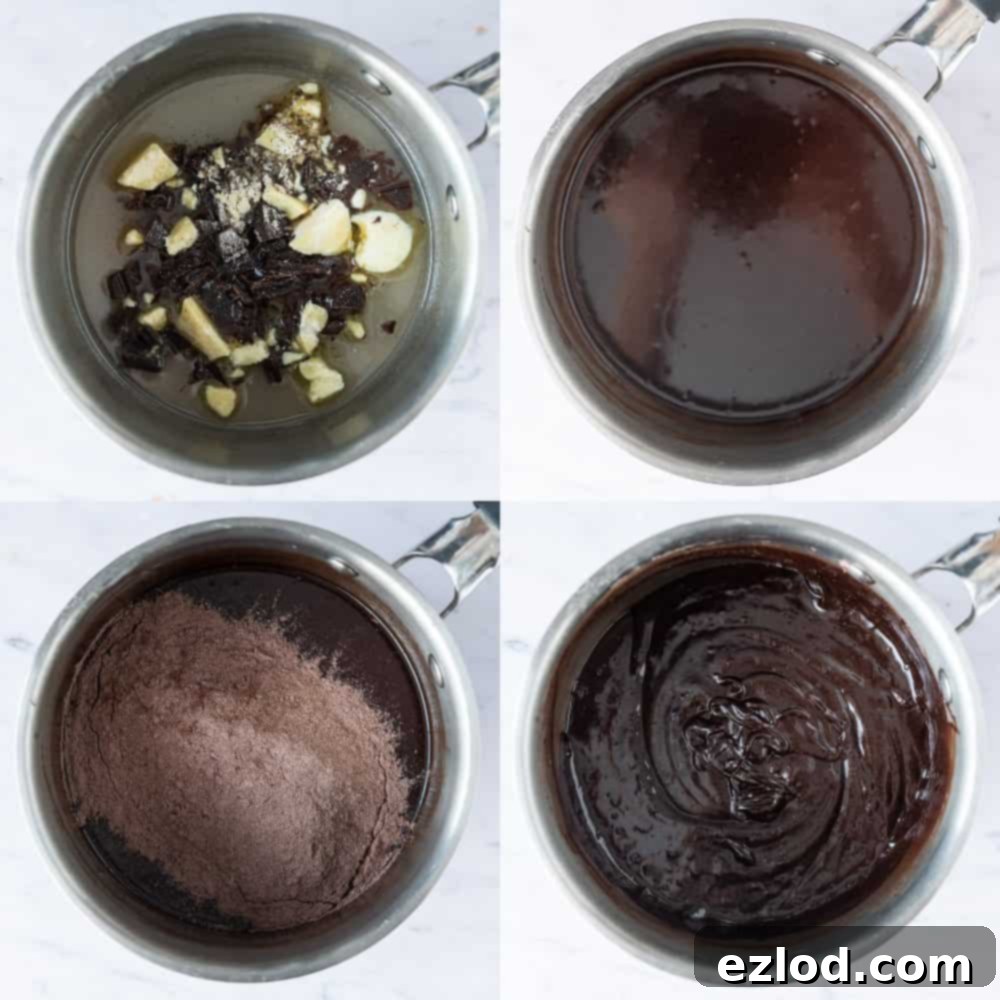
Once your wet sugar mixture is perfectly hot and glossy with no sugar granules remaining, remove the pan from the heat immediately. Now, add your finely chopped dark chocolate, cocoa butter (or coconut oil), and the fragrant vanilla extract. Stir continuously until everything is completely melted and the mixture transforms into a wonderfully smooth, glossy, and homogeneous chocolate base. This step infuses your brownies with rich, deep chocolate flavor and contributes significantly to their fudgy texture.
4. Combine Wet and Dry Mixtures:
Carefully pour the sifted dry ingredients into your melted chocolate mixture. Using a spatula or wooden spoon, gently stir until just combined. The key here is not to overmix; stirring until no dry lumps remain is sufficient. Overmixing can develop the gluten in the flour, leading to tough, cakey brownies instead of the desired dense, fudgy texture. The batter will be quite thick at this stage. If you plan to add any optional mix-ins, such as chocolate chips, chopped nuts, or even a swirl of nut butter, now is the time to gently fold them in.
5. Prepare for Baking:
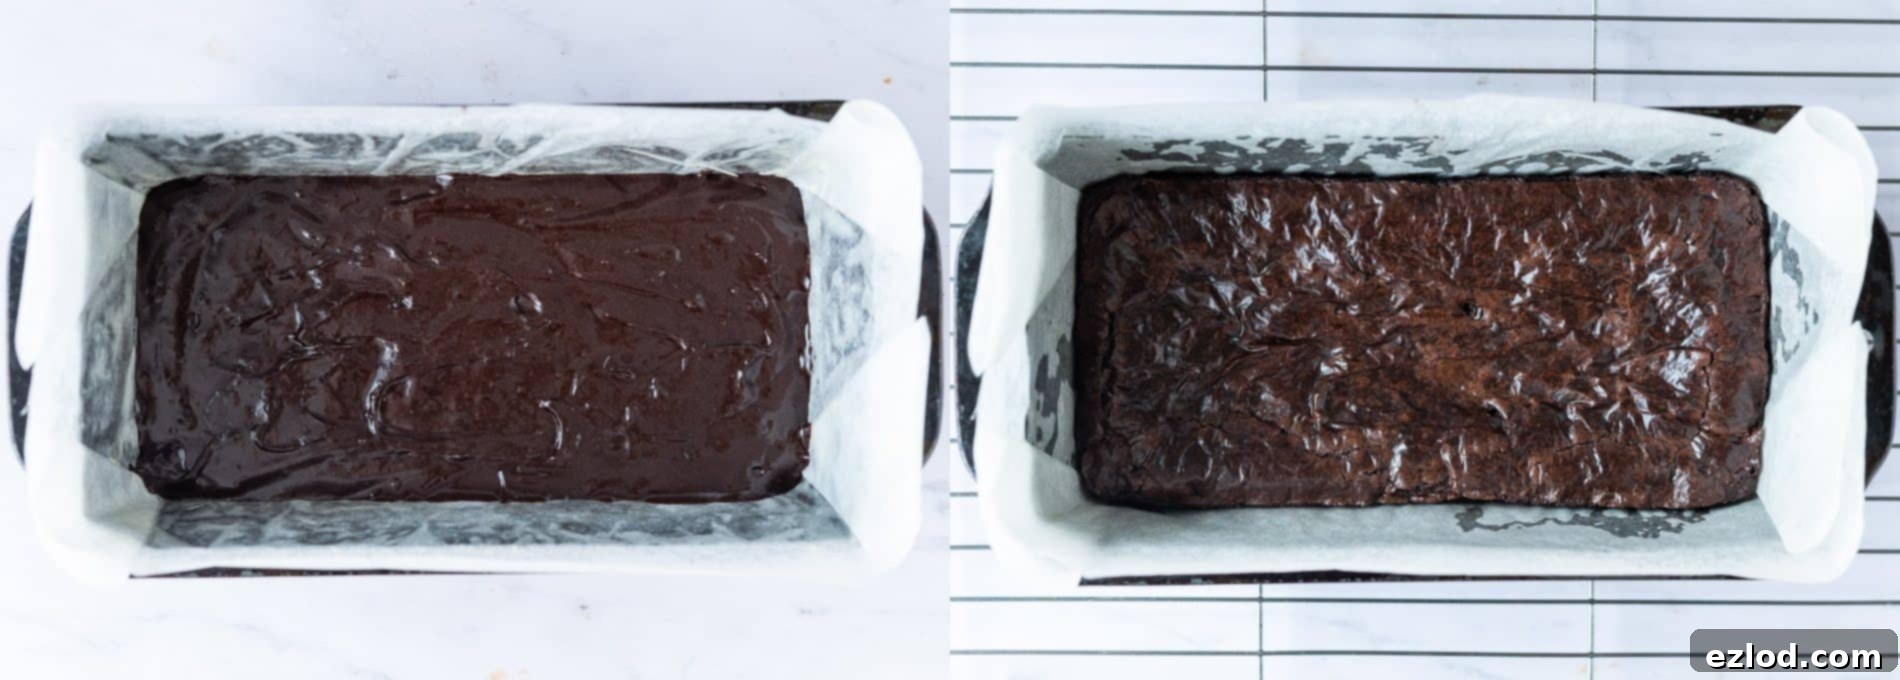
Pour the thick brownie batter into your prepared 10×20 cm / 4×8 inch loaf tin, which should already be greased and lined with baking parchment. Use a spatula or the back of a spoon to spread the batter as evenly as possible and smooth the top. This helps ensure even baking and a beautiful, consistent surface.
6. Bake to Perfection (Don’t Overbake!):
Transfer your loaf tin to the preheated oven and bake for approximately 20-25 minutes. In my oven, 22 minutes yielded perfect results. The crucial part of baking brownies is knowing when they are done without overbaking them. You’re looking for a skewer inserted into the center to come out a bit ‘gunky’ with moist crumbs attached, but absolutely no wet batter. If your skewer comes out completely clean, it’s a sign that your brownies are likely over-baked and might end up dry or cakey rather than fudgy. Brownies can transition from perfectly cooked to overdone very rapidly, often within a minute or two. To prevent this, start checking for doneness around the 18-minute mark, and then every couple of minutes thereafter. This vigilance will ensure your brownies achieve that ideal fudgy consistency.
7. Cool Completely for Clean Slices:
Once baked, remove the brownies from the oven and resist the urge to slice them immediately. It’s essential to let them cool completely in the tin before attempting to slice them. While warm brownies are undeniably tempting, they will be very difficult to cut neatly and may crumble. Allowing them to cool fully allows them to set properly, ensuring you can achieve those beautiful, clean, perfectly square slices you desire. Patience is a virtue, especially when it comes to perfect brownies!
Top Brownie Making Tips for Vegan Perfection:
Achieving truly exceptional brownies, especially vegan ones, often comes down to a few key techniques and ingredient considerations. Here are some of my top tips to ensure your small batch vegan brownies turn out perfectly dense, fudgy, and absolutely delicious every single time:
- Precision in Measurements is Key: For the absolute best results in baking, always follow the recipe closely. I cannot stress enough the importance of using gram measurements with a digital kitchen scale, rather than relying on cup conversions. Cup measurements, particularly for dry ingredients, can be wildly inaccurate due to variations in how ingredients are packed, leading to inconsistent results. Grams provide precise, consistent measurements, which is critical for the delicate balance in baking.
- Don’t Skimp on Sugar for that Shiny Crust: That coveted thin, shiny, and slightly crisp crust on top of your brownies isn’t just for aesthetics; it’s a sign of a perfectly made brownie. This crust is primarily created by the sugar dissolving and then caramelizing on the surface. Therefore, resist the urge to reduce the amount of sugar in the recipe, as doing so will compromise this delightful textural element and potentially affect the overall moisture of your brownies.
- Alternative Baking Vessels: If you don’t own a 10 x 20cm / 4 x 8 inch loaf tin, don’t let that stop you! A small baking dish or roasting tin of a similar volume, a disposable foil takeaway tray, or even a 15cm / 6 inch round cake tin can work as suitable alternatives. Just be mindful that if your chosen tin is wider or shallower, the brownie batter will be spread thinner. This means your brownies will likely cook a little quicker, so it’s essential to keep a very close eye on them during the baking process to prevent overbaking.
- Cocoa Butter vs. Coconut Oil: In my experience, using cacao or cocoa butter imparts the most luxurious flavor and the absolute best texture to these brownies. While it’s readily available online and in specialty food stores, I understand it might not be a staple in everyone’s pantry. For convenience, I’ve thoroughly tested this recipe with coconut oil as a substitute, and it works remarkably well, still yielding delicious, fudgy results. Feel free to use whichever you have access to.
- The Secret Weapon: Espresso Powder: A small amount of instant espresso powder might seem like an unusual addition, but it’s a game-changer! It doesn’t make the brownies taste like coffee; instead, it subtly deepens and intensifies the chocolate flavor, making it richer and more complex. If you don’t have any on hand, you can certainly omit it without ruining the recipe, but I highly recommend including it for that extra layer of chocolatey goodness.
- Yogurt is Essential (and Hard to Substitute): The non-dairy yogurt plays a crucial role in the texture and moisture of these vegan brownies, providing richness and a slight tang. Unfortunately, I haven’t tested this recipe with any other substitutes for the yogurt, so I cannot confidently recommend an alternative. It acts as a binder and contributes to the fudginess, making it a fairly indispensable ingredient in this particular formulation.
- Don’t Compromise on Chocolate: This might seem obvious, but it bears repeating: you absolutely cannot omit either the dark chocolate or the cocoa powder. Both are fundamental to not only the intense chocolate flavor profile but also the structural integrity and desired fudgy texture of the brownies. They are non-negotiable for a truly authentic brownie experience.
- Customize with Mix-Ins: Feel free to personalize your brownies! Once the wet and dry ingredients are just combined, you can gently fold in a handful of chocolate chips (vegan, of course!), chopped nuts like walnuts or pecans for added crunch, or even dried fruit like cranberries for a fruity counterpoint.
- The Golden Rule: DO NOT OVERBAKE! This is perhaps the most critical advice for fudgy brownies. Always err on the side of underbaking rather than overbaking. As mentioned in the main instructions, remove your brownies from the oven when a skewer inserted into the center comes out ‘gunky’ with moist crumbs, but no wet batter. If the skewer comes out clean, your brownies are already overdone and will likely be dry and cakey. Start checking around 18 minutes and then every minute or two, as they can go from perfect to overcooked incredibly quickly.
- Choose Your Pan Wisely: Metal vs. Glass: Whenever possible, opt for a metal baking pan over a glass one for brownies. Glass dishes retain heat for much longer, meaning the brownies continue to cook even after you’ve taken them out of the oven. This residual heat can easily lead to overbaking. Metal pans cool down more quickly, halting the cooking process more efficiently and giving you better control over the final texture.
- Patience for Perfect Slices: Just like fine wine, brownies improve with a little patience. Allow your brownies to cool completely in the tin before you even think about slicing them. Cooling allows them to firm up and set, making it much easier to achieve neat, clean squares without any crumbling or sticking.
- Serving Suggestions: Warm or Chilled:
- For a Softer, Just-Baked Feel: If you enjoy your brownies with a warm, melty center, or if you’re refreshing them after they’ve been stored for a few days, simply pop an individual brownie square into the microwave for about 10 seconds. Warmed up like this, they are also absolutely divine when topped with a scoop of vegan vanilla ice cream!
- For a Firmer, Chewier Bite: Conversely, if you prefer your brownies to be extra firm, dense, and intensely chewy, try chilling them in the refrigerator for an hour or so before serving. This enhances their density and makes for a delightfully chewy experience.
Can I Freeze These Small Batch Vegan Brownies?
Absolutely! These small batch vegan brownies freeze exceptionally well. Once they have completely cooled, slice them into individual portions and store them in an airtight container or a freezer-safe bag. They can be kept frozen for up to three months. When you’re ready to enjoy one, simply thaw it at room temperature or warm it slightly in the microwave for a few seconds for that fresh-baked feel.
Explore More Delightful Small Batch Vegan Recipes:
If you’ve loved the convenience and deliciousness of these small batch brownies, you’re in for a treat! Here are a few more of my favorite small batch vegan recipes, perfect for when you want to bake something special without making a huge quantity:
- Vegan Chocolate Chip Cookies for One (or Two): Craving cookies? This recipe lets you whip up a couple of warm, gooey cookies without the commitment of a dozen.
- Vegan Chocolate Cupcakes for Two: Perfect for an intimate celebration or a sweet treat to share, these cupcakes are moist, rich, and utterly delightful.
- Vegan Chocolate Chip Raspberry Skillet Cookie for Two: An impressive yet easy dessert, this skillet cookie is warm, gooey, and bursting with chocolate and raspberry flavors.
If you tried this incredibly delicious small batch vegan brownie recipe, I’d absolutely love to see your creations! Why not tag @domestic_gothess on Instagram and use the hashtag #domesticgothess? Your baking inspires me!
*All images and content on Domestic Gothess are copyright protected. If you wish to share this recipe with others, please do so by utilizing the provided share buttons. Please do not screenshot, copy, or post the full recipe or its content in its entirety. Thank you for respecting my work.*

Print
Small Batch Vegan Brownies
Ingredients
- 60 g (½ cup) plain (all-purpose) flour
- 30 g (¼ cup) cocoa powder
- ¼ tsp baking powder
- ¼ tsp instant espresso powder (optional)*
- ⅛ tsp salt
- 50 ml (3 Tbsp + 1 tsp) unsweetened non-dairy milk (I use soy)
- 35 g (2 Tbsp + 1 tsp) non-dairy yogurt (I use coconut)**
- 120 g (½ cup + 1 ½ Tbsp) caster (or granulated) sugar***
- 40 g dark chocolate (about 70% cocoa is best) chopped
- 25 g cocoa/cacao butter (or coconut oil)
- 1 tsp vanilla extract
Instructions
-
Preheat the oven to 180°C/160°fan/350°F/gas mark 4. Grease a 10x20cm / 4×8 inch loaf tin (mine measures 9 x 19cm on the base) and line with baking parchment.
-
Sift together the flour, cocoa powder, baking powder, espresso powder and salt and set aside.
-
Place the milk, yogurt and sugar in a medium sized pan over a low heat. Stir often until the sugar has dissolved and the mixture is hot and glossy looking but not quite boiling.
-
Remove from the heat and add the chopped chocolate and cocoa butter and the vanilla extract. Stir until melted and smooth.
-
Tip in the dry ingredients and stir until no dry lumps remain. The batter will be quite thick. If you wish to add any mix-ins such as chocolate chips or chopped nuts then mix them in now.
-
Transfer the batter to the prepared tin and spread it level. Smooth the top with a spatula or the back of a spoon.
-
Bake for 20-25 minutes (mine took 22), until a skewer inserted into the centre comes out gunky with moist crumbs but no wet batter. If it comes out clean that means they are over-baked so keep an eye on them and check them every minute or two after they have been in the oven for about 18 minutes.
-
Leave the brownies to cool completely in the tin before slicing into squares. Store in an airtight container for up to a week.
Notes
- For the best results make sure that you follow the recipe closely. As always, I highly recommend using the gram measurements (with a digital scale), rather than the cup conversions. Cup measurements are simply not accurate enough for baking and I cannot guarantee the best results if you use them.
- If you don’t have a loaf tin the right size then a small baking dish/roasting tin about the same size, a foil takeaway tray or maybe a 15cm / 6 inch round cake tin could work. Bear in mind that if the brownies are thinner however they will cook a little quicker so keep an eye on them.
- *A little bit of instant espresso powder helps to deepen the chocolate flavour of the brownies but you can omit it if you don’t have any.
- **I don’t know what you could substitute for the yogurt I’m afraid. I haven’t tested them with anything else.
- ***It is the sugar that creates the shiny, crisp crust so don’t reduce it!
- If you like you can add a handful of chocolate chips or chopped nuts to the brownie batter.
- You absolutely do not want to overbake brownies. Make sure that you take them out of the oven when a skewer inserted into the centre comes out a bit gunky with moist crumbs (but not wet batter). If the skewer comes out clean they they are overdone and might be dry, so keep a close eye on them. Check them every minute or two towards the end of baking.
