Homemade Vegan Seitan Pepperoni: Spicy, Meaty, and Effortlessly Delicious
Craving that irresistible, spicy kick of pepperoni but sticking to a plant-based diet? Look no further! This incredible homemade vegan seitan pepperoni recipe is unbelievably easy to make and will satisfy all your savory cravings. Crafted from vital wheat gluten, this versatile meat alternative boasts a delightfully chewy, meaty texture and a bold, spicy flavor that will fool even the most discerning palate. Get ready to elevate your pizzas, sandwiches, and more with this high-protein, plant-powered wonder!

Forget expensive store-bought vegan alternatives that often lack the authentic taste and texture. Our recipe for easy vegan pepperoni is a game-changer. It’s not just a substitute; it’s a star in its own right! Whether you’re layering it on a classic pizza, adding a zesty kick to a sandwich, creating an impressive vegan charcuterie board, or simply enjoying it as a high-protein snack, this seitan pepperoni delivers every time. It’s a fantastic example of how accessible and delicious plant-based cooking can be.
Seitan, also affectionately known as “wheat meat,” is truly a marvel in the vegan culinary world. It’s derived from the protein found in wheat, primarily vital wheat gluten, and offers an astounding protein content—approximately 75g per 100g. Beyond its impressive protein profile, seitan is also a valuable source of iron. Its neutral base makes it incredibly adaptable, eagerly absorbing whatever flavors you infuse into it. This characteristic allows for endless customization, enabling you to replicate virtually any meat texture and flavor you desire. Prepare to be amazed by the versatility of seitan – hail seitan!
Why Make Your Own Vegan Pepperoni?
There are countless reasons to venture into making your own homemade vegan pepperoni. First, the flavor and texture are simply superior to most commercial options. You control the spice level, the saltiness, and the exact blend of savory notes. Second, it’s often more economical than buying specialty vegan meats, especially given the high cost of vital wheat gluten can be offset by the volume it produces. Third, you know exactly what ingredients go into it, avoiding unnecessary additives, preservatives, or artificial colors. This recipe uses wholesome, easy-to-find ingredients to create a truly delicious and satisfying product that’s free from animal products and brimming with flavor.
Essential Ingredients for Perfect Seitan Pepperoni:
Crafting this flavorful plant-based pepperoni requires a few key ingredients, each playing a crucial role in achieving that authentic texture and taste. We’ll break down why each component is essential for your best batch of homemade seitan pepperoni.
Vital Wheat Gluten: The Heart of Your Seitan Pepperoni
Vital wheat gluten: This is the absolute cornerstone of any seitan recipe, and our vegan pepperoni is no exception. It is the concentrated protein extracted from wheat flour, and while it looks like ordinary flour, its properties are dramatically different. When combined with liquid, it forms a cohesive, elastic dough that, once cooked, develops a wonderfully chewy and firm texture, mimicking meat perfectly. It’s the secret to that robust, satisfying bite in your homemade pepperoni. Vital wheat gluten is readily available online and in many health food stores.
Gram Flour: For Superior Texture
Gram flour (chickpea flour/besan): Incorporating gram flour into our seitan pepperoni recipe is a game-changer for texture. It helps to soften the chewiness of the vital wheat gluten, preventing it from becoming overly rubbery or dense. It also contributes to a slightly more tender crumb, making the pepperoni feel more authentic. We strongly recommend using gram flour as there isn’t a direct substitute that yields the same desirable textural results.
The Spice Blend: Unlocking Authentic Pepperoni Flavor
Spices: The signature fiery and savory profile of pepperoni comes from a carefully selected blend of spices. Our recipe meticulously combines traditional pepperoni spices to create a truly authentic taste:
- Smoked Paprika: Provides a rich, smoky depth and contributes to the reddish hue.
- Cayenne Pepper/Chilli Powder: Delivers the essential heat that makes pepperoni so exciting. Adjust to your preferred spice level.
- Garlic Powder/Granules: Adds a foundational aromatic note, crucial for savory depth.
- Fennel Seeds: A subtle but critical ingredient, fennel imparts a sweet, anise-like flavor that is characteristic of many cured meats, including pepperoni. Crushing them slightly before adding helps release their full aroma.
- Black Pepper: A good grinding of fresh black pepper adds a sharp, pungent kick.
- Chilli Flakes: For an extra layer of heat and visual appeal.
- Mustard Seeds: These offer a pungent, earthy undertone that complements the other spices beautifully. Like fennel, a light crush helps release their flavor.
- Onion Granules: Provides another layer of savory depth, rounding out the spice profile.
Feel free to customize the spice blend to your liking. Love extra heat? Add more cayenne or chilli flakes. Prefer a milder flavor? Reduce them. This is your chance to personalize your spicy vegan meat!
Umami and Depth: The Liquid Ingredients
- Nutritional yeast: Often called “nooch,” this ingredient is a staple in vegan cooking for its cheesy, savory, umami-rich flavor profile. It’s essential for adding depth and a more complex, meaty taste to your seitan pepperoni.
- Tomato puree (tomato paste in the US): This isn’t just for color; it’s vital for adding a rich, tangy flavor, acidity, and moisture to the dough. It also gives the pepperoni that characteristic reddish-orange hue.
- Soy sauce: A powerhouse of umami, soy sauce provides essential saltiness and depth of flavor. We recommend dark soy sauce for a richer color and slightly more intense flavor.
- Vegan Worcestershire sauce: Traditional Worcestershire sauce contains anchovies, so ensure you source a vegan version. Brands like Henderson’s Relish are excellent vegan alternatives. If unavailable, an additional tablespoon of soy sauce can be used, though it won’t have the same complex tang.
- Olive oil: Just like traditional pepperoni, a little fat is crucial for a tender, moist, and flavorful result. Olive oil prevents the seitan from becoming dry and enhances the overall mouthfeel. Any neutral oil can be used, but olive oil adds a nice Mediterranean touch.
- Stock: This forms the base of your liquid mixture. A good quality vegetable bouillon works perfectly. For an even more robust and “meaty” flavor, consider using a vegan-friendly beef-flavored stock.
- Maple syrup: Many traditional pepperoni recipes include a touch of sugar to balance the salt and spice. A dash of maple syrup (or agave nectar) provides this subtle sweetness, contributing to a more rounded flavor profile. You can omit it if you prefer.

Crafting Your Own Vegan Pepperoni: A Detailed Guide
(For precise measurements and a printable recipe card, scroll to the bottom of the page.)
Making your own vegan pepperoni is a straightforward process, largely involving mixing ingredients and steaming. Here’s a detailed breakdown of each step:
Step-by-Step Instructions:
-
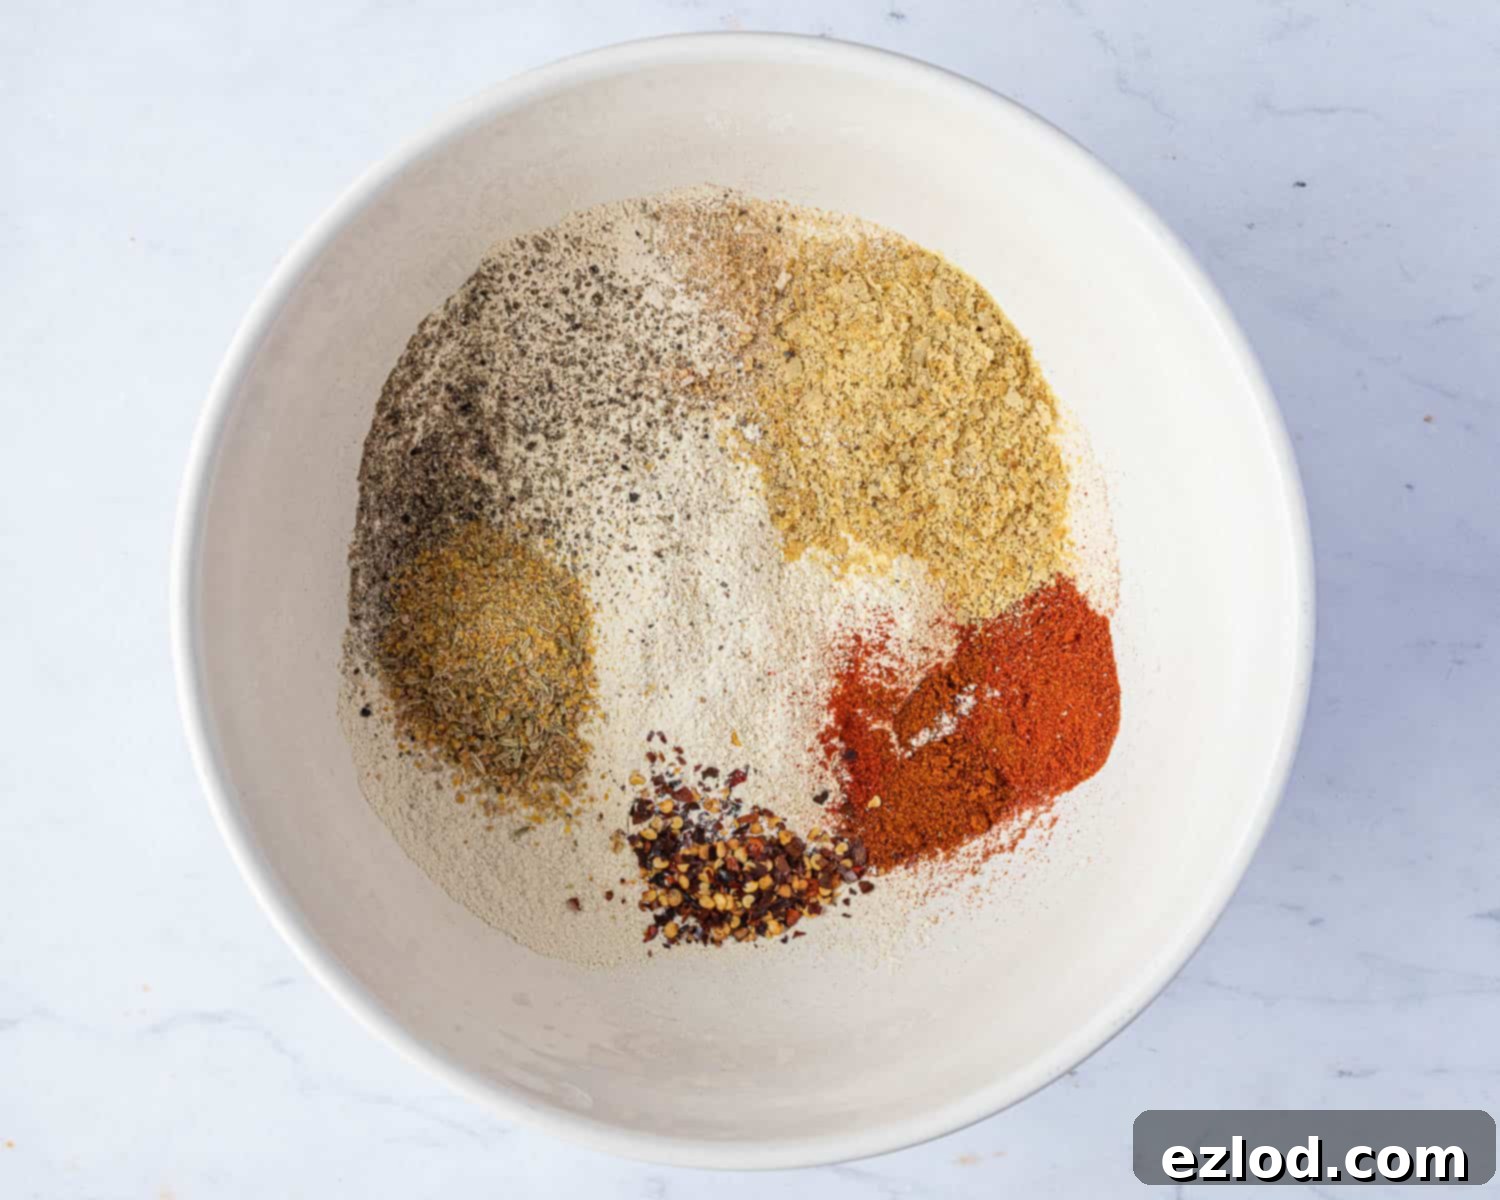
Prepare the Dry Ingredients: Begin by sifting the vital wheat gluten and gram flour into a large mixing bowl. Sifting is crucial to prevent lumps, ensuring a smooth dough. Then, add the nutritional yeast, smoked paprika, garlic and onion granules, cayenne pepper, and chilli flakes. Use a pestle and mortar to roughly crush the fennel and mustard seeds to release their aromatic oils, then add them to the bowl along with a generous grinding of fresh black pepper. Stir all the dry ingredients together thoroughly until well combined.

-
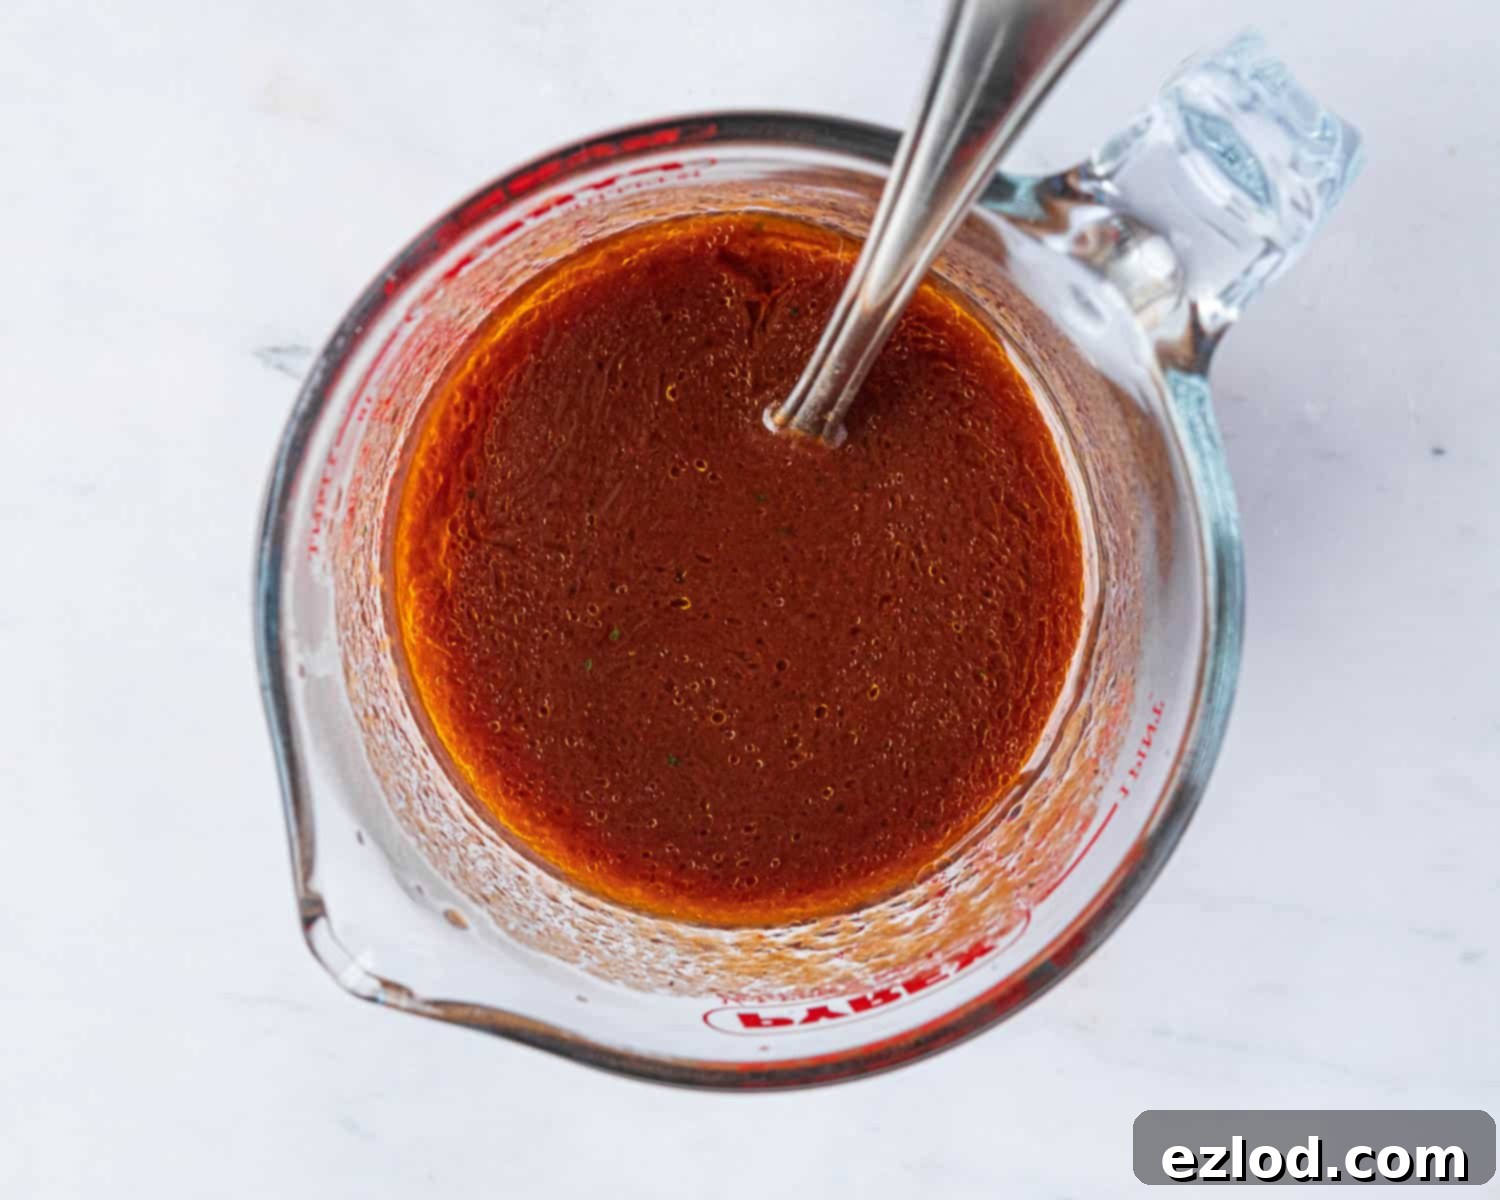
Mix the Wet Ingredients: In a separate large jug or bowl, whisk together the stock, tomato puree, soy sauce, vegan Worcestershire sauce, olive oil, and maple syrup. Ensure all liquids are well incorporated, creating a homogenous mixture.

-
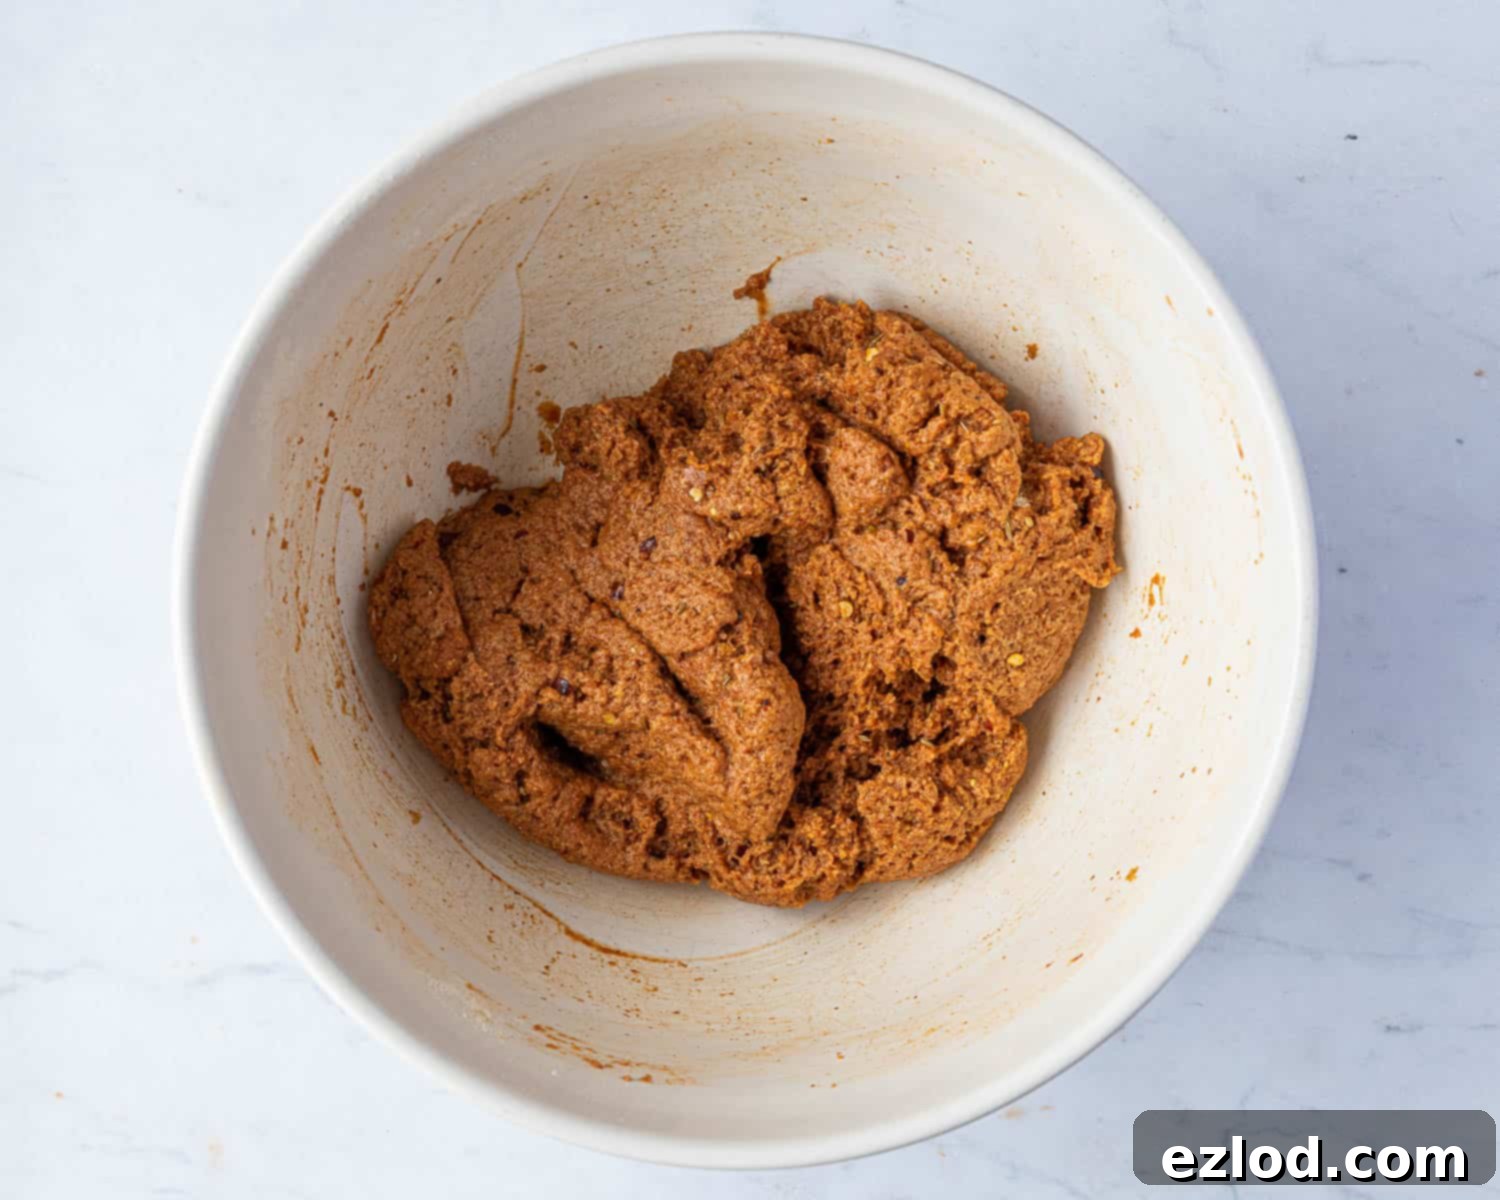
Combine and Form Dough: Pour the wet ingredients into the bowl with the dry ingredients. Using a sturdy spoon or your hands, mix until no dry lumps remain and a soft, pliable dough forms. Resist the urge to knead vigorously; over-kneading can lead to a tough, rubbery texture. Simply mix until everything is just combined.

-
Shape the Logs: Divide the dough evenly into two halves. For best results and consistency, you can use a kitchen scale for accuracy. Take each half and, using your hands, roll it into a firm log approximately 4 cm (1 ½ inches) thick. Aim for a uniform thickness to ensure even cooking.

-
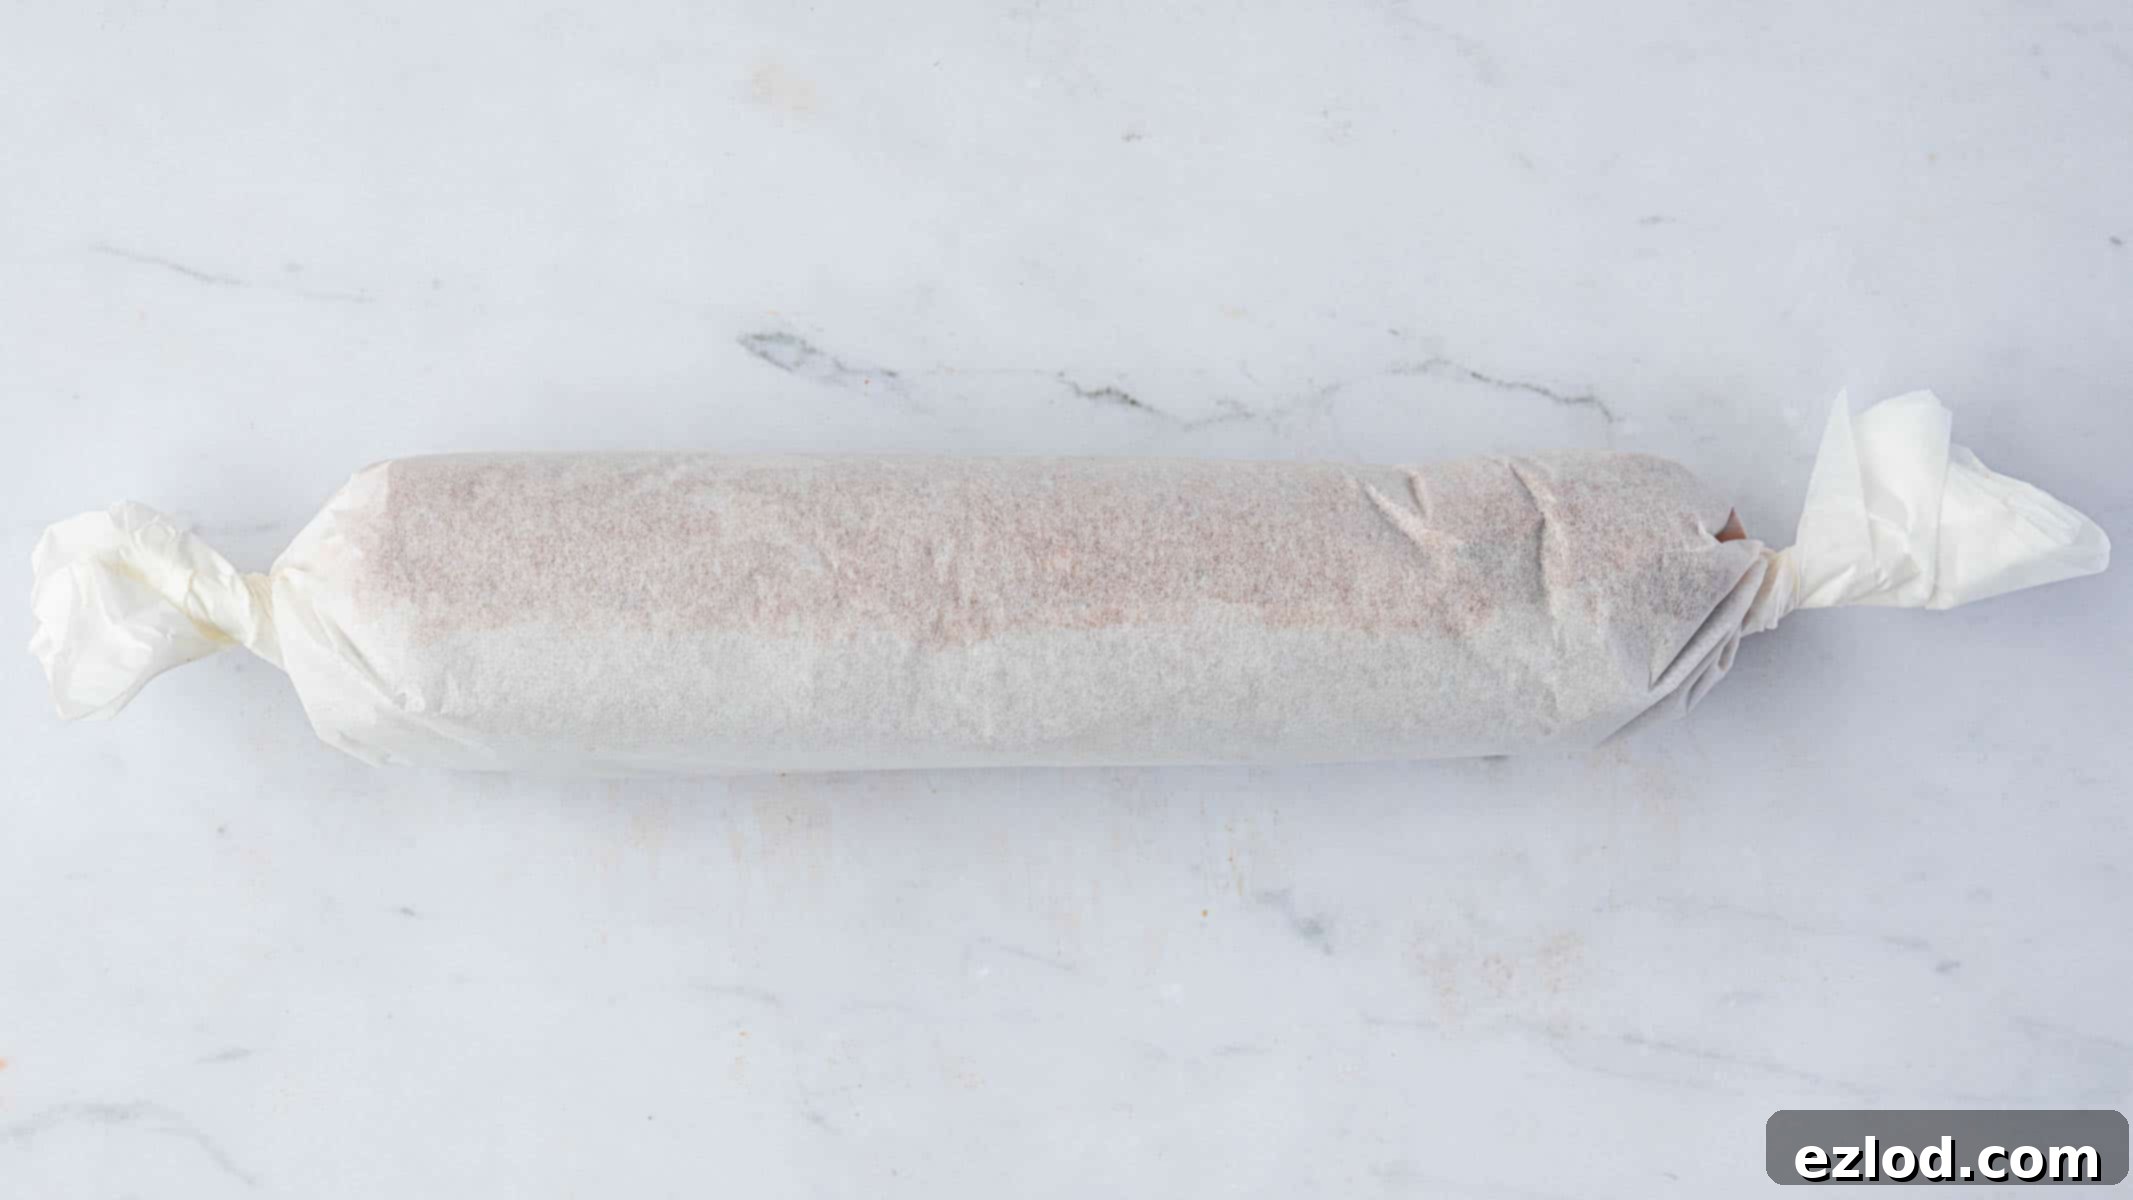
Wrap in Parchment: Place one seitan log onto a sheet of baking parchment. Roll the parchment tightly around the log, ensuring it’s snug. Twist the ends of the parchment firmly, like a candy wrapper, to seal the log in. This initial wrap helps maintain the log’s shape and prevents moisture loss during steaming.

-
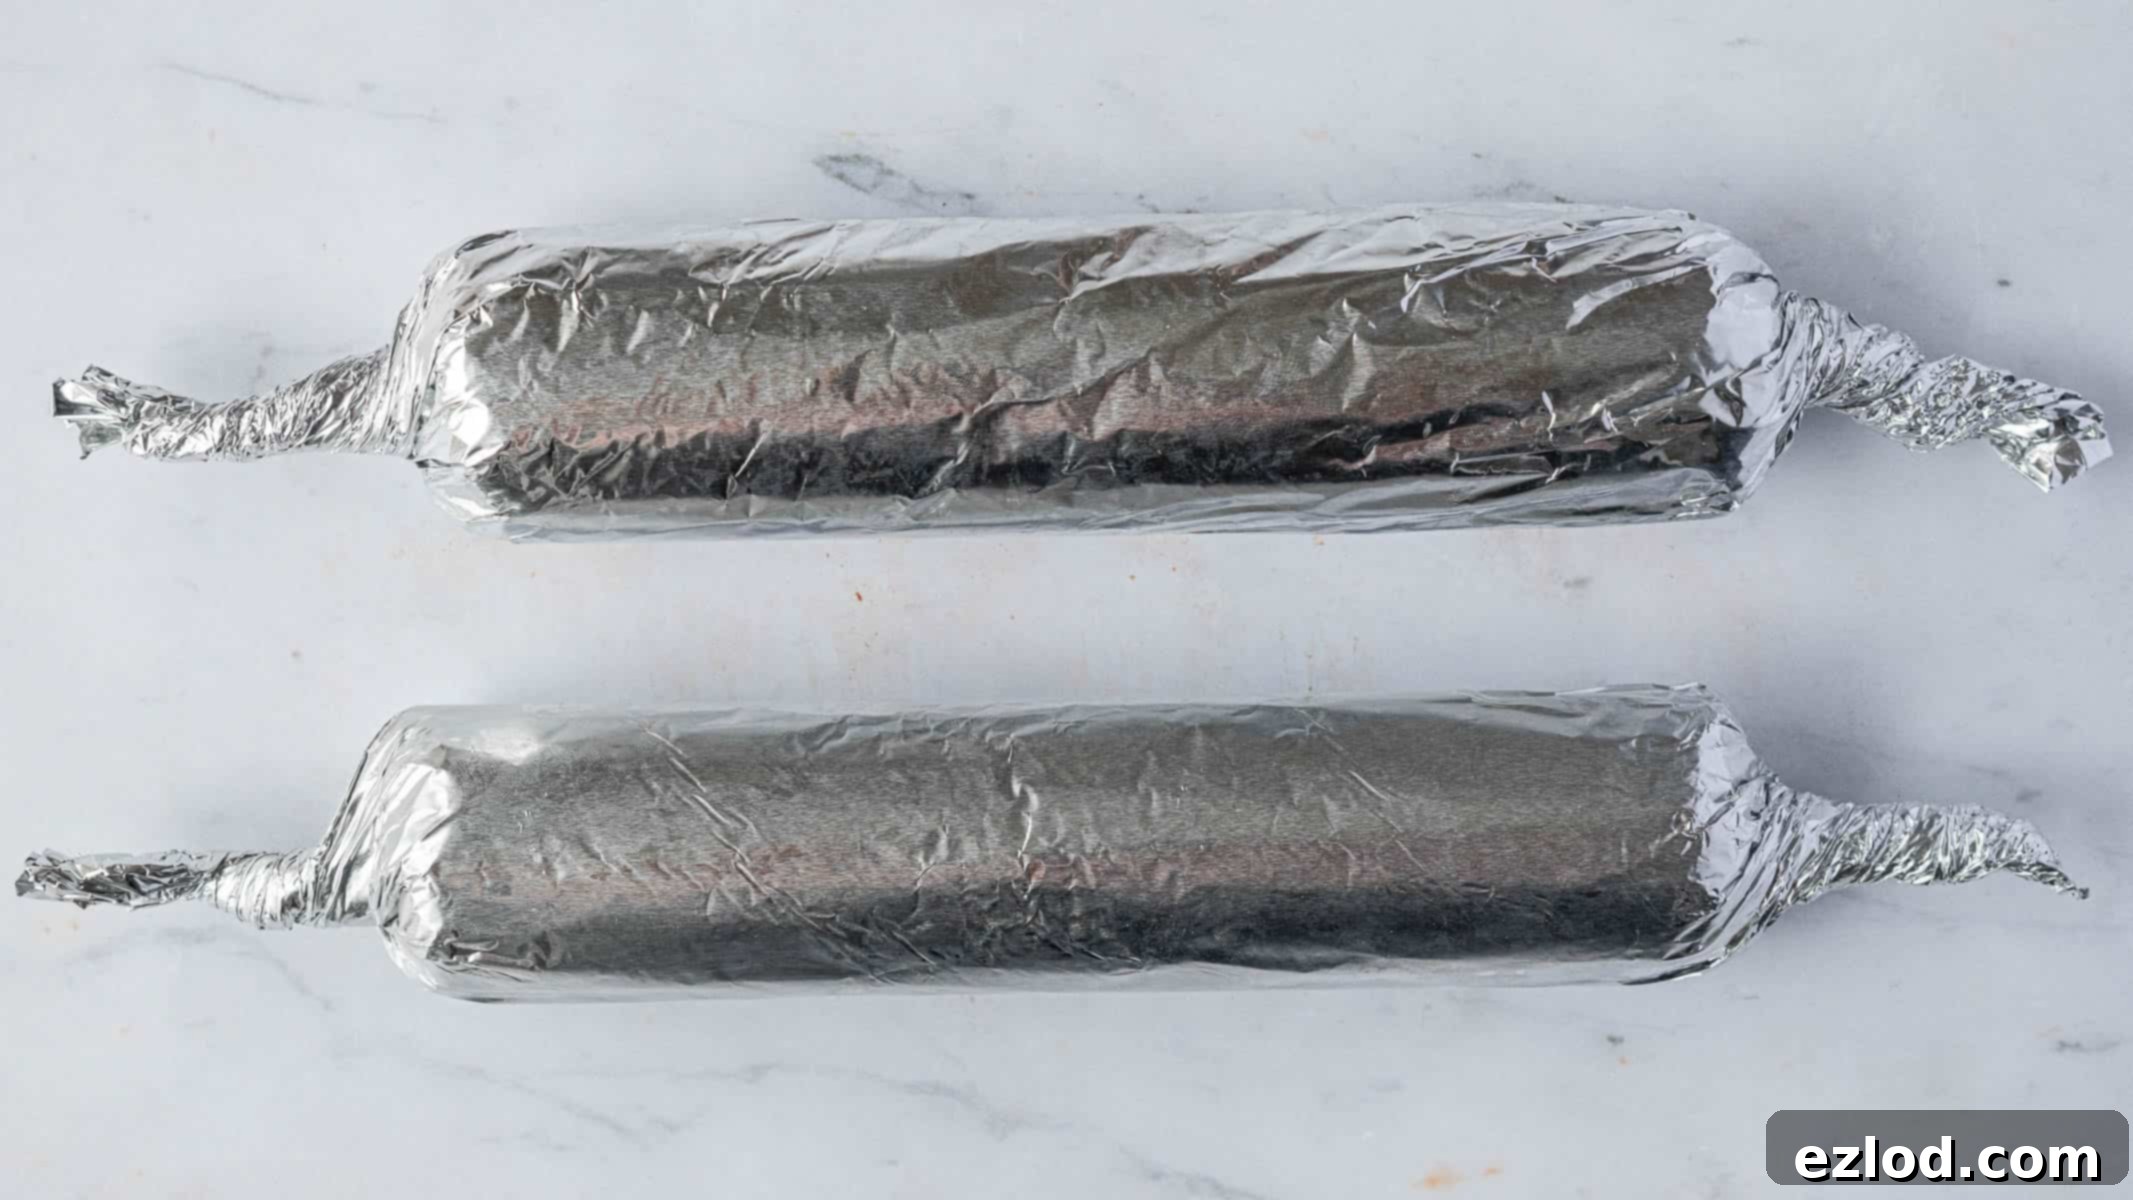
Wrap in Foil: Next, take the parchment-wrapped log and roll it up inside a sheet of tin foil. Again, twist the ends very tightly to create a secure seal. This double wrapping is essential for steaming. The foil provides an extra layer of protection, keeping the seitan moist and allowing it to expand slightly without falling apart. Repeat with the second half of the dough.

-
Steam to Perfection: Bring a few inches of water to a boil in a steamer pan. Once boiling, carefully place the tightly wrapped seitan logs into the steamer basket. Cover the pan with a lid and steam for 45 minutes. It’s a good idea to check the water level halfway through and add more boiling water if needed to prevent the pot from drying out. Steaming is the preferred method for cooking seitan as it yields a tender yet firm texture, unlike boiling which can make it waterlogged.
-
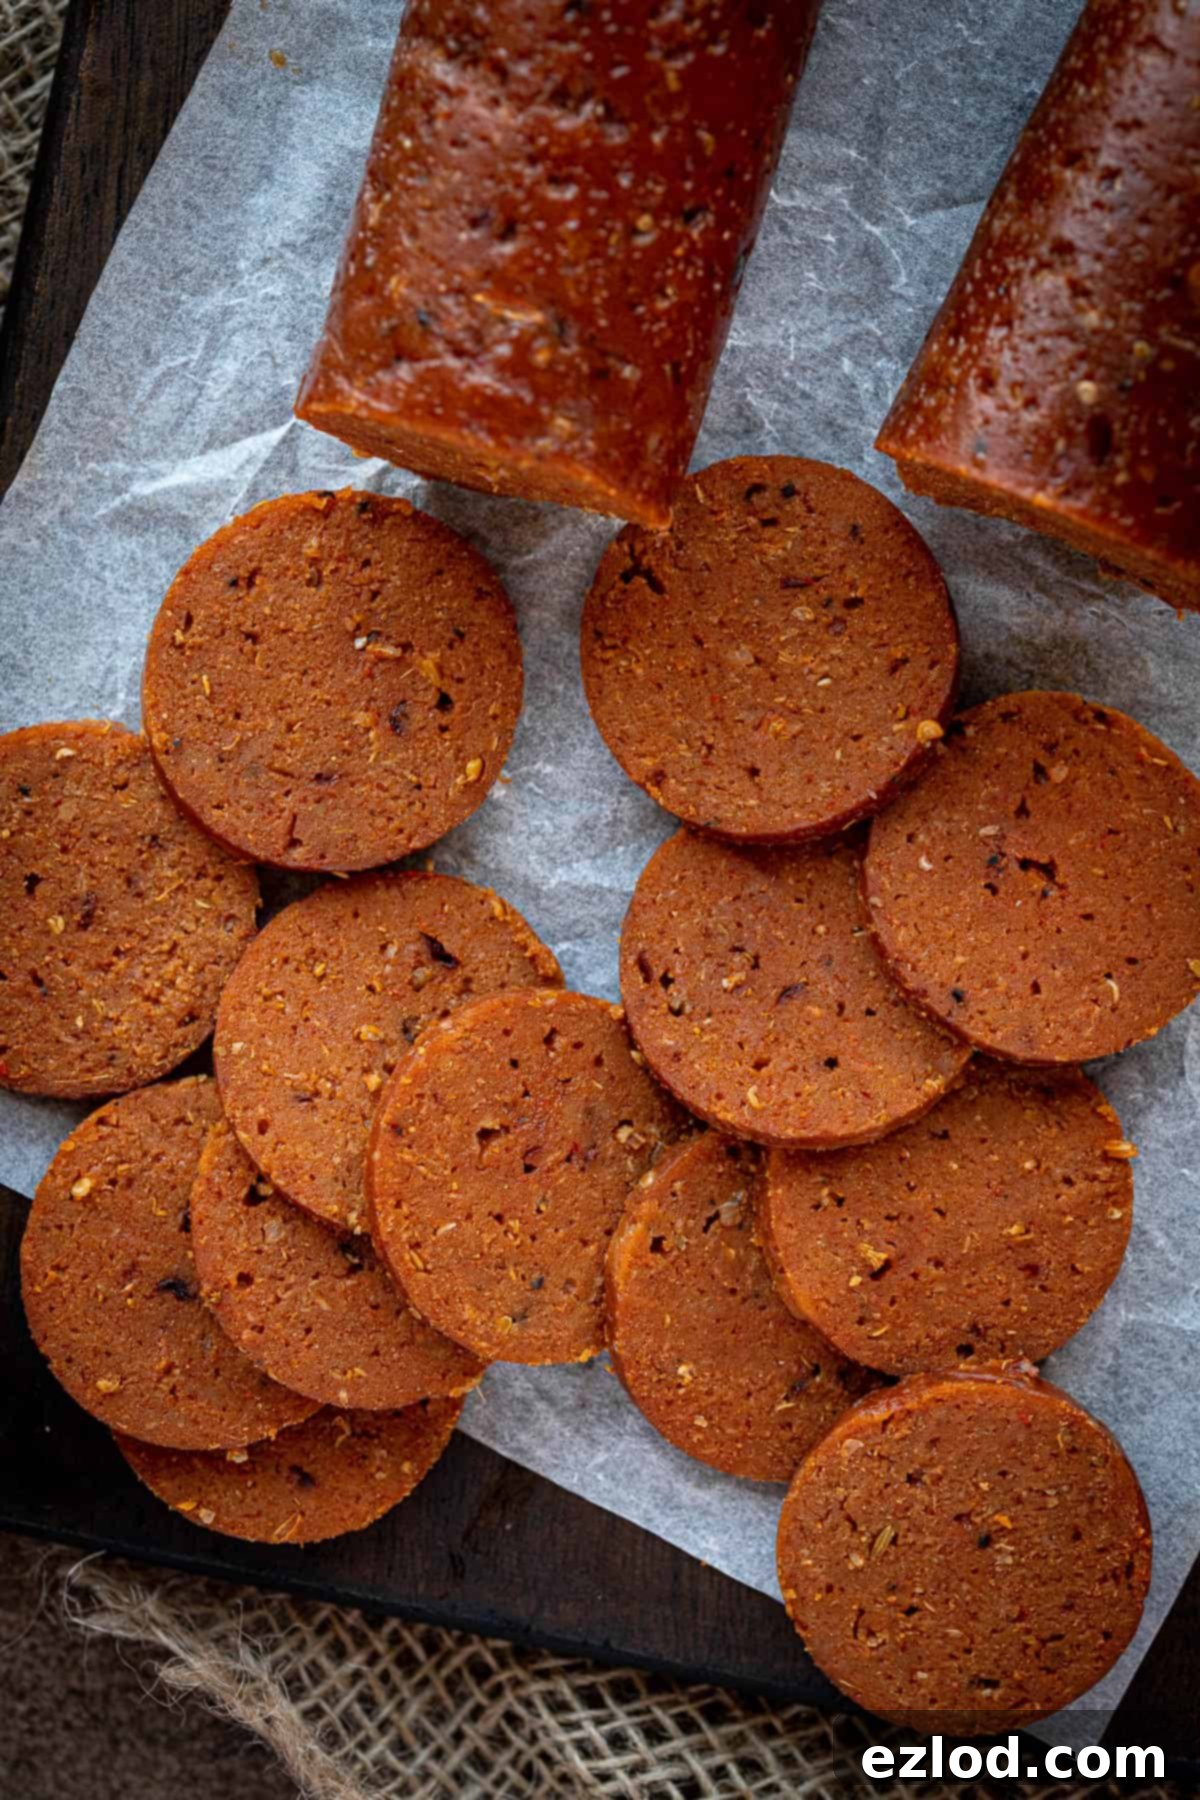
Cool and Serve: After steaming, the logs should feel firm to the touch. Remove them from the steamer and allow them to cool completely on a wire rack before unwrapping. Cooling is crucial as it allows the seitan to firm up further and develop its final texture. Once cool, unwrap and slice your homemade seitan pepperoni as desired. It can be enjoyed immediately or used in your favorite recipes.

Expert Tips for Flawless Vegan Seitan Pepperoni:
To ensure your homemade vegan pepperoni turns out perfectly every time, keep these expert tips in mind:
- No Kneading Necessary: Unlike bread dough, seitan dough should not be kneaded. Over-kneading develops too much gluten, resulting in a tough, rubbery pepperoni. Simply mix until all ingredients are just combined and no dry patches remain. The goal is to create a cohesive, soft dough, not to build strength.
- Sift Your Flours: Always sift the vital wheat gluten and gram flour. These flours can be prone to clumping, and sifting ensures a smooth, lump-free mixture, which is essential for a consistent texture in your finished pepperoni.
- Precision Matters: Weigh Your Ingredients: We cannot stress this enough: for the most consistent and best results, always weigh your vital wheat gluten and gram flour using a kitchen scale. Cup measurements can be incredibly inaccurate, leading to a dough that is either too wet and sticky or too dry and crumbly, which will significantly impact the final texture of your seitan pepperoni.
- Oil for Optimal Pizza Topping: If you plan to use your seitan pepperoni as a pizza topping, lightly spray or brush the slices with a little olive oil before baking. This step helps prevent the pepperoni from drying out in the oven, keeping it tender and flavorful.
- Batch Cooking and Freezing: This recipe yields two substantial logs of seitan pepperoni. Consider slicing one log after it cools and freezing the slices. This is perfect for quick, future meals – just grab a handful of frozen slices and add them to your cooking!
- Steamer is Essential: A steamer pan or a steamer insert for a large pot is a necessary piece of equipment for this recipe. Steaming cooks the seitan gently and evenly, creating the ideal texture.
- Don’t Rush Cooling: Allow the seitan logs to cool completely before unwrapping and slicing. This allows the seitan to set properly, resulting in a firmer, more sliceable pepperoni.
Versatile Culinary Uses for Homemade Vegan Pepperoni:
Once you’ve mastered this easy vegan pepperoni, the culinary possibilities are endless! Its spicy, meaty flavor makes it incredibly versatile:
- On pizza: The quintessential use! Layer slices generously on your favorite homemade or store-bought vegan pizza for an authentic experience.
- In sandwiches and subs: Pile it high with fresh veggies and vegan cheese for a hearty, flavorful sandwich.
- As part of a vegan cheeseboard: Arrange alongside a selection of vegan cheeses, crackers, and olives for an impressive appetizer.
- Chopped into pasta dishes: Dice it and stir into a rich tomato pasta sauce or a creamy vegan mac and cheese for an extra layer of flavor and texture.
- As a delightful snack: Enjoy slices straight from the fridge for a quick, high-protein bite.
- In pizza-flavored baked goods: Incorporate into savory stromboli, babka, pull-apart bread, or monkey bread for a fun, pizza-inspired twist.
- Added to tofu scramble: Chop it finely and mix into your morning tofu scramble for a savory, spicy breakfast.
- Tossed in a salad: Slice thinly and add to a vibrant green salad for a spicy, protein-packed addition.
How To Store Your Homemade Seitan Pepperoni:
Proper storage ensures your homemade seitan pepperoni stays fresh and delicious for longer:
- Refrigeration: Keep your seitan pepperoni well-wrapped (in an airtight container or tightly sealed in cling film) in the fridge for up to 5 days.
- Freezing: For longer storage, this seitan pepperoni freezes beautifully. You can freeze whole logs or, for convenience, slice it first and then freeze the individual slices in a single layer before transferring them to a freezer-safe bag or container. It will keep in the freezer for up to 3 months. Thaw in the refrigerator overnight before using.
Can I Make It Gluten-Free?
Unfortunately, no. The foundational ingredient for seitan is vital wheat gluten, which is literally the gluten protein from wheat. Therefore, this recipe cannot be made gluten-free as the vital wheat gluten is indispensable and has no suitable substitute for achieving the unique seitan texture.
Embrace the joy of creating your own delicious, versatile, and high-protein vegan pepperoni. It’s a rewarding culinary adventure that will undoubtedly become a staple in your plant-based kitchen!
If you tried this recipe and loved it, we’d be thrilled to hear from you! Please rate it, leave a comment below, or tag @domestic_gothess on Instagram with the hashtag #domesticgothess. Your feedback means the world to us!
All images and content on Domestic Gothess are copyright protected. If you want to share this recipe, please do so by using the share buttons provided. Do not screenshot or post the recipe or content in full; instead, include a link to this post for the complete recipe.

Print
Seitan Pepperoni (Vegan)
Equipment
-
steamer pan or insert
-
tin foil and baking parchment
Ingredients
- 150 g (1 ¼ cups) vital wheat gluten
- 40 g (⅓ cup) gram (chickpea) flour
- 2 Tablespoons nutritional yeast
- 2 teaspoons smoked paprika
- 1 ½ teaspoons garlic powder or granules
- 1 ½ teaspoons onion granules
- ½ teaspoon cayenne pepper or chilli powder
- ½ teaspoon chilli flakes
- 1 teaspoon fennel seeds
- 1 teaspoon mustard seeds
- a good grinding of black pepper
- 180 ml (¾ cup) stock (I make mine with 1 teaspoon Marigold vegetable bouillon)
- 60 g (¼ cup) tomato puree (tomato paste)
- 2 Tablespoons olive oil
- 1 Tablespoon dark soy sauce
- 1 Tablespoon vegan worcestershire sauce
- 1 teaspoon maple syrup
Instructions
-
Sift the vital wheat gluten and gram flour into a large bowl. Add the nutritional yeast, smoked paprika, garlic and onion granules, cayenne and chilli flakes.
-
Roughly crush the fennel and mustard seeds using a pestle and mortar and add to the bowl along with a good grinding of black pepper. Stir everything together well.
-
In a large jug, whisk together the stock, tomato puree, soy sauce, worcestershire sauce, olive oil and maple syrup.
-
Add the wet ingredients to the dry and stir until no dry lumps remain. It should form a soft dough.
-
Divide the dough evenly in half (I use a scale for accuracy). Use your hands to roll each half into a log about 4 cm/1 ½ in thick.
-
Place one of the logs on a sheet of baking parchment and roll it up tightly inside the parchment. Twist the ends tightly to seal it in.
-
Roll the parchment lined log up inside a sheet of tin foil. Twist the ends tightly to seal it in. Repeat with the other half of dough.
-
Bring some water in a steamer pan up to the boil then add the wrapped logs to the steamer basket. Place the lid on the pan and steam for 45 minutes, checking halfway through and adding more boiling water to the pan if necessary.
-
Once cooked, the logs should feel firm. Allow to cool before unwrapping and serving as you like. The pepperoni can be eaten as it is, or used in recipes.
Notes
- I highly, highly recommend weighing out the vital wheat gluten and gram flour rather than using the cup conversions. You will get a far better, more consistent result.
- You will need a steamer pan or insert to make this recipe.
- See post above for tips, details, storage instructions and step-by-step photos.
