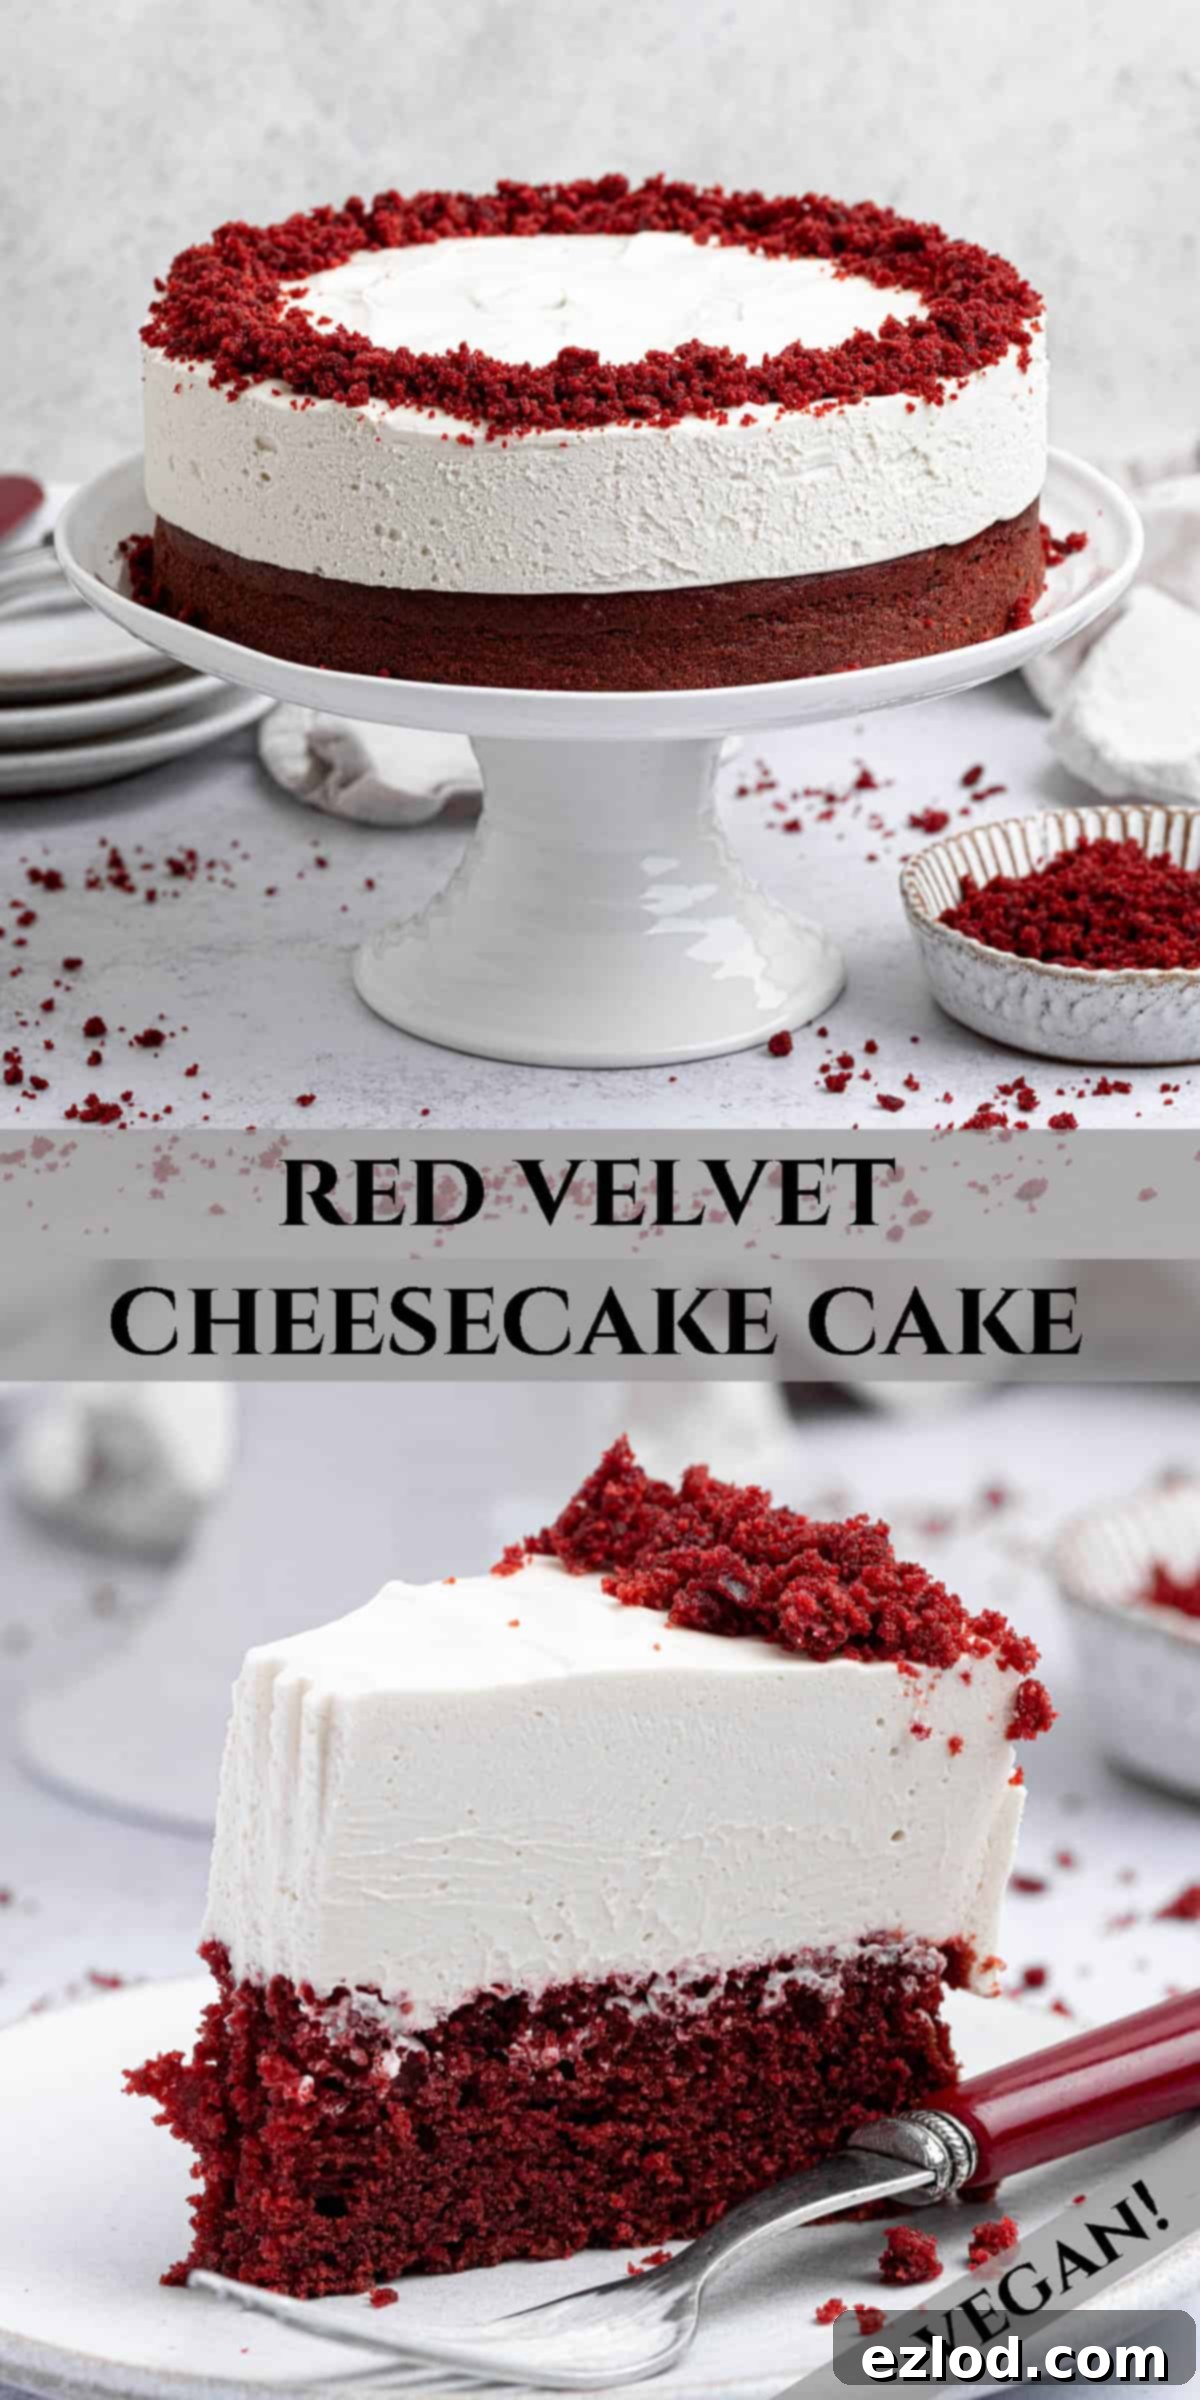
The Ultimate Vegan Red Velvet Cheesecake Cake: A Decadent No-Bake Dessert Recipe
Are you torn between the rich, deep flavors of a classic red velvet cake and the smooth, creamy indulgence of a cheesecake? Why choose when you can have the best of both worlds? This incredible vegan red velvet cheesecake cake masterfully combines the beloved textures and tastes of both desserts into one show-stopping creation. It’s a truly magnificent treat that will captivate your senses and impress even the most discerning palates.
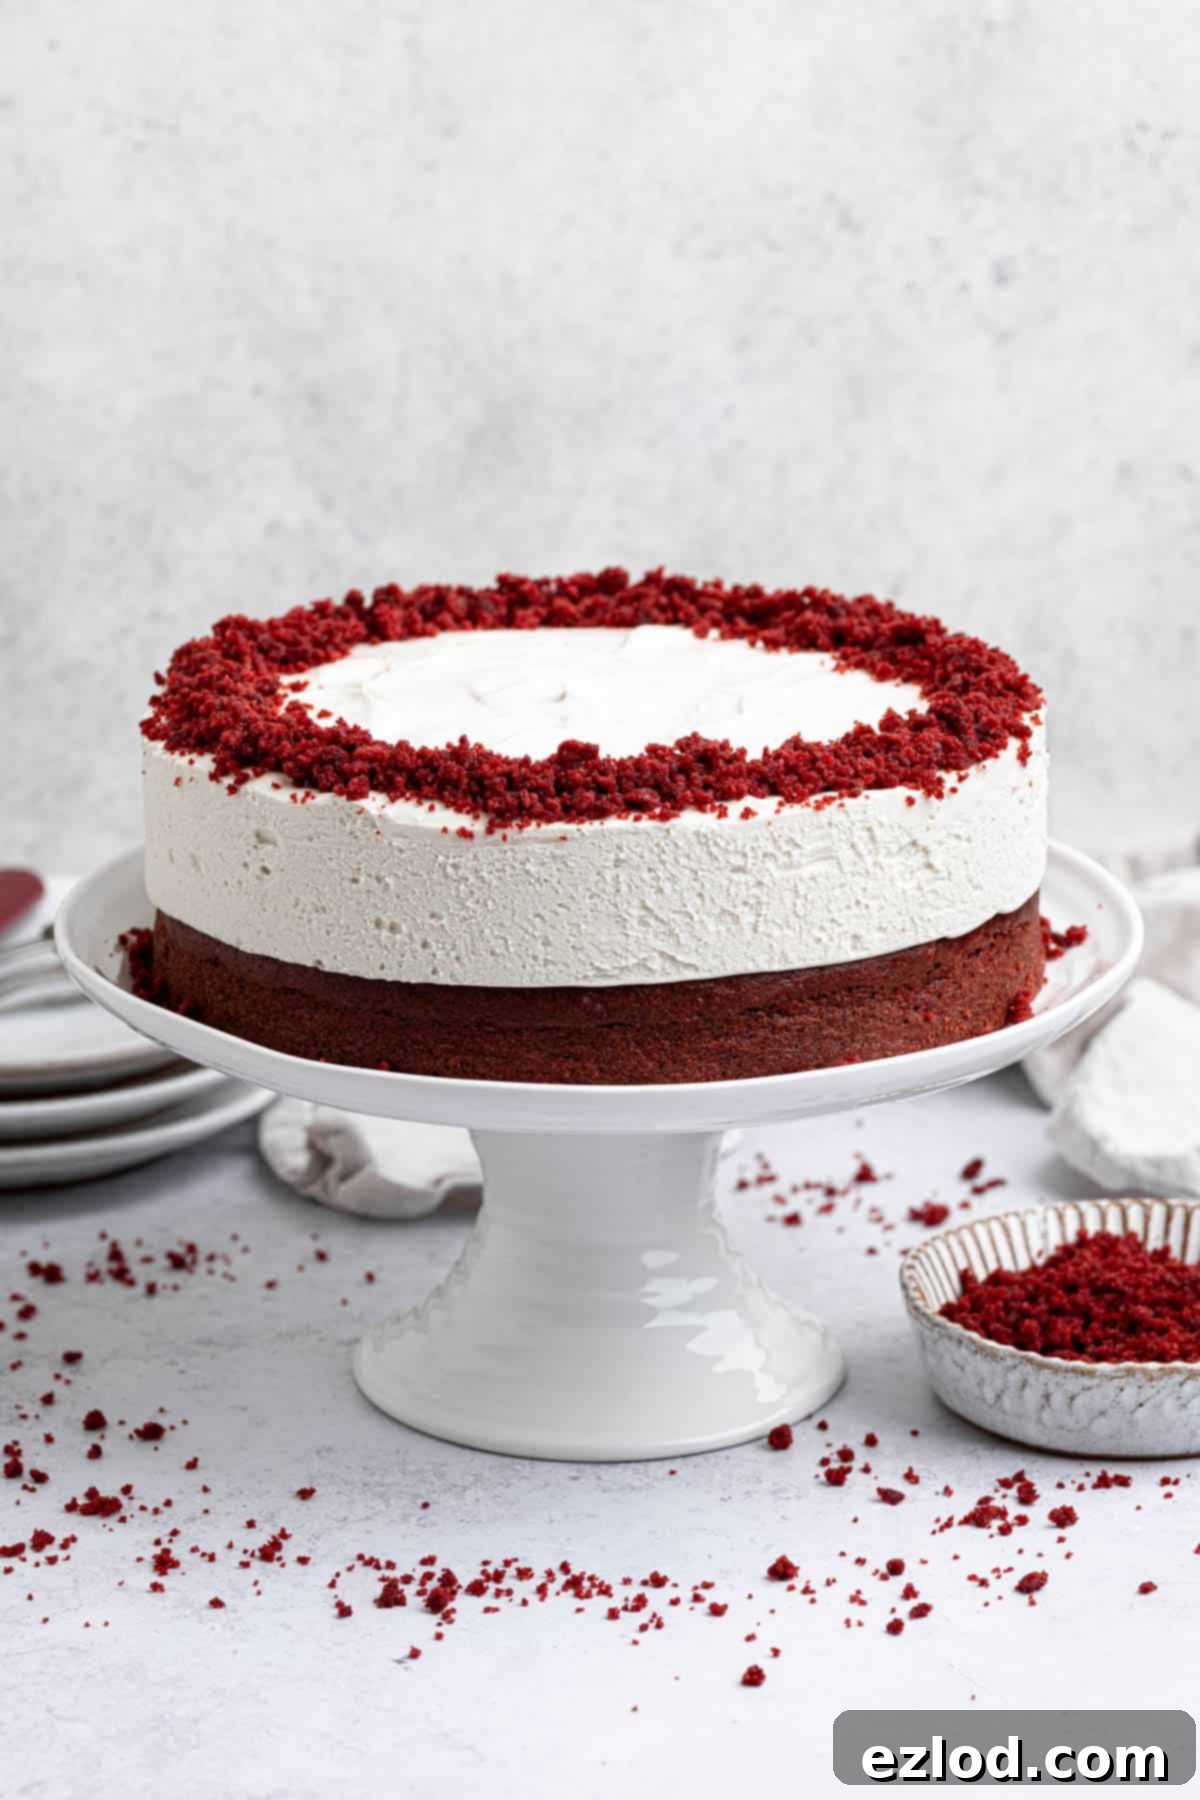
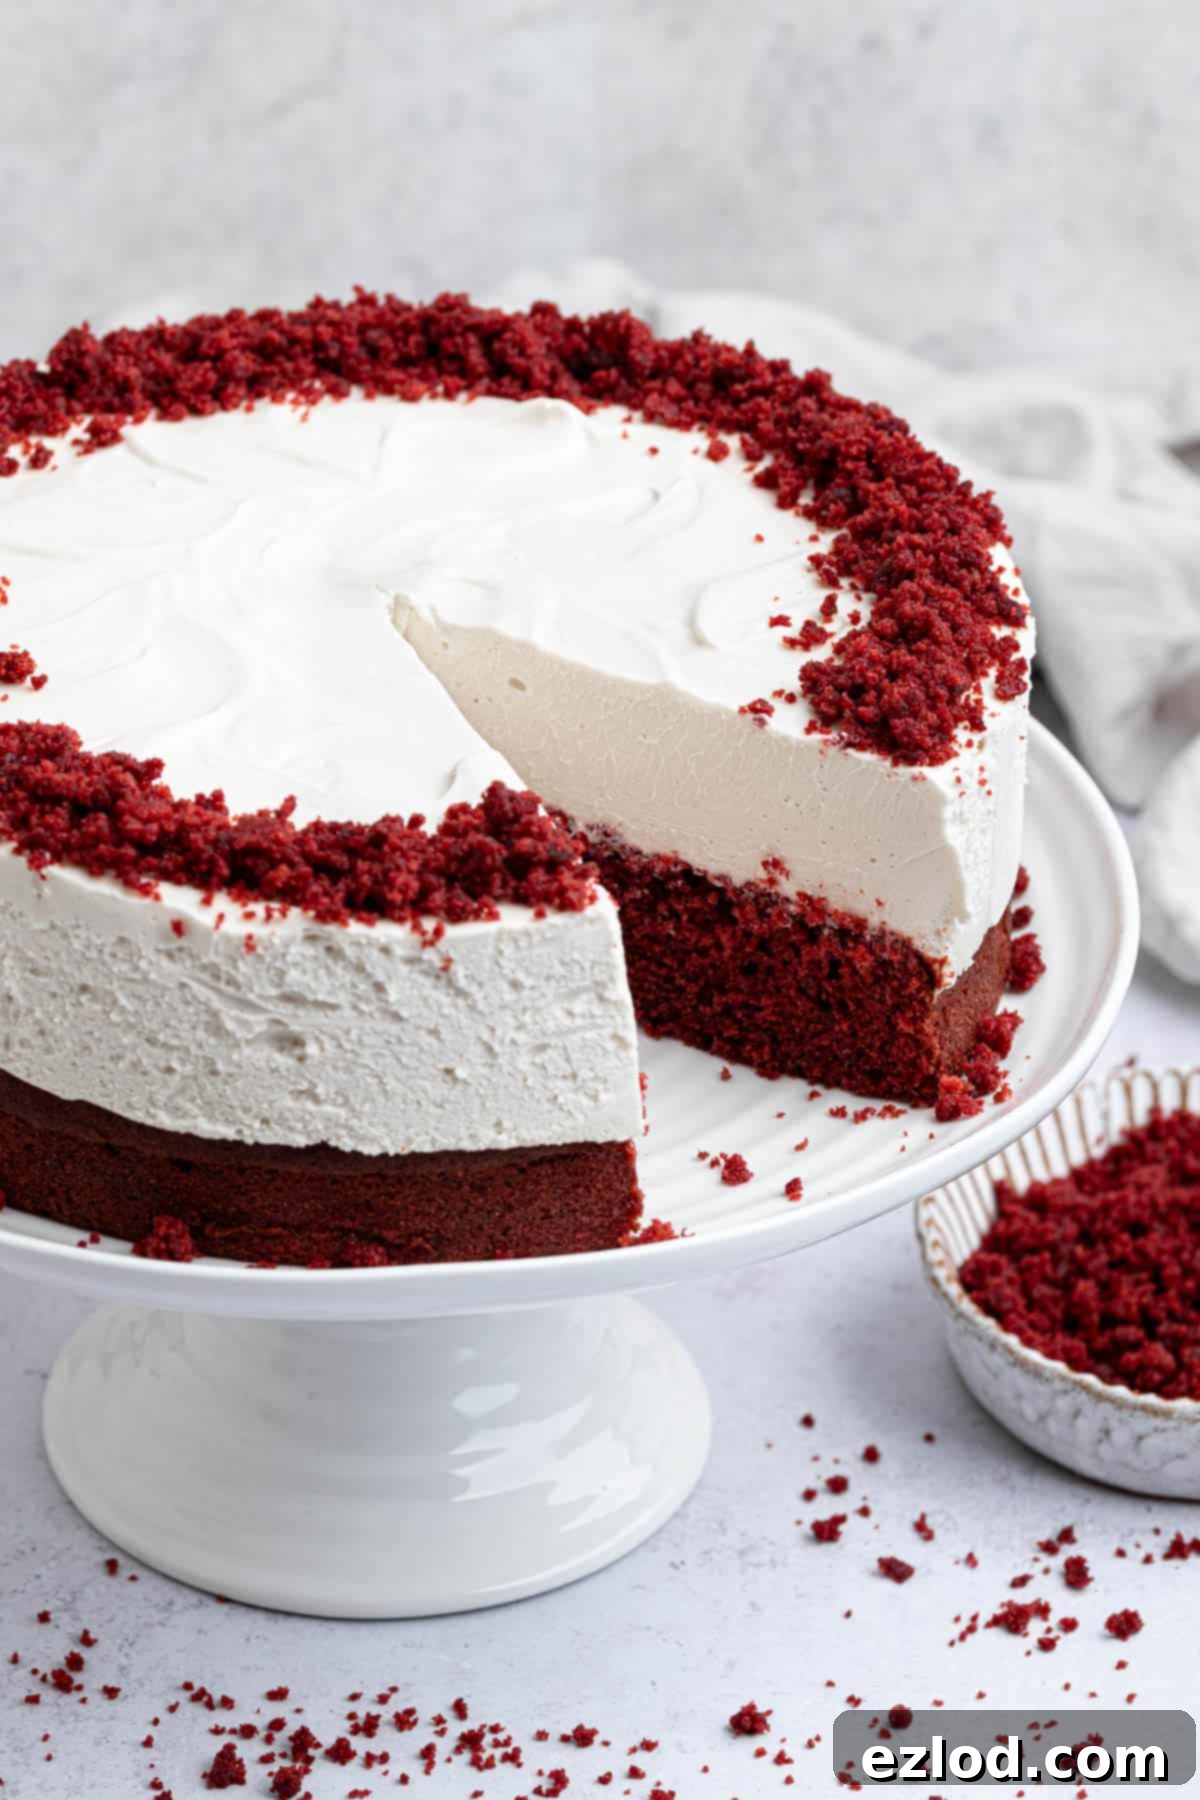
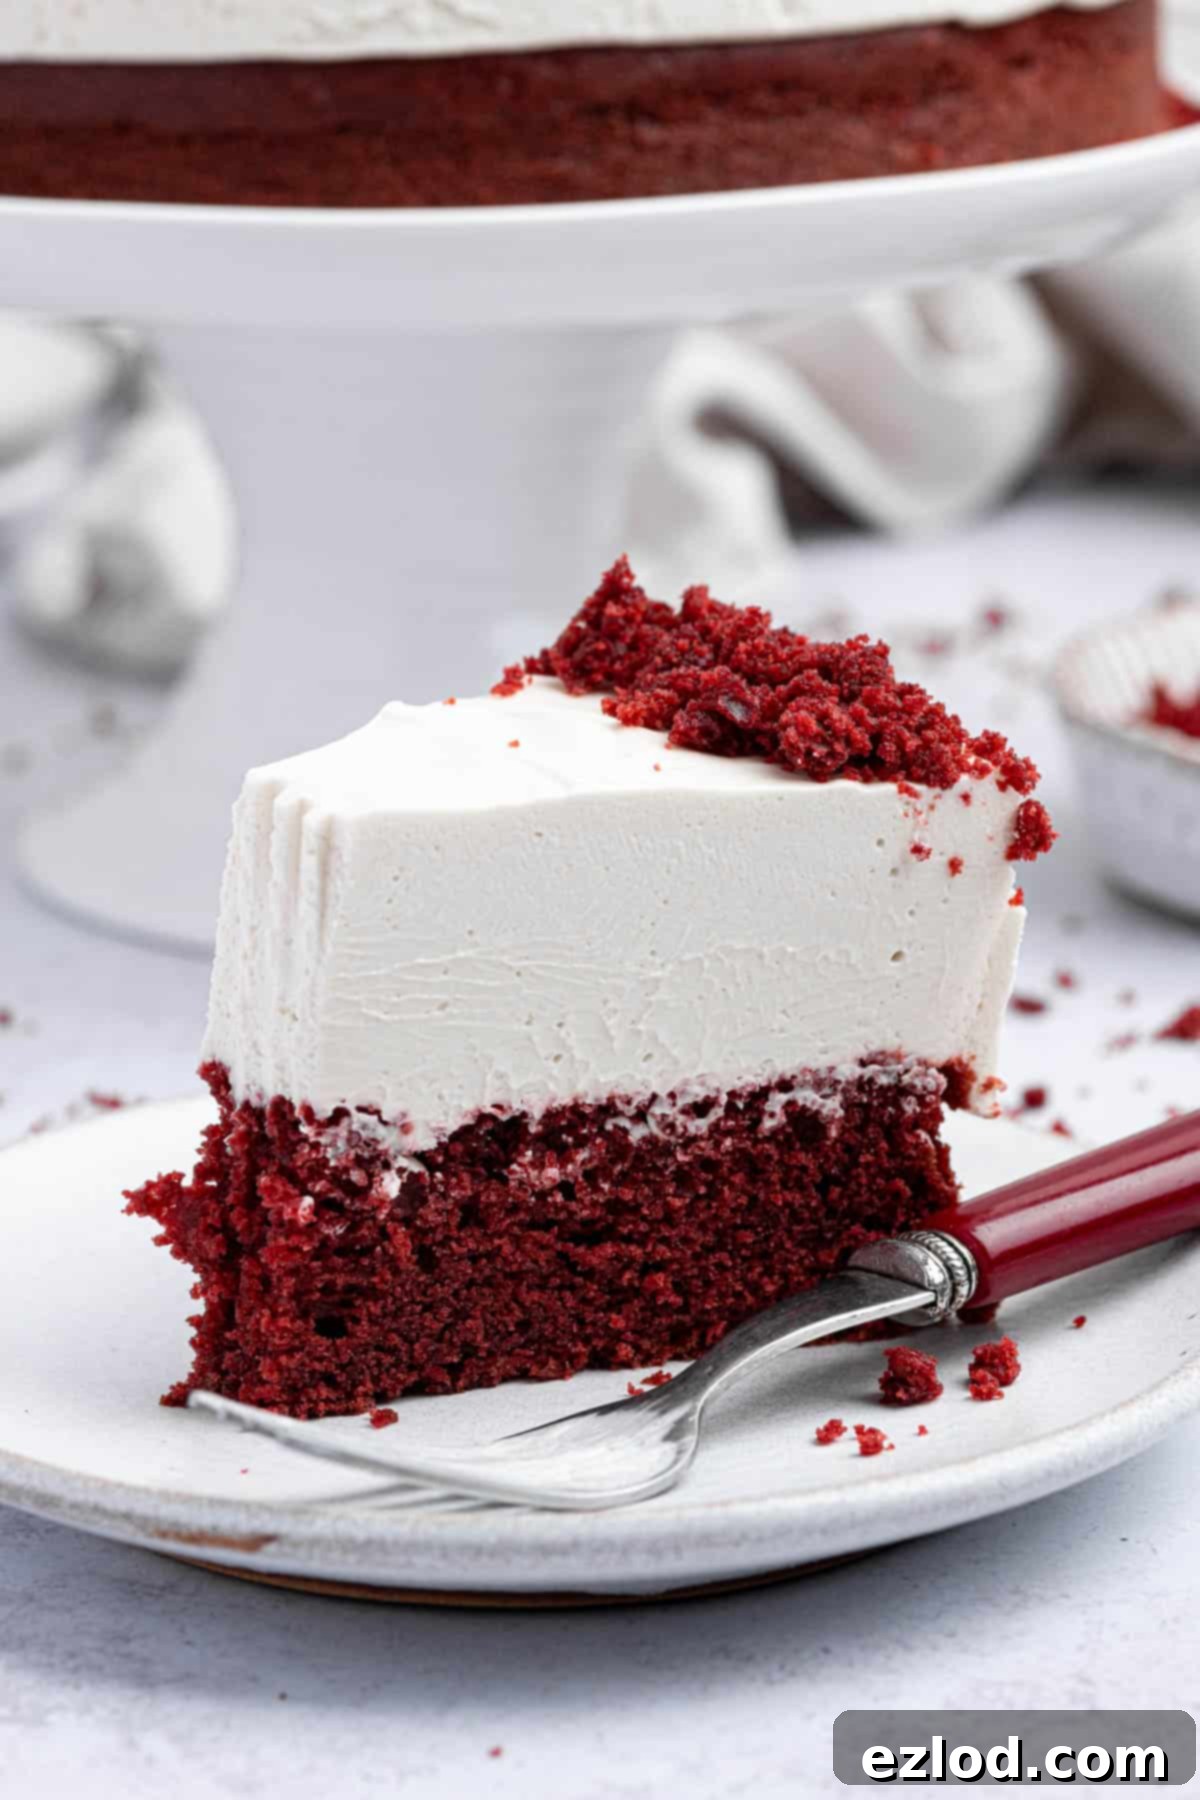
Imagine a generous layer of soft, moist, and perfectly fluffy red velvet cake serving as the foundation. This vibrant cake layer is then crowned with a thick, luxurious, no-bake white chocolate cheesecake that is unbelievably rich, yet surprisingly light and airy. To complete this masterpiece, it’s elegantly decorated with a sprinkle of delicate cake crumbs, adding both visual appeal and an extra touch of texture. Not only is this dessert remarkably easy to prepare, but its striking red and white layers make it an absolutely perfect choice for special occasions, especially romantic celebrations like Valentine’s Day.
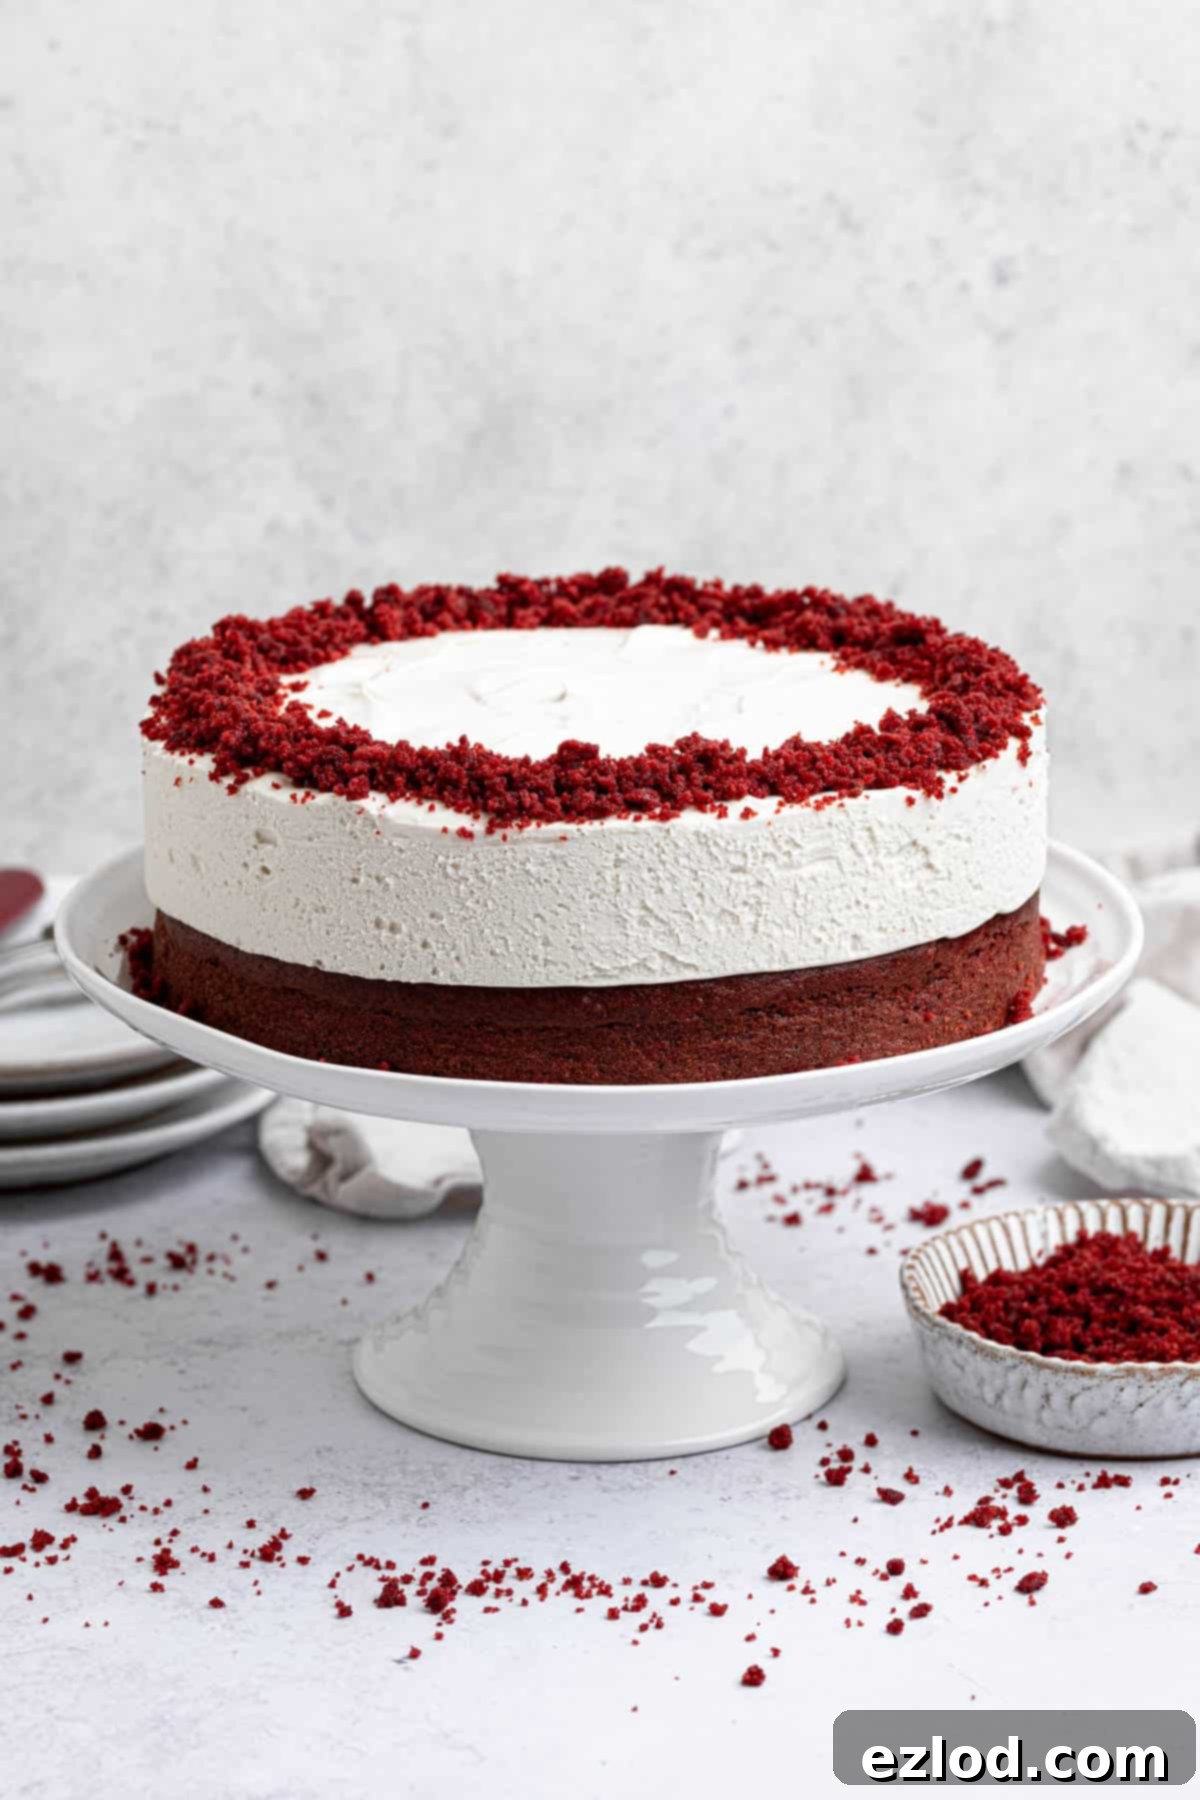
This vegan red velvet cheesecake cake is so utterly delicious that it has even managed to win over my husband, who was previously a staunch cheesecake skeptic! The delicate, moist texture of the red velvet cake harmonizes exquisitely with the luscious, creamy white chocolate cheesecake. Despite its rich and indulgent flavor profile, this dessert maintains a wonderfully light and palatable feel, making it easy to enjoy slice after slice. It truly redefines what a vegan dessert can be.
Our journey begins with a classic vegan red velvet cake base, but we diverge from tradition by skipping the usual cream cheese frosting. Instead, we elevate it with a decadent layer of no-bake vegan white chocolate cheesecake. This innovative combination, in my humble opinion, surpasses the classic red velvet experience, offering a unique blend of flavors and textures that is both familiar and excitingly new. The best part? It’s surprisingly straightforward to assemble, making it accessible for bakers of all skill levels.
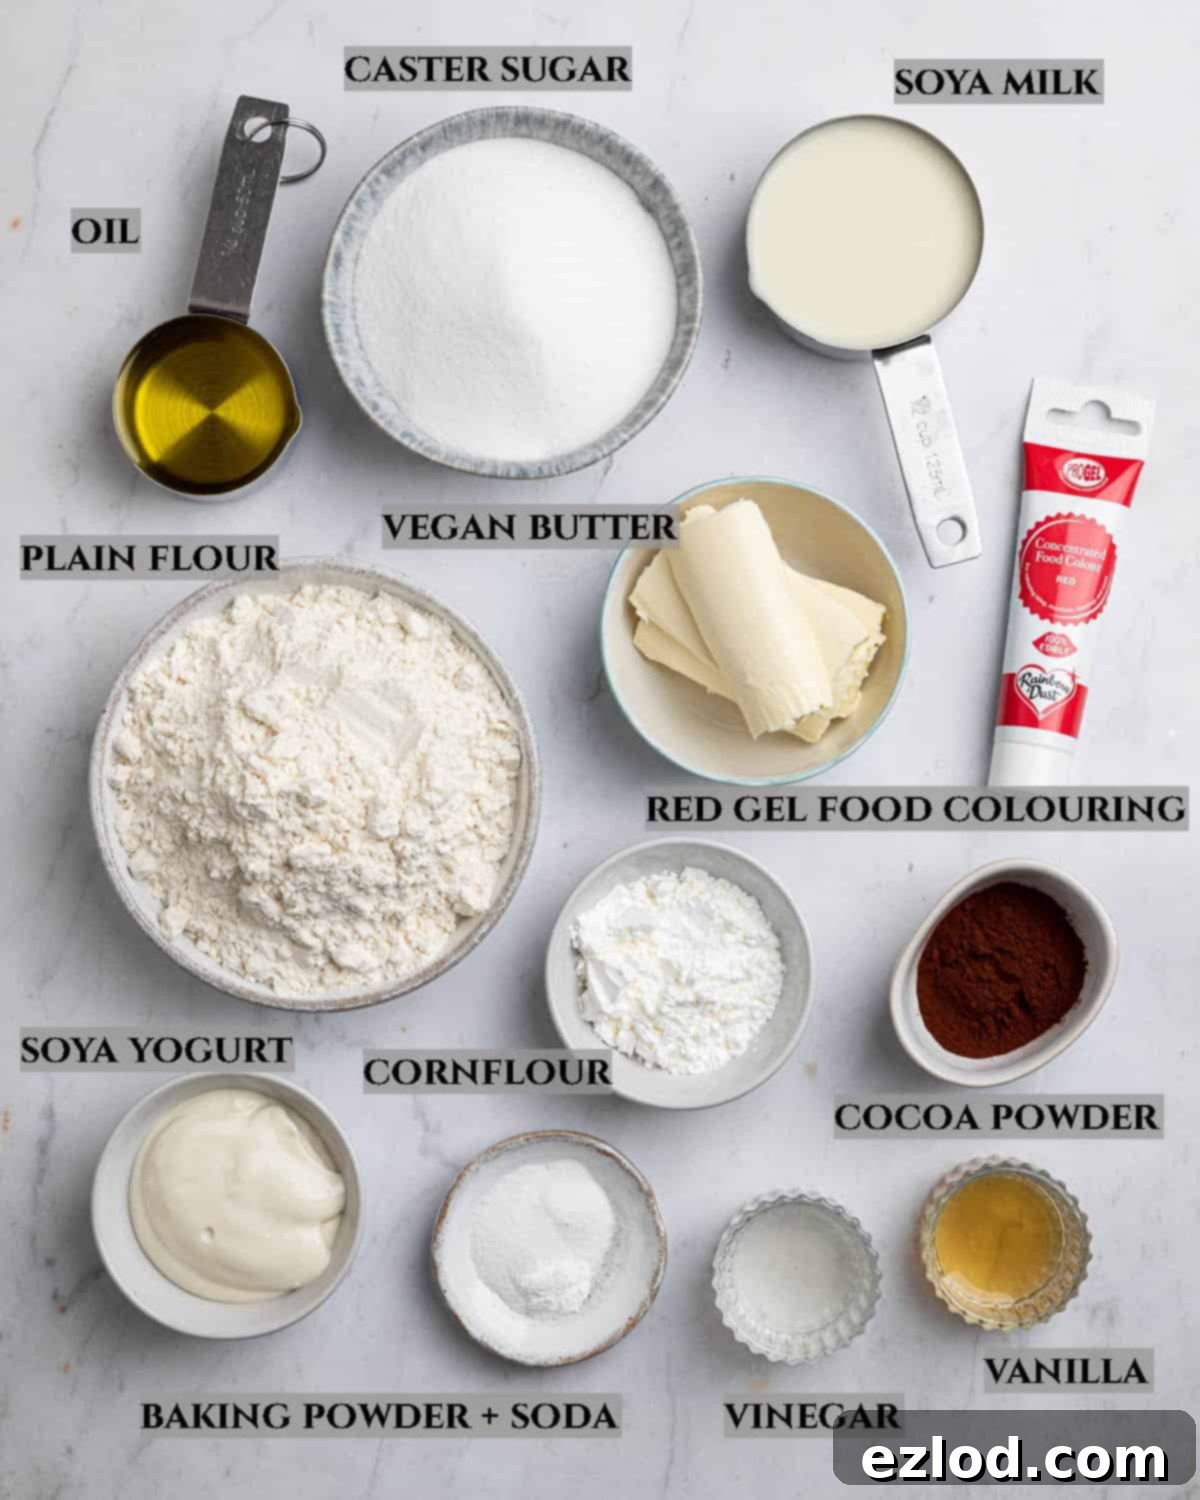
Essential Ingredient Details for Your Vegan Red Velvet Cheesecake Cake:
For the Vegan Red Velvet Cake Layer:
- Red Gel Food Colouring: Achieving that iconic, vibrant red hue is key for any red velvet creation. It’s crucial to use a high-quality, bake-stable gel food coloring. Many liquid food colorings found in standard supermarkets are not bake-stable and will unfortunately fade or even turn brown during baking, leaving you with a dull cake. I highly recommend Rainbow Dust ProGel colours, particularly their red shade, as they are renowned for their intensity and stability. Always double-check that your chosen brand is vegan-friendly, as some red colorings may contain cochineal (derived from insects).
- Plant Milk: Any unsweetened plant-based milk will work for this recipe, but for the best results, soy milk is highly recommended. Soy milk typically has a higher protein content than other plant milks, which contributes to a more tender and stable cake crumb, mimicking the structure often provided by dairy milk. Ensure it’s unsweetened to control the overall sweetness of the cake.
- Non-Dairy Yogurt: Incorporating plant-based yogurt is a fantastic technique in vegan baking. It acts as an excellent egg replacer, contributing to a wonderfully moist texture and adding a subtle tang that complements the red velvet flavor profile. Traditional red velvet cake often uses buttermilk, and non-dairy yogurt is an ideal substitute, providing similar acidity and richness. Both unsweetened soy or coconut yogurt varieties are suitable. While I haven’t specifically tested other substitutes, if yogurt isn’t available, you might manage by increasing the amount of plant milk slightly, though this could alter the final texture.
- Vegan Butter: You can use either block-style or spreadable vegan butter. The important factor is to avoid “light” or low-fat varieties, as their reduced fat content will affect the cake’s richness and texture. A brand like Flora Plant Butter is an excellent choice for its consistency and flavor.
- Olive Oil: I personally prefer olive oil for its subtle flavor and moistness it imparts. However, you can substitute it with another neutral-flavored oil, such as sunflower or rapeseed oil. It is absolutely crucial to **avoid coconut oil**, as it solidifies at cooler temperatures, which would result in a dense and undesirable cake texture once refrigerated.
- Sugar: For the best results, use fine caster sugar or granulated sugar. These sugars dissolve easily and contribute to the cake’s fine crumb. Please do not substitute with artificial sweeteners, brown sugar, or liquid sugars (like maple syrup or agave), as these alternatives will significantly alter the cake’s chemistry, texture, and rise.
- Baking Powder and Soda: Both baking powder and bicarbonate of soda (baking soda) are essential leavening agents in this recipe and are not interchangeable. Baking soda reacts with the acidic ingredients (like cocoa, yogurt, and vinegar) to produce carbon dioxide, creating a light and airy crumb. Baking powder provides additional lift, ensuring a beautifully risen cake. Make sure both are fresh for optimal leavening power.
- Plain Flour and Cornflour (Cornstarch): The combination of plain (all-purpose) flour with a small amount of cornflour is key to achieving the desired tender and delicate crumb. Cornflour helps to soften the protein structure of the flour, resulting in a cake that is incredibly light and velvety. If you don’t have cornflour, you can substitute it with an equal weight of plain flour, but I highly recommend using cornflour if possible for the best textural outcome.
- Cocoa Powder: For red velvet, Dutch-processed cocoa powder is generally preferred. For those in the UK, this is typically just standard cocoa powder found in supermarkets. Dutch-processed cocoa is less acidic than natural cocoa, which allows the red food coloring to shine more brightly and contributes to the cake’s signature mild chocolate flavor without overpowering it.
- Vanilla Extract: Always opt for pure vanilla extract over imitation vanilla essence. Pure extract offers a more complex, authentic flavor that greatly enhances the overall taste of the cake. Vanilla bean paste is an even more luxurious alternative, providing visible flecks of vanilla bean for added gourmet appeal.
- Vinegar: White wine vinegar or apple cider vinegar are excellent choices here. The vinegar reacts with the bicarbonate of soda, activating it to create bubbles that help the cake rise and achieve its characteristic light texture. Furthermore, it contributes to the subtle, tangy flavor that is a hallmark of authentic red velvet cake. Lemon juice can also be used as a suitable alternative.
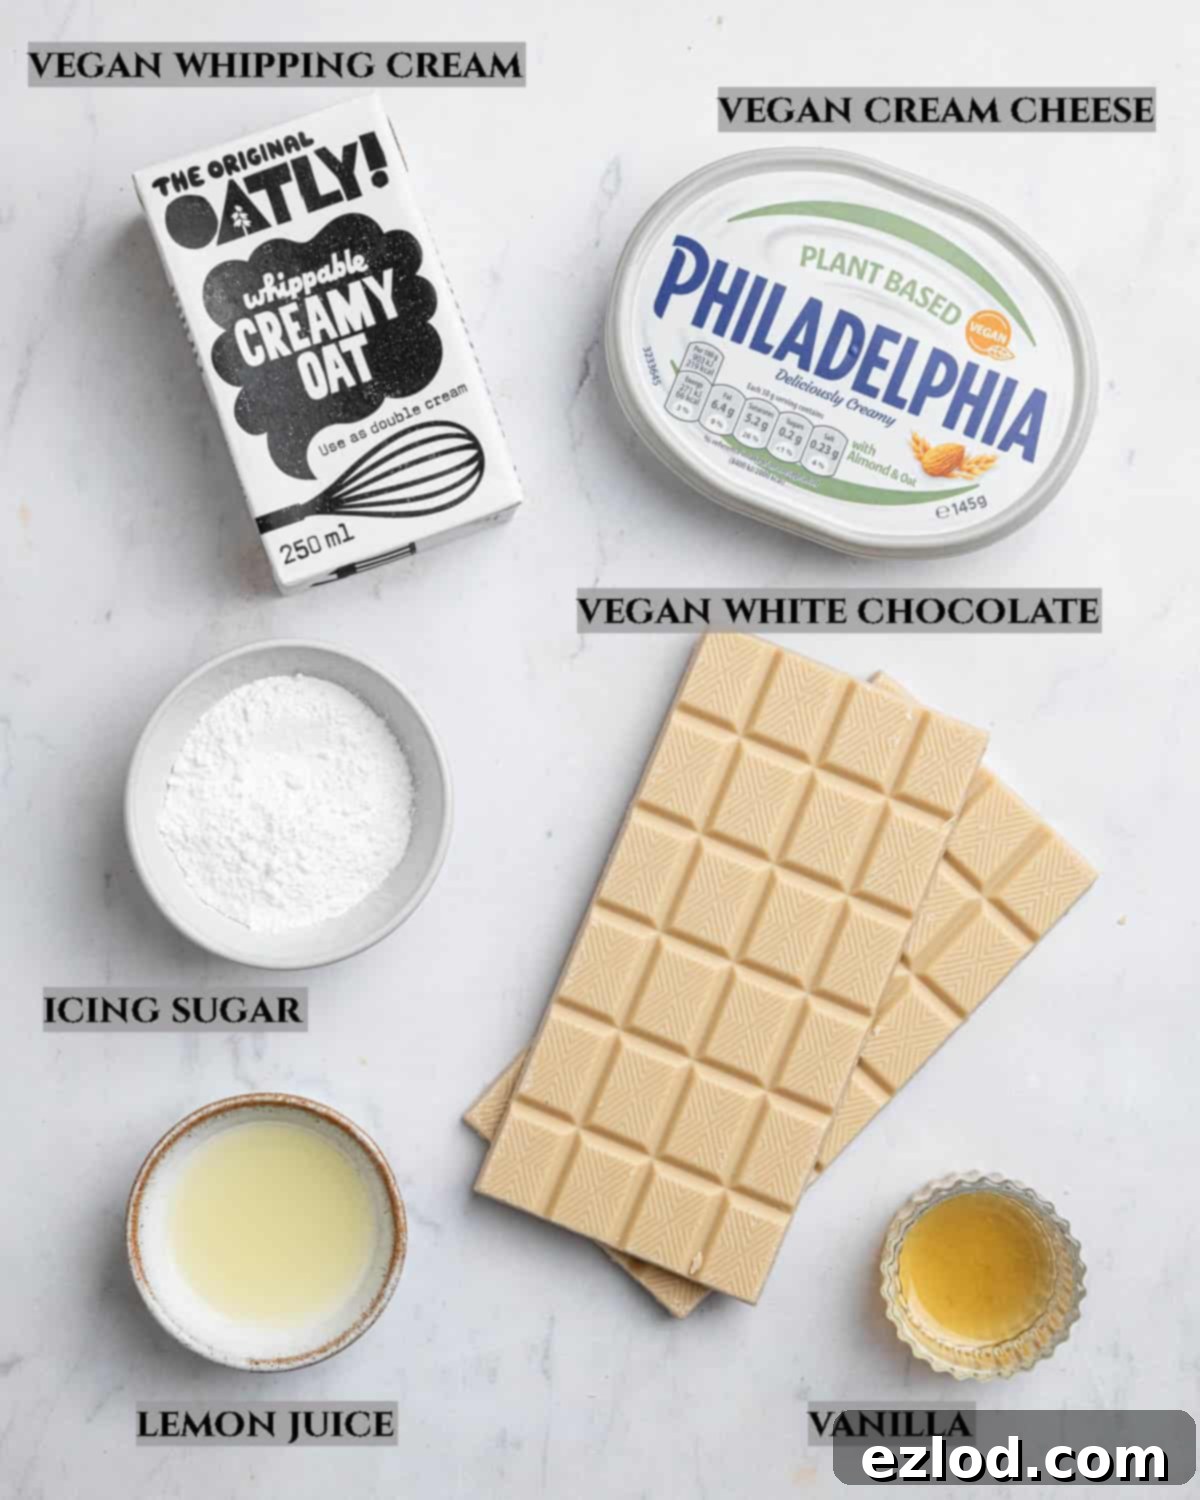
For the Decadent No-Bake Vegan White Chocolate Cheesecake:
- Vegan Cream Cheese: The quality of your vegan cream cheese will significantly impact the cheesecake. Choose a brand with a firm texture and a flavor you genuinely enjoy. Brands like Philadelphia Vegan Cream Cheese are excellent for their rich taste and stability. Avoid any low-fat varieties, as they often contain more water and less fat, which can prevent the cheesecake from setting properly and compromise its creamy texture.
- Vegan Whipping Cream: This ingredient is crucial for achieving the light, airy, and stable consistency of the no-bake cheesecake. Look for plant-based creams specifically designed for whipping, such as Oatly Whippable or Elmlea Plant Double Cream if you’re in the UK. If you’re elsewhere, ensure the product explicitly states it can be whipped, not just a pouring cream. While coconut cream (the thick part from a chilled can) might work, please note that I haven’t thoroughly tested this substitution, and results may vary.
- Vegan White Chocolate: This is a powerhouse ingredient in our cheesecake. It not only infuses the cheesecake with its delicate sweetness and creamy flavor but also plays a vital structural role, helping the cheesecake to set beautifully without the need for baking. I find this particular brand to be ideal for both melting and baking applications, ensuring a smooth, consistent result. Always chop the chocolate finely before melting for even heating.
- Lemon Juice: Vegan cream cheeses often have a milder tang compared to their dairy counterparts. Adding a touch of fresh lemon juice helps to replicate that desirable, classic cheesecake tang, balancing the sweetness of the white chocolate and adding a bright note to the overall flavor profile.
- Icing Sugar (Powdered Sugar): While the white chocolate contributes most of the sweetness, a small amount of icing sugar is added for a nuanced sweetness and to further aid in stabilizing the vegan whipping cream. Its fine texture helps it dissolve smoothly without leaving a grainy residue.
How To Master Your Vegan Red Velvet Cheesecake Cake: A Step-by-Step Guide
(For precise measurements and detailed instructions, please refer to the complete recipe card conveniently located at the bottom of this page.)
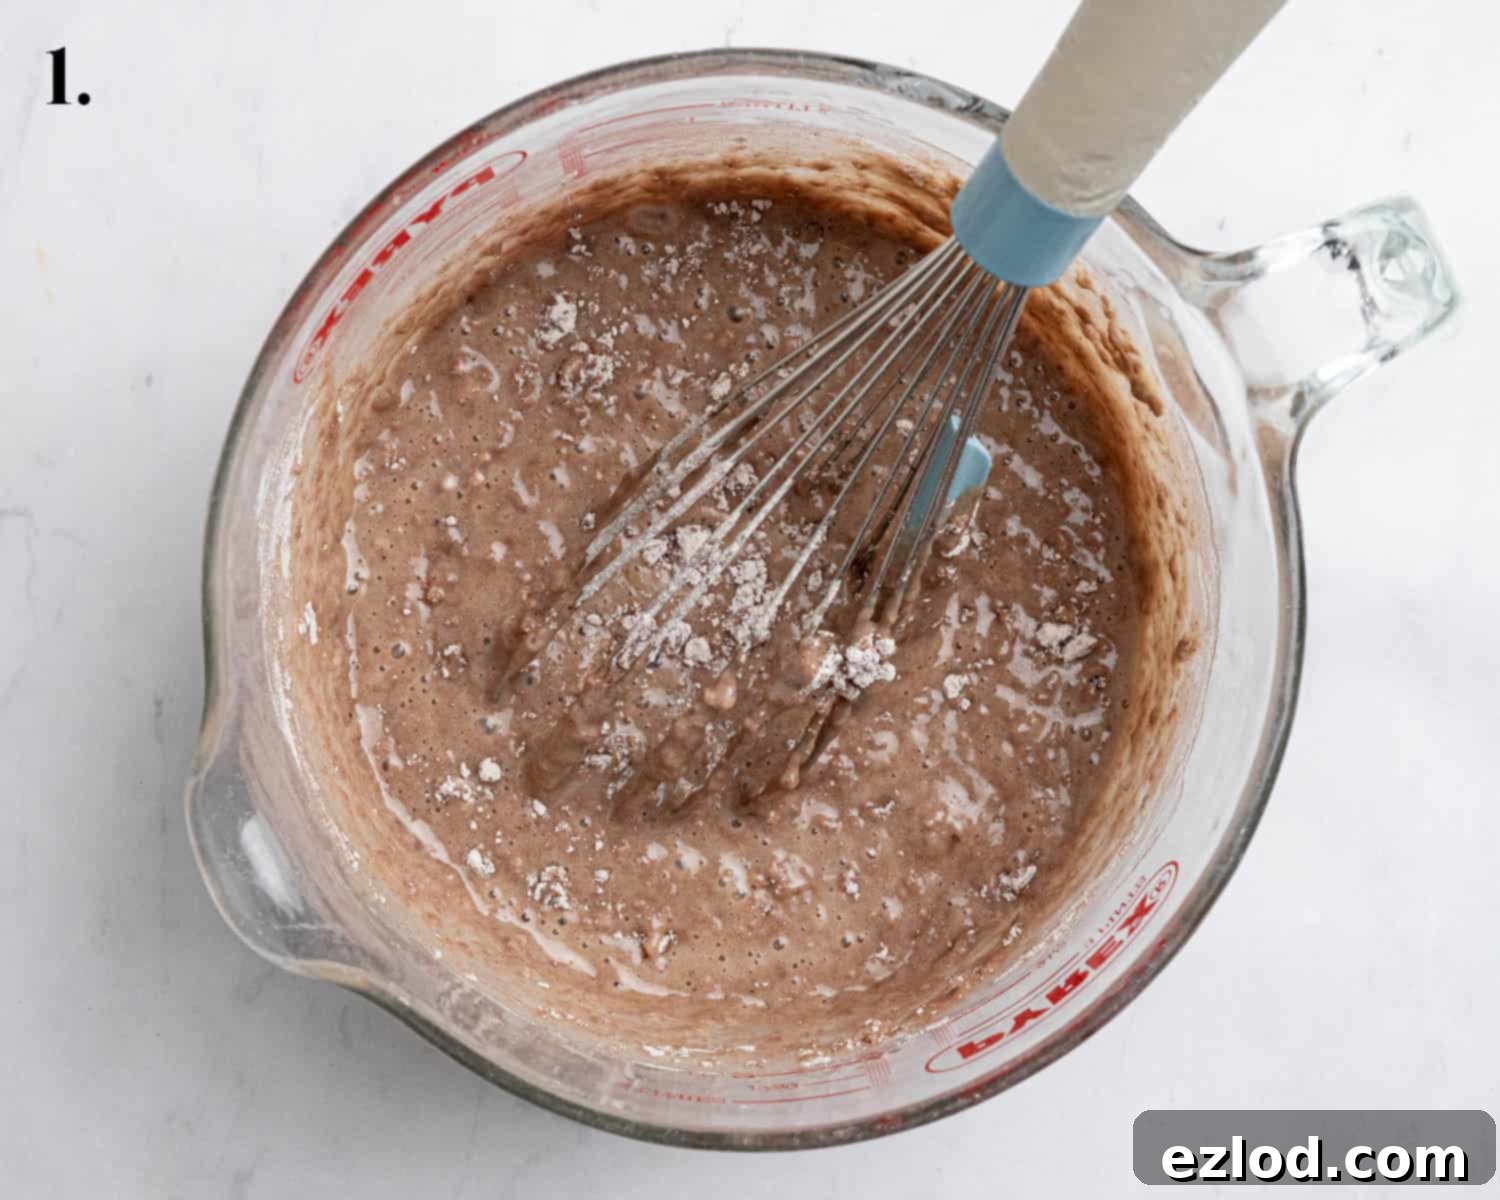
Step 1: Preparing the Cake Batter. Begin by thoroughly whisking all the wet ingredients together in a large mixing bowl until well combined. In a separate bowl, sift together all the dry ingredients. This ensures there are no lumps and that the leavening agents are evenly distributed. Gently pour the dry mixture into the wet ingredients and, using a balloon whisk, stir just until they are beginning to combine. The mixture should still appear lumpy at this stage; resist the urge to overmix.
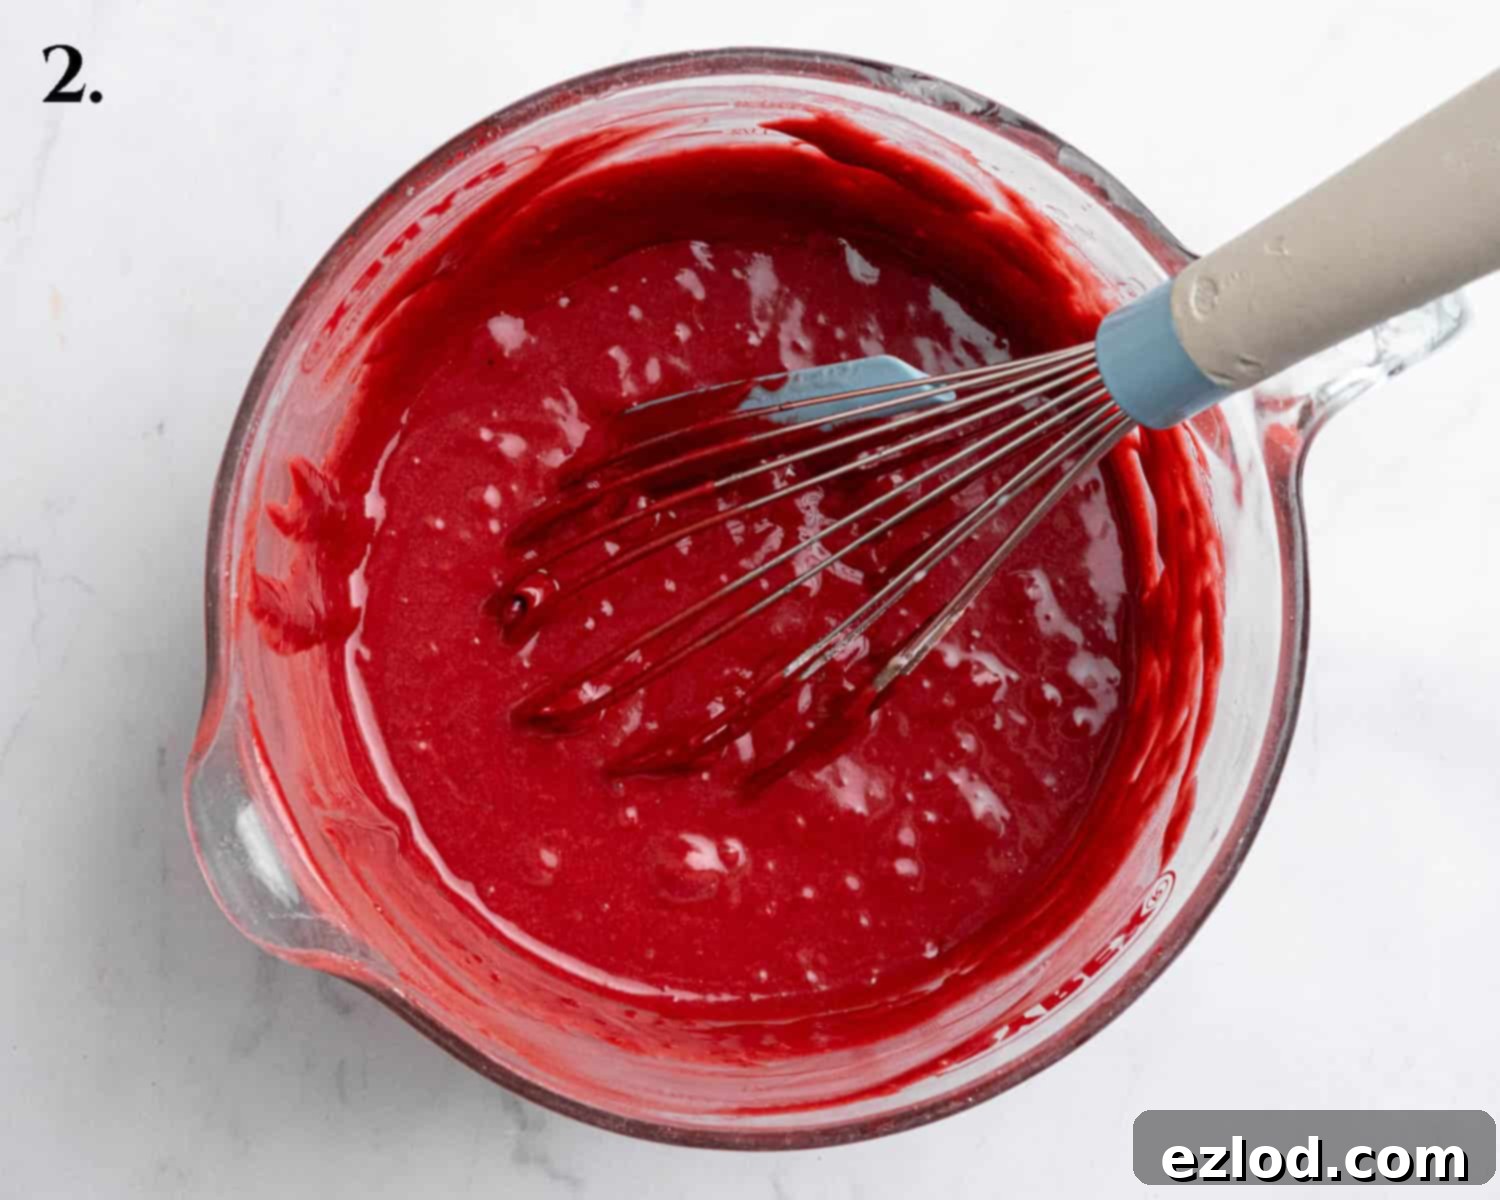
Step 2: Achieving the Perfect Red Hue. Now it’s time to add that signature red color. Incorporate about ¼ teaspoon of your bake-stable red gel food coloring into the batter. Continue to stir gently until no dry lumps remain and the color is evenly distributed. If you desire a deeper, more intense red, add a few more drops of food coloring, stirring after each addition, until you achieve your preferred vibrant shade. Be mindful not to add too much at once, as a little gel coloring goes a long way!
Step 3: Baking the Red Velvet Cake. Carefully pour the beautifully colored batter into your prepared 20 cm (8 inch) round springform cake tin, which should be lined with baking paper. Bake in a preheated oven for approximately 30 minutes, or until a skewer inserted into the center of the cake comes out clean. This indicates it’s fully cooked. Once baked, let the cake cool in the tin for about 10 minutes before carefully turning it out onto a wire rack to cool completely. It’s crucial that the cake is absolutely cold before proceeding to the next steps.
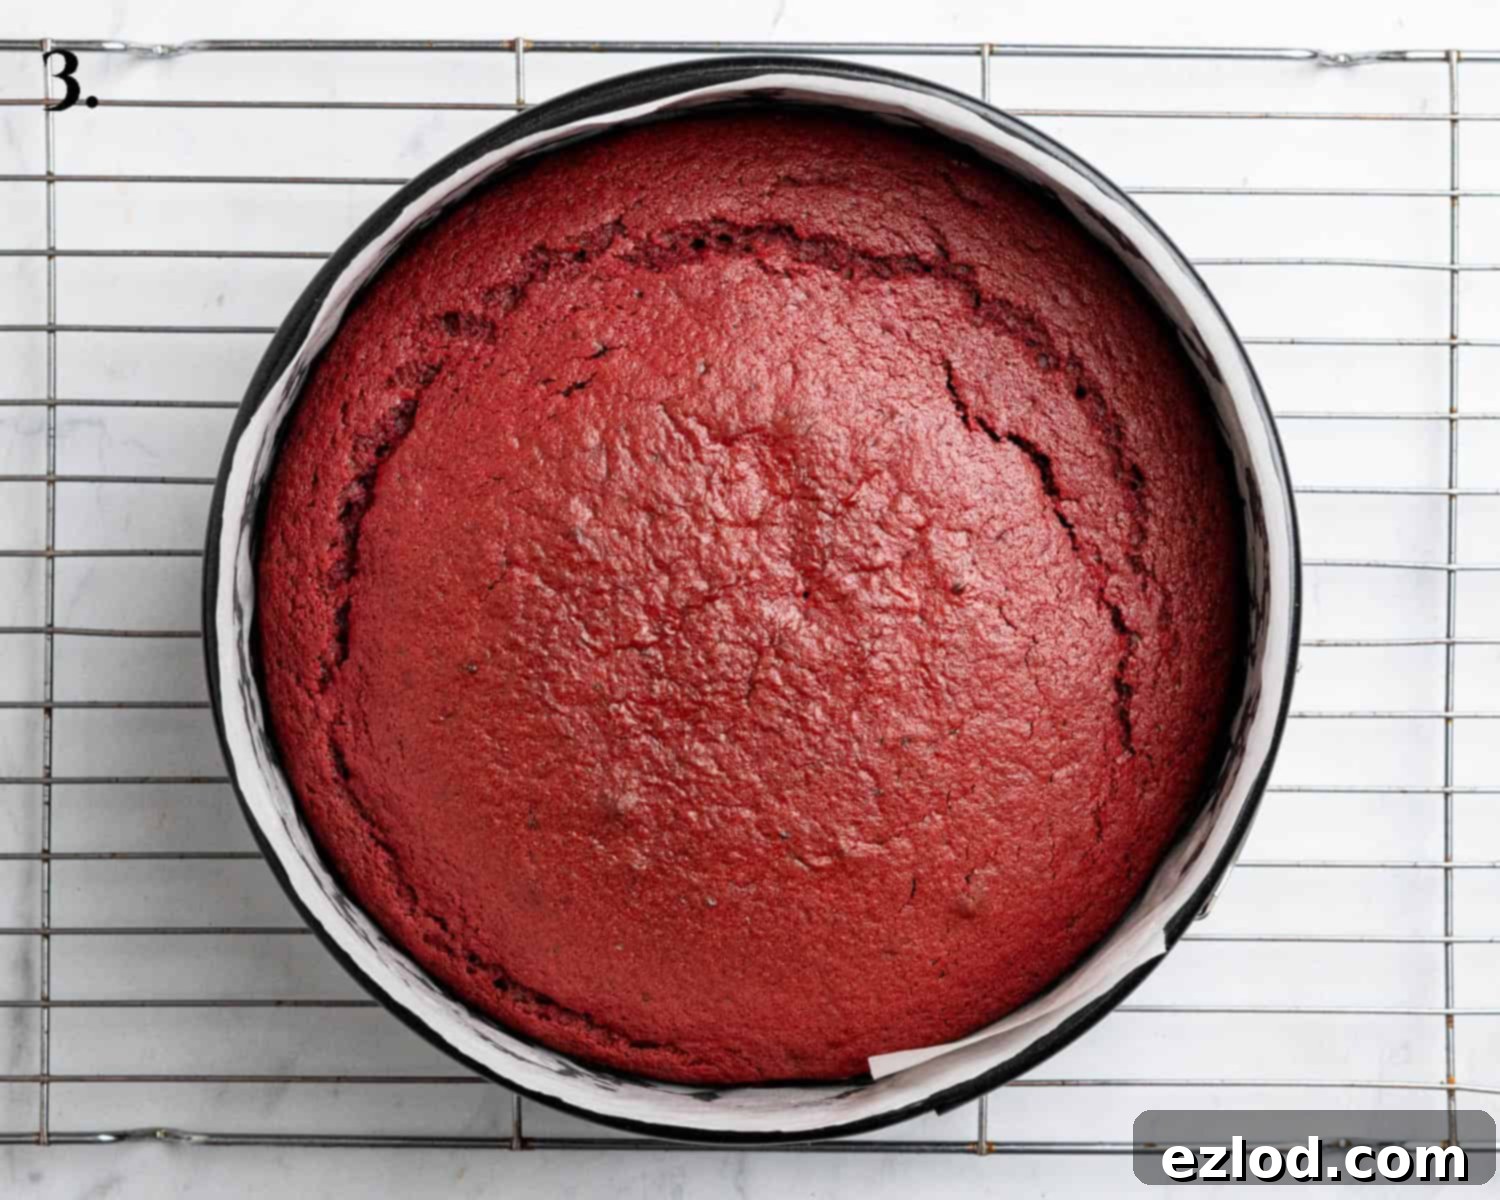
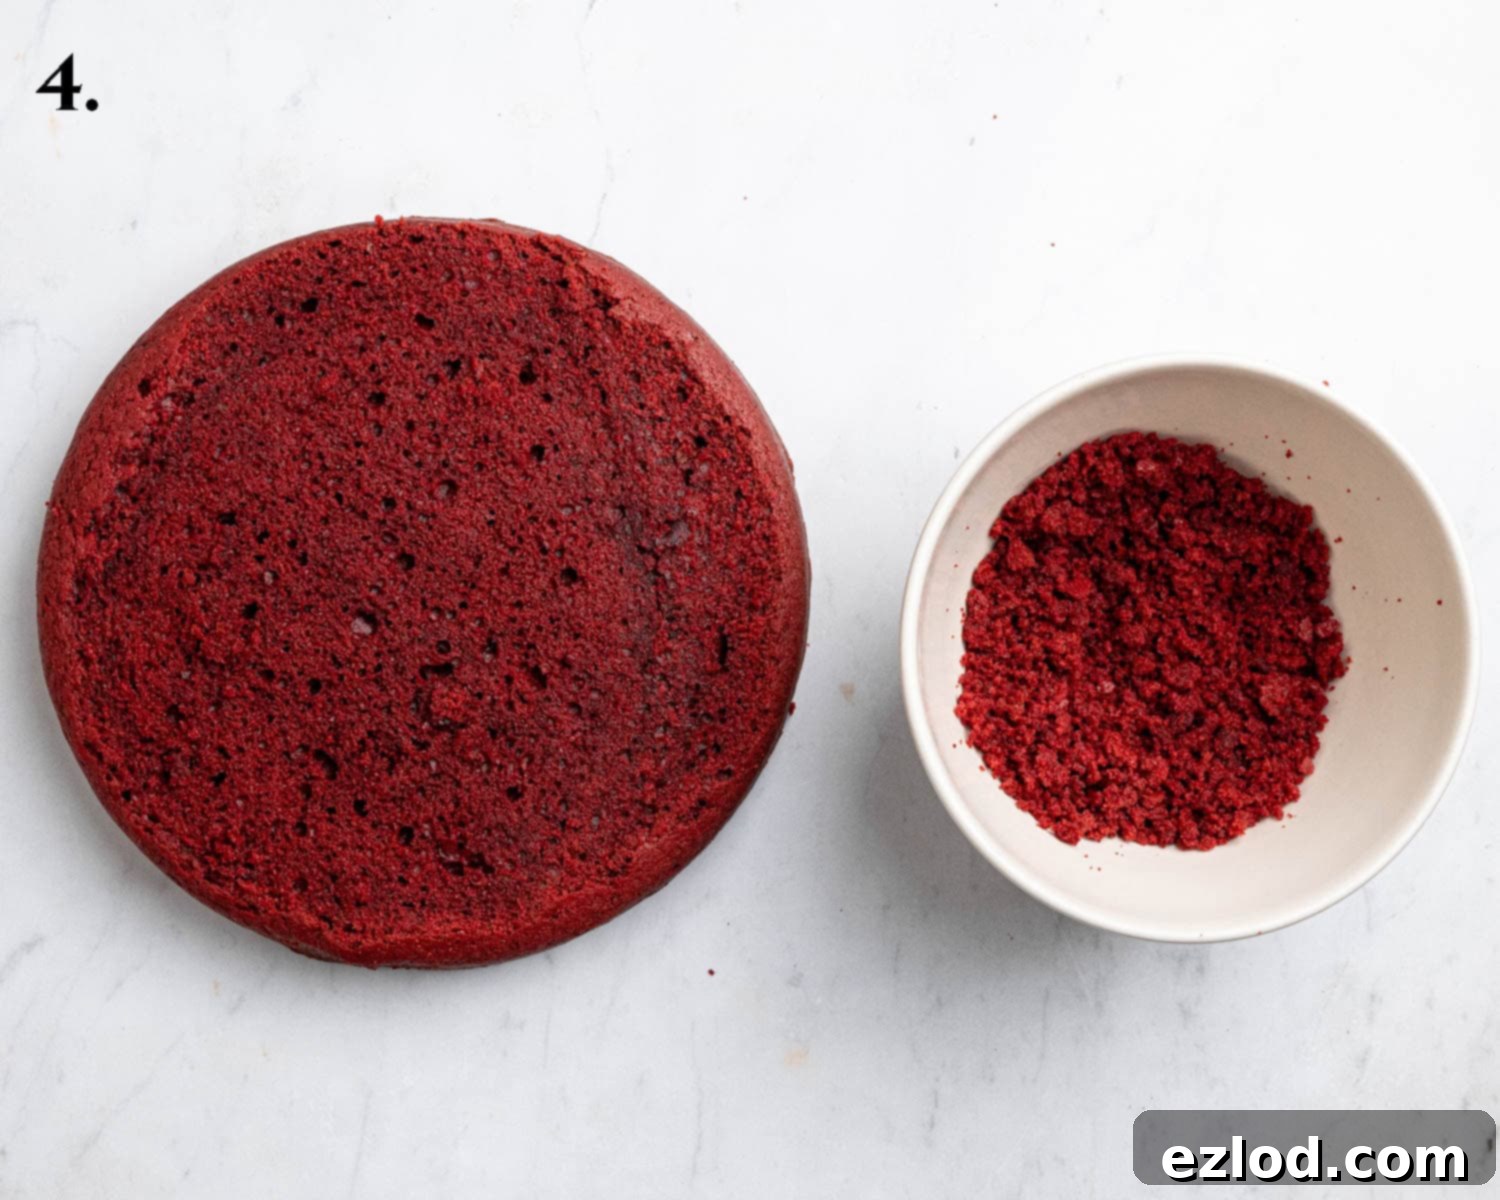
Step 4: Preparing the Cake for Assembly. Once your red velvet cake is completely cool, use a cake leveling wire or a serrated knife to carefully trim the top, creating a perfectly flat surface. This ensures your cheesecake layer will sit evenly and look professional. Collect the trimmed cake scraps and crumble them into a small bowl. Set these aside; they will be used later to beautifully decorate the top of your finished cheesecake cake.
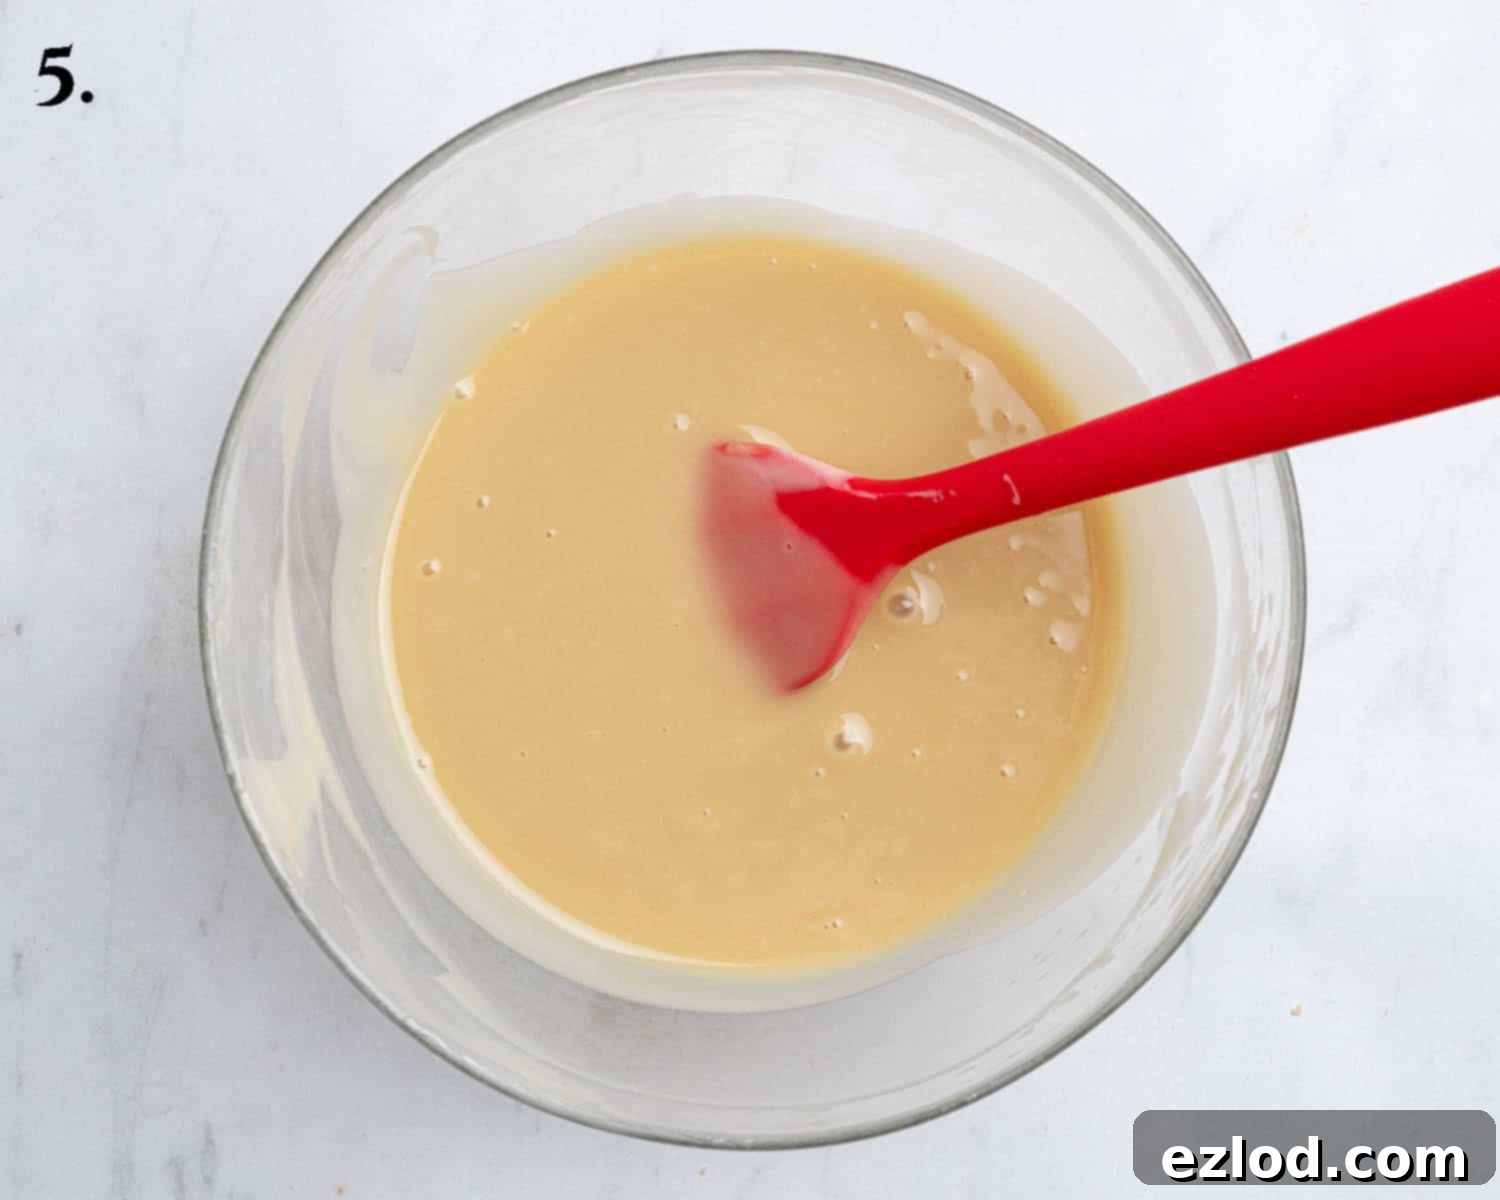
Step 5: Melting the White Chocolate Mixture. In a heatproof bowl, combine the vegan white chocolate (finely chopped) with half of the vegan cream cheese. Gently melt them together using either short bursts in the microwave, stirring frequently, or by placing the bowl over a pan of simmering water (ensure the bowl’s base doesn’t touch the water). Stir until the mixture is smooth and fully combined. Once melted, set this mixture aside and allow it to cool until it is just warm to the touch. This cooling step is important to prevent it from splitting or melting other ingredients later.
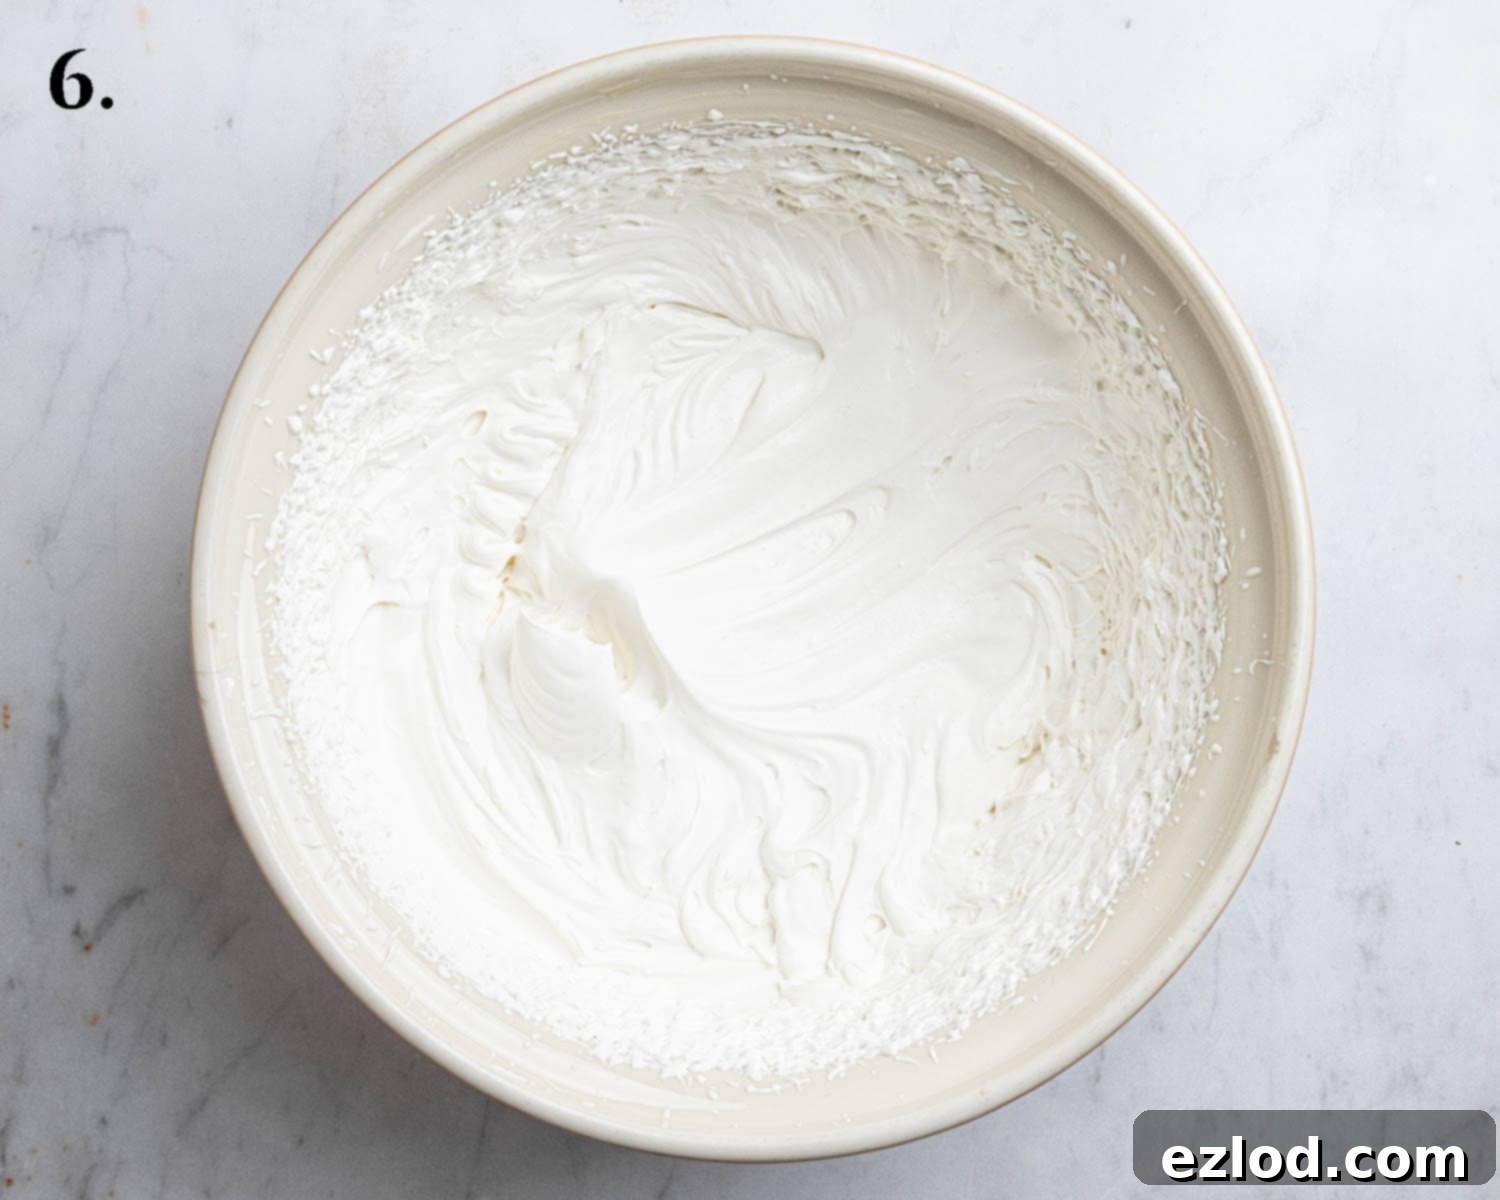
Step 6: Whipping the Cream Cheese and Cream. In a large mixing bowl, whisk together the remaining vegan cream cheese and the icing sugar until the mixture is smooth and completely free of lumps. Next, pour in the vegan whipping cream. Using an electric mixer, whisk the ingredients together until the mixture thickens and forms soft, airy peaks. Be careful not to over-whip, as some vegan creams can split if beaten too vigorously for too long.
Step 7: Combining the Cheesecake Layers. To the whipped cream mixture, gently add the lemon juice, vanilla extract, and your cooled white chocolate mixture from Step 5. Using a balloon whisk, carefully fold all the ingredients together until they are just combined and homogeneous. The key here is to mix gently to avoid knocking out too much of the air you’ve incorporated, which is essential for a light and fluffy cheesecake texture.
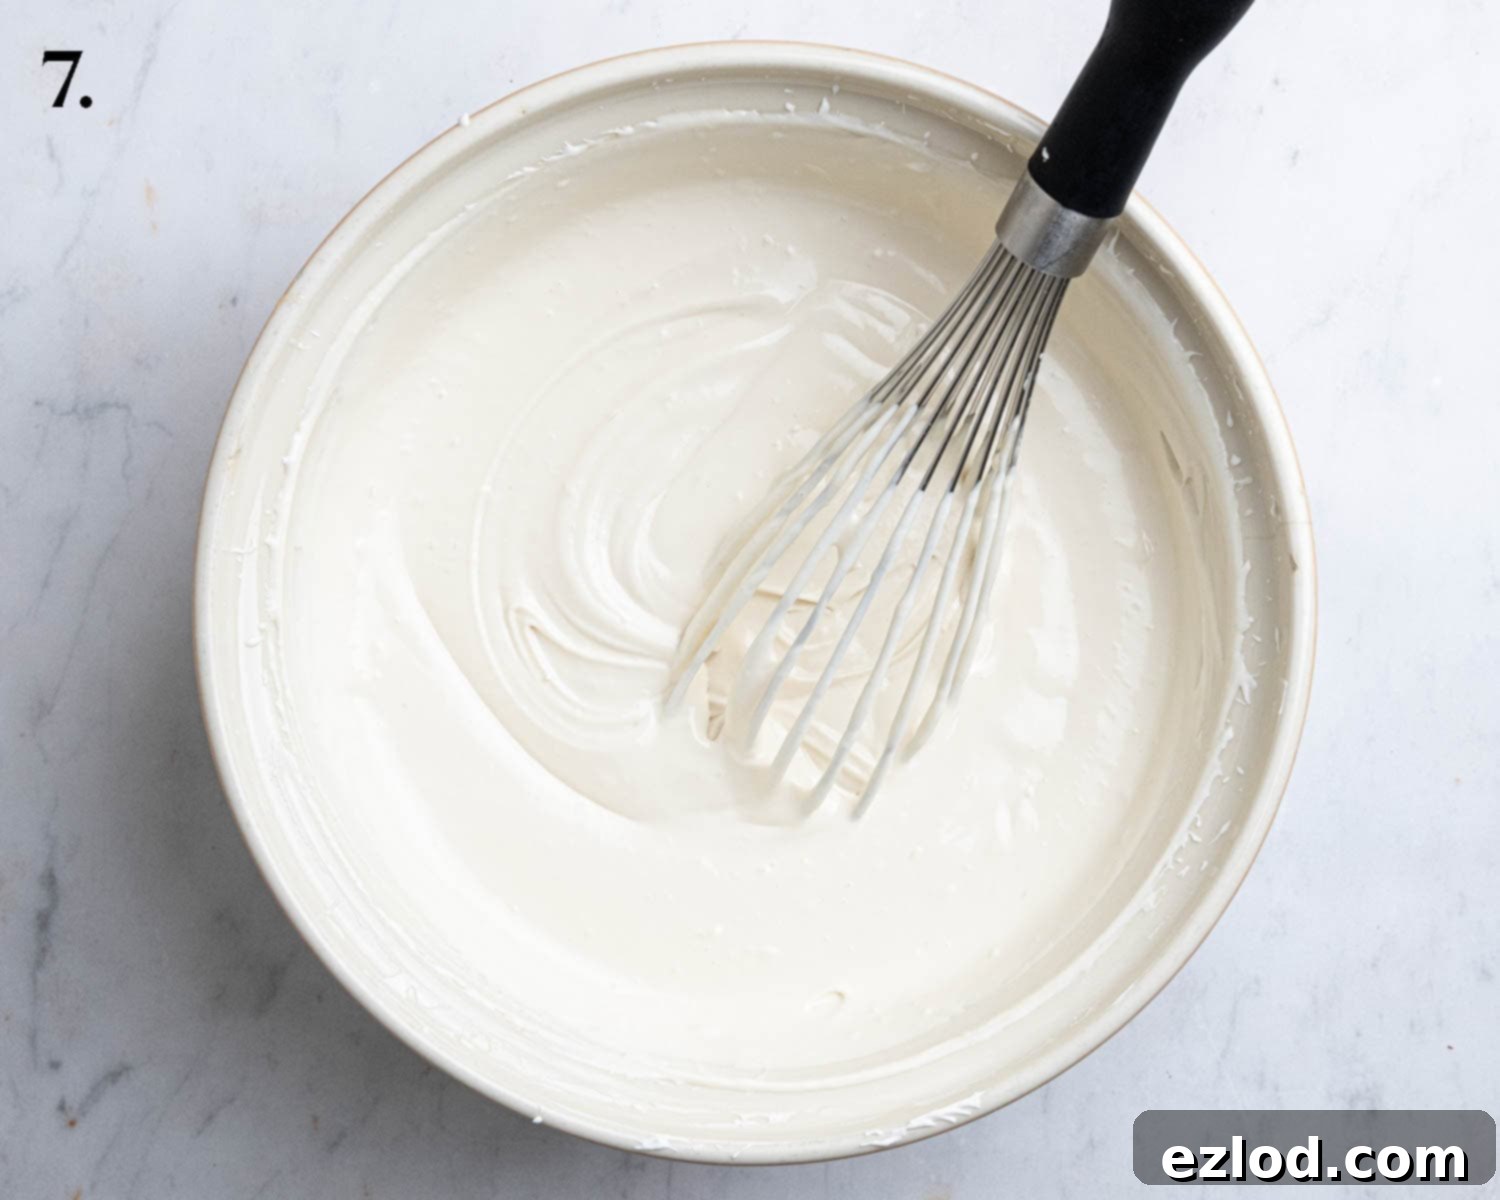
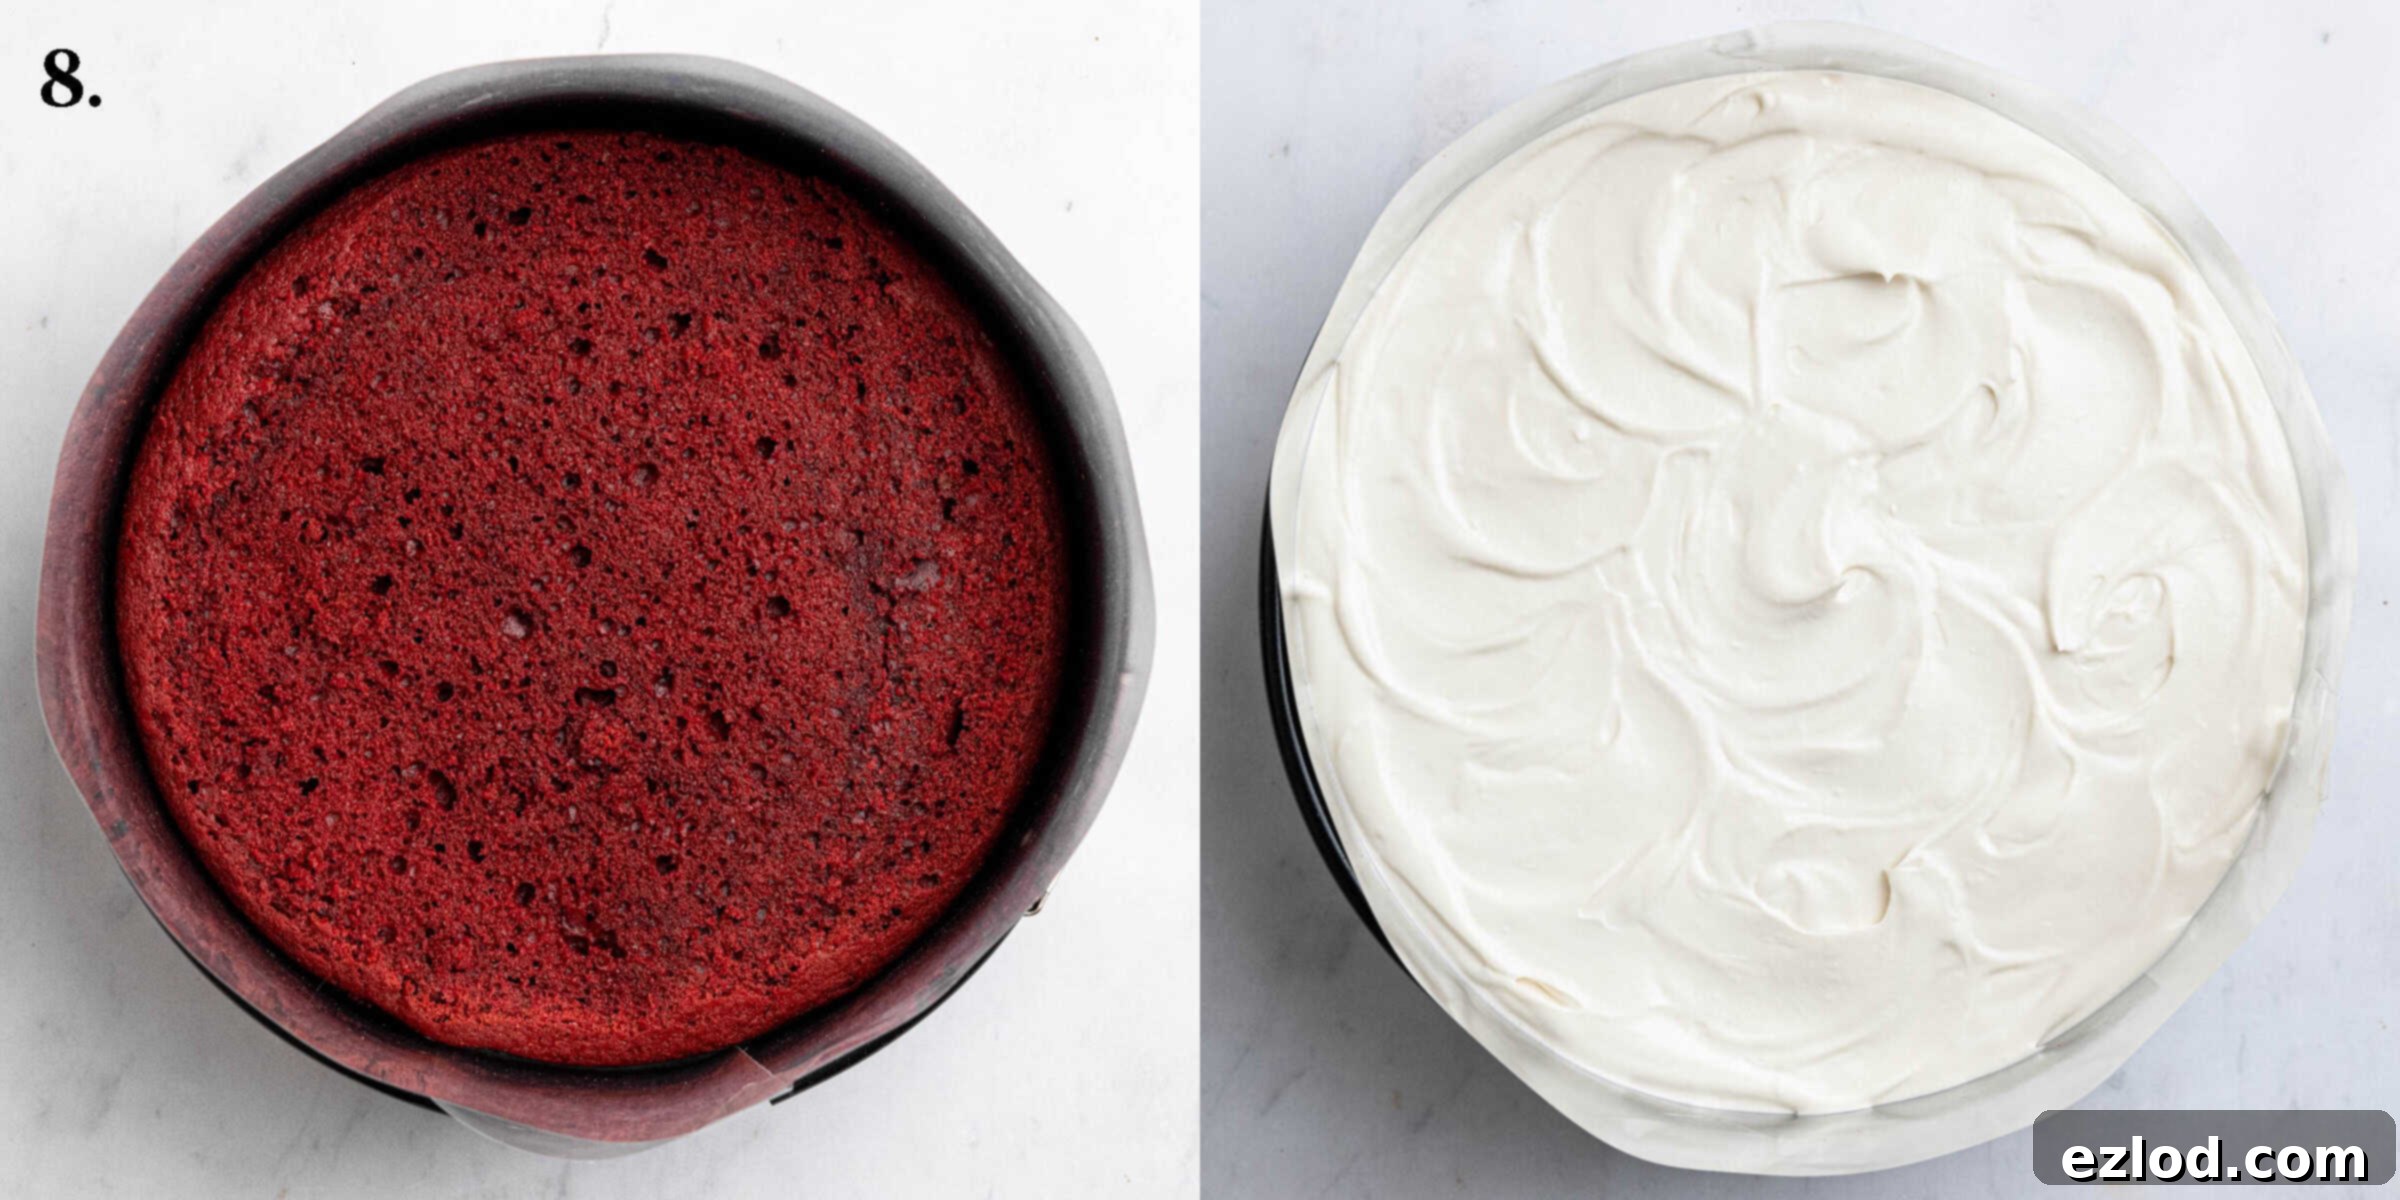
Step 8: Assembling and Chilling Your Masterpiece. Prepare your 20 cm (8 inch) springform tin by lining its sides with acetate or a double layer of baking paper, ensuring it extends a couple of inches above the rim of the tin. This extra height is crucial as the cheesecake mixture will fill the tin to the top, if not slightly over. Place your trimmed red velvet cake layer firmly at the base of the lined tin. Now, carefully pour the prepared cheesecake mixture directly on top of the cake layer. Gently spread it out evenly with an offset spatula to create a smooth, level surface. Transfer the assembled cheesecake to the refrigerator and allow it to chill for a minimum of 4 hours, or ideally overnight, until it is completely set and firm. This chilling time is vital for the cheesecake to firm up properly.
Top Tips for Vegan Red Velvet Cheesecake Cake Success:
- Precision with Metric Measurements: As a seasoned baker, I cannot stress enough the importance of using metric measurements with a digital kitchen scale. Unlike volumetric cup measurements, which can be wildly inaccurate and lead to inconsistent results, a scale provides precise weights, ensuring your cake and cheesecake turn out perfectly every single time. It’s also often a cleaner and less messy method!
- Avoid Overmixing the Cake Batter: For a tender and moist red velvet cake, it’s crucial not to overmix the batter. Once you combine the wet and dry ingredients, stir *gently* by hand with a balloon whisk. Stop as soon as no dry lumps are visible. Overmixing develops the gluten in the flour, leading to a tough, dense cake rather than the desired soft texture.
- The Right Tin Matters: To ensure easy removal and a beautifully presented cake, an 8-inch (20 cm) springform cake tin is highly recommended for this recipe. A loose-bottomed tin would be a second-best option. Always line both the base and sides of your chosen tin with baking parchment to prevent sticking and facilitate a clean release.
- Lining for Smooth Sides: For a professional finish, I prefer to line the sides of the springform tin with acetate cake collars. They peel away effortlessly, leaving a perfectly smooth, unblemished side. If acetate isn’t available, a double layer of baking paper cut to the height of the tin (plus a couple of extra inches) will also work effectively.
- Patience is a Virtue (Chilling Time): Do not rush the chilling process! The cheesecake requires at least 4 hours in the refrigerator to properly set and become firm, though leaving it overnight yields the best results. Additionally, ensure your red velvet cake layer is completely cold before you even think about adding the cheesecake mixture. Factor this essential chilling and cooling time into your preparation schedule.
- Sift Dry Ingredients: Always sift your dry ingredients together before adding them to the wet. This not only removes any lumps but also aerates the flour, cocoa, and leavening agents, ensuring they are evenly distributed throughout the batter for a consistent rise and texture.
- Ingredient Temperature: For the cheesecake, ensure your vegan cream cheese and whipping cream are well-chilled before you start. Cold ingredients whip up better and contribute to a firmer set. The melted white chocolate mixture should be just warm, not hot, when added to the whipped cream cheese mixture to avoid melting the cream.
Frequently Asked Questions (FAQ’s) about this Vegan Cheesecake Cake:
Absolutely! If you’re craving a classic vegan red velvet cake, simply double the quantities for the cake recipe provided here. Bake the batter across two separate 20 cm (8 inch) round cake tins. Once cooled, you can fill and generously ice your layers with a delicious vegan cream cheese frosting. For an excellent recipe, I recommend using the cream cheese frosting from my vegan carrot cake, or feel free to use your favorite vegan cream cheese frosting recipe.
Yes, absolutely! This no-bake white chocolate cheesecake mixture is incredibly versatile and makes a fantastic stand-alone cheesecake. Instead of the red velvet cake layer, simply prepare your favorite cookie crust (a crushed Oreo cookie crust would be particularly delicious and vegan-friendly!) in either a 20 cm (8 inch) or 23 cm (9 inch) round springform cake tin. Once your crust is prepared and chilled, spread the white chocolate cheesecake mixture evenly on top. Refrigerate the cheesecake for at least 4 hours (or ideally overnight) until it’s perfectly set and firm.
To maintain its freshness and delightful texture, store your vegan red velvet cheesecake cake in an airtight, covered container. Place it in the refrigerator, where it will remain delicious for up to 3 days. Ensure it’s well-covered to prevent it from absorbing any odors from other foods in your fridge.
While I haven’t personally tested freezing this specific cake, based on the components, it should freeze quite well. You have a couple of options:
- Individual Slices: Freeze individual slices in airtight containers, separating layers with parchment paper if stacking.
- Whole Cheesecake: For the entire cake, first place it on a lined baking tray and freeze until completely solid. Once frozen, wrap it thoroughly in several layers of cling film (plastic wrap) and then a layer of aluminum foil to prevent freezer burn. It can be stored in the freezer for up to 3 months.
To defrost, unwrap the frozen cake or slices, place them on a plate, and cover loosely. Allow it to thaw slowly in the refrigerator for several hours or preferably overnight. It is important not to refreeze once thawed to maintain the best texture and quality.
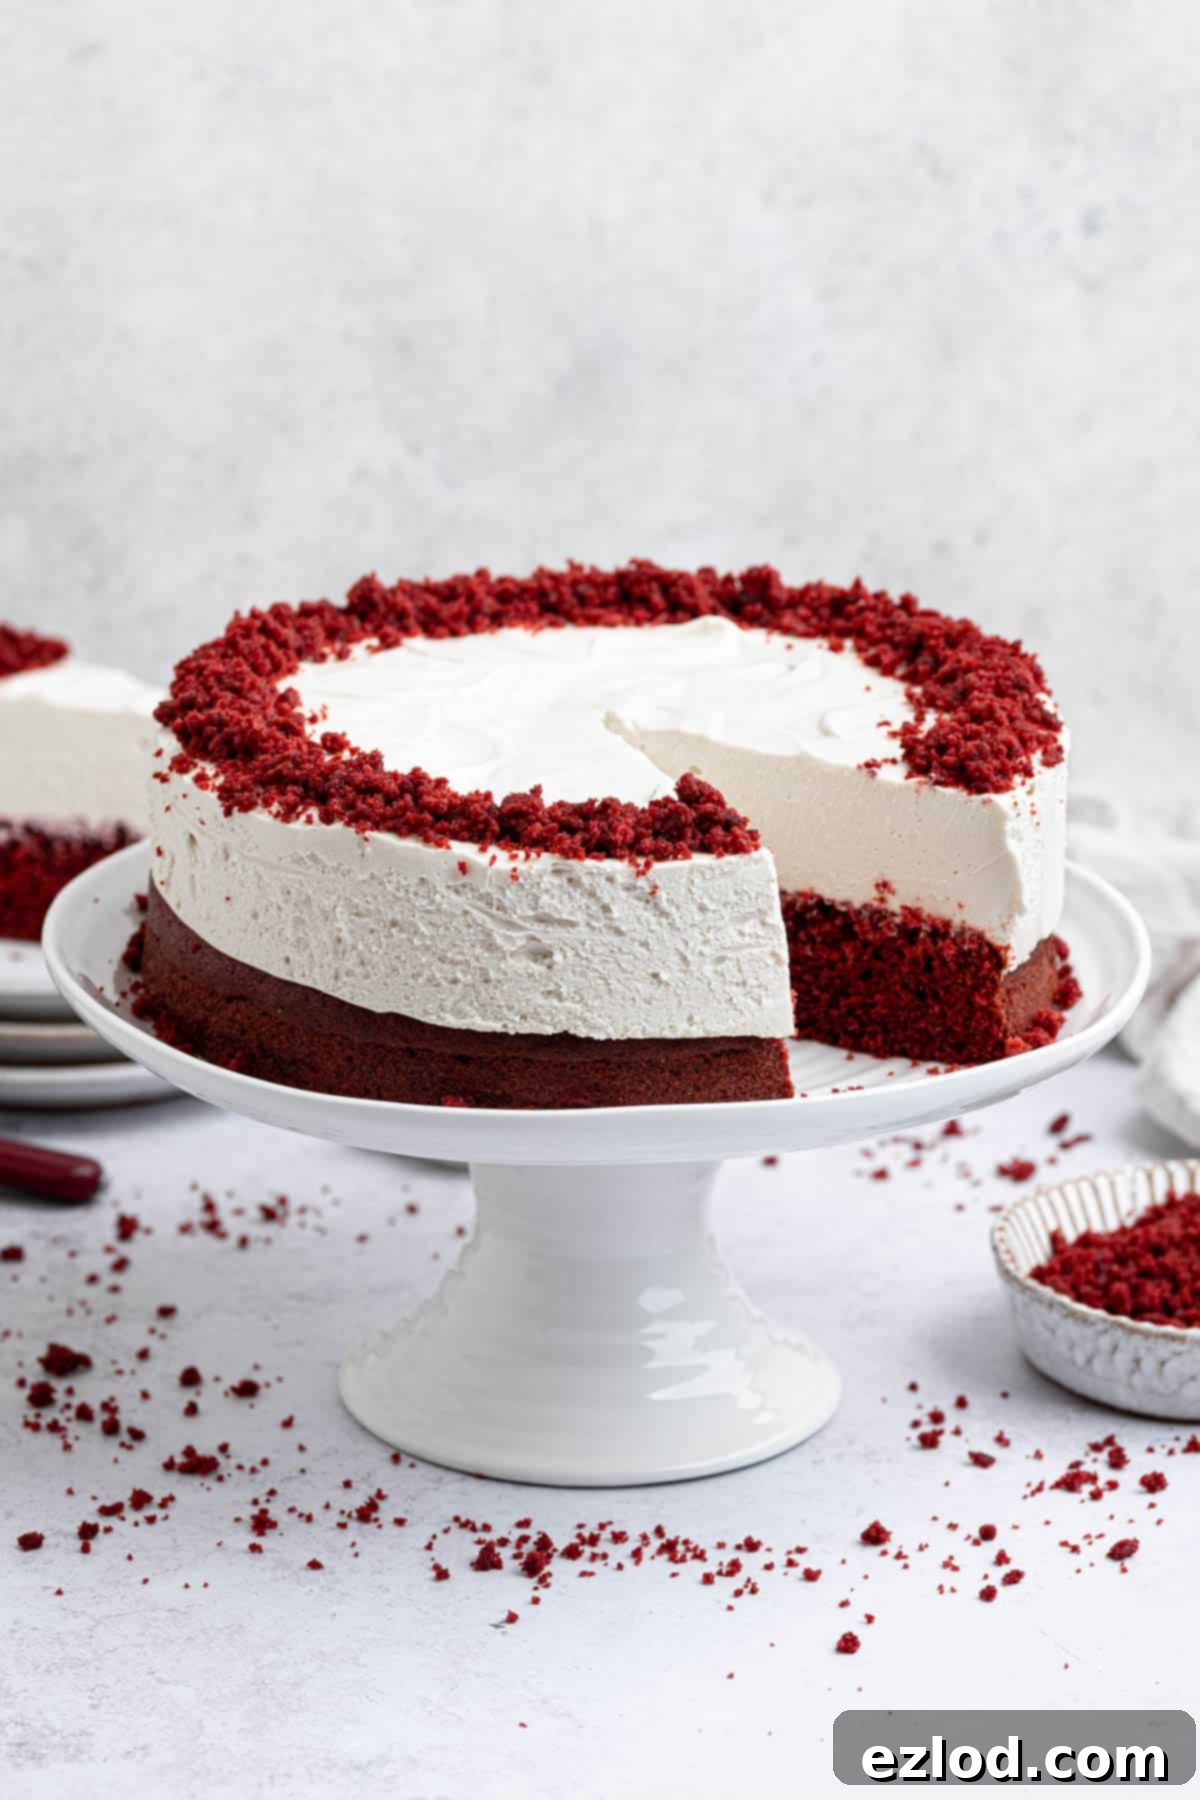
If you’ve had the pleasure of trying this exquisite vegan red velvet cheesecake cake recipe, I would absolutely love to hear about your experience! Please take a moment to rate it, leave a comment below, or share your beautiful creation on Instagram by tagging @domestic_gothess and using the hashtag #domesticgothess. Your feedback and photos truly make my day!
All images and content featured on Domestic Gothess are protected by copyright. If you wish to share this delightful recipe with others, please do so by utilizing the convenient share buttons provided. Kindly refrain from screenshotting or posting the recipe or its content in its entirety. Instead, a direct link back to this original post is greatly appreciated for sharing purposes. Thank you for your understanding and support!

Print
Red Velvet Cheesecake Cake (Vegan)
Ingredients
Cake:
- 190 g (1 + ⅓ + ¼ cups) plain (all-purpose) flour
- 20 g (2 packed Tablespoons) cornflour (cornstarch)
- 10 g (1 packed Tablespoon) cocoa powder
- ½ teaspoon baking powder
- ½ teaspoon bicarbonate of soda (baking soda)
- ¼ teaspoon salt
- 60 g (¼ cup) vegan butter melted
- 55 g (¼ cup) neutral oil (do not use coconut)*
- 150 g (¾ cup) caster or granulated sugar
- 125 g (½ cup) unsweetened non-dairy milk (I use soy)
- 60 g (¼ cup) plain non-dairy yogurt (I use soy)
- 1 ½ teaspoons vanilla extract
- 1 Tablespoon white wine or cider vinegar
- about ¼ teaspoon red gel food colouring
Cheesecake:
- 200 g (7 oz) vegan white chocolate chopped
- 420 g (14 oz) vegan cream cheese divided
- 20 g (2 Tablespoons) icing (powdered) sugar
- 160 g (⅔ cup) vegan whipping cream
- 1 Tablespoon lemon juice
- 2 teaspoons vanilla extract
Instructions
Cake:
-
Preheat the oven to 180℃/160℃ fan/350℉/gas mark 4. Line a deep 20 cm/8 in round springform cake tin with baking paper.
-
Sift together the flour, cornflour, cocoa powder, baking powder, bicarbonate of soda and salt.190 g (1 + ⅓ + ¼ cups) plain (all-purpose) flour, 20 g (2 packed Tablespoons) cornflour (cornstarch), 10 g (1 packed Tablespoon) cocoa powder, ½ teaspoon baking powder, ½ teaspoon bicarbonate of soda (baking soda), ¼ teaspoon salt
-
Whisk together the melted butter, oil, sugar, milk, yogurt, vanilla and vinegar in a large bowl.60 g (¼ cup) vegan butter, 55 g (¼ cup) neutral oil, 150 g (¾ cup) caster or granulated sugar, 125 g (½ cup) unsweetened non-dairy milk, 60 g (¼ cup) plain non-dairy yogurt, 1 ½ teaspoons vanilla extract, 1 Tablespoon white wine or cider vinegar
-
Tip the dry ingredients into the wet and stir gently with a balloon whisk until it is just starting to combine but is still lumpy.
-
Add a couple of drops of food colouring and continue to stir until no dry lumps remain, adding more food colouring as needed to achieve a deep red colour.about ¼ teaspoon red gel food colouring
-
Pour the batter into the prepared tin and bake for about 30 minutes until a skewer inserted into the centre comes out clean. Leave the cake to cool in the tin for 10 minutes then turn it out out onto a wire rack to cool completely.
-
Once the cake is completely cold, trim the top of the cake with a cake wire or serrated knife to level it and crumble the trimmings into a bowl, set aside to use later.
-
Wash the springform tin then line the base with baking paper and the sides with acetate or a double layer of baking paper that comes a couple of inches above the top of the tin. The cheesecake mixture will come to the very top of the tin or even slightly above so this is important to prevent it from overflowing. Place the trimmed cake layer in the base of the tin.
Cheesecake:
-
Melt the white chocolate and half of the cream cheese together, either in short bursts in the microwave, stirring often, or in a bowl set over a pan of gently simmering water (do not let the base of the bowl touch the water). Set aside to cool until just warm.200 g (7 oz) vegan white chocolate, 420 g (14 oz) vegan cream cheese
-
Whisk together the remaining cream cheese and the icing sugar in a large bowl until free from lumps. Add the whipping cream and whisk with an electric mixer until it thickens and forms soft peaks.420 g (14 oz) vegan cream cheese, 20 g (2 Tablespoons) icing (powdered) sugar, 160 g (⅔ cup) vegan whipping cream
-
Add the lemon juice, vanilla and white chocolate mixture to the cream, stir gently with a balloon whisk until fully combined, try not to knock out too much air.1 Tablespoon lemon juice, 2 teaspoons vanilla extract
-
Pour the cheesecake mixture on top of the cake in the tin, spread it level and refrigerate until set, at least 4 hours.
-
To serve the cheesecake, unclip the springform tin and remove the sides. Gently slide it onto a serving plate, a cake lifter is useful for this; then peel the acetate or baking paper off the sides of the cheesecake. Decorate the top with the reserved cake crumbs and serve. Store the cheesecake in a covered container in the fridge for up to 3 days.
Notes
- *It is important to use an oil that is liquid at cool room temperature, such as olive or vegetable oil. Do not use a solid oil such as coconut otherwise the refrigerated cake will be too dense.
- See post above for tips, details and step-by-step photos.
- USE SCALES. As with all of my baking recipes I really do recommend using the metric measurements with a digital scales rather than the cup conversions. Cups are a wildly inaccurate measuring system and you will get far better, more consistent results using a scale, not to mention that it is also easier and less messy than cups!
