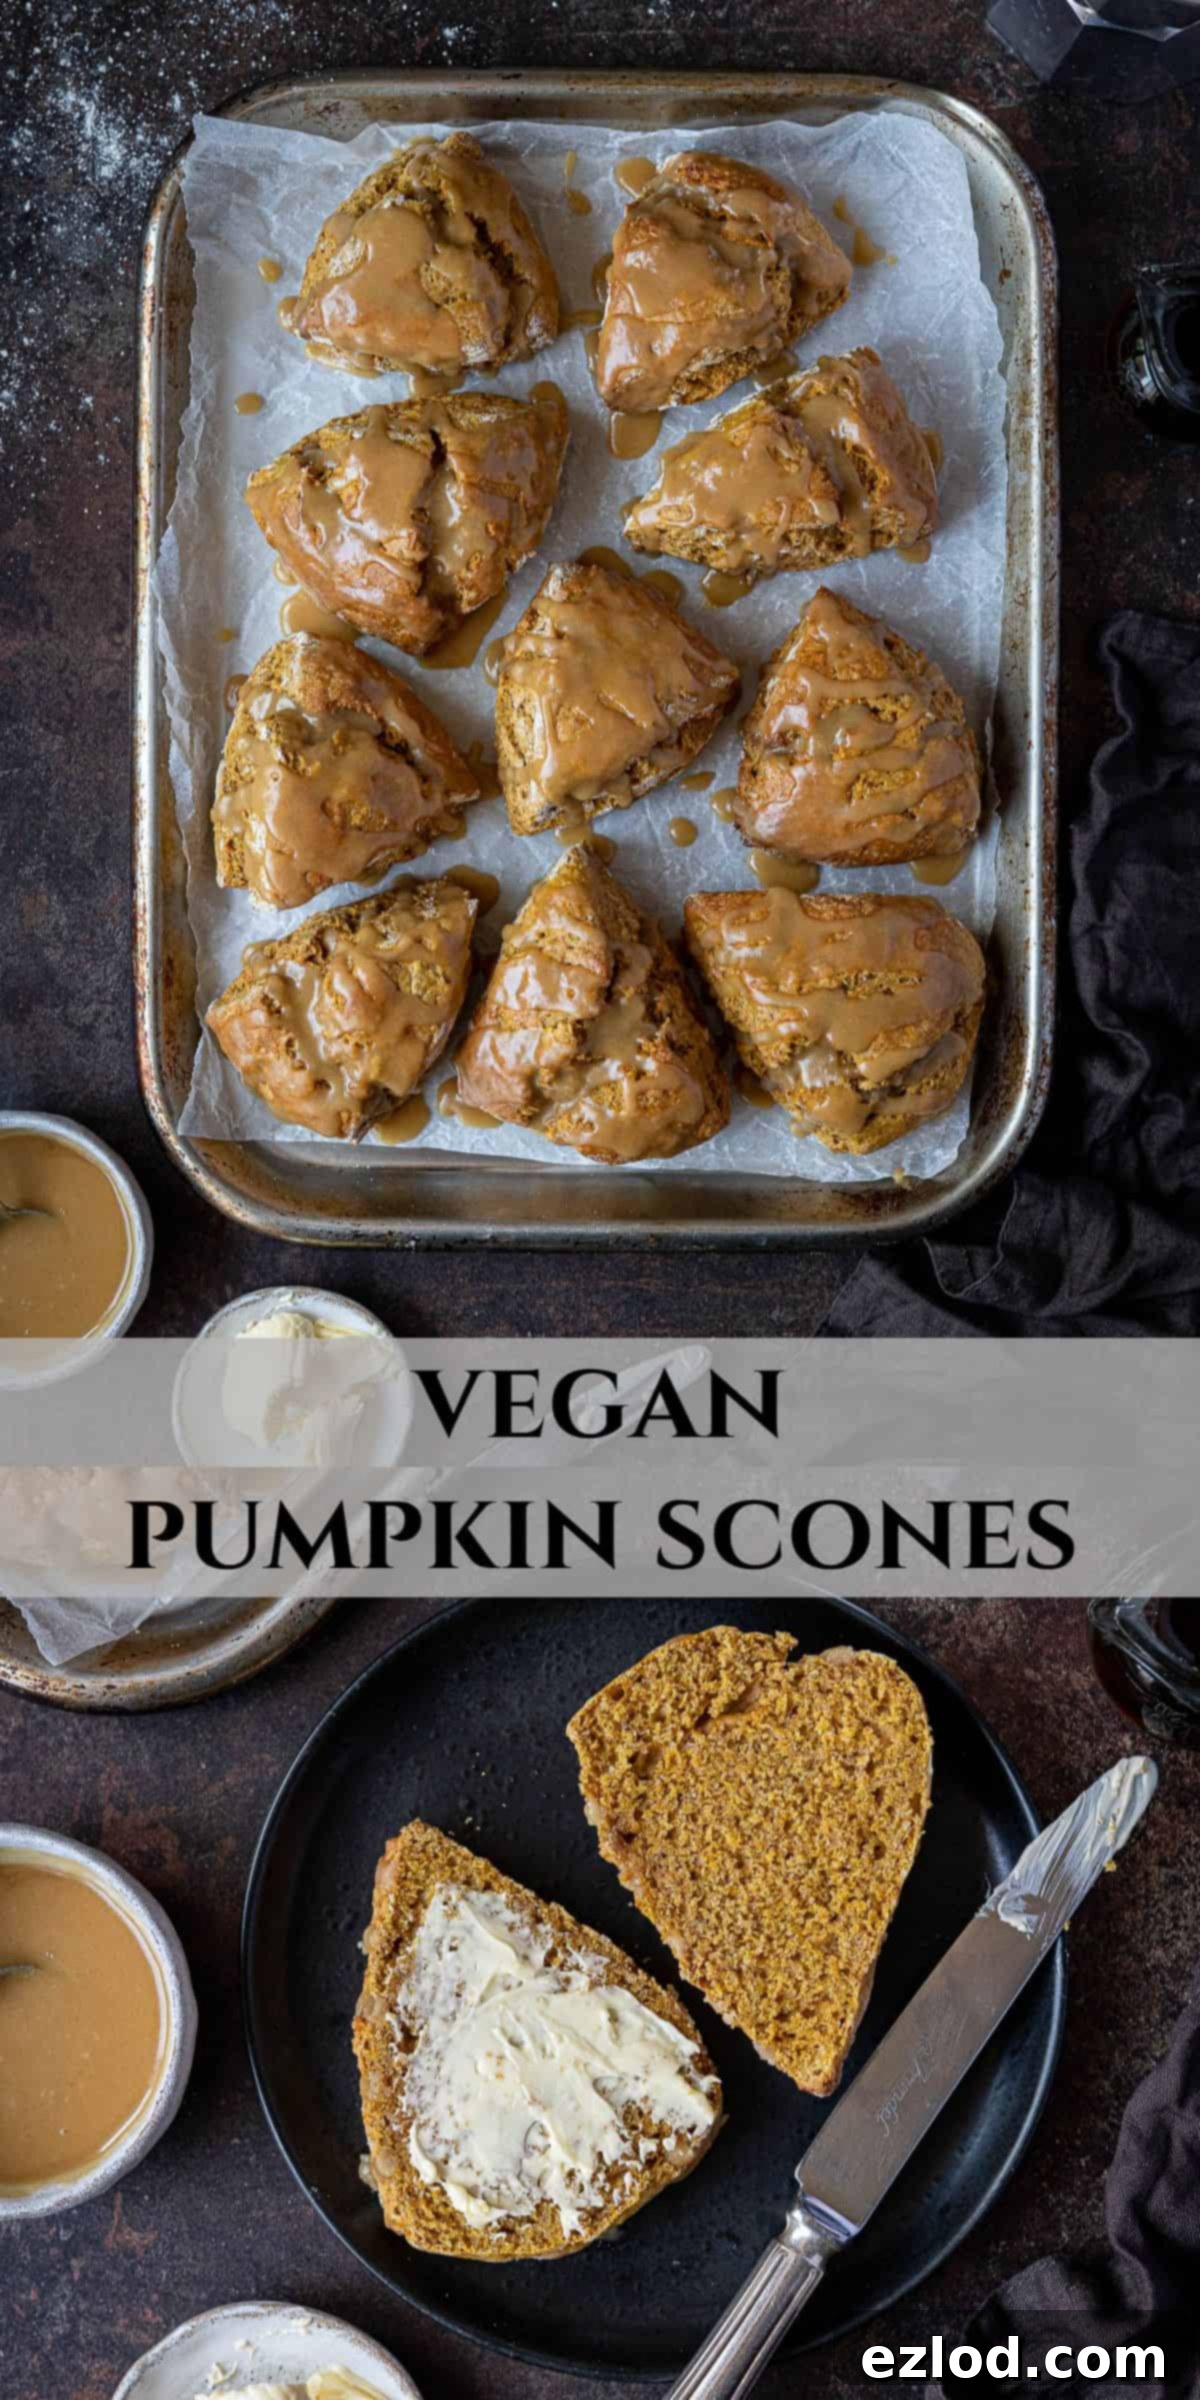
Delicious Vegan Pumpkin Scones with Maple Glaze: Your Ultimate Autumn Baking Guide
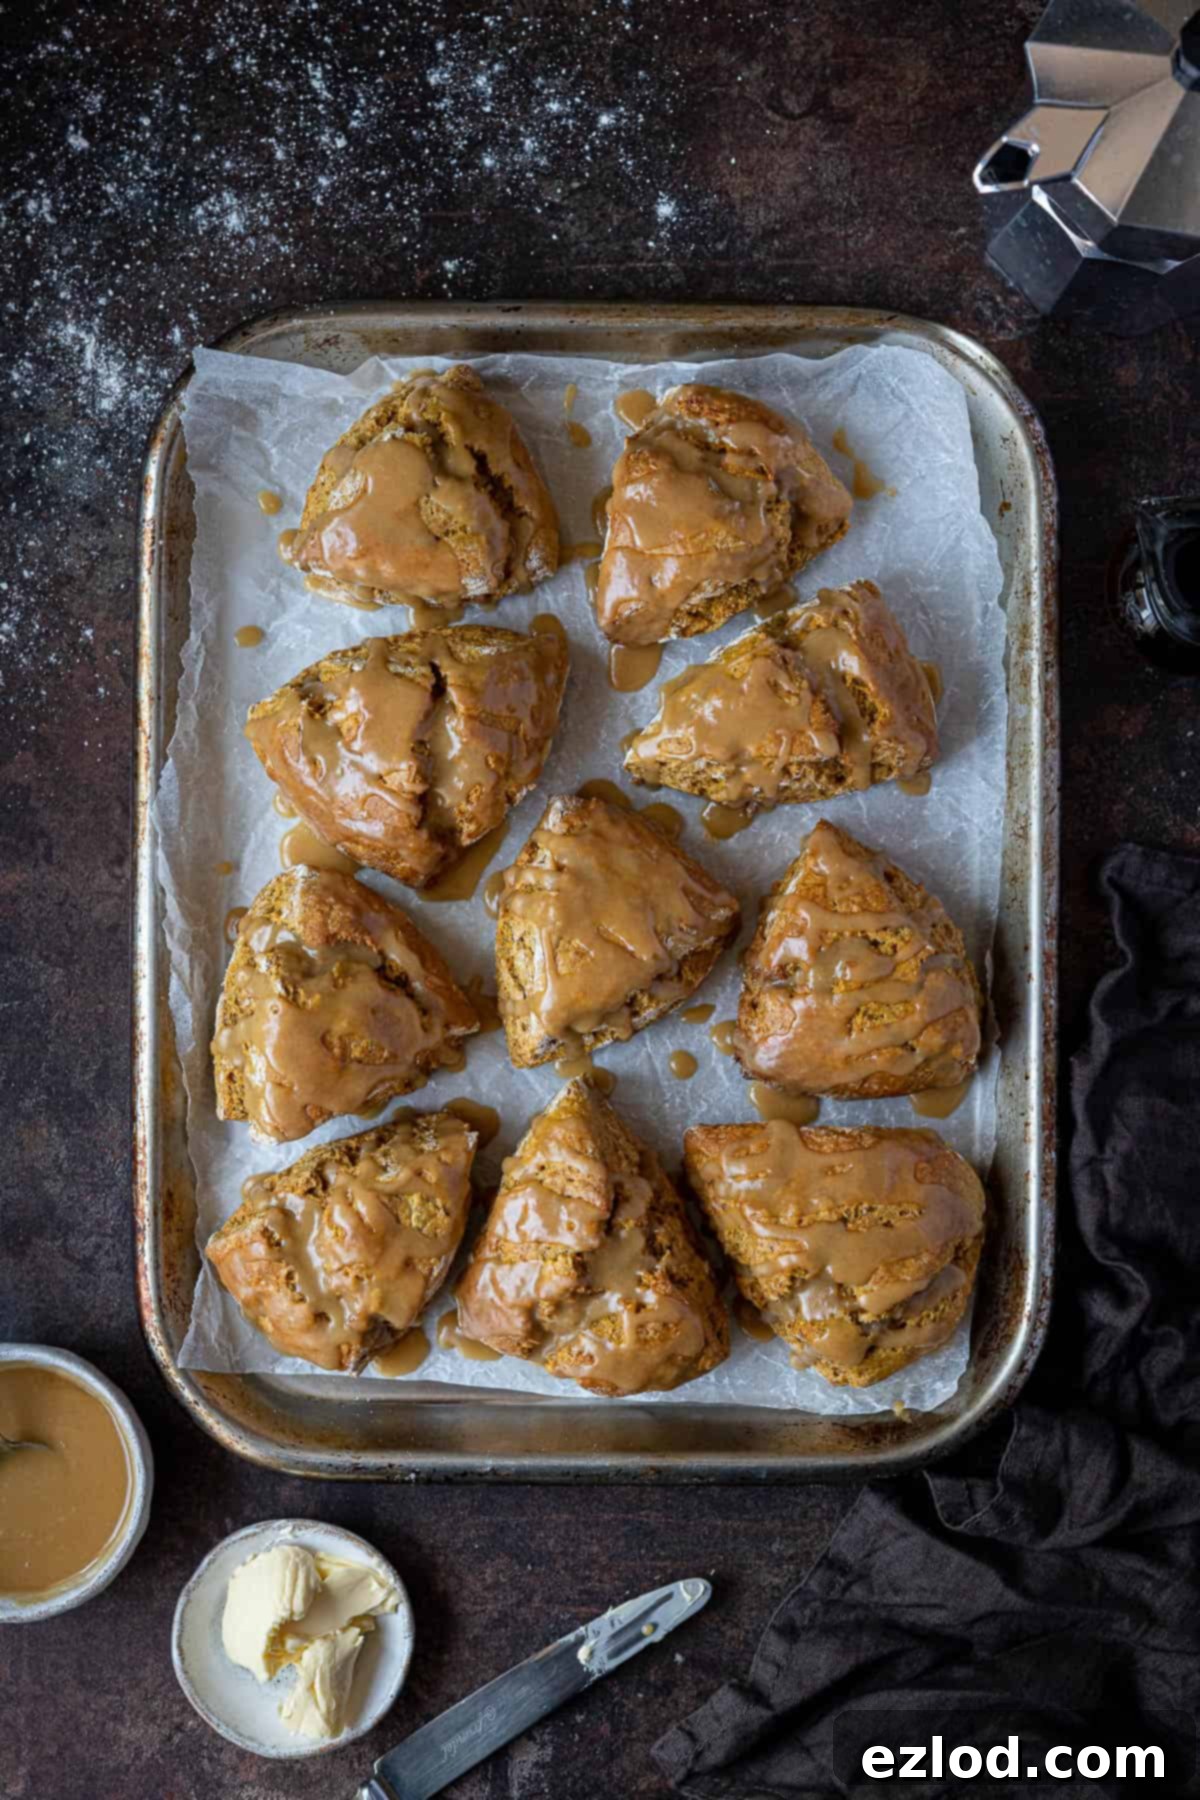
Embrace the cozy spirit of autumn with these incredibly delicious vegan pumpkin scones! Perfectly soft, moist, and tender, they boast a delightful pumpkin flavor complemented by a subtle blend of warming spices. Topped with a rich, buttery maple glaze, these scones are not just a treat; they’re an experience, perfect for a cozy morning breakfast, a delightful brunch, or an afternoon snack. What’s more, they are remarkably quick and easy to prepare, even for novice bakers, and they freeze beautifully, ensuring you can enjoy a taste of fall whenever the craving strikes.
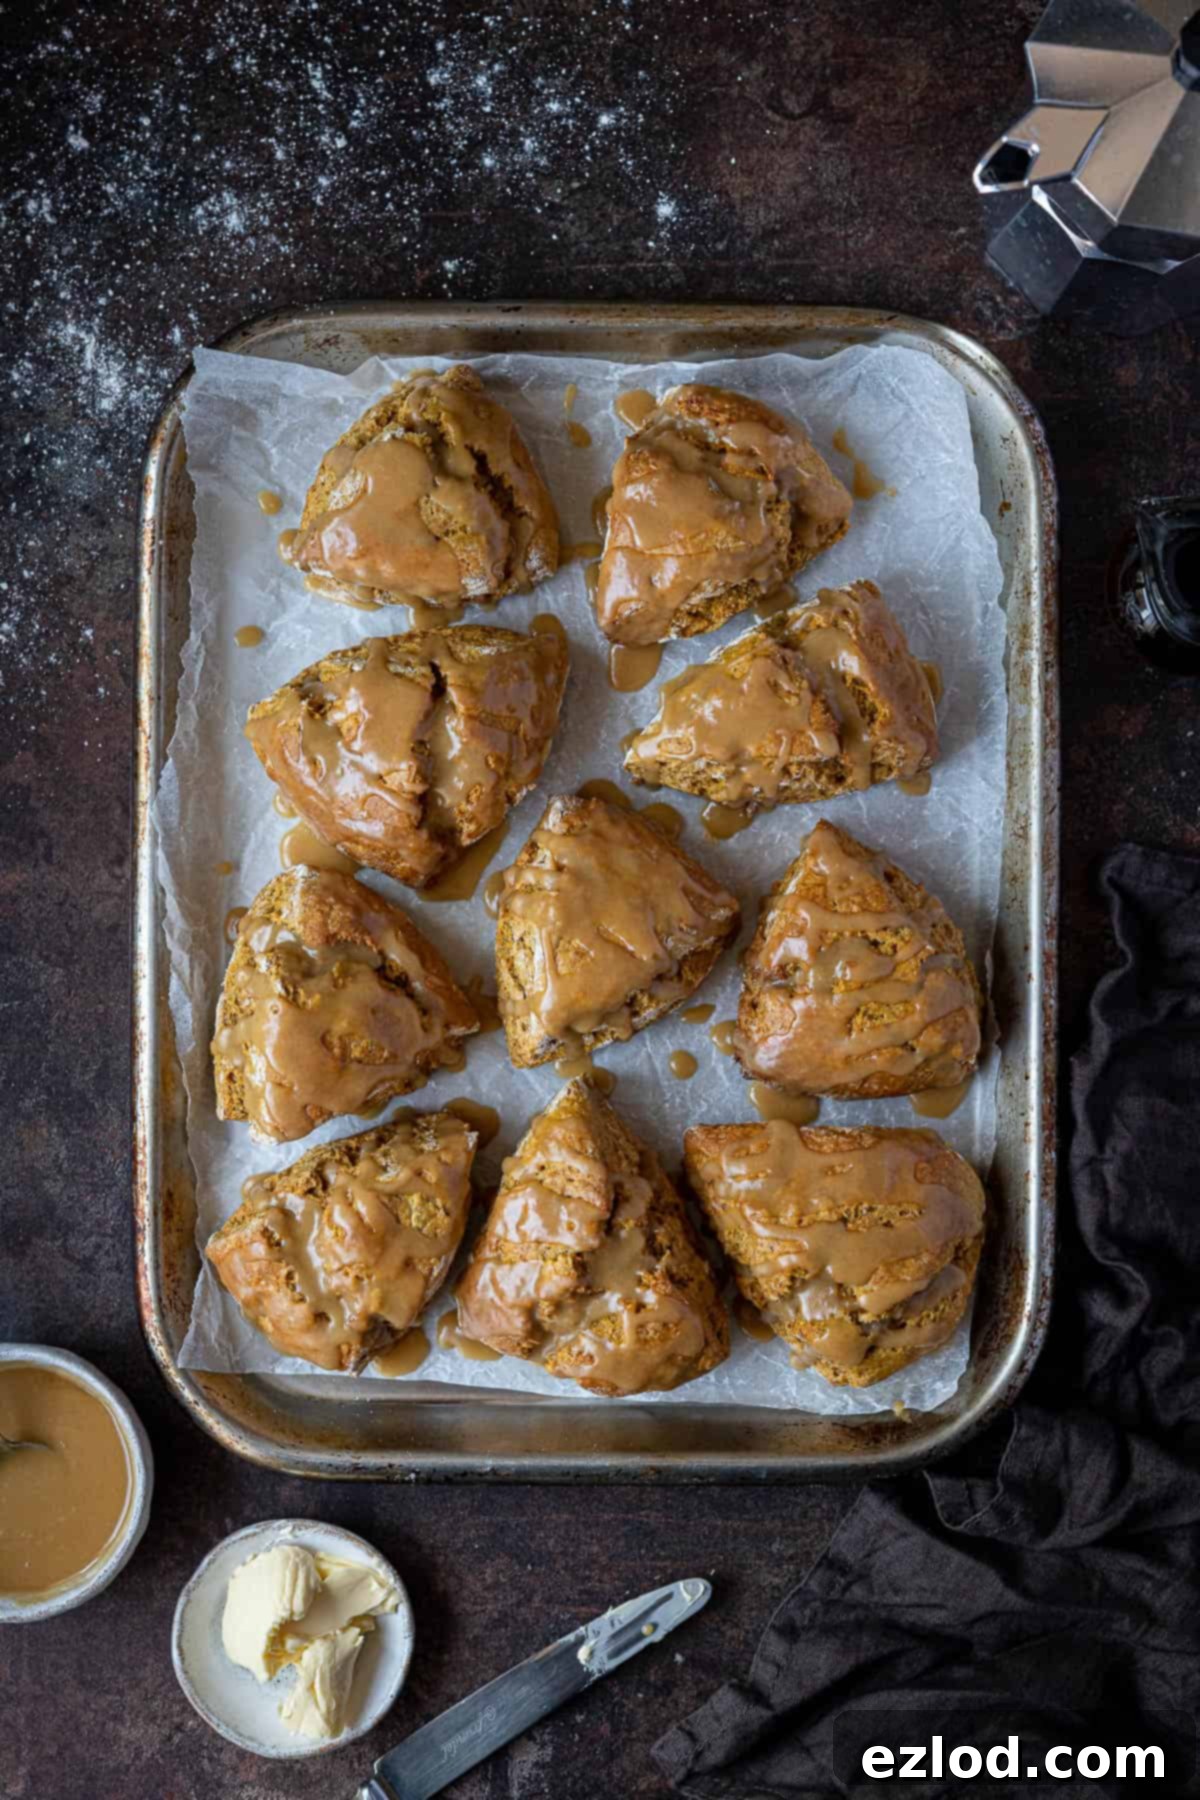
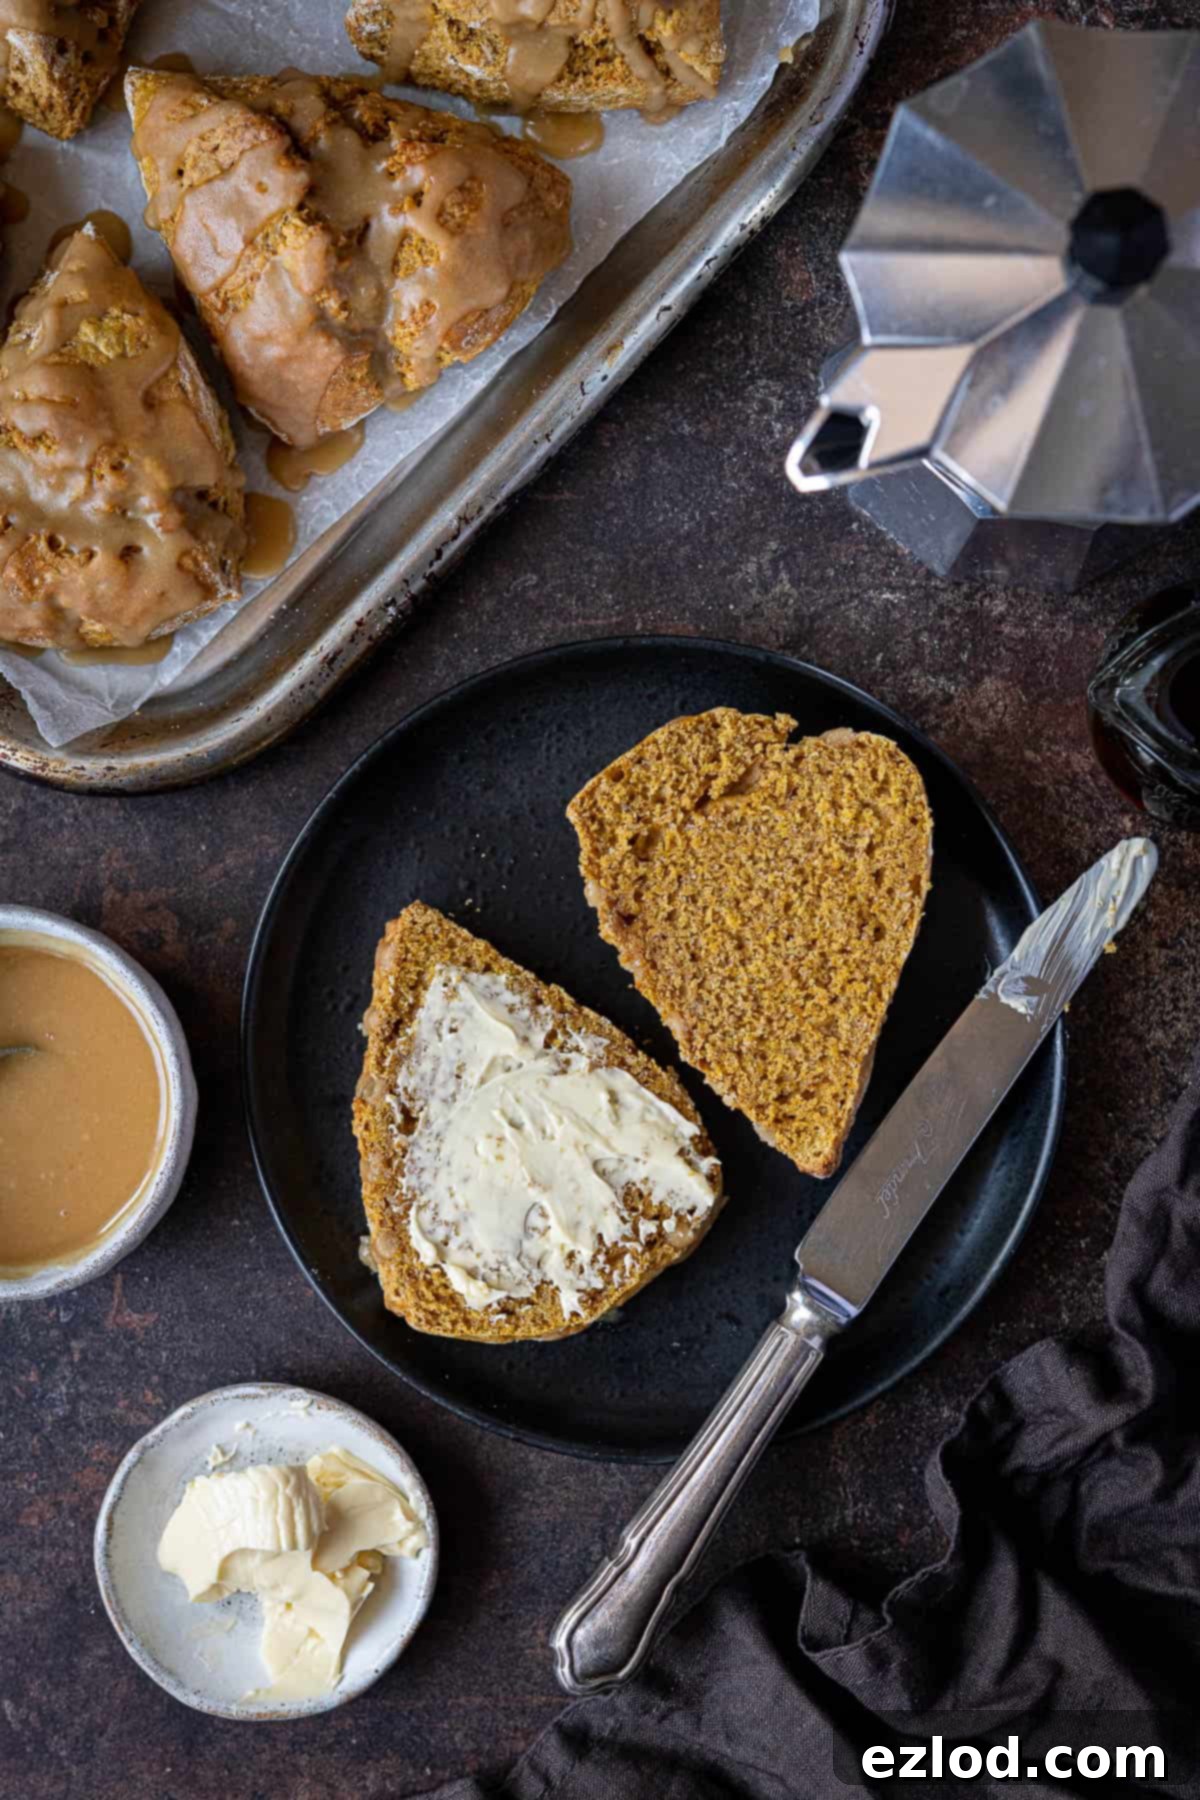
There’s something uniquely comforting about a warm scone straight from the oven, and these vegan pumpkin scones deliver on all fronts. Unlike traditional British scones which are typically less sweet and often served with jam and cream, these are American-style scones – a bit sweeter and richer, making them truly decadent on their own. However, if you wish to enjoy them in a more classic fashion, they are also delightful split and spread with vegan butter, peanut butter, chocolate spread, or your favorite jam. The sweet, spiced pumpkin essence, combined with the optional yet highly recommended maple glaze, creates a flavor profile that perfectly captures the essence of the fall season. If you prefer a less indulgent scone, they are still absolutely wonderful without the glaze, allowing the pure pumpkin and spice flavors to shine.
Whether you’re hosting a fall brunch, looking for a special weekend breakfast, or simply craving a comforting treat, this recipe for vegan pumpkin scones is a must-try. They are designed for maximum flavor and ease, ensuring a successful bake every time. Dive into the details below to discover how effortlessly you can bring these autumn delights to your table.
Essential Ingredients for Perfect Vegan Pumpkin Scones
Crafting these delectable pumpkin scones requires a few key ingredients, each playing a vital role in achieving their signature soft and tender texture, rich flavor, and beautiful autumnal hue. Here’s a detailed look at what you’ll need and why:
Plain Flour (All-Purpose Flour)
While many scone recipes call for self-raising flour, we’ve opted for plain (all-purpose) flour in this recipe. This makes it more accessible for everyone, as not all home bakers keep self-raising flour on hand. The leavening power is instead provided by precise measurements of baking powder and bicarbonate of soda, ensuring a perfect rise every time. While this recipe hasn’t been tested with gluten-free flour blends, some readers have reported success with high-quality, all-purpose gluten-free baking blends designed for cakes and pastries. If you decide to try a GF version, look for blends containing xanthan gum for structure.
Baking Powder and Bicarbonate of Soda (Baking Soda)
These are the heroes of our scone’s light and fluffy texture. Scones require a good amount of leavening, and in this recipe, that comes from one tablespoon of baking powder combined with half a teaspoon of bicarbonate of soda. The bicarbonate of soda reacts with the vinegar (an acidic ingredient) to create extra lift and an incredibly tender crumb. It’s crucial to use accurate measuring spoons – a proper measuring tablespoon is 15 ml, and all spoon measurements should be level, not rounded, unless specifically stated otherwise in the recipe.
Vegan Block Butter
For the best possible scone texture, a cold BLOCK vegan butter or margarine is absolutely essential. Avoid the spreadable kind that comes in a tub, as these often have a higher water content and lower fat content, which can lead to tough, dry scones. Brands like Naturli Vegan Block, Flora Plant Butter, Miyoko’s Kitchen Cultured Vegan Butter, Stork block, Vitalite block, Tormor, or Earth Balance Buttery Sticks are excellent choices. Solid coconut oil can also be used as a substitute, but ensure it is firm and cold. The coldness of the butter is key to creating those flaky layers that make scones so delightful.
Unsweetened Non-Dairy Milk
Any unsweetened non-dairy milk will work beautifully, but soy milk tends to yield the best results due to its protein content and creamy texture. Almond, oat, or cashew milk are also good alternatives. It’s important that the milk is cold, straight from the fridge, to help keep the butter firm and prevent the dough from becoming too warm and sticky prematurely. Avoid using canned coconut milk, as its fat content and flavor profile are not suitable for this recipe.
Pumpkin Puree
The star ingredient! Pumpkin puree not only infuses these scones with its distinct, earthy flavor but also adds significant moisture, ensuring the scones remain wonderfully soft and tender. It also bestows a gorgeous, natural orange hue. Always use pure pumpkin puree, NOT pumpkin pie filling, which contains added sugars and spices that would alter the intended flavor and sweetness of the scones. You can find tinned pumpkin puree in many supermarkets, often in the ‘world foods’ or ‘American section’. If you can’t find it, making your own is surprisingly simple, as detailed further down.
Light Brown Soft Sugar
Light brown soft sugar is chosen for its delicate caramel notes and its ability to add extra moisture to the scones, contributing to their tender crumb. Dark brown sugar can be used for a deeper molasses flavor, but it may result in a slightly less vibrant orange color for your scones. Granulated sugar will work in a pinch, but the flavor might not be as nuanced. These scones are designed to be on the sweeter side, reminiscent of American-style treats; however, if you prefer a less sweet scone, you can easily reduce the amount of sugar to suit your taste.
Pumpkin Spice
This blend of warming spices is what truly brings the autumn essence to these scones. Store-bought pumpkin spice blends are readily available, especially online or in larger supermarkets during the fall season. In regions like the UK where it might be less common, you can easily create your own blend from scratch using common spices like cinnamon, ginger, nutmeg, cloves, and allspice. A homemade blend ensures fresh, potent flavor!
Vinegar
A small amount of vinegar, such as apple cider vinegar or white vinegar, is crucial for activating the bicarbonate of soda. This reaction produces carbon dioxide bubbles, which are trapped in the dough, creating a light and airy texture. It’s a simple addition that makes a big difference in the scone’s rise and tenderness.
Vanilla Extract
Vanilla extract enhances all the other flavors in the scone, adding a subtle warmth and depth. Always opt for pure vanilla extract over imitation vanilla essence for the best, most authentic flavor. While it can be omitted if absolutely necessary, it truly elevates the taste profile of these delicious treats.
Step-by-Step Guide: How to Make Vegan Pumpkin Scones
(For precise measurements and a printable recipe card, please scroll to the bottom of the page)
Making these vegan pumpkin scones is a straightforward process that yields impressive results. Follow these simple steps for a perfect batch:
1. Prepare Your Dry Ingredients
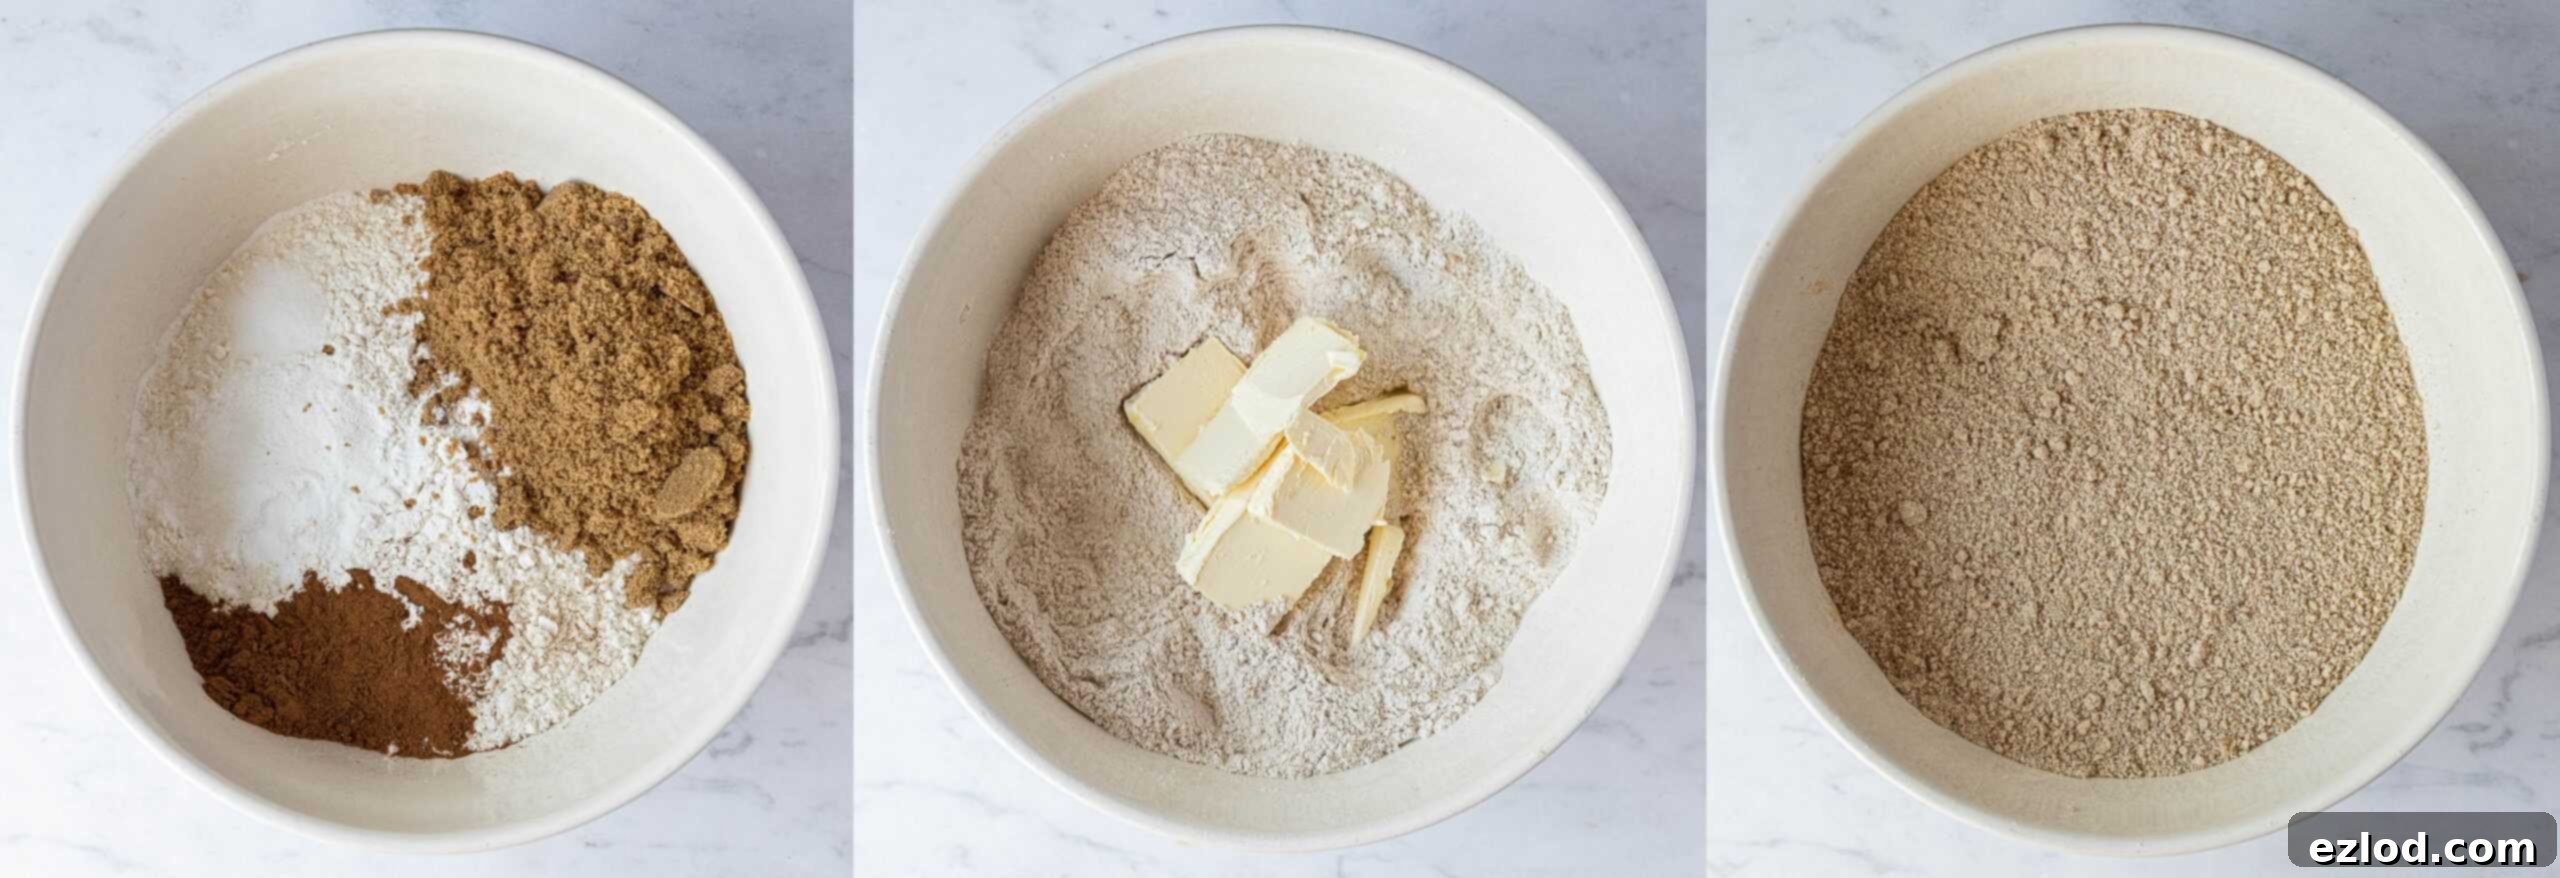
Begin by preheating your oven to 220°C/200°C fan/425°F/gas mark 7. Line two baking sheets with baking parchment – this prevents sticking and ensures even baking. In a large mixing bowl, combine the plain flour, baking powder, bicarbonate of soda, pumpkin spice, salt, and light brown soft sugar. Whisk these dry ingredients together thoroughly to ensure they are well combined and evenly distributed. This step is crucial for an even rise and consistent flavor throughout your scones.
2. Incorporate the Cold Vegan Butter
Add the cold, cubed vegan block butter to your dry mixture. Using your fingertips, gently rub the butter into the flour until the mixture resembles fine breadcrumbs. It’s important to work quickly and with light hands to prevent the butter from melting. The goal is to have no visible lumps of butter remaining, but rather a finely textured, sandy consistency. This technique creates pockets of butter that melt during baking, resulting in those desirable flaky layers.
3. Mix in the Wet Ingredients to Form Dough
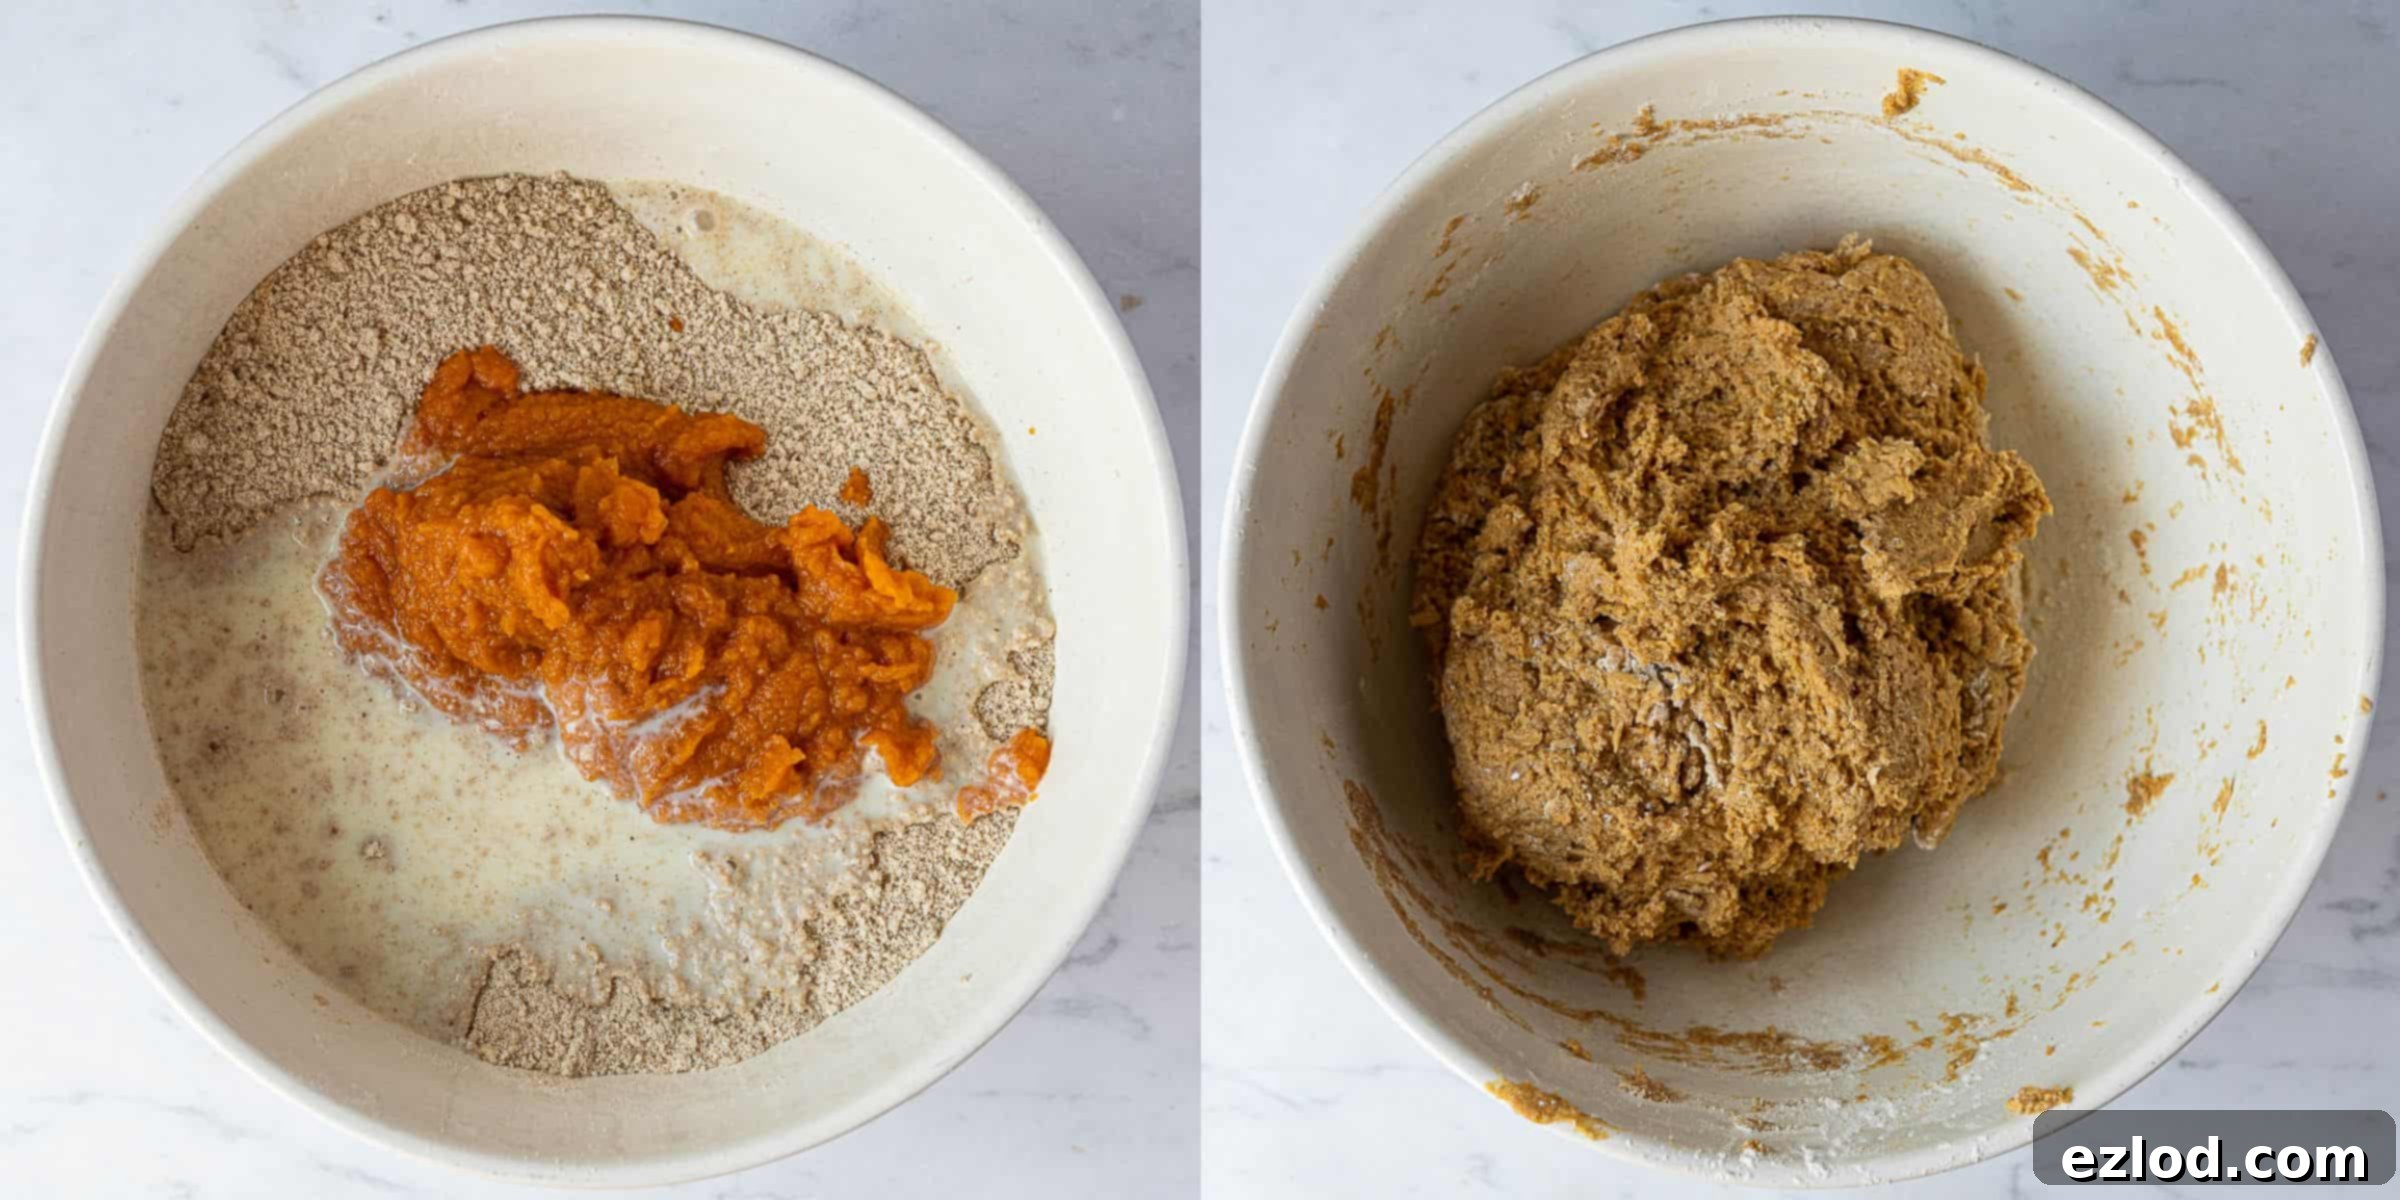
In a separate small bowl, combine the pumpkin puree, vinegar, and vanilla extract. Give it a good stir. Now, add this pumpkin mixture to the large bowl with the flour and butter mixture, along with the unsweetened non-dairy milk. Using a spoon or your hands, stir everything together until a soft, sticky dough begins to form. Be careful not to overmix! The goal is just to bring the ingredients together. If the dough seems a little too dry, add an additional drop or two of non-dairy milk until you reach the right consistency – it should be soft and slightly sticky, but manageable.
4. Shape and Cut the Scones
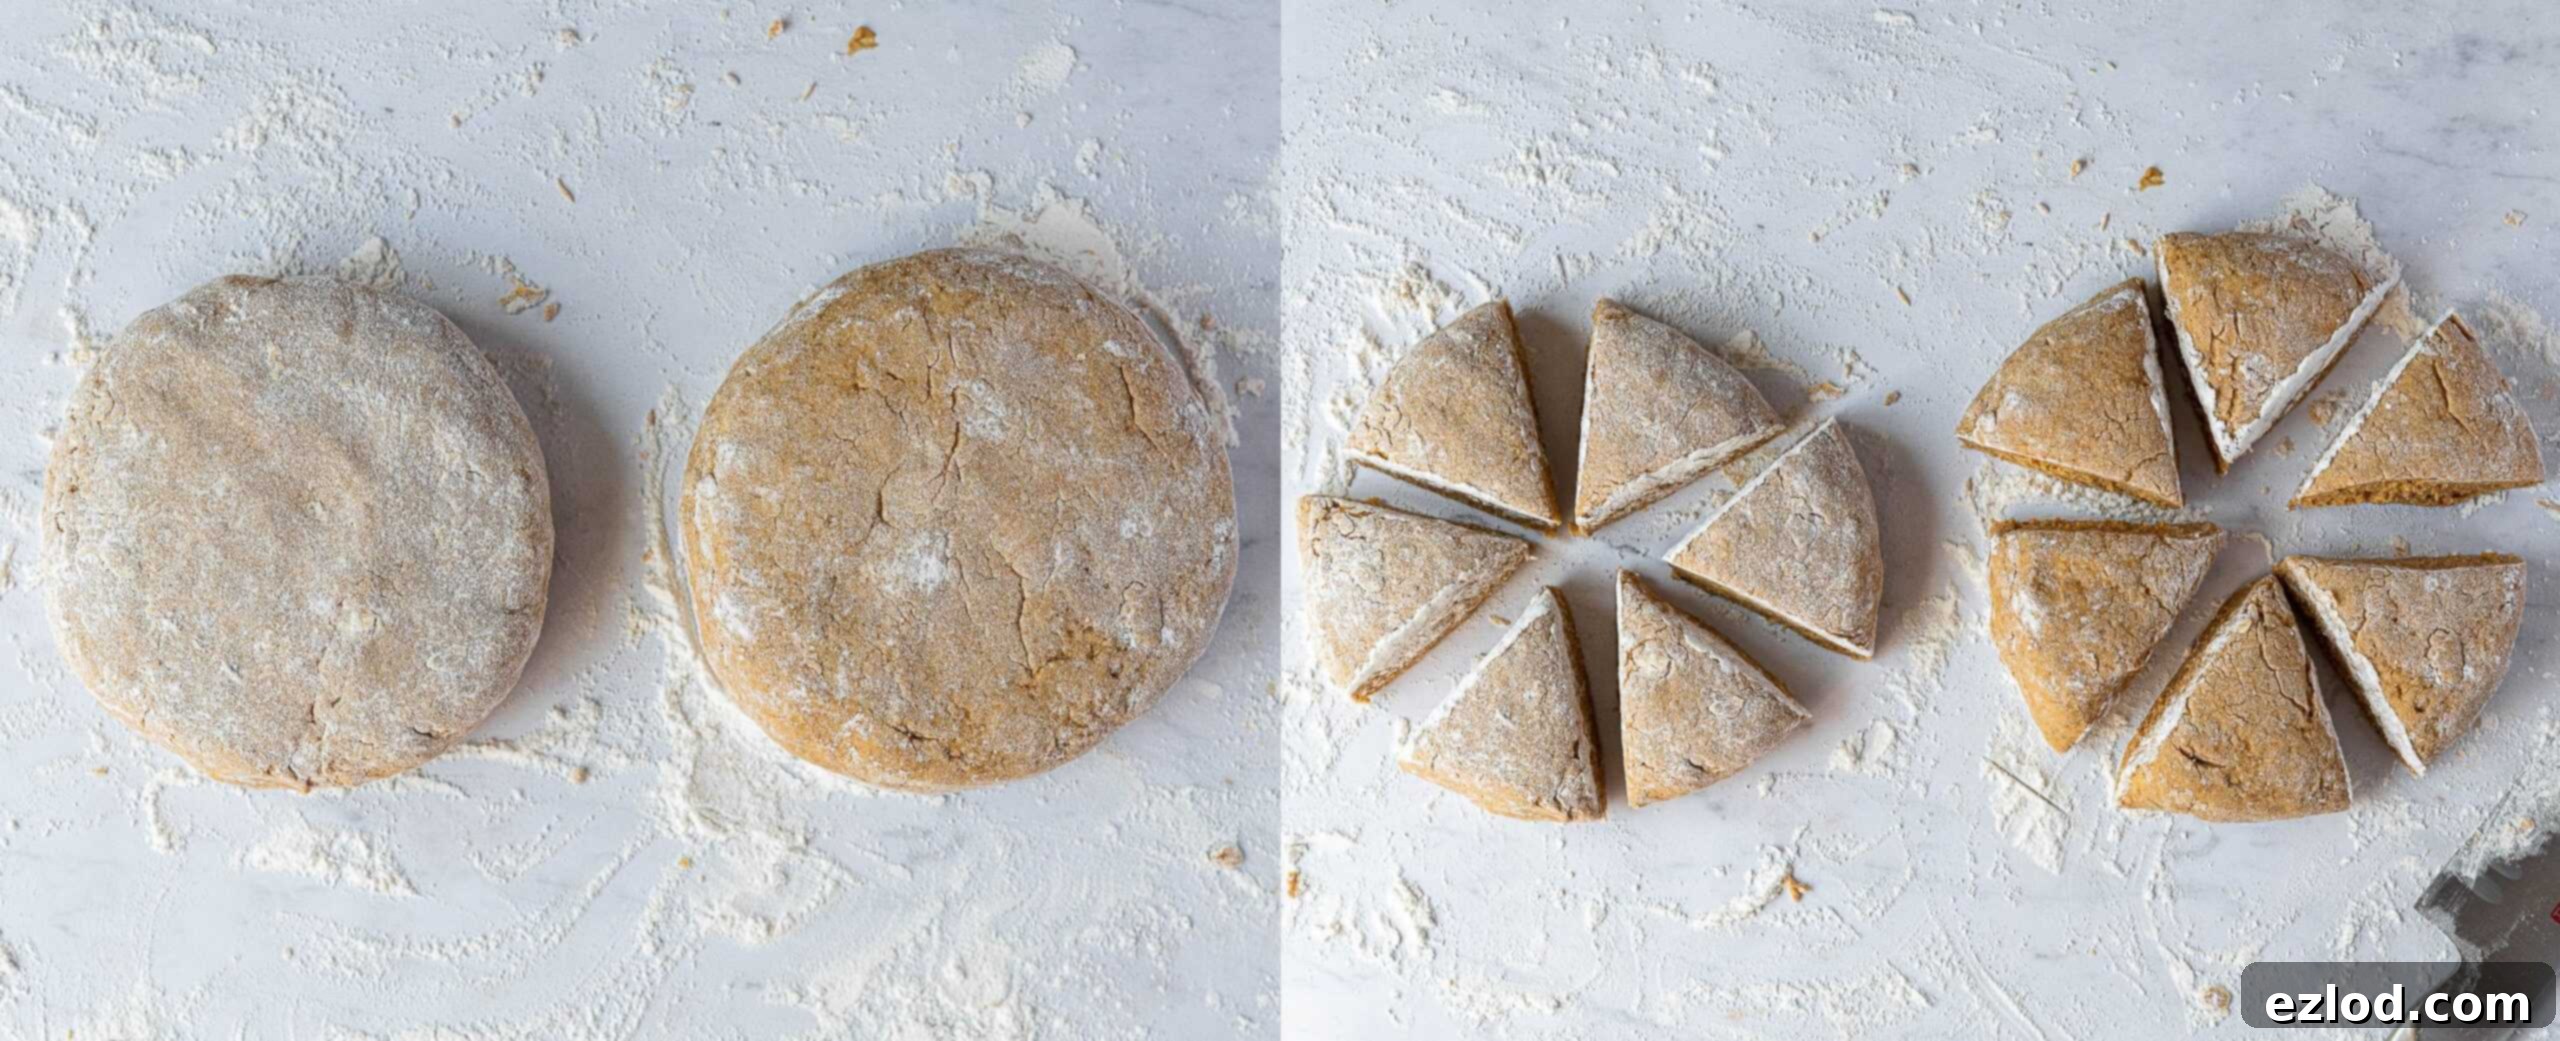
Lightly flour your hands and a clean work surface. Divide the soft dough into two equal pieces and gently shape each piece into a rough ball. On your floured surface, pat each ball of dough out into a round shape, aiming for a thickness of about 4 cm (1 ½ inches). Avoid rolling the dough with a rolling pin, as patting helps maintain a lighter texture. Use a sharp knife, dipped in flour between each cut to prevent sticking, to slice each round into six uniform triangles. The triangular shape gives these scones a lovely rustic appeal.
5. Bake to Golden Perfection
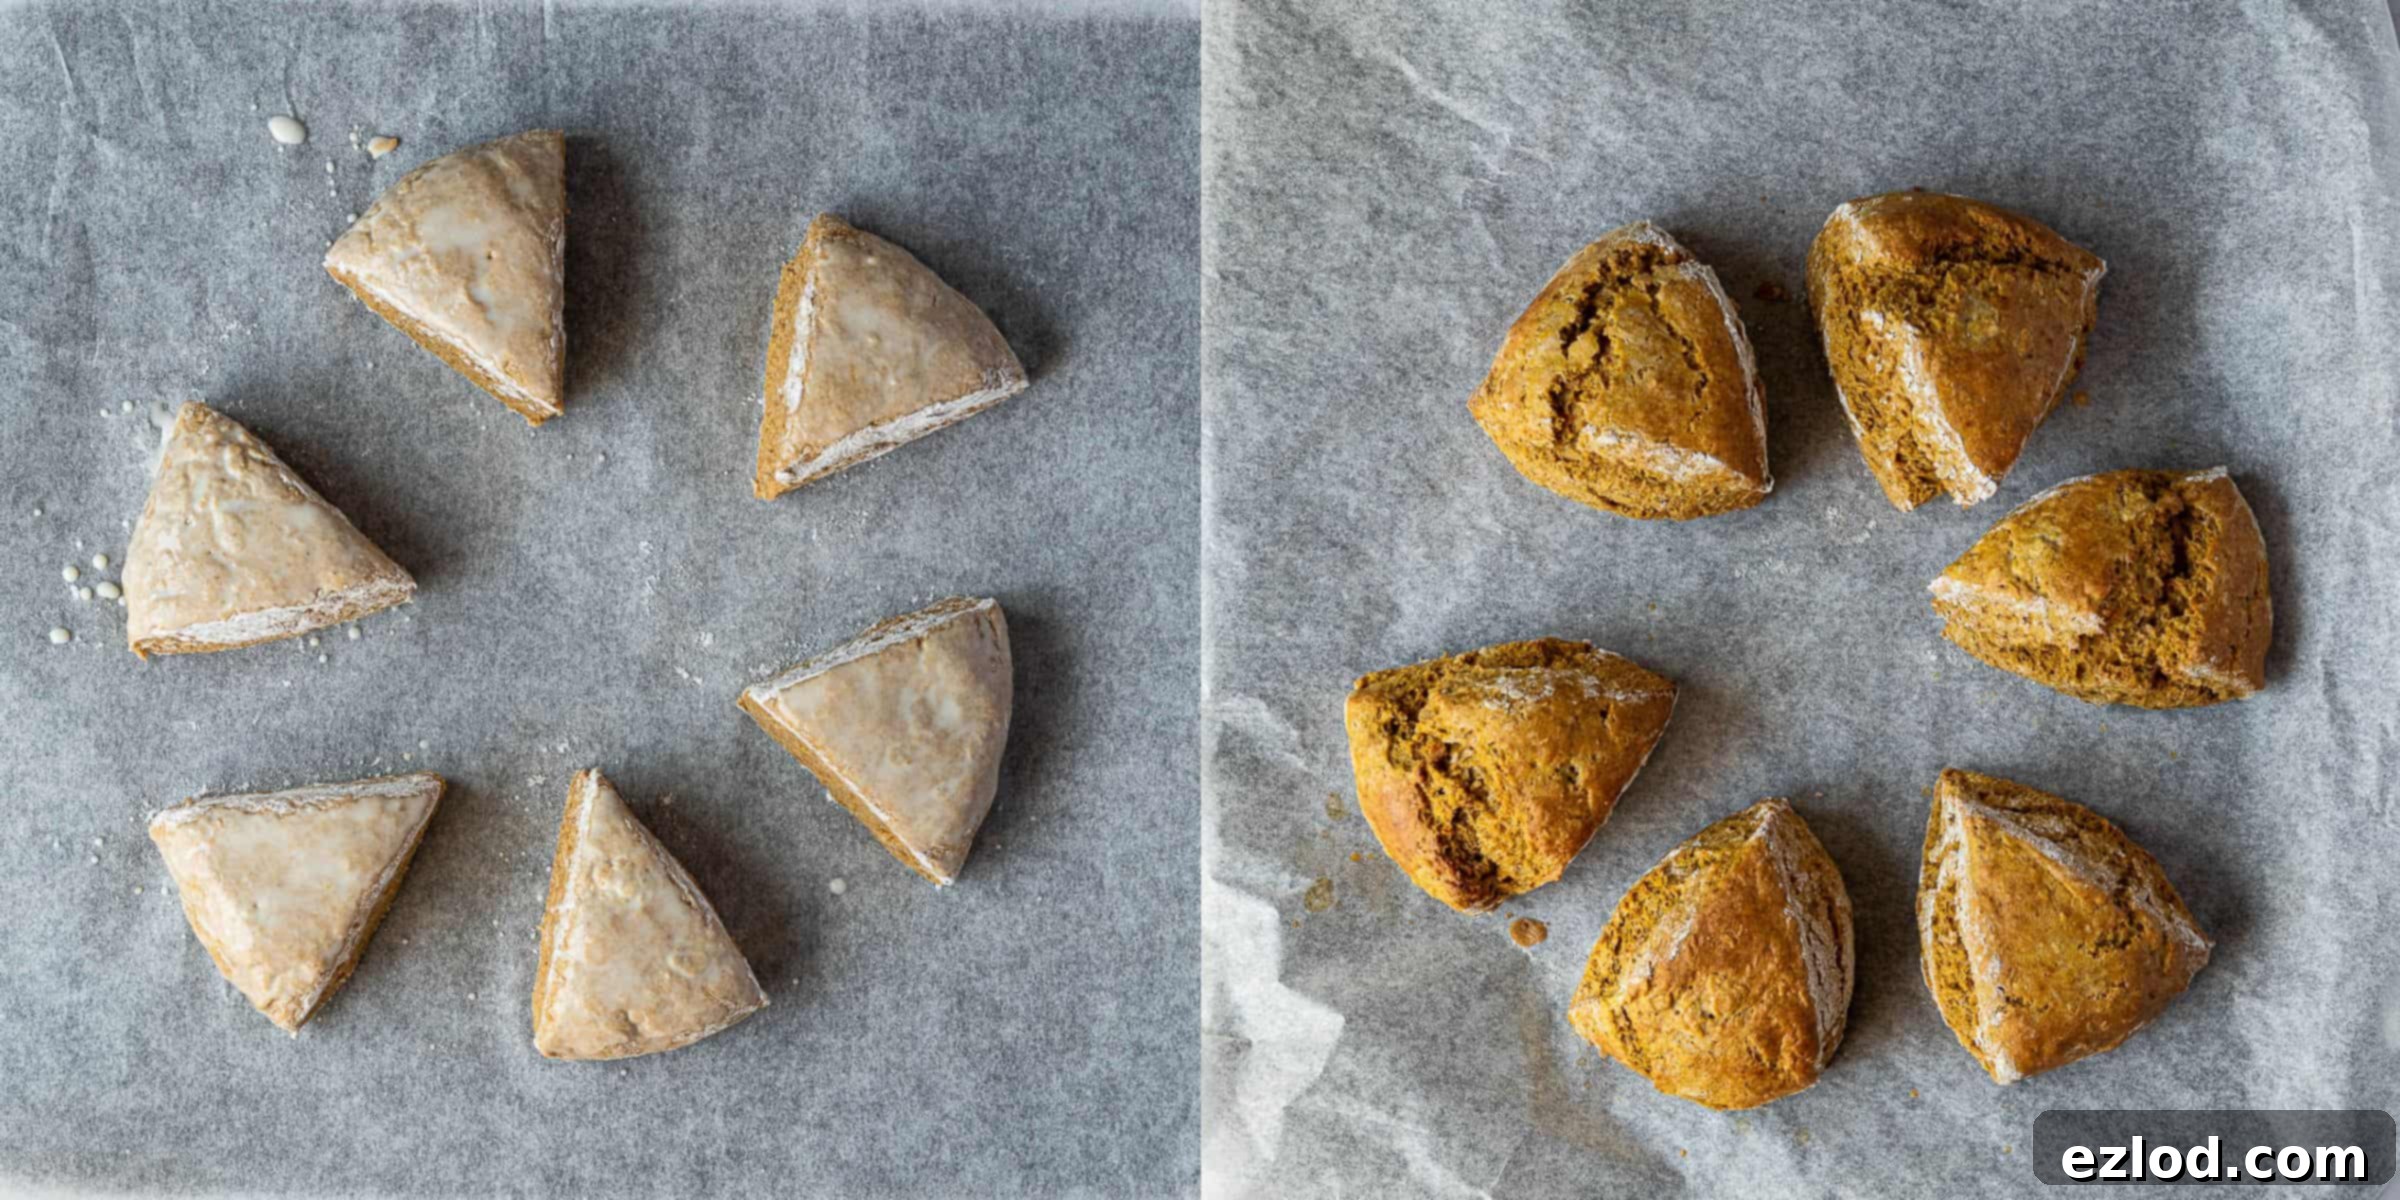
Carefully transfer the scone wedges to your prepared baking sheets, ensuring they are well spaced apart. Since the dough is soft, a floured spatula or fish slice can be helpful for moving them without distorting their shape. If any get a little squished, gently pat them back into shape with floured hands once they are on the baking sheet. Lightly brush the tops of the scones with a little non-dairy milk – this encourages a golden-brown crust. Place the baking sheets in the preheated oven and bake for approximately 12 minutes, or until the scones are well risen, beautifully golden, and firm to the touch. It’s important to get them into the oven as soon as they are shaped, as the leavening agents start working immediately.
6. Prepare and Drizzle the Maple Glaze
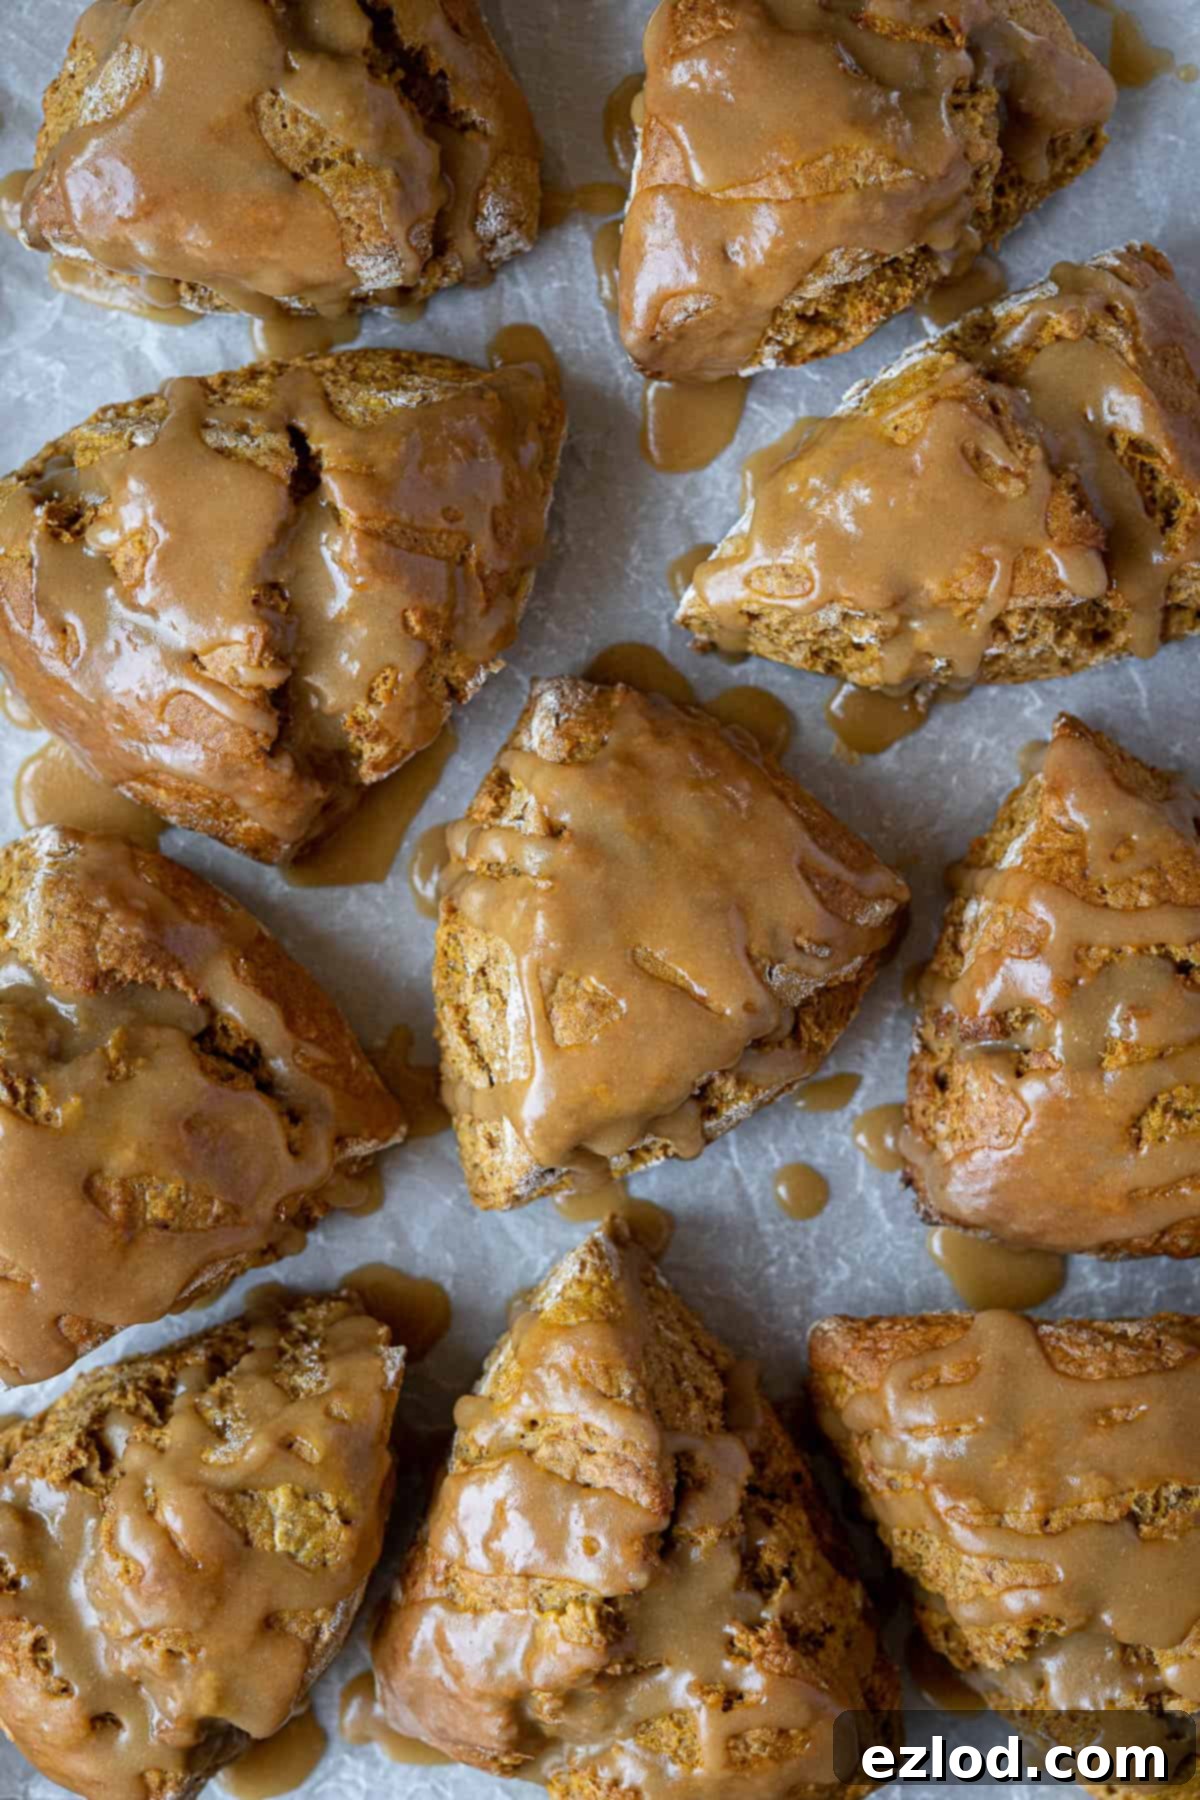
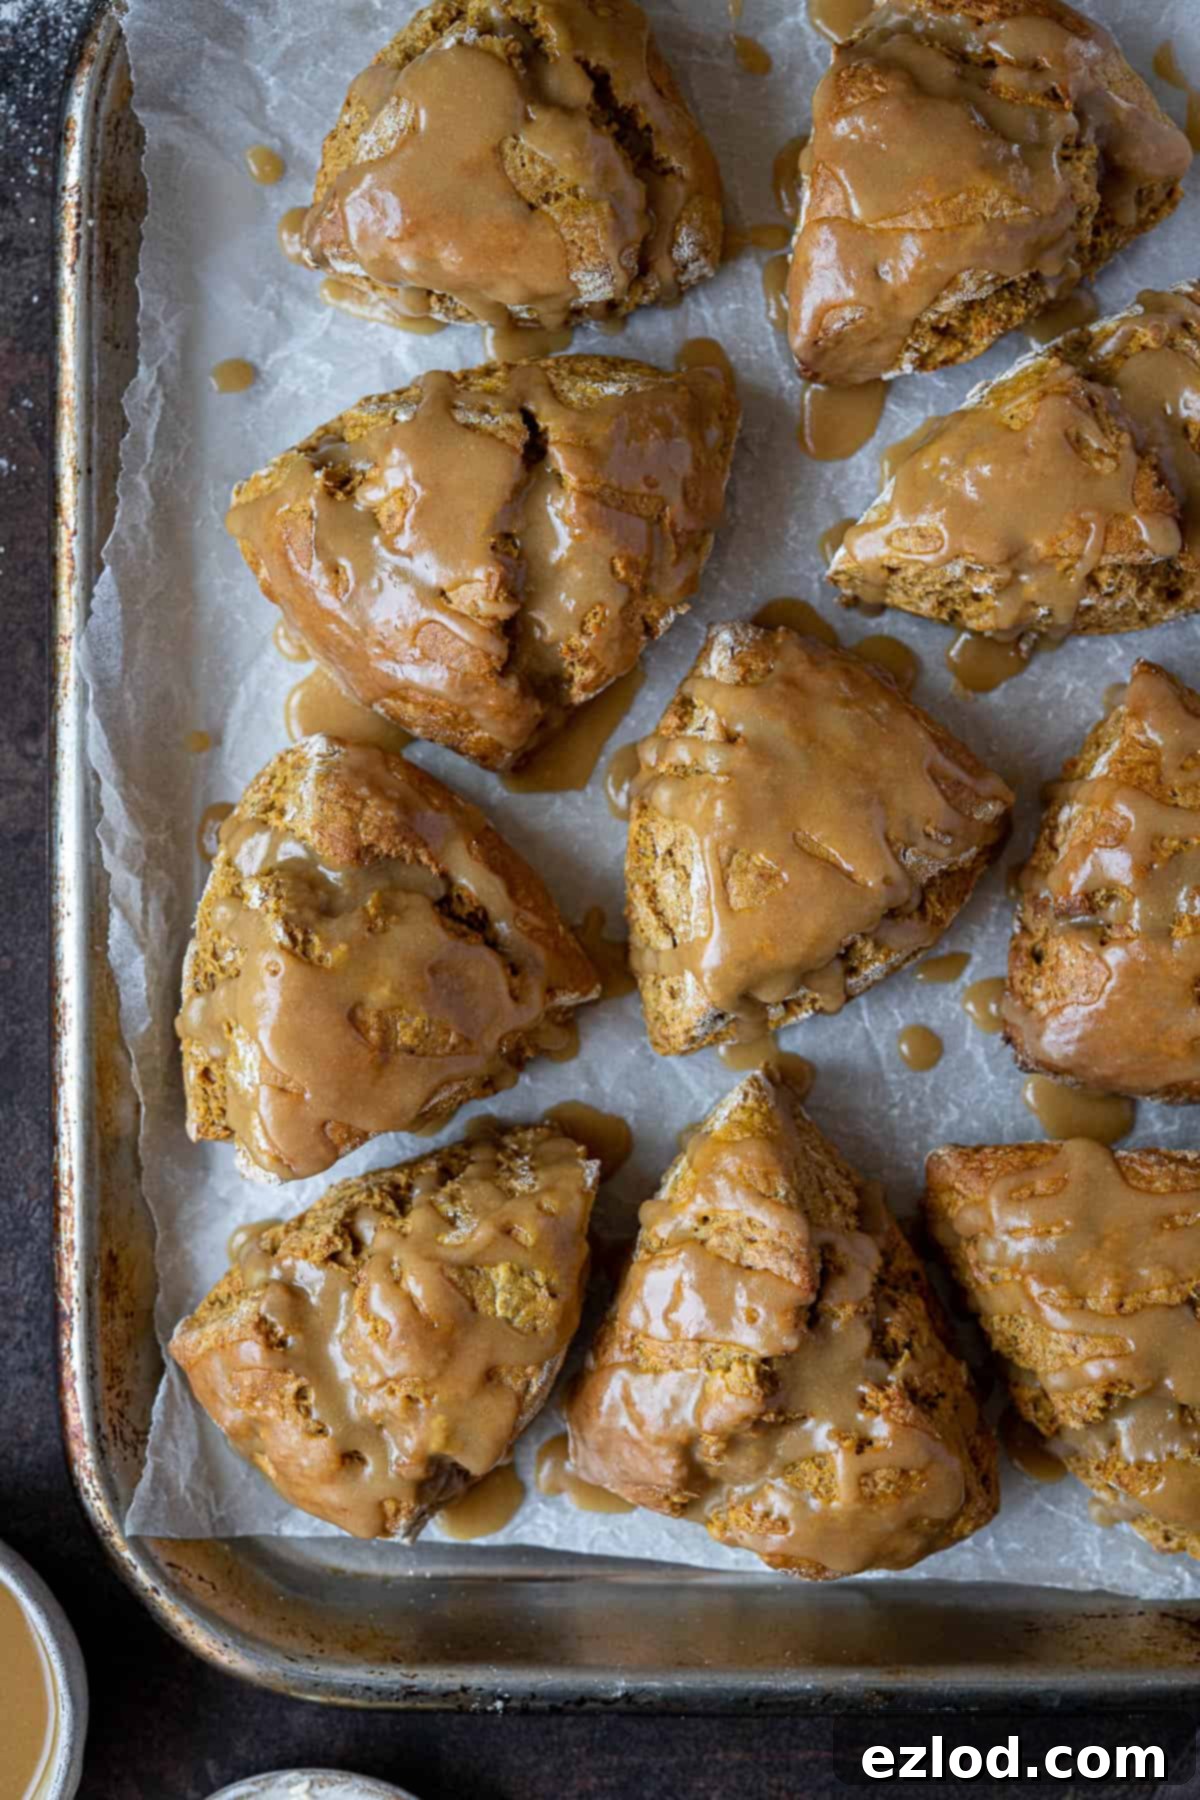
While your scones are baking, whip up the simple maple glaze. In a small saucepan, gently melt the vegan butter and maple syrup over low heat, stirring until combined. Remove from heat and whisk in the sifted icing (powdered) sugar and a pinch of salt until smooth. Set the glaze aside to cool slightly; it will thicken as it cools. If it remains too runny for your liking, you can whisk in a little more icing sugar, one tablespoon at a time, until it reaches your desired consistency. Once the baked scones have cooled for a few minutes, generously drizzle them with the luscious maple glaze and serve immediately for the ultimate treat!
Expert Tips for the Best Vegan Pumpkin Scones
Achieving perfectly light, fluffy, and flavorful scones is easy with a few key techniques. Here are some top tips to ensure your vegan pumpkin scones turn out perfectly every time:
- Embrace Metric Measurements: For all baking endeavors, I highly recommend using metric measurements with a digital kitchen scale rather than cup conversions. Cups are notoriously inaccurate and can lead to inconsistent results. A scale provides precise measurements, leading to better, more consistent bakes, and it’s often less messy too!
- Keep Ingredients Cold: The vegan block butter and non-dairy milk should be fridge-cold. Cold fat creates steam as it melts in the oven, which contributes to those wonderful flaky layers and a tender crumb. Warm butter will incorporate too easily and lead to a denser scone.
- Do Not Overwork the Dough: This is perhaps the most crucial rule for scones. Once the wet ingredients are added, mix the dough just until it comes together, no more. Overworking (or God forbid, kneading!) the dough will develop the gluten in the flour, resulting in tough, chewy scones rather than light and tender ones. Your dough should be soft and slightly sticky, and it’s okay if it looks a bit craggy or rustic – this often indicates a lighter texture!
- Pat, Don’t Roll: When shaping the dough, gently pat it out rather than using a rolling pin. This minimizes handling and prevents overworking the dough, helping to maintain its delicate structure. Aim for a thickness of about 4 cm (1 ½ inches) for substantial, well-risen scones.
- Brush Glaze Carefully: When brushing the tops of the scones with milk before baking, or later drizzling with the maple glaze, ensure that the liquid stays only on the top surface. If milk or glaze drips down the sides, it can seal the edges of the scone, inhibiting its ability to rise fully and freely.
- Bake Immediately: Once the dough is mixed and shaped, get the scones into the preheated oven as quickly as possible. The leavening agents (baking powder and bicarbonate of soda) begin to react as soon as they are combined with the wet ingredients, so leaving the dough to sit around will diminish their rising power.
- Enjoy Fresh: Scones are always best enjoyed on the day they are baked, ideally still slightly warm. Their texture and freshness are at their peak shortly after baking. If you do happen to have any leftovers, they are delicious split, lightly toasted, and buttered the following day.
Can I Freeze These Vegan Pumpkin Scones?
Absolutely! These vegan pumpkin scones freeze exceptionally well, making them perfect for meal prep or having a quick treat on hand. To preserve their freshness and texture, it’s best to freeze them on the day they are baked. Allow the scones to cool completely after baking and glazing (if using). Then, transfer them to a freezer-safe ziplock bag or an airtight container, ensuring they are in a single layer or separated by parchment paper to prevent sticking. They can be stored in the freezer for up to three months.
When you’re ready to enjoy them, simply allow them to defrost at room temperature for a few hours. If you’re in a hurry, a quick blast in the microwave can help speed up the defrosting process. For the best “freshly baked” experience, refresh the defrosted scones in a low oven (around 150°C/300°F) for 5-10 minutes until warmed through and slightly crisp on the outside. This brings back their wonderful texture and aroma, making them taste as good as new.
How to Make Your Own Pumpkin Pie Spice Blend
Pumpkin pie spice is the soul of autumnal baking, but it’s not always readily available outside of the US. While some UK supermarkets (like M&S) have started stocking it, it often differs from the traditional American blend. The good news is that crafting your own pumpkin spice mix at home is incredibly easy and ensures the freshest, most aromatic flavor for your bakes. Plus, it uses common spices you likely already have in your pantry!
To make your own blend, simply mix together:
- 3 Tablespoons ground cinnamon
- 2 Teaspoons ground ginger
- 2 Teaspoons ground nutmeg
- 1 Teaspoon ground cloves
- 1 Teaspoon ground allspice
Whisk all these spices thoroughly until well combined. You can easily halve this recipe if you only need a small batch, but a larger quantity is perfect for storing in an airtight container for future autumnal and festive baking projects. A homemade blend not only guarantees superior flavor but also allows you to adjust the ratios to your personal preference, perhaps adding a touch more cinnamon or a hint of cardamom for extra complexity. This homemade pumpkin pie spice will keep its potency for a long time, ready to infuse your kitchen with the warm, comforting aromas of fall.
Mastering Homemade Pumpkin Puree
While tinned pumpkin puree is a convenient option and can be found in various supermarkets (often in the ‘American’ or ‘world foods’ sections), making your own pumpkin puree from scratch is a rewarding experience. It gives you complete control over the flavor and consistency, and it’s surprisingly simple!
Here’s how to do it:
- Choose the Right Pumpkin: The key is to use an ‘eating pumpkin’ or ‘pie pumpkin,’ or even a butternut squash, rather than the large, stringy carving pumpkins. Varieties like ‘Sugar Pie’ or ‘Dickinson’ pumpkins are ideal due to their sweet, dense flesh. Butternut squash is an excellent and readily available alternative that yields a very similar result.
- Prepare for Roasting: Wash the pumpkin or squash thoroughly. Carefully halve it, scoop out all the seeds and stringy bits (you can save the seeds for roasting!), and place the halves cut-side down on a baking sheet lined with parchment paper.
- Roast Until Tender: Roast the pumpkin/squash in a preheated oven at approximately 200°C/400°F/gas mark 6. The roasting time will vary significantly depending on the size and thickness of your pumpkin or squash. Generally, it can take anywhere from 45 minutes to 1.5 hours. You’ll know it’s ready when the flesh is incredibly tender and can be easily pierced with a fork.
- Puree to Perfection: Once roasted, allow the pumpkin to cool slightly so it’s easier to handle. Scoop the soft flesh out of the skin and transfer it to a food processor or high-speed blender. Process until it forms a perfectly smooth puree. If the puree seems too thick, you can add a tablespoon of water or non-dairy milk at a time until it reaches your desired consistency.
Important Note: I do not recommend boiling the pumpkin to cook it for puree. Boiling adds too much water to the flesh, resulting in a thin, watery puree that will negatively impact the texture of your scones and other baked goods. Roasting concentrates the flavors and ensures a richer, denser puree.
Explore More Vegan Scone Recipes
If you loved these vegan pumpkin scones, you’re in for a treat! Our collection features a variety of other delightful vegan scone recipes perfect for any occasion:
- Vegan marzipan cherry scones
- Vegan banana scones
- Classic vegan scones
- Vegan chocolate raspberry scones
- Vegan Welsh cakes
If you tried this delightful vegan pumpkin scone recipe, we’d love to hear from you! Please rate it, leave a comment below, or tag @domestic_gothess on Instagram and use the hashtag #domesticgothess to share your beautiful creations!
All images and content on Domestic Gothess are copyright protected. If you wish to share this recipe, please do so by using the provided share buttons. We kindly request that you do not screenshot or post the recipe or content in full. Instead, please include a direct link to this post for the complete recipe. Your understanding and support are greatly appreciated!

Vegan Pumpkin Scones
Ingredients
Scones:
- 375 g (3 cups) plain (all-purpose) flour
- 1 Tablespoon baking powder
- ½ teaspoon bicarbonate of soda (baking soda)
- 1 Tablespoon pumpkin spice
- 120 g (⅔ cup) light brown soft sugar
- ½ teaspoon salt
- 120 g (½ cup) vegan block butter (NOT the spreadable kind. I use Naturli Vegan Block) cold and diced
- 180 g (¾ cup) pumpkin puree
- 1 teaspoon vinegar
- 2 teaspoons vanilla extract
- 60 ml (¼ cup) unsweetened non-dairy milk (soy is best) plus extra if needed
Maple Glaze:
- 25 g (scant 2 Tablespoons) vegan butter
- 45 ml (3 Tablespoons) maple syrup
- 75 g (⅔ cup) icing (powdered) sugar sifted
- pinch salt
Instructions
-
Preheat the oven to 220°C/200°C fan/425°F/gas mark 7. Line two baking sheets with baking parchment.
-
Place the flour in a large bowl along with the baking powder, bicarbonate of soda, pumpkin spice, salt and sugar and mix to combine.
-
Add the cold, cubed butter and rub in using your fingertips until the mixture resembles fine breadcrumbs and no lumps of fat remain.
-
Mix the pumpkin puree with the vinegar and vanilla and add it to the bowl with the non-dairy milk.
-
Stir to form a soft, sticky dough. If it is too dry add a drop more milk.
-
With well floured hands, divide the dough into two equal pieces and shape each one into a rough ball.
-
On a floured surface, pat each ball of dough out into a round about 4cm / 1 ½ inches thick.
-
Use a sharp knife dipped in flour to slice each round into six triangles. Dip the knife in flour between cuts to prevent it from sticking.
-
Gently place the wedges well spaced apart on the baking sheets. They will probably be a bit soft and delicate so it is a good idea to use a floured spatula or fish slice to help move them. If they get a bit squished out of shape you can gently pat them back into shape using floured hands once they are on the baking sheet.
-
Gently brush the tops of the scones with milk. Bake for about 12 minutes until well risen, golden and firm to the touch.
-
While the scones are baking make the glaze. Place the butter and maple syrup in a small pan and heat gently until the butter is melted.
-
Whisk in the icing sugar and a pinch of salt. Set aside to cool, the glaze will thicken as it cools. If it is still too runny then you can whisk in more icing sugar to thicken it.
-
Once the scones are baked, drizzle them with the glaze and serve as soon as possible.
Notes
- As with all of my baking recipes I really do recommend using the metric measurements with a digital scale rather than the cup conversions. Cups are a wildly inaccurate measuring system and you will get far better, more consistent results using a scale, not to mention that it is also easier and less messy than cups!
- Make sure that you do not overwork the dough, you want to mix it until it comes together, no more than that. And never, ever knead it; this isn’t bread. The scones will be a bit craggy and rustic looking, but the texture will be so much better!
- When you glaze the scones, make sure that you brush the milk on the tops of the scones only, don’t let any glaze drip down the sides as it can inhibit the rise.
