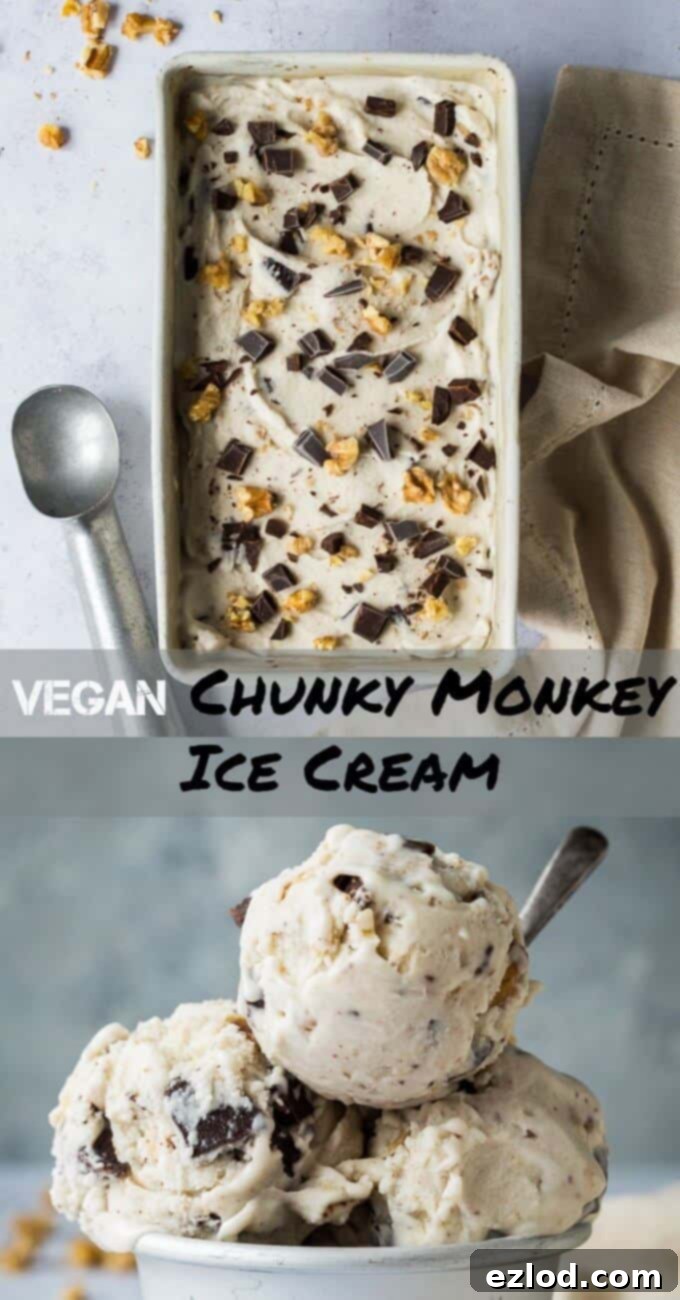
Homemade Vegan Chunky Monkey Ice Cream: A Creamy Ben & Jerry’s Copycat
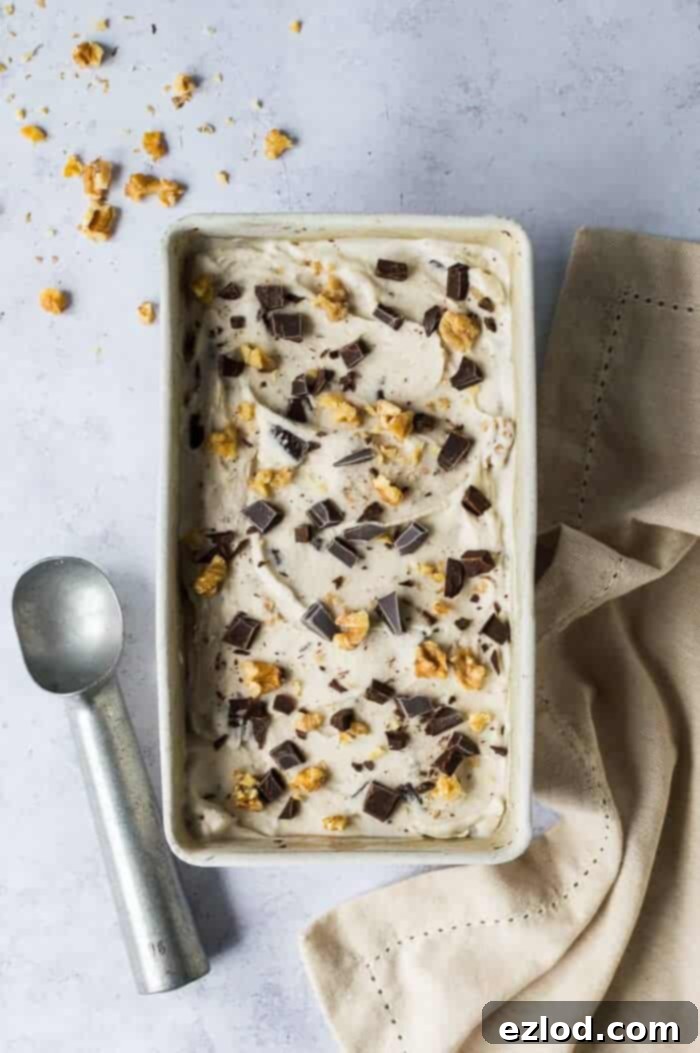
Indulge in the rich and creamy delight of homemade vegan chunky monkey ice cream! This Ben & Jerry’s copycat recipe features a luscious banana ice cream base, generously studded with decadent chocolate chunks and crunchy walnuts. It’s surprisingly easy to make and guaranteed to satisfy all your ice cream cravings, completely dairy-free and plant-based.
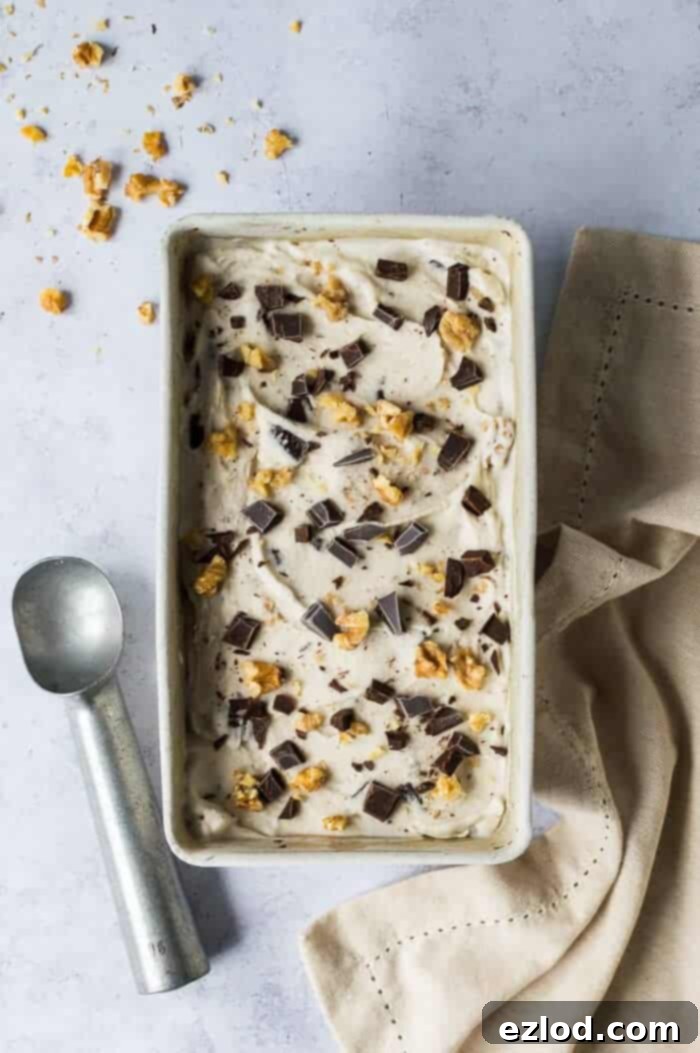
There’s nothing quite like a scoop of rich, creamy ice cream to brighten any day, and for those following a plant-based lifestyle, the options have become incredibly exciting. Since perfecting the decadent ice cream base that previously brought you my rich and creamy vegan chocolate ice cream, I’ve been on a mission to explore an array of delightful dairy-free flavors. This journey has led to some truly incredible creations, including a fan-favorite vegan peanut butter and cookies ice cream, which quickly became a delicious take on another beloved Ben & Jerry’s classic. Now, I’m thrilled to introduce yet another sensational Ben & Jerry’s copycat: this amazing vegan Chunky Monkey ice cream.
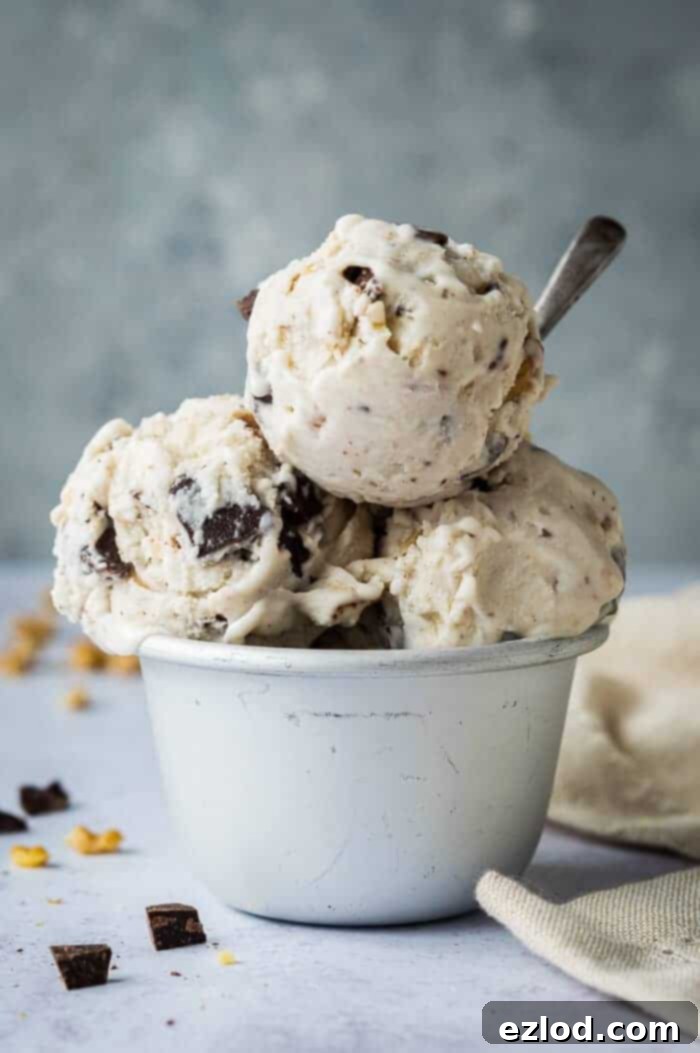
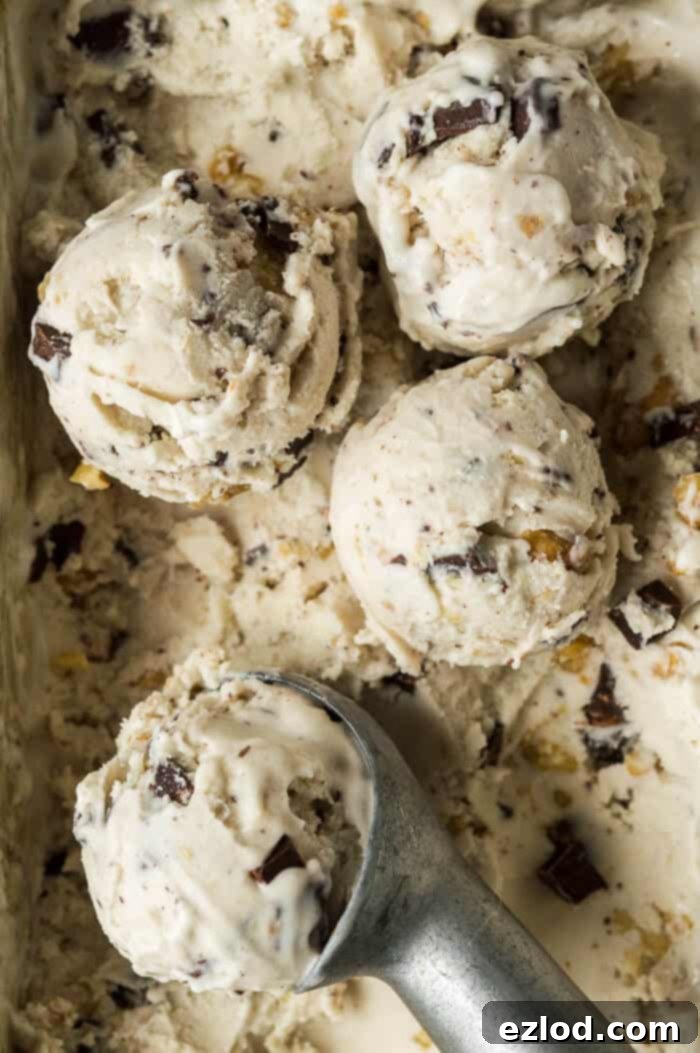
Chunky Monkey holds a special place in the hearts of ice cream enthusiasts for its unique combination of flavors and textures. My vegan version captures that same magic, featuring a lusciously creamy banana-flavored ice cream base, generously loaded with substantial chocolate chunks and delightful pieces of walnut (or pecan, if you prefer!). It’s the perfect treat, offering a fantastic way to utilize those overripe, browned bananas that often sit on your counter, looking for a purpose beyond banana bread. You’ll be amazed at how easily these humble ingredients transform into an extraordinary dessert.
It’s crucial to understand that while this recipe prominently features bananas, it is emphatically *not* a “nice cream.” Nice cream, typically made by simply blending frozen banana chunks, is a wonderful, healthier alternative, but it doesn’t offer the same indulgent experience as traditional ice cream. This recipe delivers a truly rich, smooth, and creamy “proper” ice cream, designed for those moments when you crave something utterly luxurious and deeply satisfying. Prepare yourself for a scoop of pure bliss!
The secret to achieving this unparalleled smoothness and creaminess lies in our innovative base, much like my chocolate ice cream recipe. It’s crafted using a combination of carefully blended cashews and rich, full-fat tinned coconut milk. This duo works in harmony to create a texture that is remarkably smooth, dense, and utterly free from any hint of iciness. A common concern with coconut milk in desserts is a lingering coconut flavor, but I assure you, in this recipe, the coconut taste is completely undetectable. So, even if you’re not a fan of coconut, you can rest easy knowing this chunky monkey ice cream will surprise and delight your palate without any unwanted tropical notes.
The Building Blocks of Bliss: A Deep Dive into Our Vegan Chunky Monkey Ingredients
Crafting the perfect vegan ice cream means selecting ingredients that not only contribute to flavor but also mimic the luxurious texture of traditional dairy versions. Here’s a closer look at the key components that make our Chunky Monkey ice cream so extraordinary:
Cashews: The Creamy Foundation
Cashews are a vegan cook’s best friend, especially when it comes to creating rich, dairy-free alternatives. When soaked and blended with non-dairy milk, they transform into an incredibly smooth, thick cream. This cashew cream is the backbone of our ice cream, providing a decadent mouthfeel and a neutral flavor that allows the banana and other mix-ins to truly shine. It’s the secret to achieving that luscious, indulgent texture without any animal products.
Full-Fat Tinned Coconut Milk: Enhancing Richness
For an extra boost of creaminess and a truly luxurious body, full-fat tinned coconut milk is indispensable. It’s important to use the full-fat variety, not the lighter or drinking versions, as the higher fat content is crucial for a rich, smooth ice cream and helps prevent ice crystal formation. As mentioned, despite its presence, the coconut flavor is ingeniously masked by the other ingredients, leaving you with pure, unadulterated creaminess.
Xanthan Gum: The Texture Stabilizer
Many commercial ice creams rely on stabilizers like guar gum to maintain a smooth texture and prevent ingredients from separating. Since guar gum can be difficult to find, we opt for xanthan gum – a readily available alternative in most supermarkets that performs the same vital function. Just a tiny amount helps to bind the ingredients, creating a consistently smooth and creamy consistency that resists iciness, even after extended time in the freezer. While optional, it’s highly recommended for the best results.
Very Ripe Bananas: The Heart of Chunky Monkey
The quintessential flavor of Chunky Monkey comes from bananas, and for this recipe, “very ripe” is the key. Look for bananas with plenty of brown spots; these are not only sweeter but also have a more intense banana flavor. Using ripe bananas ensures a natural sweetness and contributes to the creamy texture without making the ice cream watery or icy. They are essential for both the iconic taste and the overall consistency.
Salt: The Flavor Enhancer
It might seem counterintuitive to add salt to a sweet dessert, but a small pinch of salt works wonders. It doesn’t make the ice cream salty; instead, it acts as a powerful flavor enhancer, balancing the sweetness and deepening the overall taste profile. This subtle addition truly elevates all the other flavors, making each spoonful more complex and satisfying.
Vanilla Extract: Aromatic Depth
A dash of good quality vanilla extract is like a warm embrace for any dessert. In our vegan Chunky Monkey ice cream, it rounds out the flavors, adding a subtle warmth and enhancing the natural sweetness of the banana and chocolate. It’s a classic pairing for a reason, bringing aromatic depth that makes the ice cream even more irresistible.
Caster Sugar: Sweetness and Texture’s Best Friend
Caster sugar, or superfine sugar, is preferred here because its fine granules dissolve quickly and seamlessly into the base, ensuring a smooth texture. Beyond just sweetness, sugar plays a critical role in the final texture of ice cream by lowering its freezing point, which helps keep it scoopable rather than rock-hard. While you can experiment with other sugars, I haven’t tested liquid sweeteners like maple syrup or agave, and swapping them might significantly alter the ice cream’s texture, potentially leading to a more icy result. For optimal creaminess, stick to the recommended sugar amount.
Cornflour (Cornstarch): The Smooth Thickener
Traditionally, many non-vegan ice creams are thickened with egg yolks to create a rich custard base. Inspired by innovative methods like Jeni’s ice cream, which uses cornflour, we incorporate it to achieve a wonderfully thick and creamy consistency without the need for eggs. Cornflour creates a “pudding-like” richness that makes the ice cream incredibly luxurious. If you prefer a slightly lighter, more melt-in-your-mouth texture, you can certainly omit the cornflour, though it does contribute significantly to the overall decadent feel.
Chocolate Chunks and Walnuts: The “Chunky” Delight
What would Chunky Monkey be without its signature “chunks”? I believe in plenty of mix-ins, so this recipe calls for a generous amount of chopped dark chocolate and walnuts. The dark chocolate provides a delightful bitter-sweet contrast to the sweet banana base, while the walnuts add a satisfying crunch and earthy flavor. You can easily customize this by swapping walnuts for pecans, or even adding other nuts. For a plain banana ice cream experience, you can simply omit the mix-ins entirely, but the “chunky” elements are what truly make this flavor iconic.
Crafting Your Own Vegan Chunky Monkey: A Step-by-Step Guide
(For precise ingredients and full, detailed instructions, please refer to the comprehensive recipe card provided below.)
*To ensure you achieve the absolute best results with this recipe, it is paramount that you follow the instructions closely. As always in baking and dessert making, I strongly recommend using gram measurements with a digital scale rather than cup conversions. Cup measurements can be inconsistent and imprecise, and I cannot guarantee the same optimal outcome if they are used.*
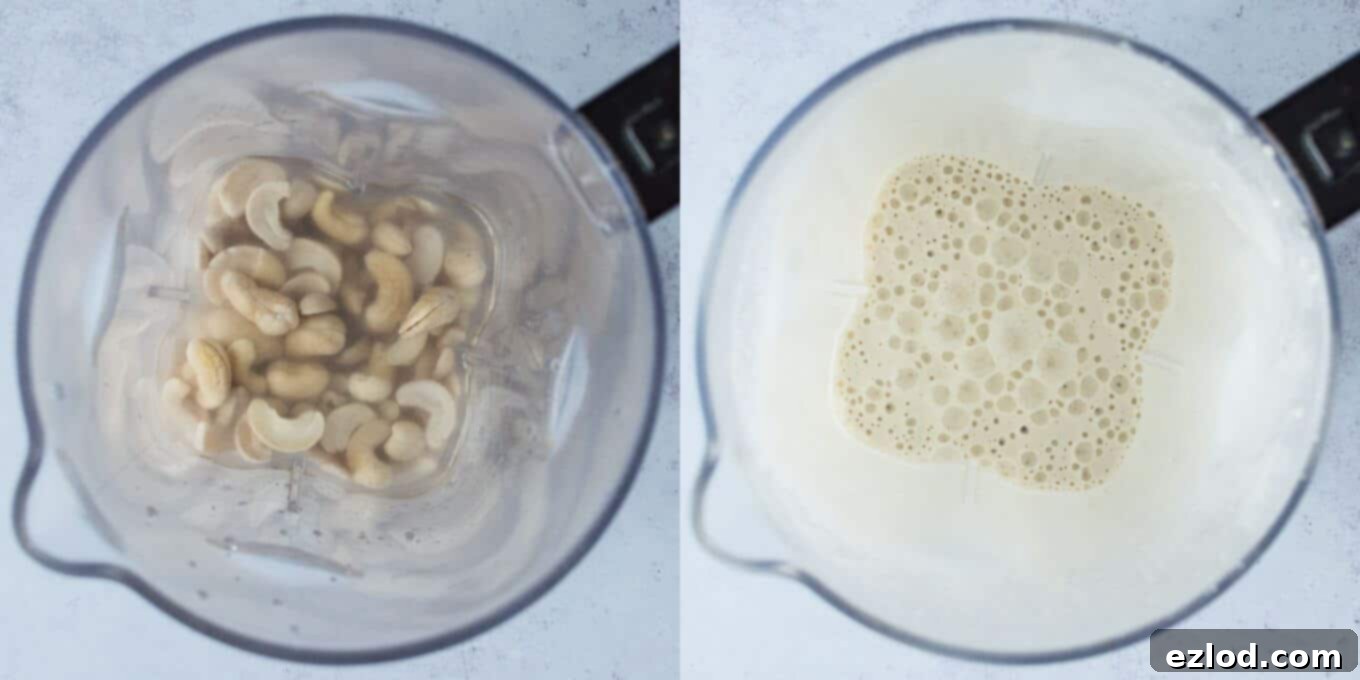
1. Prepare the Cashews: Begin by covering your cashews in boiling water and allowing them to soak for a minimum of thirty minutes. This soaking process is crucial as it softens them, making them much easier to blend into a perfectly smooth cream. Once softened, drain them thoroughly. If you prefer, you can also soak them in cold water overnight for an equally effective result.
2. Blend the Base (First Stage): Transfer the soaked and drained cashews into a high-speed blender. Add 250ml of your chosen unsweetened non-dairy milk (soy milk works wonderfully here, as it provides a neutral backdrop and good consistency). Blend this mixture until it is exceptionally smooth. Achieving a completely grit-free cashew cream is vital for a silky ice cream base. (Note: The image below may show cashews with water from a previous recipe; please use milk for this particular step.)
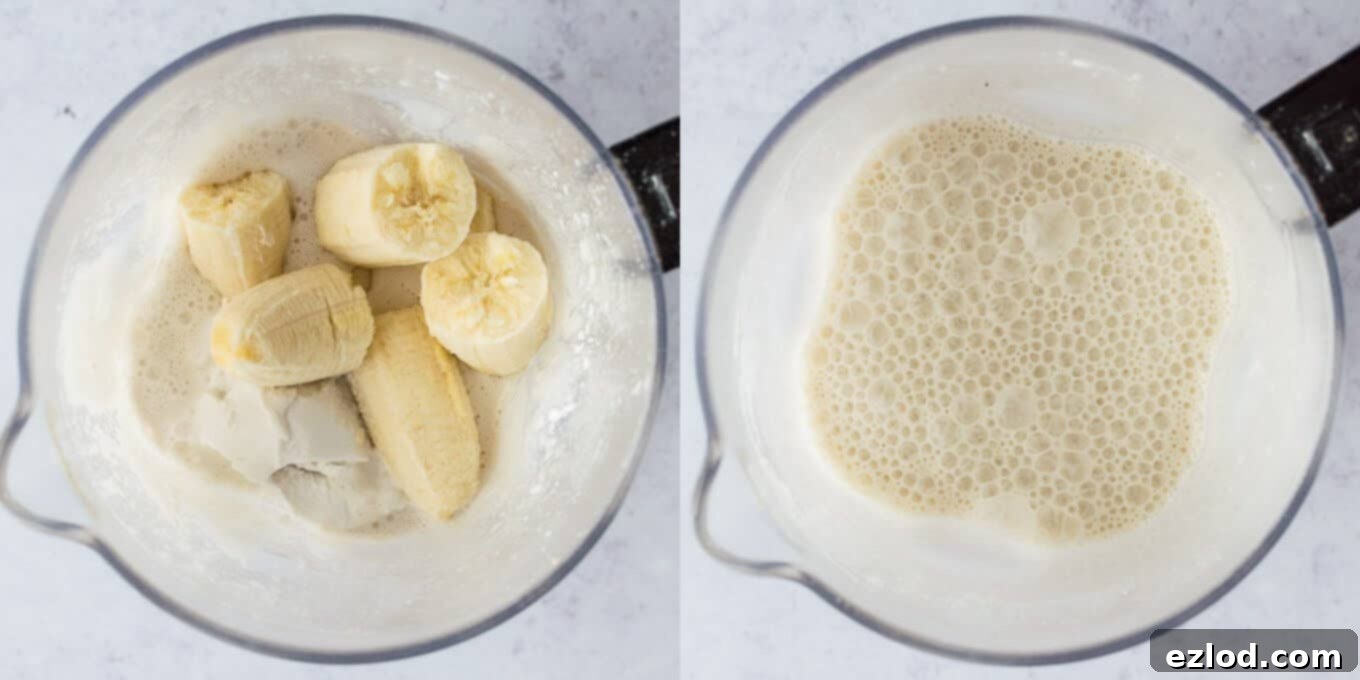
3. Incorporate Remaining Base Ingredients: To the blender, add the full-fat tinned coconut milk, the ripe bananas, caster sugar, xanthan gum, cornflour, vanilla extract, and salt. Continue blending the mixture until it is utterly smooth and homogenous. Take a moment to rub a small amount between your fingers; there should be no discernible grittiness. A perfectly smooth base is the key to preventing a lumpy or icy texture in your final ice cream.
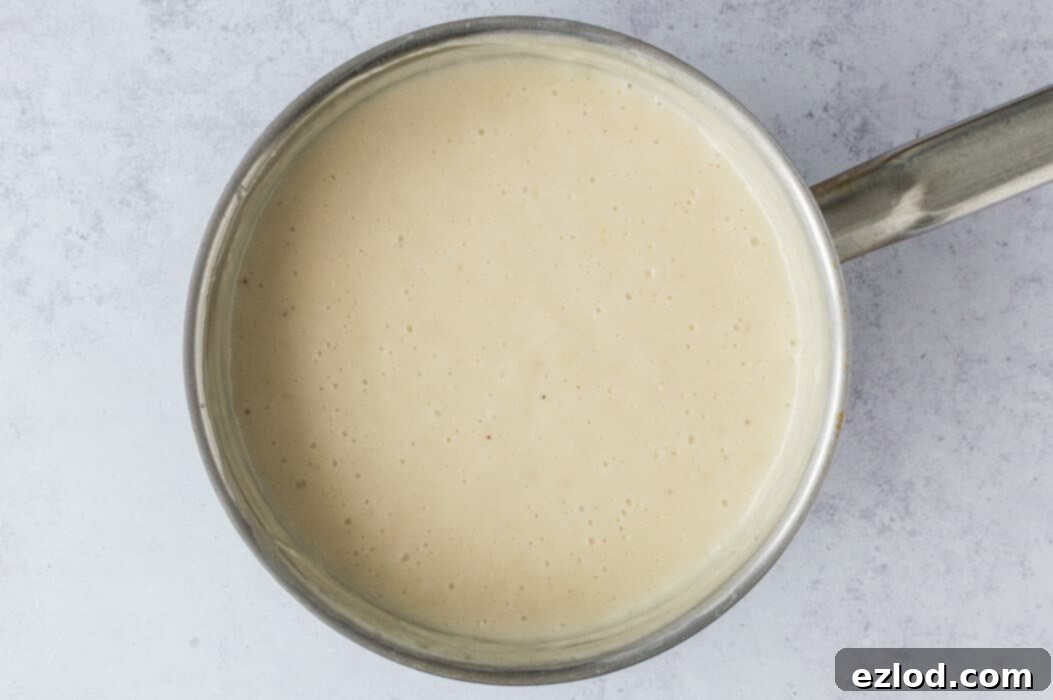
4. Cook and Thicken (if using cornflour): Pour the blended mixture into a saucepan and place it over a low to medium heat. Whisk continuously until the mixture comes to a gentle boil and begins to thicken significantly. Once thickened, immediately remove it from the heat and pour it into a clean bowl. It’s important not to let it boil for more than a minute, as prolonged boiling can cause the cornflour to break down and the mixture to become runny again. If you decided to omit the cornflour/cornstarch, you can skip this cooking step entirely.
5. Chill the Base: Cover the surface of the mixture directly with greaseproof paper (parchment paper) or plastic wrap. This is a crucial step to prevent a “skin” from forming on top as it cools. Place the bowl in the refrigerator until the base is completely and thoroughly chilled. For the absolute best results, I highly recommend leaving it in the fridge overnight. A colder base churns into a creamier ice cream.
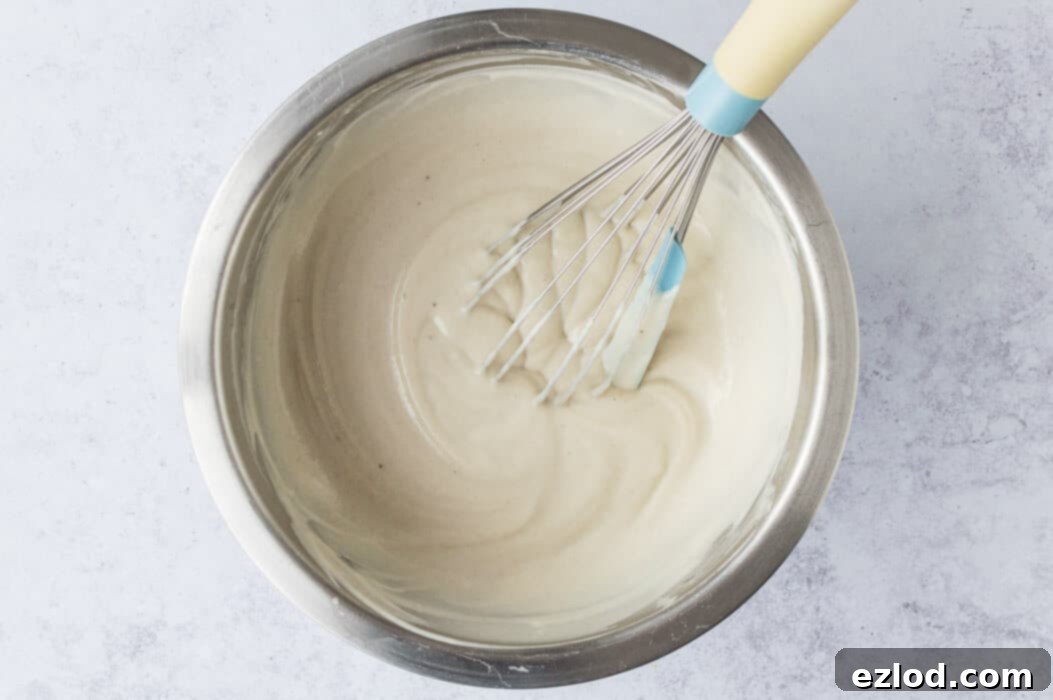
6. Churn the Ice Cream: Once the ice cream base is fully chilled, give it a good whisk to ensure it’s uniform. Then, pour it into your ice cream maker and churn it according to the manufacturer’s specific instructions. Churning will incorporate air and prevent large ice crystals, creating that desired creamy texture. (If you don’t have an ice cream maker, don’t worry! See the detailed instructions below for a “no-churn” method).
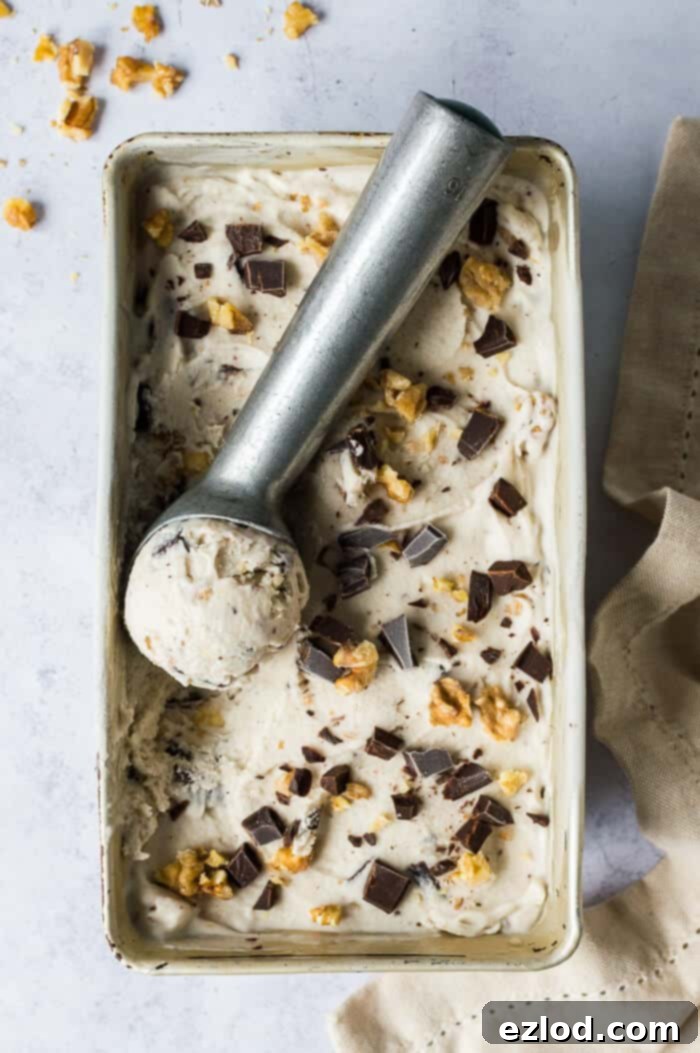
7. Add Mix-ins and Freeze: When the ice cream has reached a soft-serve consistency, remove it from the ice cream maker. Gently fold in the chopped dark chocolate and walnut pieces. Transfer the mixture to a freezer-safe container, smooth the top, and place it in the freezer for at least a couple of hours to firm up before serving. This final chill allows the flavors to meld and the ice cream to reach its optimal scoopable texture.
Serving Tip: Once your vegan Chunky Monkey ice cream is fully frozen, it will be quite firm, similar to traditional homemade ice cream. For the perfect scoop, allow it to sit out at room temperature for about 5-10 minutes before serving. This brief softening period makes it easier to scoop and enhances its creamy texture.
No Ice Cream Maker? No Problem! How to Make No-Churn Vegan Chunky Monkey Ice Cream
Don’t own an ice cream maker? You can absolutely still enjoy this incredible vegan Chunky Monkey ice cream! While it requires a bit more active attention, the results are still wonderfully delicious and creamy. Here’s how to do it:
Once your ice cream base is fully chilled (after step 5 above), pour it into a large, shallow freezer-proof container. Place the container in your freezer. Every 30-45 minutes, remove the container from the freezer and give the mixture a thorough whisk with an electric mixer (or a strong hand whisk). This crucial step helps to break up any ice crystals that are beginning to form, preventing the ice cream from becoming overly icy and ensuring a smoother texture. Continue this process of freezing and whisking until the mixture reaches a soft-serve consistency. This might take anywhere from 2-4 hours, depending on your freezer and how often you whisk. Once it’s at soft-serve stage, stir through the chopped chocolate and walnuts, then transfer it to a lidded container and freeze for a final couple of hours until firm. The effort is well worth it for this homemade delight!
Why Homemade Vegan Ice Cream is a Game Changer
Making your own vegan ice cream offers a multitude of benefits. You have complete control over the quality and freshness of ingredients, avoiding artificial flavors, colors, or excessive preservatives often found in commercial brands. Beyond that, the taste of homemade ice cream, especially a unique flavor like Chunky Monkey, is simply unparalleled. It’s fresher, more vibrant, and tailored exactly to your preferences. Plus, it’s a wonderfully rewarding culinary experience!
Tips for the Perfect Scoop and Storage
- Chill Thoroughly: The colder your base is before churning (or freezing for no-churn), the creamier your ice cream will be. Don’t rush the chilling step!
- Don’t Overfill: If using an ice cream maker, ensure you don’t overfill the bowl, as the mixture will expand as it churns.
- Airtight Storage: Store your finished ice cream in an airtight container in the freezer. This helps prevent freezer burn and keeps it fresh for longer.
- Thawing Before Scooping: As mentioned, let your ice cream sit out for 5-10 minutes before scooping. This softens it to the perfect consistency.
- Customization: Feel free to experiment with your mix-ins! Try different types of vegan chocolate, toasted nuts for added depth, or even a swirl of raspberry jam for a fruity twist.
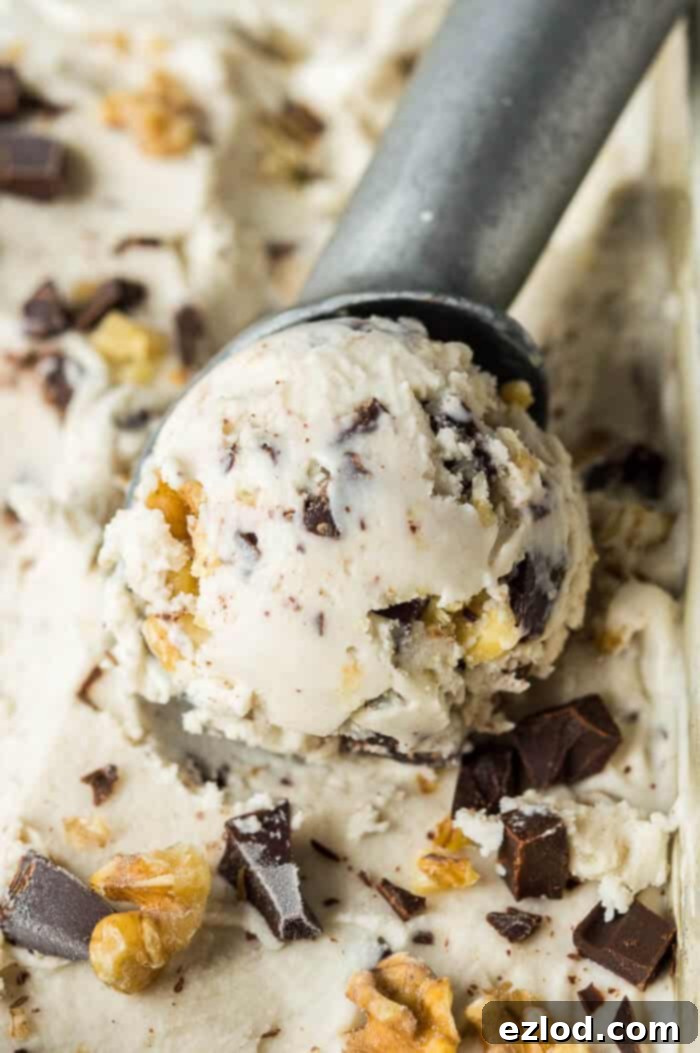
This vegan Chunky Monkey ice cream is more than just a dessert; it’s an experience. It’s rich, it’s creamy, it’s studded with delightful surprises, and it’s completely plant-based. Whether you’re a seasoned vegan or simply looking to incorporate more dairy-free options into your diet, this recipe is sure to become a cherished favorite. Indulge responsibly and savor every spoonful of this homemade masterpiece!
If you tried this recipe, we’d love to see your creations! Why not tag @domestic_gothess on Instagram and use the hashtag #domesticgothess to share your delicious vegan Chunky Monkey ice cream with our community!
*All images and content on Domestic Gothess are copyright protected. If you wish to share this recipe, please do so by using the provided share buttons. Please do not screenshot or post the recipe or content in full.*

Print
Vegan Chunky Monkey Ice Cream (banana ice cream with chocolate and walnuts)
Ingredients
- 120 g (¾ cup) cashews
- 250 ml (1 cup) unsweetened non-dairy milk (I used soy)
- 400 ml (14 oz) full fat coconut milk (tinned, NOT the drinking variety)
- 160 g (¾ cup + 1 Tbsp) caster sugar
- 200 g (2 medium) very ripe banana
- ⅛ tsp xanthan gum (optional)
- 1 Tbsp cornflour (cornstarch)* optional
- 1 tsp vanilla extract
- ½ tsp salt
- 100 g (3.5 oz) dark chocolate chopped
- 80 g (2.75 oz) walnuts (or pecans) broken into pieces
Instructions
-
Cover the cashews in boiling water and set aside to soak for at least half an hour then drain. (You can also soak them in cold water overnight instead).
-
Place the soaked cashews in a blender along with the 250ml of milk and blend until very smooth.
-
Add the full fat coconut milk, sugar, bananas, xanthan gum, cornflour, vanilla extract and salt and continue to blend until the mixture is completely smooth. There should be no hint of grittiness if you rub some of the mixture between your fingers.
-
Pour the mixture into a saucepan and place it over a low heat. Whisk until it comes up to the boil and thickens then remove from the heat and pour into a bowl. Don’t let it boil for more than a minute. Skip this step if you did not add cornflour/cornstarch.
-
Cover with greaseproof paper directly on the surface to prevent a skin from forming then place in the fridge until completely cold. (I leave it in there overnight).
-
Give the chilled ice cream base a good whisk then churn it in an ice cream maker according to the manufacturers instructions. (See above for instructions on how to churn it without an ice cream maker).
-
Once it has reached soft serve consistency, mix through the chopped chocolate and walnuts and transfer it to a container. Place in the freezer for a couple of hours to firm up before serving.
Once the ice cream is fully frozen it will be quite firm; let it sit out at room temperature for a bit before scooping.
Notes
