Ultimate Vegan Boston Cream Pie Recipe: Fluffy Cake, Creamy Pastry, Rich Ganache
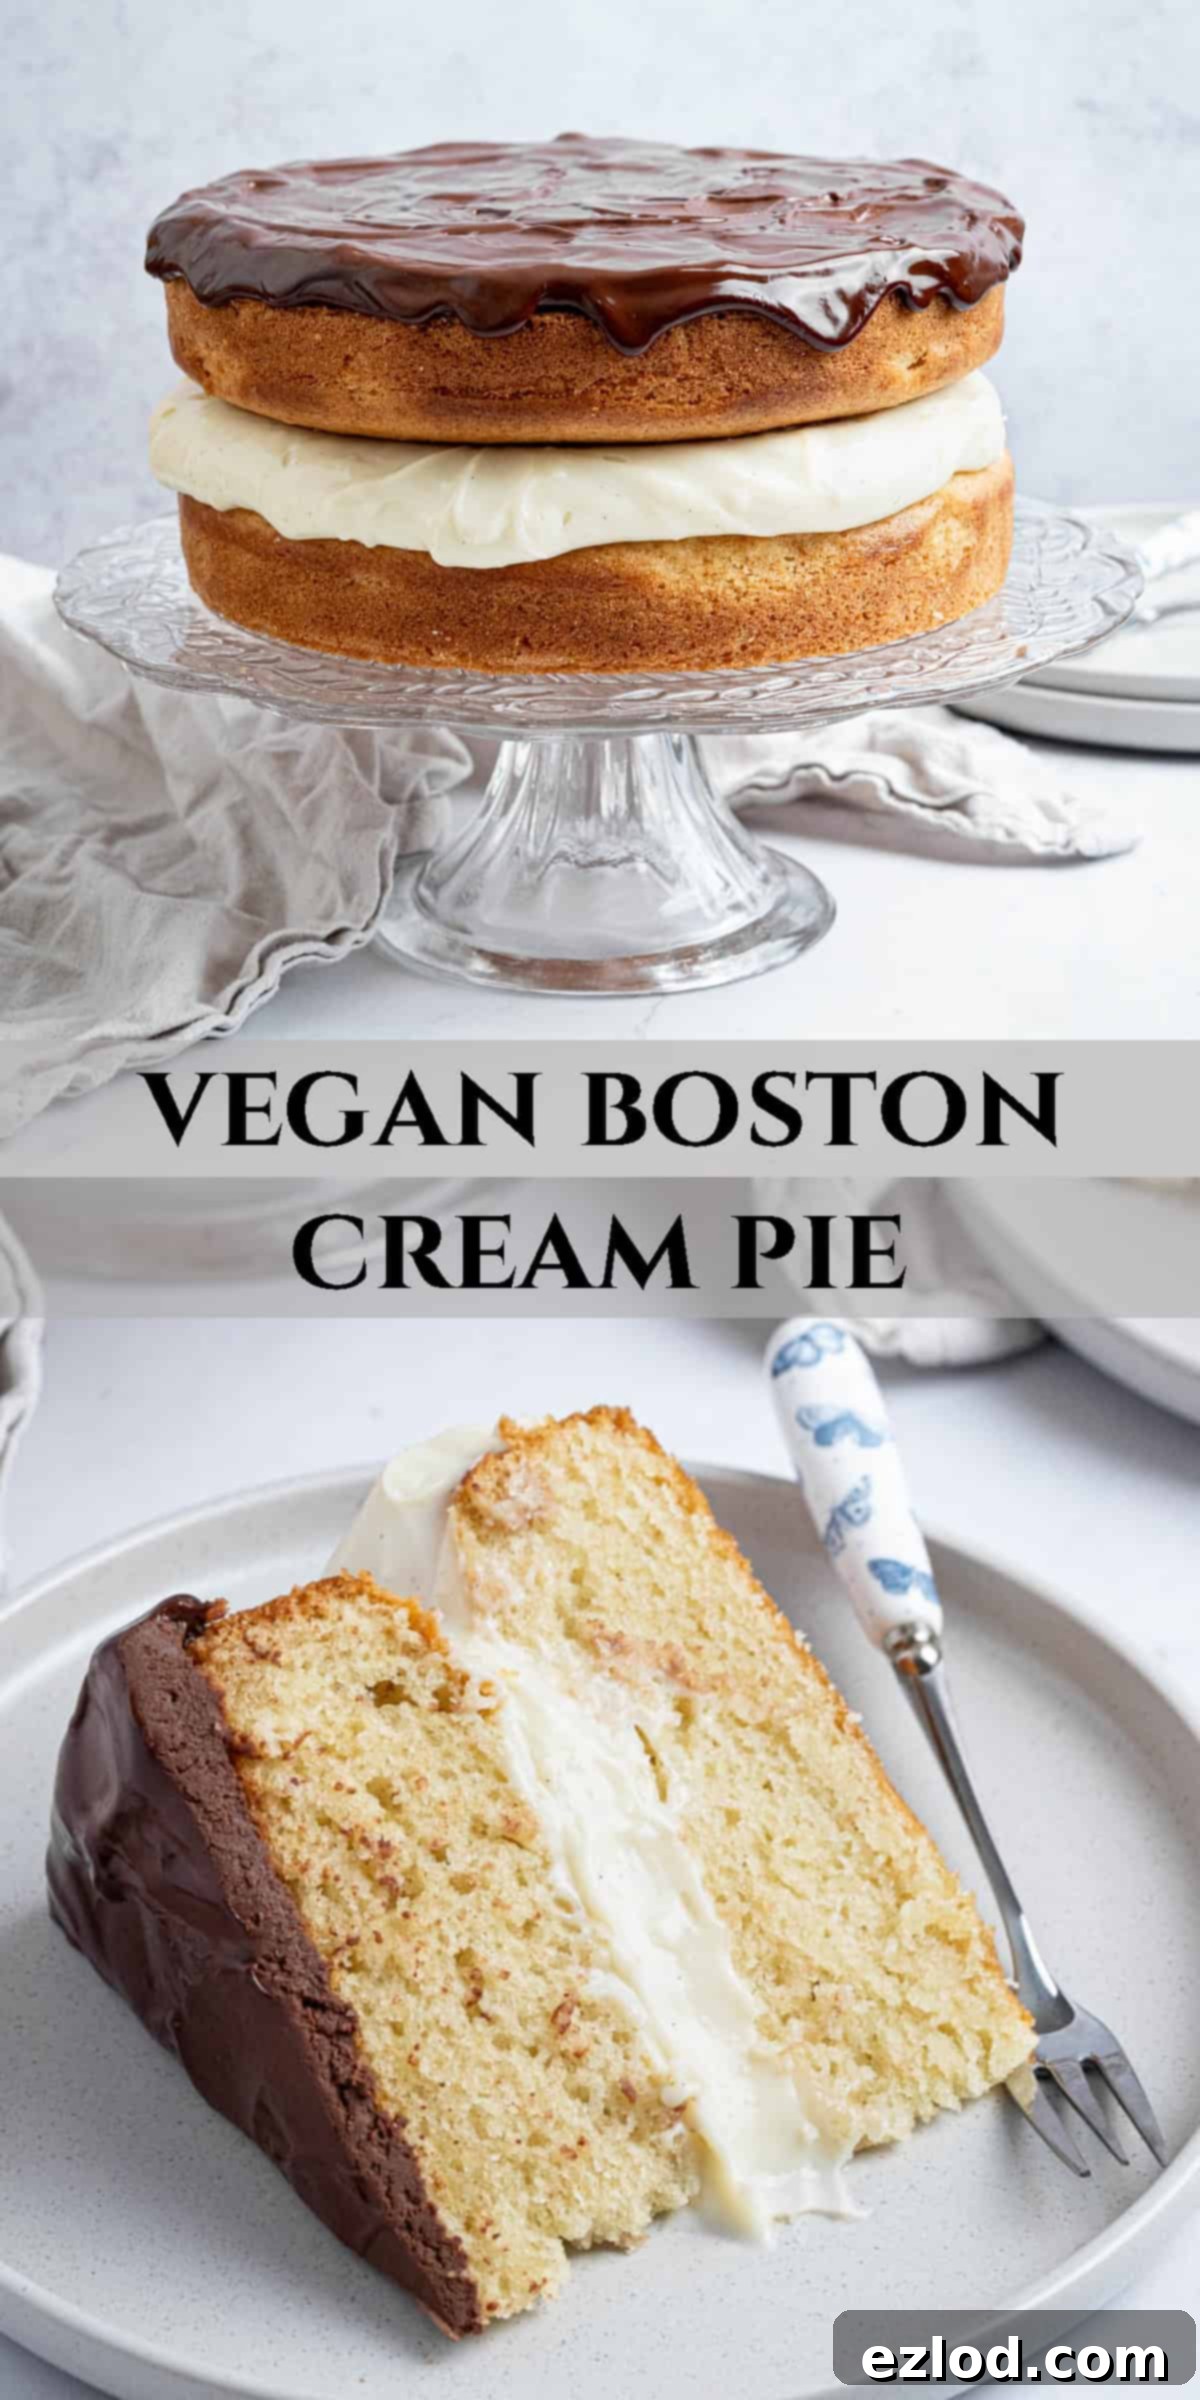
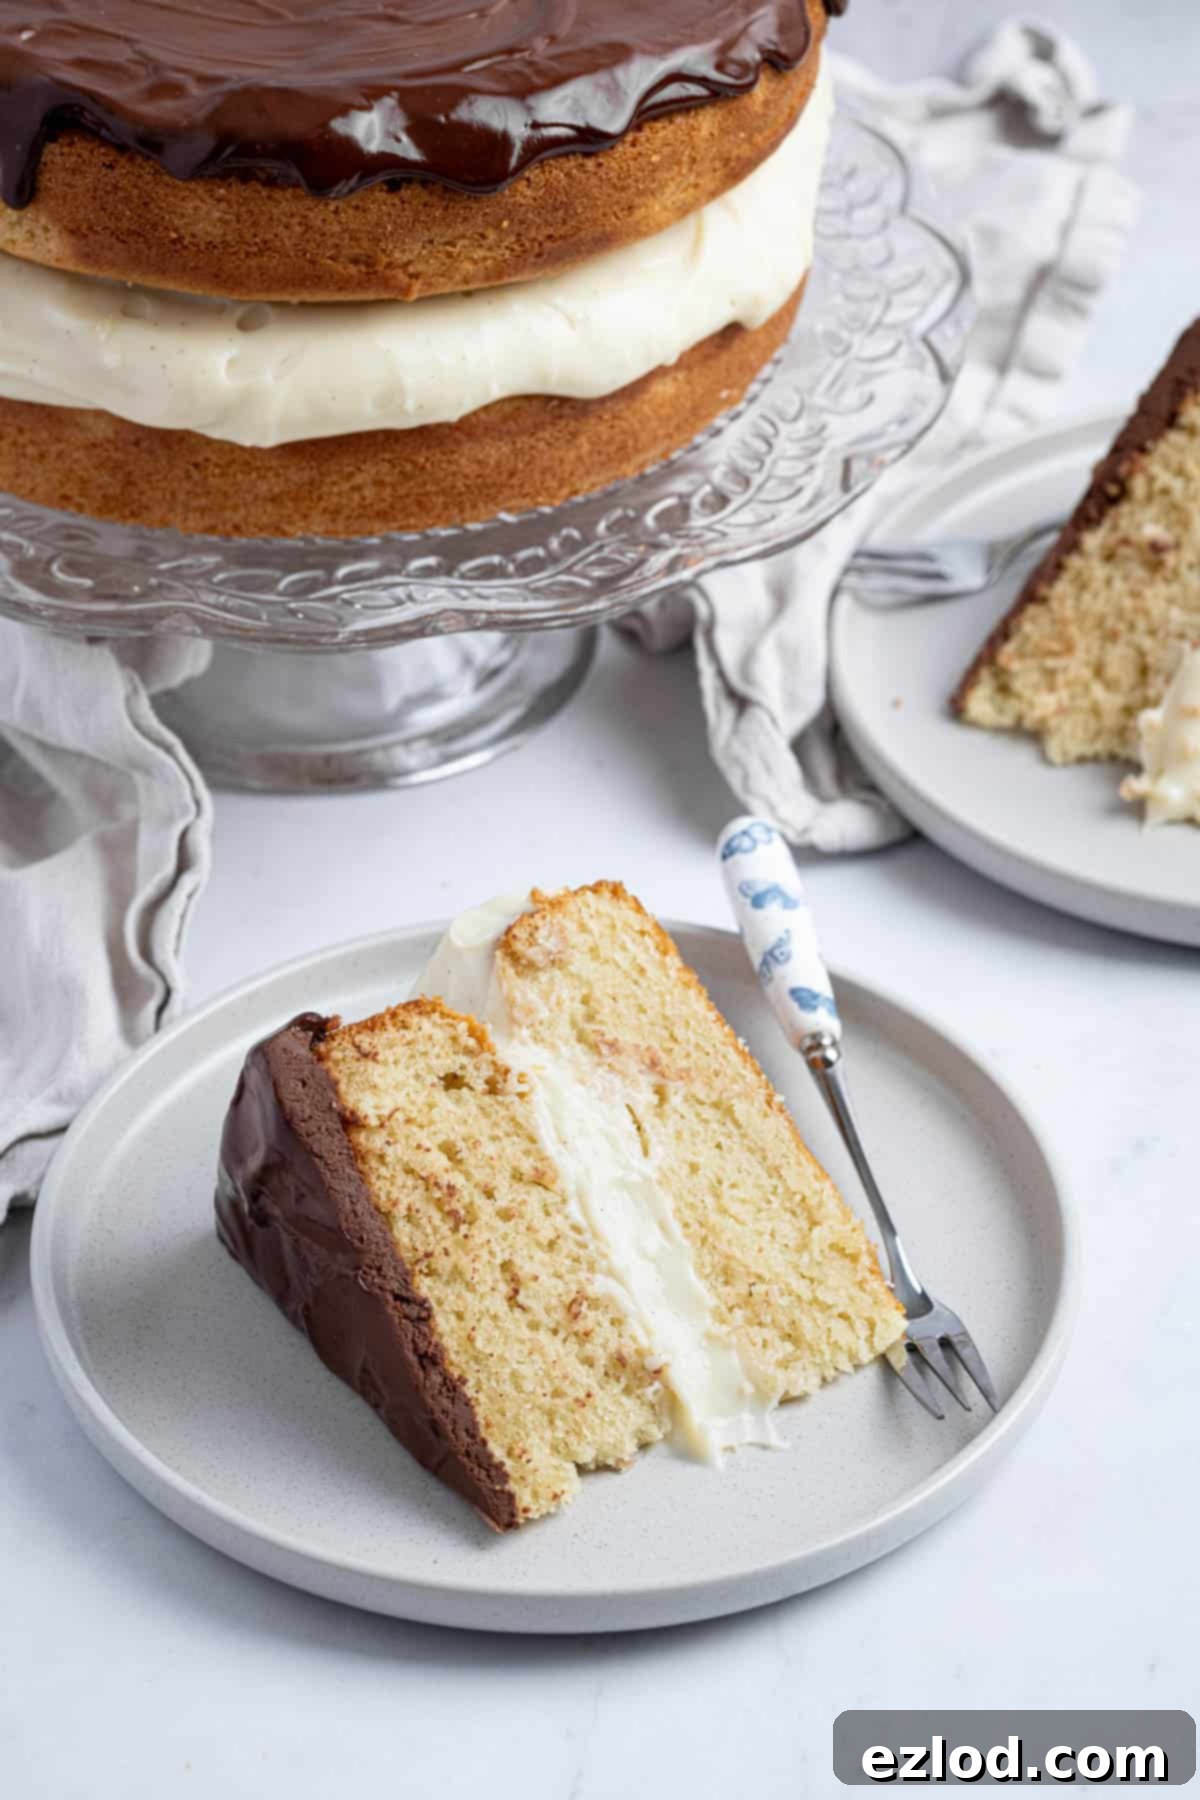
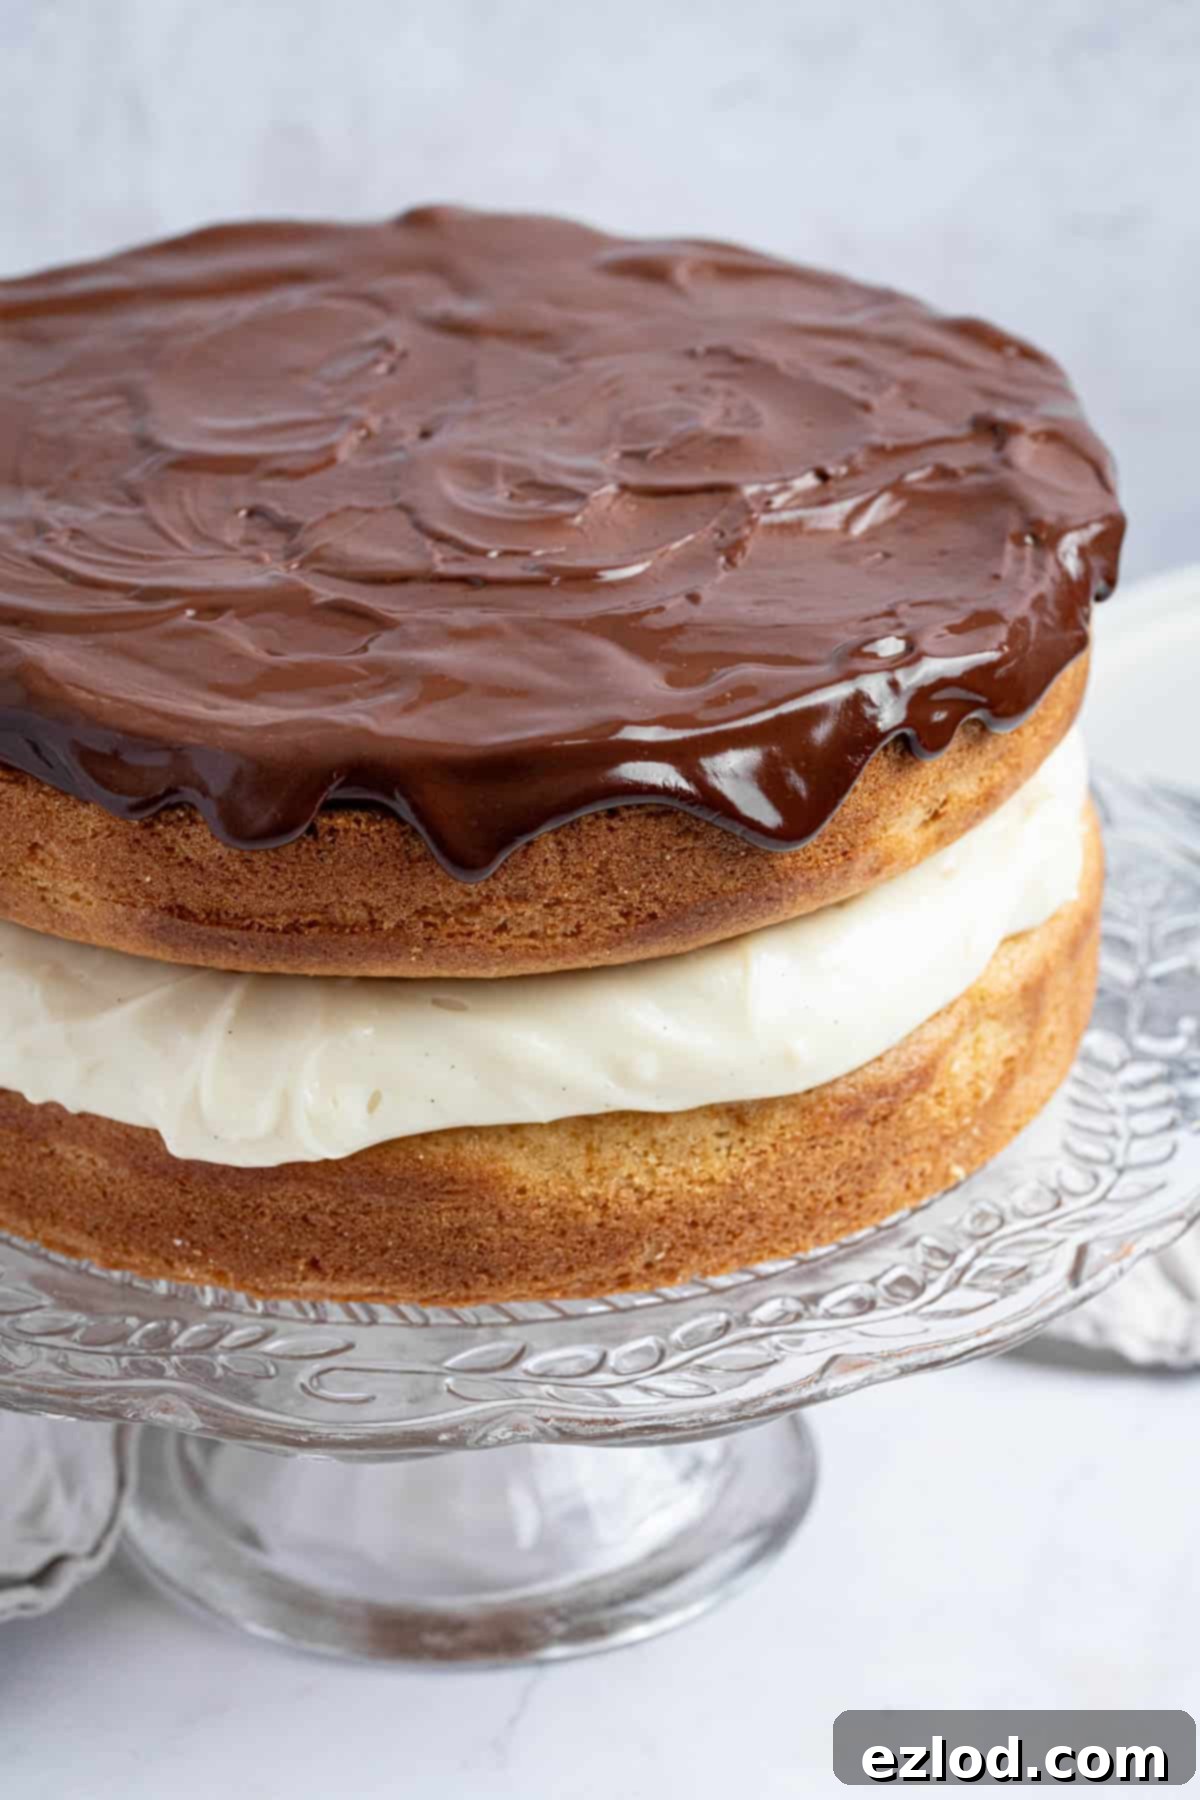
Prepare to be amazed by this incredible **Vegan Boston Cream Pie** – a magnificent creation that’s actually a cake, not a pie! This dairy-free dessert masterpiece features two layers of light, airy vanilla sponge cake, generously filled with a smooth, velvety vanilla pastry cream (crème pâtissière), and crowned with a luscious, rich dark chocolate ganache. It’s the perfect treat for any occasion, offering a sophisticated flavor profile that’s rich and satisfying without being overly sweet. If you or your guests aren’t keen on heavy buttercream, this elegant cake with its delicate pastry cream filling is an absolute game-changer.
What Exactly Is Boston Cream Pie? (It’s a Cake!)
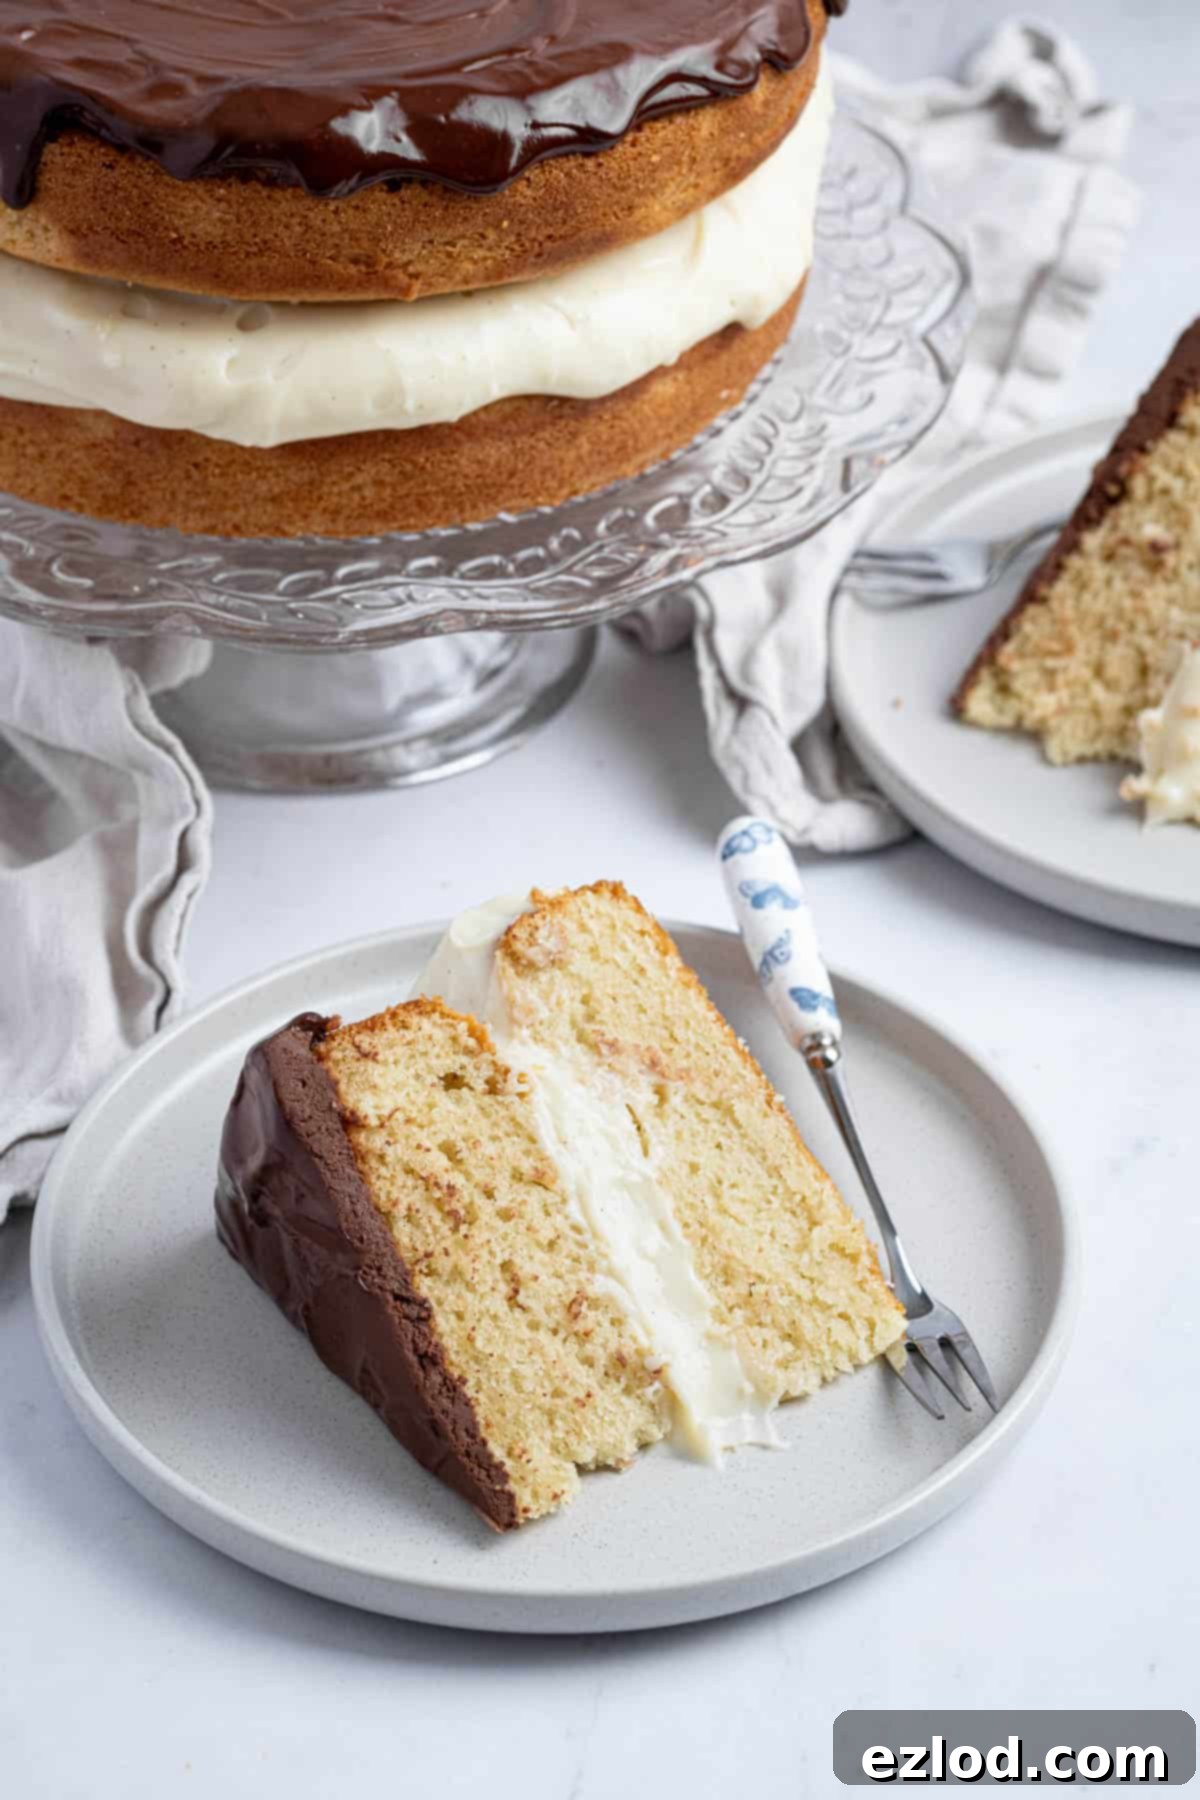
Despite its misleading name, Boston Cream Pie is firmly rooted in the world of cakes, not pies. This historical anomaly dates back to the early 19th century in America, a time when baking pans were often used interchangeably for both cakes and pies, leading to a blurring of nomenclature. The true origin story of this iconic dessert traces back to the 1850s, specifically to the renowned Parker House Hotel in Boston. Originally known as “chocolate cream pie,” the version we cherish today has evolved from its initial form, which sometimes featured almonds and a chocolate fondant topping.
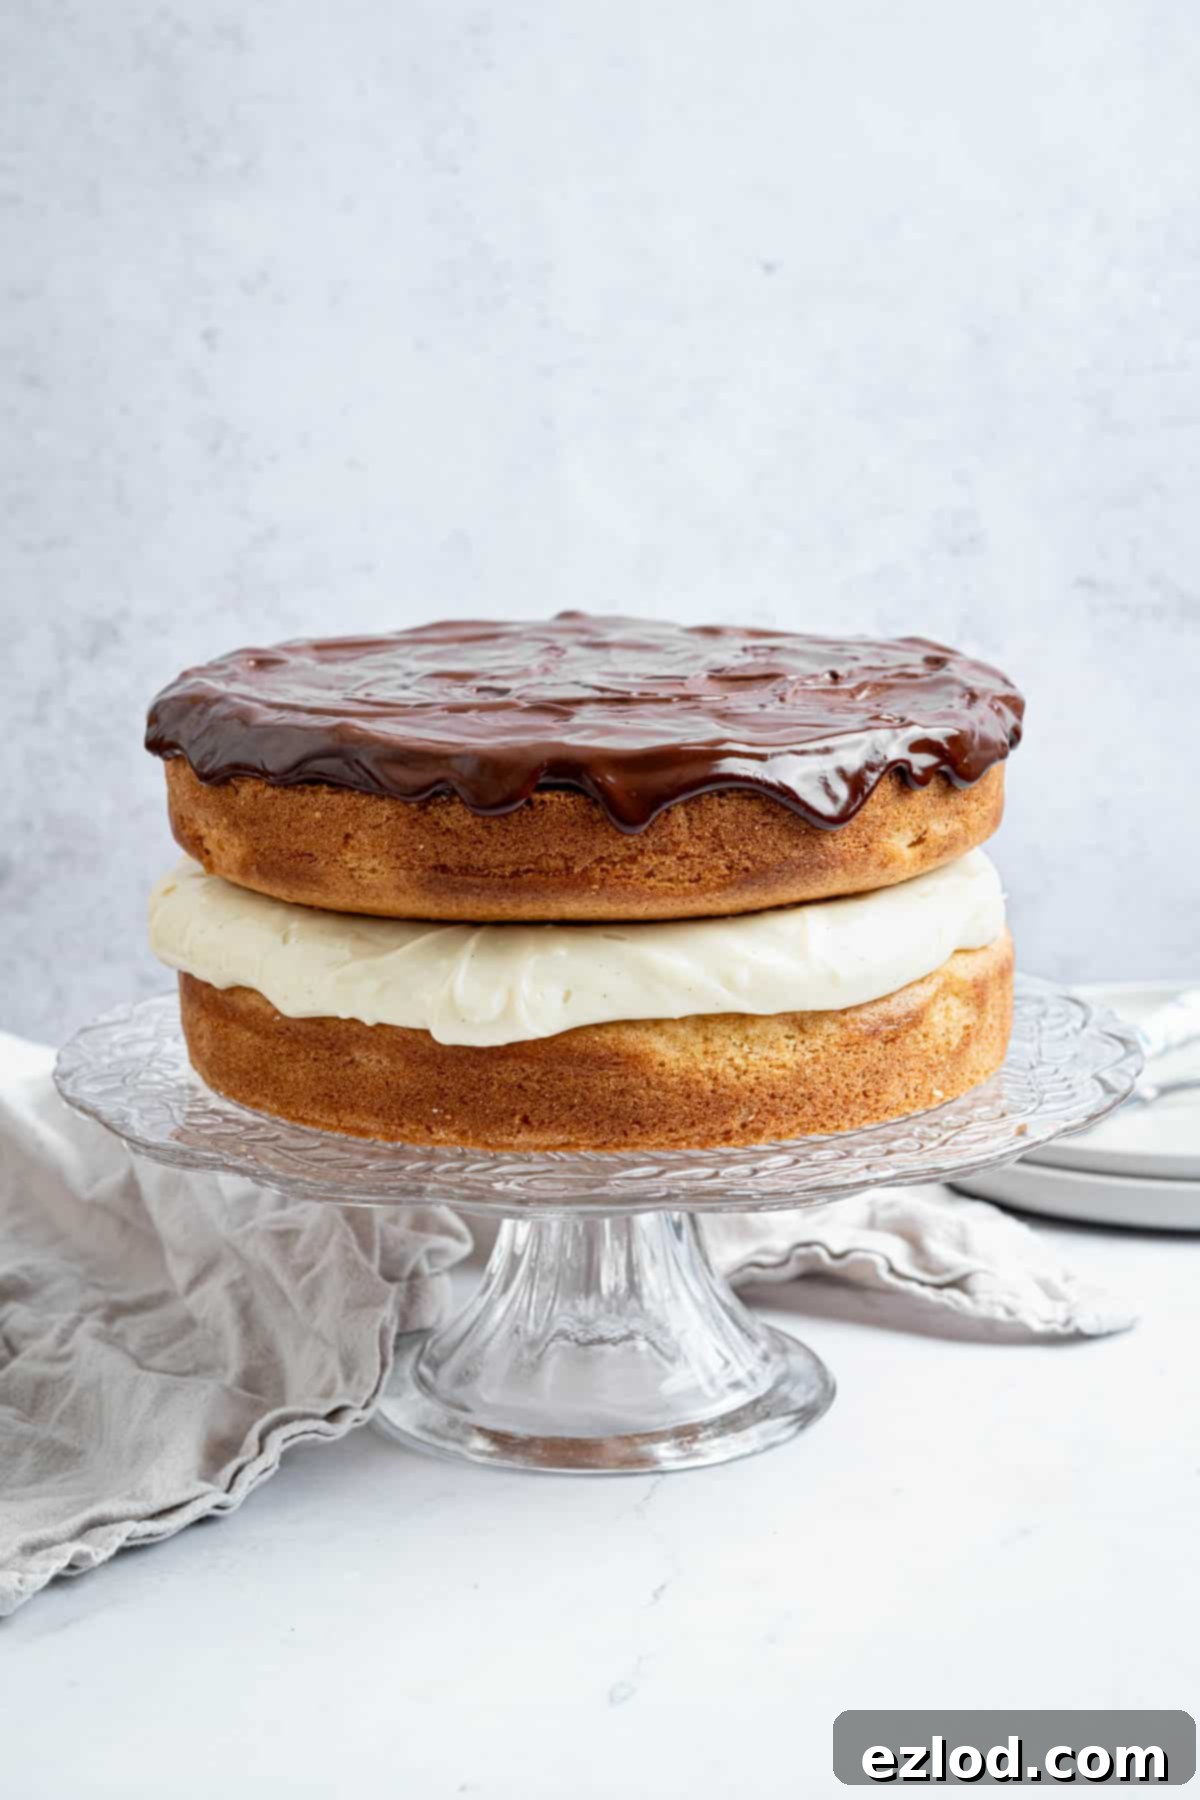
Our modern interpretation, and certainly our exceptional vegan rendition, consists of two tender, fluffy vanilla sponge cakes. These delicate layers are generously spread with a creamy, dreamy vanilla crème pâtissière – a rich custard that provides a stark yet delightful contrast to the cake’s light texture. The entire creation is then decadently finished with a smooth, glossy dark chocolate ganache. And yes, every single component of this exquisite dessert is entirely plant-based and vegan-friendly, making it accessible and enjoyable for everyone!
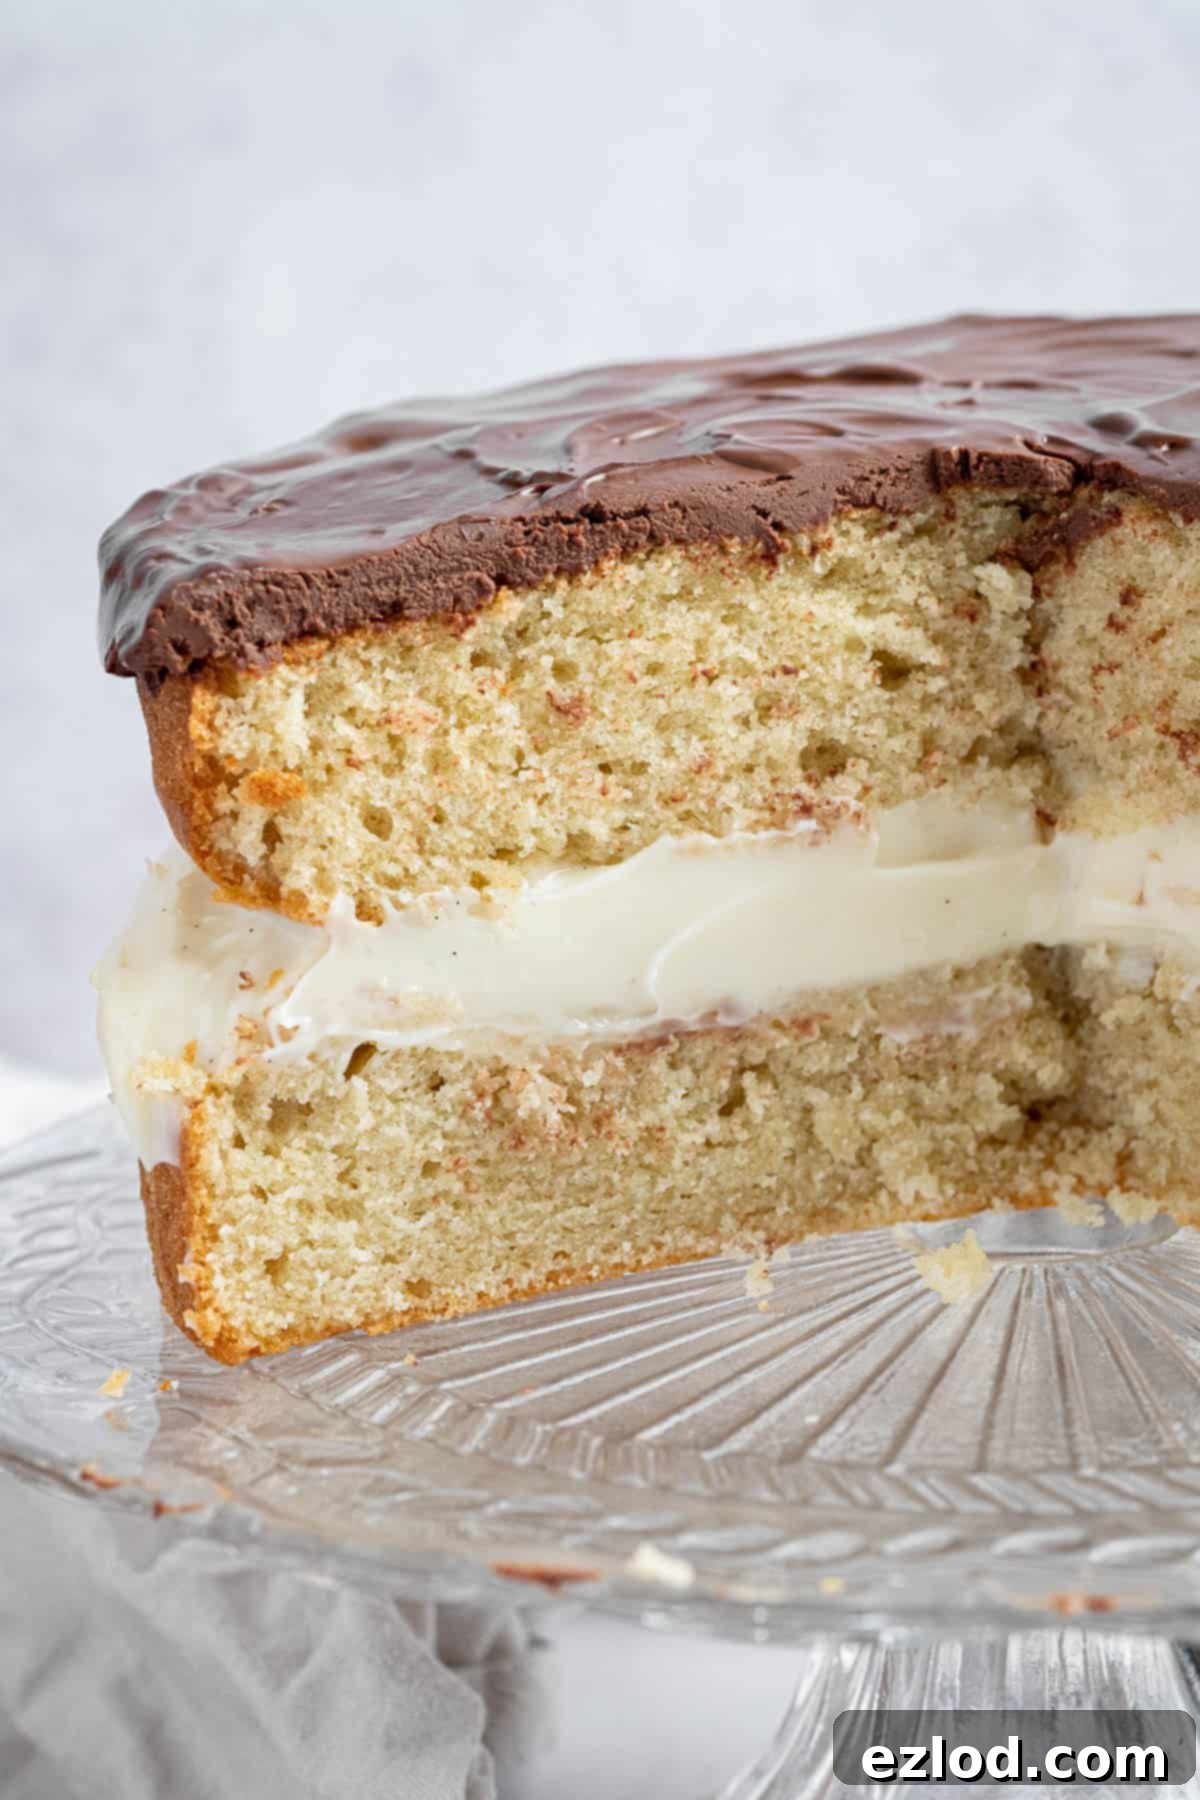
One of the defining characteristics of Boston Cream Pie, especially our vegan version, is its unique filling. Unlike cakes frosted with stiff buttercreams, the rich pastry cream offers a softer, more luxurious mouthfeel. This means you might not achieve perfectly neat, architectural slices, but what it lacks in rigid structure, it more than makes up for in sublime taste and creamy indulgence. In my opinion, this soft, non-overly sweet custard filling pairs far more wonderfully with the tender cake layers and opulent chocolate than any buttercream ever could. It creates a harmonious balance of textures and flavors that is simply irresistible.
Why You’ll Fall in Love with This Vegan Boston Cream Pie
- Completely Plant-Based: Enjoy all the classic flavors of Boston Cream Pie without any dairy or eggs, making it perfect for vegans, those with allergies, or anyone looking to explore plant-based baking.
- Decadent, Not Overly Sweet: Many traditional cakes can be cloyingly sweet, but this recipe strikes a perfect balance. The subtle sweetness of the vanilla sponge, combined with the rich, creamy pastry cream and dark chocolate ganache, creates a sophisticated dessert that satisfies without overwhelming.
- Unique Texture Experience: If you’re tired of buttercream, the luscious, smooth vanilla pastry cream is a welcome change. It’s soft, melting, and provides a delightful contrast to the light sponge and crisp ganache.
- Impressive for Special Occasions: This cake looks as good as it tastes. Its classic elegance makes it a showstopper for birthdays, holidays, dinner parties, or any event where you want to impress your guests.
- Easier Than You Think: While it has distinct layers, the steps are straightforward. With clear instructions and our helpful tips, even novice bakers can achieve a stunning and delicious result.
- Crowd-Pleaser: Even non-vegans will rave about this cake. Its universally loved flavor profile ensures it will be a hit with everyone at the table.
Key Ingredient Deep Dive: What You Need to Know
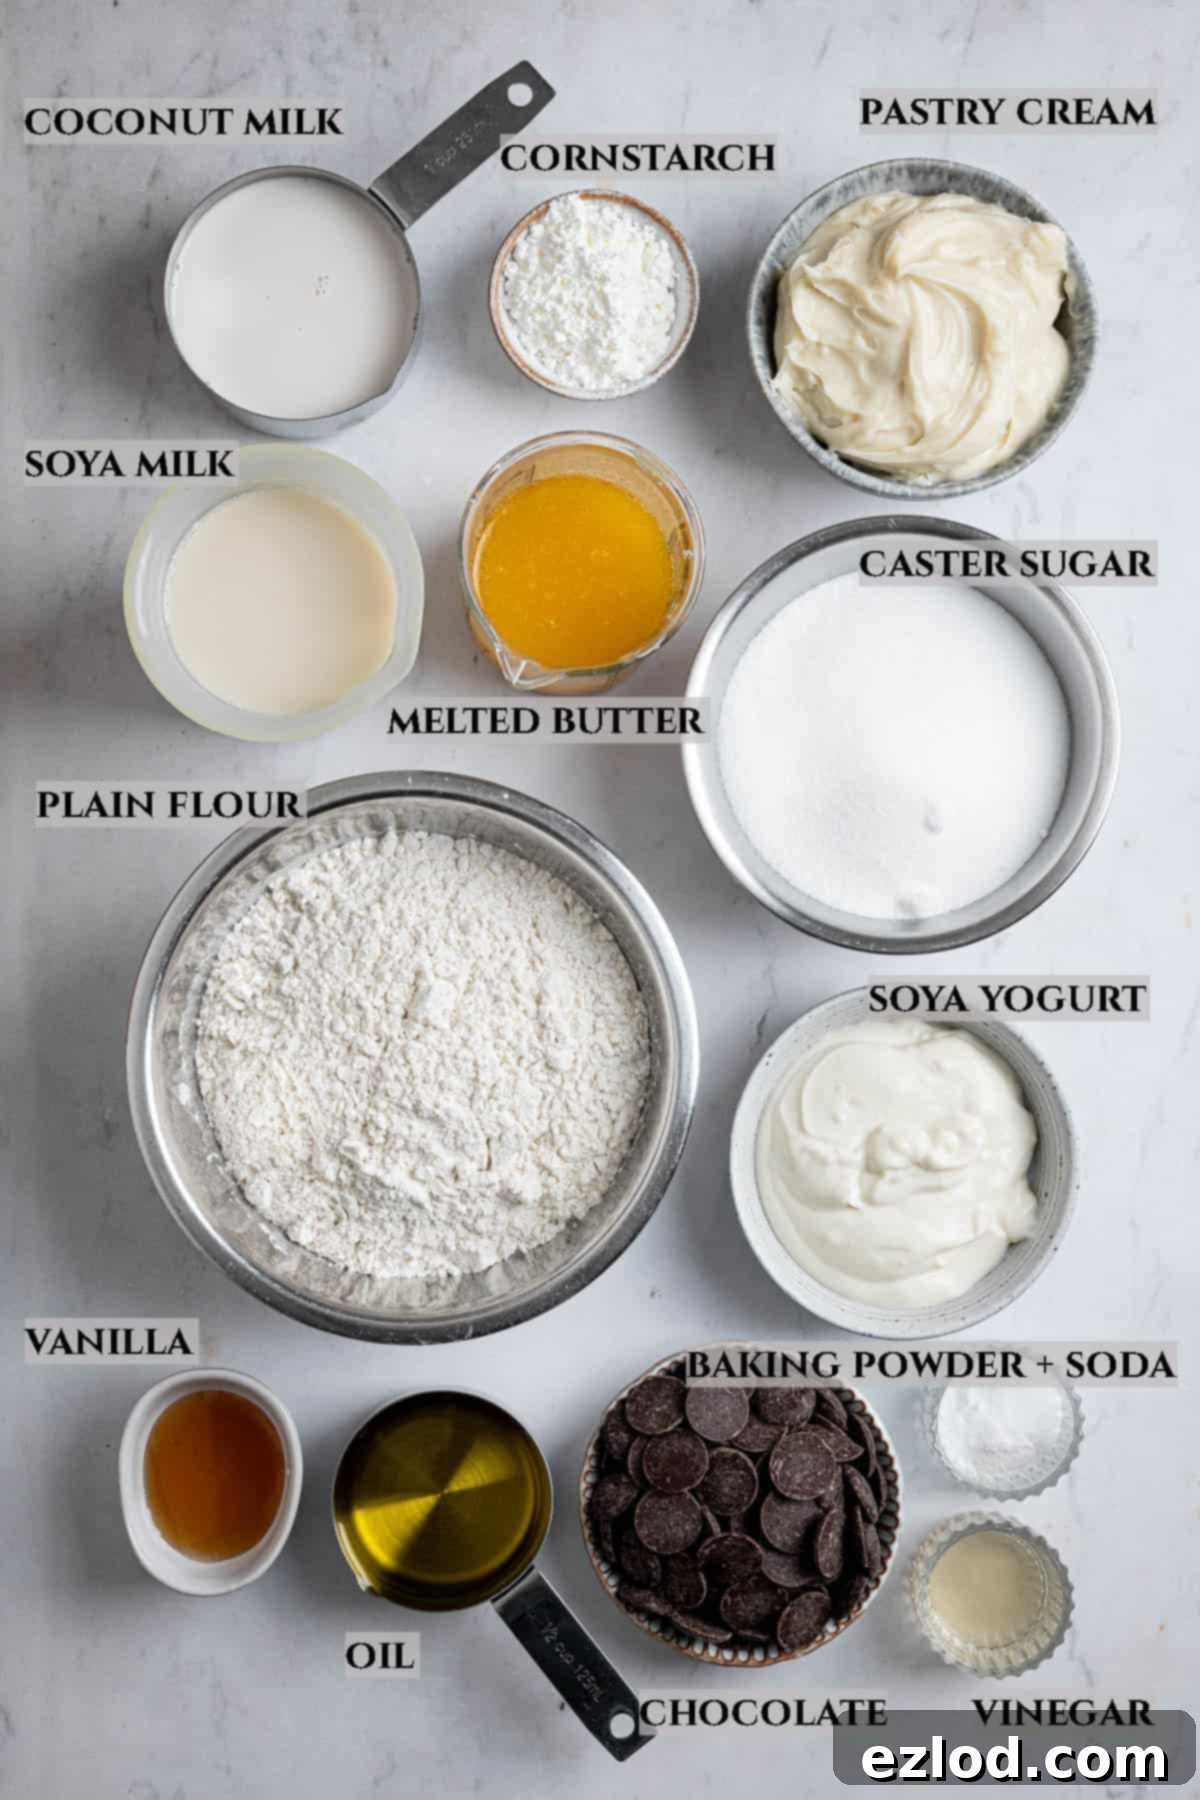
Creating the perfect vegan Boston Cream Pie starts with understanding your ingredients. Here’s a detailed look at what you’ll need and why each component is crucial:
- Vegan Pastry Cream (Crème Pâtissière): This is the heart of your Boston Cream Pie, providing its signature creamy filling. You will need one full batch of my dedicated vegan pastry cream recipe. It’s absolutely essential to prepare this element in advance, as it requires at least 4 hours to chill thoroughly in the refrigerator before the cake assembly begins. For best results and to break up your workload, consider making it the day before you plan to bake and assemble your cake. Proper chilling is vital for the cream to set and achieve the desired firm, yet spreadable, consistency.
- Non-Dairy Milk: For the cake batter, any unsweetened non-dairy milk will generally work well, with the notable exception of tinned coconut milk, which has a much higher fat content and can alter the cake’s texture significantly. While almond, oat, or soy milk are all viable options, I consistently find that **soy milk** yields the best results in baking. Its protein and fat content are most similar to dairy milk, contributing to a more tender and moist crumb.
- Plain Non-Dairy Yogurt: Vegan yogurt is a secret weapon for adding incredible moisture and a subtle tang to the cake, enhancing its overall flavor and texture. It helps create a tender crumb that stays moist for longer. Opt for a plain variety, and unsweetened if possible, to control the sugar level in the final cake. I typically use soya yogurt due to its neutral flavor and creamy consistency, but a plain coconut yogurt can also be a good alternative, just be mindful of any coconut flavor it might impart.
- Neutral Oil + Vegan Butter: This dynamic duo ensures your cake has both exceptional moisture and a rich flavor profile. Using a neutral-flavored oil (like olive oil, canola, or sunflower) contributes to a consistently moist cake, as oil stays liquid at room temperature. Vegan butter, on the other hand, adds a lovely richness and traditional buttery flavor that many love in baked goods. You can use either a block-style vegan butter or a spreadable variety, but ensure it’s not a “light” version, as these contain more water and less fat, which can negatively impact the cake’s structure and richness. My go-to is Flora original.
- Vinegar (Apple Cider or White Wine): This acidic component plays a crucial role in activating the bicarbonate of soda (baking soda). The chemical reaction between the acid and base produces carbon dioxide gas, which creates air pockets, helping the cake to rise beautifully and achieve a wonderfully light and fluffy texture. Either apple cider vinegar or white wine vinegar will work perfectly. Lemon juice can also be used as an effective substitute if you don’t have vinegar on hand.
- Plain Flour (All-Purpose) and Cornflour (Cornstarch): The combination of these two flours is key to achieving the cake’s desirable tender crumb. Regular plain (all-purpose) flour forms the structural base, while a small addition of cornflour helps to soften the gluten development, resulting in a finer, more delicate texture similar to cake flour. While you can substitute the cornflour with an equal weight of plain flour if absolutely necessary, I highly recommend using it as it truly makes a noticeable difference in the cake’s lightness and softness.
- Baking Powder and Bicarbonate of Soda (Baking Soda): For optimal rise and a perfectly textured crumb, it’s essential to use both leavening agents. Baking soda requires an acid (like the vinegar or yogurt) to activate and produces a quick burst of gas, while baking powder contains both an acid and a base, providing a more sustained lift. Together, they ensure your cake layers are beautifully risen and airy.
- Sugar (Caster or Granulated): Both caster sugar (fine granulated sugar) and standard granulated sugar are suitable for this recipe. Sugar not only sweetens the cake but also contributes to its moisture content and helps with browning, giving the cake a lovely golden crust. I strongly advise against substituting these with other types of sugar or artificial sweeteners, as they can significantly alter the cake’s texture, moisture, and overall success.
- Vanilla Extract: Quality vanilla extract makes a noticeable difference in the flavor depth of your cake and pastry cream. Always opt for pure vanilla extract over imitation vanilla essence for a superior taste. If you have it, vanilla bean paste is an excellent alternative that provides even more intense vanilla flavor and speckles.
- Dark Chocolate: For the ganache, a high-quality dark chocolate with a cocoa percentage of around 70% is ideal. This level of bitterness provides a wonderful contrast to the sweetness of the cake and pastry cream. It’s important to avoid chocolates with a significantly higher cocoa percentage (e.g., 85% or more), as they contain less fat and more cocoa solids, making the ganache more prone to splitting or becoming grainy. Fine chopping the chocolate ensures it melts evenly and smoothly.
- Vegan Cream or Full-Fat Coconut Milk: To create a silky-smooth ganache, you’ll need either a reliable vegan double cream alternative (such as Elmlea Plant or similar products available in your region) or full-fat tinned coconut milk. If using coconut milk, it’s crucial to use the entire contents of the can, thoroughly mixed together, rather than just scooping out the solid white part. This ensures the correct fat-to-liquid ratio for a stable and luscious ganache.
How to Master Your Vegan Boston Cream Pie: Step-by-Step Guide
(For precise measurements and detailed instructions, please refer to the comprehensive recipe card located at the bottom of this page.)
Follow these steps carefully to create a show-stopping vegan Boston Cream Pie:
- Prepare the Pastry Cream: This is your first and most important step. Begin by making one batch of the vegan pastry cream. It absolutely needs sufficient time to chill – at least four hours – to achieve the perfect thick, set, and spreadable consistency. For ultimate convenience, I highly recommend preparing the pastry cream a day in advance.
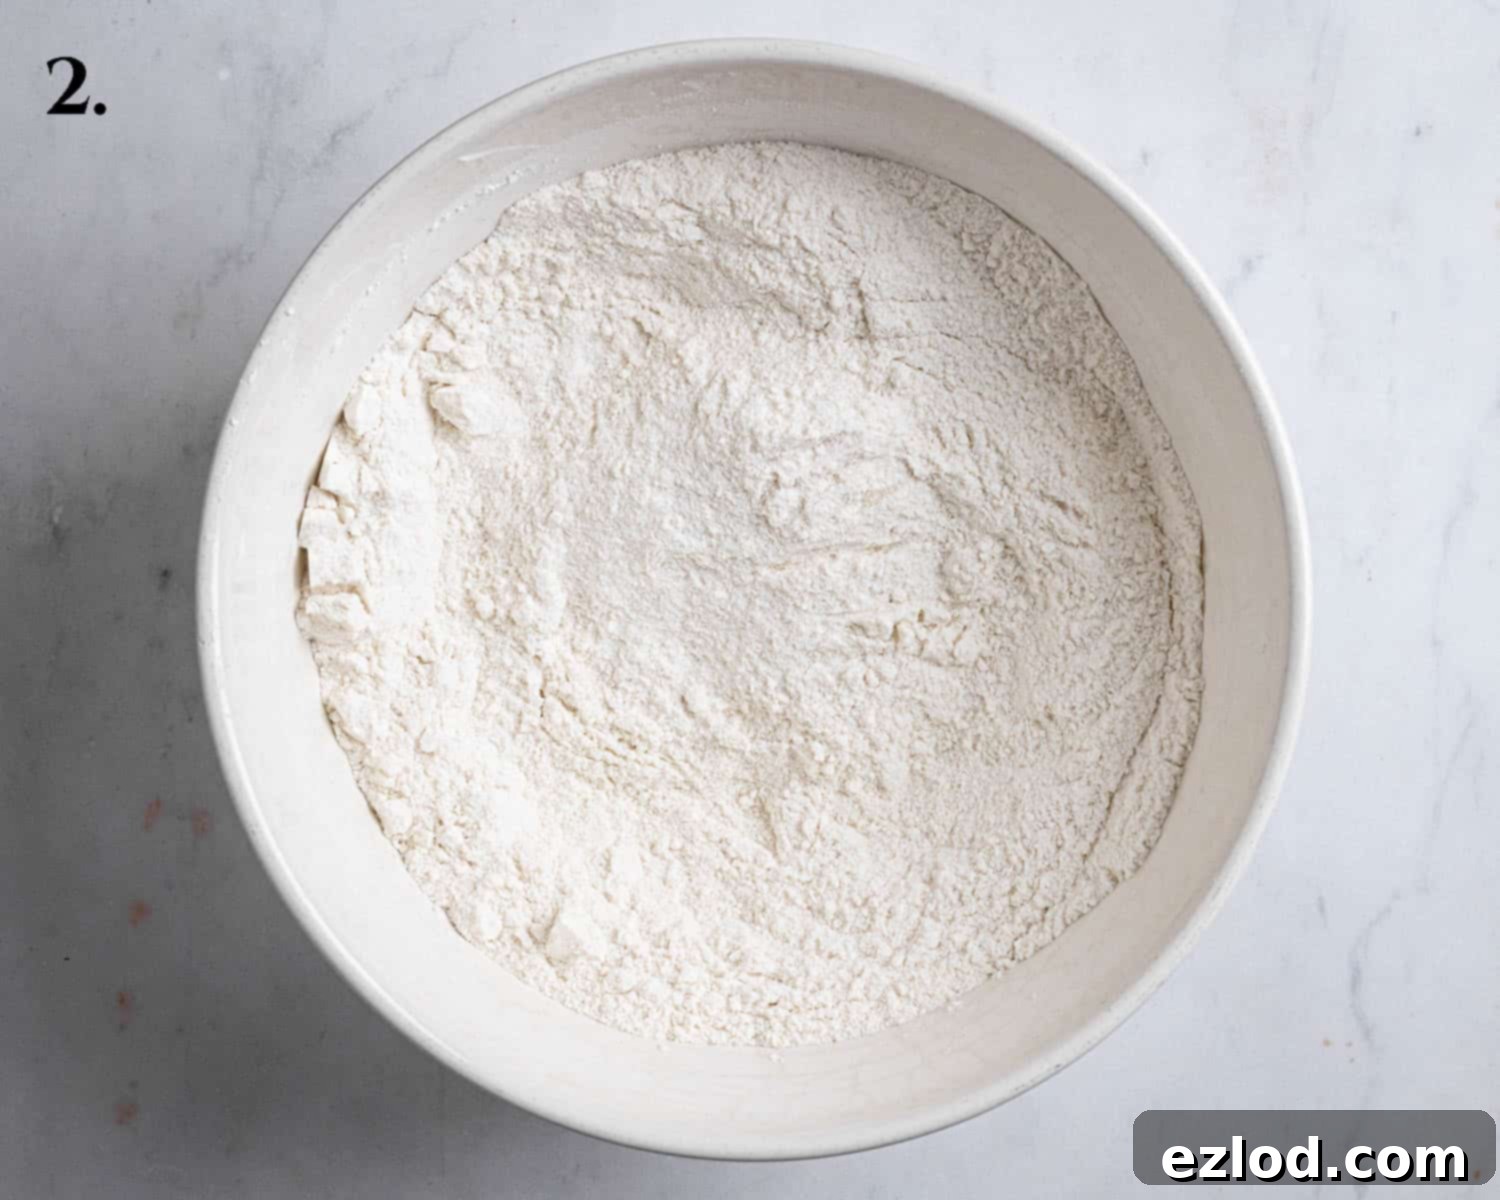
- Combine Dry Ingredients: Preheat your oven to 180℃/160℃ fan/350℉/gas mark 4 and prepare two 20cm/8in round cake tins by greasing and lining them with baking paper. In a large mixing bowl, thoroughly whisk together the plain flour, cornflour, baking powder, bicarbonate of soda, salt, and sugar until well combined and lump-free. This ensures even distribution of your leavening agents and flavor.
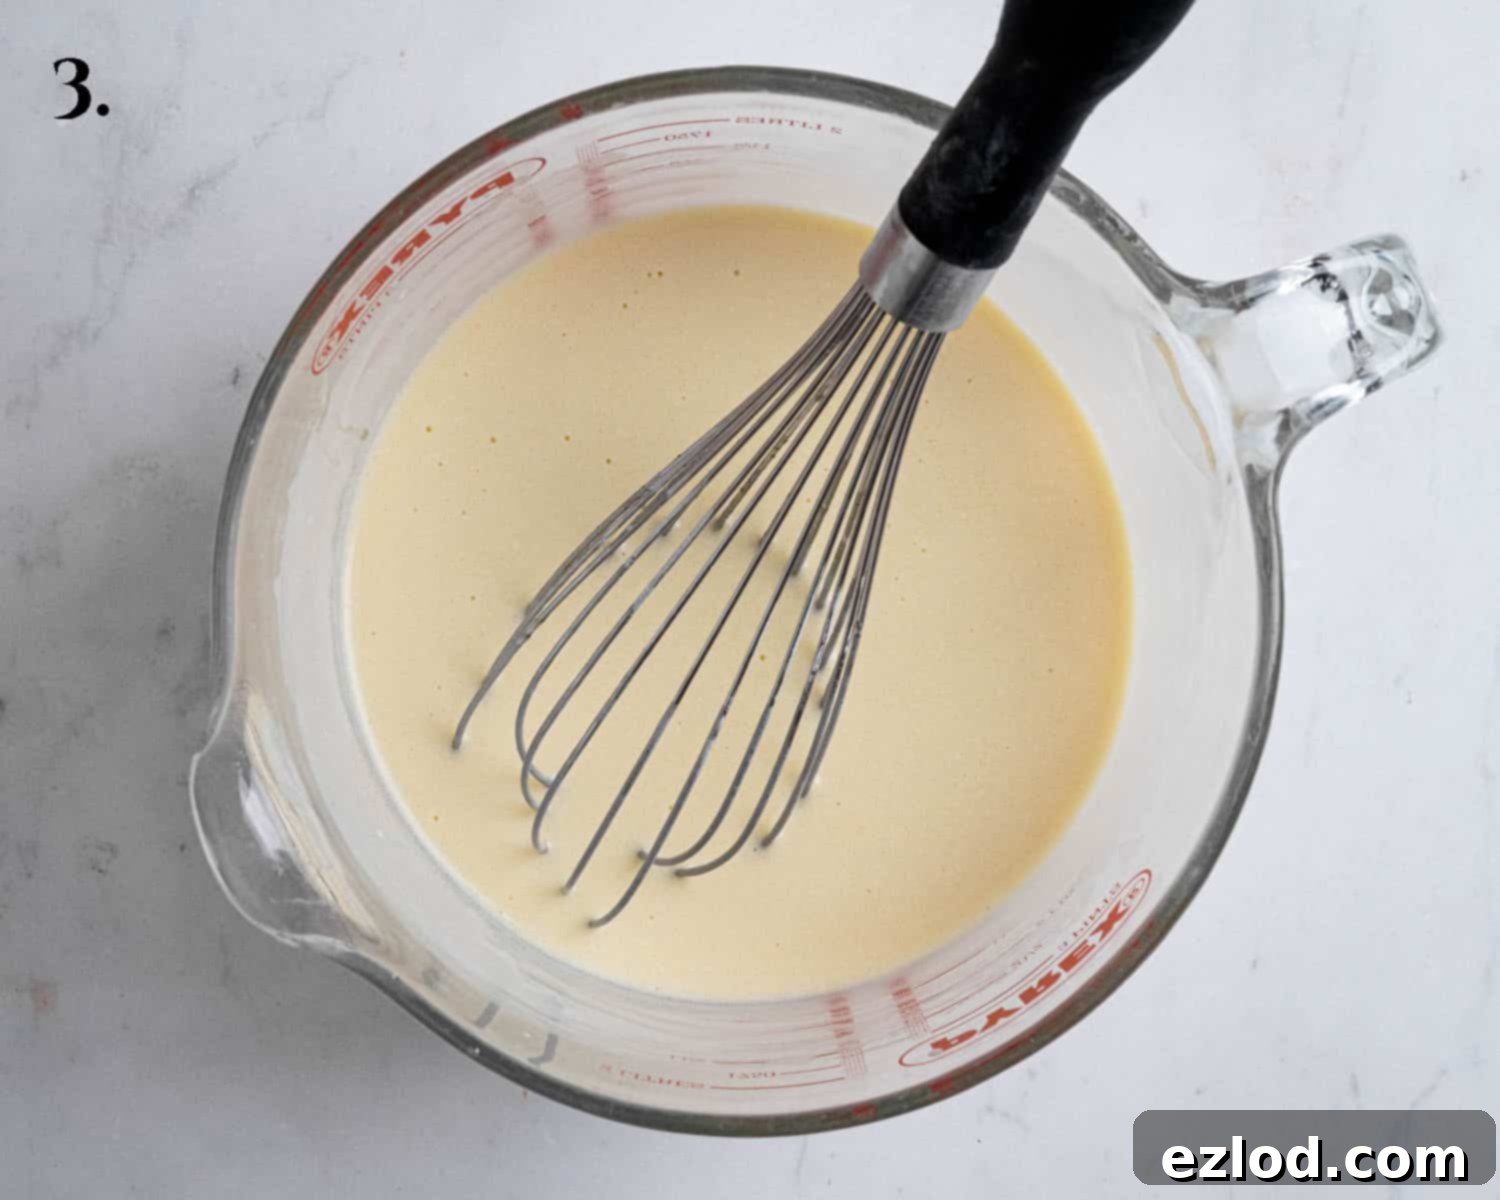
- Mix Wet Ingredients: In a separate jug or medium bowl, whisk together the non-dairy milk, vinegar, plain non-dairy yogurt, melted vegan butter, neutral oil, and vanilla extract until smooth and fully incorporated.
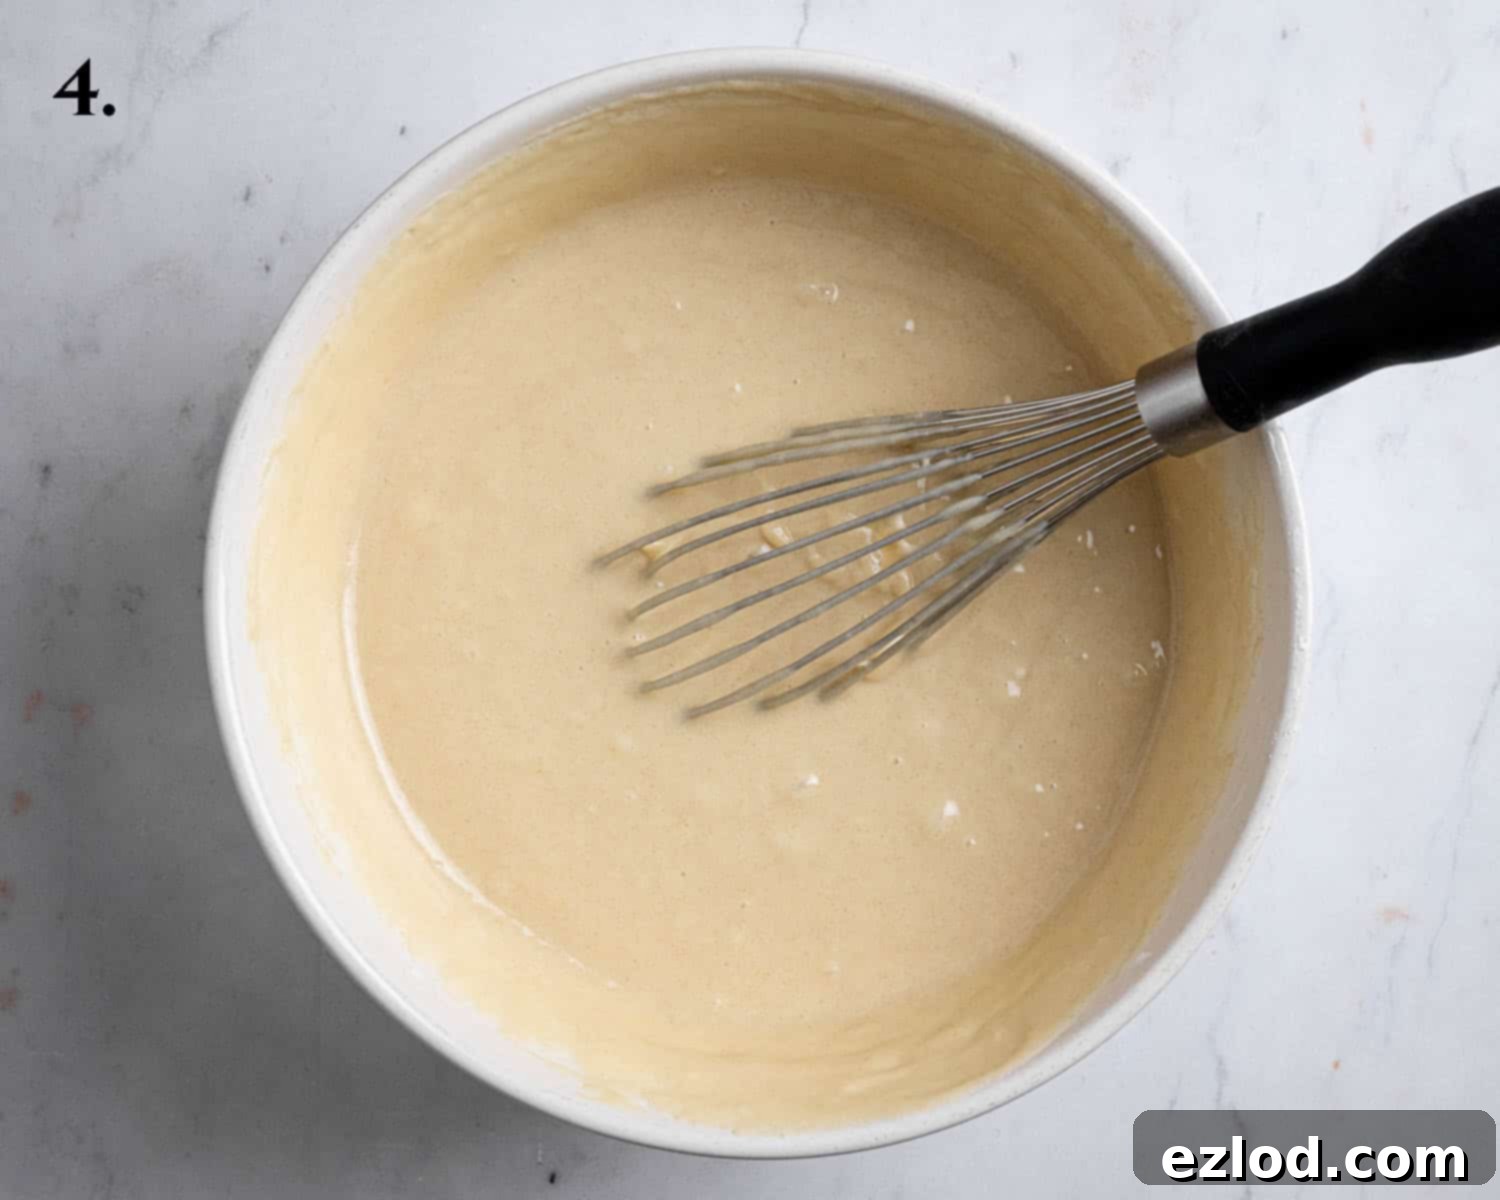
- Combine Wet and Dry: Pour the wet ingredient mixture into the bowl of dry ingredients. Using a balloon whisk or a spatula, gently fold and stir until *just* combined. Be careful not to overmix; a few small lumps are better than a tough cake. The batter should be smooth but not overworked.
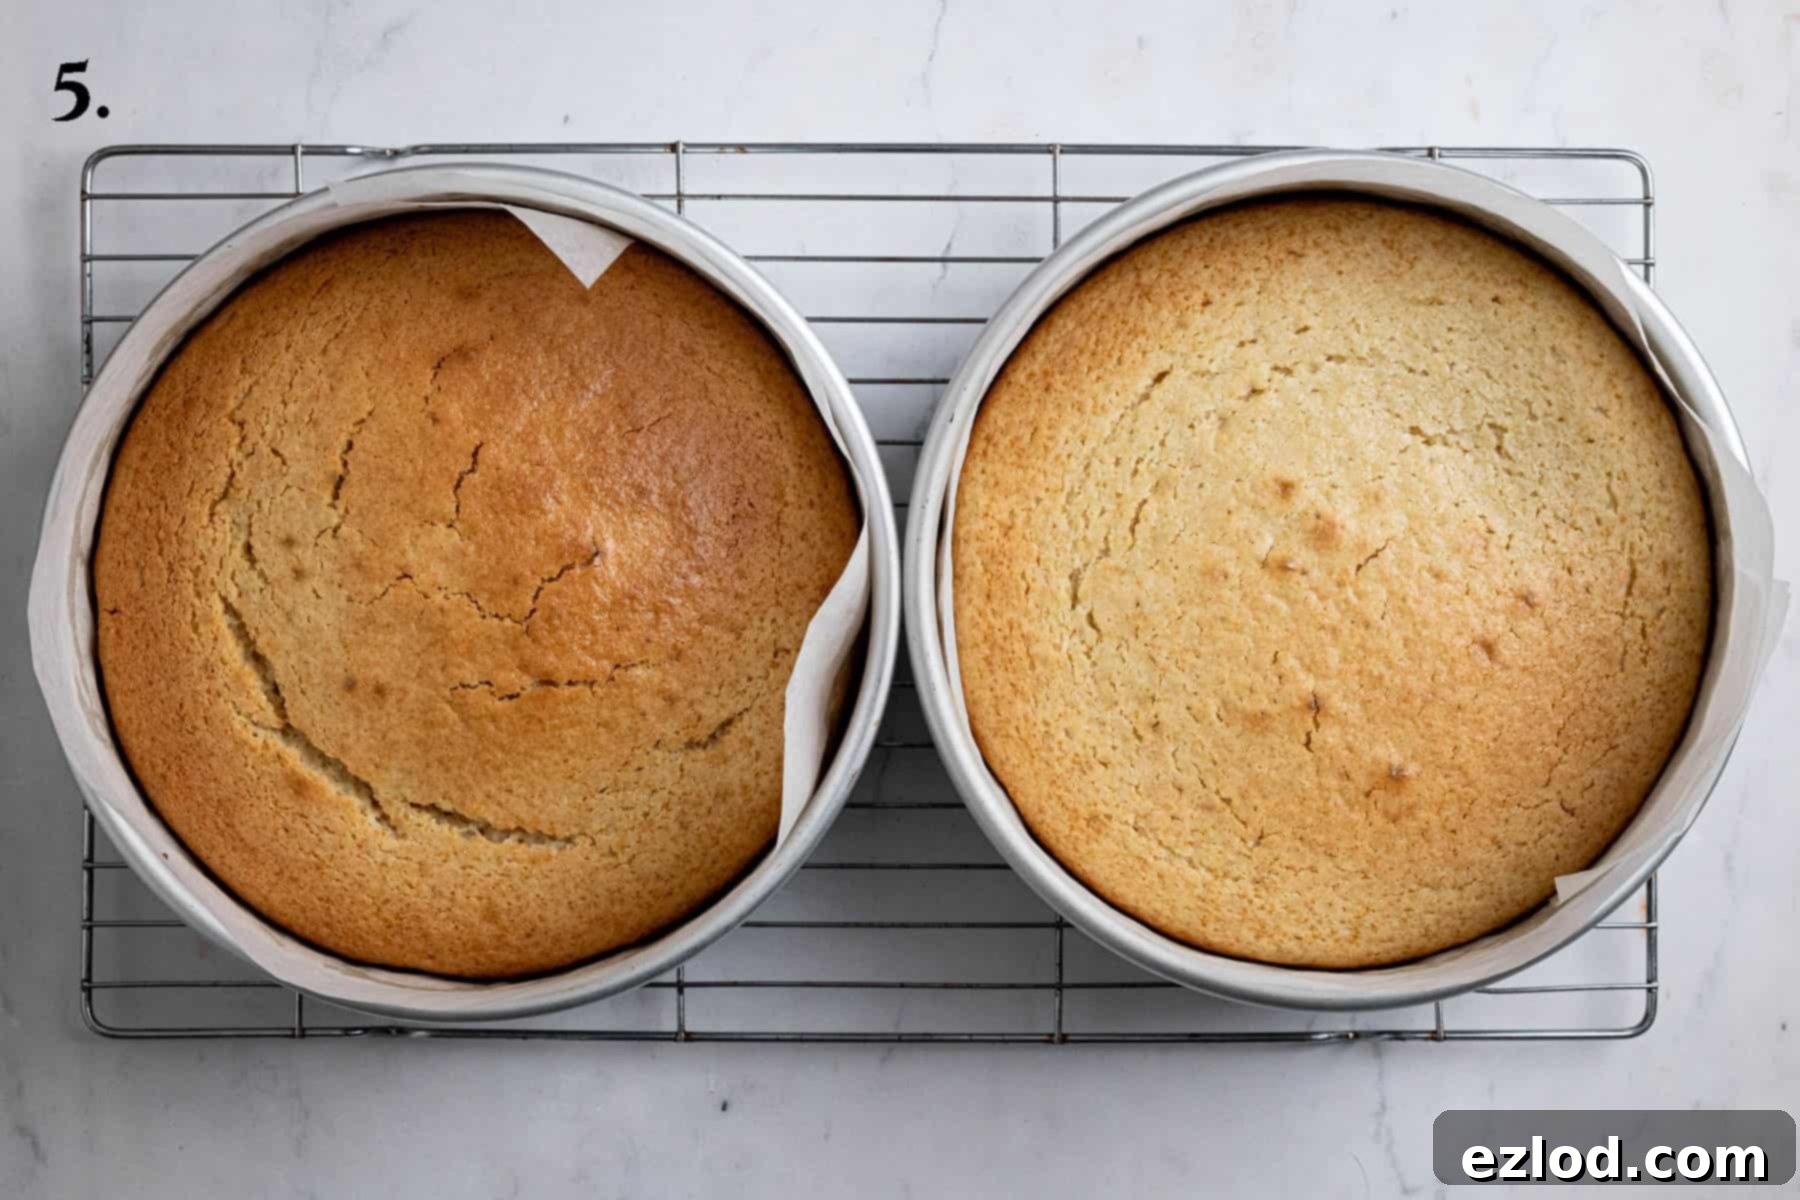
- Bake the Cakes: Divide the prepared cake batter evenly between your two greased and lined 20cm cake tins. Spread the batter gently to level the tops. Bake for approximately 30 minutes, or until a skewer inserted into the center of each cake comes out clean (or with just a few moist crumbs attached, but no wet batter). Allow the cakes to cool in their tins for about 10 minutes before carefully inverting them onto a wire rack to cool completely. Cooling thoroughly is crucial before assembly.
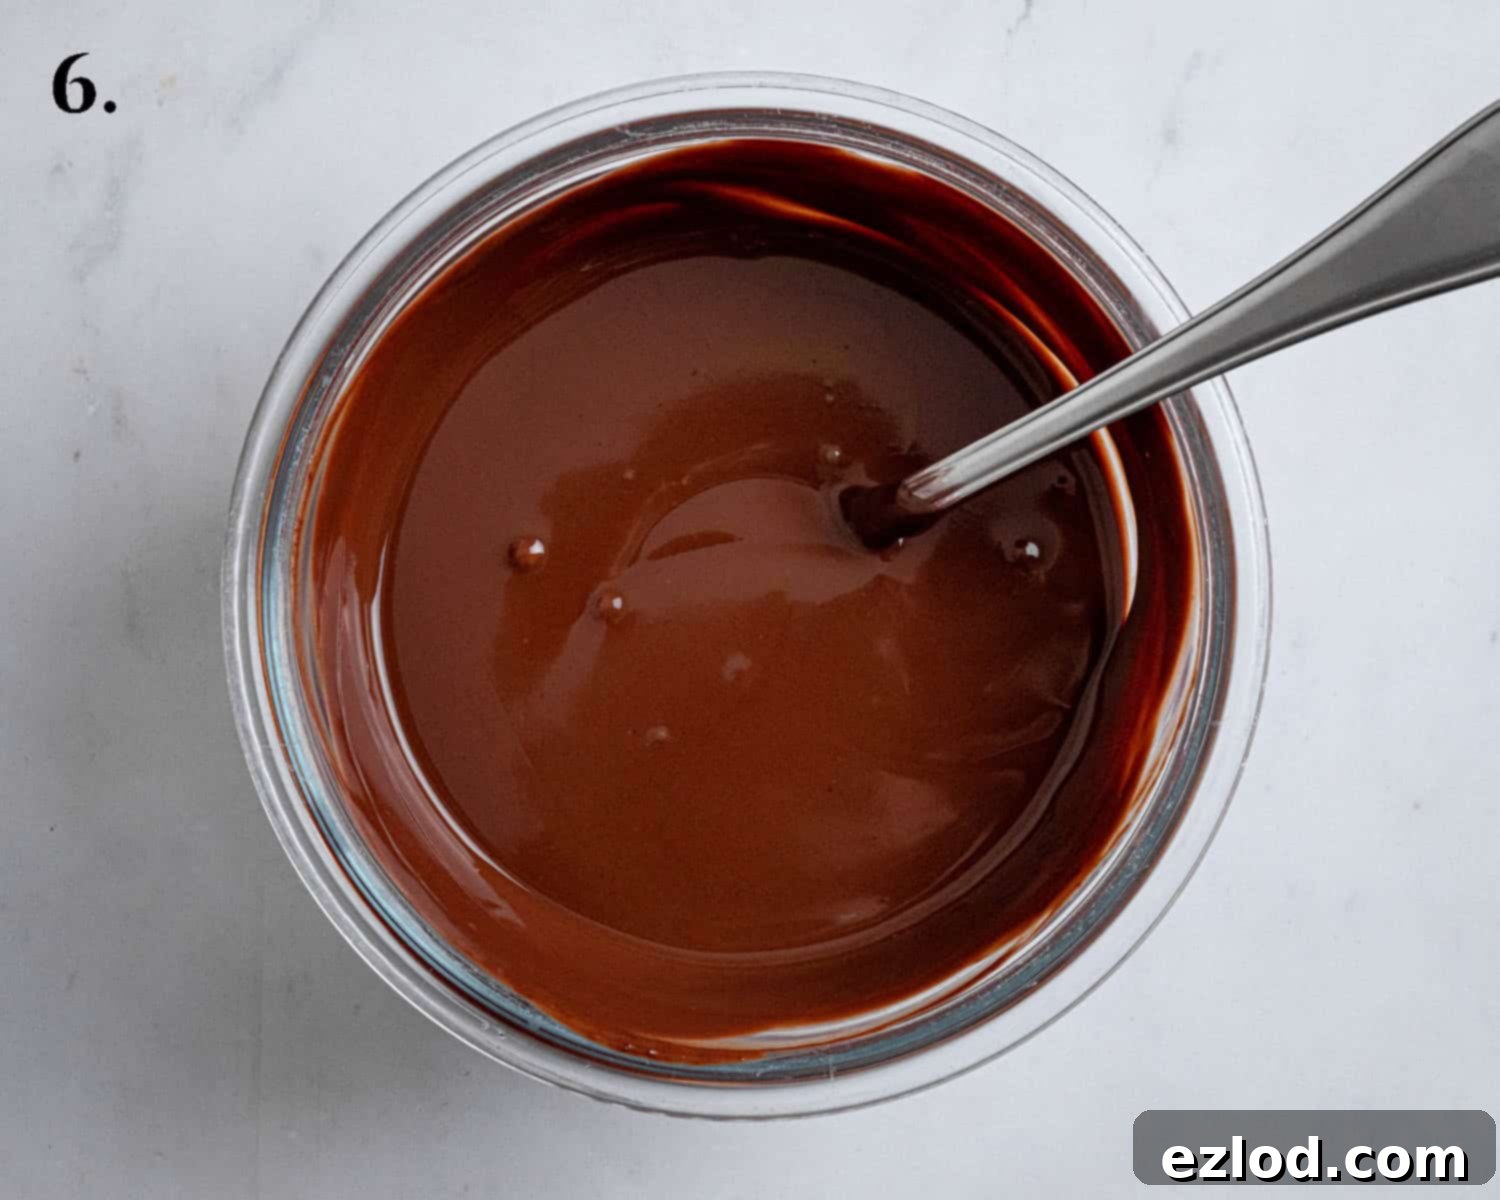
- Prepare the Ganache: While the cakes are cooling, prepare your chocolate ganache. Place the finely chopped dark chocolate in a heatproof bowl. In a small saucepan, heat your chosen vegan cream or full-fat coconut milk until it’s just steaming and almost boiling (do not let it boil vigorously). Pour the hot cream directly over the chopped chocolate. Let it sit undisturbed for 5 minutes to allow the heat to melt the chocolate. Then, gently stir from the center outwards until the mixture is completely smooth, glossy, and uniform. Set the ganache aside at room temperature to cool and thicken slightly. You want it to be thick enough to spread but still pourable.
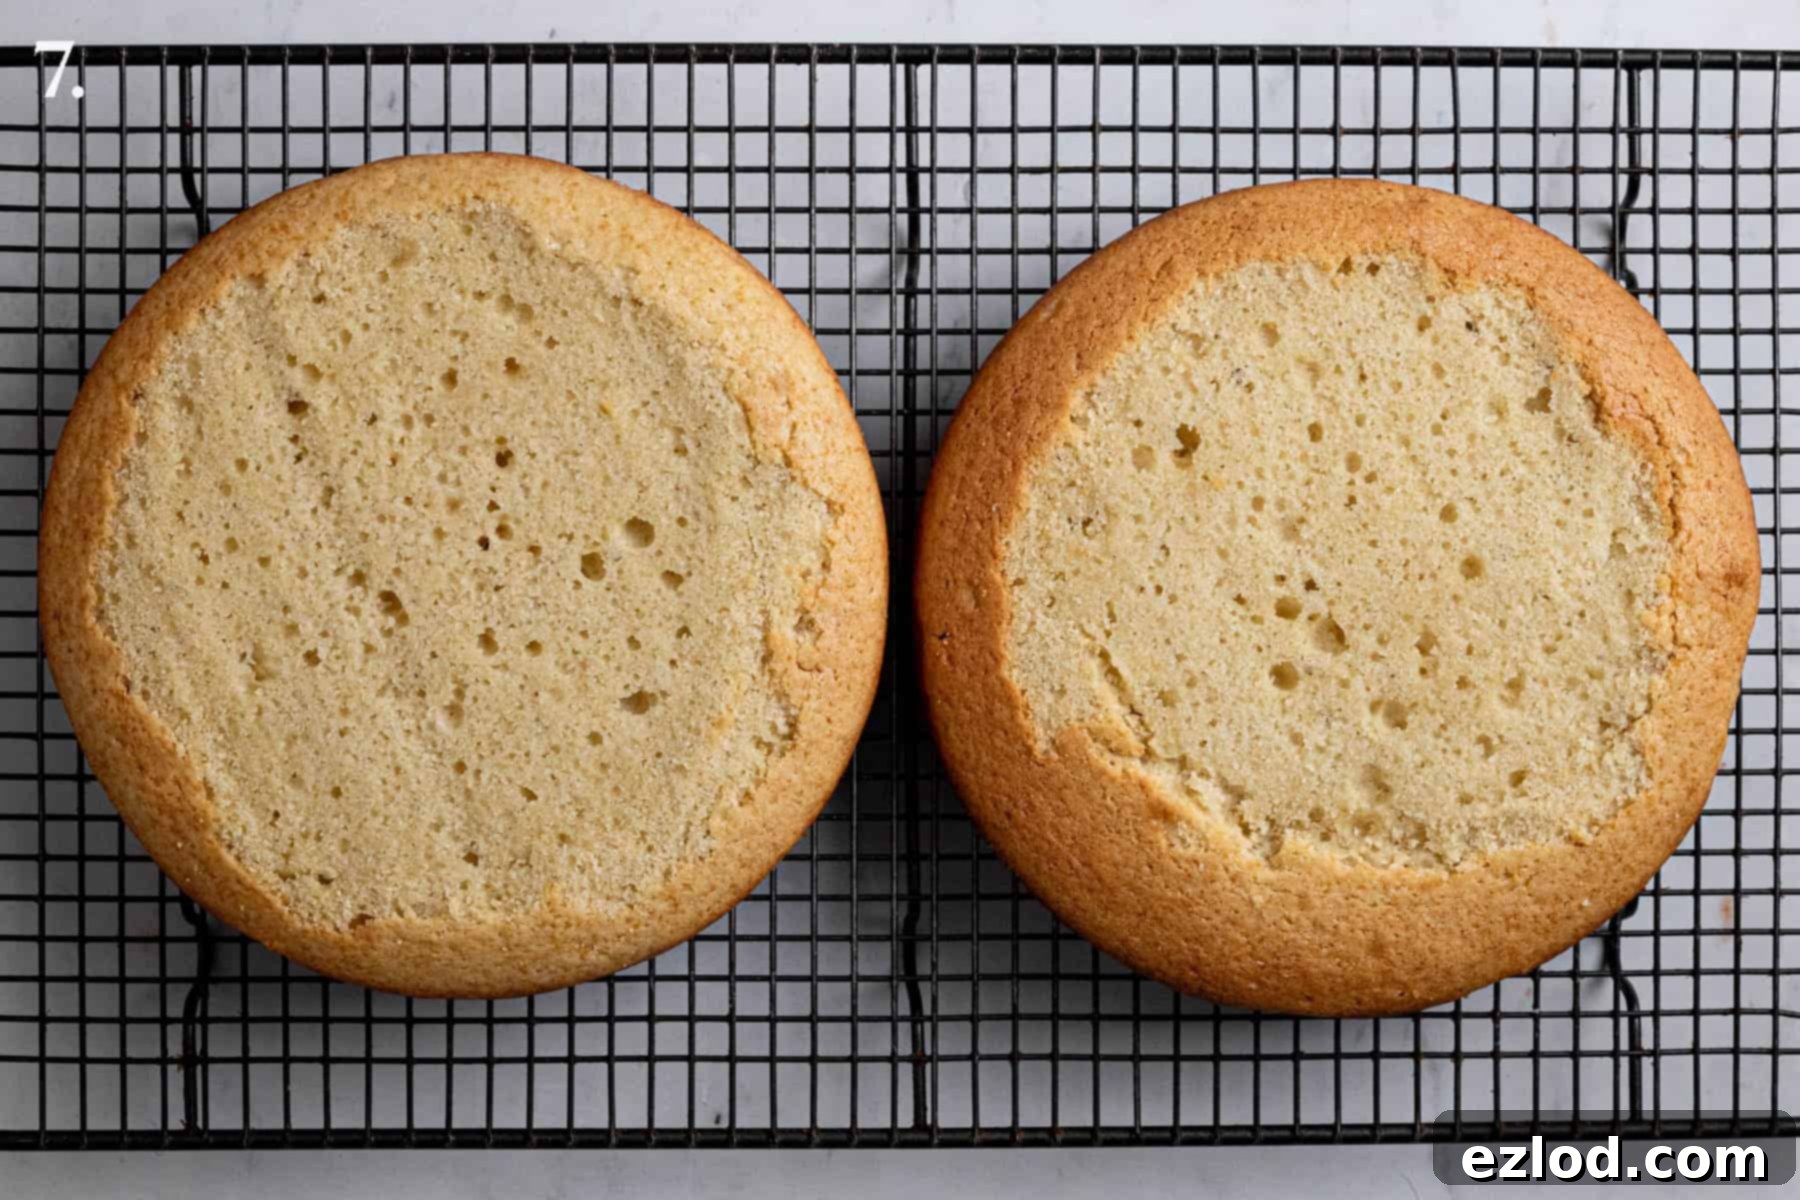
- Level the Cakes: Once the cake layers are completely cool, use a serrated knife to carefully trim any domed tops, creating flat, level surfaces. This ensures your assembled cake will sit evenly and look professional.
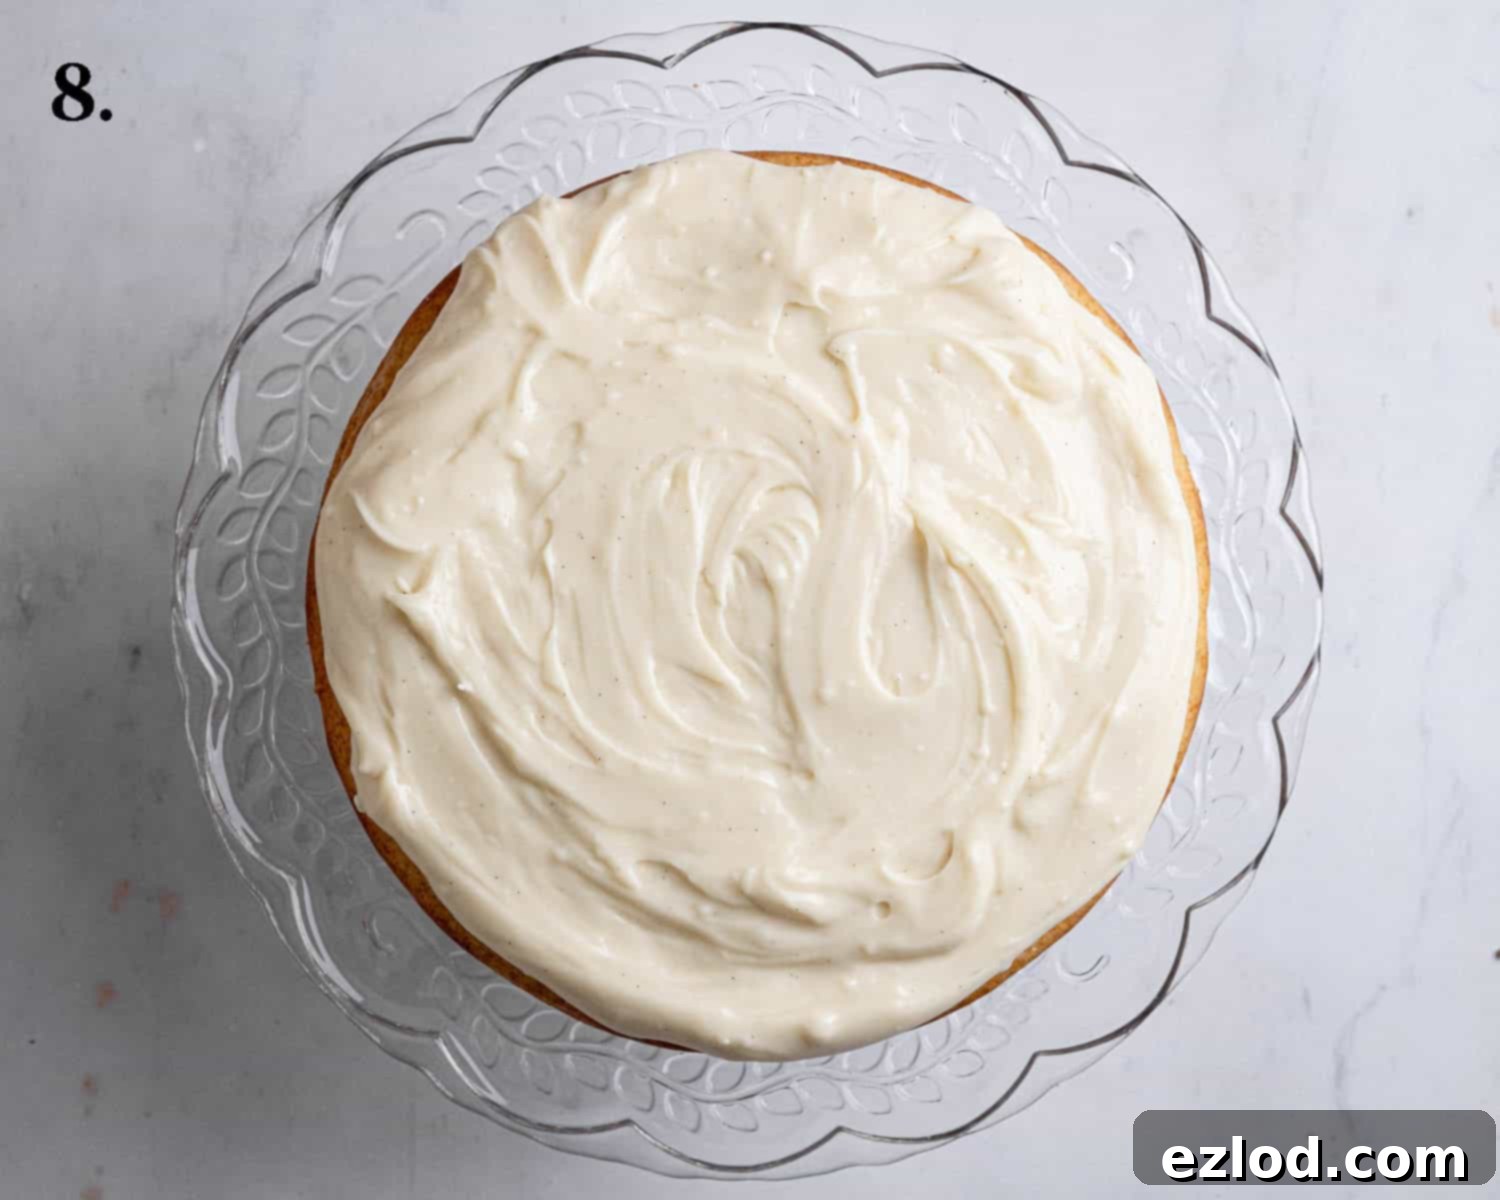
- Fill with Pastry Cream: Place one of your leveled cake layers onto your chosen serving plate or cake stand. Give the chilled pastry cream a good whisk or stir until it’s smooth and creamy again. Generously spread the pastry cream over the top of this cake layer, leaving a small border (about 1cm or ½ inch) around the edge. This prevents excessive squishing out when the second layer is added.
- Top with Ganache: Carefully place the second cake layer on top of the pastry cream-filled layer and gently press down to secure it. Transfer the cake to the fridge while you check your ganache. Once the ganache has cooled and thickened to a soft, spreadable consistency (it should be like a thick, pourable sauce, not rock solid or too runny), spoon it over the top of the assembled cake. Use a palette knife or the back of a spoon to gently spread the ganache evenly towards the edges, allowing some to drip artfully down the sides if desired.
Expert Tips for a Flawless Vegan Boston Cream Pie
Achieving baking perfection often comes down to a few key techniques and insights. Here are some of my top tips to ensure your vegan Boston Cream Pie turns out absolutely flawless:
- Embrace Your Kitchen Scales: This cannot be emphasized enough! For consistent and professional baking results, I wholeheartedly recommend using metric measurements with a digital kitchen scale over volumetric cup conversions. Cups are notoriously inaccurate due to varying packing densities and how ingredients settle. Using a scale provides precise measurements every single time, leading to far better and more reliable outcomes. It also often results in less mess, as you’re not trying to level off multiple cups of ingredients. Invest in a good digital scale; it will transform your baking!
- Avoid Over-Mixing the Batter: Once you’ve combined the wet and dry ingredients, mix only until just incorporated and no dry streaks of flour remain. Over-mixing develops the gluten in the flour excessively, which can lead to a tough, dense, and chewy cake rather than the desired light and tender crumb. A few small lumps are perfectly acceptable – they’ll often disappear during baking.
- Confirm Cake Doneness: Knowing exactly when your cakes are baked through is crucial. The cake layers are ready when they feel firm and springy to the touch in the center. The most reliable test is to insert a wooden skewer or toothpick into the very middle of the cake; it should come out clean or with only a few moist crumbs attached, but definitely no wet batter. If it comes out wet, bake for a few more minutes and retest.
- Achieve a Glistening Ganache: For an extra-glossy, professional-looking chocolate ganache, consider adding a tablespoon of golden syrup or corn syrup to the mixture when you stir it. This minor addition helps to create a beautiful, reflective shine that enhances the cake’s visual appeal.
- Mastering Ganache Consistency: The perfect ganache for topping your Boston Cream Pie should be thick enough to coat the cake generously without running off too quickly, yet still fluid enough to spread smoothly. It’s a delicate balance! Keep a close eye on your ganache as it cools, as it can transition from perfectly spreadable to too firm quite rapidly. If it becomes too solid, gently re-warm it over a pan of barely simmering hot water (ensuring the base of the bowl does not touch the water) or in very short bursts (5-10 seconds) in the microwave, stirring well after each burst, until it reaches the ideal consistency. If it’s too runny, continue to let it cool, stirring occasionally, until it thickens.
- Chill Your Pastry Cream Adequately: Remember, the pastry cream absolutely requires at least 4 hours of chilling (or ideally overnight) to set properly. Do not rush this step! An under-chilled pastry cream will be too runny and will simply squish out from between your cake layers, leading to a messy and disappointing result.
- Leveling Your Cakes for Perfection: Trimming the domed tops of your cooled cake layers is not just for aesthetics; it’s essential for structural integrity. Flat cake layers ensure your assembled Boston Cream Pie sits evenly, preventing it from wobbling or tilting, and making it much easier to slice and serve cleanly.
Frequently Asked Questions (FAQ’s)
Due to the delicate nature of the vegan pastry cream filling, this Boston Cream Pie must be stored in the refrigerator. To enjoy it at its best, remove the cake from the fridge about 30 minutes before serving, allowing it to come closer to room temperature for optimal flavor and texture. Once assembled and covered, it will keep beautifully in the fridge for up to 2 days.
Yes, you can freeze the individual cake layers once they have cooled completely. Wrap them very well in multiple layers of plastic wrap and then foil to prevent freezer burn, and freeze for up to 3 months. Defrost the cake layers at room temperature before assembling. However, the vegan pastry cream itself does not freeze well; its texture can become grainy or watery upon thawing. Therefore, the fully assembled Vegan Boston Cream Pie cannot be frozen.
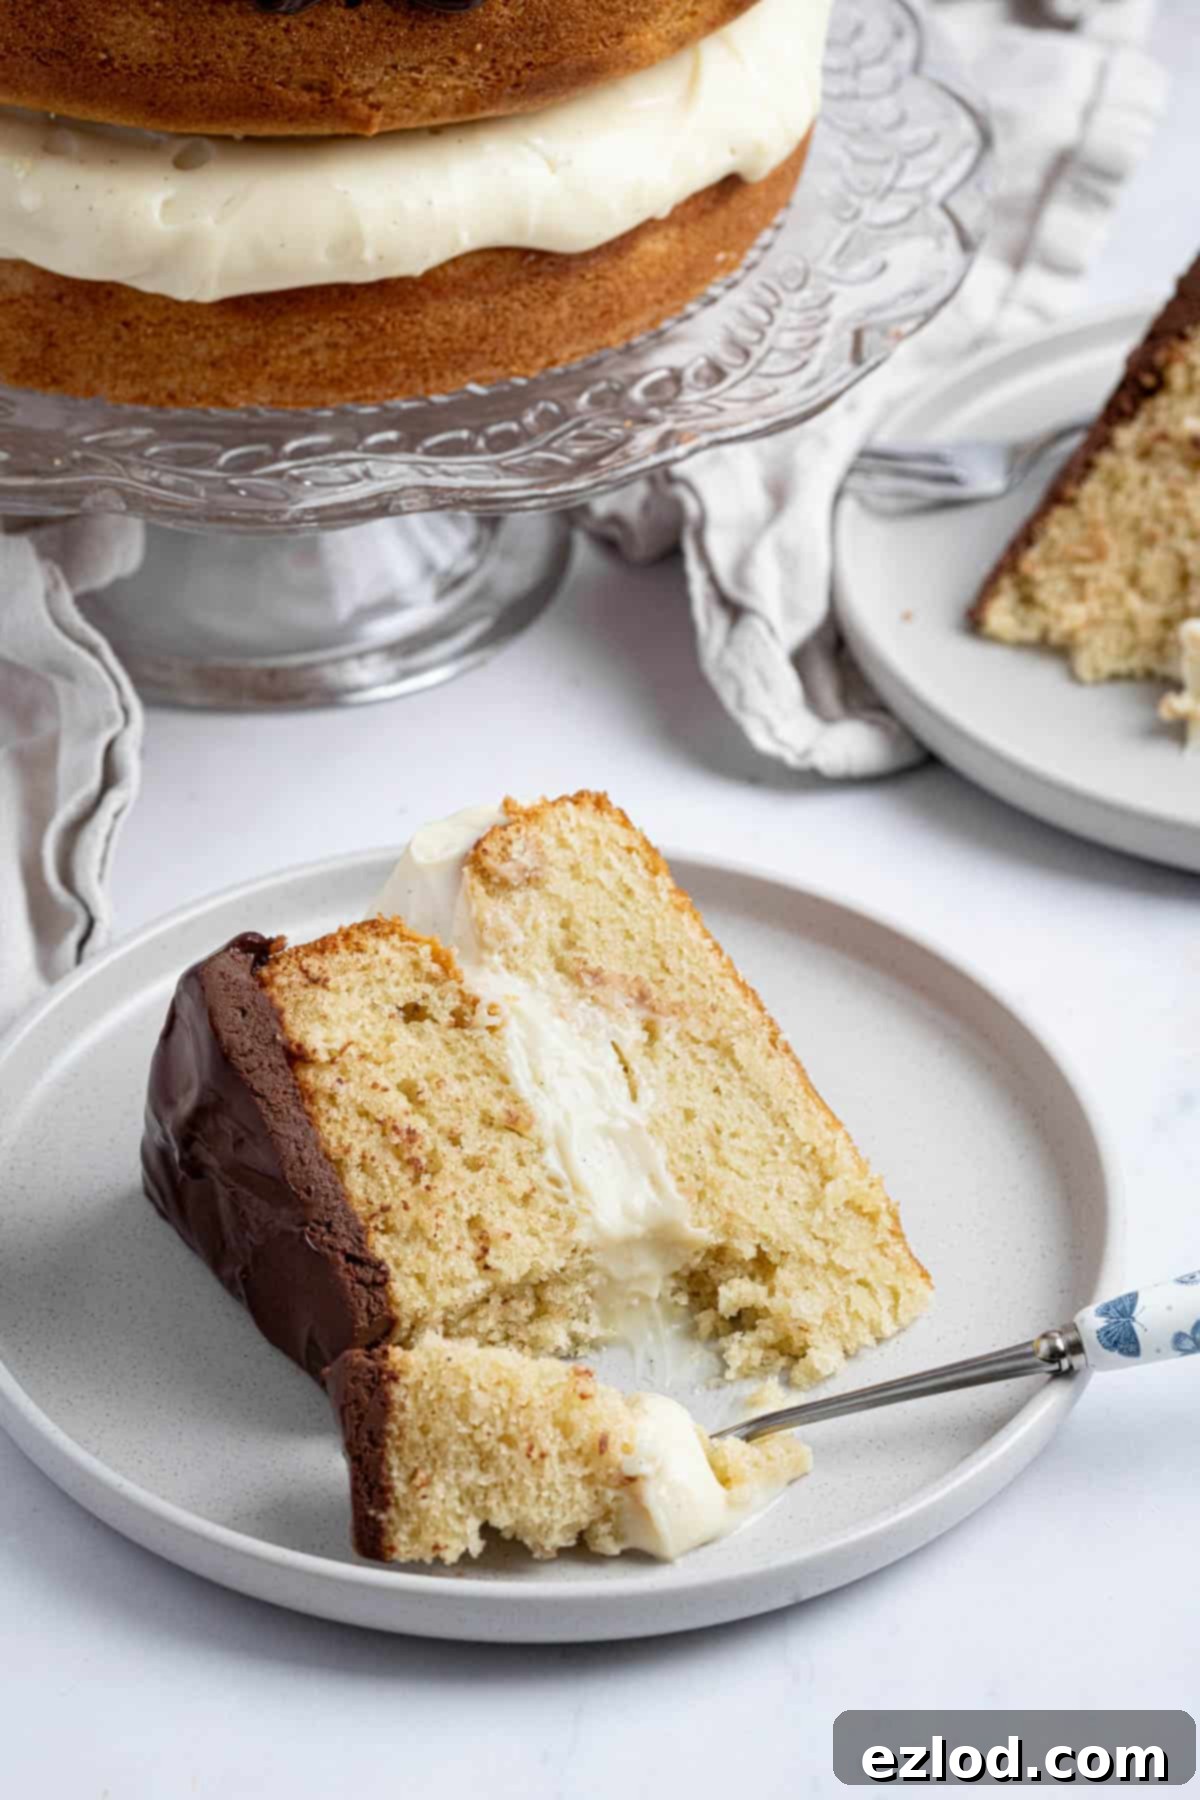
If you tried this delightful Vegan Boston Cream Pie recipe, I would absolutely love to hear how it turned out for you! Please take a moment to rate it, leave a comment below sharing your experience, or tag @domestic_gothess on Instagram and use the hashtag #domesticgothess so I can see your beautiful creations!
All images and content published on Domestic Gothess are protected by copyright. If you wish to share this recipe, kindly do so by utilizing the provided share buttons. Please refrain from screenshotting or directly copying and posting the full recipe or content; instead, include a direct link to this post for the recipe. Your cooperation helps support our work!

Print
Vegan Boston Cream Pie
Ingredients
Cakes:
- 380 g (3 cups + 1 Tablespoon) plain (all-purpose) flour
- 20 g (2 packed Tablespoons) cornflour (cornstarch)
- 1 ½ teaspoons baking powder
- ½ teaspoon bicarbonate of soda (baking soda)
- ¼ teaspoon salt
- 280 g (1 + heaped ⅓ cup) caster or granulated sugar
- 240 ml (1 cup) unsweetened non-dairy milk (I use soy)
- 2 teaspoons vinegar
- 120 g (½ cup) plain non-dairy yogurt (I use soy)
- 120 g (½ cup) vegan butter melted
- 120 ml (½ cup) neutral oil (I use olive)
- 1 Tablespoon vanilla extract
Ganache:
- 150 g (5 oz) dark chocolate finely chopped
- 160 ml (⅔ cup) full fat coconut milk or vegan double cream
To Assemble:
- 1 batch vegan pastry cream chilled
Instructions
-
Start by making the vegan pastry cream as it needs to chill for at least 4 hours. It can be made a day in advance.
-
To make the cakes, preheat the oven to 180℃/160℃ fan/350℉/gas mark 4. Line two 20 cm/8 in round cake tins with baking paper.
-
Whisk together the flour, cornflour, baking powder and soda, salt and sugar in a large bowl.
-
Whisk together the milk, vinegar, yogurt, oil, melted butter and vanilla extract in a jug.
-
Pour the wet ingredients into the dry and stir with a balloon whisk until no dry lumps remain.
-
Divide the mixture evenly between the prepared cake tins and spread it level. Bake for about 30 minutes until a skewer inserted into the centre comes out clean.
-
Leave the cakes to cool in the tins for 10 minutes then carefully turn them out onto a wire rack and leave to cool completely.
-
To make the ganche, place the chopped chocolate in a heatproof bowl. Heat the coconut milk or cream until almost boiling then pour it over the chocolate. Leave to sit for 5 minutes then stir until smooth and melted.
-
Set the ganache aside to cool and firm up slightly. You don’t want it to be runny but it shouldn’t be too set either so keep an eye on it; you are looking for a soft but spoonable and spreadable consistency.
-
Meanwhile, trim the tops of the cooled cakes to level them.
-
Place one cake layer on a serving plate. Give the chilled pastry cream a good whisk until it becomes smooth and creamy then spread it over the cake, do not go all the way to the edges as it will squish out when you add the second cake layer.
-
Place the second cake layer on top and press it down very slightly. Place the cake in the fridge until the ganache is ready.
-
Once the ganche has thickened a little but is still soft, spoon it on top of the cake and use a palette knife or the back of a spoon to spread it towards the edges. Keep the cake refrigerated until ready to serve.
Notes
- See post above for tips, details and step-by-step photos.
- USE SCALES. As with all of my baking recipes I really do recommend using the metric measurements with a digital scales rather than the cup conversions. Cups are a wildly inaccurate measuring system and you will get far better, more consistent results using a scale, not to mention that it is also easier and less messy than cups!
- For extra shine, add a tablespoon of golden or corn syrup to the ganache.
- If the ganache gets too firm, simply gently re-warm it over a pan of hot water (don’t let the base of the bowl touch the water), or in short bursts in the microwave.
