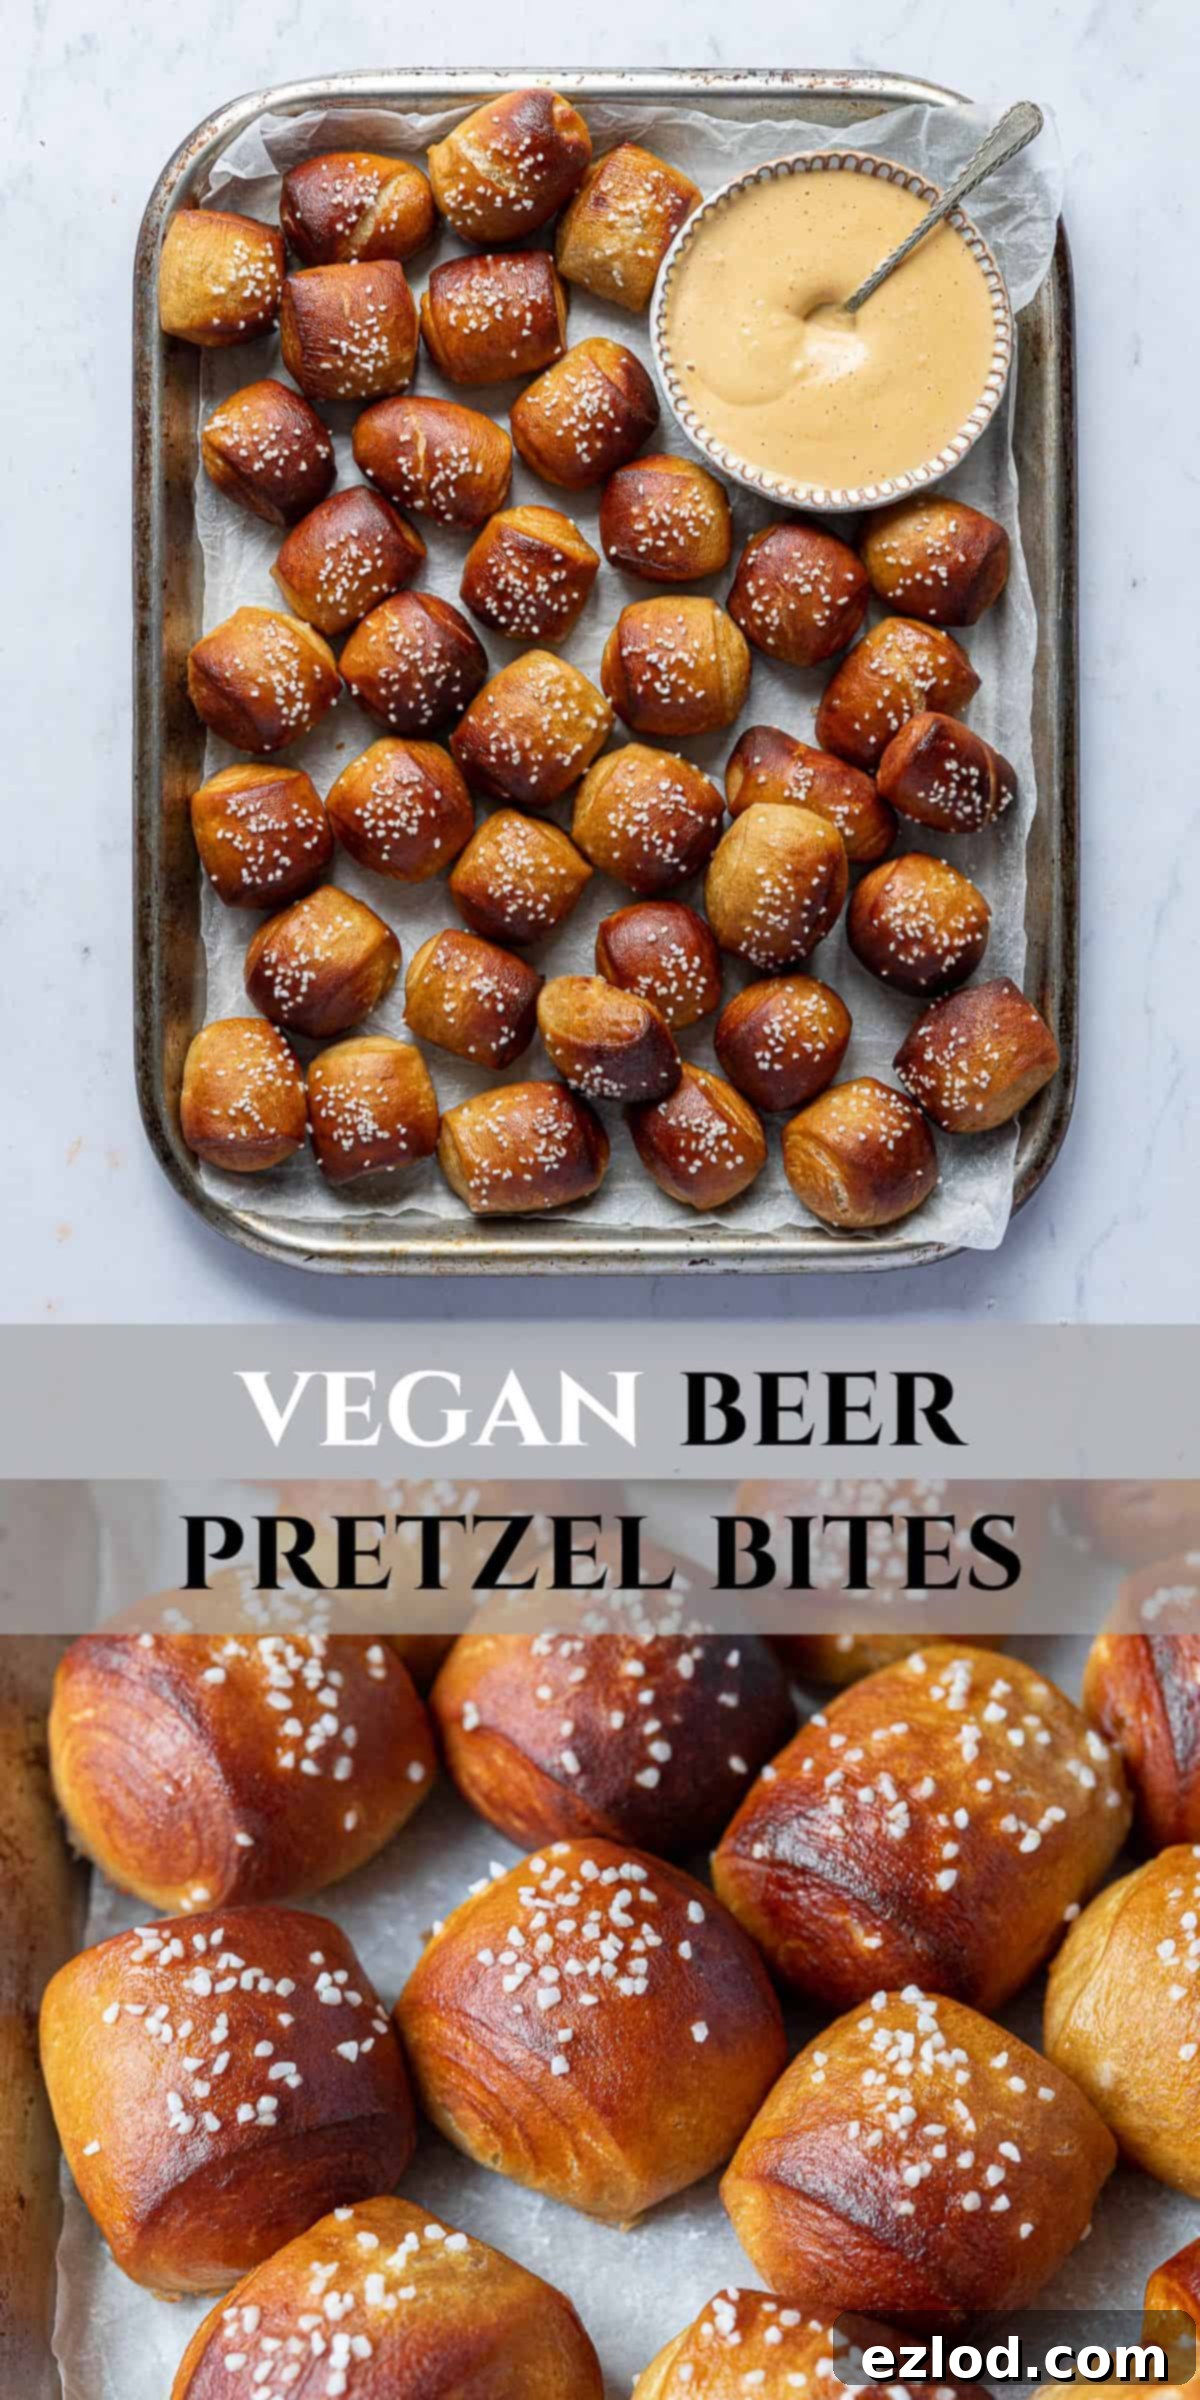
Irresistible Vegan Pretzel Bites: Your New Favorite Plant-Based Party Snack
Welcome to the ultimate guide for crafting mouth-watering vegan pretzel bites! These delightful bread morsels, enhanced with an optional splash of beer for unparalleled depth of flavor, offer all the satisfying chewiness and iconic taste of classic pretzels without the fuss. Designed for ease and maximum enjoyment, these soft, warm bites are effortlessly prepared and make the perfect companion for a variety of flavorful dips and sauces. Get ready to elevate your snack game with this irresistible plant-based recipe!
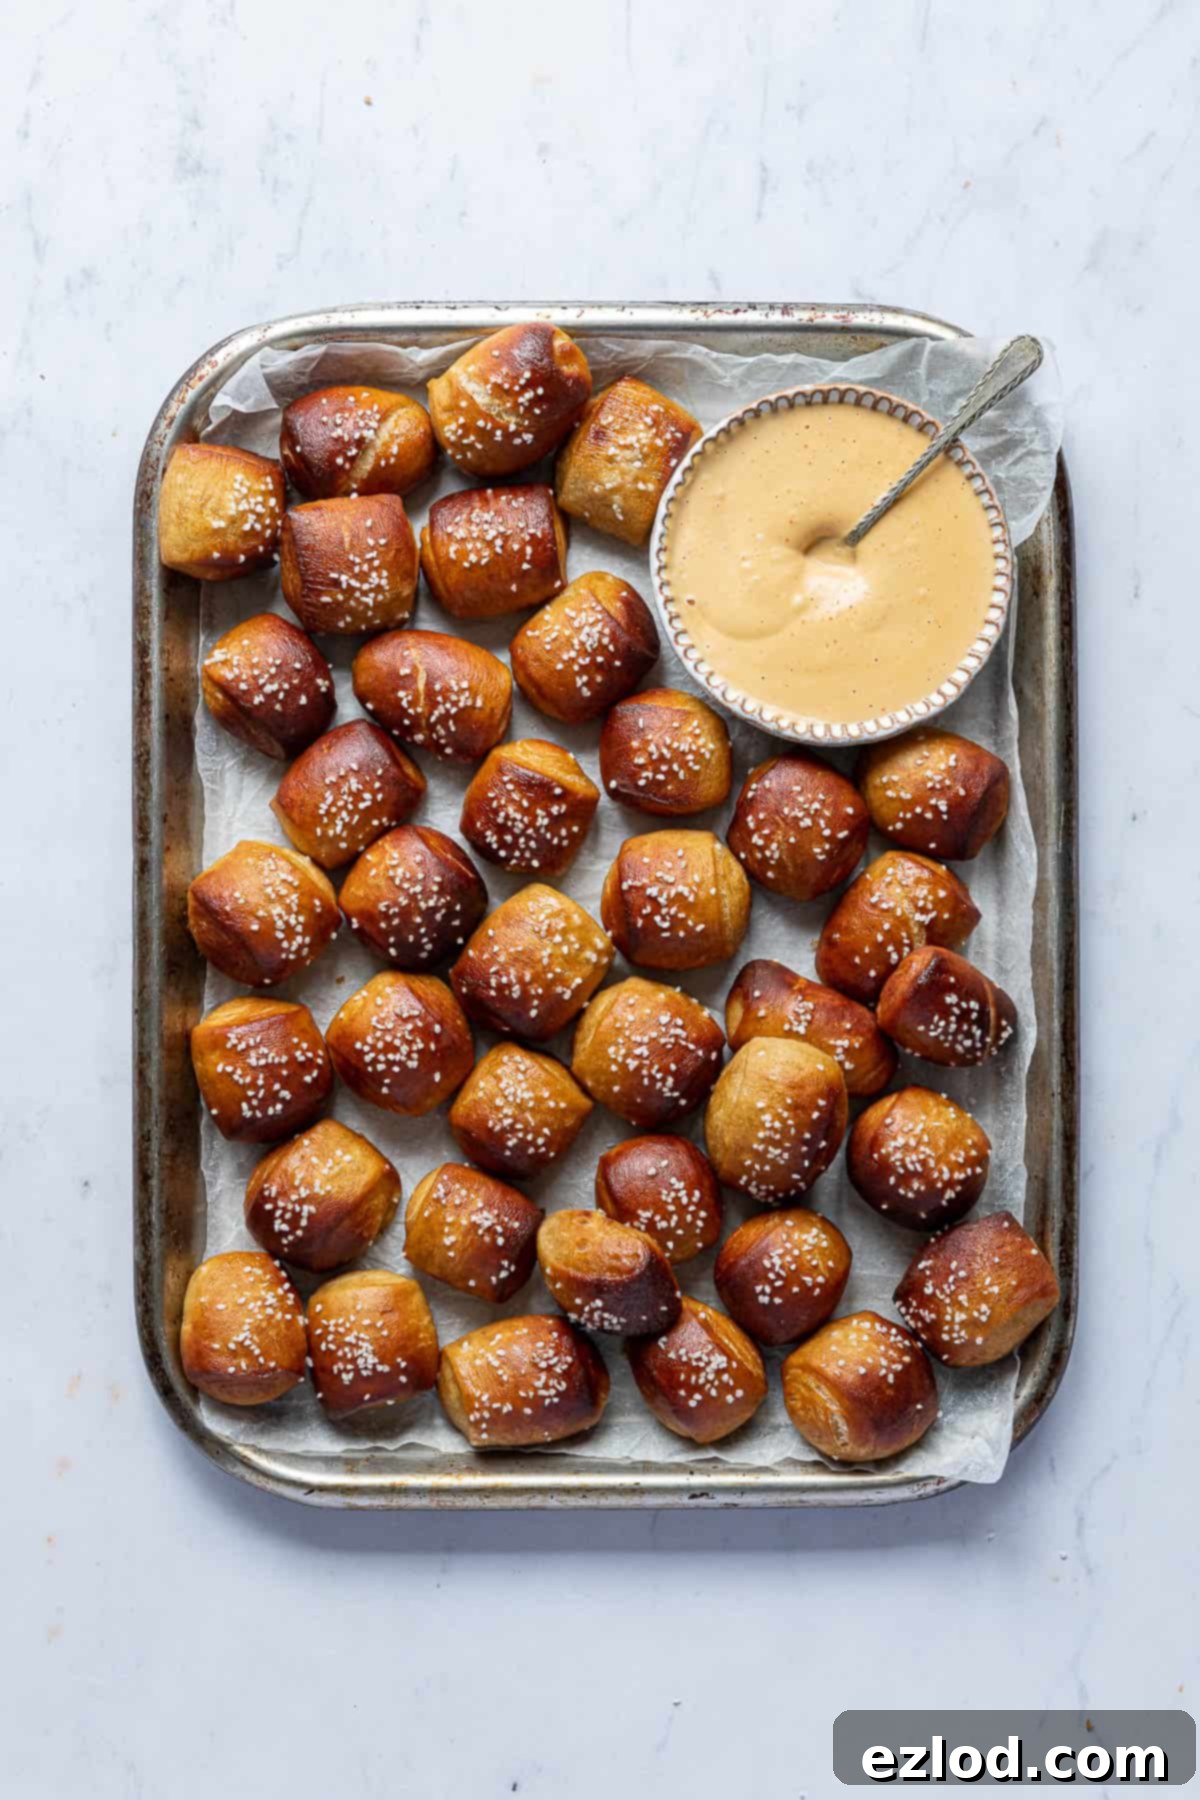
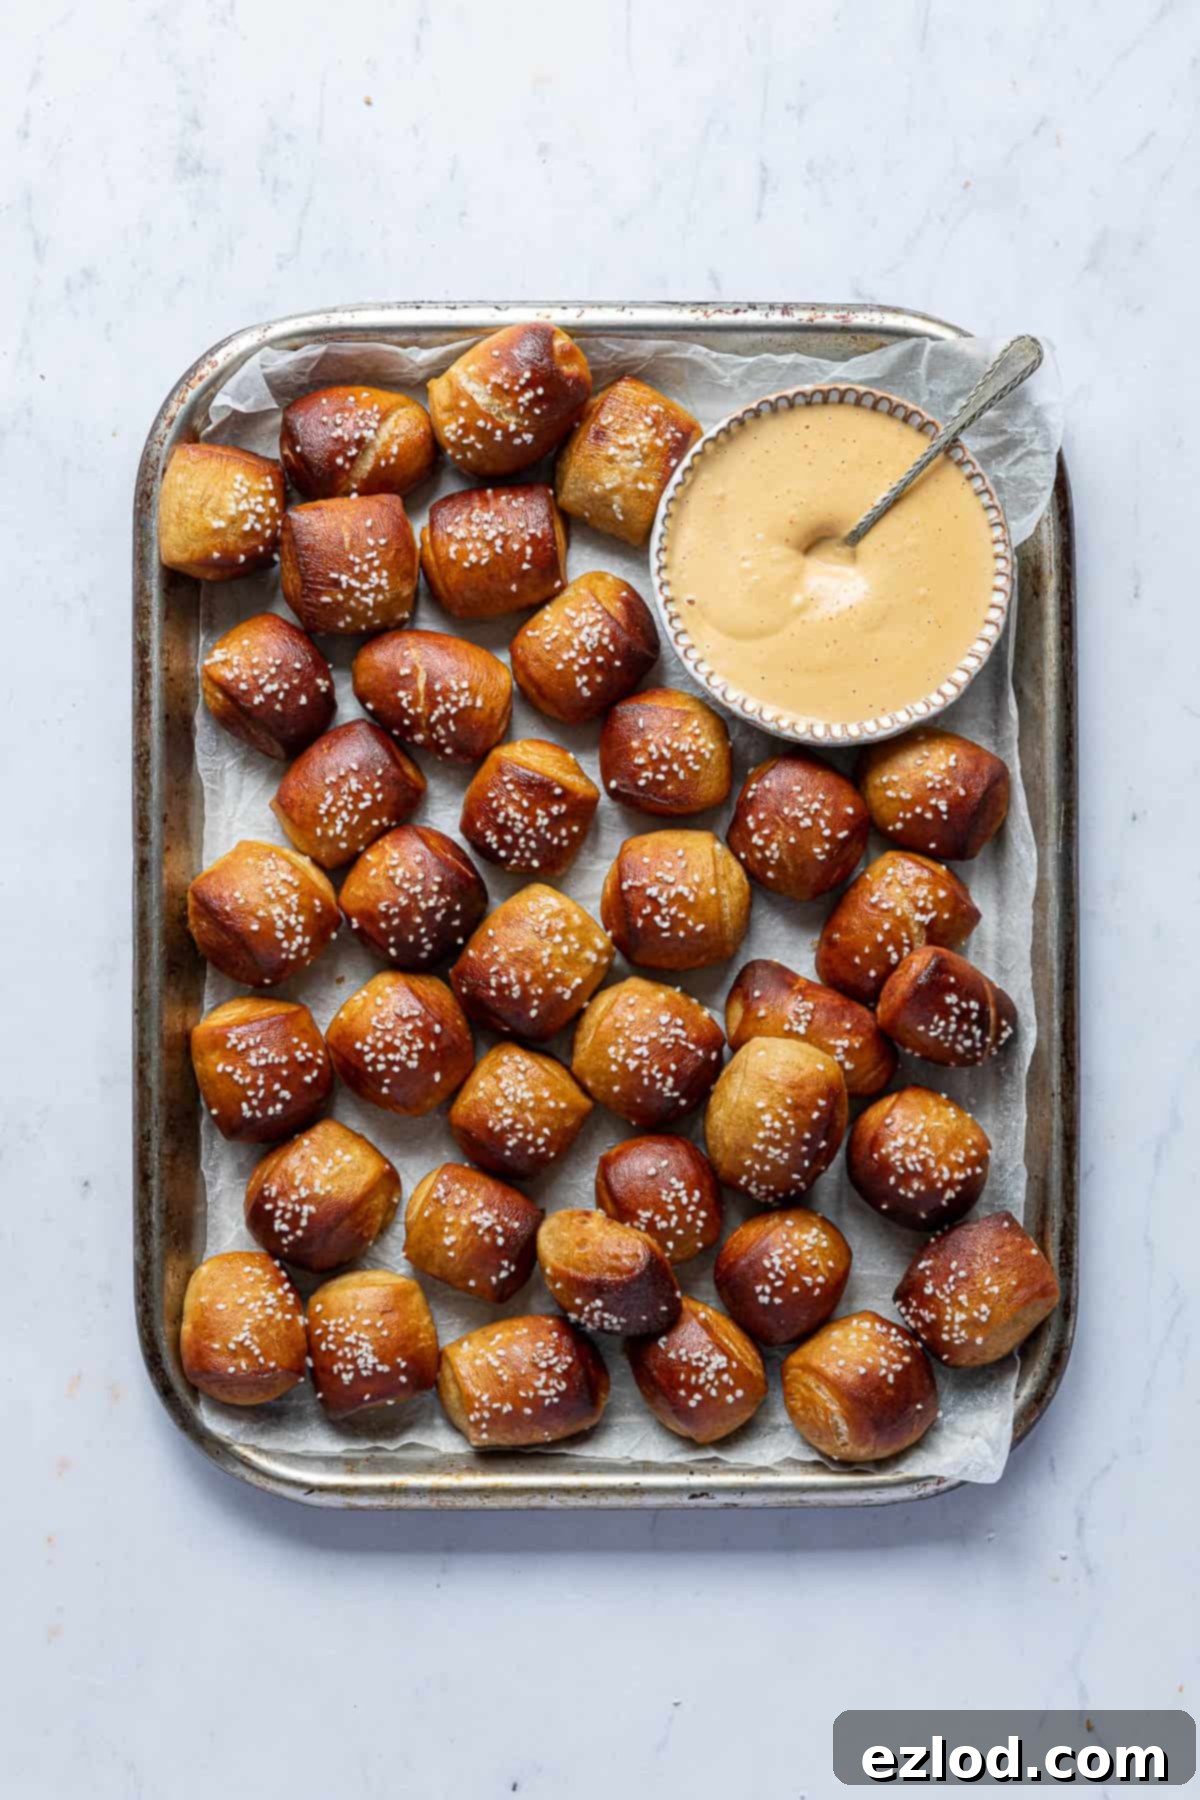
There’s nothing quite like the comforting aroma of freshly baked pretzels, and these vegan pretzel bites bring that joy right into your home. They are an absolute game-changer for any gathering, proving to be the ideal party food or a satisfying snack for any time of day. Serve them straight from the oven, warm and inviting, alongside a diverse selection of dips, and watch them vanish in a flash! Their soft interior, perfectly chewy crust, and distinctive salty-sweet pretzel flavor make them utterly addictive.
This recipe is a delightful adaptation of my popular vegan beer pretzels, reimagined into a convenient bite-sized format. This clever modification not only speeds up the preparation process but also makes them incredibly simple to handle, share, and enjoy. While traditional pretzels are undoubtedly amazing, the subtle addition of beer in this recipe truly elevates the flavor profile, adding a layer of complexity and richness that sets these vegan pretzel bites apart. You’ll be amazed at how quickly these become a staple in your plant-based baking repertoire!
What Do I Need To Make Vegan Pretzel Bites? Essential Ingredients:
Crafting the perfect vegan pretzel bites starts with understanding the role of each ingredient. Here’s a detailed look at what you’ll need to create these delicious, chewy morsels:
Bread flour: The foundation of any good pretzel is its texture, and for these vegan pretzel bites, white bread flour is paramount. Its higher protein content (typically 12-14%) is crucial for developing strong gluten networks. This gluten structure is what gives the pretzels their characteristic soft, airy interior and delightfully chewy crust. While all-purpose (plain) flour can be a substitute, it has a lower protein count, which will result in a less chewy and potentially denser texture. For an authentic pretzel experience, bread flour is highly recommended. Avoid using wholemeal (whole wheat) flour as its bran content can interfere with gluten development, leading to a much heavier and less desirable end product.
Beer (optional): This ingredient is a fantastic secret weapon for adding an incredible depth of flavor to your pretzel bites. While entirely optional—you can easily substitute with an equal amount of water—beer introduces a nuanced, malty undertone that enhances the overall taste profile. For the best results, opt for an ale rather than a lager, and steer clear of very dark beers like stout or porter, which can impart an overly strong or bitter flavor. Always double-check that your chosen beer is vegan-friendly, as not all varieties are (many use animal-derived fining agents).
Non-dairy milk: When it comes to baking, soy milk is often my top choice for its higher protein content, which most closely mimics the properties of dairy milk, contributing to a richer dough and a better rise. However, virtually any unsweetened non-dairy milk will work perfectly fine. Just ensure it’s unsweetened to avoid altering the savory balance of the pretzels. Almond, oat, or cashew milk are all viable options if soy milk isn’t available.
Instant yeast: For convenience and consistent results, instant yeast (also known as fast-action or rapid-rise yeast) is my preferred choice. It can be added directly to the dry ingredients without prior activation, streamlining the baking process significantly. If you only have active dry yeast on hand, don’t worry—you can still make these delicious bites! Refer to the “What Kind of Yeast?” section below for specific instructions on how to activate it before incorporating it into your dough.
Dark brown sugar: A touch of sugar plays a multifaceted role in this recipe. Firstly, it acts as food for the yeast, helping it to activate and facilitate the dough’s rise, leading to a light and airy texture. Secondly, and importantly for pretzels, dark brown sugar contributes significantly to their iconic deep golden-brown color during baking. Its molasses content also adds a subtle caramel note that complements the savory pretzel flavor beautifully. Do not omit this ingredient or swap it for white sugar, as it is essential for both color and flavor development.
Salt: Salt is a non-negotiable ingredient in any bread recipe, and pretzels are no exception. Beyond merely seasoning, salt plays a critical role in controlling yeast activity, enhancing flavor, and strengthening the gluten structure. It balances the sweetness of the sugar and brings out the full depth of the beer (if using). Omitting salt will result in bland, potentially overly spongy pretzels. A good quality fine sea salt or kosher salt is ideal for the dough.
Vegan butter/margarine: You’ll need vegan butter or margarine for two key stages: enriching the dough and brushing the pretzel bites after baking. For the dough, the fat adds tenderness and flavor, contributing to the soft interior. The post-bake brush provides a luxurious sheen, an extra layer of richness, and helps the pretzel salt adhere. While I often recommend block vegan butters for most baking, a good quality tub margarine (not a low-fat spread) works well here too. Brands like Naturli Vegan Block are excellent choices.
Bicarbonate of soda (baking soda): This is arguably the most crucial ingredient for achieving the distinctive pretzel flavor and dark, glossy crust. Traditionally, pretzels are dipped in a lye (sodium hydroxide) solution, which provides an intense Maillard reaction during baking. However, lye is caustic and dangerous for home use. Bicarbonate of soda provides a safer, equally effective alternative by creating an alkaline bath. You’ll need a generous amount—approximately 5 tablespoons—so ensure you have a fresh, ample supply. This alkaline bath causes the proteins on the surface of the dough to gelatinize, resulting in the characteristic chewy crust, deep color, and unique, slightly tangy pretzel taste.

How To Make Vegan Pretzel Bites: A Step-by-Step Guide
(For precise measurements and detailed instructions, please refer to the comprehensive recipe card located at the bottom of this page.)
Let’s dive into the exciting process of creating these delectable vegan pretzel bites. Follow these steps carefully for a perfect batch every time!
1. Prepare the Dough: Begin by combining all your dry dough ingredients: bread flour, instant yeast, salt, and dark brown sugar. Place them in a large mixing bowl or the bowl of a stand mixer fitted with a dough hook. Whisk or mix briefly to ensure they are well combined. Then, add the wet ingredients: the beer (or water), lukewarm non-dairy milk, and melted vegan butter. Mix everything together until a shaggy, rough dough forms. If using a stand mixer, let it knead for about 10 minutes on medium speed. If kneading by hand, prepare for a good arm workout, as you’ll also need to knead for approximately 10 minutes until the dough transforms into a smooth, elastic, and supple ball. It should feel slightly tacky but not excessively sticky. Adjust with a tiny sprinkle of flour if it’s too wet, or a touch more milk if it’s too dry.
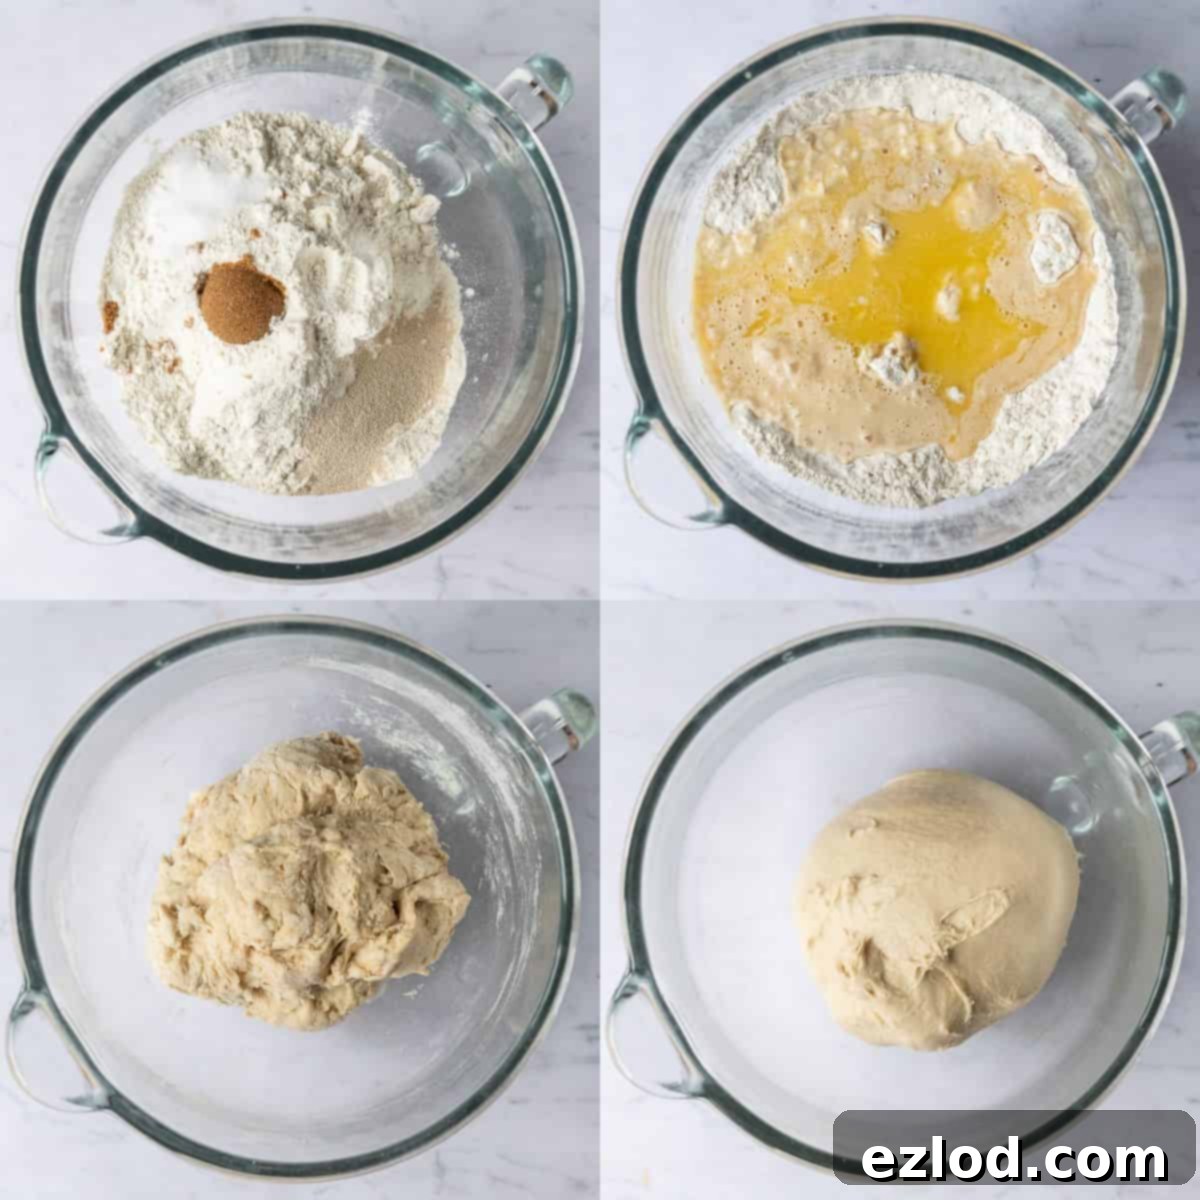
2. First Rise: Once your dough is beautifully smooth, transfer it to a large, clean bowl that has been lightly oiled. This prevents sticking and promotes an even rise. Cover the bowl with a clean kitchen towel or plastic wrap. Allow the dough to rise in a warm place until it has visibly doubled in size. This typically takes about 1 ½ hours at a comfortable room temperature (around 70-75°F or 21-24°C). Alternatively, for a slower, deeper flavor development, you can place the covered dough in the fridge overnight. This cold proofing method also offers more flexibility for your baking schedule the next day.
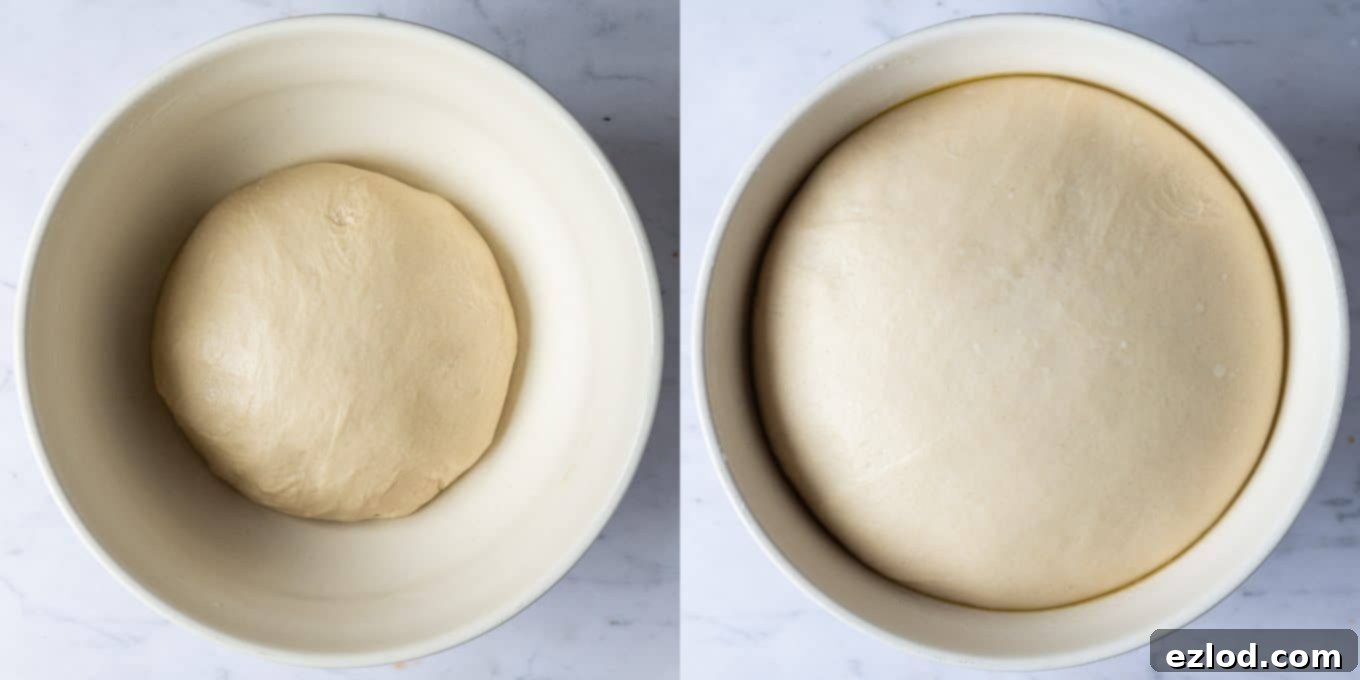
How To Shape The Pretzel Bites:
3. Divide and Shape: After the first rise, gently punch down the dough to release the air. Give it a very brief knead – just enough to deflate it and create an even texture. Next, divide the dough into eight equal pieces. For precise and uniform bites, I highly recommend using a kitchen scale to ensure each piece weighs the same. Once divided, shape each piece into a neat ball.
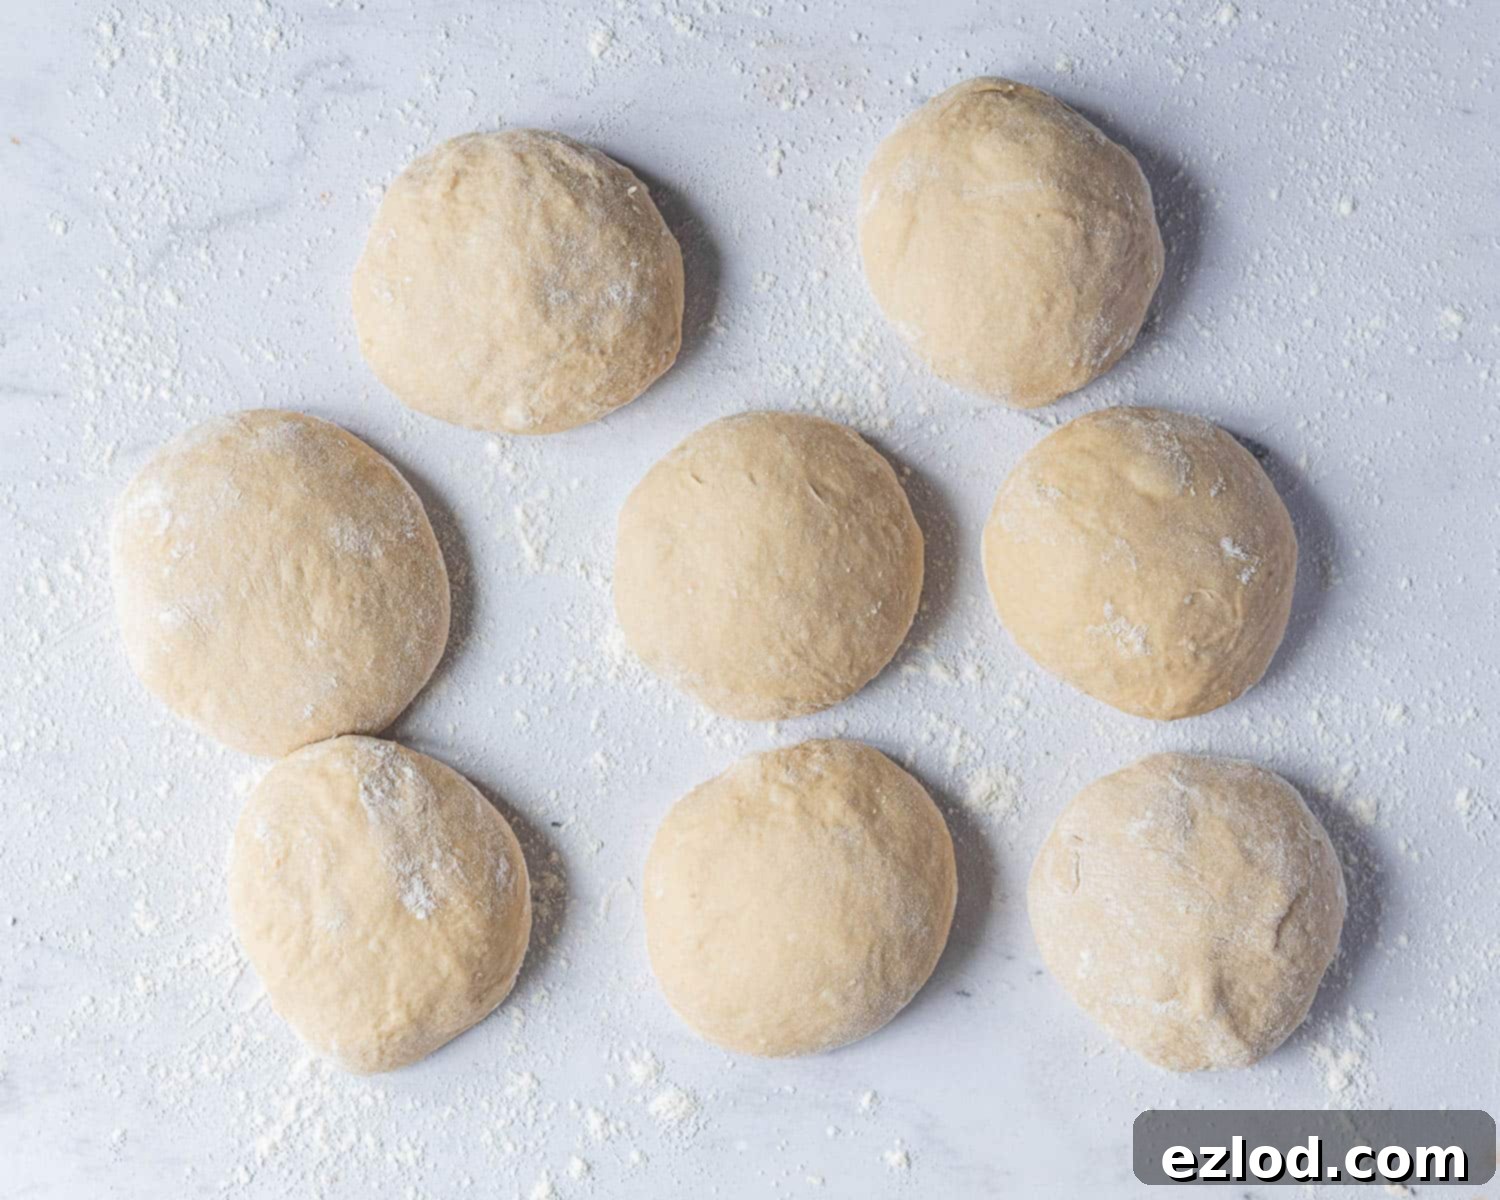
4. Roll into Ropes: Take one of the dough balls and, on a lightly floured surface, roll it out into a rough square shape. If the dough starts to stick, a light dusting of flour on your work surface and rolling pin will help. Now, tightly roll the square of dough from one edge into a sausage shape. Using the palms of your hands, gently roll this sausage back and forth to stretch it into a thin rope, approximately 35cm (14 inches) long. Aim for an even thickness throughout the rope for consistent baking.
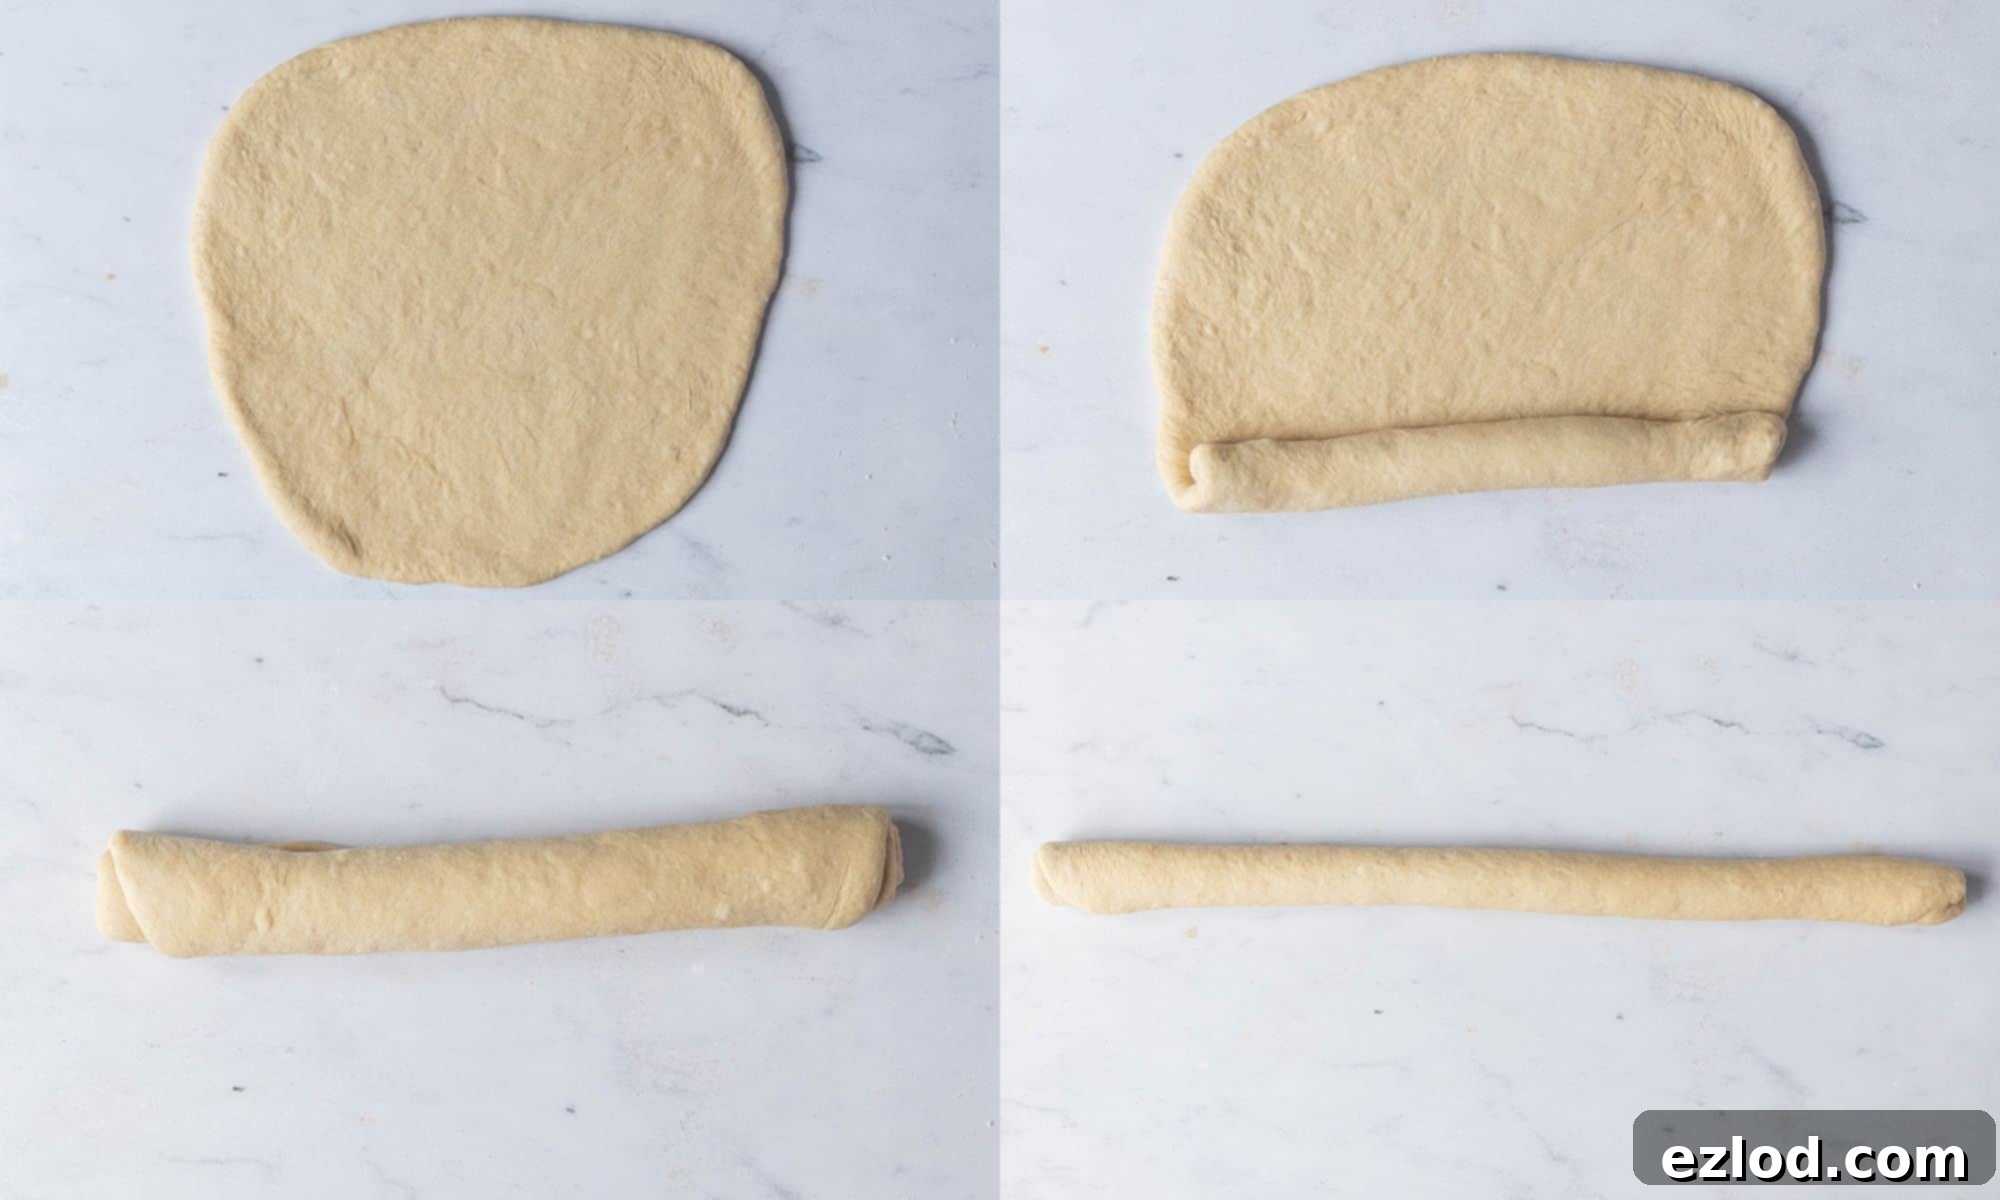
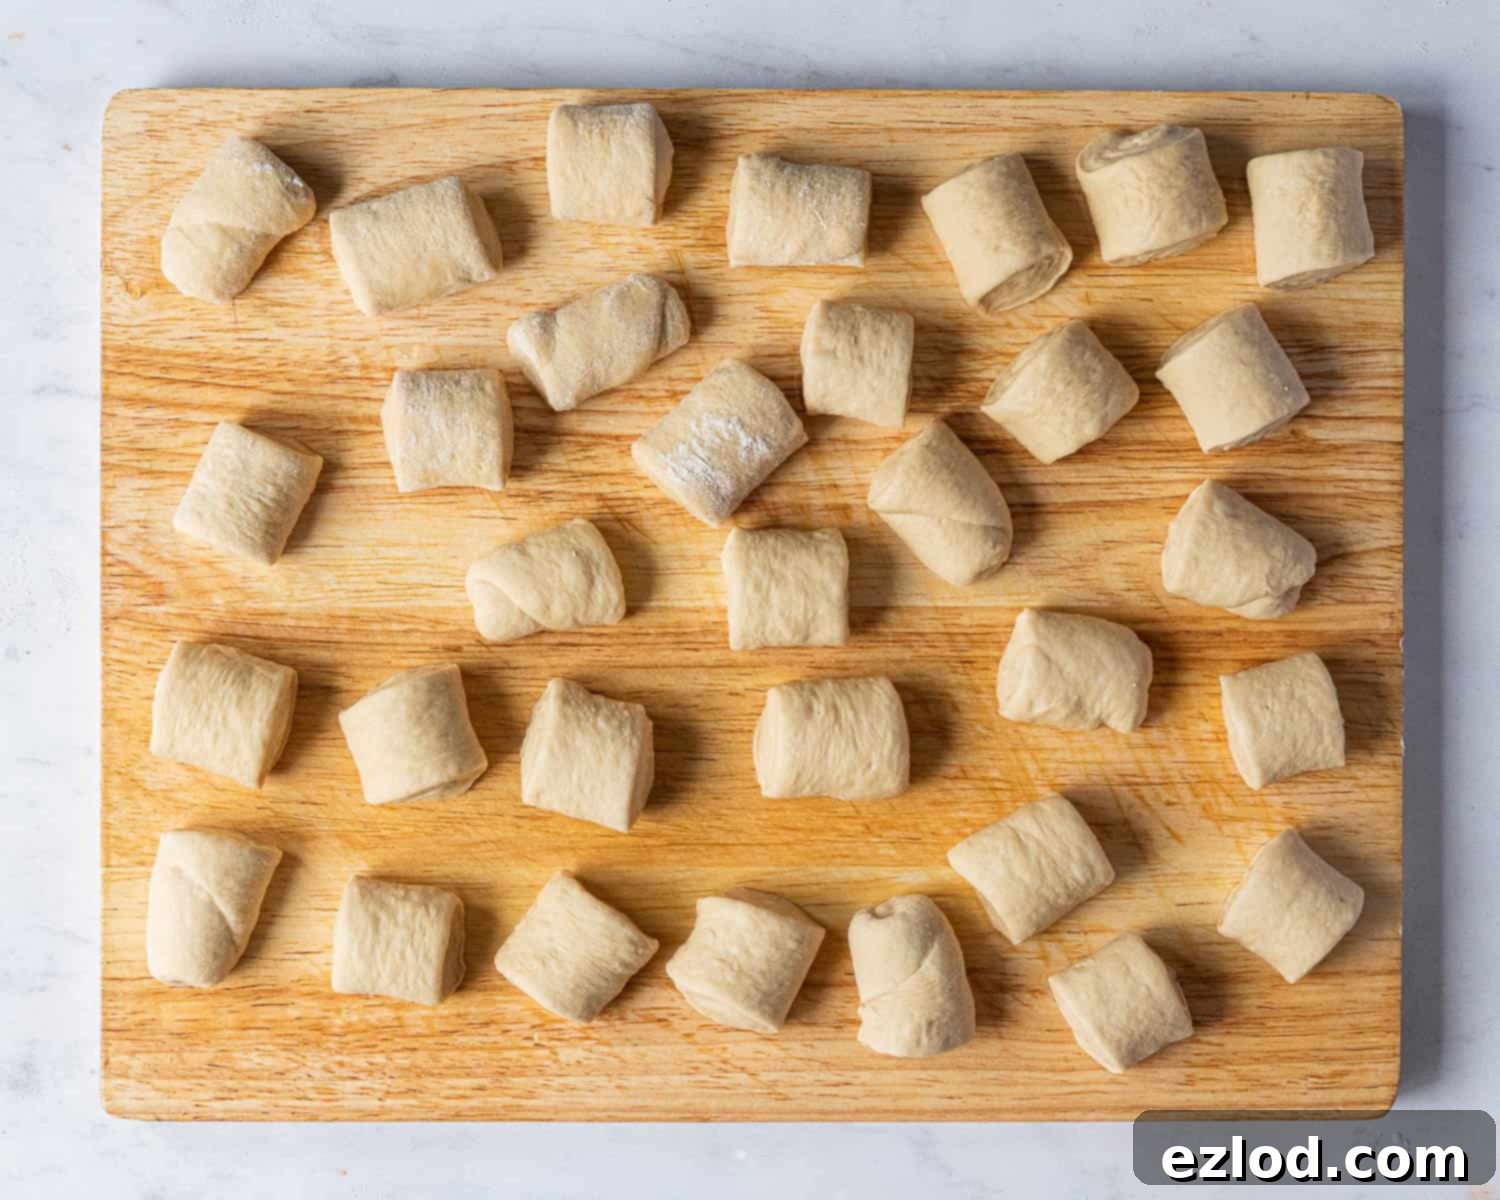
5. Cut the Bites: With a sharp knife or a dough scraper, cut the long rope into 8 evenly sized pieces – these will be your individual pretzel bites. Place these small pieces spaced apart on an oiled board or a piece of parchment paper to prevent them from sticking. Repeat this process with the remaining seven pieces of dough until you have a tray full of unbaked pretzel bites.
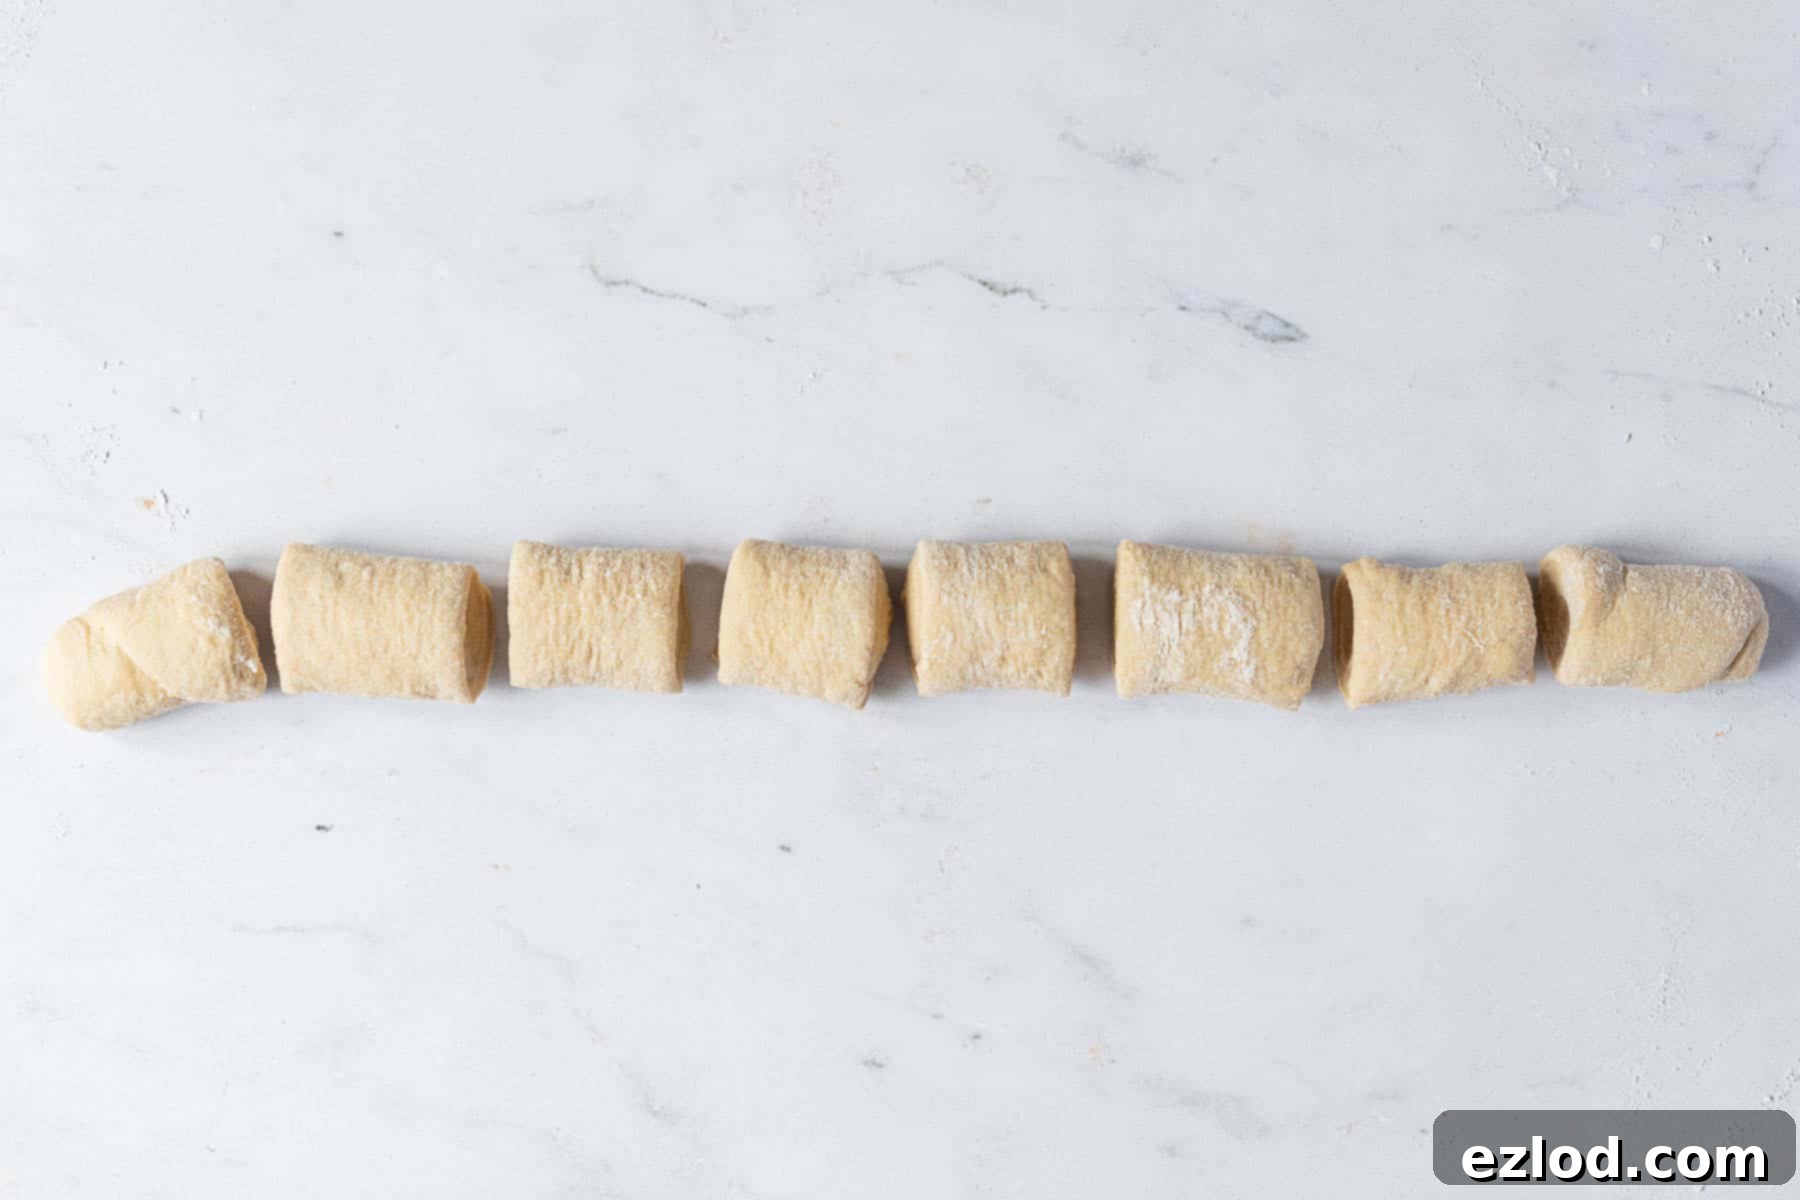
6. Second Rise (Proofing): Leave the newly shaped pretzel bites uncovered on the oiled board. Allow them to rise for another 20-30 minutes. During this time, they should become visibly puffy and slightly larger. This short second rise helps to achieve that desirable light and airy interior after baking. Meanwhile, it’s a good time to preheat your oven to 220°C/200°C fan/425°F/gas mark 7 and line a couple of baking sheets with baking parchment, preparing them for the next crucial step.
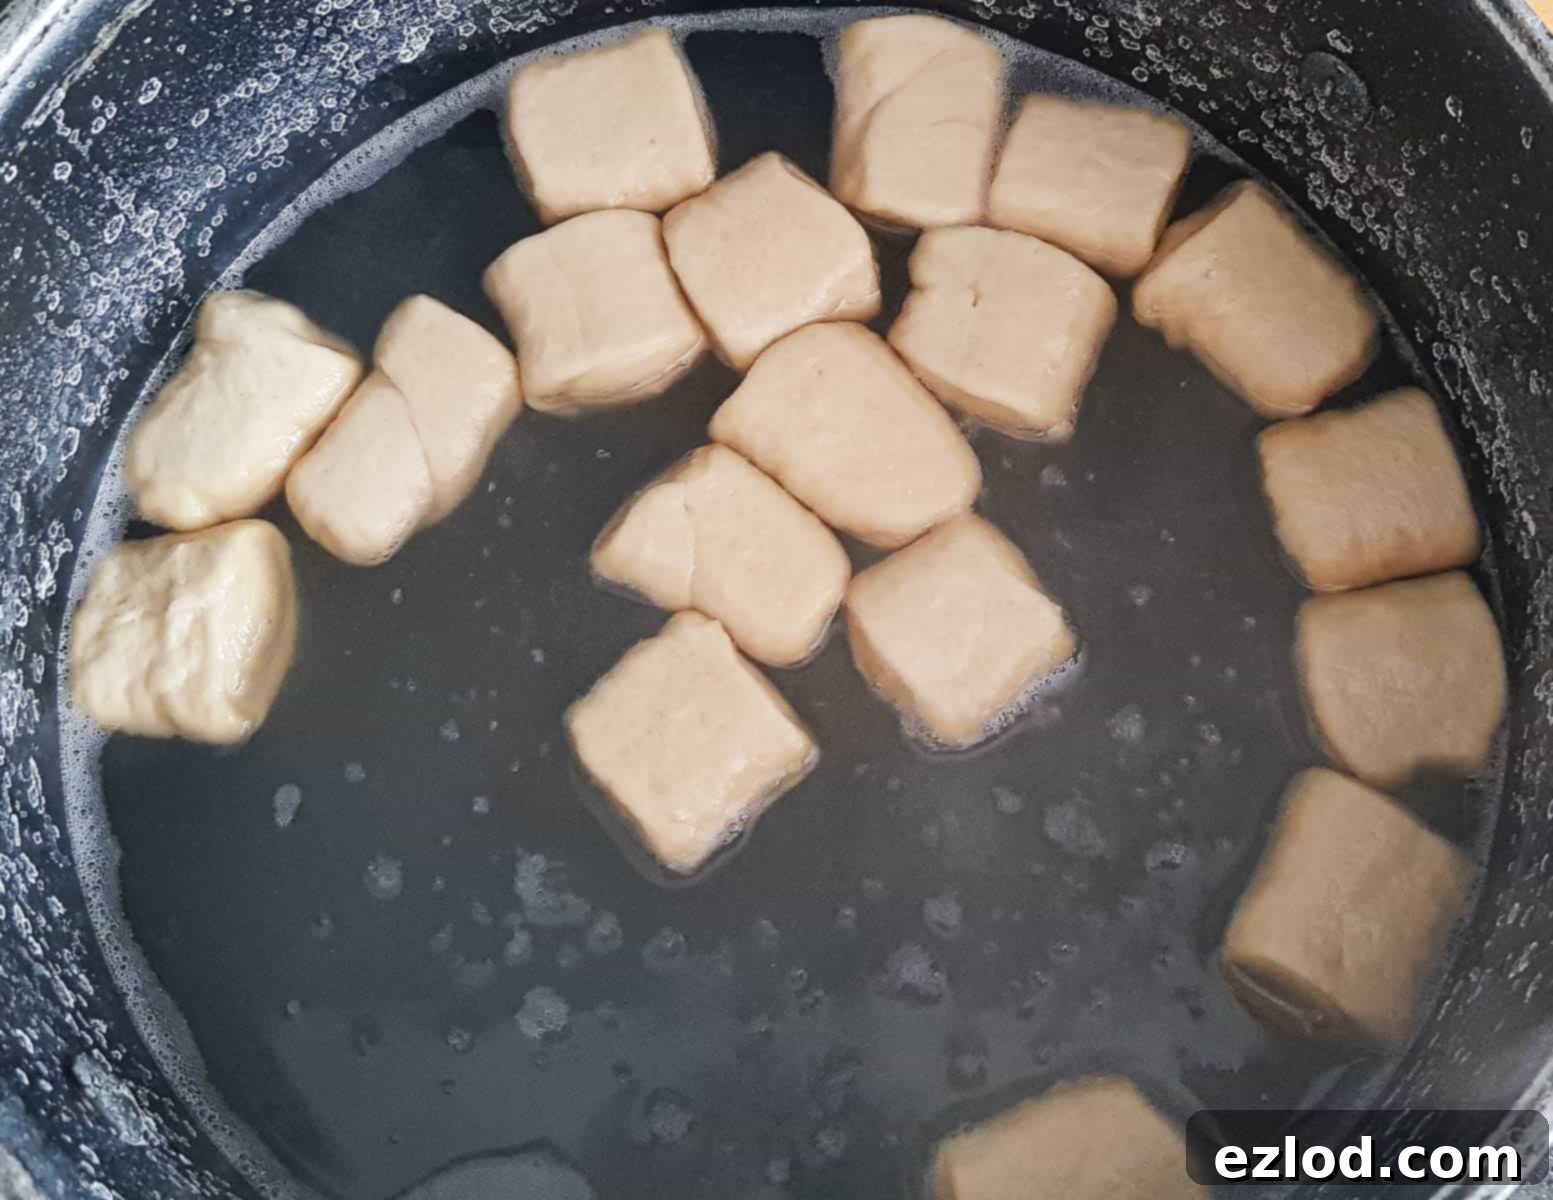
7. The Bicarb Bath: This is the magic step that gives pretzels their unique flavor and color! In a large, wide pan, bring 2 liters (8 cups) of water to a rolling boil. Once boiling, immediately reduce the heat to a bare simmer – the water should not be bubbling vigorously, just gently steaming. Carefully stir in the 5 tablespoons of bicarbonate of soda (baking soda) until it is fully dissolved. Work in small batches, gently dropping 4-5 pretzel bites into the alkaline water. Leave them to poach for precisely 30 seconds. It’s essential to use a timer here; leaving them in for too long can result in a bitter taste.
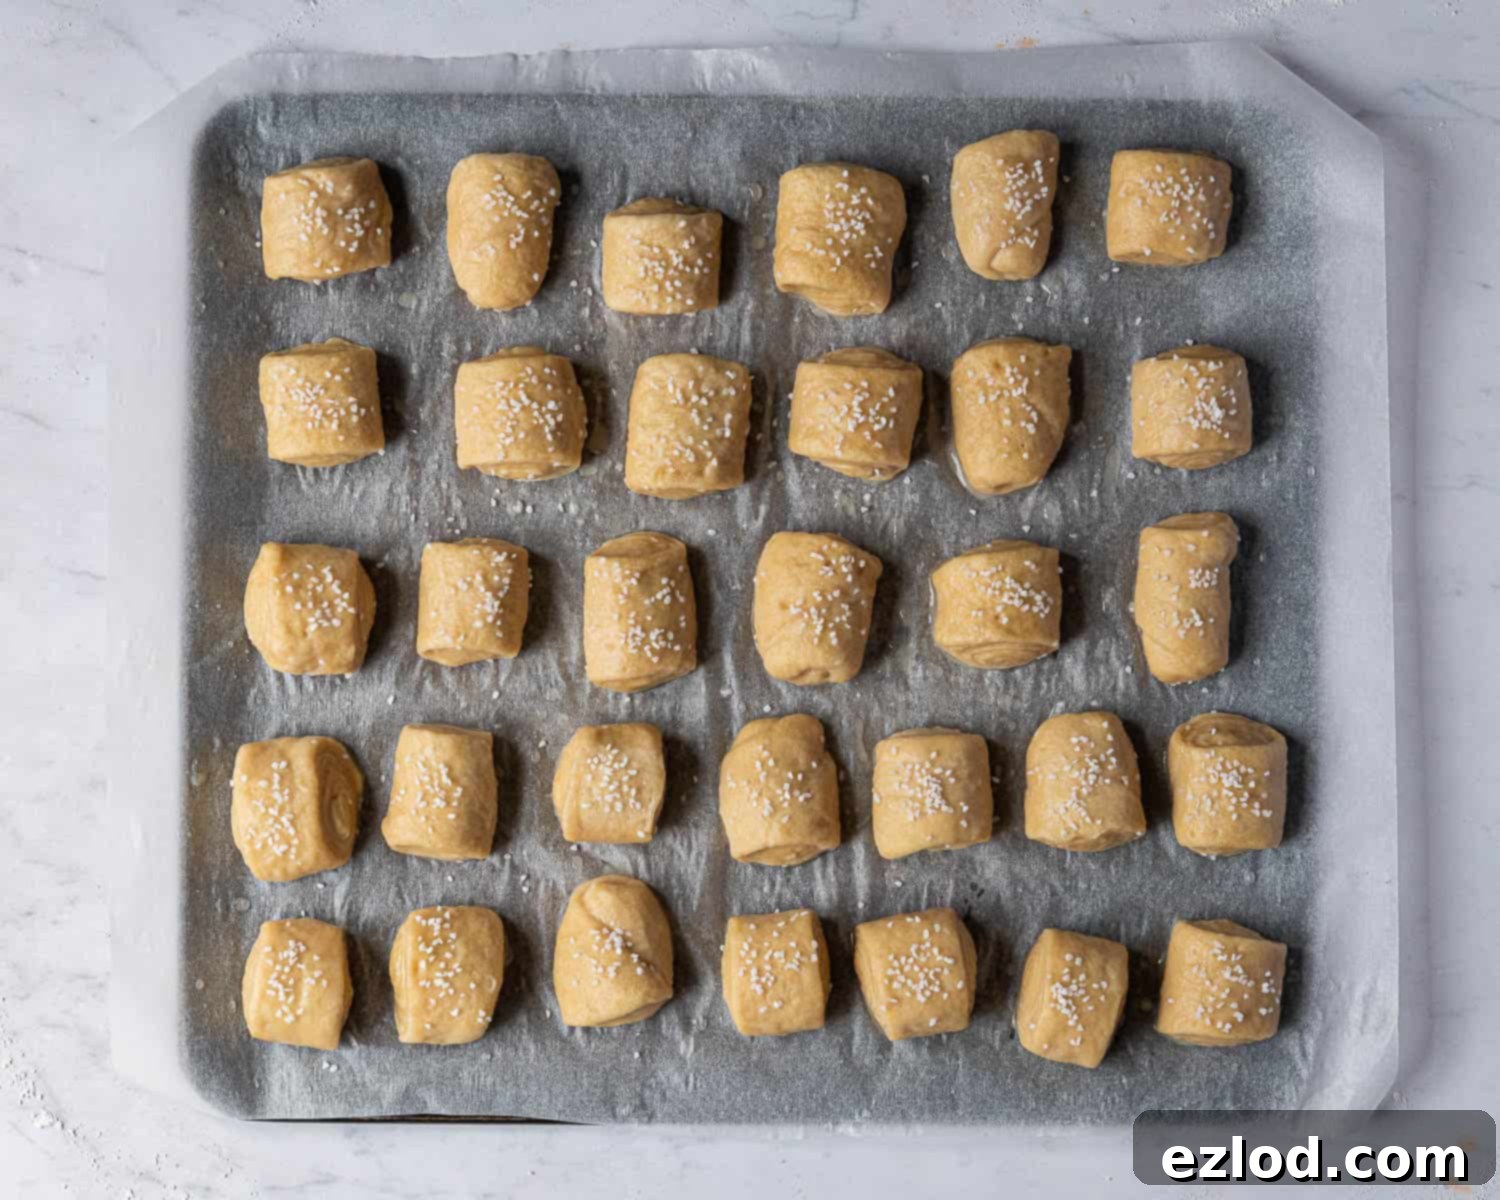
8. Prepare for Baking: Using a large slotted spoon, carefully remove the pretzel bites from the bicarbonate bath, allowing excess water to drain off. Arrange them, spaced well apart, on your prepared baking trays lined with parchment paper. Immediately after placing them on the tray, generously sprinkle the tops of the bites with pretzel salt or flaky sea salt. The wet surface will help the salt adhere. Repeat this process with the remaining batches of pretzel bites until all are prepped for the oven.
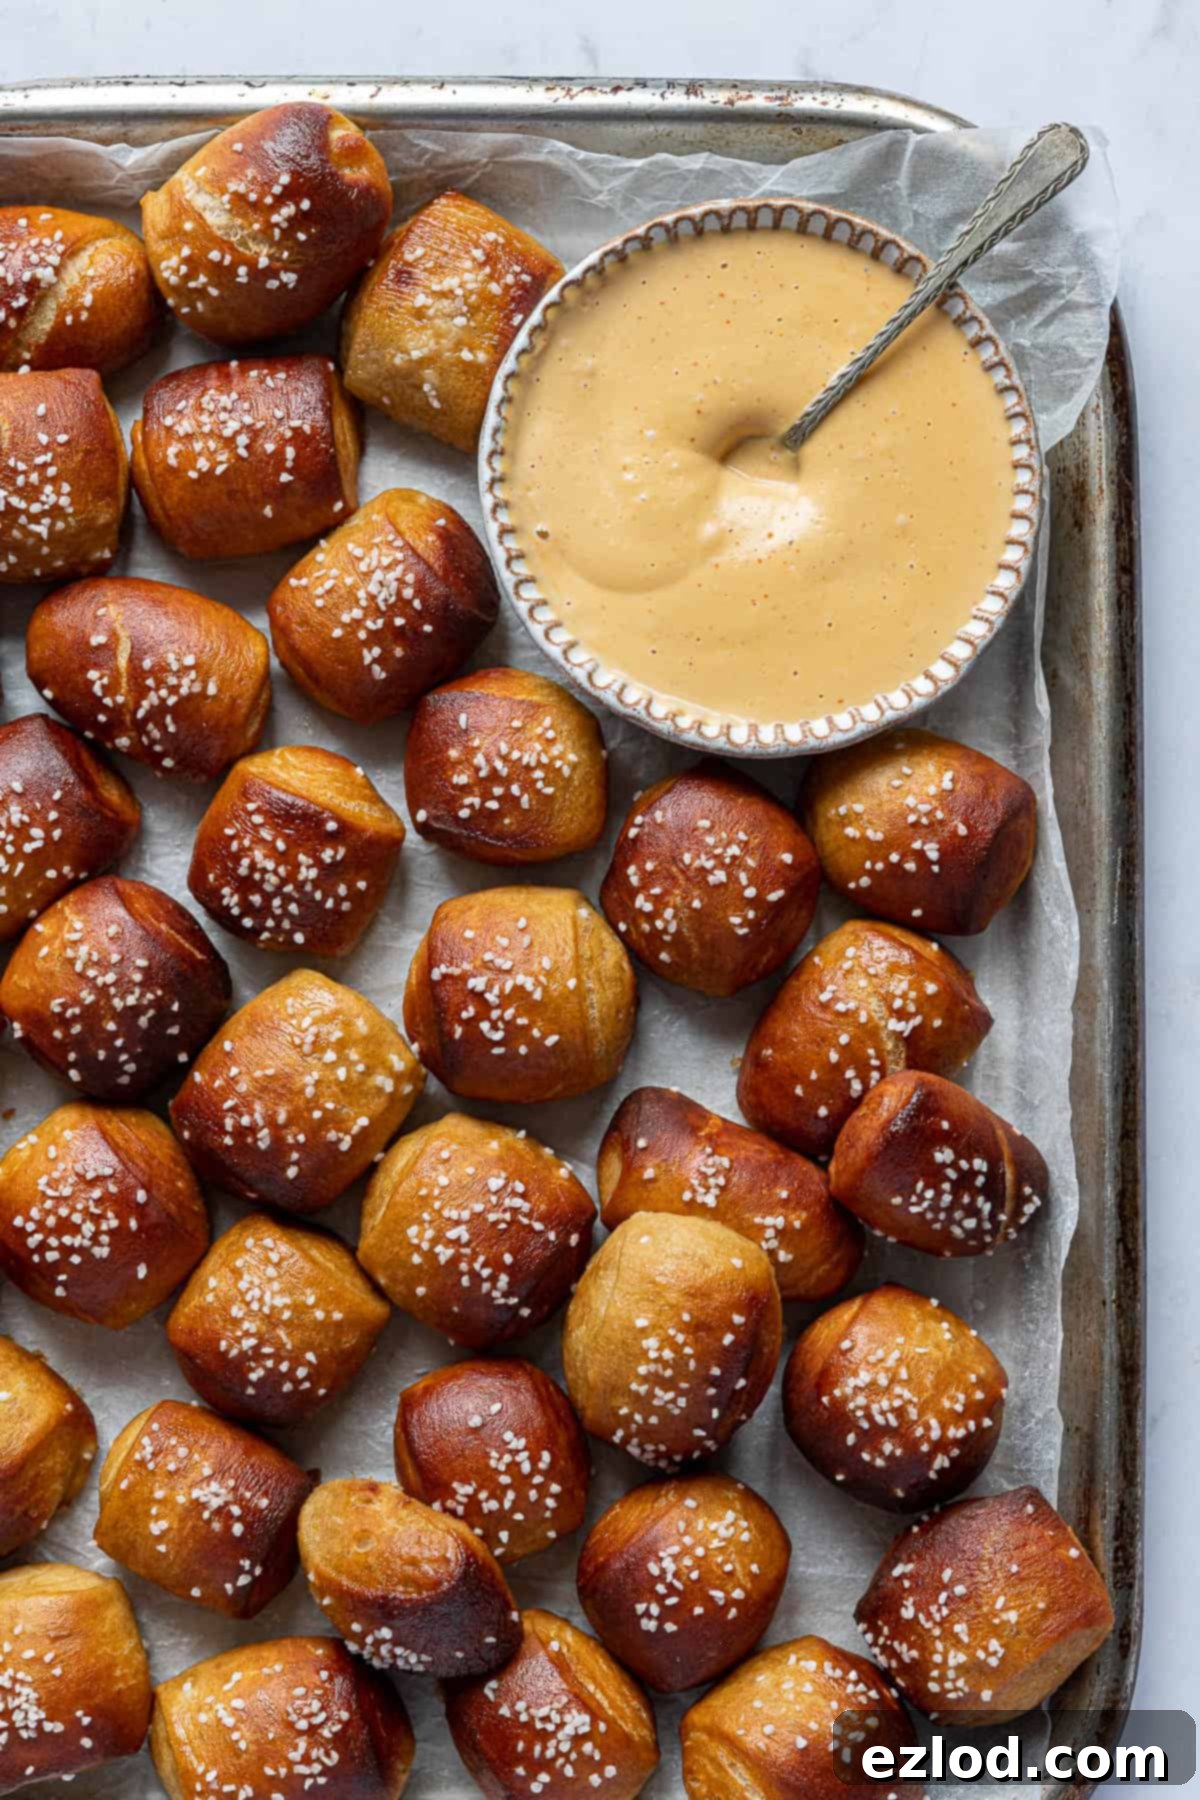
9. Bake to Perfection: Transfer the baking trays to your preheated oven. Bake the pretzel bites for a short duration, typically 8-10 minutes. Keep a close eye on them; they should turn a beautiful deep golden-brown color, indicating that the Maillard reaction has worked its magic. The relatively high temperature ensures a quick, crisp exterior while maintaining a soft interior.
10. Finish and Serve: As soon as the pretzel bites emerge from the oven, for an even richer flavor and a beautiful sheen, generously brush them with plenty of melted vegan butter. This step is optional but highly recommended for the ultimate indulgent experience. Transfer them to a wire rack to cool slightly before serving warm. They are best enjoyed fresh!

Top Tips for Perfect Vegan Pretzel Bites Every Time:
Achieving bakery-quality vegan pretzel bites is simple with these expert tips:
Precision in Measurement: As with all my baking recipes, I cannot stress enough the importance of using metric measurements with a digital scale rather than cup conversions. Cups are notoriously inaccurate and inconsistent, leading to varied results. A digital scale ensures precise ingredient ratios, which is crucial for the delicate balance of yeast, flour, and liquid in bread making, guaranteeing a far better and more consistent outcome. Plus, it’s often less messy!
Don’t Skip the Bicarbonate Bath: The alkaline bicarbonate of soda (baking soda) bath is not an optional step; it’s fundamental to the unique characteristics of pretzels. This quick dip is what gives them their signature dark, shiny crust and that unmistakable, tangy pretzel flavor. Skipping it will result in regular bread rolls, not pretzels.
Butter Brush for Brilliance: Brushing the hot pretzel bites generously with melted (vegan) butter immediately after they come out of the oven is a game-changer. It adds incredible flavor, a beautiful sheen, and helps the salt adhere even better. While technically optional, it is highly, highly recommended for the best experience.
The Role of Dark Brown Sugar: The dark brown sugar isn’t just for sweetness; it plays a vital role in the deep, rich coloring of the pretzel bites and contributes significantly to their complex flavor profile. It also acts as essential fuel for the yeast, promoting a strong rise. Do not omit it or substitute it with white sugar, as this will impact both the appearance and taste.
Choosing Your Beer: Not all beers are vegan, so always check the label carefully for animal-derived fining agents. My personal recommendation is Brewdog Dead Pony Club, but any suitable ale will work well. I suggest choosing an ale over a lager for a more pronounced flavor and avoiding anything too dark or heavy, such as stout or porter, which can overwhelm the delicate pretzel taste.
Water as an Alternative: If you prefer not to use beer, or can’t find a vegan option, simply substitute an equal quantity of water. The pretzel bites will still be absolutely delicious and maintain their fantastic texture.
Timer for the Bath: Be diligent with your timer during the bicarbonate bath. Leaving the bites in the alkaline solution for too long (even an extra 10-15 seconds) can lead to an undesirable bitter taste. A precise 30-second dip is key.
Pretzel Salt vs. Flaky Sea Salt: For an authentic look and texture, specific pretzel salt (like King Arthur Flour Pretzel Salt) is ideal as it’s designed not to dissolve during baking, maintaining its coarse texture. However, it can be expensive and hard to find outside specialized stores (especially in the UK). High-quality flaky sea salt (such as Maldon) is an excellent and readily available alternative that still provides a satisfying salty crunch (I used pretzel salt for the photos).
What Kind Of Yeast Is Best?
For consistent and hassle-free bread baking, I wholeheartedly recommend using instant yeast (also known as fast-action or rapid-rise yeast). Its primary advantage is that it doesn’t require prior activation in liquid; you can simply add it directly to your dry ingredients, which saves time and effort. If you’re serious about home baking, it’s a worthwhile pantry staple.
However, if active dry yeast is the only type you have available, fear not – you can certainly still proceed with this recipe, though the initial steps will differ slightly. For 10g (3 teaspoons) of active dry yeast, you’ll need to activate it first. Gently warm the non-dairy milk (it should be lukewarm, around 105-115°F or 40-46°C – not too hot or it will kill the yeast, and not too cold or it won’t activate) and mix in the active dry yeast along with a small pinch of the dark brown sugar. Let this mixture sit for 10-20 minutes. You’ll know it’s ready when a visible layer of foam or bubbles forms on the surface, indicating the yeast is active and thriving. Once foamy, you can then proceed with the rest of the recipe as outlined, adding this activated liquid mixture when the recipe calls for the lukewarm milk and beer/water.
How To Speed Up The Rising Time:
Dough rising can sometimes feel like the longest part of bread making, especially on a chilly day. If your kitchen temperature is on the cooler side and you’re eager to accelerate the rising process for your vegan pretzel bites, here are a couple of effective methods:
Warm Oven Method: Briefly preheat your oven to its absolute lowest temperature setting for just a couple of minutes. Then, switch the oven off completely and immediately open the door for about 30 seconds to allow some of the intense heat to escape. Before placing your dough inside, test the temperature with your hand – it should feel pleasantly warm, akin to a cozy summer day, but never hot. Crucially, if the oven is too hot, it will unfortunately kill your yeast, preventing the dough from rising. Place your covered bowl of dough into this gently warmed, turned-off oven and close the door. On particularly cold days, you might need to repeat the brief warming process after about an hour, but usually, one warm burst is sufficient to kickstart the rise.
Steam Bath Method: Another excellent technique involves creating a warm, humid environment. Place a heat-proof bowl or loaf tin on the bottom rack of your (cold, switched off) oven. Position your covered dough bowl on the middle shelf. Carefully fill the bowl on the bottom rack with boiling water. Close the oven door. The steam from the hot water will create a wonderfully warm and moist atmosphere, ideal for encouraging the yeast to work its magic and help your dough rise efficiently.
Can I Freeze These Vegan Pretzel Bites?
Absolutely! Vegan pretzel bites freeze beautifully, allowing you to enjoy them fresh whenever a craving strikes. For optimal freshness and texture, it’s best to freeze them on the same day they are baked. However, ensure they have cooled completely to room temperature before freezing to prevent condensation and ice crystals from forming, which can affect their quality.
To freeze, place the cooled pretzel bites in an airtight container or a heavy-duty freezer-safe ziplock bag. They can be stored in the freezer for up to 2-3 months without significant loss of quality. When you’re ready to enjoy them, simply remove the desired number of bites and allow them to defrost at room temperature for a few hours. For the best flavor and texture, I highly recommend refreshing them in a low oven (around 150°C/300°F) for 5-10 minutes. This will warm them through and restore their delicious chewiness and crust.
Can I Make Them In Advance?
While these vegan pretzel bites are undoubtedly at their best when enjoyed fresh from the oven, there are ways to manage your preparation schedule. They truly shine on the day they are baked, so I generally don’t recommend baking them a day or two in advance if you want to experience their peak flavor and texture (unless you plan to freeze them and reheat). The crust can soften, and the interior might become a little drier.
However, you can certainly get a head start by preparing the dough the evening before you intend to bake. After the initial kneading, place the dough in a lightly oiled bowl, cover it tightly, and let it rise slowly in the fridge overnight. This slow, cold fermentation not only fits into your schedule but can also contribute to a deeper, more complex flavor in the finished pretzels. The following day, simply remove the dough from the fridge, allow it to come to a slightly warmer temperature for about 30 minutes, and then continue with the shaping, bicarbonate bath, and baking steps as outlined in the recipe.
Can I Make Them Gluten-Free?
Unfortunately, this particular recipe for vegan pretzel bites is not suitable for gluten-free adaptations. The success of pretzels, and indeed most yeasted breads, relies heavily on the gluten structure developed from wheat flour. Gluten provides the necessary elasticity and chewiness that are hallmarks of a great pretzel.
Converting a traditional wheat-based bread recipe to a gluten-free version is a complex process that usually requires a complete reformulation of ingredients and ratios. Gluten-free flours behave very differently from wheat flour and often require specific binders and techniques to achieve a comparable texture. As gluten-free baking is not my area of expertise, I cannot confidently advise on modifications for this recipe. For delicious and successful gluten-free pretzels, your best bet is to seek out a recipe specifically designed from the ground up to be gluten-free, rather than attempting to adapt this one.
What To Serve With Vegan Pretzel Bites: Delicious Dipping Ideas
Vegan pretzel bites are the ultimate vehicle for dipping, and their subtly salty, chewy nature pairs beautifully with a wide array of sauces. The key is to choose dips that complement rather than overpower the pretzel’s flavor. Here are some fantastic ideas:
Traditional Mustard: For a classic German-inspired experience, a good quality mustard is essential. A spicy brown mustard, a tangy Dijon, or even a sweet Bavarian mustard all work wonderfully. The sharp, pungent notes of mustard provide a delightful contrast to the warm, soft pretzel.
Creamy Hummus: A smooth, garlicky hummus offers a rich and savory pairing. Its earthy tones and creamy texture are a perfect match for the pretzel’s chew. Consider adding a swirl of olive oil or a sprinkle of paprika for extra flair.
Vegan Cheese Sauce: For a truly indulgent treat, a warm, gooey vegan cheese sauce is absolutely divine. Many recipes use a base of cashews, potatoes, or nutritional yeast to achieve a wonderfully cheesy flavor and consistency. This offers a comforting, savory experience that is hard to beat.
Salsa or Marinara: For a different twist, a chunky salsa or a warm marinara sauce can provide a vibrant, acidic counterpoint to the pretzels, adding a fresh and zesty dimension.
Sweet Options (Carefully Chosen): While savory is traditional, a subtle sweet dip can also be nice. Think a light fruit chutney or even a sprinkle of cinnamon sugar (if skipping the savory salt on top). Just remember, the pretzels are already on the salty side, so ensure your accompanying dip isn’t overly salty itself to maintain balance.
The delicious sauce shown in the photos is a quick and incredibly satisfying sriracha cashew cream. It’s remarkably easy to whip up and perfectly complements the savory notes of these vegan pretzel bites:
To make the Sriracha Cashew Cream: Place 150g raw cashews* in a high-speed blender with 180ml hot water, 2 tablespoons nutritional yeast (for a cheesy depth), 1 tablespoon sriracha (adjust to your spice preference), 1 clove garlic, ¼ teaspoon salt, and ½ teaspoon ground cumin. Blend on high until the mixture is completely smooth and creamy. If you find the consistency too thick, add a little more hot water, one tablespoon at a time, until it reaches your desired creaminess. Taste and adjust seasonings as needed, adding more salt, sriracha, or nutritional yeast to suit your palate. Store any leftover cashew cream in an airtight container in the fridge for up to 4 days.
*Important Note on Cashews: If you do not have a high-speed blender (like a Vitamix or Blendtec), it is crucial to soak your cashews first. You can either soak them in boiling water for at least 1 hour, or soak them in cold water overnight. Soaking softens the cashews, allowing them to blend into a perfectly smooth cream without any grittiness.
More Vegan Sharing Bread Recipes to Love:
- Vegan beer pretzels
- Vegan garlic pull-apart bread
- Vegan pesto bread
- Easy flatbreads
- Vegan garlic naan bread
- Easy vegan cornbread
- Pumpkin bread rolls

If you’ve had the pleasure of trying this fantastic recipe, I’d love to hear about your experience! Please rate it, leave a comment below to share your thoughts, or tag @domestic_gothess on Instagram and use the hashtag #domesticgothess so I can see your wonderful creations!
All images and content on Domestic Gothess are copyright protected. If you wish to share this recipe, please do so by utilizing the provided share buttons. To respect copyright, kindly do not screenshot or post the full recipe or content; instead, include a direct link back to this post for the complete recipe. Your understanding and support are greatly appreciated!

Print
Vegan Pretzel Bites
Ingredients
Dough:
- 500 g (4 cups) white bread flour
- 7 g (1 sachet/2 teaspoons) fast action/instant yeast
- 1 teaspoon salt
- 1 heaped Tablespoon dark brown sugar
- 200 g (½ + ⅓ cup) beer or water
- 110 g (⅓ cup + 2 Tablespoons) lukewarm unsweetened non-dairy milk (I use soy)
- 40 g (scant 3 Tablespoons) melted vegan butter/margarine
Bicarb Bath:
- 2 litres (8 cups) water
- 5 Tablespoons bicarbonate of soda (baking soda)
- pretzel salt or flaky sea salt for sprinkling
- 30 g (2 Tablespoons) melted vegan butter/margarine for brushing
Instructions
-
In a large bowl, or the bowl of a stand mixer fitted with a dough hook, mix together the flour, yeast, salt and sugar.
-
Add the beer or water, lukewarm milk and melted vegan butter and mix to form a rough dough. Knead the dough for about 10 minutes until it is smooth and elastic. It should feel quite soft and tacky to the touch but not overly sticky. If it is too wet then knead in a little more flour as needed.
-
Place the dough in a large, lightly oiled bowl, cover and set aside to rise until it is doubled in size, about 1 ½ hours at warm room temperature, or overnight in the fridge.
-
Punch down the risen dough and give it a very brief knead to knock out the air then divide it into eight even pieces, I use a scale for accuracy. Shape each piece into a ball.
-
Roll one of the pieces of dough out into a rough square shape. If the dough is sticking you can lightly flour the worksurface and rolling pin.
-
Roll the dough up tightly from one edge into a sausage. Roll over the sausage with your hands to form a rope about 35 cm (14 in) long.
-
Use a sharp knife to cut the rope into 8 pieces. Place them spaced apart on an oiled board and repeat with the rest of the pieces of dough.
-
Leave the bites uncovered to rise for about 20-30 minutes, until they are puffy.
-
Meanwhile preheat the oven to 220°C/200°C fan/425°F/gas mark 7. Line a couple of baking sheets with baking parchment.
-
When the bites have nearly finished rising, heat the 2 litres of water in a large pan until it comes to the boil then turn down the heat so that it is not even simmering and stir in the 5 Tbsp of bicarbonate of soda (baking soda).
-
Working in about 4 batches, drop the bites into the water and leave for 30 seconds. Use a timer!
-
Use a large slotted spoon to remove the bites from the bath and place them spaced apart on the lined baking trays. Sprinkle the tops of the bites with a bit of pretzel salt or flaky sea salt. Repeat with the rest of the bites.
-
Bake the pretzel bites for 8-10 minutes until they are deep brown.
-
When the pretzel bites come out of the oven, brush them generously with melted vegan butter then transfer them to a wire rack to cool a little before serving.
Notes
- See post above for tips, details and step-by-step photos. If you have a question I may have already answered it above!
- As with all of my baking recipes I really do recommend using the metric measurements with a digital scale rather than the cup conversions. Cups are a wildly inaccurate measuring system and you will get far better, more consistent results using a scale, not to mention that it is also easier and less messy than cups!
- I find it easier to weigh out the liquid ingredients using my scale, which is why I have given the amounts in grams. The quantity is the same if using a measuring jug (200ml beer/water and 110ml milk).
