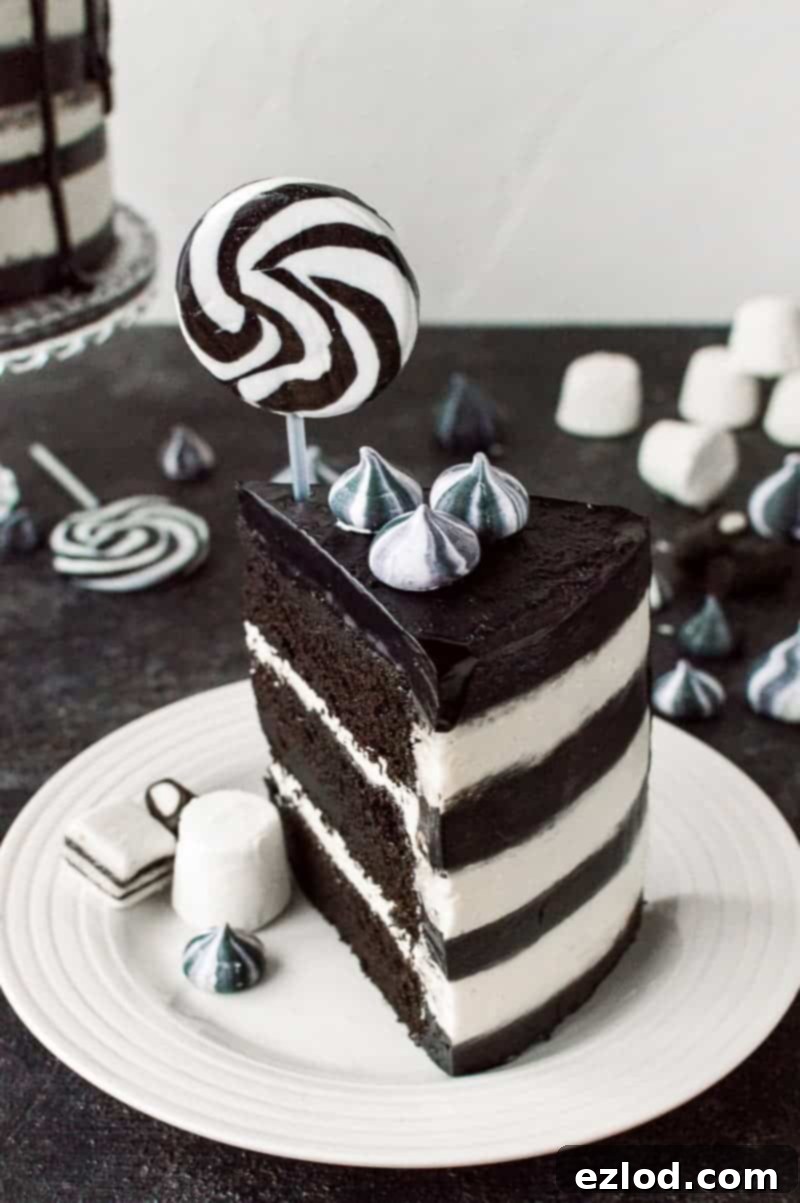
The Ultimate Black and White Striped Monochrome Cake: An Elegant Treat for Any Occasion
Discover how to create a show-stopping black and white striped chocolate and vanilla cake, perfect for a sophisticated Halloween celebration, a chic birthday party, or any event desiring a touch of dramatic elegance.
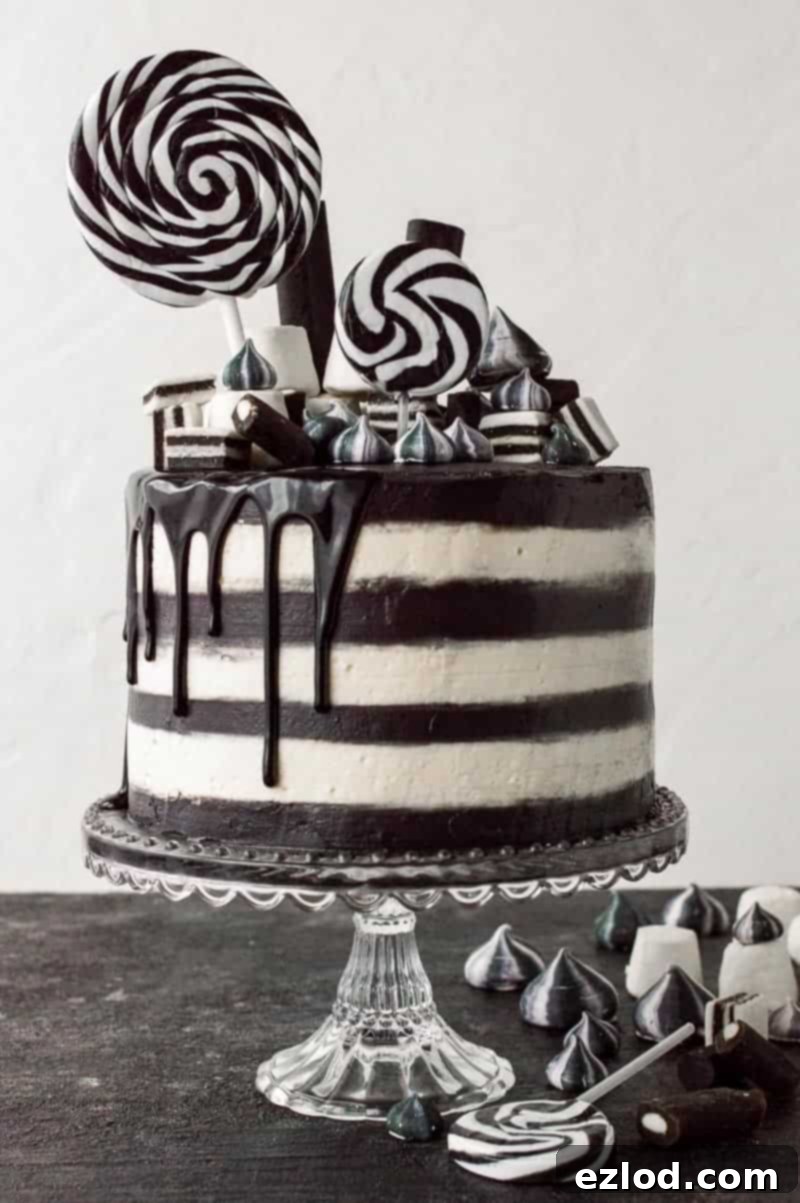

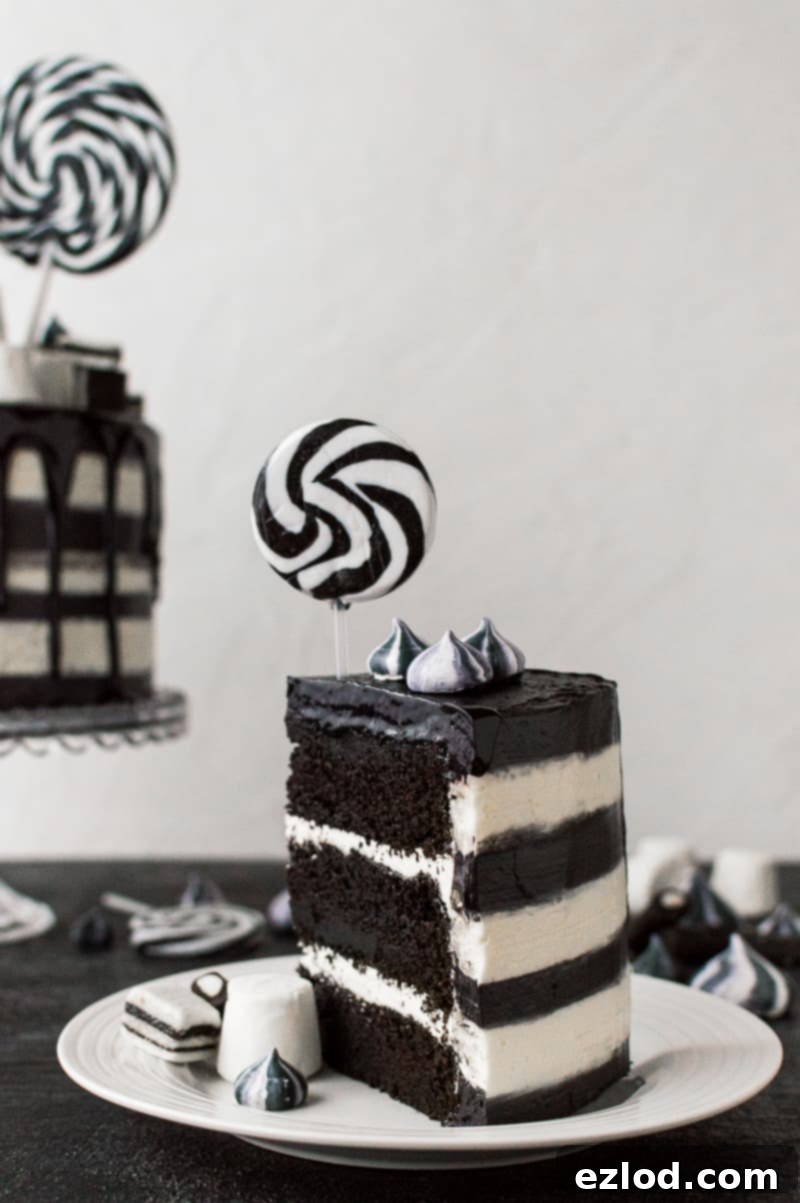
The vision for this distinctive black and white striped cake has been swirling in my mind for over a year. I’ve been meticulously gathering an assortment of black and white confections for months, eagerly anticipating the moment to transform this creative concept into a stunning reality. The idea was to craft a visually striking dessert that would captivate attention and offer a sophisticated alternative to traditional celebratory cakes, suitable for a variety of elegant occasions. This project was a labor of love, combining my passion for baking with a desire to create something truly unique and memorable.
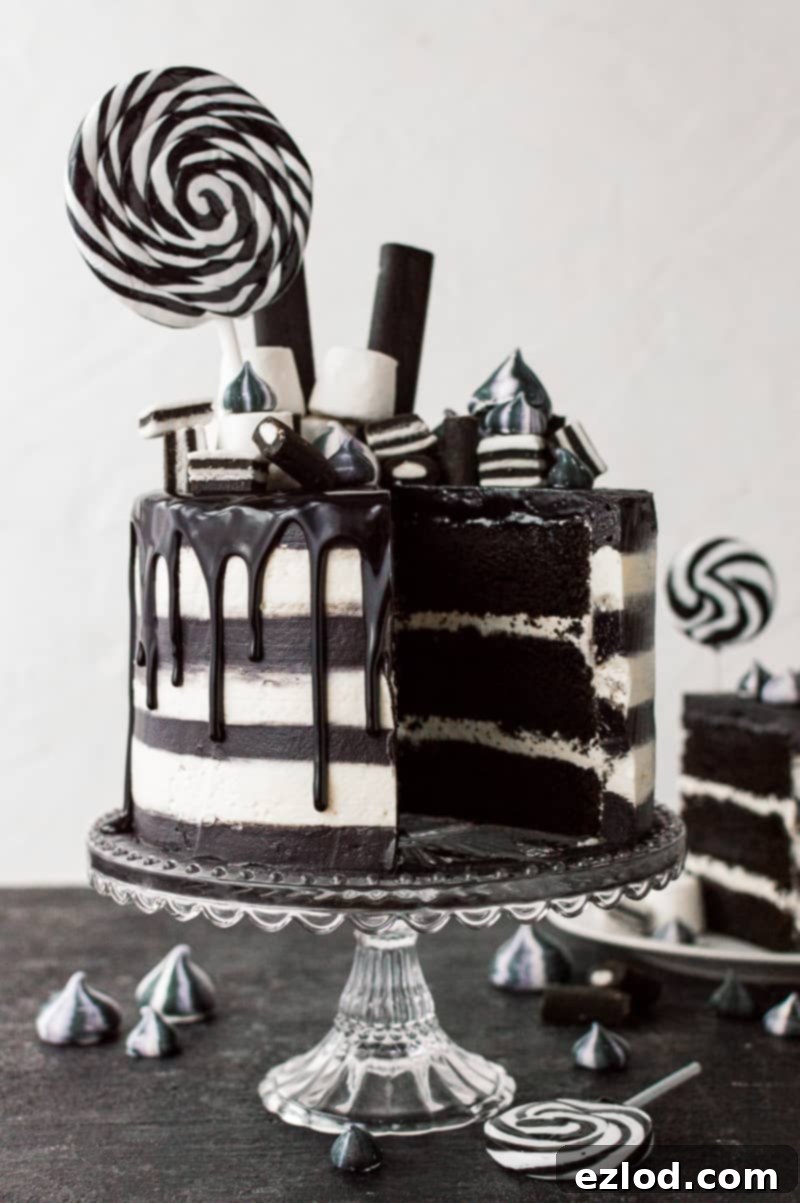
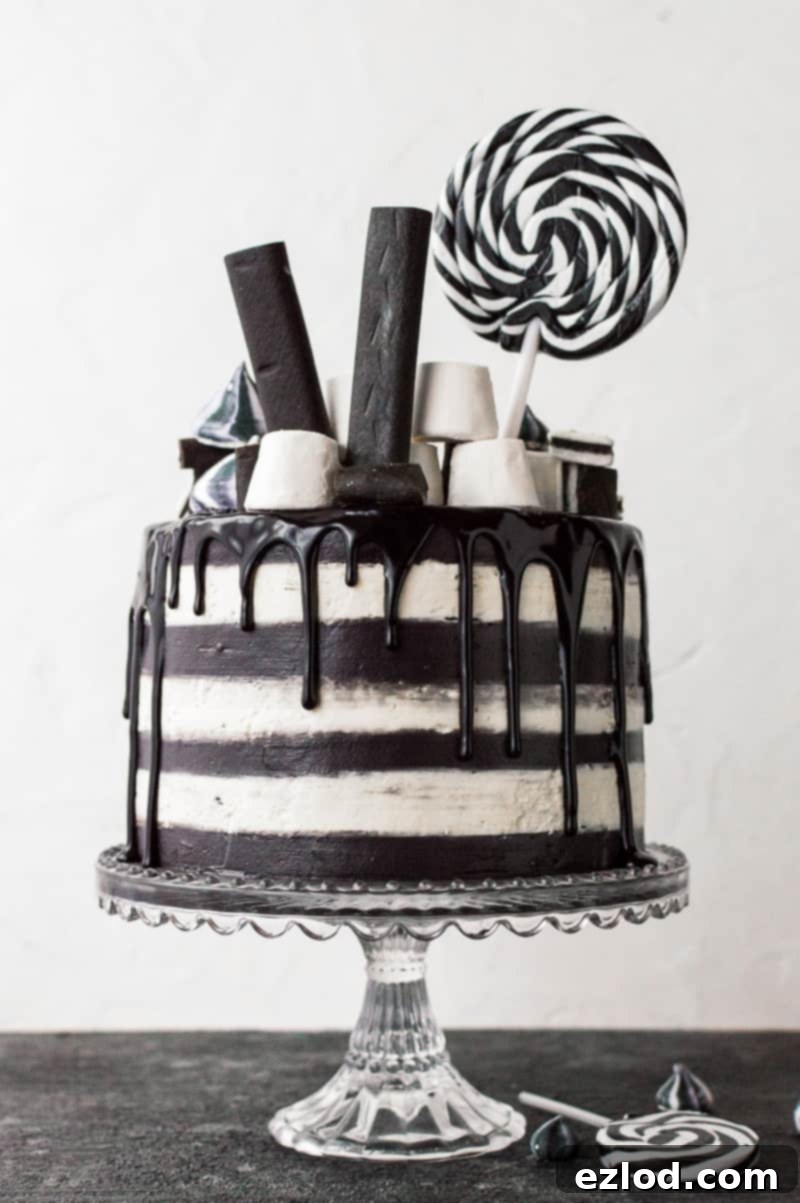
And I’m thrilled to report, the reality far exceeded my expectations! The finished cake materialized exactly as I had envisioned, a true testament to its stylish appeal. From the perfectly defined stripes to the harmonious blend of flavors, every element came together flawlessly. I’m confident you’ll agree that this monochrome masterpiece is truly a sight to behold, a perfect blend of dramatic aesthetics and delightful flavors. It’s more than just a cake; it’s a statement piece that promises to be the centerpiece of any dessert table, sparking conversations and delighting guests with its striking appearance and exquisite taste.
Inspiration: From Beetlejuice Vibes to Elegant Celebrations
There’s no denying the subtle nod to a classic aesthetic with this cake – a definite “Beetlejuice vibe” that even extended to my accidental choice of attire (a black and white striped top!) while baking. This striking monochrome design makes it an absolutely perfect candidate for a classy Halloween party, offering an elegant alternative to the usual spooky fare. Imagine it gracing a sophisticated autumnal gathering, adding a touch of chic to your holiday spread, or serving as a refined centerpiece for a themed movie night.
However, I firmly believe this elegant creation shouldn’t be confined solely to Halloween. Its timeless black and white appeal, combined with its delicious flavor profile, makes it an ideal choice for a sophisticated birthday celebration, an anniversary, or even a formal dinner party. It’s a versatile dessert that speaks to those who appreciate both bold design and exquisite taste, proving that monochrome doesn’t mean monotonous. Its clean lines and stark contrast offer a modern twist on classic indulgence, making it suitable for any event where you want to impress with style and substance.
The Heart of the Cake: Rich, Moist Chocolate Perfection
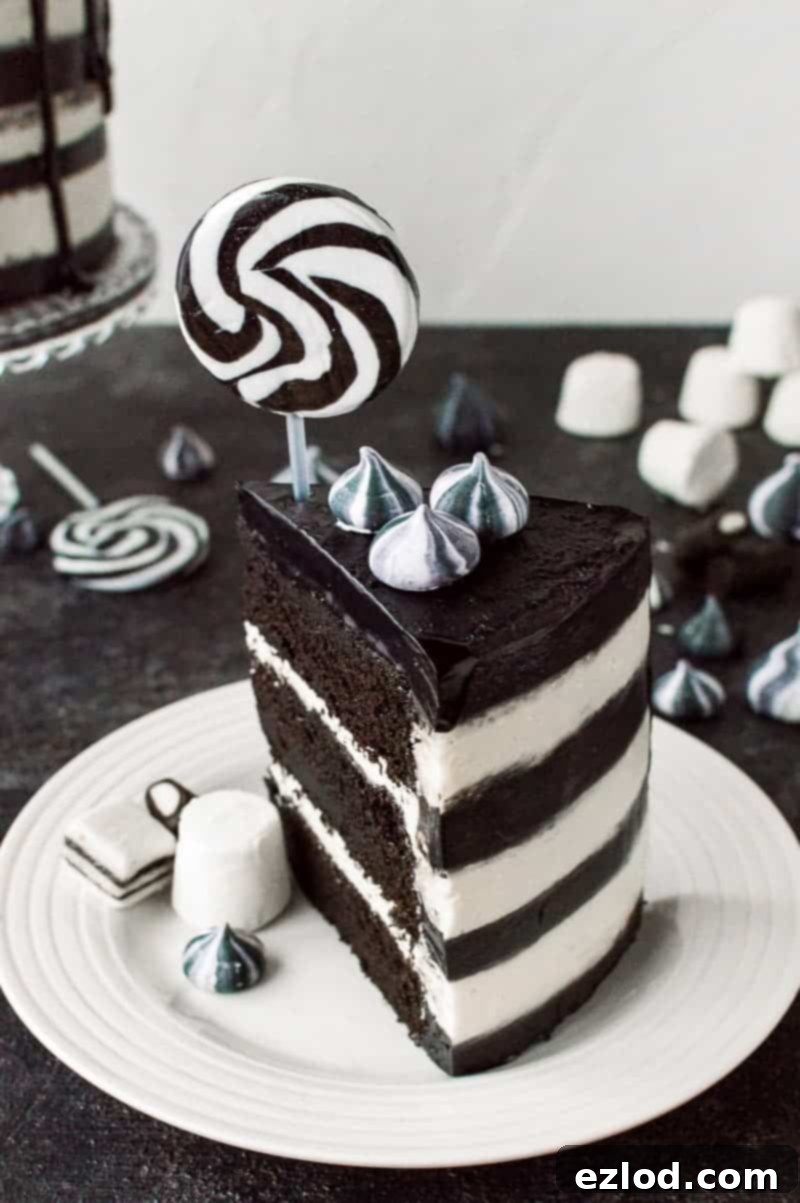
At the core of this stunning monochrome creation lies a truly exceptional chocolate cake. This isn’t just any chocolate cake; it’s a wonderfully moist, intensely chocolatey, and perfectly balanced dessert that isn’t overly sweet. My primary reason for selecting this particular recipe was its natural ability to bake up with a deep, dark hue. This characteristic significantly reduces the need for excessive black food coloring, ensuring the integrity of the cake’s flavor remains uncompromised. Nobody wants a cake that tastes primarily of food dye when they’re expecting rich chocolate!
Beyond its dark appearance, the flavor profile is utterly delicious, offering a rich cocoa experience that is both comforting and sophisticated. The subtle bitterness of quality cocoa powder shines through, creating a complex taste that’s far from saccharine. While children might enjoy a slice, I consider this more of a “grown-up” chocolate cake, with its depth of flavor appealing to a more discerning palate. Its dense yet tender crumb provides the perfect foundation, robust enough to support the layers of buttercream without being heavy, setting the stage for our contrasting black and white aesthetic.
Crafting the Perfect Stripes: Swiss Meringue Buttercream
The distinctive striped exterior of our monochrome cake is achieved with a luxurious Swiss meringue buttercream. This particular buttercream stands out for its incredibly light, silky, and fluffy texture, which makes it an absolute dream for piping intricate designs and achieving smooth finishes. Unlike traditional buttercreams that can often be overly sweet and heavy, Swiss meringue buttercream offers a delicate balance of sweetness, allowing the flavors of the cake to shine through while providing a stable and beautiful canvas for decoration. Its stability also means it holds its shape wonderfully, crucial for those crisp lines.
For our striped effect, the buttercream is carefully divided: one portion remains a pristine vanilla white, maintaining its pure, clean hue, while the other is transformed into a rich, deep black. To achieve this striking black, we first incorporate melted dark chocolate into the buttercream. This not only significantly enhances the chocolate flavor of the black stripes but also provides a naturally dark base. This crucial step means less black food coloring is required to reach that intense, true black shade, minimizing any potential impact on taste. After the chocolate, we add a high-quality black gel food coloring, ensuring we achieve the dramatic contrast that defines this visually captivating cake.
Mastering the Stripy Technique: Tips for Success
Don’t be intimidated by the stripy effect; it’s surprisingly more achievable than you might imagine. This was my very first attempt at this technique, and while it might not be absolutely flawless, I was incredibly pleased with the results. With a little patience, a steady hand, and the right tools, you too can create beautifully defined stripes that will impress everyone.
My biggest piece of advice? Learn from my mistake! Avoid icing the cake directly on a cake stand with decorative “bobbly bits” around the edge. Those bumps will inevitably interfere with your bench scraper and prevent you from achieving a smooth, even finish. For best results, it is absolutely essential to place your cake on a flat cake board before you begin icing. Furthermore, using a rotating turntable will make your life immeasurably easier when applying and smoothing the buttercream. While it’s certainly doable without one, a turntable provides the smooth, consistent rotation necessary for crisp, clean stripes, significantly enhancing the precision and enjoyment of the decorating process. Take your time, scrape often, and don’t be afraid to go back and refine sections.
Achieving True Black: The Essential Food Coloring Choice
When it comes to achieving a truly striking, deep black color for your buttercream or cake batter, a critical detail often overlooked is the type of food coloring you use. To get that intense, opaque black – rather than a murky grey or a bluish-black – you absolutely *must* use a high-quality ‘black extra’ or ‘super black’ gel coloring. These specialized gel colorings are highly concentrated and formulated to deliver superior pigmentation without requiring large quantities. Brands like Sugarflair’s Black Extra, which I personally used, or Wilton’s Concentrated Gel Food Colour in “Black,” are excellent choices known for their vibrant results.
Standard liquid black food colorings or even regular gel colorings simply won’t cut it. You’d have to use such vast quantities to even approach a decent dark shade that it would inevitably alter the flavor and texture of your cake or buttercream, often leaving an unpleasant bitter aftertaste, or making your frosting too thin. Investing in a concentrated gel paste specifically designed for true black is a small but crucial step that makes all the difference in the visual impact and taste of your monochrome masterpiece. This ensures your beautiful cake looks as good as it tastes, without any compromise.
Elegant Decorations: Meringue Kisses and Black & White Sweets
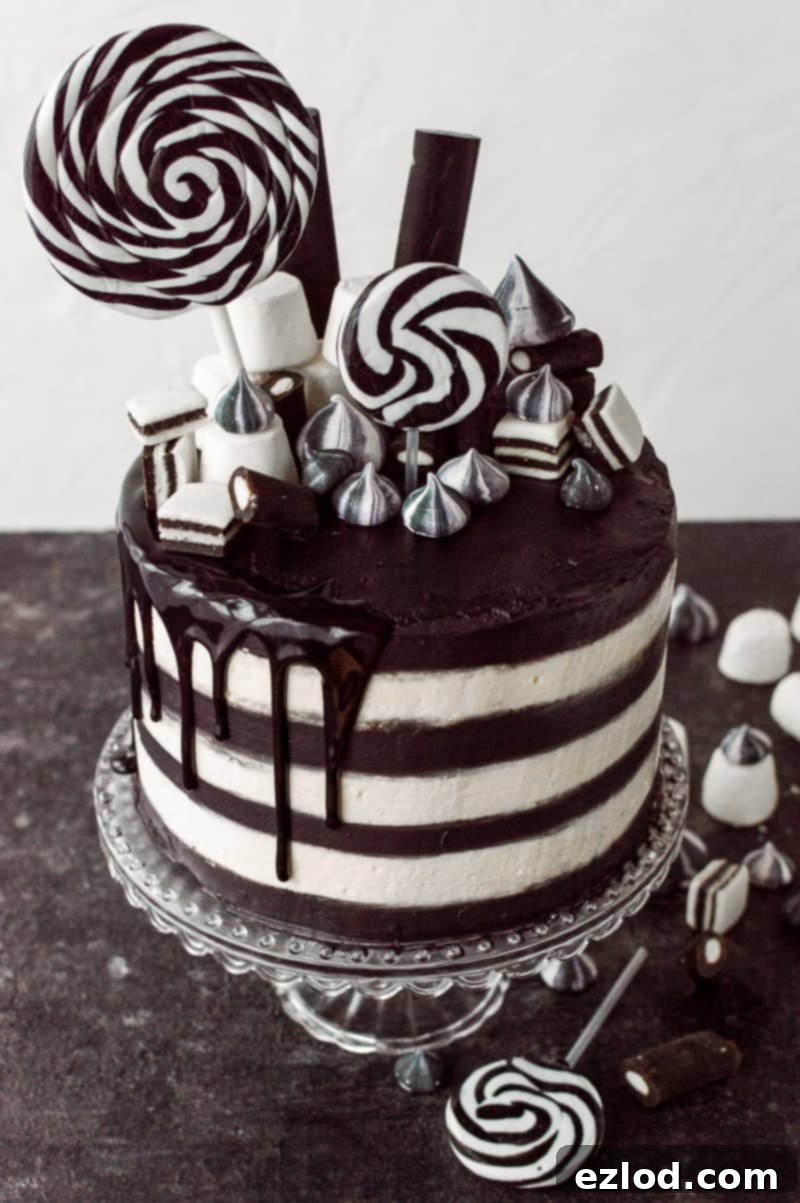
To crown this magnificent monochrome cake, I opted for a collection of elegant black and white decorations that enhance its sophisticated aesthetic and add delightful textural contrasts. I prepared some charming little stripy meringue kisses, which add a delicate crunch, a sweet lightness, and a playful, yet refined, touch to the top. The recipe for these easy-to-make meringues is included below, offering another opportunity to incorporate the black and white theme throughout your dessert, making them a perfect, custom-made garnish.
Complementing the meringues, I carefully assembled an array of classic black and white sweets. Think elegant lollipops with swirling designs, sophisticated liquorice sticks offering a chewy texture, fluffy white marshmallows for softness, and the distinct black and white pieces from a bag of liquorice allsorts for varied shapes and slight spice. These carefully selected toppings not only reinforce the monochromatic theme but also add varied textures and subtle flavor notes, creating a truly engaging visual and culinary experience. While the homemade meringues are a lovely addition and provide a personalized touch, if you’re able to find a generous selection of beautiful black and white sweets that fit your theme, they aren’t strictly necessary, allowing for flexibility in your decorating choices based on availability and personal preference.
More Captivating Halloween Recipes
- Witches’ Finger Cookies
- Haunted Pavlova
- Mini Bleeding Heart Halloween Cakes
- Chocolate Blackberry Gothic Halloween Cake
- Meringue Bone Palace Halloween Cake
- Jack-O-Lantern Pumpkin Pies
- Chocolate Glazed Black Cat Doughnuts
Monochrome Cake Recipe: Craft Your Own Masterpiece
Ready to create this spectacular black and white striped cake yourself? Below you’ll find the detailed recipe for the moist chocolate cake layers, the luscious Swiss meringue buttercream, elegant meringue kisses, and comprehensive instructions for assembly, including tips for achieving those perfect stripes and the dramatic ganache drip. Follow these steps carefully to bake a truly unforgettable monochrome dessert that’s sure to impress your guests and become the star of your next celebration!

Print
Monochrome Cake
Ingredients
Cakes:
- 190 g (1 ½ cups + 1Tbsp) plain (all-purpose) flour
- 80 g (⅔ cup) cocoa powder
- 2 level tsp bicarbonate of soda (baking soda)
- 1 level tsp baking powder
- ½ tsp salt
- 240 ml (1 cup) buttermilk
- 160 ml (⅔ cup) hot coffee
- 120 ml (½ cup) sunflower oil
- 1 ½ tsp vanilla extract
- 2 large eggs
- 300 g (1 ½ cups) caster sugar
- black gel food colouring
Meringue Kisses:
- 2 large egg whites
- pinch cream of tartar
- pinch salt
- 130 g (½ cup + 2 Tbsp) caster sugar
- black gel food colouring
Swiss meringue buttercream:
- 100 g (3.5 oz) dark chocolate chopped
- 7 large egg whites
- 350 g (1 ¾ cups) caster sugar
- pinch salt
- 385 g (13.5 oz) softened unsalted butter cubed
- 1 ½ tsp vanilla extract
- black gel food colouring
Ganache Drip:
- 25 g (1 oz) dark chocolate chopped
- 30 ml (2 Tbsp) double (heavy) cream
- black gel food colouring
- a selection of black and white sweets (lollipops, liquorice allsorts, marshmallows etc) to decorate
Instructions
Cakes:
-
Preheat the oven to 180C/350F/gas mark 4. Grease three 15cm/6inch round tins and line the bases with baking parchment.
-
Sift together the flour, cocoa powder, bicarbonate of soda, baking powder and salt and set aside.
-
Whisk together the buttermilk, coffee, oil, vanilla, eggs and sugar until smooth. Add the dry ingredients and whisk gently until combined. Add black food colouring a little at a time until you reach the desired shade. Bear in mind that the cake will darken a little as it bakes.
-
Bake the cakes for about 30 minutes (check at 25), until a skewer inserted into the centre comes out clean or with a few moist crumbs.
-
Leave the cakes to cool in their tins for 10 minutes then carefully turn them out onto a wire rack and leave to cool completely.
Meringue Kisses:
-
Preheat the oven to 100C/210F/gas mark ¼ and line a baking sheet with baking parchment.
Place the egg whites, cream of tartar and salt in a large, spotlessly clean bowl and whisk on medium speed until soft peaks form. Gradually whisk in the sugar a couple of spoonfuls at a time until it is all incorporated; continue to whisk until the meringue is glossy and forms stiff peaks.
-
Turn a disposable piping bag inside out over a jug (to hold it open). Use a clean paintbrush to paint about 5 stripes of food colouring down the inside of the bag then spoon in the meringue.
-
Twist the top of the bag closed then snip off the tip. Pipe out your kisses by keeping the bag tight, straight and directly above your baking tray. Squeeze from a 2cm height from the baking tray and then let go before pulling up to form peaks. I like to do a few different sizes.
-
Bake the meringues for about 45 minutes-1 hour, until they lift away from the parchment cleanly. Allow to cool in the switched off oven then store in an airtight container.
Swiss Meringue Buttercream:
-
Melt the dark chocolate, either in a bowl set over a pan of gently simmering water, or in short bursts in the microwave. Set aside to cool a little while you make the buttercream.
-
Place the egg whites and sugar with a pinch of salt in a large, spotlessly clean heatproof bowl (the bowl of your stand mixer if you have one) and place the bowl over a pan of gently simmering water; do not let the base of the bowl touch the water. Gently whisk the mixture until the sugar has dissolved, if you rub some between your fingers you shouldn’t feel any graininess. It should reach 71C/160F on a thermometer (but don’t let it get too hot or it will start to set).
-
Remove the bowl from the heat and whisk on a high speed with an electric mixer until it has formed a thick, glossy meringue and is completely cool to the touch, about 10 minutes.
-
Turn the speed down to low and add the butter a tablespoon at a time, whisking well after each addition, until you have added all the butter and the buttercream has become smooth and silky. It may become soupy or curdled looking, just keep whisking and it will come back together. (If it doesn’t, you may need to add a couple of tablespoons more of butter. Or if it remains soupy, refrigerate it for 15-30 minutes then carry on whisking on a high speed. If it remains curdled, place a couple of heaped tablespoons of the mixture in a separate bowl and microwave it until it melts, then drizzle it back into the rest of the buttercream slowly, while whisking on a high speed.)
-
Once the buttercream is smooth, whisk in the vanilla extract. Transfer ⅓rd of the mixture to a separate bowl and fold in the cooled melted chocolate. Add black gel food colouring a little at a time until you reach the desired shade (it will darken a little as it sits).
Assembly:
-
Trim the tops of the cakes to level them. Place one of the cake rounds on a flat board (use a little bit of buttercream to stick it in place) and place that on an icing turntable.
-
Spread a little of the white buttercream over the cake and place another cake round on top. Spread over some more buttercream then place the final cake layer on top upside-down so that the top of the cake is perfectly flat.
-
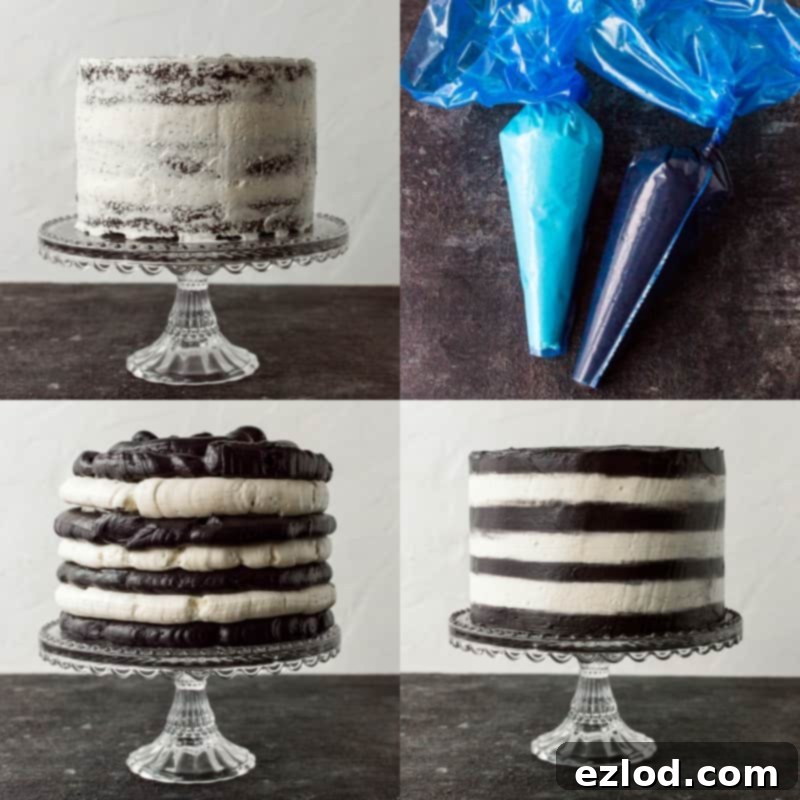
Spread a very thin layer of the white buttercream all over the cake (a crumb coat) then place it in the fridge for 15 minutes.
-
Transfer the rest of the white buttercream to a disposable piping bag and the black buttercream to a separate one. Snip off the tips so that there is an approx 1-1.5cm hole.
-
Return the cake to the turntable and pipe a ring of buttercream around the base. Pipe a ring of the opposite colour on top of that and repeat, alternating colours, until you reach the top. Fill in the top of the cake with whichever colour you have most of left (black in my case). (See image above)
-
Use a bench scraper or icing spatula to smooth the top of the cake. Don’t worry if it’s not totally neat yet.
-
Hold the edge of the bench scraper vertically against the side of the cake. Spin the cake slowly while you hold the bench scraper steady and smooth the buttercream. Stop every few turns to scrape the excess buttercream into a bowl. Wipe the bench scraper down with a warm paper towel to clean the blade between spins.
-
Use the flat edge of an offset spatula to clean up the top edge of the cake. Swipe the blade across the top of the cake, pulling in from the sides towards the center of the cake. Do this all the way around until your cake is smooth enough.
-
Pop the cake in the fridge while you make the ganache drip. Place the chocolate and cream in a bowl set over a pan of gently simmering water and heat, stirring regularly, until melted and smooth. Remove from the heat and stir in some black gel colouring. Set aside to cool a little.
-
Carefully spoon the ganache around the top edge of the cake, using the back of the spoon to encourage it to drip over the edge. You can go all the way around the top if you like, or do as I did and just cover half of the cake.
-
Top the cake with your selection of sweets and serve. The cake will keep well in an airtight container but don’t add the sweets until just before serving as they will moisten a little over time.
