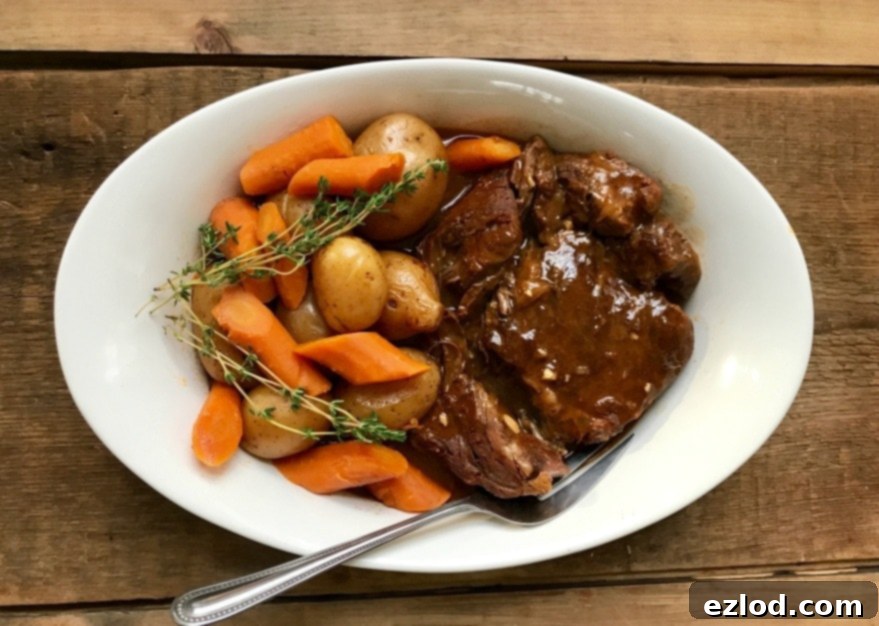
Effortless Instant Pot Beef Pot Roast: Your Go-To Weeknight Comfort Food Recipe
This Instant Pot Pot Roast cooks in record time, making it perfect for a weeknight dinner or a stress-free special occasion!
This post contains affiliate links for products I’m obsessed with.
Transform Weeknights with Instant Pot Pot Roast Magic
Get ready to fall in love with your Instant Pot all over again, because this beef pot roast recipe is an absolute game-changer! Imagine savoring a rich, tender, and deeply flavorful pot roast, complete with perfectly cooked vegetables and a luxurious gravy, not on a leisurely Sunday, but on a busy Wednesday night. Yes, you read that right – the Instant Pot makes what was once an all-day affair a reality even on your most hectic weekdays.
There are few dishes that evoke the same sense of comfort and home as a classic pot roast. Traditionally, this hearty meal required hours of slow simmering, a true labor of love reserved for special weekends. But thanks to the incredible technology of the Instant Pot, we can now achieve that same melt-in-your-mouth tenderness and complex flavor in a fraction of the time. This isn’t just about speed; it’s about unlocking incredible efficiency without compromising on taste or quality. For families navigating busy schedules, an Instant Pot pot roast means more quality time together and less time tied to the stove.
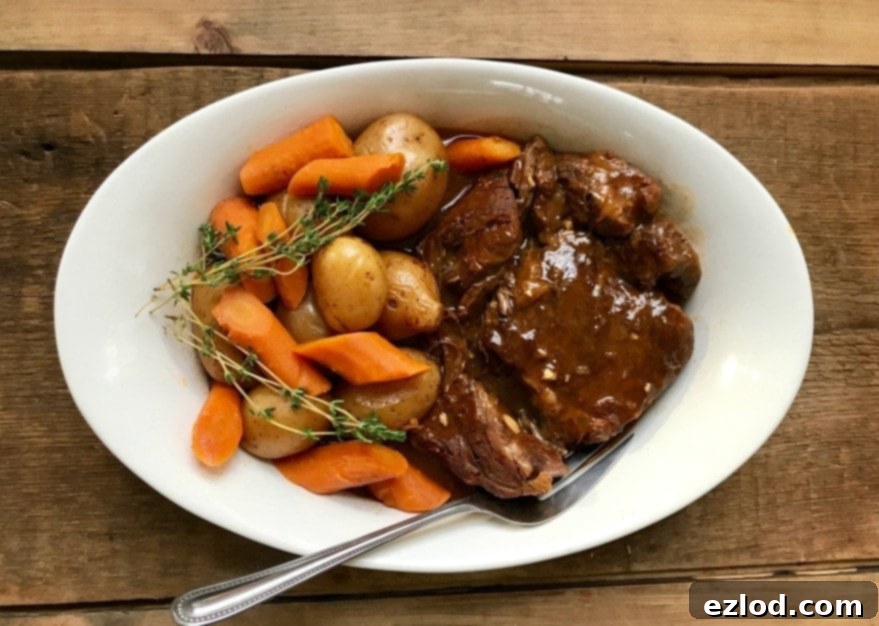
While this might not be the absolute quickest Instant Pot meal you’ll ever make, it is unequivocally the fastest and easiest pot roast experience you’ll encounter. Imagine being able to set it and forget it – literally! I recently made this on a bustling evening, and during the cooking time, I was able to tackle homework with the kids, prepare basketball clothes, pack lunches for the next day, and manage all the usual after-school chaos. The Instant Pot handles the magic, allowing you to reclaim your precious time and still put a wholesome, delicious meal on the table.
Why the Instant Pot is Your Best Friend for Pot Roast
The beauty of the Instant Pot lies in its ability to harness pressure cooking, which drastically reduces cooking times while intensifying flavors and tenderizing tough cuts of meat. For a pot roast, this means transforming an affordable cut like chuck roast into incredibly succulent strands of beef that practically fall apart with a fork. The high-pressure environment forces liquid and flavors deep into the meat, creating a richness that usually only develops after hours on the stovetop or in a slow cooker. This method also locks in moisture, ensuring your roast is never dry.
Beyond speed, the Instant Pot offers a distinct advantage: a true one-pot experience. You can sear your meat, sauté your aromatics, cook the roast and vegetables, and even whip up a gravy, all within the same pot. This not only builds layers of flavor but also makes for incredibly easy cleanup – a win-win for any home cook, especially on busy weeknights when you want to minimize dish duty.
Crafting Your Perfect Instant Pot Pot Roast: Step-by-Step Guide
Let’s walk through the simple steps to create this magnificent meal. I typically use my 8-quart Instant Pot for this recipe, but it fits perfectly into a 6-quart model as well. The key is quality ingredients and a few smart techniques to maximize flavor and achieve that perfect pot roast texture.
1. Searing for Deep Flavor
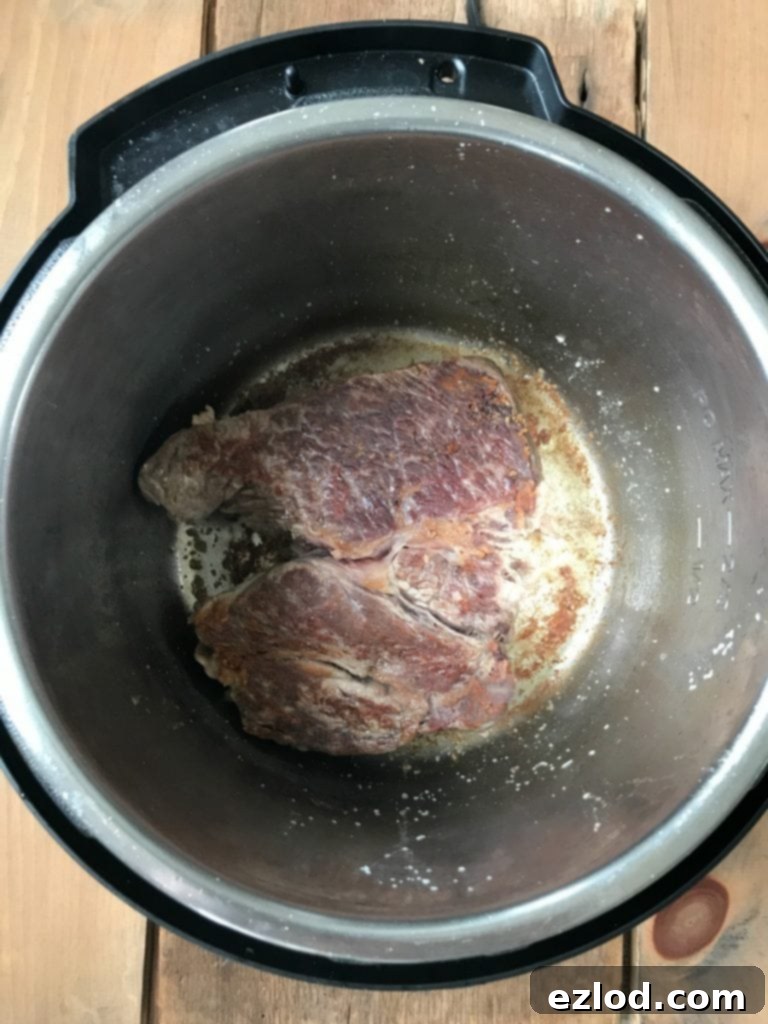
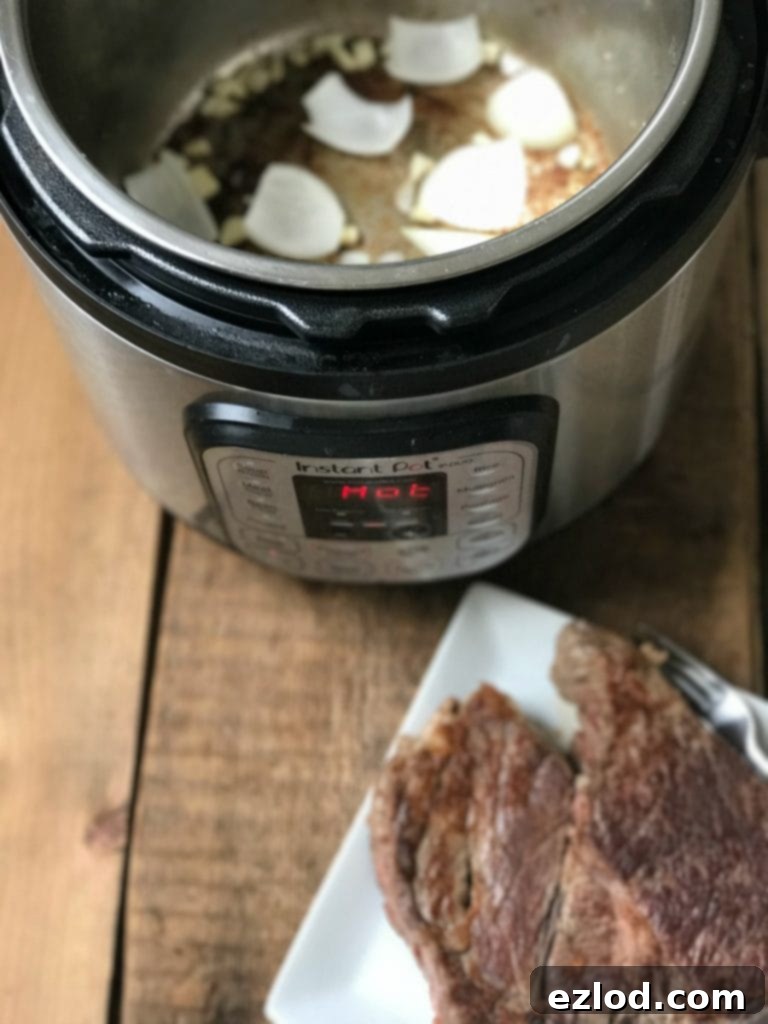
The first crucial step is to give your chuck roast a good sear. This process, known as the Maillard reaction, creates a beautiful brown crust that adds immense depth of flavor to your pot roast. Use two teaspoons of olive oil and the “Sauté” function on your Instant Pot until it reads “hot.” Sear the trimmed boneless chuck roast on both sides until beautifully browned – aim for a rich, dark color. Then, remove it from the pot temporarily and set aside. Don’t skip this step – it’s foundational for a rich final product and truly makes a difference in the overall taste.
2. Building the Aromatic Base
After searing the meat, add the remaining two teaspoons of olive oil to the pot. Toss in some roughly chopped onions and minced garlic. Sauté these aromatics for a few minutes until they become fragrant and slightly softened. This step infuses the cooking liquid with a wonderful foundation of sweet and savory flavors that will permeate the entire dish.
3. Deglazing and Liquid Infusion
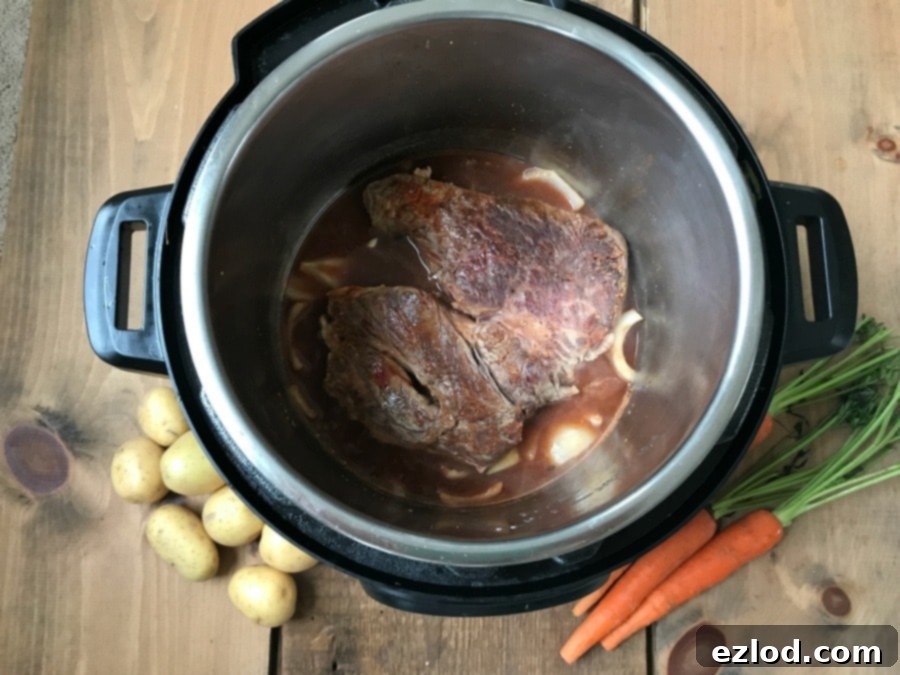
Now, it’s time to deglaze the pot. Return the seared meat to the pot. Pour in the organic low-sodium beef broth or stock and add the tomato paste. This is also where you can add a tablespoon of gluten-free Worcestershire sauce or coconut aminos, if you wish, for an extra layer of savory depth and umami. However, I’ve made it both with and without these additions and loved it equally every time, so feel free to omit them if you don’t have them on hand. The most important part of deglazing is to use a wooden spoon or spatula to scrape up all those delicious brown bits stuck to the bottom of the pot. These “fond” bits are packed with concentrated flavor and will contribute significantly to your rich gravy and overall dish.
4. Preparing Your Vegetables
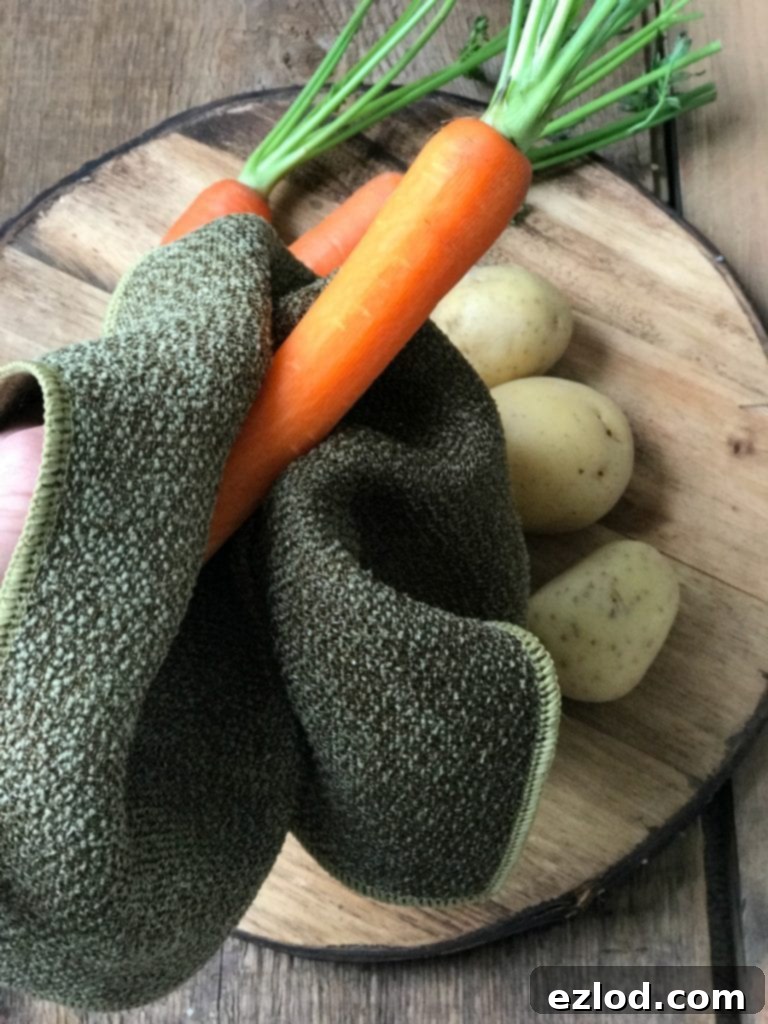
Next up are the vegetables! For this recipe, baby potatoes with their skins left on are absolutely perfect. There’s no need to peel or cut them, and their skins help them retain their shape and texture, ensuring they’re super tender but never mushy. I typically wash my carrots and baby potatoes thoroughly using a good fruit and veggie cloth for extra cleanliness.
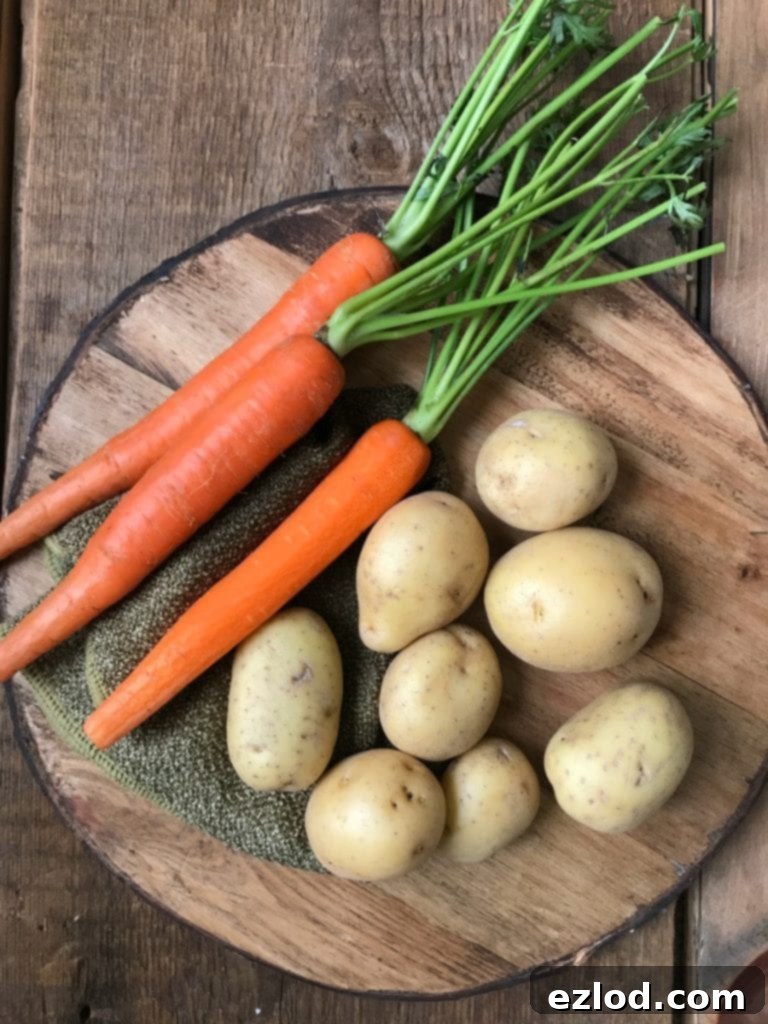
Just toss those whole baby potatoes right into the pot around the meat.
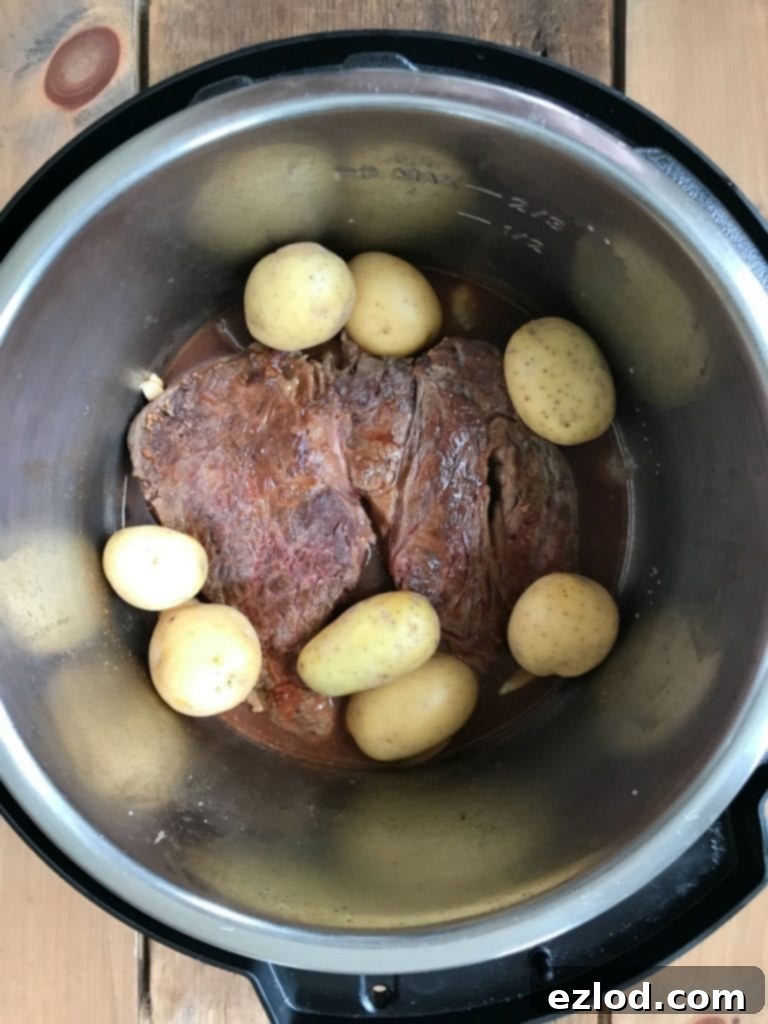
For the carrots, it’s important to cut them thick and on a diagonal. Because they cook under pressure, thinner carrots (like baby carrots) will become very soft, which some people don’t prefer. If you prefer your carrots with more bite, or if soft carrots are a dealbreaker for you, consider cooking them separately in the microwave or roasting them in the oven after the pot roast is done. This allows you to control their texture perfectly.
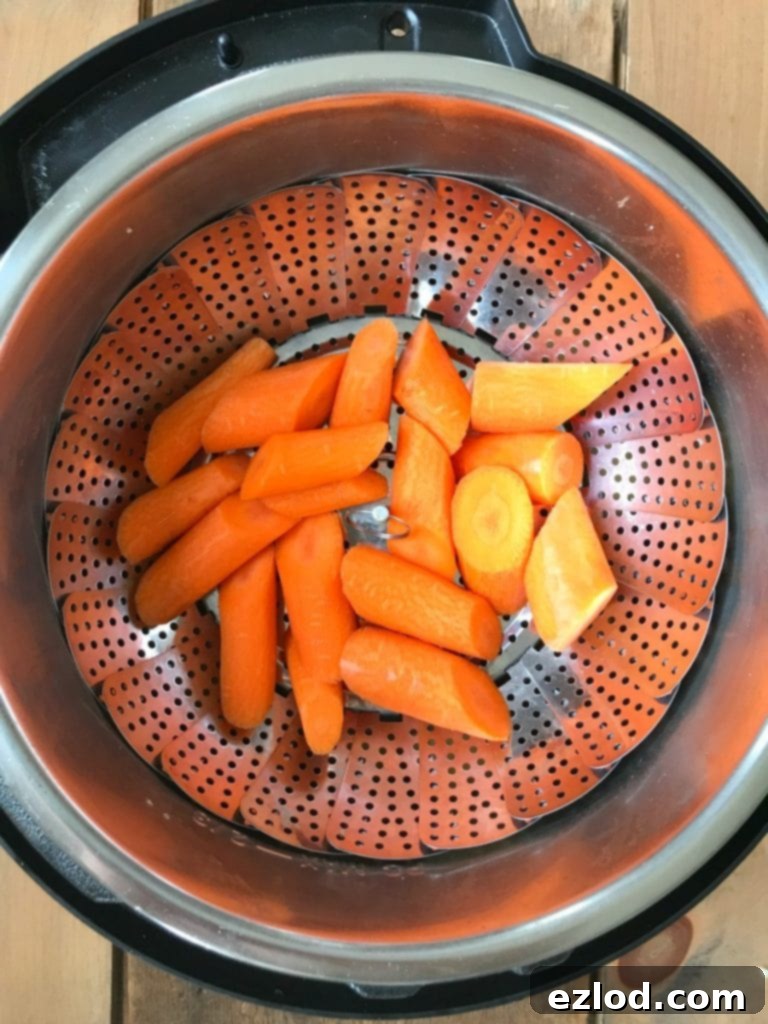
To prevent the carrots from getting lost in the gravy and to help them steam evenly without overcooking, I highly recommend using a steamer basket. I picked up mine on Amazon, and it actually came with two different sizes, which are incredibly versatile for steaming all sorts of vegetables. Place the thick-cut carrots in the steamer basket and set it on top of the meat and potatoes in the Instant Pot.
5. Pressure Cooking and Natural Release
With all your ingredients prepped and in the pot, simply lock the lid, ensure the venting knob is sealed, and set the Instant Pot to “Manual” or “Pressure Cook” for 60 minutes on high pressure. Once the cooking cycle is complete, the crucial next step for a truly tender pot roast is a natural pressure release (NPR). This means allowing the Instant Pot to release pressure on its own, which usually takes about 15 minutes. This gentle process allows the meat to rest and reabsorb its juices, resulting in a more succulent and flavorful texture. If you’re short on time or particularly hungry, you can perform a quick release (QR) after about 10-15 minutes of natural release, and your roast will still be delicious. However, for maximum tenderness, full NPR is always recommended.
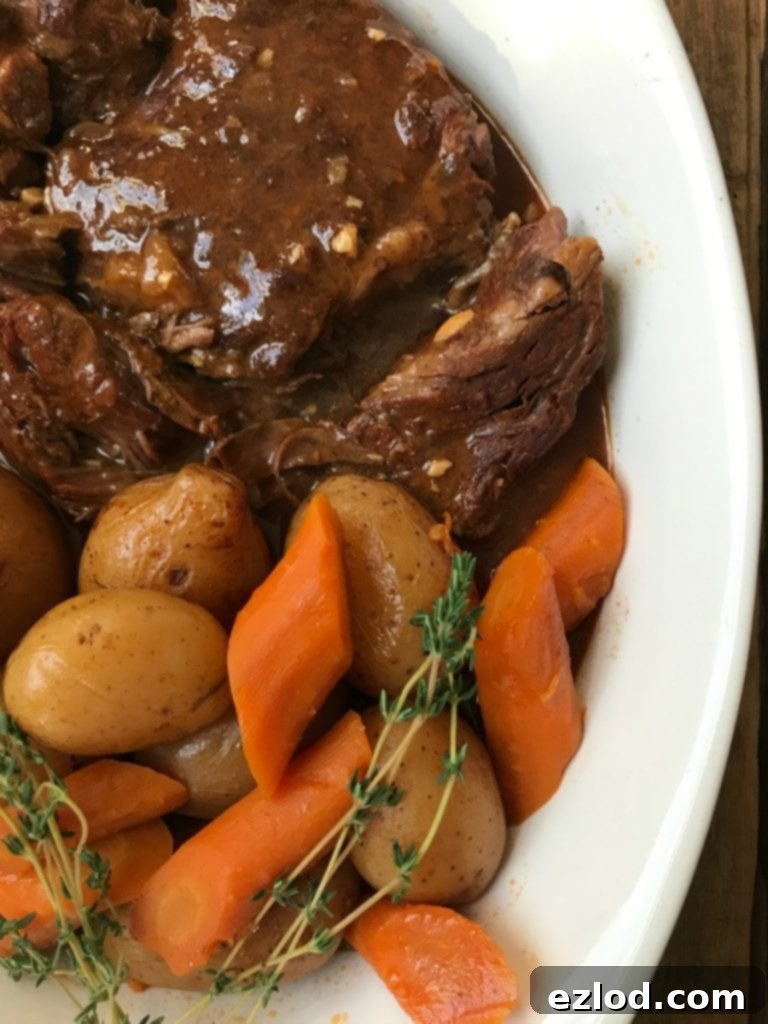
After the pressure has fully released, carefully open the lid to reveal this absolute gorgeousness – a perfectly cooked, tender pot roast awaiting its final touch!
6. The Grand Finale: Making the Gravy
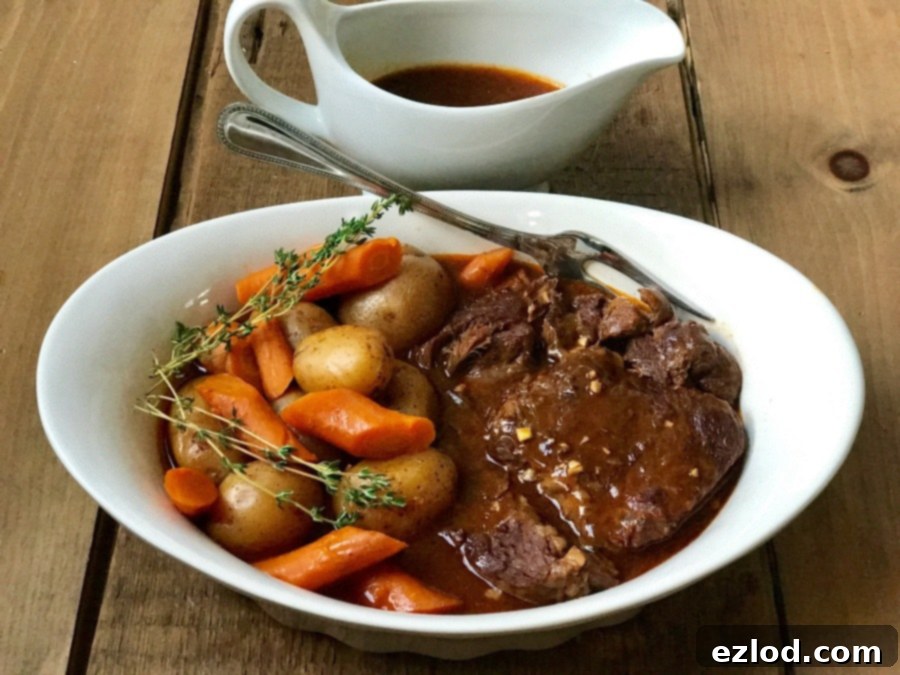
No pot roast is complete without a rich, flavorful gravy! I love using the Instant Pot’s “Sauté” setting to quickly thicken the savory cooking liquid that remains after cooking. Simply remove the roast and vegetables, then carefully transfer about 1/2 cup of the cooking stock into a small bowl. Whisk this liquid with 1 tablespoon of your chosen thickener – tapioca, arrowroot, rice flour, or cornstarch all work wonderfully to create a smooth gravy. Add this slurry back to the Instant Pot, set it to “Sauté,” and simmer, stirring frequently, until the gravy thickens to your desired consistency. It’s the perfect, simple way to finish off this incredible meal and ensure every bite is coated in deliciousness.
A Meal That Pleases Everyone (and Simplifies Cleanup!)
This Instant Pot Beef Pot Roast isn’t just a delicious meal; it’s a strategic move for busy households. The biggest reward after a long day of work and kids’ activities? Knowing I only had one pot to clean after my daughter’s basketball game. Talk about a win! The sheer convenience of a one-pot meal that delivers such a robust flavor profile is unparalleled, making it a regular hero in our kitchen rotation.
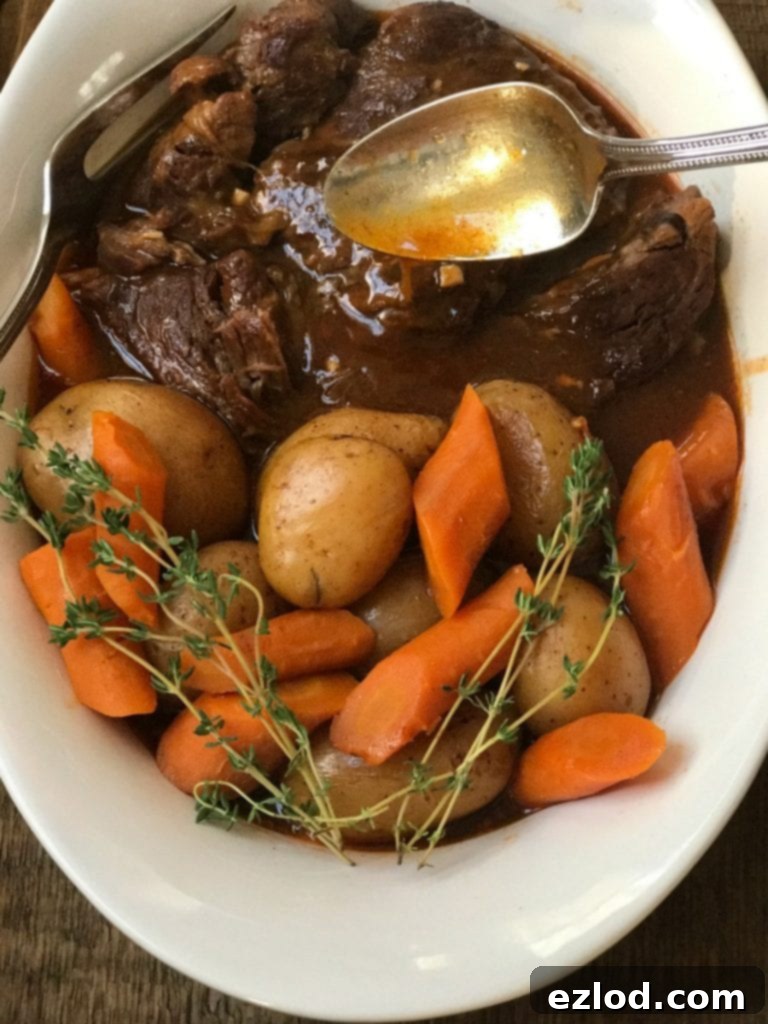
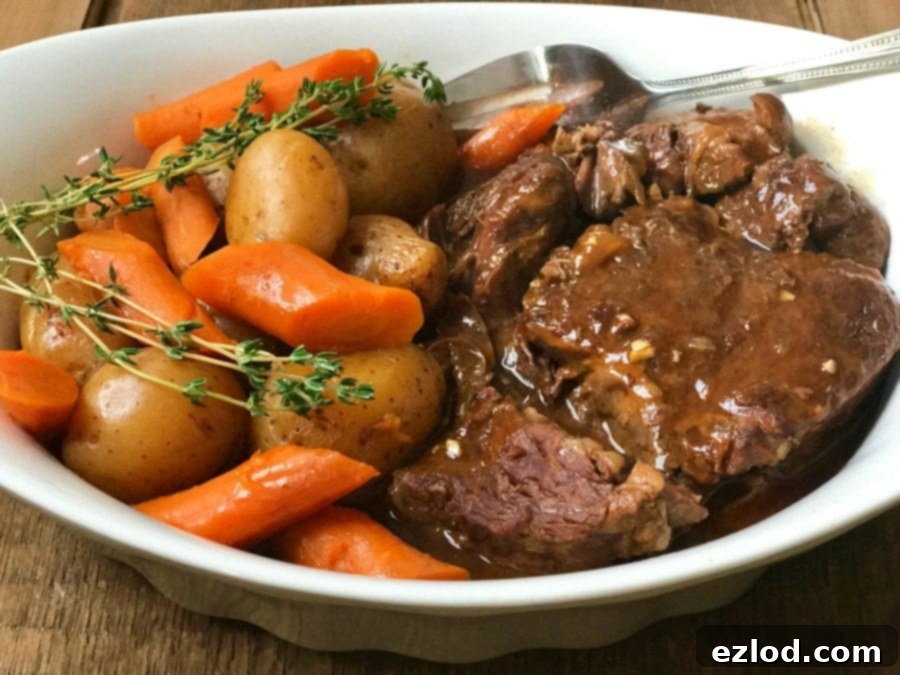
And let me tell you, this is a real crowd-pleaser. My husband was absolutely in love, declaring it one of his favorite meals, and I certainly know the way to that man’s heart! The combination of tender beef, savory gravy, and perfectly cooked vegetables makes for a simple, yet incredibly satisfying, dinner that feels special every time you serve it.
Serving Suggestions and Customizations
While this Instant Pot Pot Roast is a complete meal on its own with the beef, carrots, and potatoes, you can easily elevate it or customize it further. Consider serving it with a crisp green salad tossed in a light vinaigrette to add some freshness and balance to the rich flavors. A side of warm, crusty bread or dinner rolls is also fantastic for soaking up every last drop of that amazing gravy. If you’re not following the 21 Day Fix, you might enjoy a dollop of sour cream or a sprinkle of fresh chopped parsley or chives for garnish and an extra burst of flavor.
Feeling adventurous? You could also add other root vegetables like parsnips, turnips, or even sweet potatoes alongside the baby potatoes. For a touch of earthiness, try adding some sliced mushrooms during the last 10-15 minutes of cooking (if using the steamer basket) or stirring them into the gravy at the end. The versatility of this recipe means you can truly make it your own, adapting it to your family’s preferences or what you have available in your pantry.
Storing and Reheating Leftovers
One of the best parts about a hearty pot roast is the leftovers! This Instant Pot Beef Pot Roast stores beautifully, making it perfect for meal prep or a quick lunch the next day. Simply transfer any remaining roast, vegetables, and gravy to an airtight container and refrigerate for up to 3-4 days. To reheat, you can gently warm it on the stovetop over medium-low heat, adding a splash of extra beef broth or water if the gravy has thickened too much during refrigeration. Alternatively, reheat individual portions in the microwave until warmed through. The flavors often deepen overnight, making it just as delicious, if not more so, the next day!
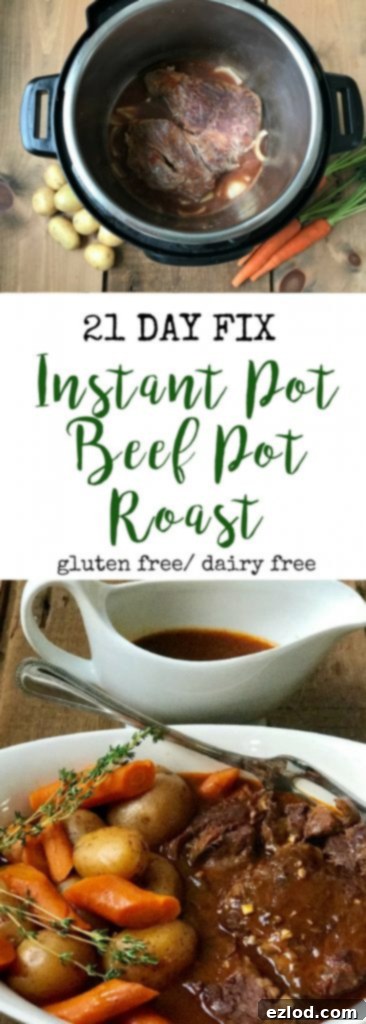
Ready to try this delicious Instant Pot Beef Pot Roast? I promise it will become a staple in your meal rotation. It’s the kind of effortless comfort food that brings everyone to the table with a smile. Let me know what you think when you make it! I absolutely love seeing your culinary creations, so please tag me on social media!

Instant Pot Beef Pot Roast
Pin Recipe
Ingredients
- 4 teaspoons olive oil divided
- 2 lbs boneless chuck roast trimmed
- 1/2 onion roughly chopped
- 3 cloves garlic minced
- 1 1/2 cups organic low sodium beef broth or stock
- 2 tablespoons tomato paste
- 6 carrots chopped thick and on a diagonal
- 3 cups baby potatoes skin left on
- Himalayan or sea salt
- 1 tablespoon thickener of your choice tapioca, arrowroot, rice flour, or cornstarch
- 1 tablespoon Worcestershire sauce or coconut aminos optional
Instructions
-
Trim all fat from chuck roast steak, then sprinkle salt on each side. Set IP to sauté and and wait until the screen reads “hot.” Add 2 tsp of the olive oil and sear meat on both sides. Remove roast from pot.
-
Add remaining 2 tsp olive oil to pot and add onions and garlic. Saute for a few minutes until fragrant, then deglaze with broth, tomato paste, and Worcestershire sauce, if using, and stir well. Get all those brown bits up from the bottom of the pot to flavor your meat and veggies and make a killer gravy!
-
Add roast back to pot, along with potatoes. Place carrots in a steamer basket on top of meat and potatoes. Lock lid and set for 60 minutes.
-
After cook time, do a natural release. It took my pot about 15 minutes to release all the pressure. If you are hangry or impatient, you could switch it over to quick release anytime after this point and you will be good.
-
Remove roast and veggies after cook time. Enjoy as is or make a quick gravy by removing 1/2 cup of the stock and mixing with 1 Tbsp of your thickener. Add this slurry back to the IP and place pot on sauté. Simmer until the gravy thickens to your liking, stirring frequently.
-
Fixers – use your containers to measure your portions. Enjoy!
-
For Slow Cooker – cook on low 8-10 hours
Notes
WW link for personal points: IP Pot Roast
Nutrition
