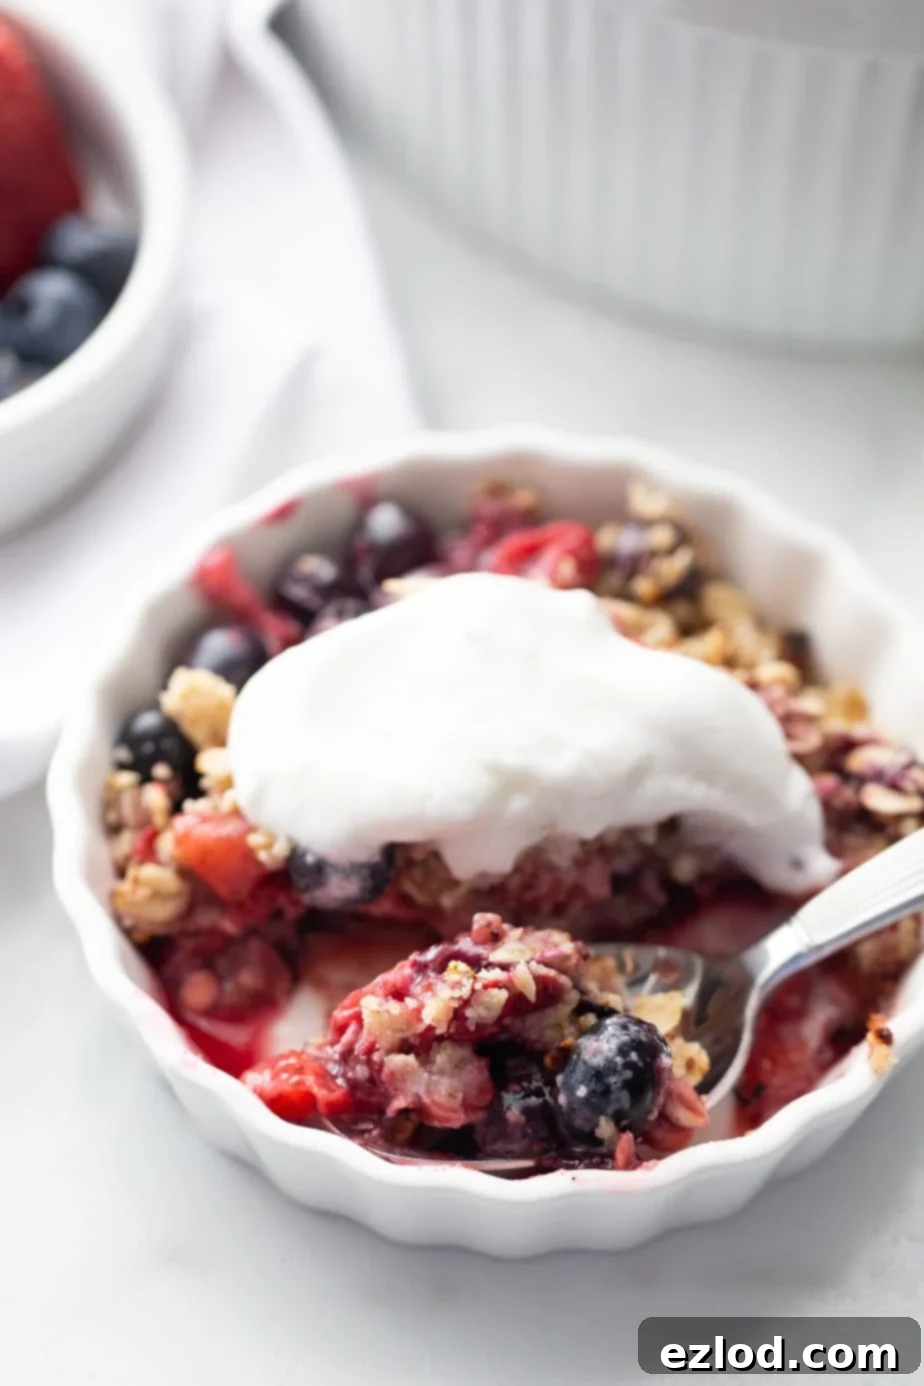
Ultimate Instant Pot Berry Crisp: Healthy, Gluten-Free & Vegan Perfection
Discover the ultimate dessert that perfectly captures the essence of summer: this delightful Instant Pot Berry Crisp. It’s more than just a sweet treat; it’s a guilt-free pleasure that can be enjoyed any time of day. Crafted to be gluten-free, dairy-free, and free from refined sugars, this Mixed Berry Crisp offers a healthy alternative that’s so wholesome, you could even enjoy it for breakfast without a second thought! Its incredible versatility means you can easily customize it to your liking. Love blueberries? Turn it into a pure blueberry crisp! Don’t own an Instant Pot? No problem – this vegan berry crumble bakes beautifully in the oven too. Prepare to be amazed by its delicious flavor and simple preparation.
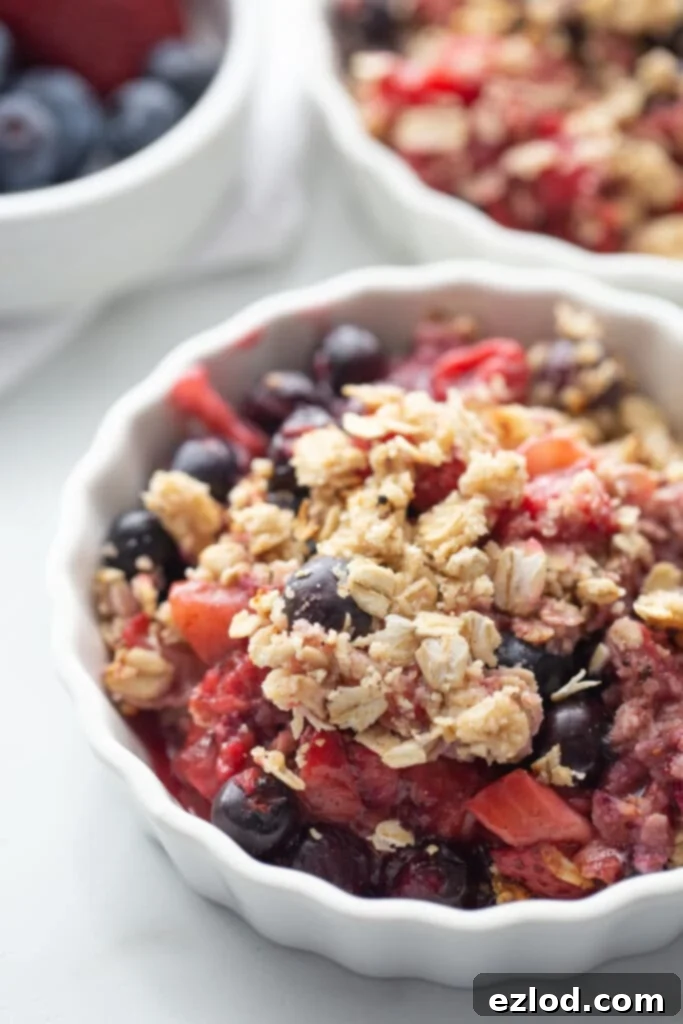
If you’re a regular visitor here, you’ve probably noticed our undeniable passion for fruit crisps. They are a staple in our household, especially when fresh seasonal fruits are abundant. There’s something truly comforting about a warm, bubbly fruit filling topped with a perfectly golden, crunchy oat mixture. It’s a classic dessert that evokes feelings of home and simple joy.
In fact, this Berry Crisp proudly stands as the FIFTH fruit crisp recipe to grace our pages! My daughter, a discerning connoisseur of sweet treats, even declared this one her absolute favorite. High praise indeed! If you’re curious to explore the full range of our beloved crisp recipes, here’s a taste of our delicious collection:
- Healthy Apple Crisp | Gluten-free & Dairy-free
- Instant Pot Peach Crisp [Gluten-free | Dairy Free]
- Healthy Instant Pot Strawberry Rhubarb Crisp (with Stovetop Option)
- Classic Strawberry Rhubarb Crisp
Quite the impressive and delicious list, if we do say so ourselves! Each recipe is designed to be healthy, versatile, and incredibly satisfying. But today, our spotlight shines brightly on this fantastic Instant Pot Berry Crisp. Let’s dive into what makes this particular crisp so special!
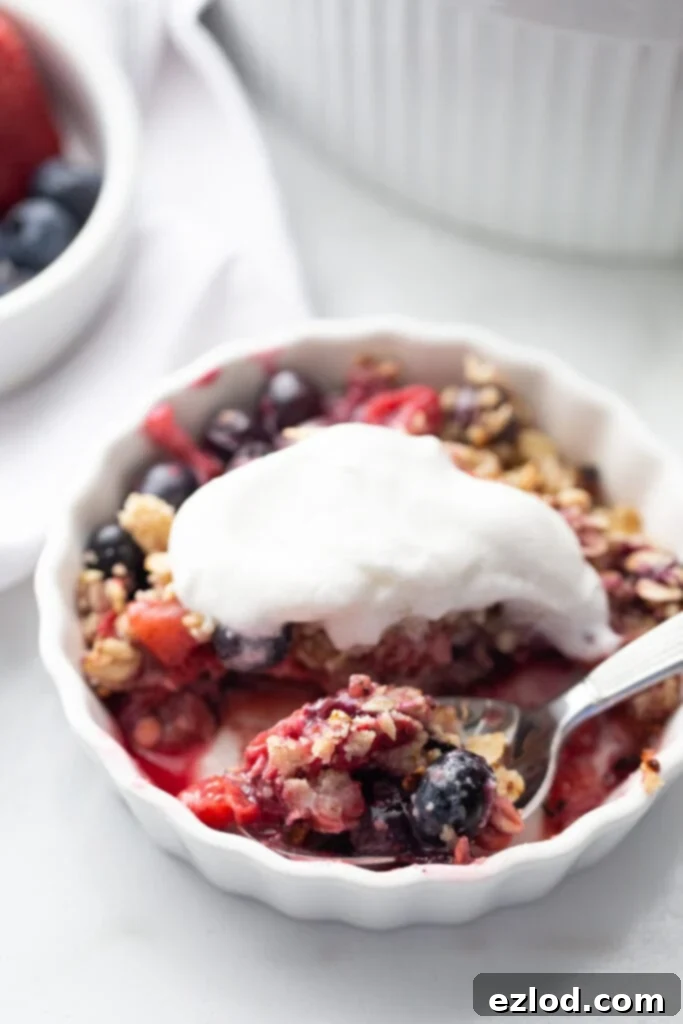
Table of Contents
Toggle
What is the Difference Between a Berry Crisp and a Berry Crumble?
While diving deep into research for this post (one of the many unexpected tasks a food blogger takes on!), I noticed a common question: what’s the actual difference between a berry crisp and a berry crumble? It seems like a subtle distinction, but it’s all in the topping!
From what I’ve gathered, a crumble typically features a topping that’s more like a streusel – a mixture of flour, sugar, and butter that, when baked, remains somewhat soft and cakey. It crumbles beautifully but doesn’t necessarily achieve a firm, crunchy texture. On the other hand, a crisp, true to its name, almost always incorporates oats into its topping. These oats are key to creating that wonderfully crunchy, golden-brown texture when baked or broiled. This addition gives the topping a delightful crispiness that perfectly contrasts with the soft, juicy fruit underneath.
So, there you have it! Our recipe, with its oat-laden topping, definitely falls into the “crisp” category. We’re all about that satisfying crunch!
Why You’ll Love This Healthy Berry Crisp
Beyond being incredibly delicious, this berry crisp boasts a fantastic array of benefits that make it a perfect choice for almost any dietary need or craving:
- Gluten-Free Goodness: We use certified gluten-free rolled oats and almond flour, making it safe and enjoyable for those with gluten sensitivities or celiac disease.
- Dairy-Free Delight: With coconut oil replacing butter, this crisp is completely dairy-free, suitable for vegans and those with lactose intolerance.
- Refined Sugar-Free: Sweetened naturally with honey or maple syrup, it avoids processed sugars while still delivering plenty of sweetness.
- Vegan-Friendly: Simply opt for maple syrup instead of honey to make this crisp 100% vegan.
- Versatile for Any Meal: While it makes an exceptional dessert, its wholesome ingredients also make it a fantastic option for a healthy breakfast or a hearty snack.
- Effortless Preparation: Whether you choose the Instant Pot or oven method, the steps are straightforward, making this a great recipe for both novice and experienced cooks.
- Customizable Fruit Base: Use any combination of your favorite berries, or even other fruits like peaches or apples, to create your unique crisp.
Key Ingredients for a Perfect Mixed Berry Crisp
As established, this is indeed a berry crisp, featuring a satisfyingly crispy oat topping. Let’s delve into the essential ingredients that make this recipe shine, along with some insights and tips for each:
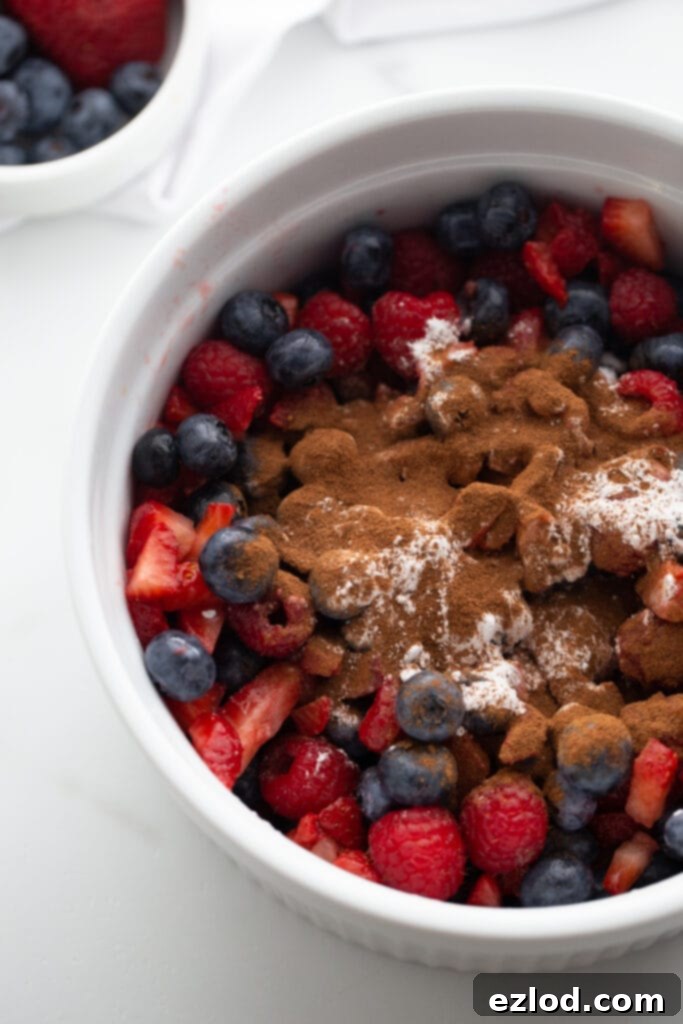
- 6 cups fresh or frozen berries – This is your canvas! Feel free to use any mix of blueberries, diced strawberries, and raspberries, or stick to a single berry if that’s what you have on hand. Frozen berries work beautifully, just be aware they might require a slightly longer cooking time in the Instant Pot to soften thoroughly. For strawberries, always slice them first for even cooking.
- Honey or maple syrup – These natural sweeteners provide a lovely depth of flavor without the need for refined sugar. You can use either one; sometimes, I even enjoy combining both for a more complex sweetness. For a truly vegan berry crisp, be sure to use maple syrup.
- Arrowroot flour or cornstarch – This optional addition acts as a thickening agent for the berry mixture, preventing it from becoming too watery. I always keep arrowroot powder in my healthy pantry, but cornstarch is an equally effective substitute and widely available.
- Coconut oil – After extensive testing with both butter and coconut oil, I genuinely prefer the richness and subtle flavor that coconut oil imparts to the topping. Plus, it’s a crucial ingredient for keeping this recipe entirely vegan and dairy-free. Ensure it’s melted before mixing with other ingredients.
- Gluten-Free Rolled Oats – The star of our crispy topping! If you follow a gluten-free diet, make sure to use certified gluten-free rolled oats. If gluten isn’t a concern, regular old-fashioned rolled oats work perfectly. Avoid quick oats, as they tend to become mushy rather than crispy during baking. My personal favorite is Bob’s Red Mill Old Fashioned Rolled Oats for their consistent texture.
- Almond Flour – I love incorporating almond flour not just for its subtle nutty flavor but also for the added healthy fats and protein it brings to the topping. It contributes to a richer texture and makes the crisp more filling. If you have a nut allergy, you can easily substitute this with an equal amount of regular all-purpose flour or a gluten-free all-purpose blend.
- Cinnamon – More than just a spice, cinnamon adds warmth and an inviting aroma that fills your kitchen, making it smell wonderfully cozy, almost like Christmas morning!
- Salt – A small pinch of salt is essential! It doesn’t make the crisp salty, but rather enhances and balances the natural sweetness of the berries and the topping ingredients, bringing out their best flavors.
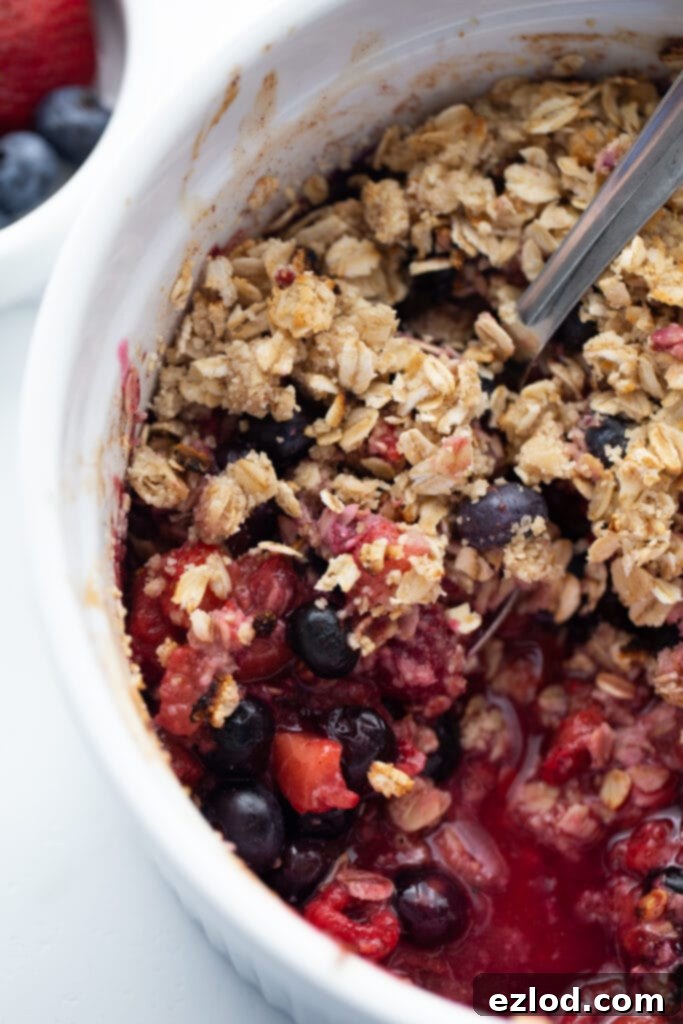
Got Blueberries? Make it a Glorious Blueberry Crisp!
Absolutely, you can! We often find ourselves with an abundance of fresh blueberries, especially after visits to local farms here in New Jersey. So, I’m always on the lookout for delicious blueberry-centric desserts, and this crisp is an absolute winner. Blueberries perform wonderfully in this recipe, even when used exclusively, without any other berries! My husband, in fact, often prefers it as a pure blueberry crisp. However, my kids love the vibrant medley that a mixed berry version offers. The beauty of this recipe is its adaptability.
Beyond just blueberries, you can also experiment with other fruit combinations. Consider pairing blueberries with diced peaches, thinly sliced apples, or even ripe pears instead of other berries. This opens up a world of seasonal possibilities, allowing you to enjoy a freshly baked fruit crisp no matter the time of year. Whether it’s a single fruit or a delightful blend, the core recipe remains robust and delicious, providing a perfect base for your fruity creations.
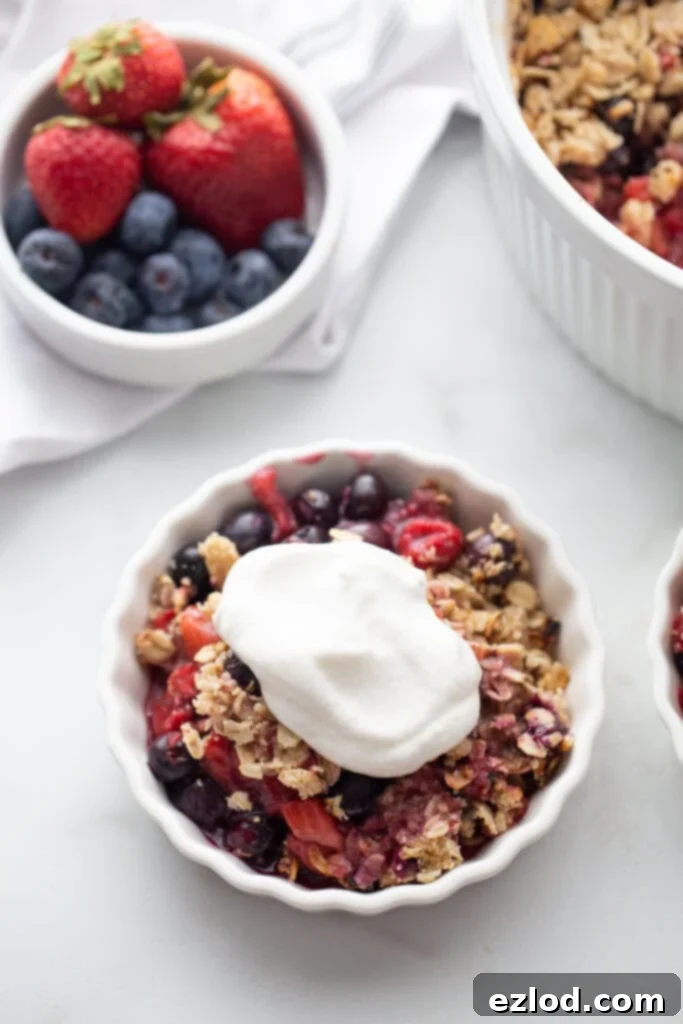
Achieving Peak Crispiness: Instant Pot vs. Oven Methods
Here’s a key point about using your Instant Pot for this recipe: if you simply cook this Mixed Berry Crisp under pressure and serve it, the topping won’t be crispy. It will be softer, more akin to a berry crumble (as we discussed earlier!). But don’t despair! There are two fantastic methods to ensure your Instant Pot Berry Crisp lives up to its name and achieves that desirable crunchy topping:
- Broil in Your Oven: After the Instant Pot cooking time is complete and you’ve performed a quick release, you can carefully transfer your Instant Pot-safe dish directly under your oven’s broiler for a few minutes. Keep a very close eye on it, as broilers can brown things quickly! You’re looking for that perfect golden-brown hue and a crispy texture. Remove it just as the topping starts to turn golden and crunchy to prevent burning.
- Utilize the Mealthy CrispLid: This is my preferred method, and I cannot recommend the Mealthy CrispLid enough! If you own one, simply attach it to your Instant Pot after the pressure cooking cycle. The CrispLid uses circulating hot air to brown and crisp the topping right in your pressure cooker, without needing to transfer it to a separate appliance. It’s incredibly convenient and consistently delivers a perfectly crispy topping. I typically set mine to 450°F (around 230°C) for a few minutes, monitoring closely until the desired crispiness is achieved. It truly transforms your pressure cooker into an air fryer and a broiler!
Curious to learn more about the incredible Mealthy CrispLid and how it can elevate your Instant Pot cooking? Be sure to check out my comprehensive CrispLid review for all the details and benefits!
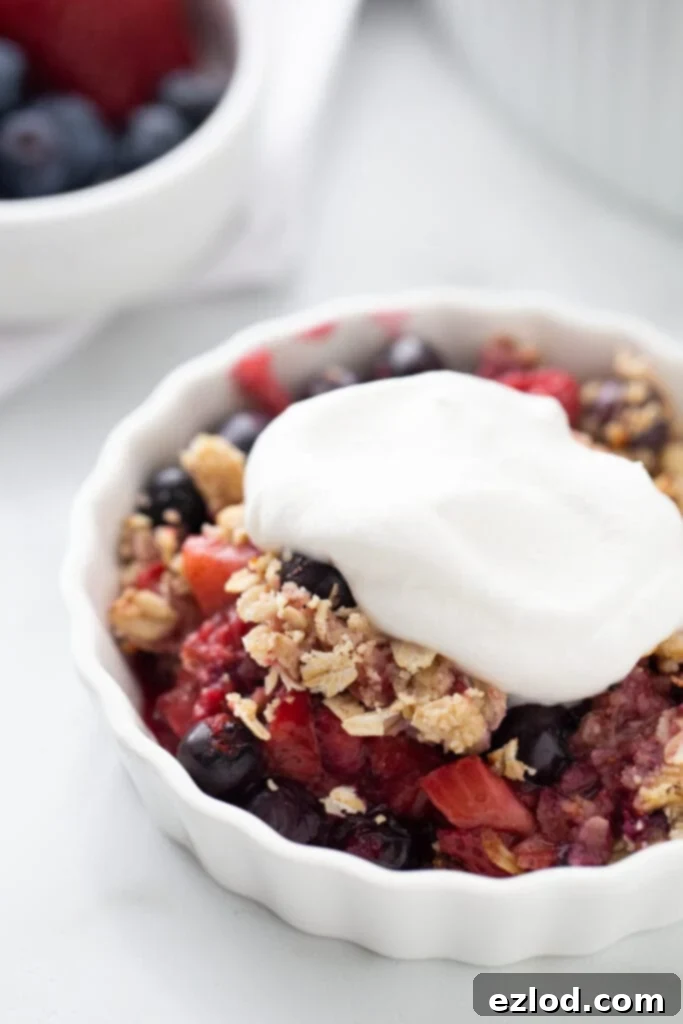
How to Make Delicious Dairy-Free Coconut Cream (and Other Topping Ideas)
While this berry crisp is absolutely delightful on its own, adding a dollop of creamy topping takes it to an entirely new level. Our go-to is homemade dairy-free coconut cream, and it’s surprisingly simple to prepare!
To make your own coconut cream: Start with a can of full-fat coconut milk. Place the unopened can in the refrigerator overnight (or for at least 8 hours). This allows the thick cream to separate and rise to the top, while the watery liquid settles at the bottom. The next day, carefully open the can and scoop out the chilled, solidified cream into a large mixing bowl, leaving the liquid behind (you can save this for smoothies!). Using a hand mixer or a stand mixer with a whisk attachment, whip the coconut cream until it becomes light, fluffy, and smooth – this usually takes about 5 minutes. If you desire a sweeter cream, you can add a few drops of liquid stevia or a teaspoon of maple syrup during the whipping process. For a unique twist, explore our pumpkin-flavored coconut cream recipe!
Alternatively, if you’re fortunate enough to find So Delicious CocoWhip at a store near you, it’s an excellent ready-made dairy-free option! The ingredients are remarkably clean, and it’s incredibly delicious (seriously, no pun intended!). Even my kids adore it. It’s only 30 calories for two generous tablespoons and made with organic coconut oil, making it a convenient and healthy choice for topping your crisp.
Beyond coconut cream, consider these other delightful serving suggestions:
- A scoop of your favorite dairy-free vanilla ice cream.
- A sprinkle of chopped toasted nuts (like pecans or walnuts) for extra crunch.
- A drizzle of extra maple syrup or a dollop of dairy-free yogurt.
- Fresh mint leaves for a bright, aromatic garnish.
Tips for Success with Your Berry Crisp
- Berry Selection: Use ripe, flavorful berries. If using frozen berries, there’s no need to thaw them first, but note the increased Instant Pot cooking time.
- Prevent Watery Filling: The arrowroot powder or cornstarch is key to a perfectly thick berry filling. Don’t skip it if you prefer a less runny consistency.
- Coconut Oil & Syrup Consistency: Ensure your coconut oil is fully melted and your maple syrup/honey isn’t too cold when mixing the topping ingredients. Cold syrup can cause the coconut oil to solidify, making it harder to combine evenly.
- Don’t Overcrowd the Instant Pot: Use a bowl that fits comfortably within your Instant Pot, allowing steam to circulate. Cover with foil tightly to prevent condensation from dripping onto the crisp.
- Broiler Watch: When broiling, stay by the oven! The topping can go from perfectly golden to burnt in a matter of seconds.
- Rest Time: Allowing the crisp to rest for 10-15 minutes after cooking helps the fruit filling set slightly and intensifies the flavors.
Storage and Reheating Instructions
This healthy berry crisp is perfect for making ahead or enjoying as leftovers. Here’s how to store and reheat it:
- Storage: Once completely cooled, cover the crisp tightly with plastic wrap or transfer it to an airtight container. Store it in the refrigerator for up to 3-4 days.
- Freezing: You can also freeze the crisp! Bake and cool it completely. Then, wrap it tightly in plastic wrap and then in aluminum foil. It can be frozen for up to 3 months. Thaw overnight in the refrigerator before reheating.
- Reheating: For best results, reheat individual servings in the microwave for 30-60 seconds, or until warm. For a crispier topping, place the crisp in an oven preheated to 350°F (175°C) for 10-15 minutes, or until heated through and the topping is refreshed. If reheating from frozen, it might take longer in the oven.
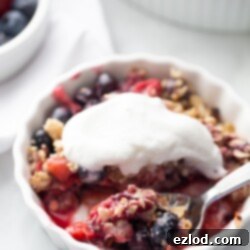
Berry Crisp [Gluten-free | Dairy Free]
Pin Recipe
Ingredients
- 6 cups fresh or frozen berries if using strawberries, be sure to slice first
- 4 ½ tablespoons honey or maple syrup divided
- 1-2 tablespoons arrowroot flour or corn starch optional…this is to thicken the berries. I often leave this out
- 2 tablespoons coconut oil melted
- 1 cup Gluten Free Rolled Oats
- 1/2 cup Almond Flour
- 3/4 teaspoon cinnamon divided
- 1/4 teaspoon salt
Instructions
-
In a medium Instant Pot-safe bowl (like your favorite casserole dish), gently combine the fresh or frozen berries with 1 1/2 tablespoons of maple syrup, 1/4 teaspoon of cinnamon, and the arrowroot powder or corn starch (if you are using it to thicken the berries). Ensure the berries are evenly coated.
-
In a separate small bowl, combine the remaining honey or maple syrup with the melted coconut oil. Whisk these two ingredients together until you achieve a smooth, well-blended consistency. Pro Tip: If your maple syrup is cold from the fridge, let it sit out for a bit to reach room temperature before mixing. This will prevent the melted coconut oil from solidifying prematurely when combined.
-
In a medium-sized mixing bowl, combine the dry topping ingredients: gluten-free rolled oats, almond flour, the remaining cinnamon, and salt. Mix thoroughly until well combined. Next, pour the wet maple syrup/honey/coconut oil mixture into the oat mixture. Stir until all the dry ingredients are moistened and a crumbly topping forms. Evenly spread this delicious crisp topping over your berry mixture in the Instant Pot-safe bowl.
-
Pour one cup of water into the stainless steel inner pot of your Instant Pot. Place the trivet insert (or a silicone sling) at the bottom of the pot. Carefully cover your casserole dish with aluminum foil to prevent any condensation from dripping onto the crisp. Gently lower the covered dish onto the trivet. Secure the Instant Pot lid, ensure the venting knob is sealed, and set it to manual/pressure cook for 4 minutes. Important: If you are using frozen berries, increase the cook time to 7 minutes to ensure they are fully cooked and tender.
-
Once the cooking time is complete, carefully perform a quick release of the pressure by turning the venting knob to the ‘Venting’ position. Once all the steam has been released and the float valve drops, the lid can be safely opened.
-
To achieve that perfect crispy topping, you have two options: Oven Broiler Method: While the Instant Pot is cooking, preheat your oven to broil. Once it’s safe to remove the dish from the Instant Pot, carefully place it under the preheated broiler for a few minutes. Watch it very closely, removing it just as the crisp topping begins to turn golden brown and crispy. Or, Mealthy CrispLid Method: If you have a Mealthy CrispLid, there’s no need to use your oven! Simply place the CrispLid directly onto your Instant Pot with the crisp inside. Set the CrispLid to 450°F (approx. 230°C) and cook for a few minutes, monitoring until the topping is beautifully browned and perfectly crispy. This method works amazingly well!
-
Allow the Berry Crisp to sit and rest for approximately ten minutes before serving. This short resting period allows the fruit filling to settle and thickens slightly, improving the overall texture and intensifying the flavors. Enjoy it on its own for a simple treat, or elevate it with a dollop of homemade coconut cream for an extra special indulgence!
Oven Baking Method:
-
If you prefer to make this a traditional oven-baked berry crisp, prepare the fruit filling and the oat topping exactly as described in steps 1-3 above.
-
Preheat your oven to 350°F (175°C). Place the assembled crisp (uncovered) in the preheated oven and bake for approximately 40 minutes. You’ll know it’s ready when the fruit filling is bubbly and the oat topping is beautifully golden brown and crispy. Let it cool slightly before serving.
Video
Notes
WW: 8 points (per serving)
All nutrition info, 21 Day Fix and WW calculated without coconut cream topping
Nutrition
