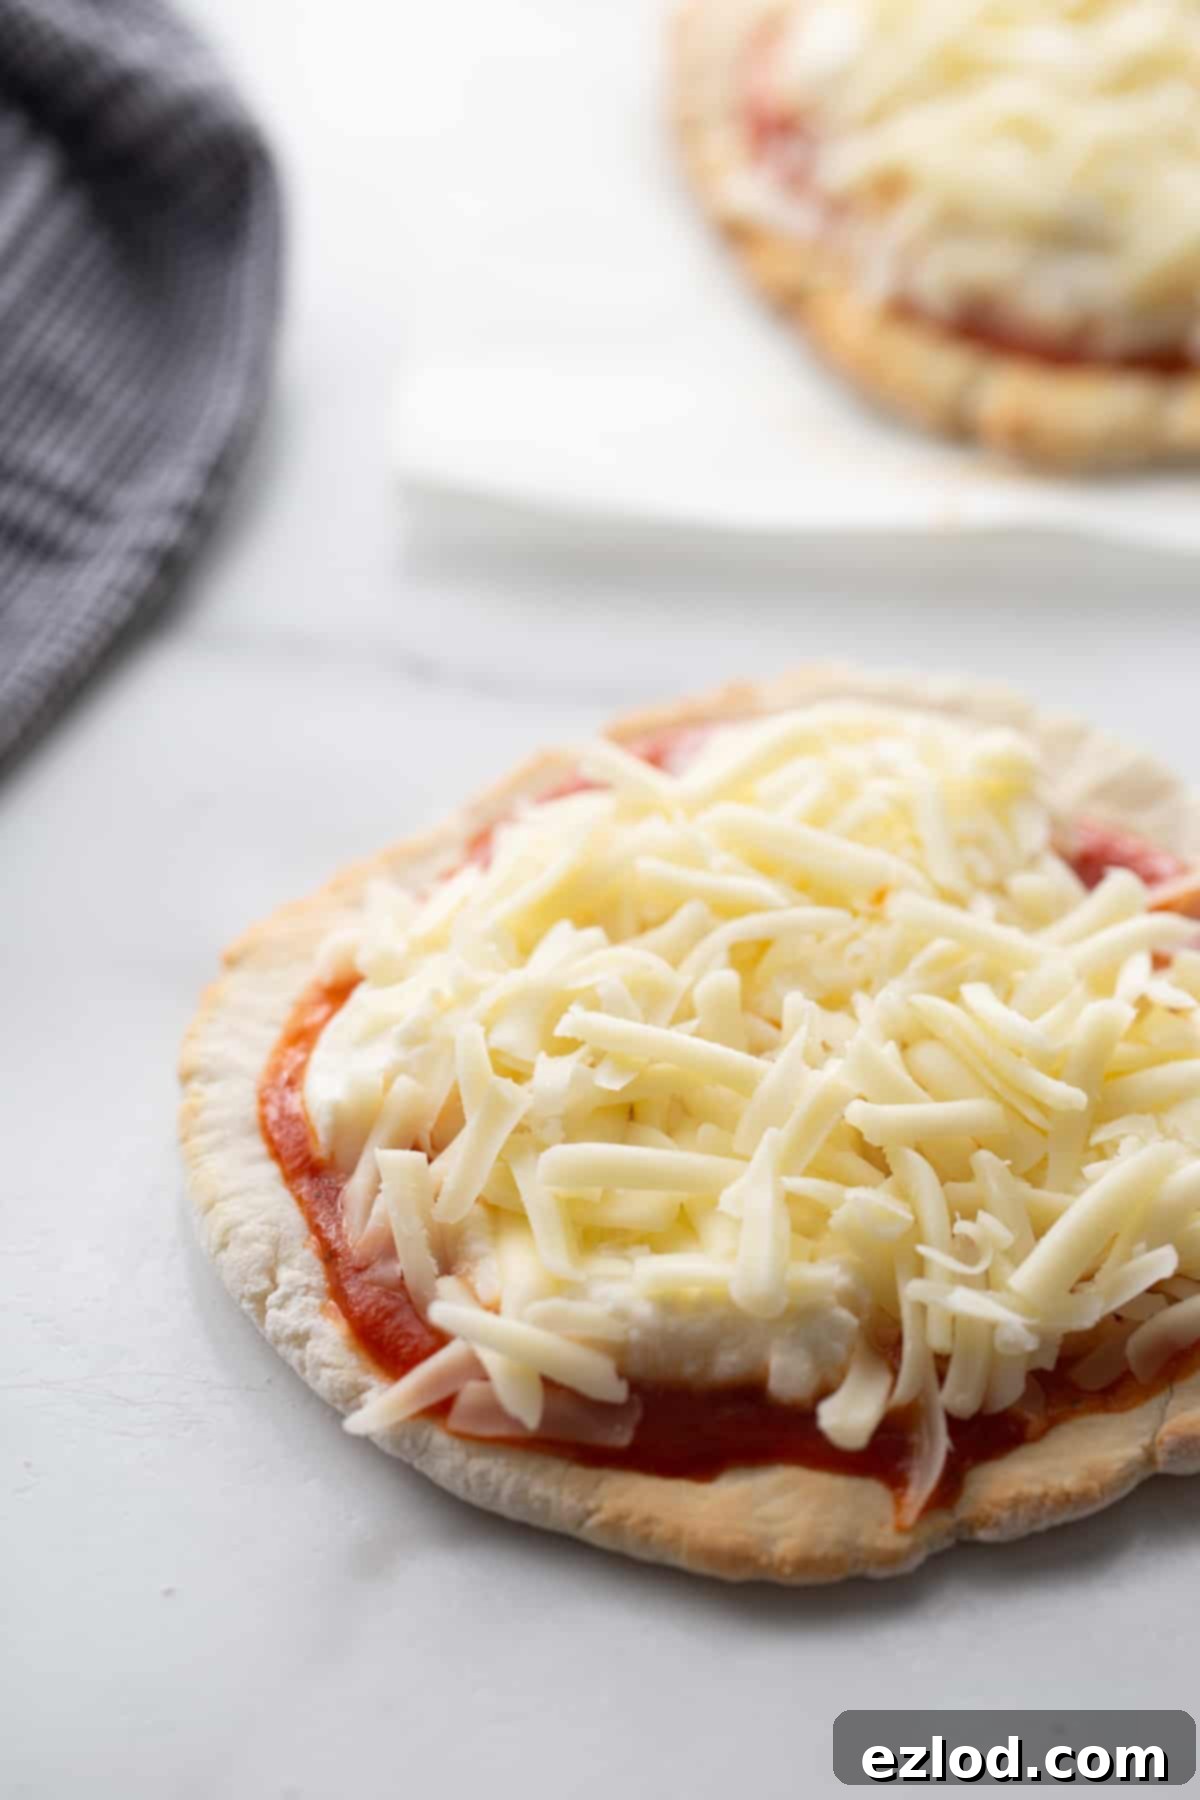
The Ultimate Easy Gluten-Free Greek Yogurt Pizza Crust: No Yeast, Oven & Air Fryer Ready!
Craving delicious, homemade pizza but following a gluten-free diet or looking for a healthier, quicker alternative to traditional yeast-based doughs? Look no further! This incredible **Gluten-Free Greek Yogurt Pizza Crust** recipe is your new go-to. It’s unbelievably simple to make, requiring no yeast, and delivers a perfectly crisp base that’s ideal for all your favorite toppings. Whether you prefer baking in your conventional oven or achieving an extra-crispy finish in your air fryer, this recipe makes enjoying guilt-free pizza at home an absolute breeze.
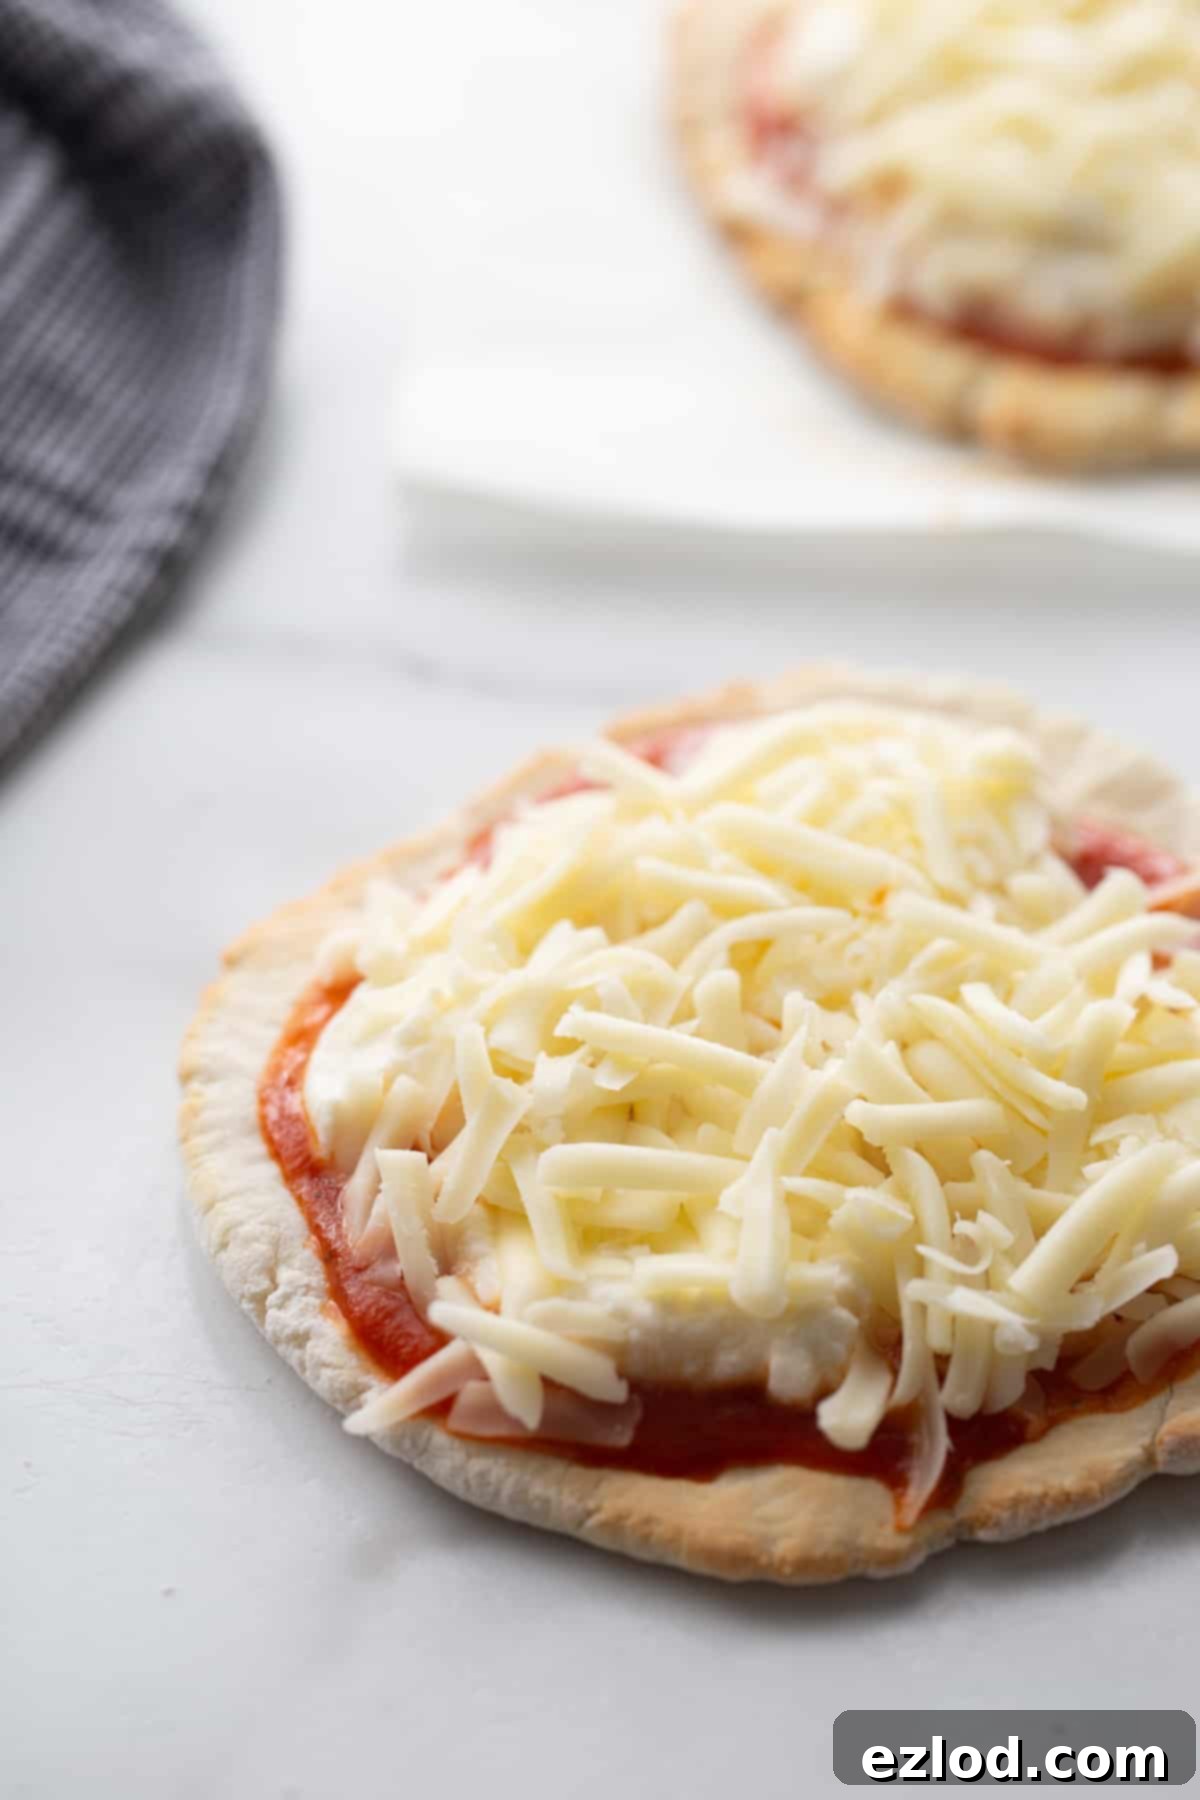
My Gluten-Free Pizza Journey: Finding the Perfect Crust
For years, my blog featured beloved flatbread pizza recipes, like my wildly popular Taco Pizza. However, when my family and I transitioned to a gluten-free lifestyle, the quest for a suitable flatbread pizza crust became a real challenge. It felt nearly impossible to find a gluten-free option that not only tasted great but also fit the dietary guidelines of programs like the 21 Day Fix or offered low enough points for my Weight Watchers followers. Store-bought gluten-free crusts often fell short on taste, texture, or nutritional value, leaving a void for that quick, healthy pizza night solution.
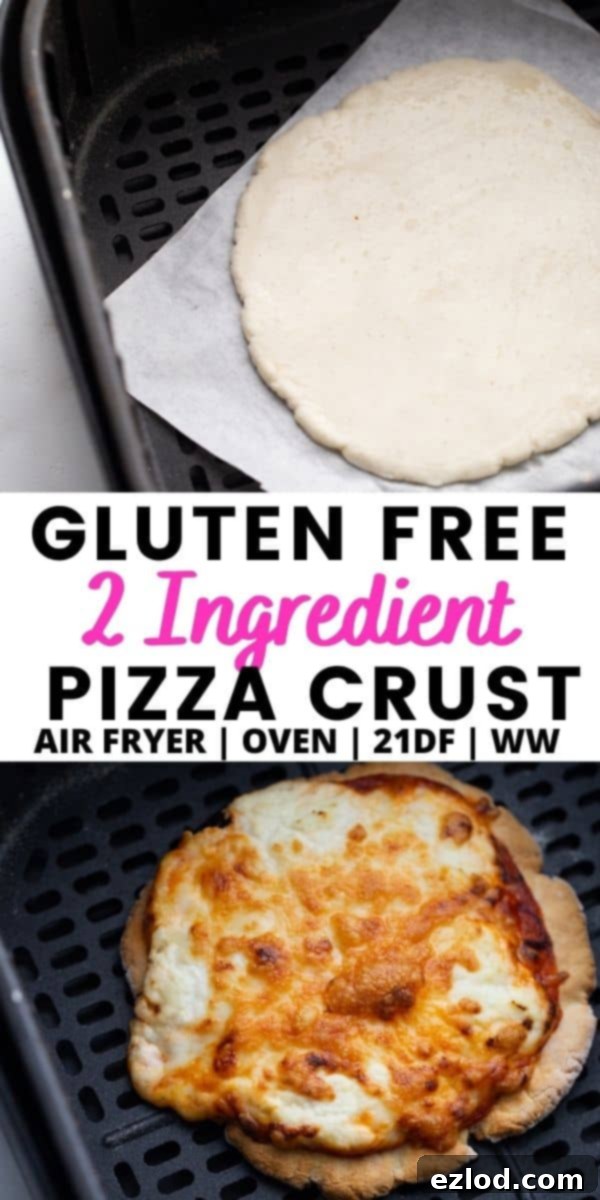
That all changed when I began experimenting with a Greek yogurt-based pizza dough. The simplicity and incredible flavor instantly won me over. The true magic happened when I discovered how incredibly crisp and satisfying this crust became when baked in my air fryer – a game-changer for homemade pizza! This recipe isn’t just a gluten-free alternative; it’s a delicious, easy-to-make foundation that brings the joy of pizza back to everyone, regardless of dietary restrictions.
Two-Ingredient Pizza Dough: A Healthy Staple Goes Gluten-Free
This recipe is a brilliant adaptation of the famous “two-ingredient pizza dough,” a staple in health and fitness communities, particularly popular among Weight Watchers (WW) members. For those unfamiliar, the traditional two-ingredient dough combines fat-free Greek yogurt with self-rising flour to create a yeast-free, lower-calorie pizza crust. It’s cherished for its simplicity, speed, and ability to satisfy pizza cravings without derailing healthy eating goals. Its popularity stems from offering a genuinely delicious and healthier alternative to conventional pizza bases.
My version takes this beloved concept a step further, making it accessible for everyone by transforming it into a fantastic gluten-free option. While it includes a few additional ingredients to perfect the gluten-free texture and flavor, it retains all the core benefits: no yeast, quick prep, and a surprisingly authentic taste. Whether you’re managing a gluten sensitivity, a gluten allergy, Celiac disease, or simply seeking a healthier, whole-food pizza crust, this recipe is designed to deliver on all fronts. Get ready to crush those pizza cravings with a crust that’s both good for you and incredibly satisfying!
Essential Ingredients for Your No-Yeast Gluten-Free Pizza Crust
You’ll be delighted to find that this recipe calls for just a few simple ingredients, most of which you probably already have in your pantry or can easily find at any grocery store. The magic lies in the combination and precise ratios, specifically adapted for a gluten-free result.
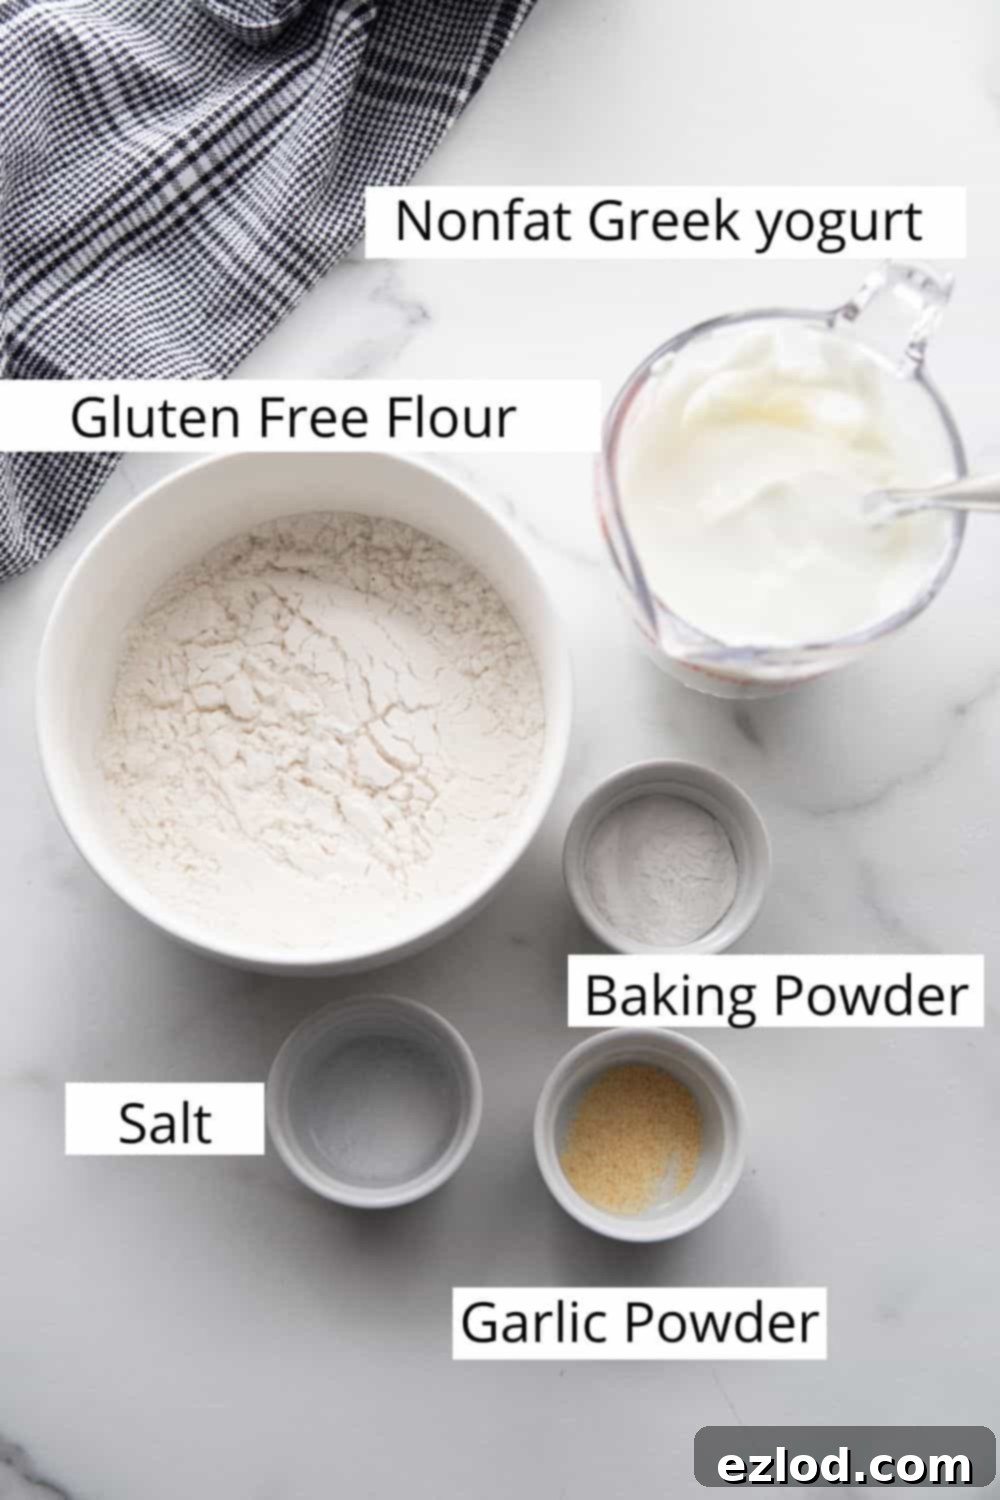
- Gluten-Free 1:1 Baking Flour: The type of gluten-free flour makes a significant difference. I highly recommend using a “1:1” or “cup-for-cup” gluten-free baking flour blend, such as Bob’s Red Mill 1:1 Gluten Free Baking Flour. These blends are specifically formulated to replace wheat flour in equal amounts, simplifying the recipe and ensuring a consistent texture. They typically contain a mix of gluten-free flours (like rice flour, sorghum flour) and starches (tapioca starch, potato starch) along with xanthan gum, which helps mimic the elasticity of gluten. Using a quality blend prevents a gummy or crumbly crust.
- Baking Powder + Salt: Since gluten-free flour is not self-rising like its wheat counterpart, we add baking powder to provide the necessary lift and aeration. This creates a light, fluffy, yet sturdy crust. The general rule of thumb for converting regular GF flour to self-rising is to add 1 1/2 teaspoons of baking powder and 1/4 teaspoon of salt for every 1 cup of gluten-free flour. The salt also enhances the overall flavor of the crust.
- Plain Greek Yogurt: This is the star ingredient! I use fat-free plain Greek yogurt, not only for its health benefits but also for its thick, creamy texture and tangy flavor. It acts as the liquid and binder, reacting with the baking powder to create rise. Unlike the original 2-ingredient dough which often uses a 1:1 flour-to-yogurt ratio, I find that a slightly reduced amount of yogurt (3/4 cup for every 1 cup of gluten-free flour) works best for gluten-free blends. This helps prevent the dough from becoming too sticky and ensures a better, more manageable consistency. My personal favorite brands for consistency and taste are Aldi and Fage. Ensure it’s plain and not flavored!
- Garlic Powder: A simple addition that makes a huge difference! A sprinkle of garlic powder infuses the crust with a subtle savory aroma and flavor, elevating it beyond a basic base. You can also experiment with onion powder or a pinch of dried Italian seasoning for extra depth.
- Egg White (Optional): This is a secret weapon for achieving that beautiful, golden-brown crust! A quick egg white wash brushed over the dough before baking gives it a lovely sheen and contributes to a crispier finish that truly feels like a “real” pizza crust. If you’re avoiding eggs, you can skip this step or use a plant-based milk wash, though the effect won’t be quite the same. You could also use a whole egg, but I find an egg white provides a lighter, more delicate crust.
Simple Step-by-Step Instructions & Expert Tips for a Perfect Crust
Making this gluten-free Greek yogurt pizza crust is incredibly straightforward, even for beginner bakers. Just follow these easy steps to prepare your perfect pizza base:
Step One: Mix Your Ingredients
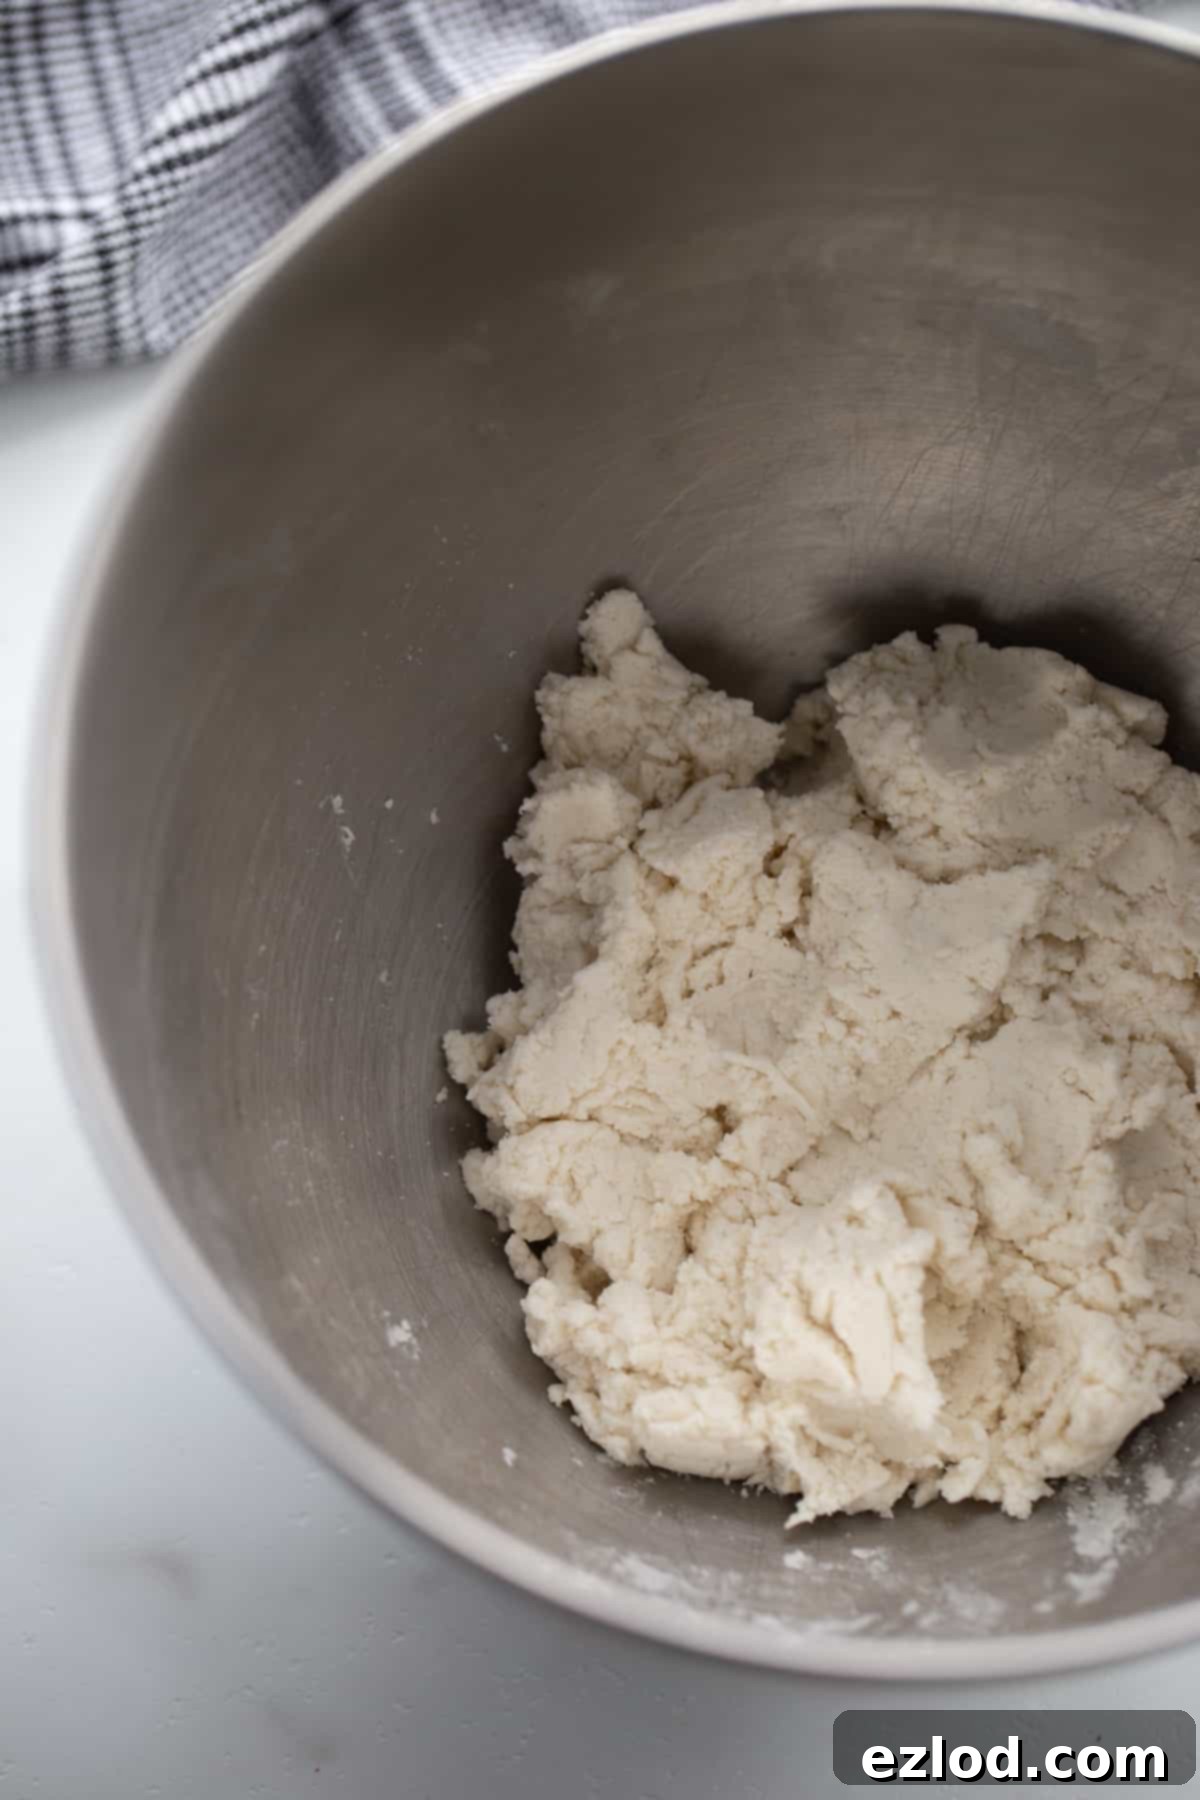
In a large bowl, or the bowl of a stand mixer fitted with a dough hook, begin by combining your dry ingredients: the gluten-free 1:1 baking flour, baking powder, salt, and garlic powder. Whisk them together thoroughly to ensure even distribution of the leavening agents. Next, add the plain Greek yogurt. If using a stand mixer, let the dough hook do the work until a cohesive dough ball forms. If mixing by hand, use a sturdy rubber spatula to combine the ingredients, then switch to your hands to bring the dough together. The dough should be soft but not overly sticky. If it’s too dry and crumbly, add extra Greek yogurt, one teaspoon at a time, until it comes together. If it’s too sticky, add a little more gluten-free flour, also one teaspoon at a time, until it’s manageable. Remember, gluten-free dough can be a bit fussier than traditional dough, so gentle adjustments are key.
Step Two: Knead and Divide
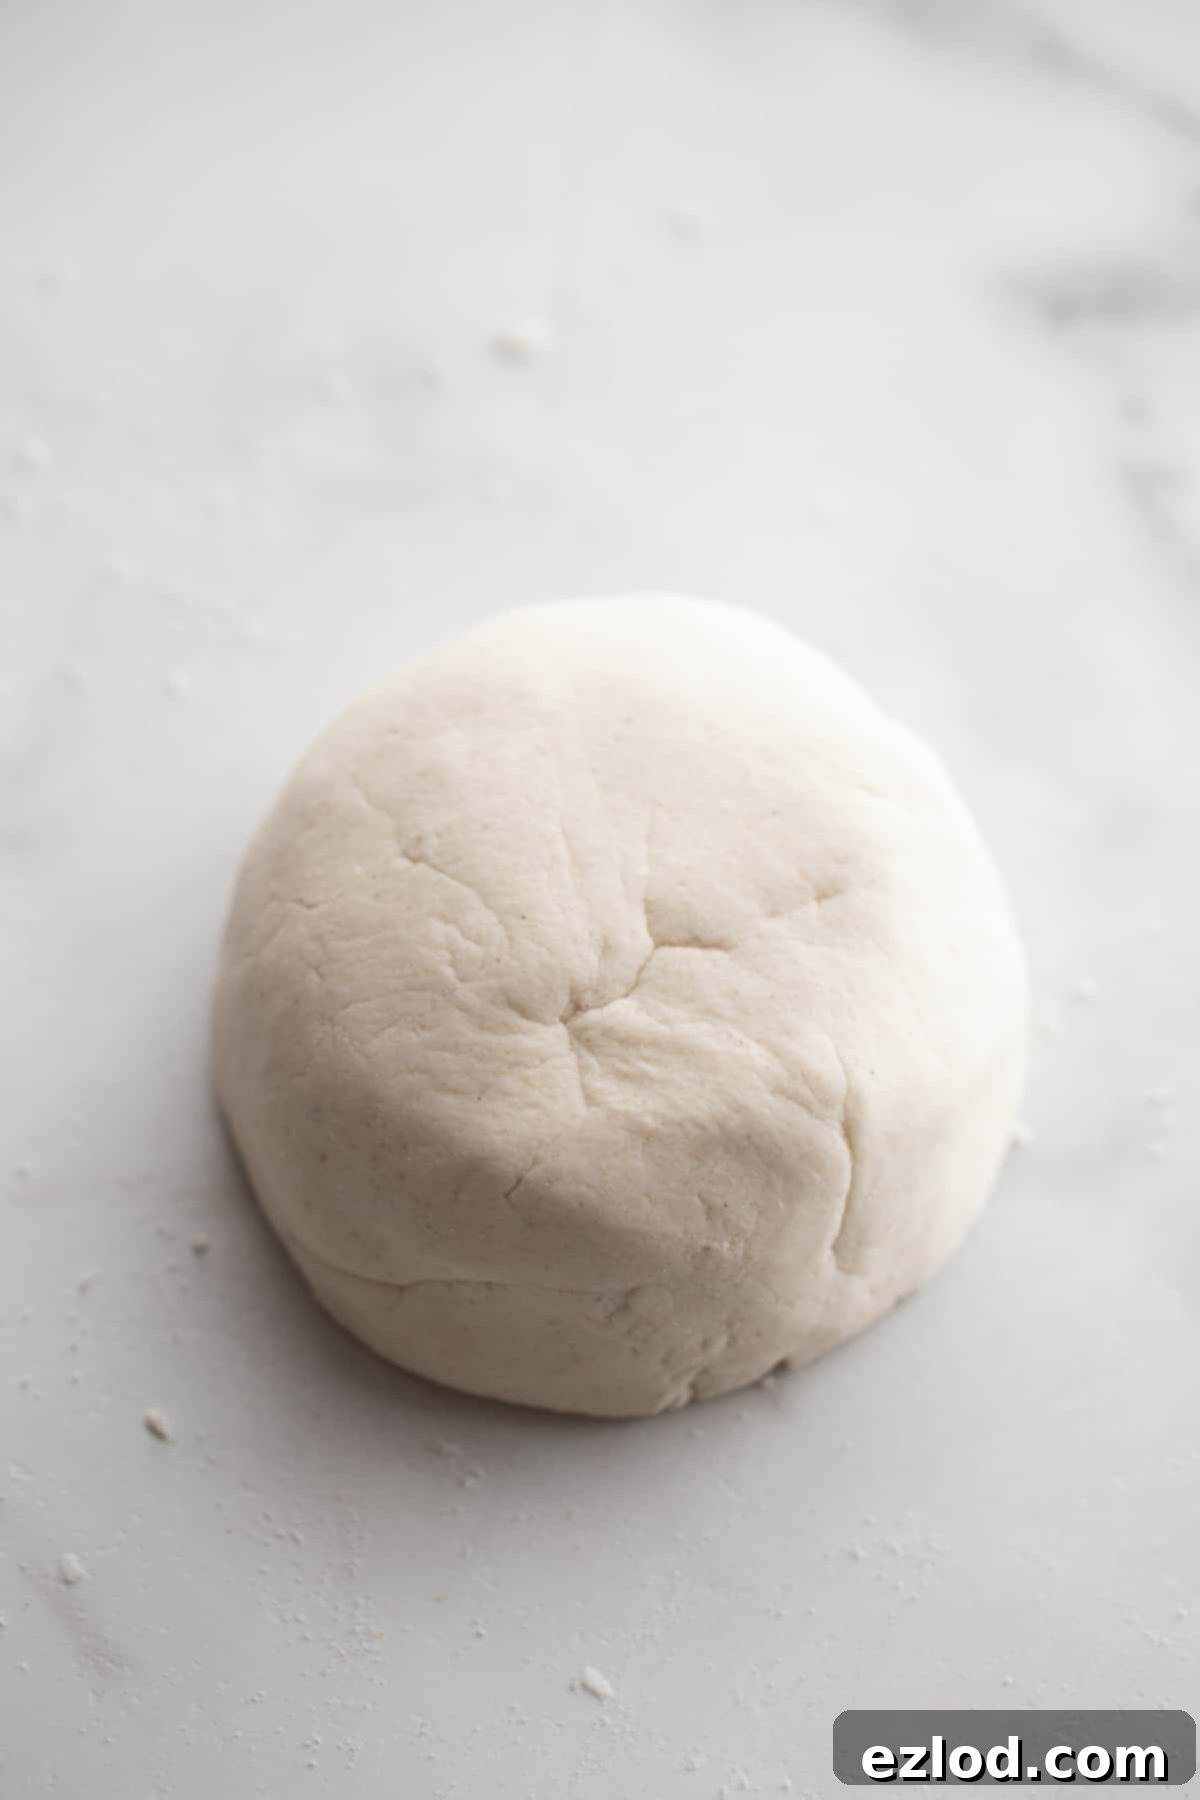
Lightly flour a clean work surface (like a countertop or large cutting board) with extra gluten-free flour. Turn the dough out onto the floured surface and knead it by hand for a minute or two until it becomes smooth and uniform. Form the dough into one large ball. For personal-sized pizzas, which this recipe is designed for, use a knife or a dough cutter to divide the large ball into four equal sections. Each section will form one individual pizza crust.
Step Three: Roll Out Your Crusts
Ensure your work surface is generously floured, and also lightly flour your rolling pin. Take one section of dough at a time and gently roll it out into a circle, approximately 4-5 inches in diameter and about 1/4 inch thick. Aim for a size similar to a small tortilla. It’s crucial to be gentle during this step; gluten-free dough can be more delicate and prone to tearing or sticking than traditional wheat dough. Apply light, even pressure to prevent the dough from breaking or adhering to the rolling pin. If it starts to stick, add a little more flour to your surface or rolling pin.
Step Four: Bake to Golden Perfection
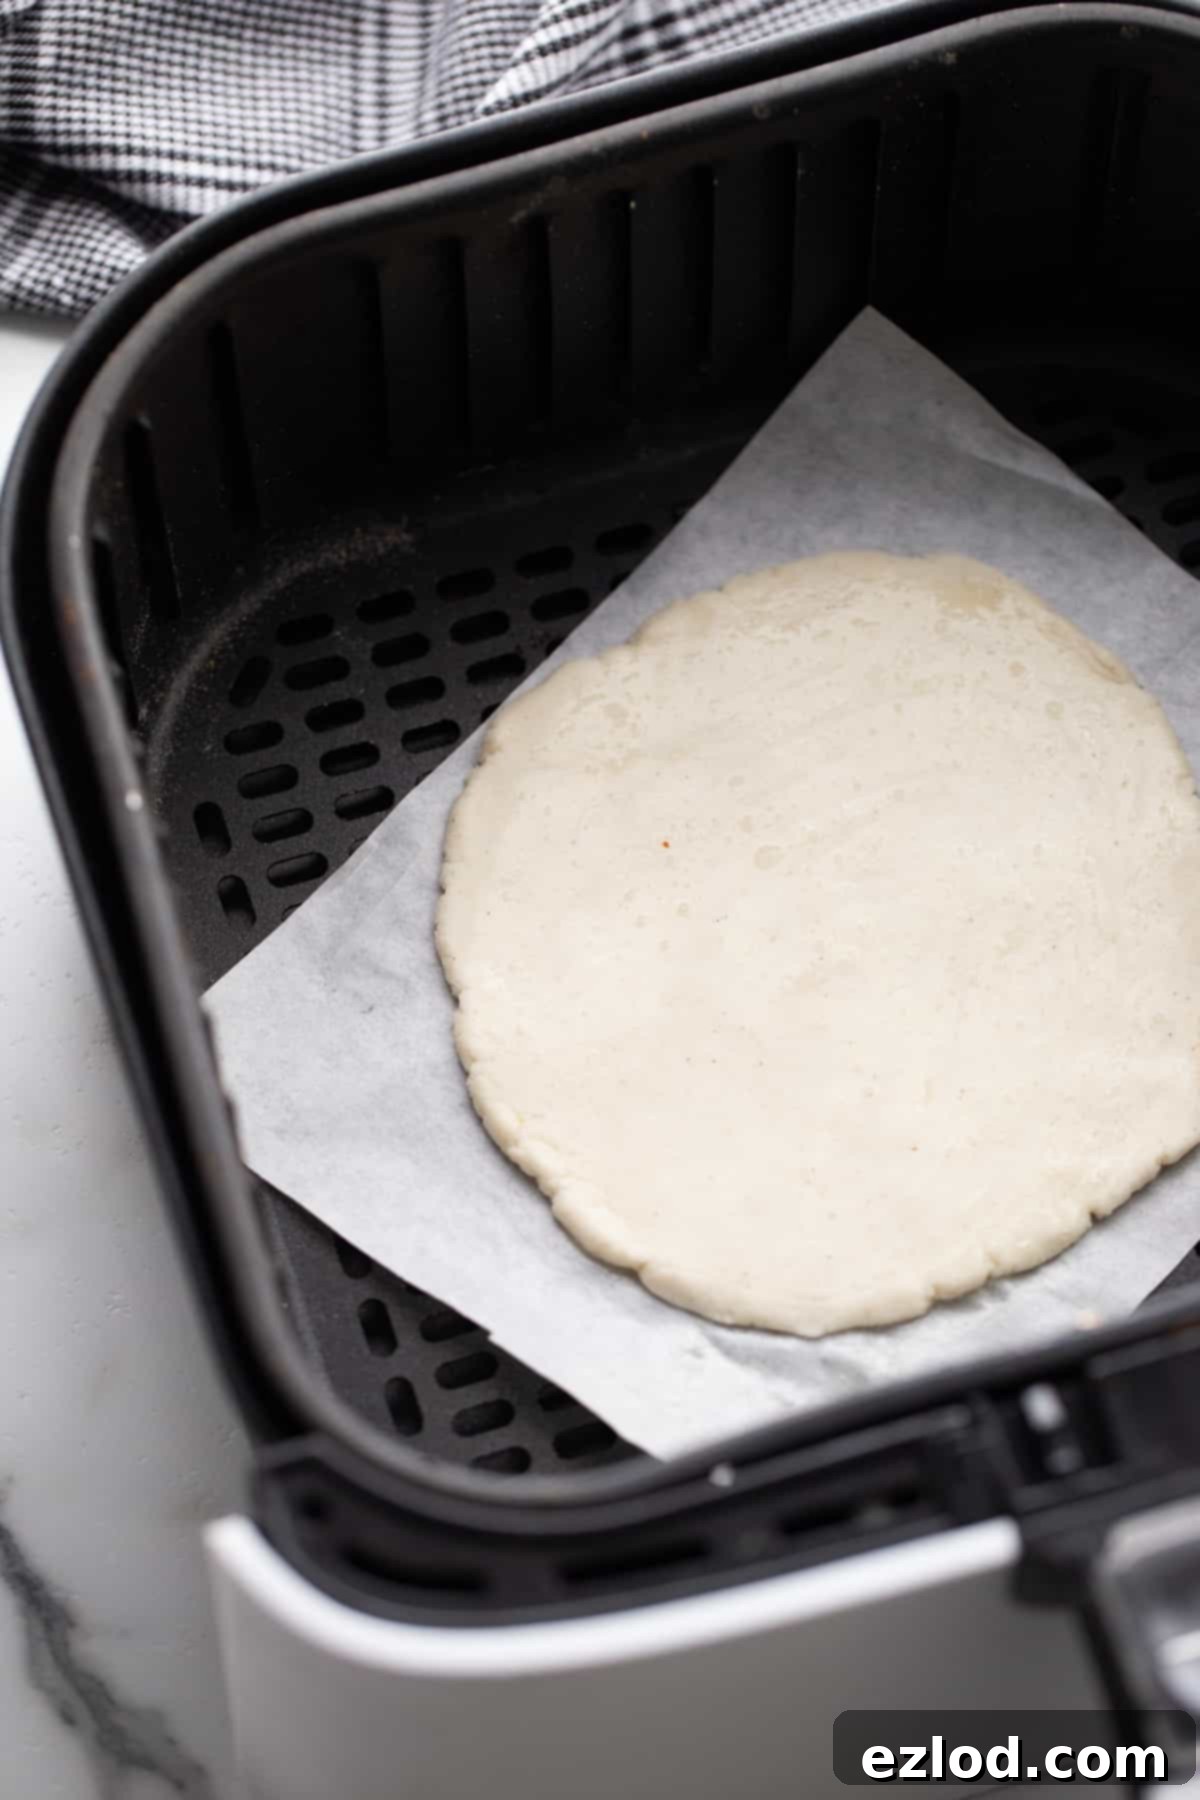
Once rolled, carefully transfer each dough circle onto a small piece of parchment paper. This parchment is crucial for easy handling, especially when moving the dough into the air fryer or oven. If using, brush the top of each dough circle with the optional egg white wash – this helps create that beautiful golden, crispy finish. Now, choose your preferred cooking method:
For the Air Fryer:
- Preheat your air fryer to 400°F (200°C).
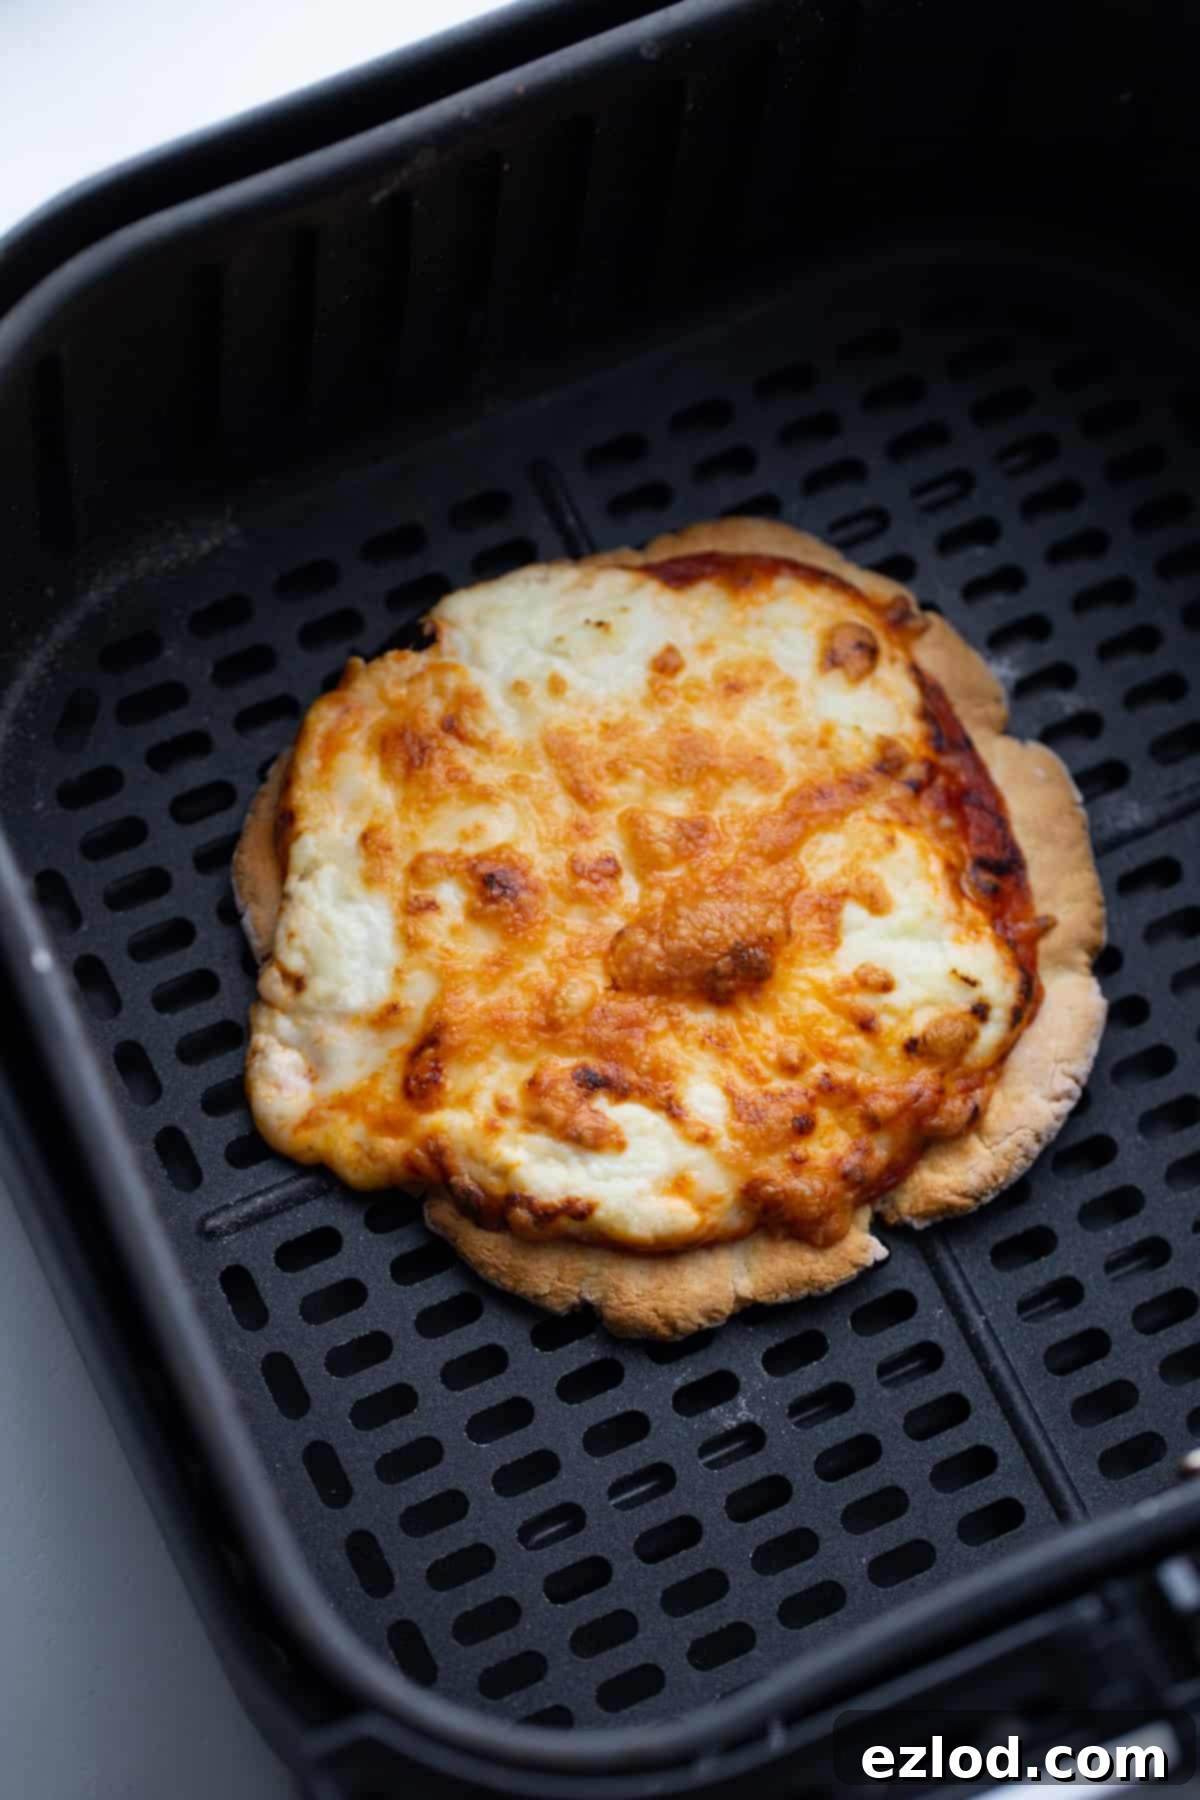
- Carefully place the parchment paper with the pizza crust directly onto the air fryer basket. Cook for 5-8 minutes, or until the crust begins to turn golden brown and looks partially cooked. This par-baking step ensures a crispy base.
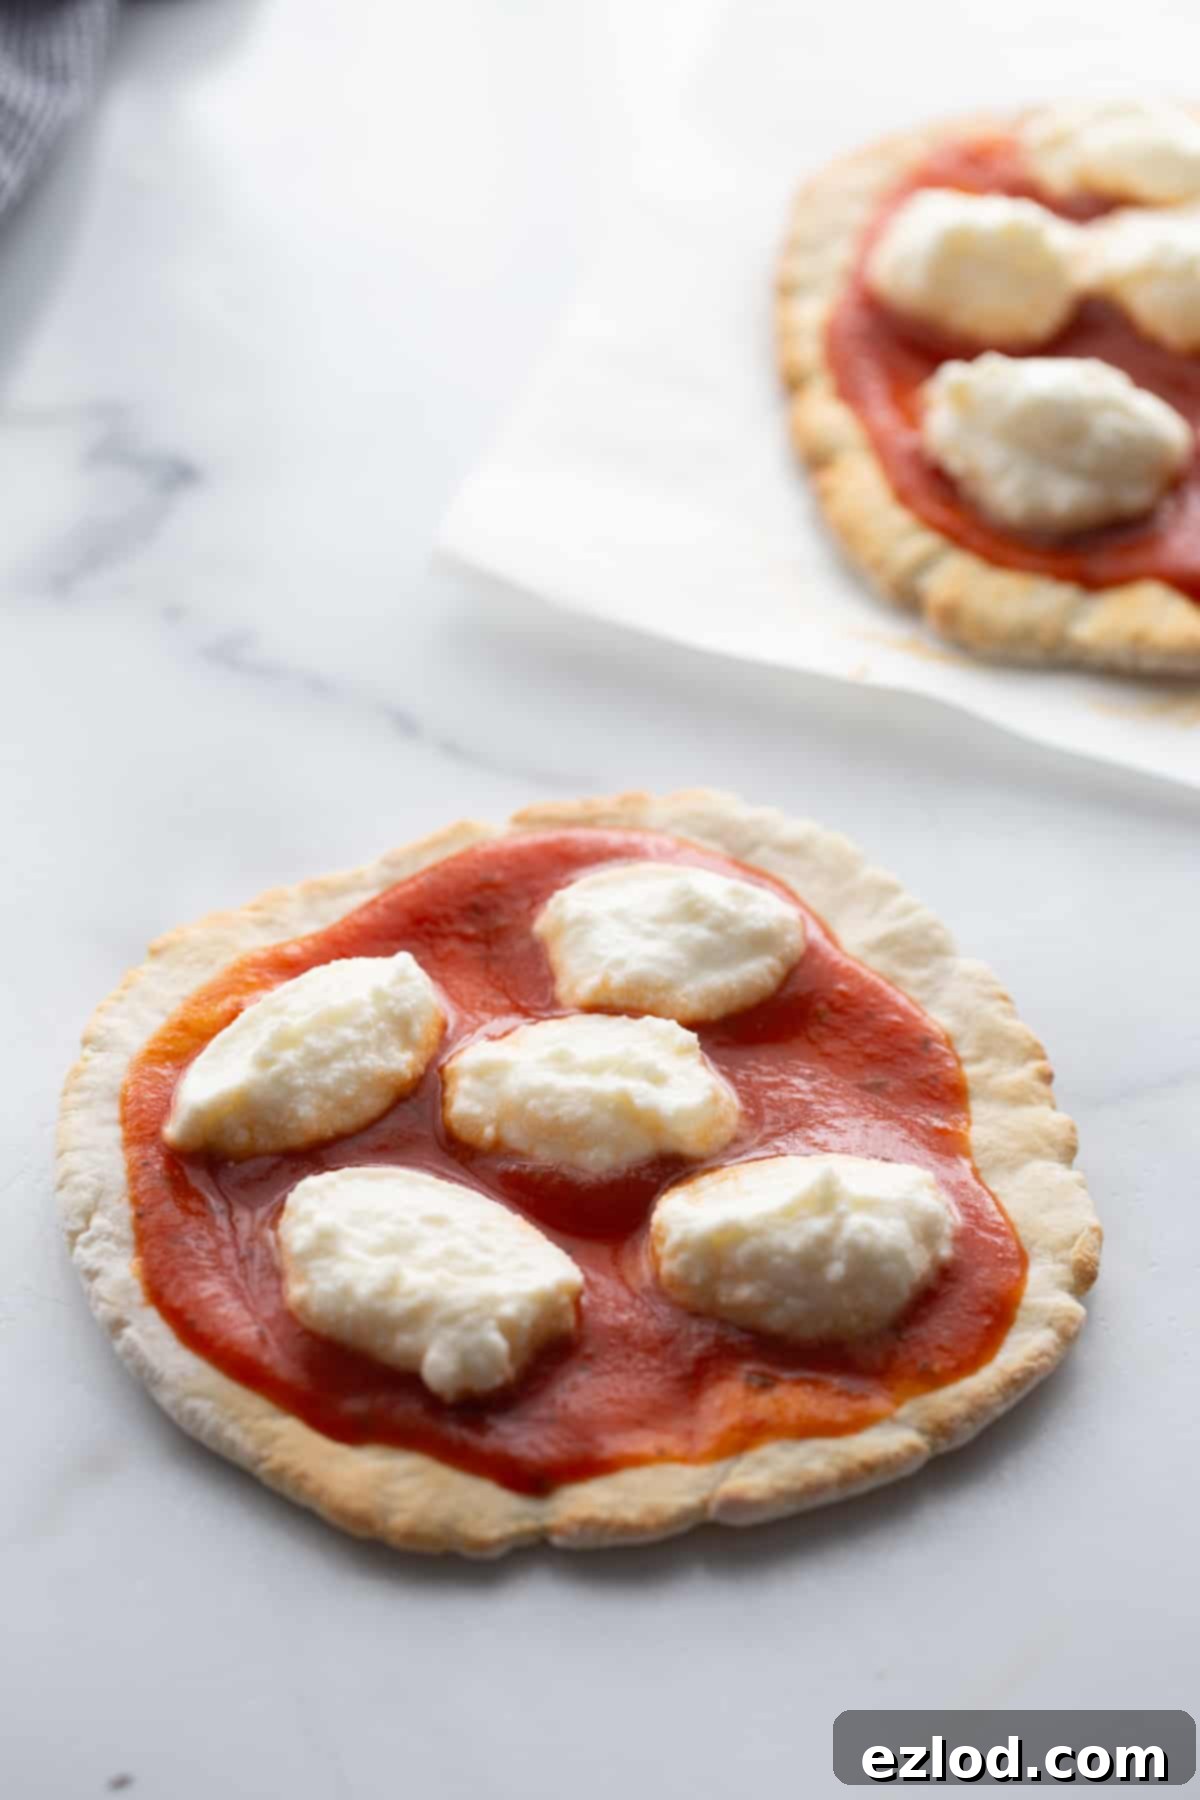
- Remove the crust from the air fryer and add your desired pizza sauce, cheese, and other toppings.
- Place the topped pizza back into the air fryer (without the parchment paper this time, for maximum crispiness) for an additional 5-8 minutes, or until the cheese is bubbly, melted, and golden, and the crust is perfectly crisp.
For the Oven:
- Preheat your oven to 400°F (200°C).
- Place the parchment paper with the pizza crust onto a sheet pan or directly onto a preheated pizza stone (the parchment still helps with sticky dough!). Bake for 8-10 minutes, or until the crust starts to get golden and slightly firm.
- Remove the crust from the oven and artfully layer it with your favorite sauce and toppings.
- Return the topped pizza to the oven (again, without the parchment paper for a crispier bottom) for an additional 5-8 minutes, or until the cheese is beautifully melted and bubbly, and the crust is cooked through and golden.
Enjoy your homemade, delicious gluten-free pizza!
Endless Topping Possibilities for Your Greek Yogurt Pizza
One of the best things about homemade pizza is the freedom to customize it exactly how you like. This versatile gluten-free Greek yogurt crust serves as the perfect canvas for an infinite array of topping combinations. Get creative and make it your own!
- Sauces: Go classic with a rich homemade tomato sauce or your favorite store-bought pizza sauce. For a burst of fresh flavor, try a vibrant pesto, a creamy Alfredo sauce, or even a tangy BBQ sauce for a BBQ chicken pizza.
- Cheeses: Mozzarella is a must for that classic pull, but don’t stop there! Add a sprinkle of sharp Parmesan, salty feta, creamy goat cheese, or dollops of smooth ricotta for an extra layer of flavor and texture. A blend of cheeses works wonderfully.
- Meats: Lean proteins are a great choice. Top with savory Italian chicken sausage, shredded rotisserie chicken, thinly sliced ham, turkey pepperoni, or crispy turkey bacon.
- Veggies: Load up on fresh vegetables for added nutrition and crunch. Spinach, sliced tomatoes, colorful bell peppers, tender broccoli florets, minced garlic, earthy mushrooms, and sweet onions are all fantastic options. Consider roasted vegetables for an even deeper flavor profile.
- Herbs and Seasonings: Finish your pizza with fresh or dried herbs like basil, oregano, thyme, and a pinch of crushed red pepper flakes for a kick. A final dusting of garlic powder can also enhance the savory notes.
- Unique Additions: Feeling adventurous? Try adding a drizzle of balsamic glaze after baking, some pickled jalapeños for heat, or even sweet pineapple chunks – if that’s your kind of thing!
You can also use this incredible crust to recreate some of my favorite pizza recipes from the blog:
- Buffalo Chicken Pizza: A spicy and savory delight.
- Taco Pizza: A fun, deconstructed taco experience.
- Three Cheese White Pizza: Rich and creamy with fresh arugula.
- Spinach and Artichoke Pizza: A flavorful, veggie-packed classic.
- Peachy Naan Goat Cheese Pizza: A unique sweet and savory combination.
- Enchilada Pizza: A zesty, Mexican-inspired twist on pizza night.
Frequently Asked Questions (FAQs) About Gluten-Free Greek Yogurt Pizza Crust
Can I freeze two-ingredient dough?
Yes, you can absolutely freeze this dough, but for the best results, I recommend par-baking it first. Roll out your individual crusts and bake them for the initial 5-8 minutes (air fryer) or 8-10 minutes (oven) until they’re golden and partially cooked. Let the crusts cool completely, then stack them with parchment paper in between and store them in an airtight freezer bag or container. When a pizza craving strikes, simply pull out a par-baked crust, add your favorite toppings, and finish baking in your oven or air fryer until the cheese is bubbly and the crust is fully cooked. This makes for an incredibly convenient grab-and-go frozen pizza dinner!
Can I use dairy-free yogurt?
Certainly! If you’re dairy-free, plain dairy-free Greek yogurt (such as almond milk or coconut milk-based) will work as a substitute. However, be aware that dairy-free yogurts can sometimes be slightly thinner or runnier than traditional Greek yogurt. This means you might need to make a small adjustment to your dough. If the dough feels too sticky after mixing, add extra gluten-free flour, one teaspoon at a time, until you reach a workable, non-sticky consistency.
Can I make this recipe on a pizza stone?
Yes, using a pizza stone can help achieve an extra-crispy bottom crust! Just be sure to still use the parchment paper as noted in the baking instructions. This dough, especially being gluten-free, can be a bit stickier than traditional dough. The parchment paper will prevent it from sticking to the hot stone and make it much easier to transfer the raw and par-baked crusts without tearing. You can slide the parchment paper directly onto the hot stone for the initial bake, then remove the parchment for the final bake with toppings.
Is Gluten-Free Pizza Healthy?
This is a fantastic and important question that my husband and I often discuss! It’s a common misconception that anything labeled “gluten-free” is automatically healthier. That’s not always the case, as many store-bought gluten-free products can be high in sugars, unhealthy fats, and refined starches. However, this homemade gluten-free Greek yogurt pizza crust is a different story!
This recipe uses real, wholesome ingredients and significantly fewer calories than many traditional pizza crusts. It’s also often lower in calories per serving compared to many frozen gluten-free crusts or even some store-bought cauliflower crusts, which can contain unexpected additives. By making your own, you have complete control over the ingredients, ensuring a cleaner, more nutritious meal. Plus, this recipe yields four individual crusts, providing perfectly portioned serving sizes that make it easier to manage your intake and truly enjoy your pizza without overdoing it. So yes, this specific gluten-free Greek yogurt pizza crust is a much healthier choice for your pizza night!

Gluten Free Greek Yogurt Pizza Crust
Nancylynn
This gluten-free Greek Yogurt Pizza Crust offers a quick, easy, and yeast-free way to enjoy delicious homemade pizza. Perfect for your oven or air fryer, layer it with your favorite toppings for a healthy and satisfying meal!
4
crusts
20
16
36
Ingredients
- 1 cup Gluten Free 1:1 Baking Flour plus extra flour for kneading and rolling
- ¾ cup plain Greek yogurt
- 1 1/2 teaspoons baking powder
- 1/4 teaspoon salt
- Sprinkle of garlic powder
- 1 egg white for egg wash optional
Instructions
- In a stand mixer or a large bowl, combine dry ingredients, then mix in Greek yogurt. If using a stand mixer, use the dough hook to mix. Otherwise, use a rubber spatula and your hands! If dough is too sticky, add a little more flour (1 tsp at a time). If it feels too dry, add in yogurt (1 tsp at a time).
- On a well-floured surface, knead dough by hand until smooth, then make one big ball.
- Using a knife or dough cutter, divide into 4 equal sections.
- Working with one section at a time, gently roll out the dough on a well-floured surface and using a well-floured rolling pin. Be gentle so you don’t break the dough or get it stuck on the rolling pin. Dough should be 4-5 inches in diameter, or the size of a small tortilla.
- Carefully flip the dough onto a small piece of parchment paper. Brush dough with egg wash.
Air Fryer
- Preheat Air fryer to 400 degrees. Place parchment and crust directly on the Air Fryer basket and cook for 5-8 minutes or until crust starts to get golden.
- Remove crust from air fryer and layer with your favorite toppings.
- Place pizza back in the air fryer without the parchment paper for an additional 5-8 minutes or until cheese is bubbly. Enjoy!
Oven
- Preheat Oven to 400 degrees. Place parchment and pizza crust on a sheet pan or pizza stone and cook for 8-10 minutes or until crust starts to get golden.
- Remove crust from oven and layer with your favorite toppings.
- Place pizza back in the oven without the parchment paper for an additional 5-8 minutes or until cheese is bubbly. Enjoy!
Notes
21 Day Fix: 1 YELLOW, 1/4 RED (per crust)
WW: 4 points (per crust) [Calculated using fat free Greek yogurt]
Nutrition
Calories: 128kcal
Carbohydrates: 24g
Protein: 8g
Fat: 1g
Saturated Fat: 0.04g
Polyunsaturated Fat: 0.2g
Monounsaturated Fat: 0.2g
Trans Fat: 0.003g
Cholesterol: 2mg
Sodium: 330mg
Potassium: 65mg
Fiber: 3g
Sugar: 2g
Vitamin A: 2IU
Calcium: 150mg
Iron: 1mg
Tried this Recipe? Tag me Today!
Tag @confessionsofafitfoodie on Instagram and hashtag it #confessionsofafitfoodie!
