Mastering Meal Prep: How to Make Freezer-Friendly Instant Pot Brown Rice for Healthy Weeknight Meals
Imagine having a wholesome, perfectly cooked grain readily available for healthy, delicious meals all week long. With this simple guide, making a multi-serving batch of Freezer-Friendly Instant Pot Brown Rice couldn’t be easier! Say goodbye to soggy, overcooked rice and hello to fluffy perfection every time. Follow our step-by-step instructions to effortlessly cut your meal prep time in half, ensuring you always have a nutritious foundation for your family’s favorite dishes.This post contains affiliate links for products I am obsessed with, helping you find the best tools for your kitchen success.

The Instant Pot has revolutionized home cooking, transforming time-consuming recipes into effortless culinary experiences. Its ability to create deeply flavored dishes in a fraction of the time usually reserved for slow cooking is nothing short of miraculous. But its utility extends far beyond elaborate meals; it’s an absolute game-changer for meal prepping basic ingredients. From perfectly boiled eggs to tender shredded chicken, the Instant Pot excels at preparing staples that power your healthy lifestyle throughout the week.
In the past, I relied heavily on convenience products like frozen brown rice from Trader Joe’s. While convenient, the cost quickly adds up, and the texture isn’t always consistent. The good news? Making your own freezer-friendly brown rice in the Instant Pot is incredibly economical, yields superior results, and freezes beautifully in standard ziplock bags or reusable containers. It’s a win-win for both your wallet and your taste buds!
Today, I am thrilled to share my incredibly easy, step-by-step tutorial on how to batch cook brown rice in your Instant Pot. Forget the traditional stovetop method that involves waiting for a large pot of water to boil, meticulously simmering the rice for almost an hour, and constantly hovering to prevent it from overcooking or sticking to the bottom of the pot. My Instant Pot method eliminates all the guesswork, consistently delivering perfectly cooked, fluffy brown rice every single time. It’s a hands-off approach that guarantees success, freeing up your time for other meal prep tasks or simply relaxing.
Why Brown Rice is Your Meal Prep Champion
Brown rice is an incredibly nutritious whole grain, making it an excellent foundation for any healthy diet. Unlike white rice, it retains its bran and germ layers, which are packed with fiber, essential vitamins, and minerals. This means a serving of brown rice offers sustained energy, helps regulate blood sugar levels, and promotes digestive health. Incorporating brown rice into your meal prep ensures you have a complex carbohydrate source readily available, supporting everything from post-workout recovery to balanced family dinners.
- Rich in Fiber: Promotes healthy digestion and satiety.
- Nutrient-Dense: Contains magnesium, selenium, B vitamins, and antioxidants.
- Sustained Energy: Slow-release carbohydrates keep you feeling full and energized longer.
- Versatile: A neutral flavor profile makes it compatible with a vast array of cuisines and dishes.
The Instant Pot Advantage for Perfect Brown Rice
If you’ve ever struggled with cooking brown rice on the stovetop, you’re not alone. Achieving that elusive perfect balance of tender yet chewy can be tricky. This is where the Instant Pot truly shines. Its pressure cooking capabilities create a consistent, controlled environment that transforms raw brown rice into fluffy, separate grains with minimal effort. Here’s why it’s the superior method:
- Hands-Off Cooking: Once you set it, you can walk away. No stirring, no peeking, no burning.
- Consistent Results: The sealed environment ensures even cooking and perfect texture every time.
- Faster Than Stovetop: While brown rice still needs a reasonable cook time, the Instant Pot significantly cuts down active cooking and monitoring.
- No More Guesswork: Precise timing and pressure eliminate the common pitfalls of stovetop rice.
- Easy Cleanup: A single pot reduces dishwashing, especially when you use a non-stick spray.
Step-by-Step Guide: Freezer-Friendly Instant Pot Brown Rice
Step 1: Prepare Your Instant Pot and Ingredients
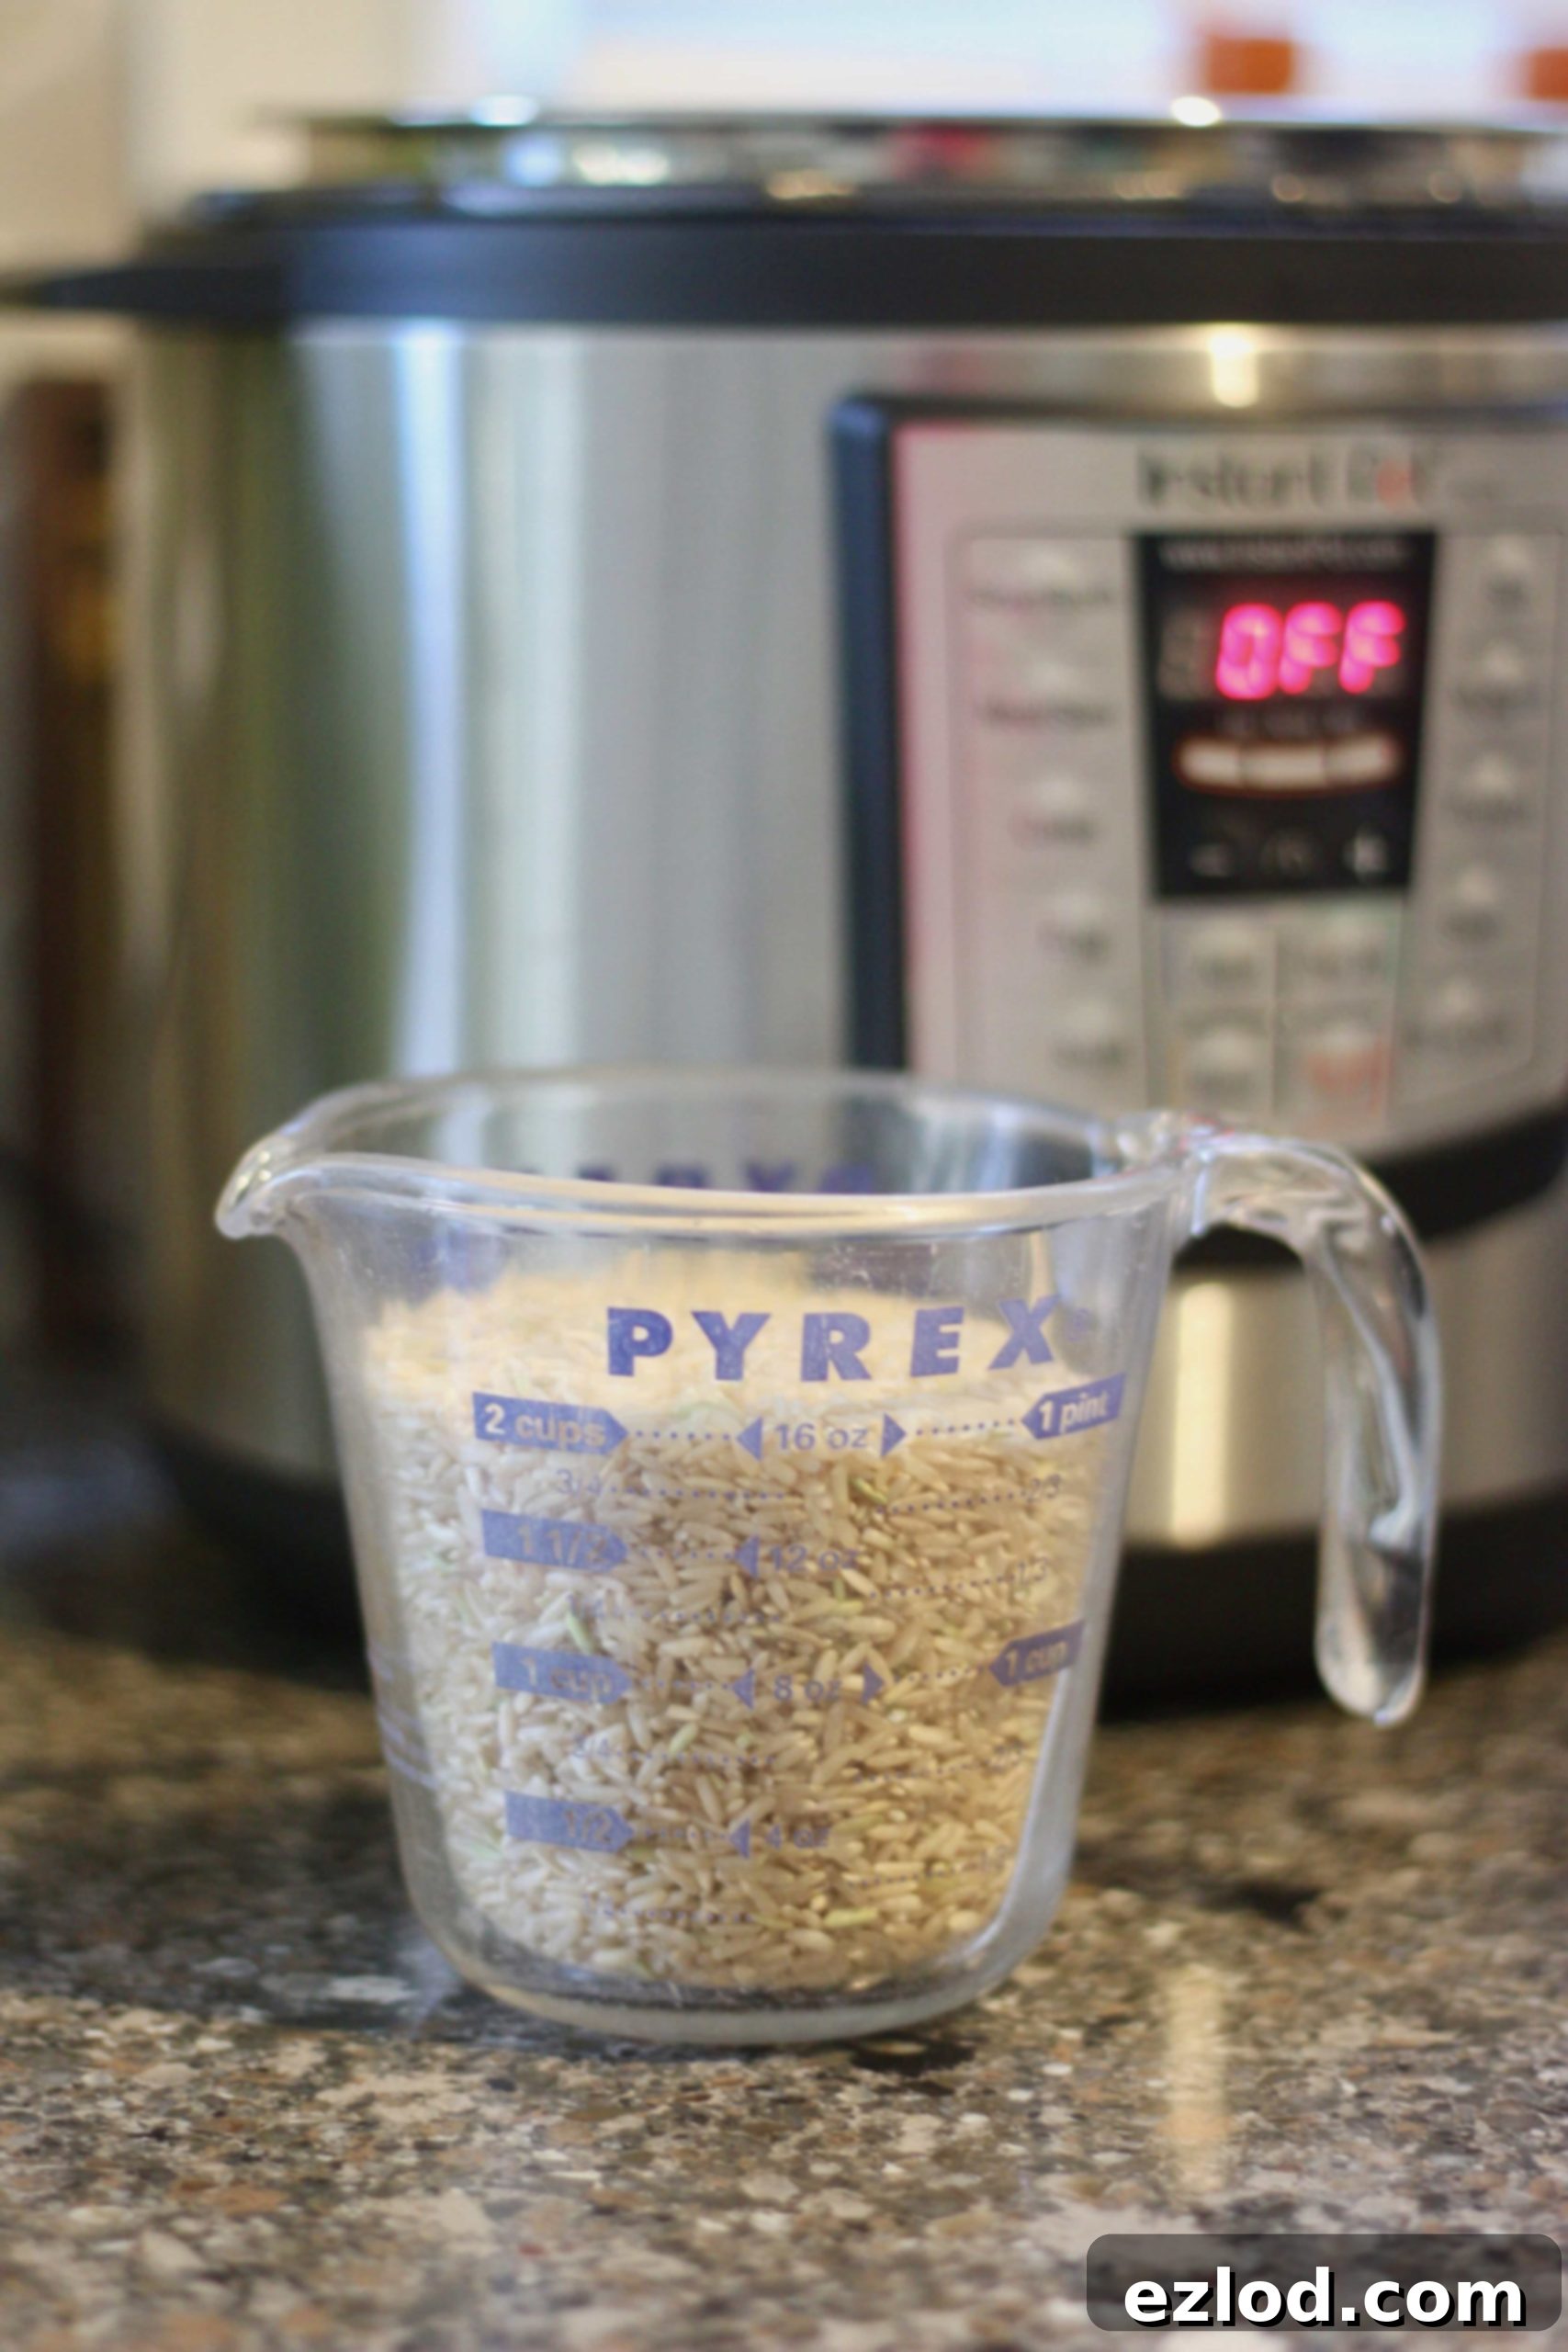
Begin by lightly spraying the inner pot of your Instant Pot with cooking oil spray. This simple step helps prevent any sticking and makes cleanup even easier. Next, measure out your brown rice and an equal amount of water. For batch cooking, I typically use 2 cups of brown rice and 2 cups of water. Many recipes suggest rinsing brown rice to remove excess starch, but for Instant Pot cooking, it’s often not strictly necessary and the 1:1 ratio works perfectly, resulting in distinct, fluffy grains without being gummy. Add both the measured rice and water to your Instant Pot.

Step 2: Pressure Cook to Perfection
Secure the lid on your Instant Pot, ensuring the sealing valve is set to the “Sealing” position. Select the “Manual” or “Pressure Cook” setting and set the cooking time for 22 minutes on high pressure. Once the cooking cycle is complete, the Instant Pot will typically switch to the “Keep Warm” function. It’s crucial for brown rice to allow for a ten-minute NATURAL pressure release (NPR). This means you simply let the pot sit undisturbed for 10 minutes after cooking finishes, allowing the pressure to naturally dissipate and the steam to evenly distribute within the rice. After 10 minutes, carefully switch the sealing valve to “Venting” for a quick release (QR) of any remaining steam. Once the float valve drops, you can safely open the lid.
Step 3: Cool for Optimal Freezing
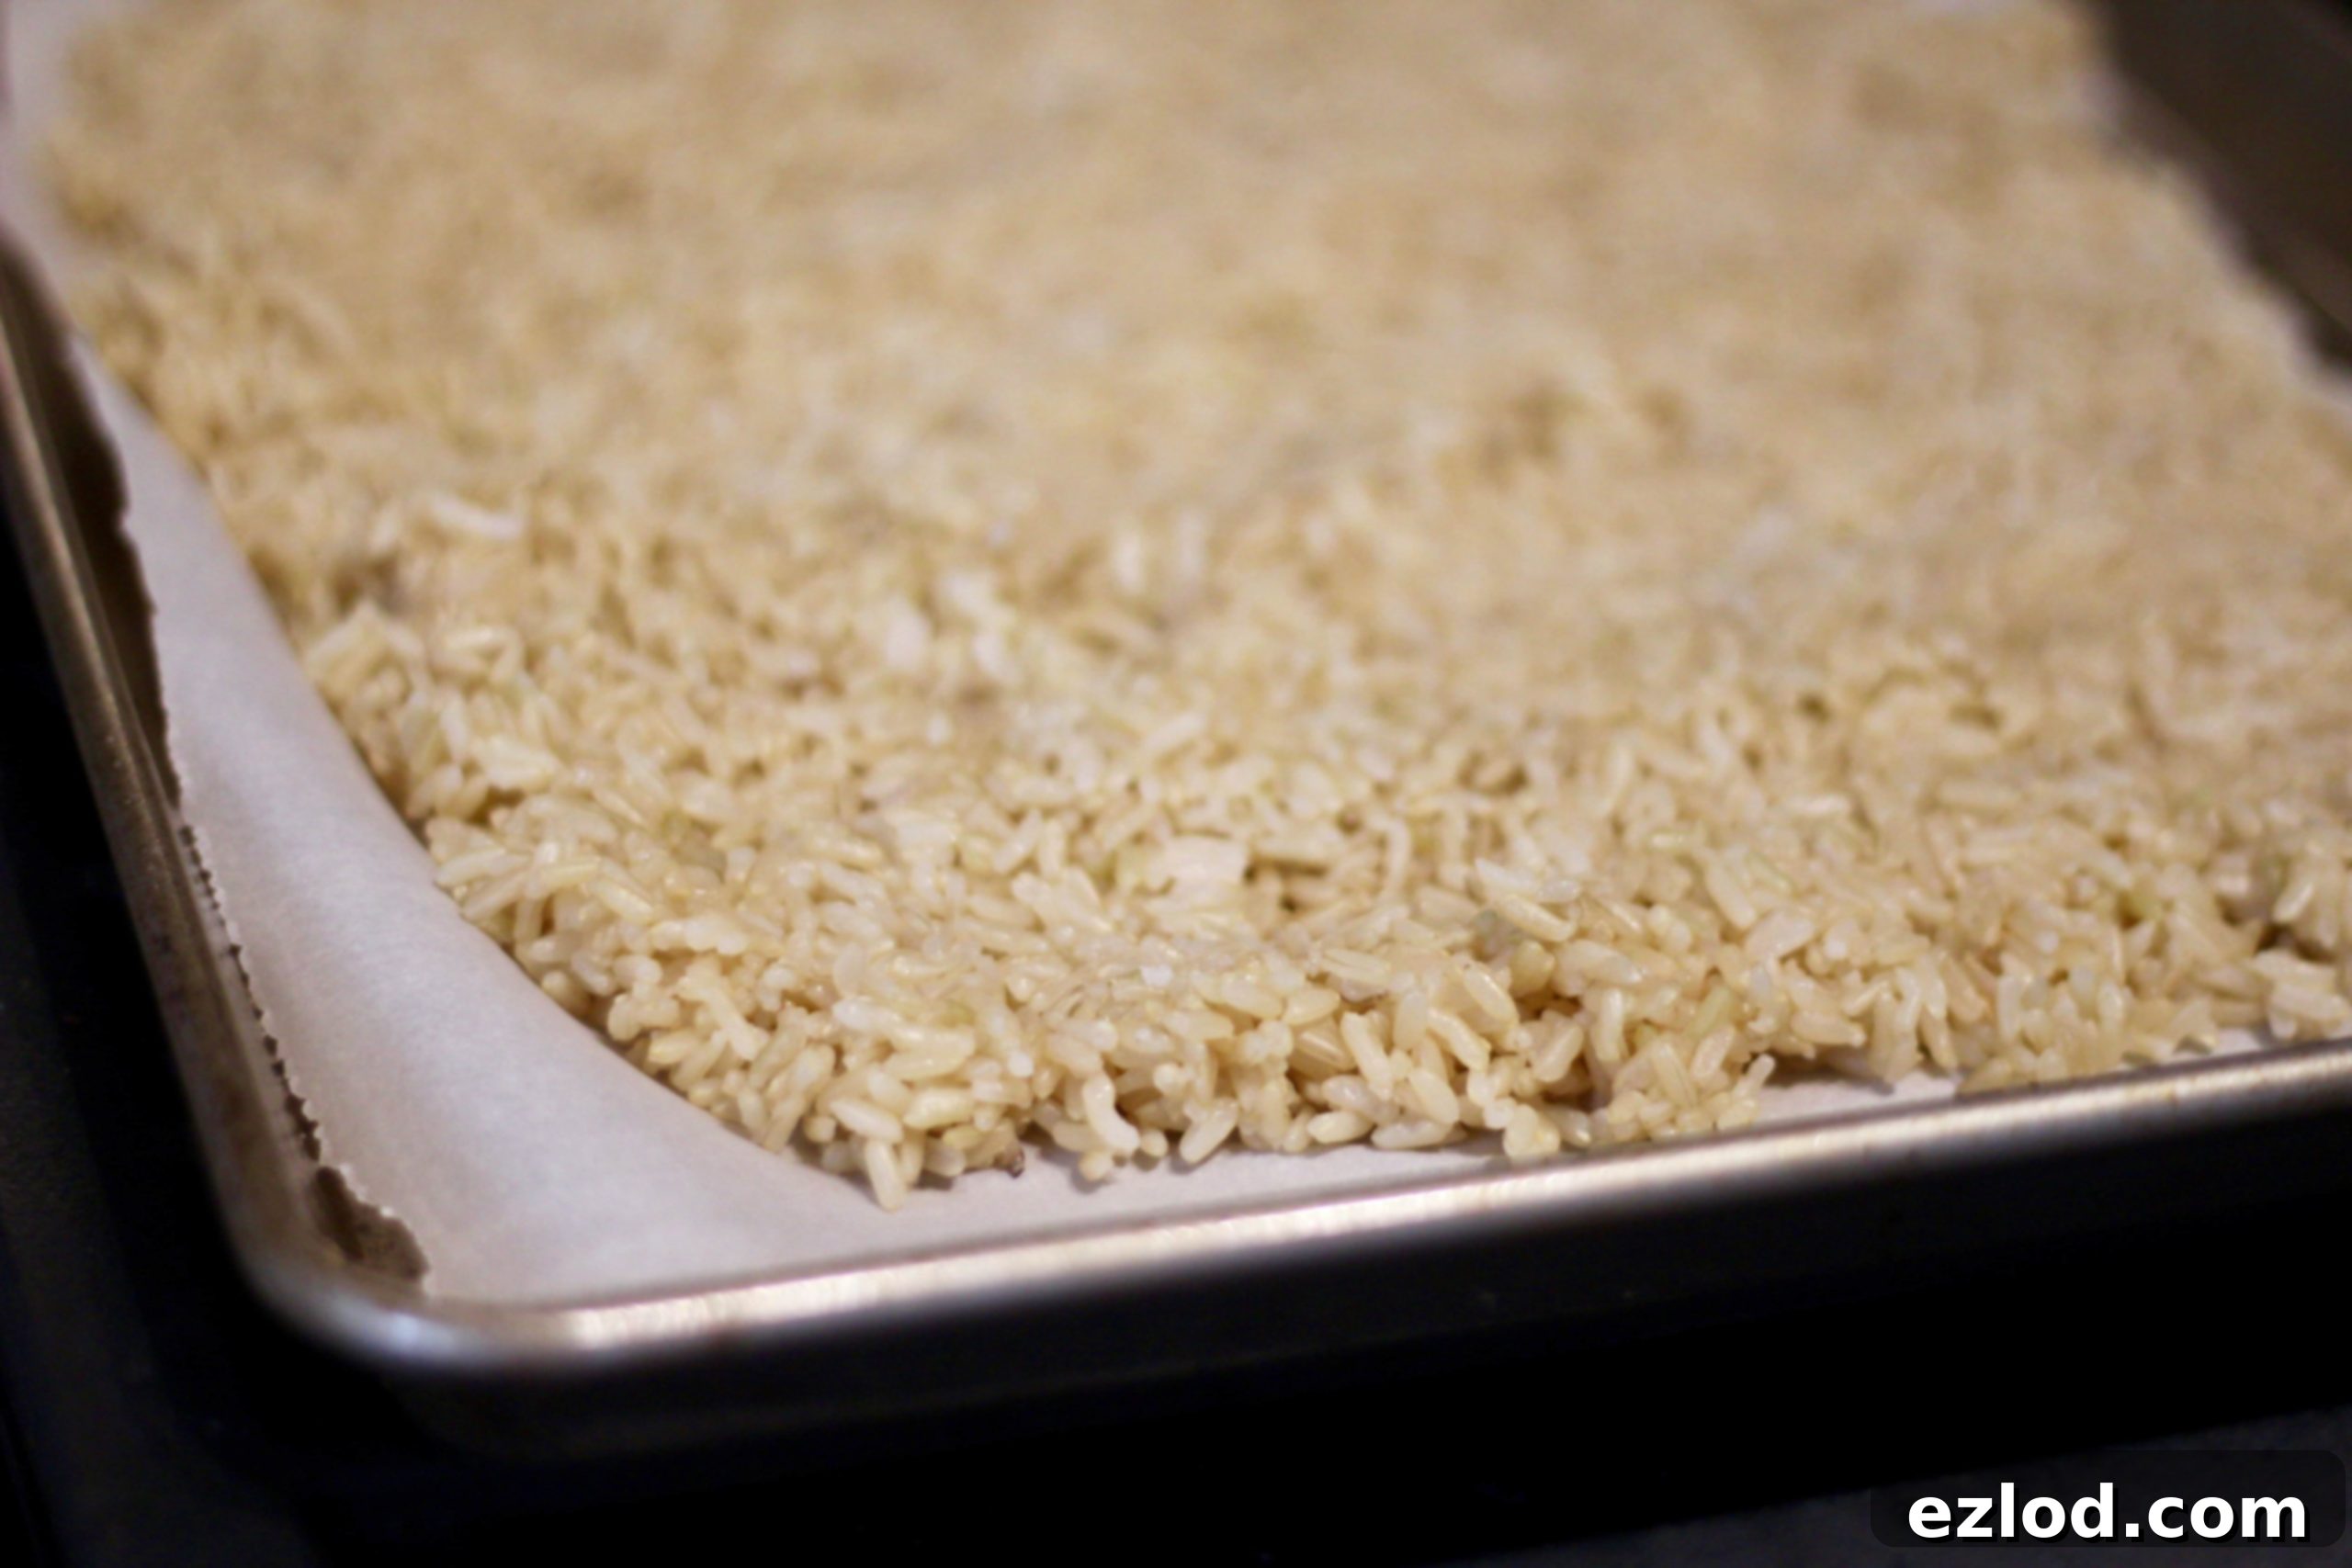
As soon as the Instant Pot lid is open, gently fluff the perfectly cooked brown rice with a fork. To prepare it for freezing, immediately spread the hot rice out onto a large baking sheet lined with parchment paper. This step is vital for rapid cooling and preventing the rice from clumping together or developing ice crystals when frozen. Ensuring the rice cools completely and quickly helps maintain its ideal texture once thawed. Allow it to cool at room temperature for at least 30-60 minutes, or until it reaches room temperature. You can even place it in the refrigerator for a short period to speed up the cooling process if you’re in a hurry.

Step 4: Portion and Label for Convenience
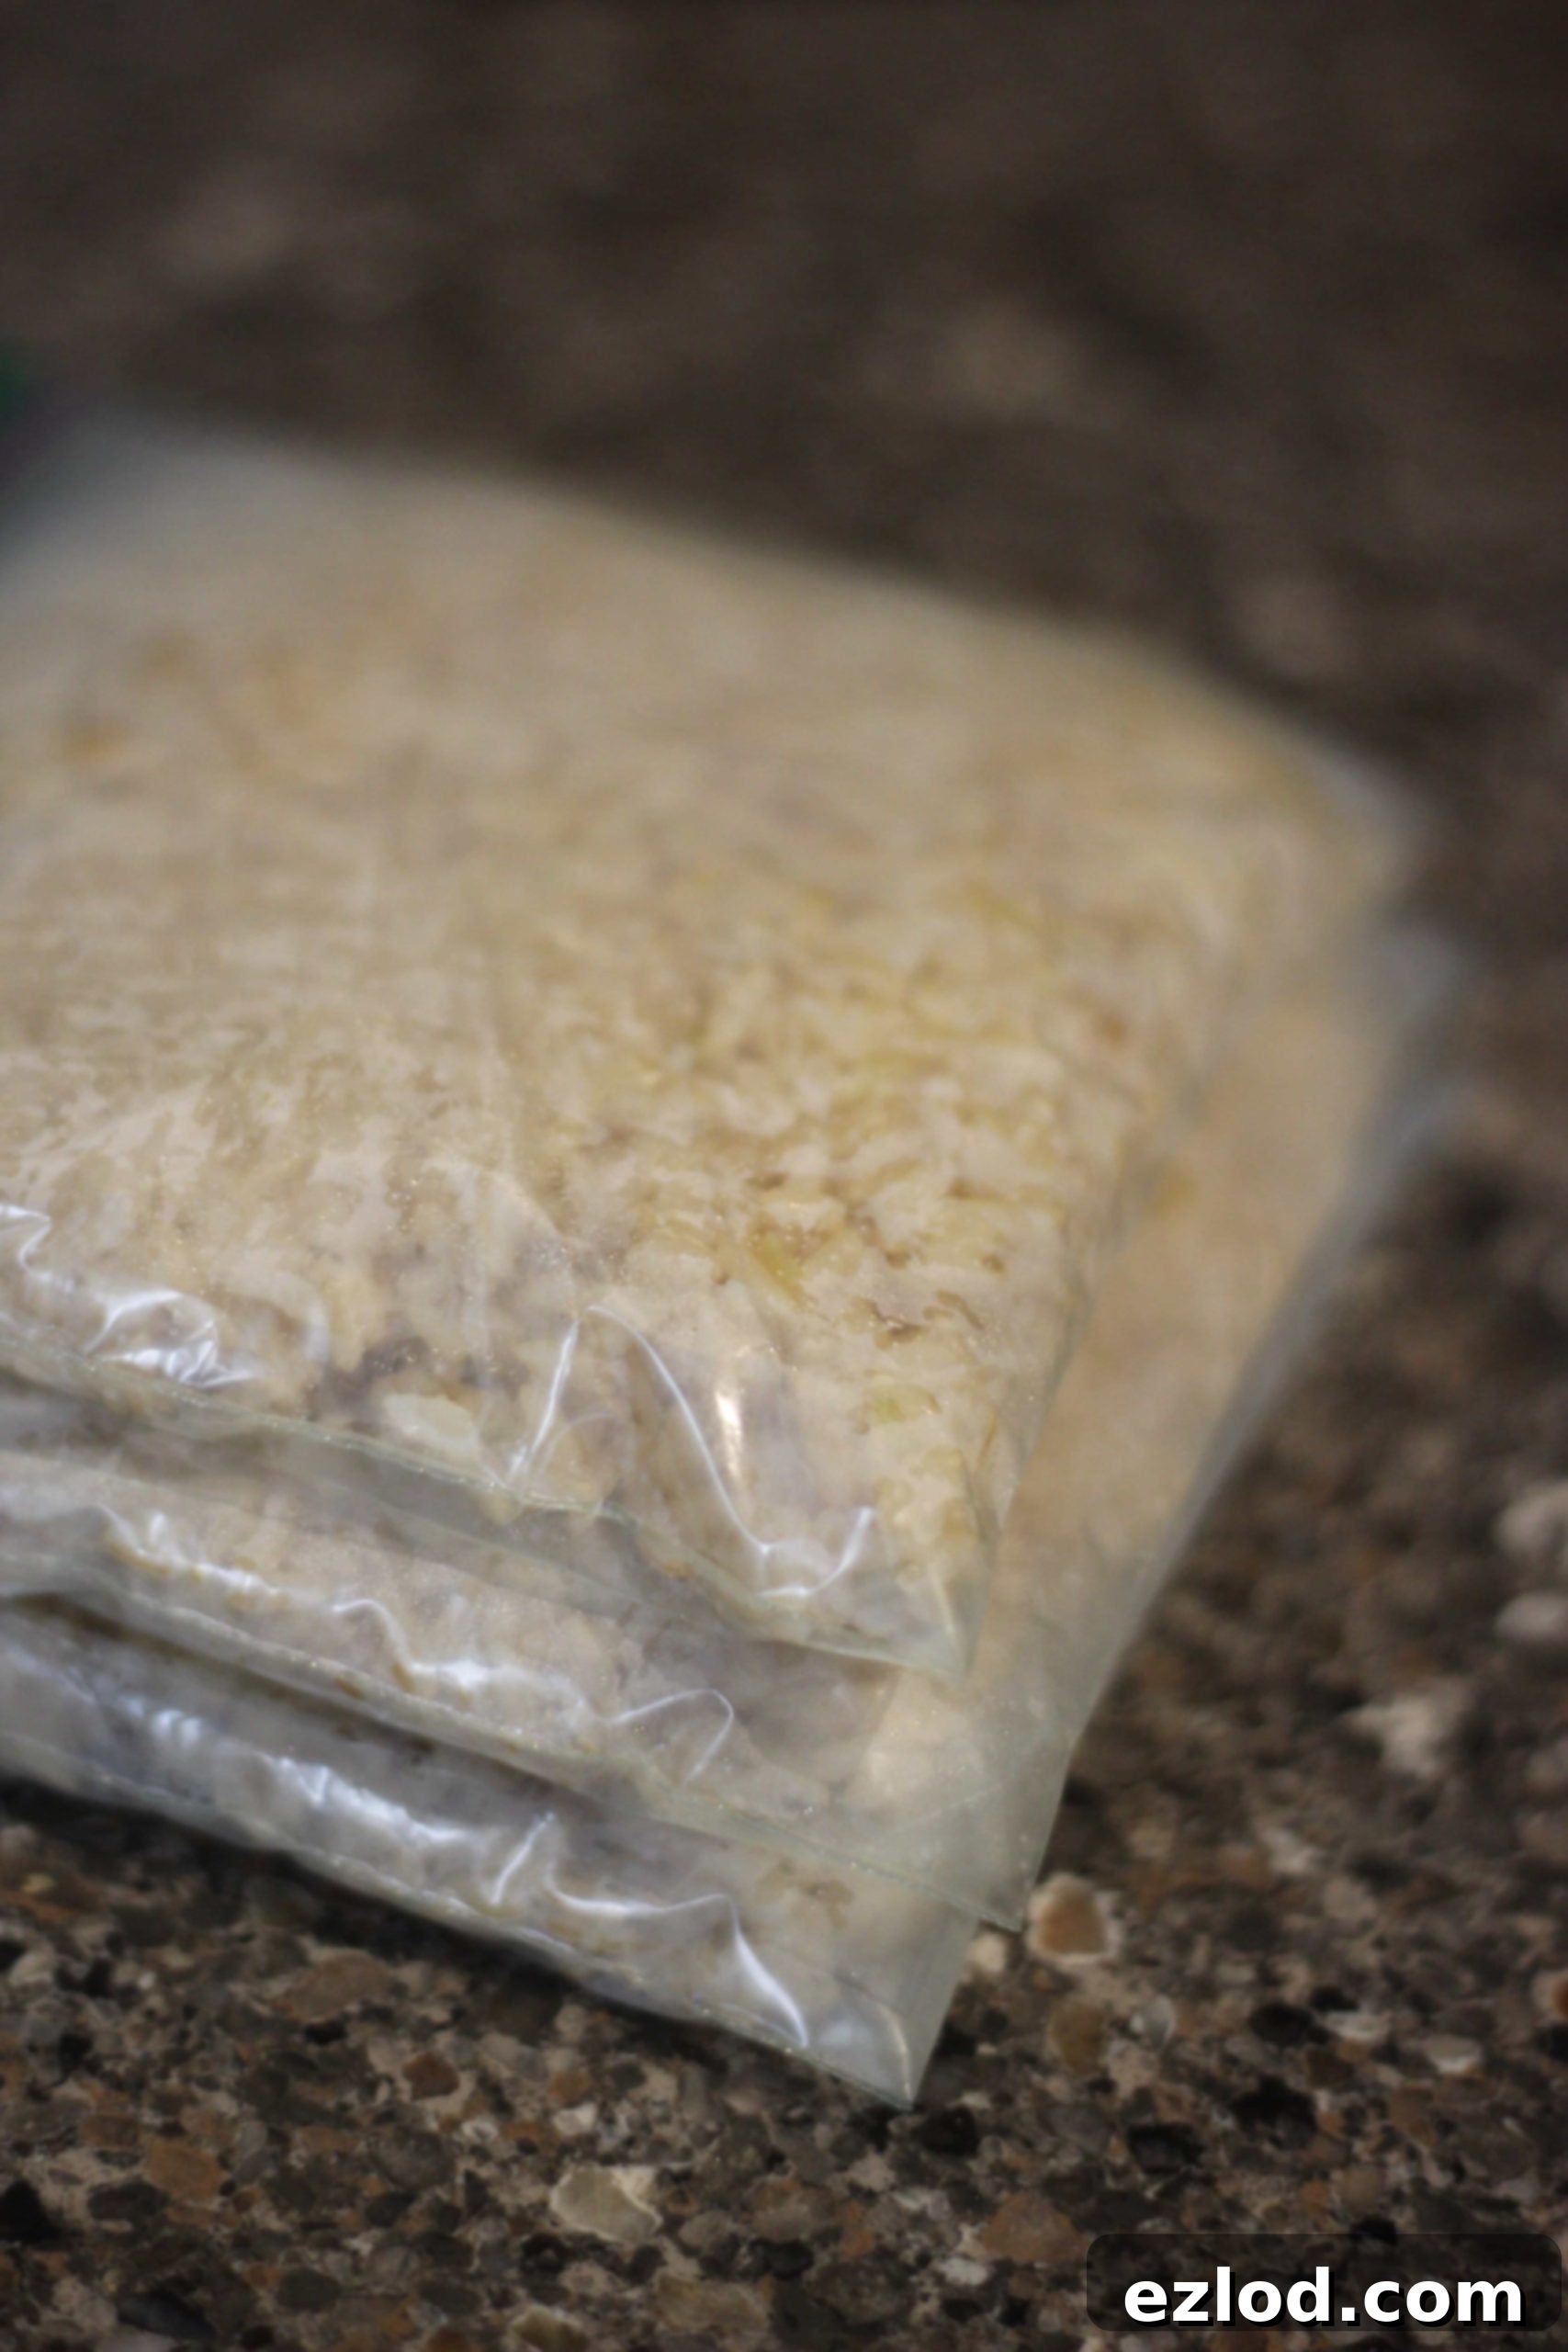
Once the brown rice has completely cooled, it’s time to portion it into individual servings. Using freezer-safe ziplock bags is ideal because you can lay them flat, which saves freezer space and allows for quicker thawing. Scoop your desired serving size (e.g., 1/2 cup or 1 cup) into each bag. Press out as much air as possible before sealing to prevent freezer burn. For best results and easy organization, don’t forget to label each bag clearly with the amount of rice and the date it was prepared. This way, you’ll always know exactly what you have on hand and when to use it by.

Step 5: Freeze and Reheat with Ease
Place the portioned and labeled bags of rice into your freezer, laying them flat until fully frozen. Once solid, you can stack them vertically to maximize space. This freezer-friendly brown rice can be stored for up to 3 months, providing a reliable healthy carb option whenever you need it. To thaw and reheat, simply remove a bag from the freezer. Add a tablespoon or two of water (or broth for extra flavor) to the rice in a microwave-safe bowl. Microwave on high for 1-3 minutes, stirring halfway through, until thoroughly heated and fluffy. The exact time will depend on your microwave and the amount of rice. You can also reheat it on the stovetop with a splash of water, stirring frequently, or even add it directly to soups or stews.
Tips for Instant Pot Brown Rice Success
- Rinse or Not? While some cooks insist on rinsing brown rice, for Instant Pot cooking with a 1:1 ratio, it’s often optional. If you prefer a drier grain, a quick rinse can help.
- Ratio is Key: Stick to the 1:1 ratio of brown rice to water for consistently perfect results in the Instant Pot. This differs from stovetop methods where more water is typically used.
- Don’t Skip Natural Release: The 10-minute natural pressure release is vital. It allows the pressure to drop slowly, letting the grains absorb remaining moisture and become tender without bursting.
- Fluff Immediately: As soon as the lid is safely opened, fluff the rice with a fork to separate the grains and release any trapped steam.
- Cool Completely Before Freezing: This prevents clumping and maintains the quality of the rice when reheated.
Creative Ways to Use Your Prepped Brown Rice
Having a stash of cooked brown rice in your freezer is a meal prep superpower! It opens up a world of quick and healthy meal possibilities:
- Grain Bowls: Top with roasted vegetables, a lean protein (like chicken or chickpeas), and a flavorful dressing.
- Stir-Fries: Add thawed rice to your favorite stir-fry during the last few minutes of cooking for a complete meal.
- Side Dish: A perfect healthy accompaniment to virtually any main course, from grilled fish to hearty stews.
- Salad Base: Create a more substantial salad by adding a scoop of brown rice to your greens, veggies, and protein.
- Soups and Stews: Stir in frozen or thawed rice during the last 10 minutes of cooking to absorb flavors and add texture.
- Burrito Bowls: Combine with beans, salsa, avocado, and your choice of protein for a quick Mexican-inspired meal.
This method is not only incredibly easy-peasy but also 21 Day Fix Approved, and you have complete control over what goes into your rice – no added oils, salts, or seasonings unless you choose to add them fresh at mealtime. Eating whole grains is such an integral part of a healthy, well-balanced diet. This easy preparation method ensures I have delicious, complex carb options on hand to feed my family all week long, without any last-minute stress.
Do you meal prep certain foods every week?
What are your staples to have in your refrigerator or freezer for easy, healthy meals? Share your tips in the comments below!
Looking for more freezer friendly meal prep ideas? Try these-
- Freezer Friendly Instant Pot Quinoa
- 21 Day Fix (One Minute) Instant Pot Freezer Prep Taco Meat
- Gluten Free Make Ahead Freezer Waffles [2B Mindset | 21 Day Fix]
- 21 Day Fix Instant Pot Freezer Meal Prep (Free Printable Grocery List and Step by Step Prep)
- 21 Day Fix Crock Pot Freezer Prep (Free Printable Grocery List and Step by Step Prep)

Freezer Friendly Instant Pot Brown Rice
Nancylynn
1 serving
Pin Recipe
5 minutes
22 minutes
37 minutes
Ingredients
- Cooking oil spray (e.g., olive oil or avocado oil spray)
- 2 cups long-grain brown rice
- 2 cups water (or vegetable broth for added flavor)
Instructions
-
Spray your Instant Pot with cooking oil spray to prevent sticking.
-
Add the brown rice and water (or broth) to the inner pot.
-
Secure the lid, ensure the sealing valve is set to “Sealing,” and set the Instant Pot to “Manual” or “Pressure Cook” on high for 22 minutes.
-
Once cooking is complete, allow the pressure to naturally release for 10 minutes. Then, perform a quick release for any remaining pressure. Open the lid once the float valve drops.
-
Fluff the cooked rice with a fork and spread it out evenly on a baking sheet lined with parchment paper. Let it cool completely to room temperature.
-
Portion the cooled rice into individual servings in freezer-safe ziplock bags. Lay the bags flat, remove excess air, and seal. Don’t forget to label bags with the amount of rice and the date.
-
Freeze flat. To thaw and reheat, add a tablespoon or two of water to the rice in a microwave-safe bowl and microwave for 1-3 minutes, stirring halfway, until hot and fluffy.
Notes
WW: 3 points (per 1/2 c. serving)
For best texture, ensure rice is completely cooled before freezing.
This recipe makes approximately 4 cups of cooked brown rice, providing around 8 half-cup servings.
Nutrition
Calories: 109kcal
Carbohydrates: 23g
Protein: 2g
Fat: 1g
Saturated Fat: 0.2g
Polyunsaturated Fat: 0.3g
Monounsaturated Fat: 0.3g
Sodium: 1mg
Potassium: 77mg
Fiber: 2g
Calcium: 10mg
Iron: 1mg
Tried this Recipe? Tag me Today!Tag @confessionsofafitfoodie on Instagram and hashtag it #confessionsofafitfoodie!
