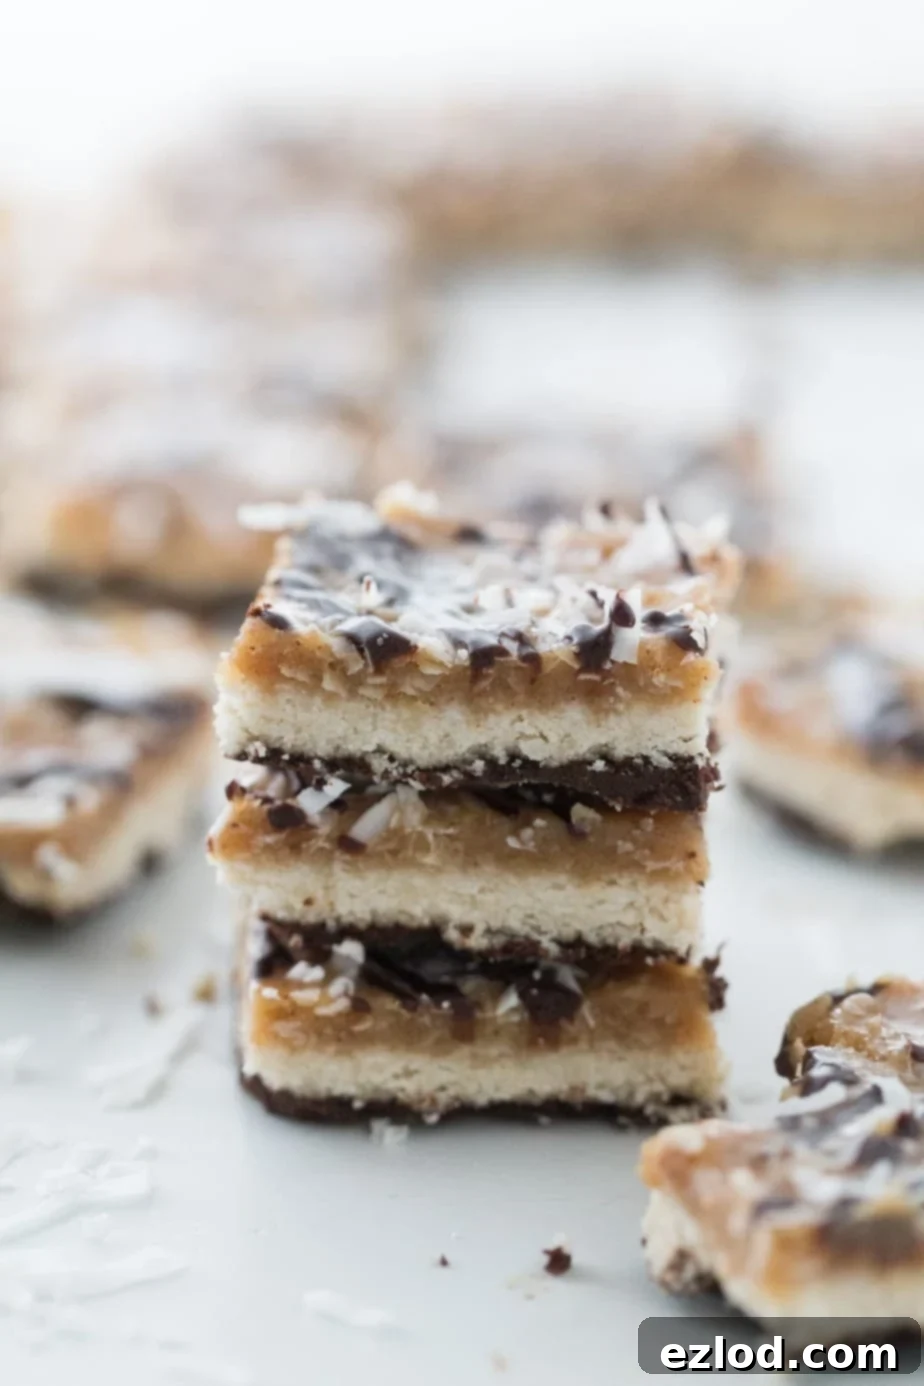
Healthy Samoas Cookie Bars: Your Guilt-Free Girl Scout Cookie Fix (Gluten-Free & Dairy-Free!)
It’s Girl Scout Cookie Season, a time many of us look forward to with eager anticipation. But what if you could enjoy that beloved cookie flavor without the guilt, the gluten, or the dairy? Enter these incredible Healthy Samoas Cookie Bars! Dare I say it – they taste even better than the originals, and they come with the added bonus of being gluten-free, dairy-free, and 21 Day Fix Approved. Prepare to meet your new favorite healthy treat!
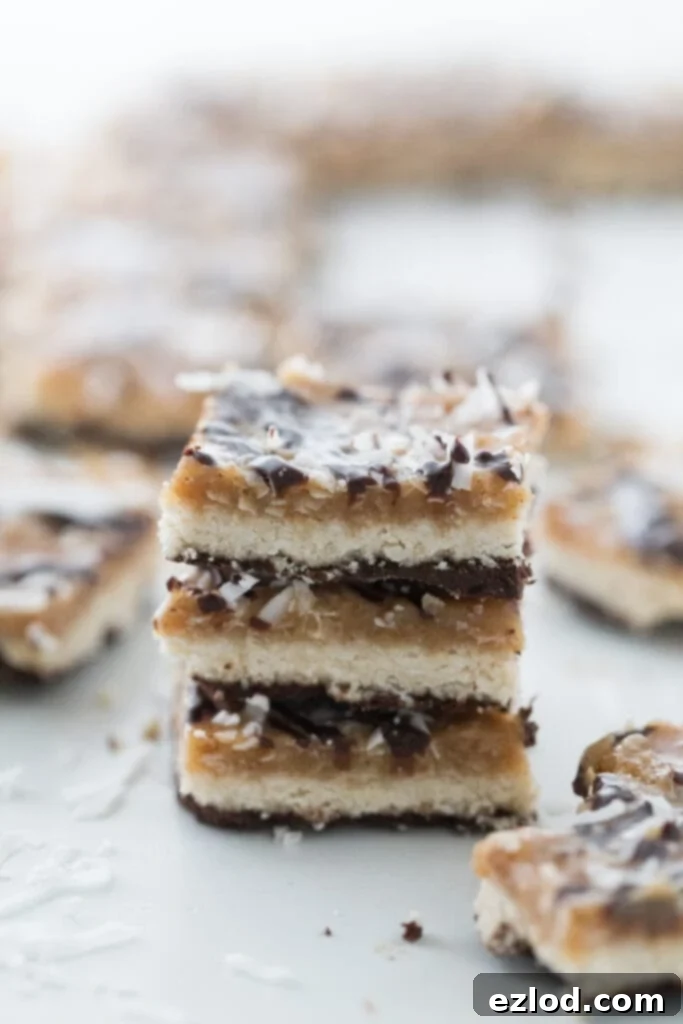
This year marks my daughter’s first year not actively participating in Girl Scouts, and we certainly feel a void. She especially misses the vibrant Saturday mornings spent setting up cookie booths with her friends, proudly donning her patch-covered vest, flashing her best smile, and selling delicious cookies to kind-hearted, cookie-loving shoppers. Those were truly cherished moments for her, and for me, watching her learn responsibility and entrepreneurial spirit.
While she adored her time as a Girl Scout, life’s passions pulled her in many directions. Her love for sports, dance, the violin, and Spanish Club eventually led her to make the difficult decision to take a break. It’s a common dilemma for busy kids, balancing multiple interests. As much as we miss some aspects of her Girl Scout journey, one thing I personally do not miss is having hundreds of boxes of traditional Girl Scout cookies taking up precious space in my garage right now. Let’s be honest, I’m good at many things, but saying no to a box of cookies staring me down every time I open the pantry is not one of them!
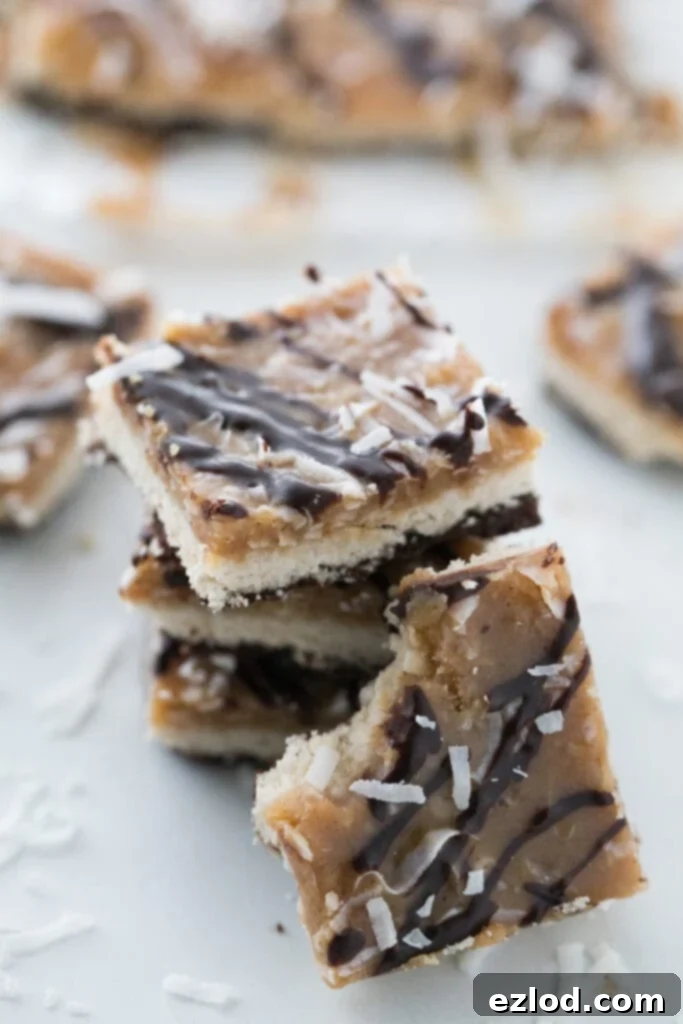
This season, we did purchase a few boxes from our sweet little neighbor across the street – it’s a tradition, after all! But I have a confession: I’ve only had *one* cookie so far. Just one! What’s my secret, you ask? I’ll give you a hint… it’s definitely not superhuman willpower. It’s something far more delicious and satisfying.
Are you a devoted fan of Girl Scout cookies? If so, you absolutely must try my other healthy copycat recipes: my Healthy Thin Mints and Homemade Tagalongs! They’re game-changers!
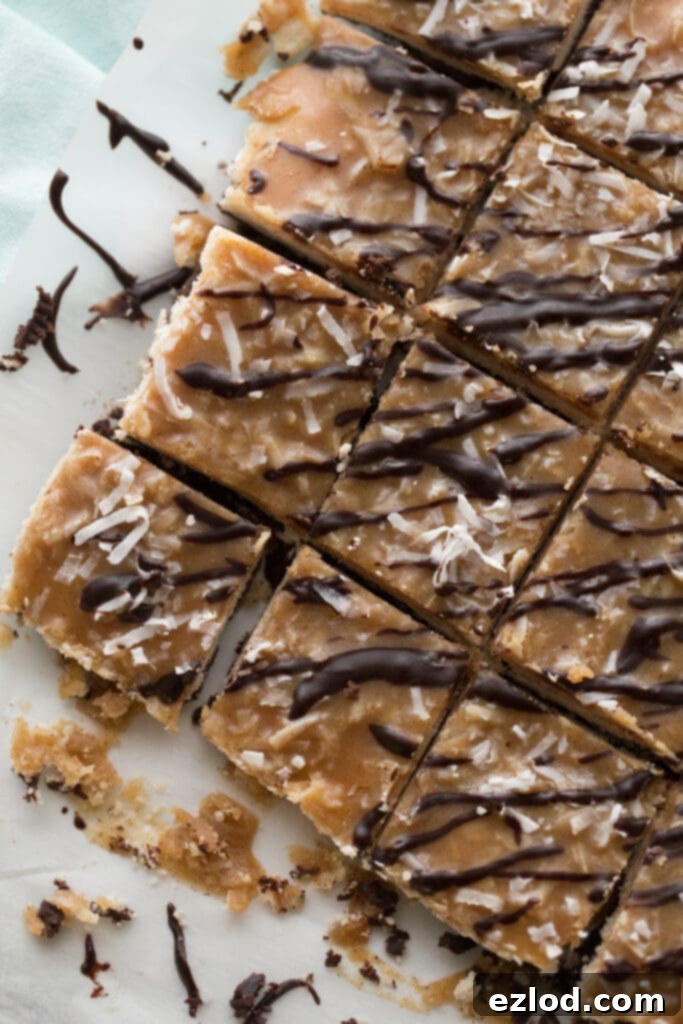
The Secret: Healthy Samoas Cookie Bars!
Friends, I’m not exaggerating when I declare that these Homemade Samoas Cookie Bars are superior to the original Samoas Girl Scout Cookie. That single cookie I had this year? It was, of course, a Samoa. But since indulging in that one, the rest of the box has remained untouched in my pantry. Why? Because I’ve been too busy devouring approximately 30 of these Healthy Samoas since I perfected the recipe last month! Yes, you read that right. My willpower has been redirected to a healthier, equally (if not more) delicious alternative.
I. AM. OBSESSED. And I guarantee you will be too!
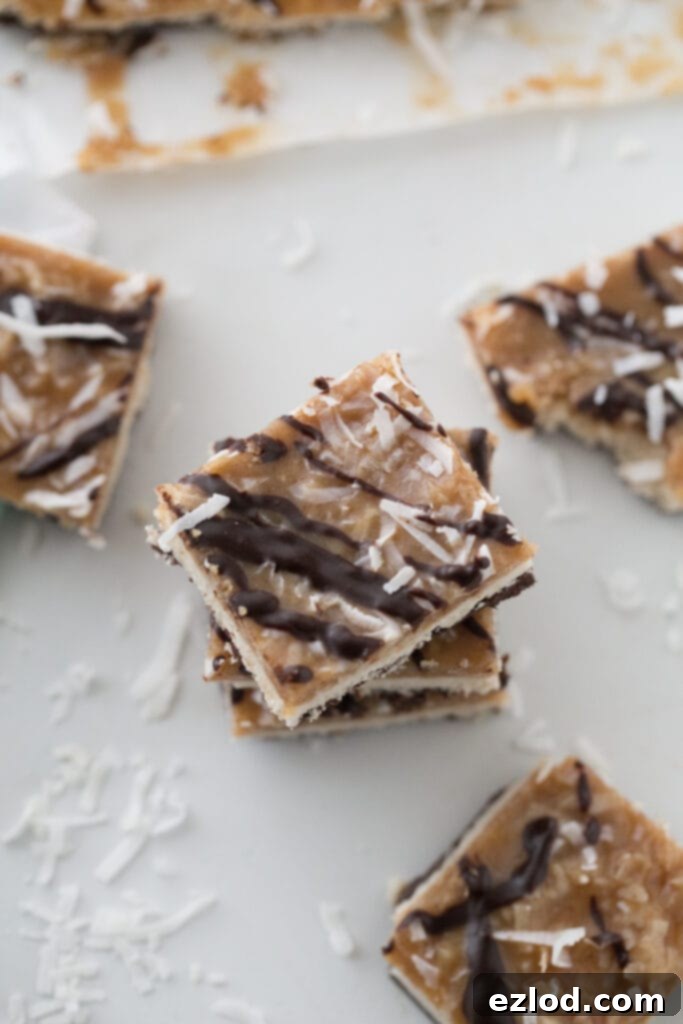
What Exactly Are Samoas Cookies? (And Caramel deLites!)
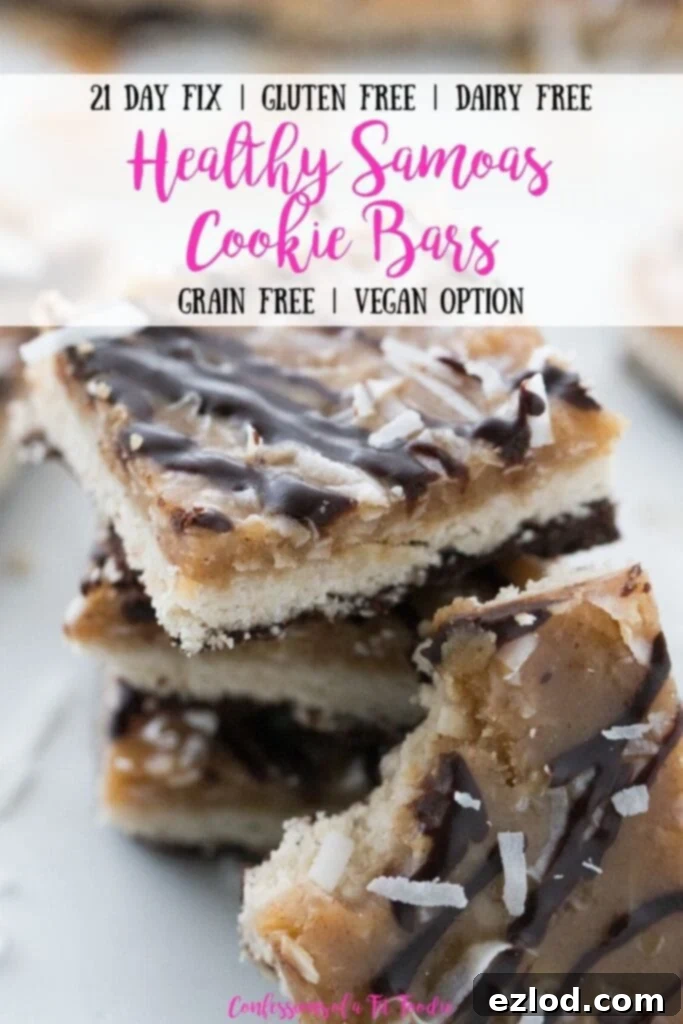
For those unfamiliar with this iconic treat (or if you simply need a delicious reminder!), a traditional Samoa cookie is a delightful trifecta of flavors and textures. It starts with a crisp, buttery shortbread cookie base. This base is then dipped in rich dark chocolate, creating a delightful contrast. The pièce de résistance is a generous topping of a chewy, sweet, coconutty caramel layer, often described as sheer deliciousness. To finish, a delicate drizzle of extra chocolate zig-zags across the top, adding both visual appeal and another burst of cocoa flavor.
It’s worth noting that depending on the bakery contracted by the Girl Scouts, these beloved cookies might also be known as Caramel deLites. However, as a child of the 80s, they will forever be “Samoas” in my heart and mind. Regardless of the name, their irresistible combination of coconut, caramel, and chocolate makes them a perennial favorite.
Why Make Homemade Samoas into Bars Instead of Cookies?
This is a question I get often, and the answer is simple: efficiency and convenience without compromising taste! While the idea of perfectly round, individually decorated Samoas is charming, the reality of making them can be quite time-consuming. Rolling out dough, cutting individual cookies, baking them, then dipping each one, and finally, carefully layering the caramel and drizzling chocolate can be a lengthy process.
By transforming these homemade Samoas into bars, we streamline the entire process significantly. Instead of individual handling, you bake one large shortbread base, spread layers over it, and then simply cut into bars. This method is much easier and faster, making this delicious treat accessible even on a busy weeknight. The best part? The taste remains absolutely identical to the classic cookie format. You get all the same incredible flavors and textures – the crunchy base, the decadent chocolate, and that gooey coconut caramel – in a more manageable, less labor-intensive package. Why make things harder when the outcome is just as delightful? You feel me?
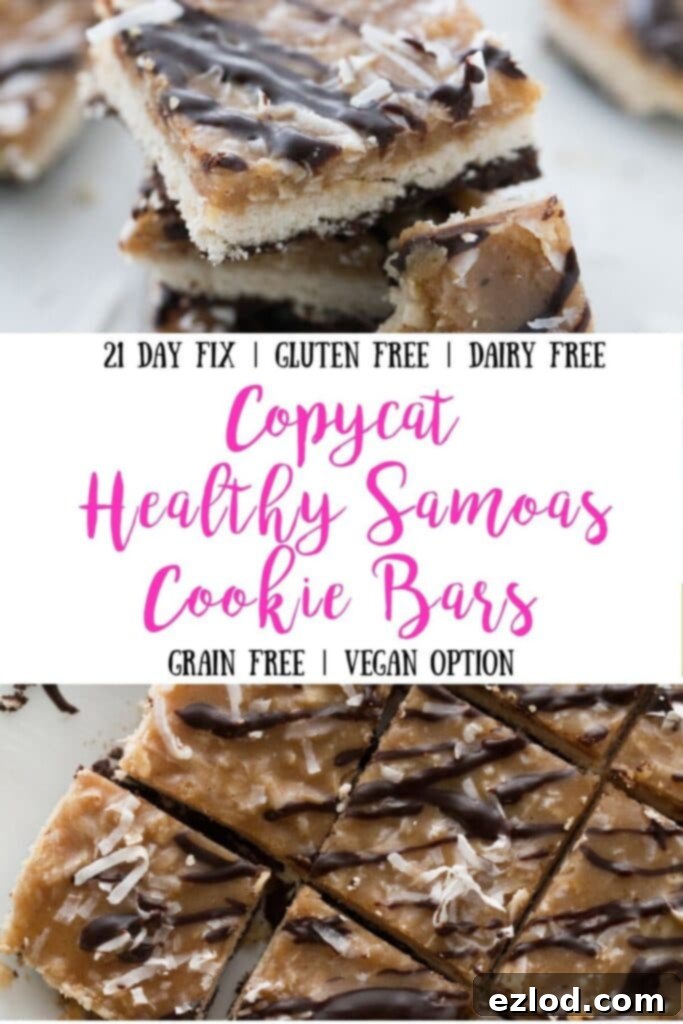
How Are These Samoas Cookie Bars a Healthier Alternative?
The beauty of these copycat Girl Scout cookies lies in their wholesome ingredients. Unlike their store-bought counterparts, these bars are crafted using only clean, real food ingredients that you can truly feel good about incorporating into your diet. This means no artificial flavors, no excessive refined sugars, and no unwanted additives. I have to emphasize this, because once you taste how utterly amazing they are, you might just forget they’re actually healthy!
This recipe is loosely based on another one of my popular treats, my 21 Day Fix Easy Chocolate Macaroons (Allergy Friendly). But I promise you, these Samoas Cookie Bars take that foundation and elevate it to a whole new level of crazy deliciousness. Get ready to be blown away by a healthy treat that truly satisfies your sweet tooth without derailing your health goals!
You Only Need 8 Pantry Staples for These Healthy Samoas Bars:
One of the best things about this recipe is that it relies on readily available ingredients, many of which you likely already have in your pantry. Here’s what you’ll need to create these healthy, irresistible Samoas bars:
- Unsweetened Shredded Coconut: The star of the show, providing that authentic Samoa flavor and texture.
- Coconut Flour: A fantastic gluten-free flour that gives our cookie base the perfect consistency.
- Coconut Oil: Essential for binding the layers and adding a rich, healthy fat.
- Honey and Maple Syrup: These natural sweeteners provide depth of flavor. For a completely vegan version, you can use all maple syrup. Otherwise, I 100% recommend using both for the best taste balance.
- Vanilla Extract: A crucial flavor enhancer that brings all the elements together.
- Almond Butter: Creates a creamy richness in the caramel layer. You can easily substitute peanut butter for a slightly different, equally delicious flavor, or sun butter for a nut-free option.
- Cocoa Powder: For that essential chocolatey goodness. Cacao powder can also be used for an even richer, less processed chocolate flavor.
- Sea Salt: A tiny pinch makes all the difference, balancing the sweetness and enhancing the other flavors.
Important Recipe Swaps and Considerations:
While many recipes allow for broad substitutions, this particular recipe is quite specific to ensure the perfect texture and flavor profile of a Samoa. Here’s a detailed breakdown of what you can and cannot swap:
- Flour and Oil: I strongly advise against substituting a different type of flour or oil. This recipe is meticulously balanced and relies heavily on both the unique properties of coconut flour for its absorption and texture, and coconut oil for its binding and setting capabilities at different temperatures. Swapping these out could drastically alter the outcome.
- Sweeteners: I specifically recommend using honey for the cookie layer to give it a particular chewiness and depth, and maple syrup for the caramel layer for its smooth, liquid consistency. While you *can* use all maple syrup for a vegan option, using both as suggested yields the best flavor and texture.
- Nut Butters: Almond butter is my preferred choice for its neutral yet creamy taste in the caramel. However, if you’re a fan of peanut butter, feel free to substitute it for a delicious, slightly nutty twist. For those with nut allergies, sun butter (made from sunflower seeds) is an excellent and safe alternative that maintains a similar texture.
- Chocolate Powder: You have the flexibility to use either cocoa powder or cacao powder. Cacao powder is generally less processed and has a richer, more intense chocolate flavor and higher antioxidant content, but standard unsweetened cocoa powder will work perfectly well for a delicious chocolate layer.
- Chocolate Layer (A Note on Treat Swaps): To keep these bars 21 Day Fix Approved without needing a treat swap, the chocolate layer is made with cocoa/cacao powder, coconut oil, and maple syrup. If you opt to use melted chocolate chips for convenience or a different flavor profile, please be aware that this would then count as a treat swap in your 21 Day Fix plan. For those following the plan strictly, stick to the powder-based chocolate.
How to Master These Homemade Samoas Cookie Bars: A Step-by-Step Guide
Don’t be intimidated by the layers; making these Samoas Cookie Bars is surprisingly straightforward! To ensure your success and make the process as clear as possible, I highly recommend watching the video we’ve created for this recipe. It visually walks you through each step, making it incredibly easy to follow along. While it’s not a complicated recipe, seeing the entire process before you begin will be immensely helpful!
Now, let’s get ready to bake some divine Samoa Bars!
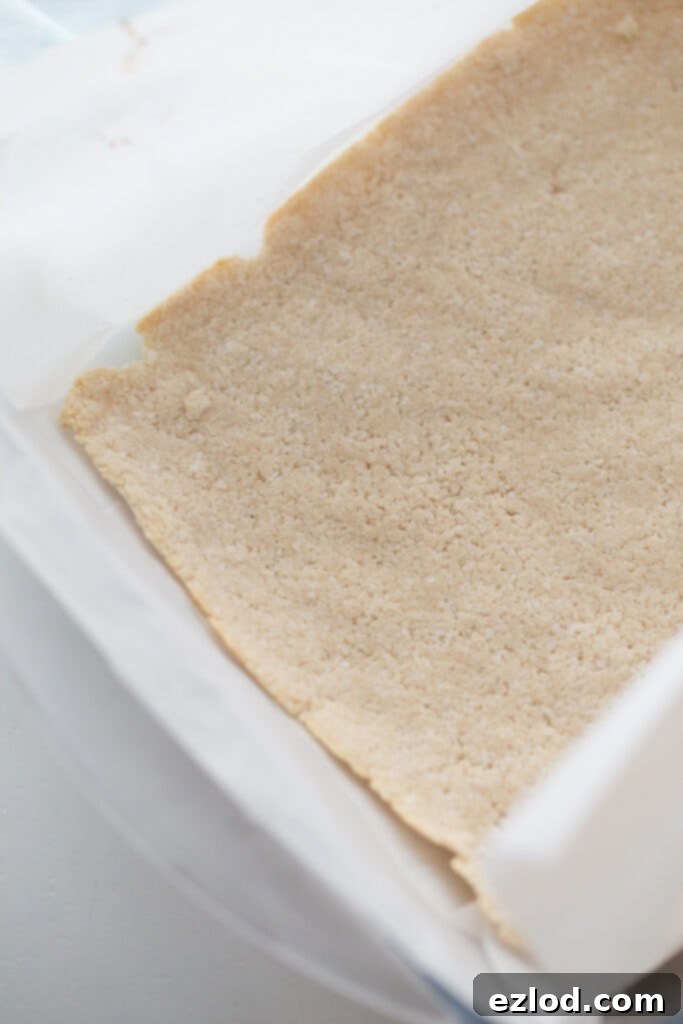
Your baking journey begins with the foundation: the gluten-free and dairy-free shortbread base. Line an 8×8 inch baking pan with parchment paper – I recommend using two sheets layered in opposite directions to create easy “handles” for lifting the finished bars. This is a crucial step for easy removal. Once your pan is prepped, evenly press the cookie mixture into the bottom. This base will provide that delightful crunch akin to a traditional Samoa. Bake it just until golden brown.
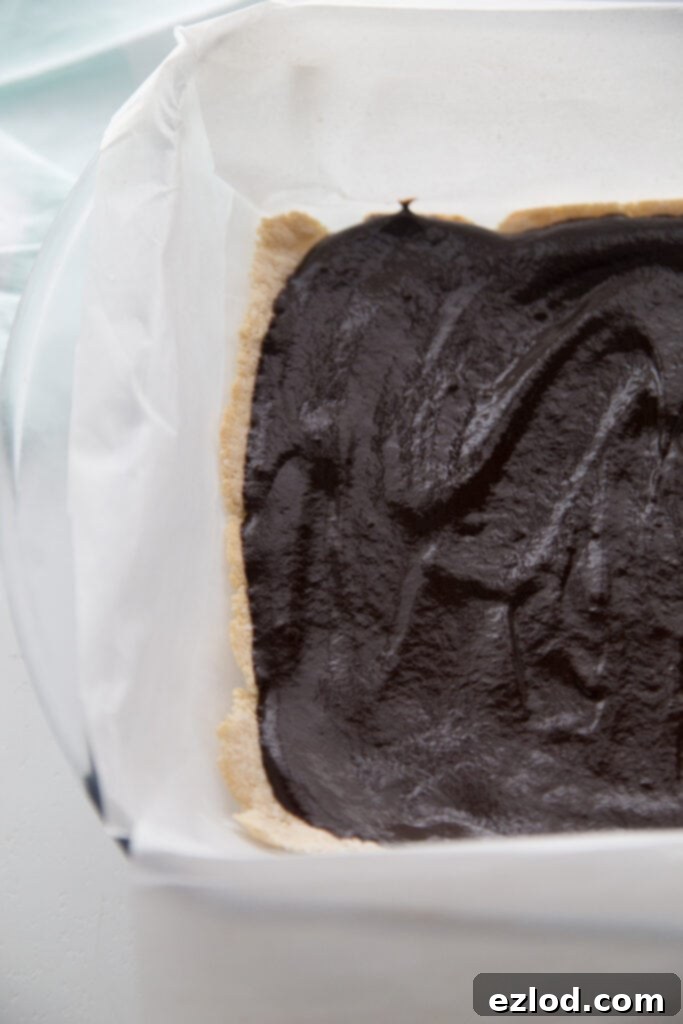
Next, while your cookie base is still warm, you’ll prepare your decadent dairy-free chocolate layer. This is a simple blend of coconut oil, maple syrup, and cocoa powder that creates a smooth, rich chocolate that hardens beautifully. Spread this luscious chocolate over the baked shortbread base, ensuring an even coat. Immediately after spreading, pop the pan into the freezer. This step is essential for setting the chocolate quickly, creating a firm barrier for the next layer.
While the chocolate and shortbread layers are chilling in the freezer, it’s time to whip up the star of the show: a super quick and utterly divine coconut caramel sauce. This caramel sauce, by the way, is pure gold! I can’t wait to find a million other uses for it. It comes together effortlessly with just a few pantry staples: coconut oil, maple syrup, almond butter, vanilla extract, and a pinch of salt. The combination creates a rich, creamy, and perfectly sweet caramel that you’re going to absolutely adore. Seriously, you are gonna die – it’s that good!
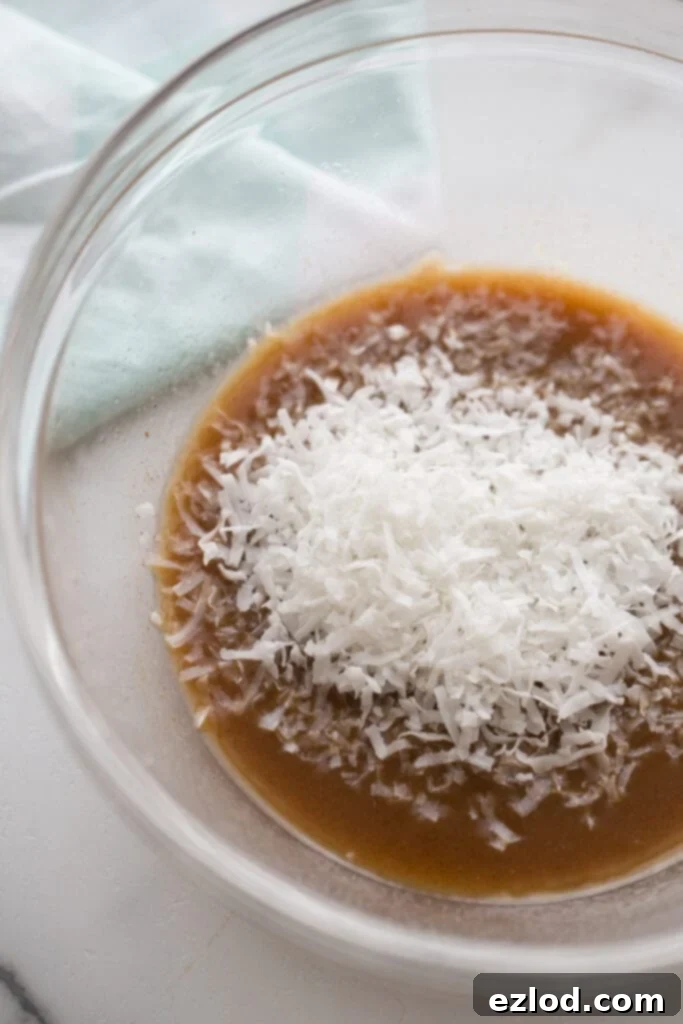
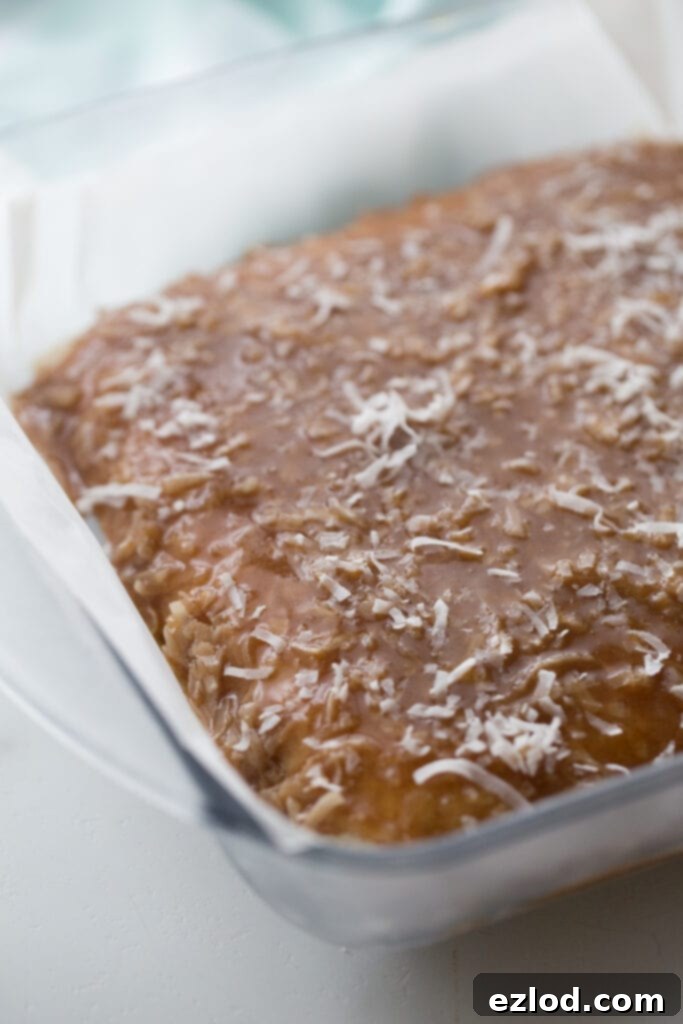
Finally, once your chocolate layer is firm, you will carefully flip the bars over. This might sound tricky, but the parchment paper handles make it a breeze! Now, it’s time to spread that incredible coconut caramel mixture generously over the plain side of the cookie base. This is where the magic really happens, bringing together all the iconic Samoa flavors. Once the caramel is spread, a quick return to the freezer ensures it sets perfectly. After this final chilling step, your Healthy Samoas Cookie Bars are ready for slicing. Divide them into 16 equal squares, and each day you can enjoy one on the 21 Day Fix without even needing a treat swap – how amazing is that?!
How to Store These Delicious Gluten-Free Samoas
To keep these healthy Samoas bars fresh and maintain their perfect texture, especially with the coconut oil-based layers, storage is key. I highly recommend keeping them in an airtight container or a ziplock bag in your freezer. Freezing not only extends their shelf life but also helps the layers stay firm and distinct. When you crave one, simply pull it out a few minutes before you want to enjoy it, or eat it straight from the freezer for a firmer, almost candy-bar-like experience. Sometimes I even make my husband hide them from me… and sometimes I hide them from my husband! Either way, they stay perfectly delicious and ready to enjoy whenever the craving strikes.
Are These Healthy Samoas Allergy Friendly? Absolutely!
One of the greatest advantages of making these Samoas Cookie Bars at home is the ability to tailor them to various dietary needs and allergies. Unlike conventional Girl Scout Cookies, which contain common allergens, these homemade Samoas are remarkably allergy-friendly. They are completely free of gluten, dairy, grains, refined sugar, peanuts, and eggs! For those with nut allergies, you can easily make them entirely nut-free by substituting almond butter with sun butter. The only significant allergen present is coconut, so if you have a coconut allergy, unfortunately, this particular recipe won’t be a good fit for you. My apologies to my coconut-allergic friends!
What Do These Samoas Count As on the 21 Day Fix? The Best Part!
For all my 21 Day Fix followers, get ready for some exciting news! This is truly the best part of these healthy Samoas. Each delicious cookie bar counts as 1 Orange container, 2 Oil Teaspoons, and 2 Sweetener Teaspoons. That’s right – absolutely no yellow container count, and best of all, no treat swap needed for one serving! I am practically doing cartwheels over this detail, as it means you can enjoy a decadent-tasting treat without sacrificing your container count.
If you’re feeling extra indulgent and want to have more than one bar, you certainly can. However, for a second bar, I would advise counting it as a treat swap to stay aligned with the program’s guidelines. But with how satisfying and flavorful just one is, you might find that’s all you need!
Can’t Wait to Create More Girl Scout Copycat Recipes!
Now that these Healthy Samoas Cookie Bars are a smashing success, my mind is already buzzing with ideas for more healthy Girl Scout cookie copycats. What’s next on the agenda? Thin Mints? Tagalongs? Lemonades? I’d love to hear which classic Girl Scout cookie you’d like me to tackle next in a healthy, allergy-friendly format!
Until then, if you’re eager for more healthy cookie goodness, here are some fantastic recipes from my fellow healthy food bloggers: a delicious Healthy Thin Mint Recipe from Eating Bird Food and mouth-watering Healthy Tagalongs from Detoxinista. Enjoy!
Looking for More Healthy Coconut & Coconut Flour Recipes That Aren’t Treat Swaps? Check These Out:
If you love the use of coconut and coconut flour in this recipe and are searching for more wholesome, delicious treats that fit your healthy lifestyle and container counts, I’ve got you covered. Explore these other fantastic options from my collection:
- 21 Day Fix Easy Chocolate Macaroons (Allergy Friendly)
- 21 Day Fix Chocolate Coconut Mounds Cups
- Coconut Macaroons {21 Day Fix}
- Healthy Strawberry Shortcake | 21 Day Fix, Weight Watchers, Dairy-free, Gluten-free
- Healthy Copycat Mini Reeses Peanut Butter Cups [Dairy Free | Gluten Free | 21 Day Fix | Weight Watchers]
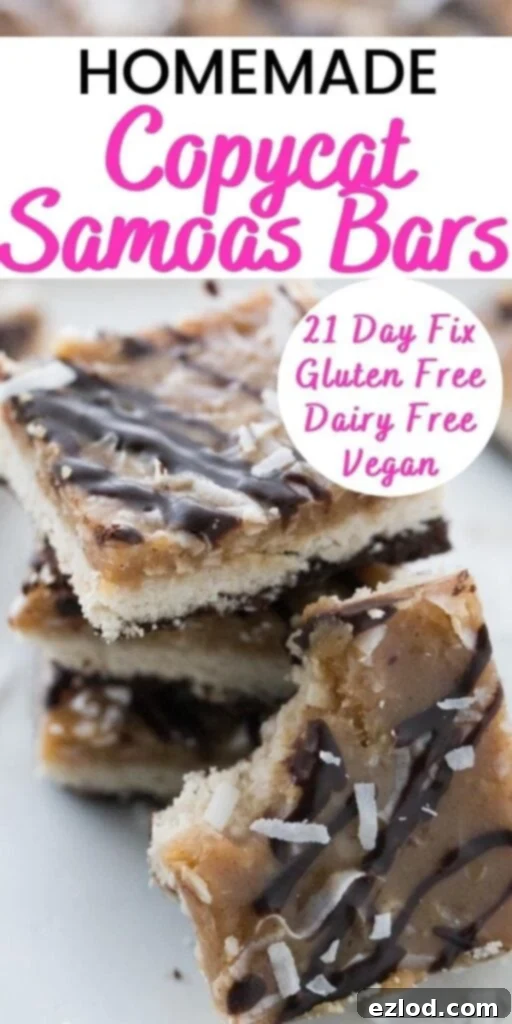
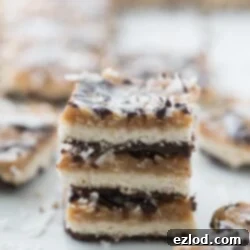
Healthy Samoas Cookie Bars
Pin Recipe
Ingredients
For the cookie layer:
- 1 1/4 cups unsweetened shredded coconut
- ¼ cup coconut flour
- 1/8 teaspoon sea salt
- 2 tablespoons coconut oil melted
- 2 tablespoons of honey use maple syrup if vegan, but otherwise stick to honey
- 1 teaspoon vanilla extract
For the chocolate layer:
- 3 tablespoon maple syrup you can sub honey, but I definitely prefer the syrup
- 3 tablespoon coconut oil
- 2 1/4 tablespoon cacao or cocoa powder
For the coconut caramel layer:
- 1/4 cup coconut oil
- 1/4 cup maple syrup
- 2 tablespoons almond butter you can sub peanut butter
- sprinkle of sea salt
- ¼ tsp vanilla extract
- ¼ – ⅓ cup unsweetened shredded coconut
Instructions
-
Preheat oven to 350 degrees F (175 C).
-
In a food processor, combine shredded coconut and coconut flour. Process until finely ground.
-
Add sea salt, melted coconut oil, honey (or maple syrup if vegan), and vanilla extract. Pulse until mixed well and the mixture forms moist crumbs that can be easily pressed together.
-
Line an 8×8 inch square baking pan with two sheets of parchment paper, layering them on top of each other in opposite directions. This creates convenient “slings” to lift the finished bars.
-
Press the cookie mixture firmly and evenly into the bottom of the lined pan. Use the back of a spoon, and then press with the sides of the parchment paper to create a smooth, compact base.
-
Bake for 8-10 minutes, or until the edges are lightly golden. Remove from oven and let cool slightly.
-
While the cookie layer is baking, prepare the chocolate layer. Gently melt coconut oil over low heat in a small saucepan or in the microwave. Remove from heat and whisk in maple syrup, then slowly whisk in the cacao or cocoa powder until the mixture is smooth and glossy. Taste and adjust for sweetness or a deeper chocolate flavor as desired. If the chocolate seems too runny, add a tiny sprinkle more of cacao or cocoa powder to thicken it slightly.
-
Once the cookie layer is baked and slightly cooled, spoon the prepared chocolate mixture evenly over the shortbread base. Reserve a few tablespoons of chocolate sauce for drizzling on the topping at the end. Place the pan in the freezer for 20 minutes, or until the chocolate layer is firm to the touch.
-
While the bars are chilling in the freezer, prepare the irresistible coconut caramel sauce.
-
In a microwave-safe glass container, melt the coconut oil and maple syrup together for 1 minute. Carefully remove (the glass will be hot!) and vigorously whisk in the 2 tablespoons of almond butter (or peanut/sun butter) until the mixture is completely smooth and creamy. Stir in the sprinkle of sea salt and vanilla extract. The sauce should begin to thicken as it cools slightly. Set aside until the chocolate-layered bars are ready.
-
After the chocolate layer has set firmly on the bars, remove the baking pan from the freezer. Using the top layer of parchment paper to help, carefully lift and flip the entire cookie bar so that the chocolate layer is now on the bottom.
-
Give the caramel sauce another stir, then fold in ¼ to ⅓ cup of unsweetened shredded coconut. (My kids prefer a bit less coconut, but a truly authentic Samoa has a generous amount, so go for the full ⅓ cup if you want that classic coconut texture!) Spread this glorious coconut caramel sauce evenly on top of the plain side of the cookie base. For extra flair, sprinkle with a bit more shredded coconut and a pinch of sea salt, if desired, then drizzle with the remaining reserved chocolate sauce.
-
Return the pan to the freezer for at least 30 minutes to allow all the layers, especially the caramel, to set firmly.
-
Once thoroughly chilled, remove from the pan using the parchment paper handles. Place on a cutting board and slice into 16 equal squares. Enjoy your guilt-free, delicious Healthy Samoas Cookie Bars!
Video
Notes
21 Day Fix: 1 ORANGE, 2 TSP (Oil), 2 Sweetener TSP (per cookie bar)
WW: 12 points (per cookie bar)
Nutrition
