Homemade Instant Pot Rice a Roni: A Healthier, Gluten-Free Copycat Recipe
Recreate the nostalgic flavors of your favorite childhood side dish with this incredible Instant Pot Copycat Rice a Roni Recipe! If you grew up loving the classic “San Francisco Treat” but are looking for a healthier, gluten-free alternative, you’ve come to the right place. This recipe delivers the same comforting taste and texture you remember, but with wholesome ingredients and the unbeatable convenience of your Instant Pot. Forget standing over the stove; with this “set it and forget it” method, you can whip up a delicious and satisfying side dish while focusing on the rest of your meal, making weeknight dinners a breeze.

Table of Contents
Why Make Instant Pot Copycat Rice a Roni?
For many of us, Rice a Roni was a staple of our childhood dinners. It was that dependable, flavorful side dish that magically appeared next to chicken, pork, or whatever else Grandma was cooking up. My own grandmother, bless her heart, made it a weekly tradition, often paired with her famous chicken cutlets. Those were the days!
However, as we become more conscious about what we eat, it’s hard to ignore the ingredient list of the boxed version. Packed with sodium, artificial flavors, and often containing gluten, the traditional package isn’t exactly aligned with a healthier lifestyle. That’s where this homemade Instant Pot Rice a Roni comes in!
The Problem with Store-Bought Rice a Roni
- High Sodium Content: A single serving of the boxed variety can contribute significantly to your daily sodium intake, which isn’t ideal for heart health.
- Questionable Ingredients: Beyond the high sodium, boxed mixes often contain MSG, artificial flavors, and preservatives that many prefer to avoid in their diet.
- Gluten: For those with celiac disease or gluten sensitivity, the wheat-based pasta in traditional Rice a Roni is a non-starter. This recipe offers a delicious, genuinely gluten-free alternative.
The Advantages of Homemade
By making your own Instant Pot Rice a Roni from scratch, you gain complete control over the ingredients. You can choose high-quality butter (or a vegan alternative), opt for brown rice for added fiber, and select low-sodium broth. This allows you to create a dish that’s not only incredibly flavorful and nostalgic but also genuinely good for you. It’s the perfect way to enjoy a classic comfort food without any guilt!
The Magic of the Instant Pot: Effortless Rice a Roni
The Instant Pot has truly revolutionized home cooking, and it’s particularly brilliant for rice-based dishes like this Copycat Rice a Roni. Gone are the days of anxiously watching a pot on the stove, worrying about water boiling over or rice sticking to the bottom. With the Instant Pot, you simply sauté a few ingredients, add the liquid and seasonings, set the timer, and walk away.
The sealed cooking environment ensures that moisture is retained, resulting in perfectly cooked, fluffy rice every single time. Plus, the pressure cooking significantly cuts down on cooking time compared to traditional stovetop methods for brown rice. It’s an absolute game-changer for busy weeknights, allowing you to create complex flavors with minimal hands-on effort. This recipe leverages the Instant Pot’s capabilities to give you consistently delicious results with a fraction of the fuss.

Ingredients for a Healthier Homemade Rice a Roni
One of the best things about this recipe is that it relies on simple, wholesome ingredients you probably already have in your pantry. We’re trading processed mixes for fresh flavors and nutritional benefits:
- Butter (or Vegan Butter): Essential for sautéing the spaghetti and adding a rich, buttery flavor to the finished dish. Using vegan butter makes this recipe suitable for plant-based diets without compromising on taste.
- Gluten-Free Spaghetti: The key to achieving that signature “roni” texture. We’ll break it into small pieces to mimic the pasta bits in the original. If gluten isn’t an issue for you, whole wheat spaghetti can also be used for an extra fiber boost.
- Brown Rice: A nutritious upgrade from the traditional long-grain white rice. Brown rice offers more fiber, vitamins, and minerals, making this dish even healthier. It provides a satisfying chewiness and nutty flavor that complements the other ingredients beautifully.
- Low Sodium Chicken Broth (or Stock): Forms the flavorful liquid base for cooking the rice and pasta. Using low sodium broth allows you to control the overall saltiness of the dish. For a vegetarian or vegan version, simply swap in a high-quality vegetable broth or stock.
- Minced Dried Onion: Crucial for that classic savory depth found in Rice a Roni. While onion powder can be a substitute in a pinch, dried minced onion offers a more authentic texture and concentrated flavor.
- Garlic Powder: A staple in many comfort food recipes, garlic powder enhances the overall savory profile and contributes significantly to that unmistakable Rice a Roni taste.
- Turmeric: This spice isn’t just for flavor; a touch of turmeric gives the rice its beautiful, golden-yellow hue, making it visually appealing and closer to the original’s color.
- Salt: Essential for seasoning. Always start with the recommended amount and adjust to your taste preferences at the end. Remember, you can always add more, but you can’t take it away!
- Dried Parsley: The finishing touch! Dried parsley adds a fresh, herbaceous note and a pop of color, completing the classic Rice a Roni flavor profile. Fresh parsley can also be used for garnish.
Step-by-Step: How to Make Instant Pot Copycat Rice a Roni
Creating this healthier copycat version in your Instant Pot is incredibly straightforward. Follow these simple steps for a perfect batch every time:
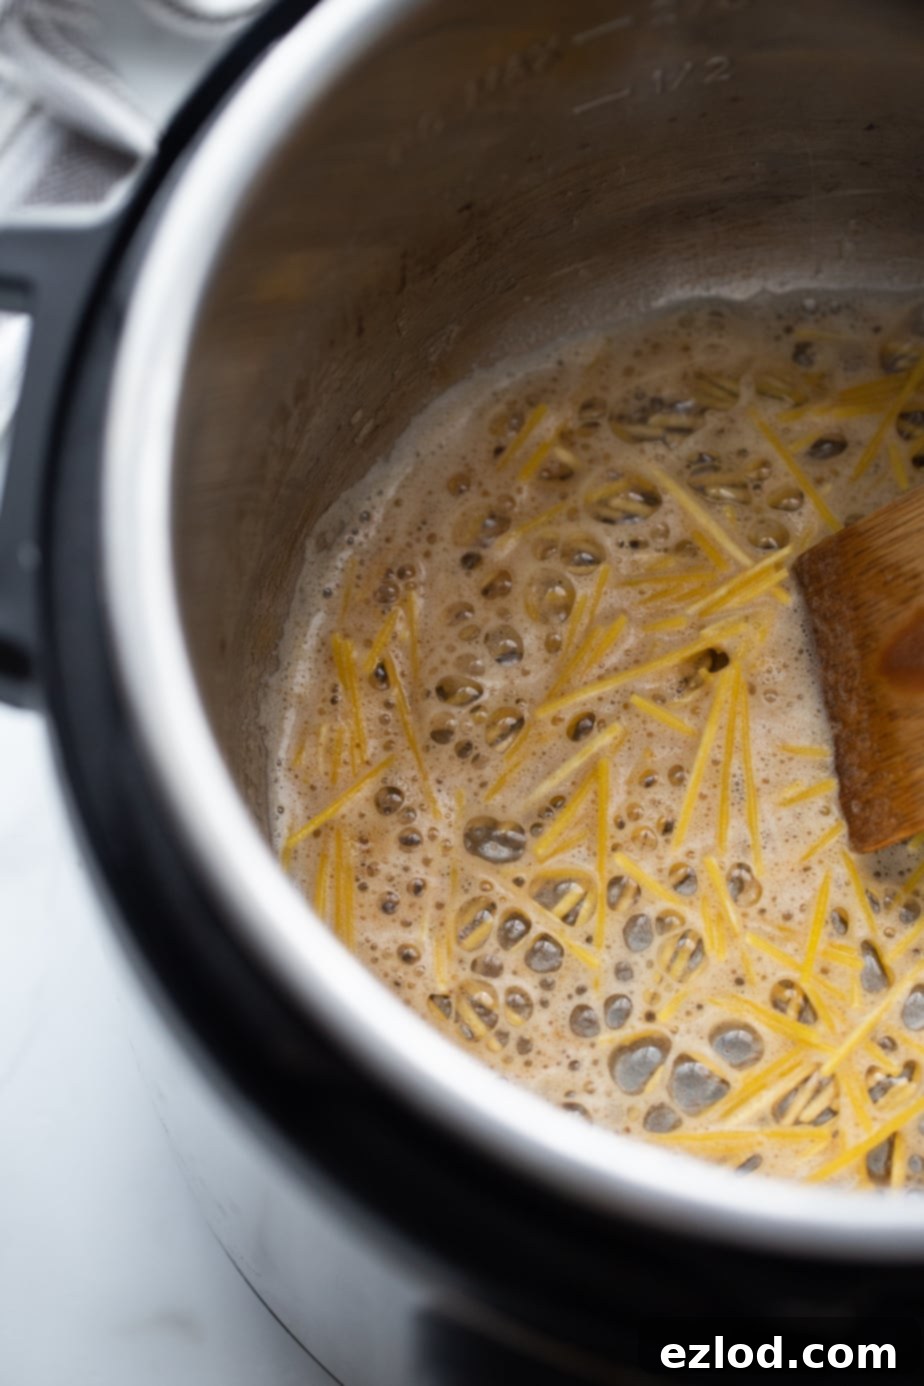
- Sauté the Spaghetti: Start by setting your Instant Pot to the “Sauté” function. Once it reads “Hot,” add 2 teaspoons of butter (or vegan butter) and let it melt. Add the broken gluten-free spaghetti pieces and sauté for 1-2 minutes, stirring occasionally, until they are lightly golden brown. This step is crucial for developing the depth of flavor and texture that defines Rice a Roni.
- Toast Rice and Pressure Cook: Next, add the brown rice to the pot and toast it for an additional minute with the spaghetti, allowing it to slightly brown and develop a nutty aroma. This helps the rice cook evenly and enhances its flavor. Pour in the low-sodium chicken broth, then stir in the minced dried onion, garlic powder, turmeric, and dried parsley. Secure the lid, making sure the venting knob is set to “Sealing.” Cook on manual high pressure for 22 minutes.
- Natural Release and Finish: Once the cooking cycle is complete, allow the Instant Pot to naturally release pressure for 10 minutes. This is important for ensuring the rice finishes cooking perfectly and doesn’t become gummy. After 10 minutes, carefully switch the venting knob to “Venting” to quick release any remaining pressure.
- Fluff and Serve: Open the lid and fluff the cooked rice and spaghetti with a fork. Stir in the remaining 2 teaspoons of butter (or vegan butter) to add extra richness and moisture. Taste and adjust the seasonings, adding more salt if needed. Serve hot and enjoy this healthier take on a childhood favorite!

Serving Suggestions and Perfect Pairings
This Instant Pot Copycat Rice a Roni is an incredibly versatile side dish that pairs wonderfully with a wide array of main courses. Its savory, comforting flavor profile makes it a fantastic accompaniment to almost any protein and vegetable combination. Here are some of our favorite ways to enjoy it:
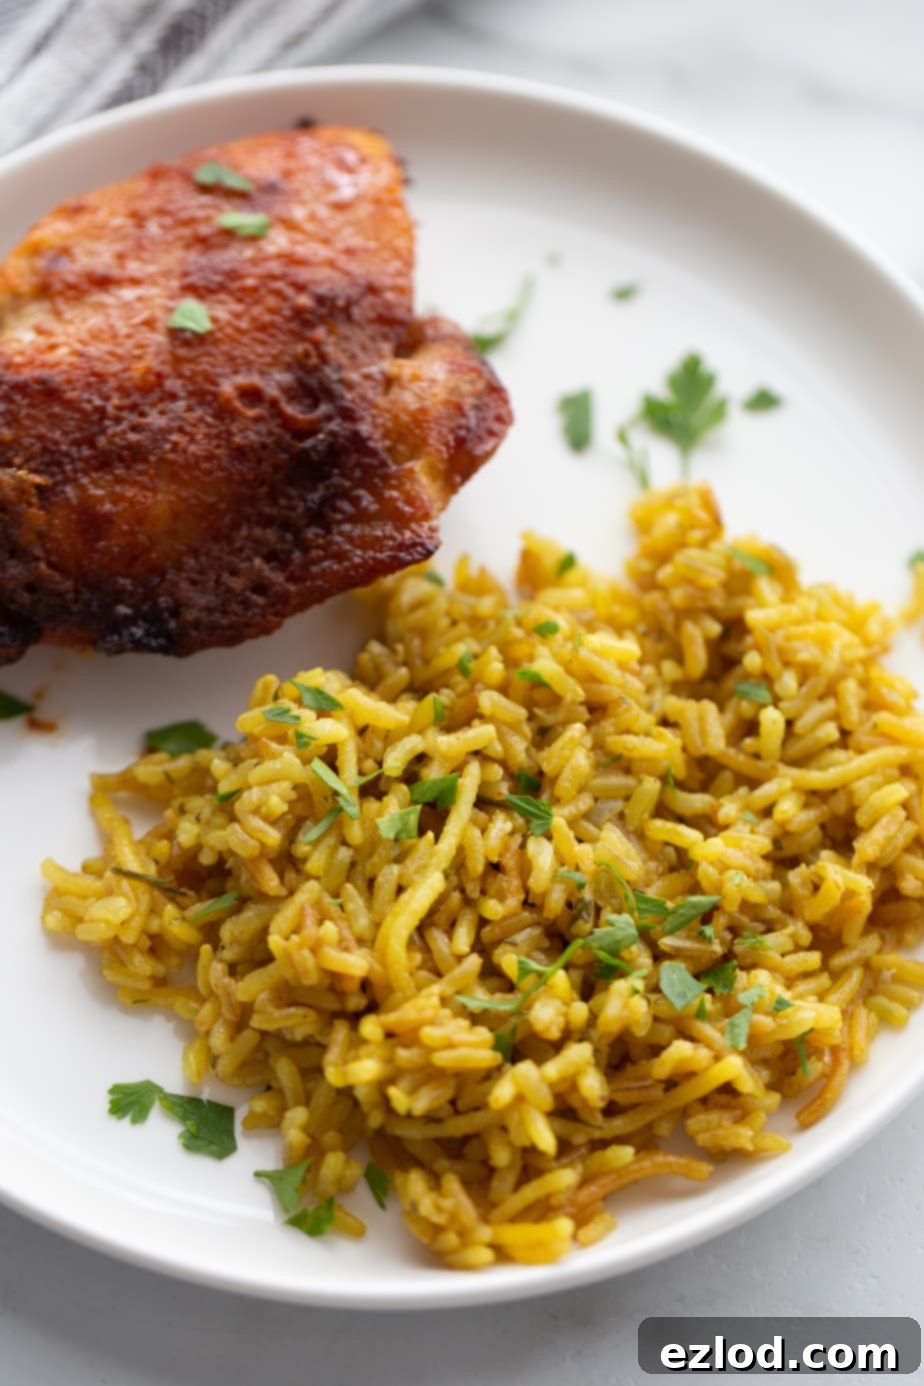
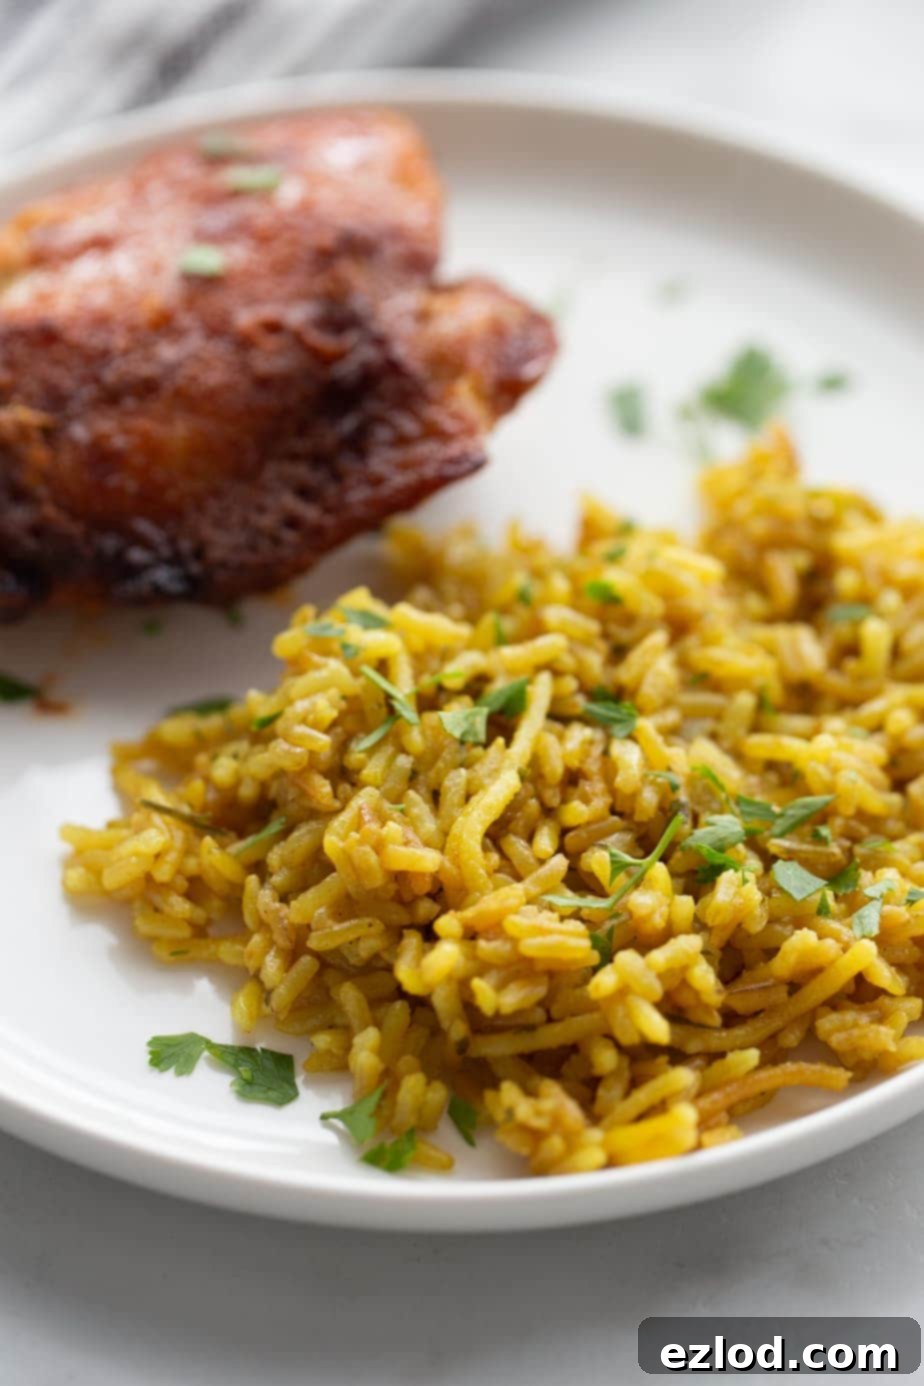
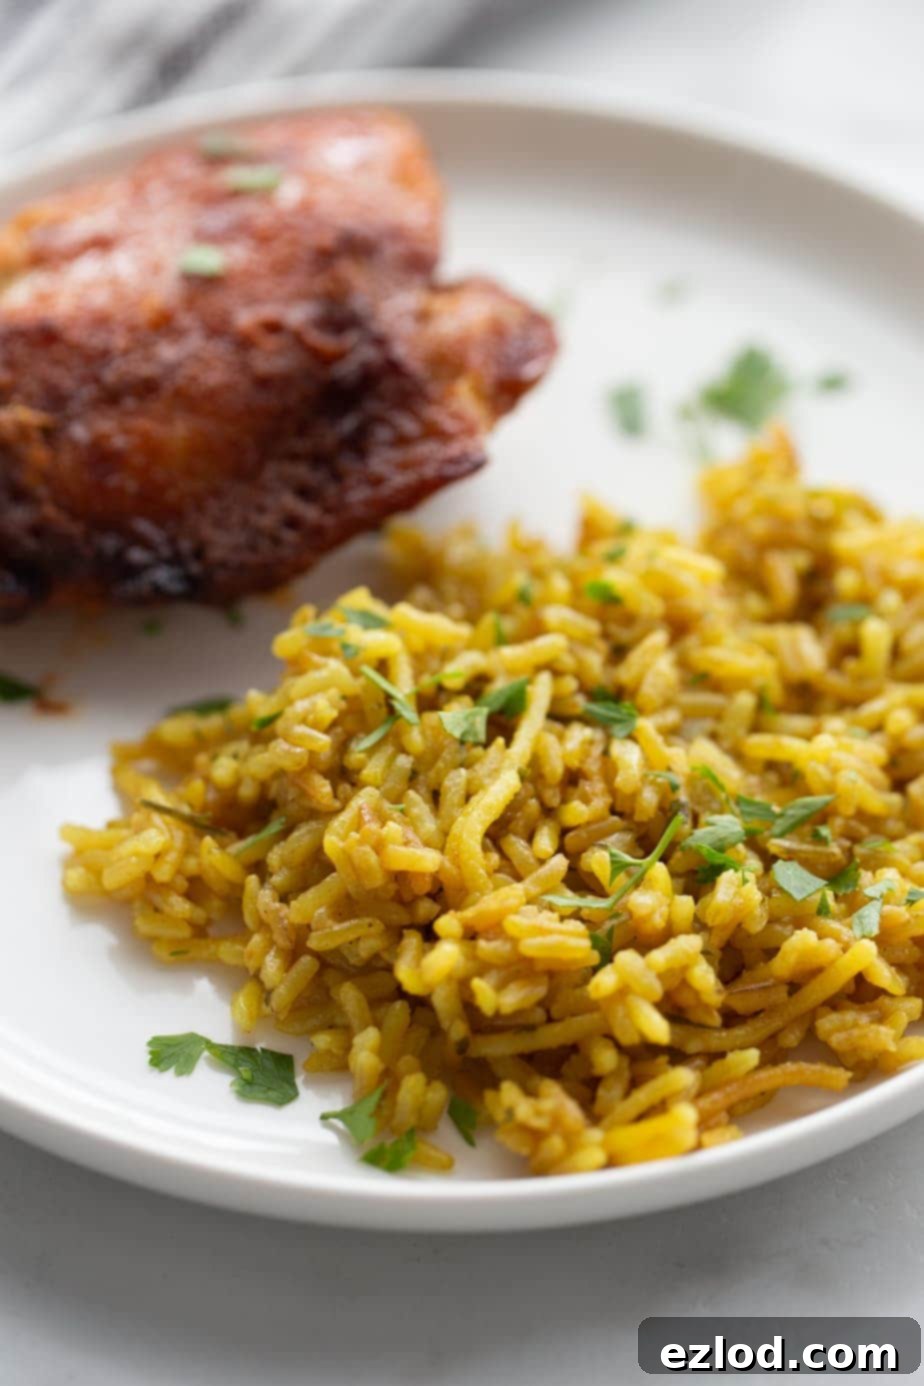
- Air Fryer Chicken Thighs: Crispy, flavorful chicken thighs are a match made in heaven with the tender rice.
- Air Fryer Zucchini: For a quick and easy vegetable side, lightly seasoned air fryer zucchini offers a fresh contrast.
- Balsamic Brussels Sprouts: The tangy sweetness of balsamic brussels sprouts provides a delicious balance to the savory rice.
- Air Fryer Chicken Cutlets: Just like Grandma used to make, but healthier and gluten-free! A truly nostalgic pairing.
- Chicken Scallopini: A light and flavorful chicken dish that comes together quickly, making it ideal for a weeknight meal with Rice a Roni.
- Air Fryer Pork Tenderloin: A tender and juicy family favorite that complements the rich flavors of the rice.
- Baked Lemon Garlic Chicken: A bright and zesty chicken recipe that’s on repeat in our kitchen and pairs beautifully with this rice pilaf.
- Any Grilled or Pan-Seared Protein: From salmon and shrimp to lean steak or tofu, this rice acts as a fantastic base to absorb the flavors of your chosen main.
- Roasted Vegetables: Beyond zucchini and Brussels sprouts, consider serving it with roasted broccoli, bell peppers, or carrots for added color and nutrients.
- Simple Green Salad: For a lighter meal, pair a generous portion of this rice with a fresh, crisp green salad dressed with a vinaigrette.
No matter what you pair it with, this Instant Pot Copycat Rice a Roni is sure to be a crowd-pleaser and a welcome addition to your dinner table.
Frequently Asked Questions (FAQ)
You can store this flavorful rice pilaf in an airtight container in the fridge for up to four days. For the best flavor and texture, we recommend consuming it within this timeframe. To reheat, simply use the microwave until warmed through, or gently warm it on the stovetop with a splash of broth to prevent it from drying out. This recipe is also freezer-friendly, making it great for meal prep!
Absolutely! This recipe is easily adaptable for vegan and vegetarian diets. Simply substitute the chicken broth or stock with an equal amount of high-quality vegetable broth or stock. Be sure to also use vegan butter instead of dairy butter. While the original Rice a Roni recipe does have a distinct chicken flavor, the vegetable broth version will still be incredibly delicious and satisfying, offering a slightly different but equally delightful taste profile.
Yes, you can certainly use white rice if you prefer, though we recommend brown rice for its added fiber and nutritional benefits. If you’re following a specific meal plan like the 21 Day Fix, stick with brown rice as white rice typically isn’t on the yellow food list. If you opt for white rice, adjust the Instant Pot cooking time to 8 minutes on manual high pressure, followed by a 10-minute natural release for optimal results.
For the best results, make sure to properly sauté the spaghetti and toast the rice; this develops essential flavor. Don’t skip the 10-minute natural pressure release, as it allows the rice to fully absorb moisture and become perfectly tender. Finally, fluff the rice with a fork immediately after opening the lid to prevent it from clumping, and taste before serving to adjust seasonings as needed.

Ready for More Instant Pot Brown Rice Recipes? Check Out These!
If you love the ease of cooking brown rice in your Instant Pot, you’ll want to explore these other fantastic recipes:
- Instant Pot Chicken Wild Rice Soup
- Healthy Instant Pot Brown Rice Pudding
- Freezer Friendly Instant Pot Brown Rice
- Instant Pot Stuffing with Brown Rice and Sausage

Copycat Rice a Roni [Instant Pot]
Nancylynn
This amazing Instant Pot Copycat Rice a Roni is the perfect healthier, gluten-free alternative to the classic “San Francisco Treat”! A delicious side dish that pairs with any meal and is quick and easy to whip up. Plus, with the use of the Instant Pot, you can set it and forget it while working on the rest of lunch or dinner! Enjoy this nostalgic favorite made with wholesome ingredients.
4 servings
5 mins
22 mins
27 mins
Pin Recipe
Ingredients
- 4 teaspoons butter or vegan butter divided
- ¼ cup gluten free spaghetti broken up into small pieces
- 1 cup brown rice
- 1 ¼ cup low sodium chicken broth or stock
- ½ teaspoon minced dried onion
- ½ teaspoon garlic powder
- ¼ teaspoon turmeric
- ¼-½ teaspoon salt
- ½ teaspoon dried parsley
Instructions
- Set Instant Pot to “Sauté” and melt 2 teaspoons of butter once the IP reads “Hot.” Add the ¼ cup of spaghetti pieces and sauté for 1-2 minutes until lightly golden.
- Next, add in brown rice and toast for an additional minute, stirring constantly. Then, add in the broth, minced dried onion, garlic powder, turmeric, and dried parsley. Close the lid, set the valve to “Sealing,” and cook for 22 minutes on manual high pressure.
- Allow your Instant Pot to naturally release pressure for 10 minutes, then manually release any remaining pressure. Fluff the rice with a fork and stir in the remaining 2 teaspoons of butter. Taste and adjust seasonings as necessary. Enjoy!
Video
Notes
21 Day Fix: 1 YELLOW, 1 TSP (per serving)
WW: 8 points (per serving) [Calculated using butter and low sodium chicken broth]
Nutrition
Carbohydrates: 49g
Protein: 7g
Fat: 6g
Saturated Fat: 3g
Polyunsaturated Fat: 1g
Monounsaturated Fat: 2g
Trans Fat: 0.2g
Cholesterol: 11mg
Sodium: 210mg
Potassium: 210mg
Fiber: 2g
Sugar: 0.3g
Vitamin A: 125IU
Vitamin C: 1mg
Calcium: 22mg
Iron: 1mg
Tag @confessionsofafitfoodie on Instagram and hashtag it #confessionsofafitfoodie!
