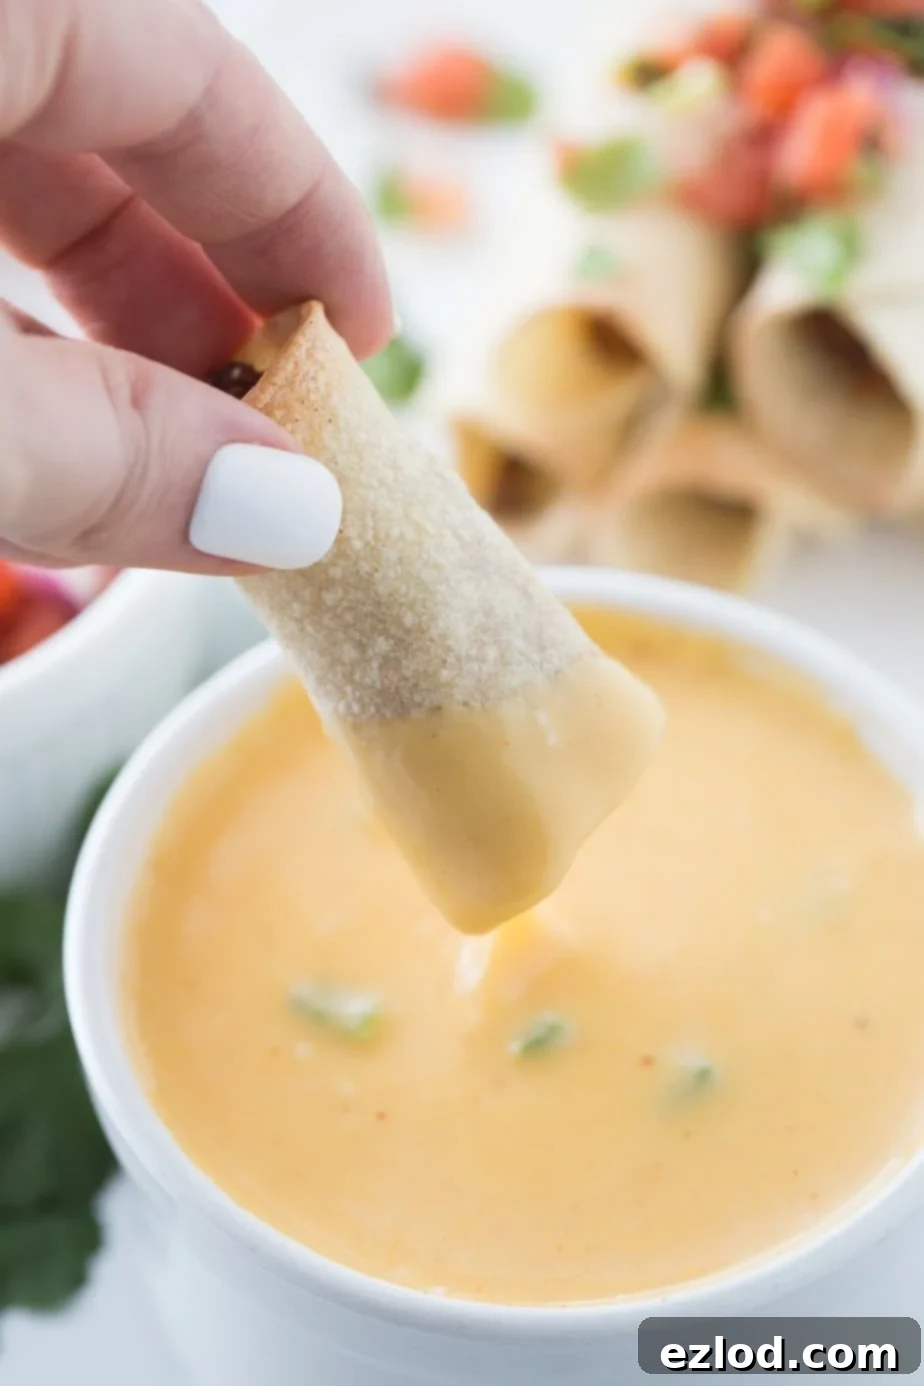
Crispy & Healthy Gluten-Free Taquitos: Your New Favorite Baked or Air-Fried Fiesta!
Are you ready to fall in love with taquitos all over again? This incredibly easy taquito recipe elevates your favorite rolled tacos to a healthier, gluten-free delight, complete with a savory hidden veggie taco meat filling and my signature homemade cheese sauce – perfect as a creamy queso dipping companion. Unlike traditional deep-fried versions, these taquitos are baked or air-fried to crispy perfection, offering a lighter yet equally satisfying meal or snack. Plus, they’re fantastic for freezing, making them an ideal choice for convenient lunches, dinners, or quick, satisfying bites anytime you crave them. This post contains affiliate links for products I’m obsessed with.
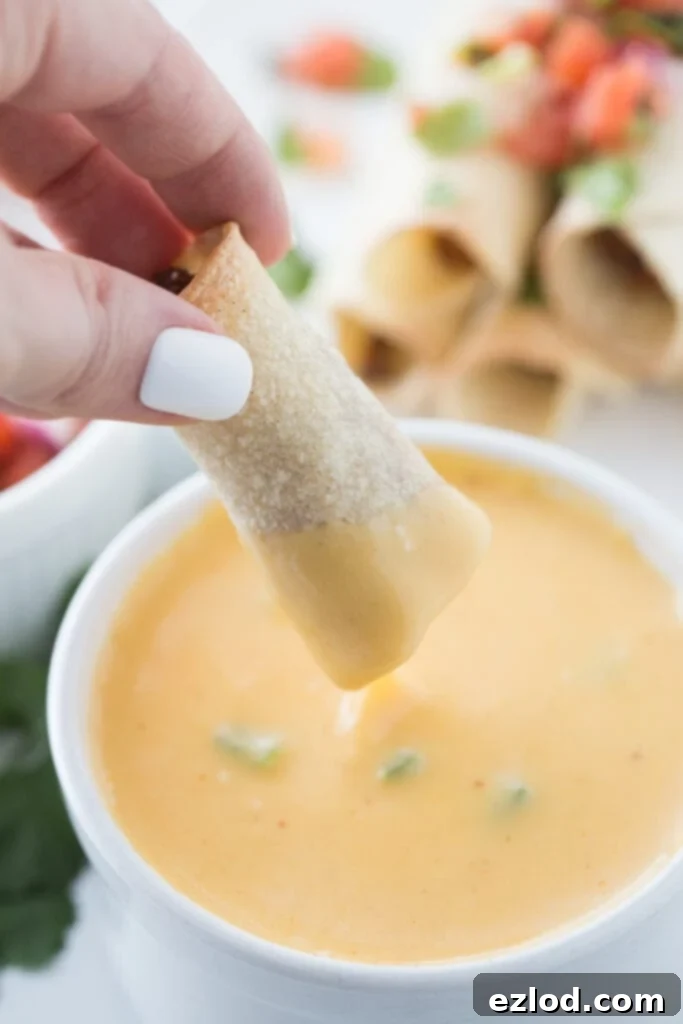
Confession: I’ve developed a serious obsession with taquitos lately. You might have noticed if you’ve been following along, as this marks my third taquito recipe this year, with another exciting variation already in the works! There’s just something about that perfectly crispy tortilla shell combined with a flavorful filling that makes them utterly irresistible.
Table of Contents
Toggle
Why These Healthy Taquitos Will Be Your New Favorite
There are countless reasons to adore taquitos, but my version takes them to a whole new level of deliciousness and convenience. If you’ve enjoyed my Healthy Instant Pot Airfryer Chicken Taquitos or my Healthy Buffalo Chicken Taquitos, you’re in for another treat. These new beef taquitos are essentially my all-time favorite tacos, simply rolled up into a crispy, dippable format!
- **Unbeatable Crispy Texture:** The corn tortillas achieve an incredible crispiness when baked or air-fried, mirroring the satisfying crunch of a hard taco shell without the added oil of deep frying. This texture is key to a truly great taquito experience.
- **Effortless Meal Prep & Freezer-Friendly:** This recipe is designed for ease. You can prepare a large batch of taquitos, cook them, and then freeze them for later. This means you’ll always have a quick, healthy, and satisfying meal or snack ready to go – perfect for busy weeknights, last-minute cravings, or stocking up your freezer!
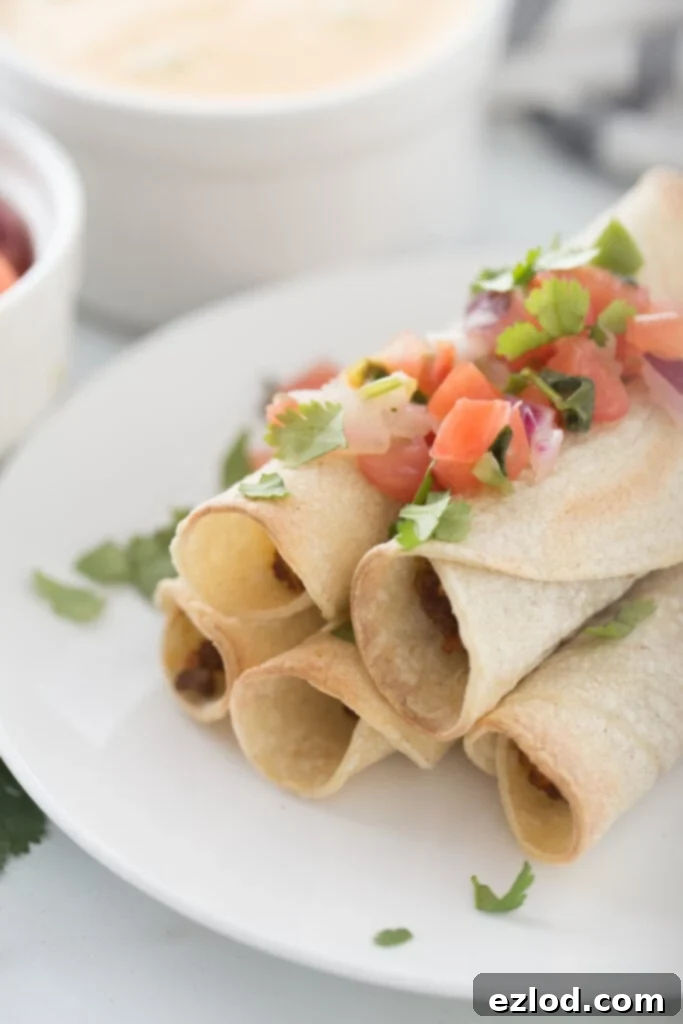
What Exactly is a Taquito? (Traditional vs. Homemade)
A taquito, also known as a “rolled taco” or “taco dorado,” is a traditional Mexican dish consisting of a small tortilla (usually corn, but sometimes flour) rolled tightly around a filling, typically meat, cheese, or beans, and then deep-fried until crispy. They are a popular street food and appetizer, loved for their satisfying crunch and savory interior.
While you can find many frozen, ready-made taquito options in grocery stores, these often contain processed ingredients and unhealthy oils. My homemade taquitos, however, offer a delicious and healthier alternative. By making them yourself, you control every ingredient, ensuring a fresh, wholesome, and incredibly flavorful experience that rivals any restaurant or store-bought version.
Are Taquitos Gluten-Free? A Guide to Safe Snacking
This taquitos recipe is 100% gluten-free, which is great news for anyone avoiding gluten! However, it’s important to be cautious when ordering taquitos from restaurants. Many establishments use flour tortillas, which contain gluten, or even if they use corn tortillas, they might deep-fry them in shared oil with other gluten-containing foods, leading to cross-contamination. This can be a significant risk for those with celiac disease or gluten sensitivities.
The beauty of making taquitos at home is that you have complete control over your ingredients and cooking environment. By using certified gluten-free corn tortillas and preparing your own filling, you can enjoy these delicious rolled tacos with peace of mind. It’s surprisingly easy to ensure a safe and scrumptious gluten-free meal right in your own kitchen!
Are These Gluten-Free Taquitos Truly Healthy? Absolutely!
Yes, these taquitos are designed with health in mind, without compromising on flavor! Here’s what makes them a healthier choice:
-
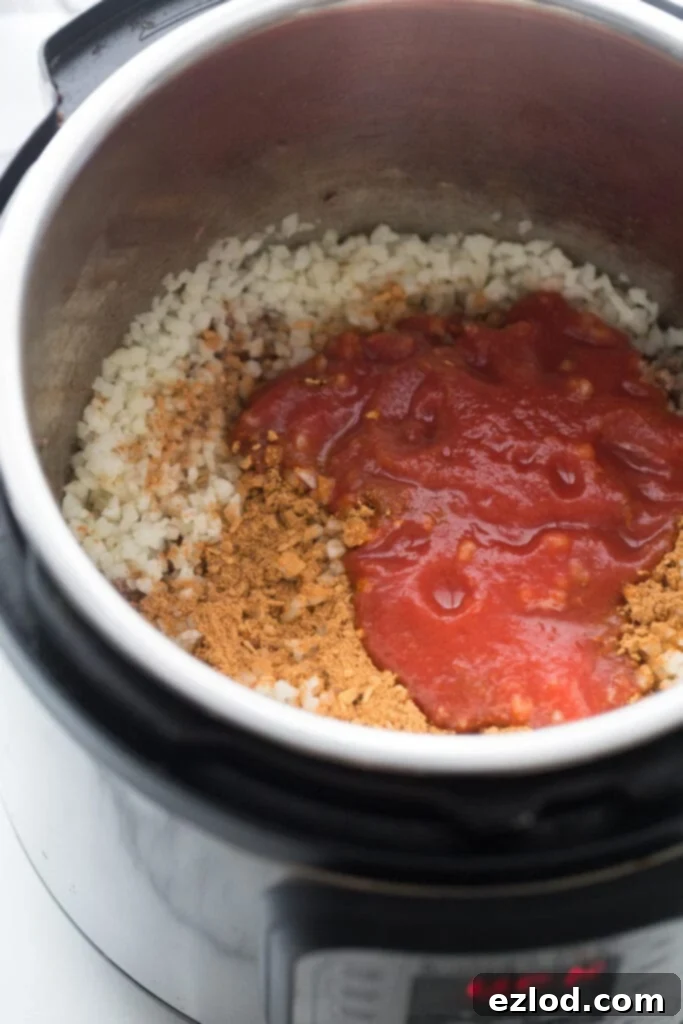
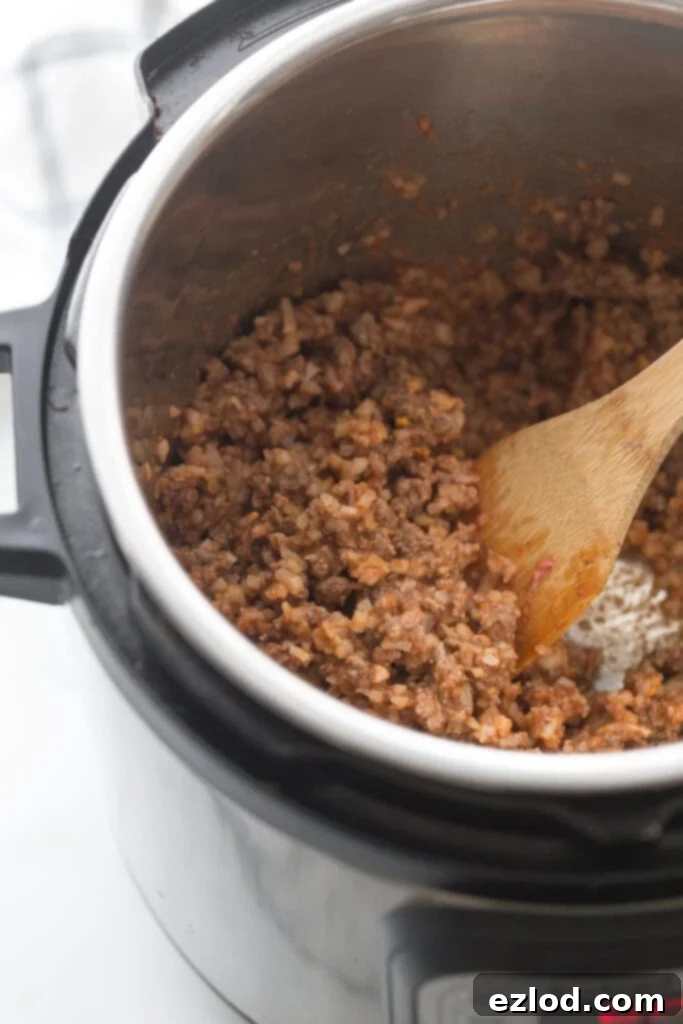
Hidden Veggie Powerhouse: The filling is made with lean ground beef (feel free to substitute with ground turkey or chicken for an even lighter option) and cleverly incorporates hidden veggies – specifically cauliflower rice! I frequently use this Hidden Cauliflower Taco Meat recipe, and my incredibly picky son eats it every week without even realizing there are vegetables inside. The cauliflower rice adds fantastic texture, volume, and nutrients without altering the delicious taco flavor. It’s perfectly seasoned with a little tomato sauce and my homemade Salt Free Taco Seasoning, creating a robust and savory profile.
-
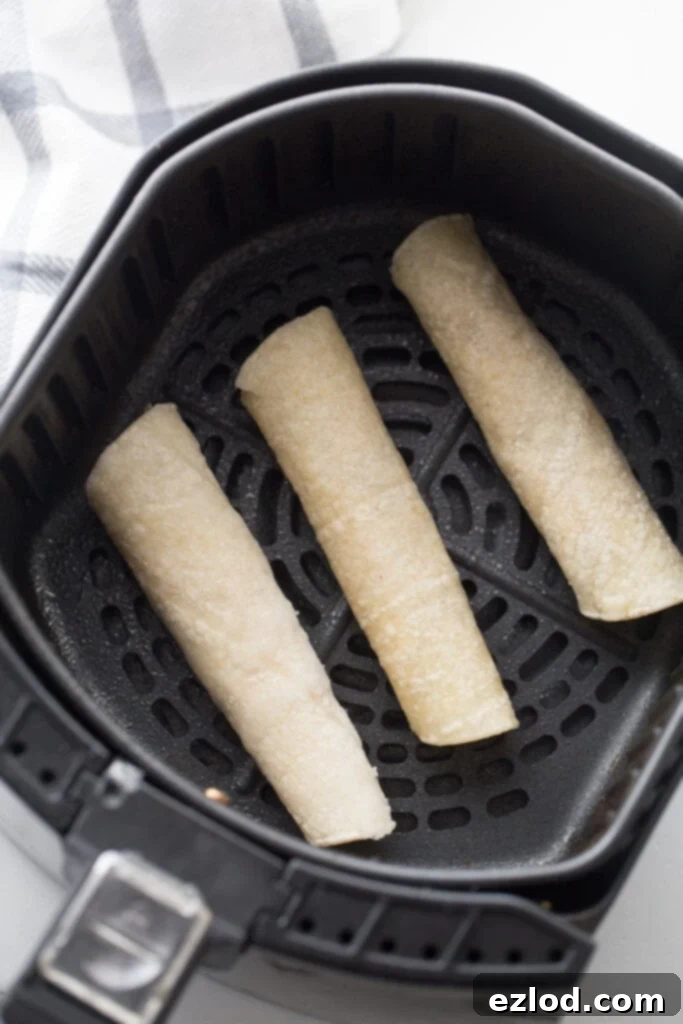
Baked or Air Fried, Not Deep-Fried: This is a major health advantage. Unlike traditional taquitos that are deep-fried in oil, my recipe calls for baking in the oven or air frying. Both methods yield incredibly crispy results with significantly less fat, making them a much lighter and healthier alternative. I honestly love both cooking methods, and you’ll find detailed instructions for each below, along with their respective pros and cons.
Cooking Methods: Crispy Perfection Every Time
Achieving that coveted crispy exterior is essential for a truly satisfying taquito. Fortunately, you don’t need a deep fryer to get it! Both air frying and oven baking deliver fantastic results. Here’s a breakdown to help you choose your preferred method:
Air Fryer Taquitos: The Speed & Crispiness Champion
The air fryer has revolutionized how we make crispy foods at home, and taquitos are no exception. It’s my go-to when I want them extra crunchy and fast!
- **Pros:**
- Extra Crispy: The air fryer’s circulating hot air creates an incredibly crispy, almost fried-like texture that’s hard to beat.
- Faster Cooking: Air frying significantly reduces cooking time compared to an oven, getting your taquitos on the table quicker.
- No Oven, No Heat: Perfect for warm days or when you don’t want to heat up your entire kitchen.
- Excellent for Reheating: Leftover taquitos come back to life in the air fryer, regaining their crispiness beautifully.
- **Cons:**
- Batch Cooking Required: Most air fryers have a limited capacity, meaning you’ll likely need to cook your taquitos in multiple batches, especially if feeding a crowd. Plan for this by keeping rolled taquitos prepped and ready to go as batches finish.
Baked Taquitos in the Oven: Family-Sized & Delicious
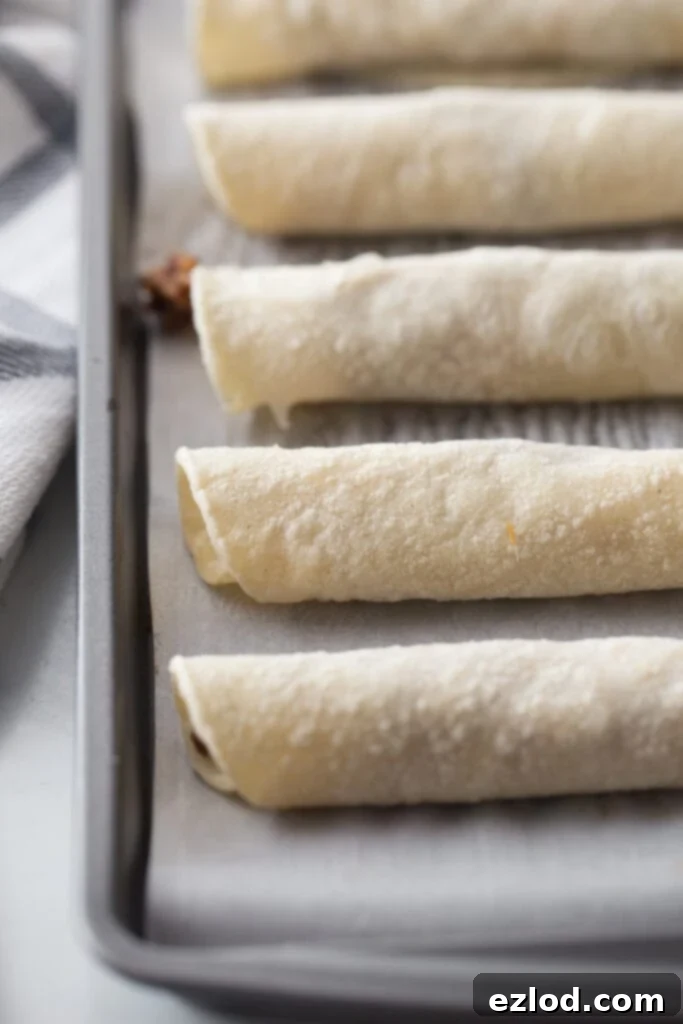
If you’re making a larger batch or prefer a more hands-off approach, the oven is an excellent choice for baking taquitos to a lovely crisp.
- **Pros:**
- No Batch Cooking: You can cook a large quantity of taquitos all at once, limited only by the size of your baking sheet. Ideal for feeding families or preparing for parties.
- Still Pretty Darn Crispy: While perhaps not quite as aggressively crispy as air-fried, oven-baked taquitos still develop a wonderfully satisfying crunch.
- Even Cooking: A preheated oven provides consistent heat, ensuring your taquitos cook thoroughly and evenly.
- **Cons:**
- Longer Cook Time: Baking generally takes longer than air frying.
- Heats Up Your House: Running the oven can warm up your kitchen, which might be less desirable in hot weather.
Tortilla Talk: Should I use Flour or Corn Tortillas for Taquitos?
For this recipe, I exclusively use gluten-free corn tortillas. This is not only because our household is gluten-free, but also because corn tortillas offer specific benefits for those following structured eating plans, like the 21 Day Fix (where you can enjoy two corn tortillas for one yellow container). Some brands, like Mission Extra Thin Corn Tortillas, even allow for three per yellow! However, if you don’t have dietary restrictions or container goals, you can certainly substitute with flour tortillas if that’s your preference. Just keep in mind the flavor and texture will be slightly different, and flour tortillas don’t typically achieve the same level of crispiness when baked or air-fried without deep frying.
Pro Tips for Rolling Perfect Taquitos
Rolling corn tortillas can sometimes be a bit tricky if you’re not accustomed to them, but don’t let that deter you! This is literally the most challenging part of the entire recipe, and with the right technique, it becomes a breeze. The key to success is ensuring your tortillas are adequately warm and pliable. If they’re cold or dry, they will crack and crumble.
Option One: Warming in the Microwave (Quick & Easy)
To make your corn tortillas soft and flexible, wrap 4 tortillas in a damp (not soaking wet) paper towel. Microwave them for about 60 seconds. They should emerge warm, soft, and easy to roll without breaking. **Note: If your tortillas are still crumbling, they likely need more moisture or more heat. Rewrap them in a wetter paper towel and microwave for an additional 15-30 seconds until they are fully pliable.
Option Two: Warming in the Oven (My Preferred Method, especially if baking!)
Another excellent way to warm your tortillas is by spraying both sides lightly with olive oil spray (or any cooking oil spray) and placing them on a baking sheet. Heat them in a 400°F (200°C) oven for just a few minutes, typically 2-4 minutes, until they are soft and pliable. This method is particularly convenient if you plan to bake your taquitos in the oven anyway, as it leverages existing heat and often results in a slightly crispier edge even before filling. Keep a close eye on them to prevent over-browning.
Crucial Rolling Tip: Always roll your tortillas while they are still warm! As corn tortillas cool, they quickly become stiff and prone to cracking again. Work in small batches, warming only a few at a time, to ensure maximum flexibility and prevent breakage. If you find them stiffening up, a quick re-warm can save the day!
Too much work for you? If you prefer to avoid this extra step, using flour tortillas instead will eliminate the need for pre-warming, as they are naturally more pliable. Just remember, they won’t be gluten-free!
What to Serve with Healthy Taquitos: The Perfect Pairings
While these healthy taquitos are a flavorful meal on their own, pairing them with some delicious sides and dips truly elevates the experience. Here are my top recommendations for a complete and satisfying spread:
-
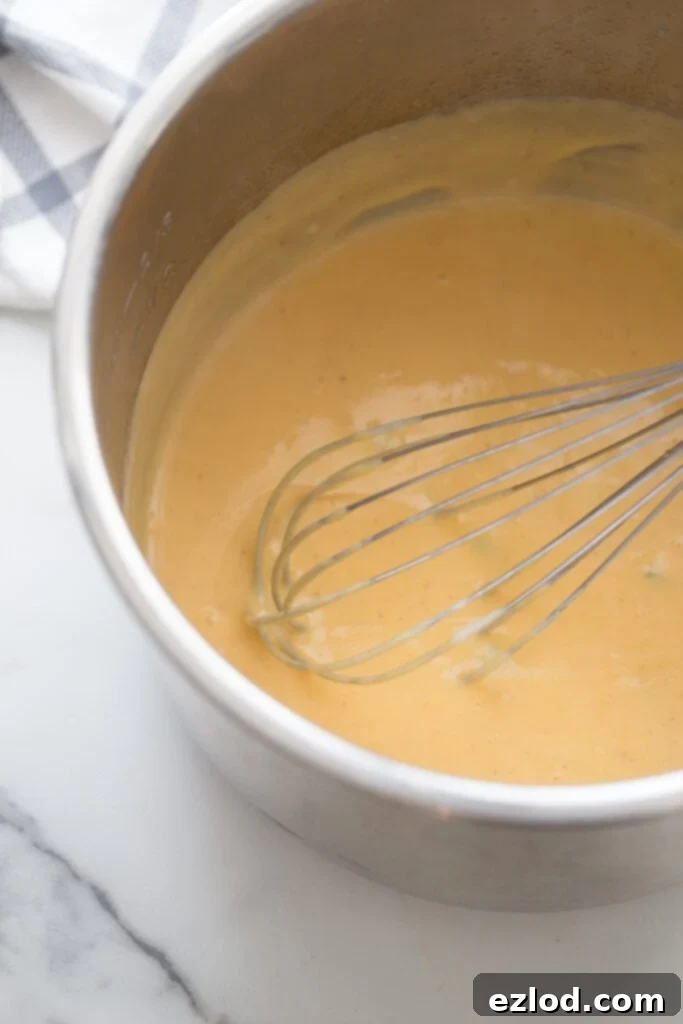
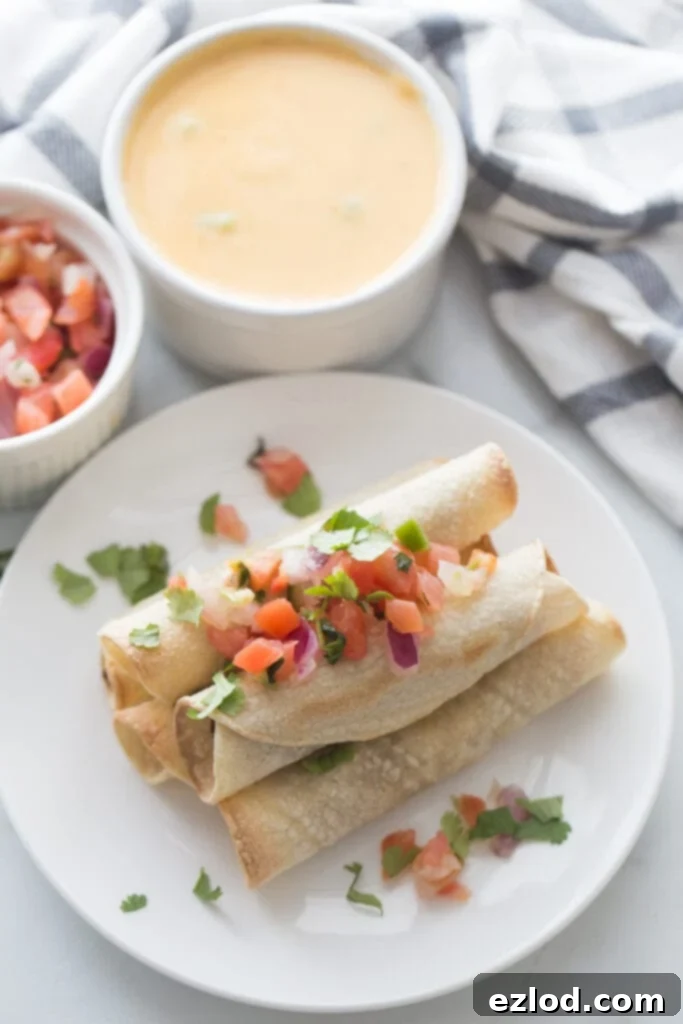
The Ultimate Dipping Companion: Easy Homemade Cheese Sauce! You absolutely *must* make my Easy Homemade Cheese Sauce to go alongside your taquitos. The recipe for this creamy, dreamy queso dip is included below, and it perfectly complements the savory filling and crispy tortilla. It’s rich, cheesy, and makes every bite feel indulgent!
-
Fresh & Flavorful Guacamole: A dollop of homemade guacamole adds a creamy, refreshing contrast to the taquitos. Its healthy fats and vibrant flavor are always a winner.
-
Zesty Pico de Gallo: Brighten up your plate with a spoonful of fresh pico de gallo. The diced tomatoes, onions, cilantro, and jalapeños provide a wonderful burst of freshness and a mild kick.
-
Hearty Brown Rice: For a more substantial meal, serve your taquitos with a side of brown rice. It adds complex carbohydrates and helps make the meal extra filling.
-
Light & Low-Carb Cauliflower Rice: If you’re looking to keep things low-carb or simply want more veggies, a simple side of cauliflower rice is a perfect pairing.
Given that each taquito is packed with lean protein and hidden vegetables, and when served with the cheese sauce, they already feel like a complete and balanced meal. Add a fresh topping or a simple rice side, and you’ve got a fiesta on a plate!
Meal Prep Made Easy: Can I Freeze Taquitos?
Yes, absolutely! Freezing taquitos is one of the best ways to enjoy quick, healthy meals and snacks whenever you need them. They are incredibly freezer-friendly, making them perfect for meal prepping and saving time on busy days.
To freeze taquitos, simply follow these steps:
- Allow your freshly cooked (or even uncooked, though I prefer to cook first for best texture) taquitos to cool completely to room temperature.
- Lay them in a single layer on a baking sheet lined with parchment paper. Ensure they are not touching each other to prevent them from freezing together.
- Place the baking sheet in the freezer for 1-2 hours, or until the taquitos are solid. This “flash freezing” step prevents them from sticking.
- Once frozen solid, transfer the taquitos to a freezer-safe bag or an airtight container. Label with the date. They will keep well in the freezer for up to 3 months.
The accompanying homemade cheese sauce is also freezer-friendly! For detailed instructions on freezing the cheese sauce, check out this comprehensive Freezable Cheese Sauce recipe. Having both ready-to-reheat ensures a complete, delicious meal whenever hunger strikes!
How to Reheat Frozen Taquitos for Best Results
Reheating frozen taquitos is a breeze, and you can achieve that desirable crispiness once more with the right method. Avoid microwaving for primary reheating if you want them crispy, as it tends to make them soft. Here’s how to reheat them effectively:
-
Air Fryer: For the best crispiness, preheat your air fryer to 375-400°F (190-200°C). Place frozen taquitos in a single layer, ensuring not to overcrowd the basket. Air fry for 8-12 minutes, flipping halfway through, or until heated through and crispy. Cooking time will vary depending on your air fryer model and how many taquitos you’re reheating.
-
Oven: Preheat your oven to 400-425°F (200-220°C). Arrange frozen taquitos on a baking sheet. Bake for 15-20 minutes, or until heated through and golden brown. Again, flip them halfway for even crisping.
-
Microwave (for speed, not crispiness): If you’re in a super rush and don’t mind a softer taquito, microwave for about 2-4 minutes (depending on the number of taquitos). This method is quick but won’t give you the desired crispy texture. You can finish them in the air fryer or oven for a few minutes after microwaving for a softer-crispier combo.
Always check that the internal temperature is thoroughly heated before serving.

Other Healthy Taquito Filling Ideas:
The beauty of taquitos is their versatility! While our hidden veggie beef is a crowd-pleaser, don’t be afraid to experiment with other delicious and healthy fillings. Here are a few more ideas to inspire your next batch:
- Chicken Carnitas: Shredded chicken cooked until tender and flavorful, perfect for a lighter poultry option.
- Pork Carnitas: Slow-cooked pork carnitas offer a rich, savory, and incredibly juicy filling.
- Pulled Pork Tenderloin: A lean and flavorful pulled pork option, seasoned with Southwestern spices.
- Black Bean & Corn: For a vegetarian or vegan option, a mix of seasoned black beans, corn, diced bell peppers, and a touch of salsa makes a hearty filling.
- Shredded Chicken with Cheese: Simple shredded chicken mixed with a little cheese and taco seasoning is a classic, easy, and satisfying option.
- Sweet Potato & Black Bean: Roasted sweet potato cubes combined with black beans and spices offer a unique, slightly sweet, and earthy flavor profile.

Taquitos and Easy Cheese Sauce
Pin Recipe
Ingredients
For the Taquitos
- 1 lb ground meat of your choice we using love lean ground beef
- 3 cups cauliflower rice can be frozen
- 1 cup low sodium tomato sauce
- 1-2 tablespoons salt free taco seasoning
- ½ teaspoon salt
- 1-2 tablespoons water if needed
- 12 corn tortillas
For the Cheese Sauce
- 2 1/2 tablespoons gluten free flour blend
- 2 1/2 tablespoons vegan butter, butter, or ghee
- 1 1/2-2 cups unsweetened original almond milk
- 2 cups shredded cheddar cheese
- Jalapeno
- Chili powder
Instructions
Instant Pot Taco Meat:
-
In your Instant Pot, Brown meat until almost cooked through, then stir in cauliflower rice, sauce, and taco seasonings.
-
Add 1/4 cup of water and lock lid, setting for 1 minute manual pressure. After cook time, quick release. If taco meat needs thickening, then cook on sauté for a few minutes until the water evaporates.
Stovetop Taco Meat:
-
Brown meat until just about cooked through, then add in cauliflower rice. Saute for a few minutes until cauliflower is tender.
-
Stir in tomato sauce and taco seasonings and simmer for 5 minutes, adding in water if mixture is too thick.
Taquitos:
-
Heat tortillas in a 400 degree oven for a few minutes. Spray them with olive oil spray and heat on a baking sheet until soft and pliable. Alternately, you can wrap 2-4 at a time in wet paper towels and warm in the microwave for 60 seconds.
-
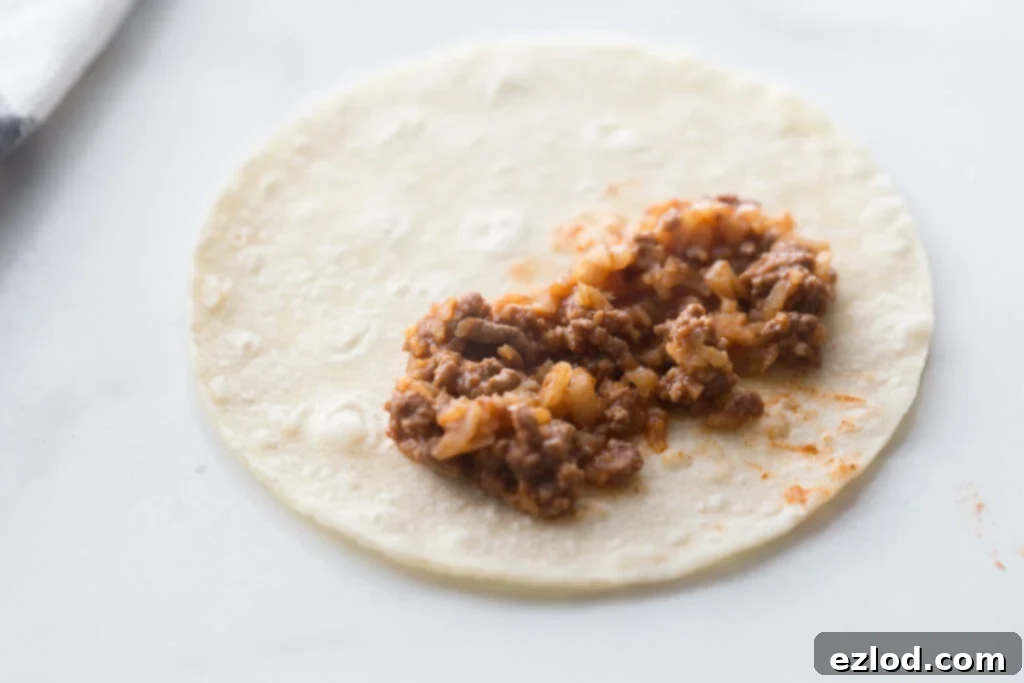
Working one by one, place 2-3 tablespoons of taco mixture on the top edge of the tortilla. Gently roll tortilla into a taquito shape, using a toothpick to hold them together. TIP: do this while your tortillas are still very warm! As the tortillas cool, they will break apart again!
-
Spray basket of your airfryer or mealthy crisp lid so shells don’t stick or cover with parchment.
-
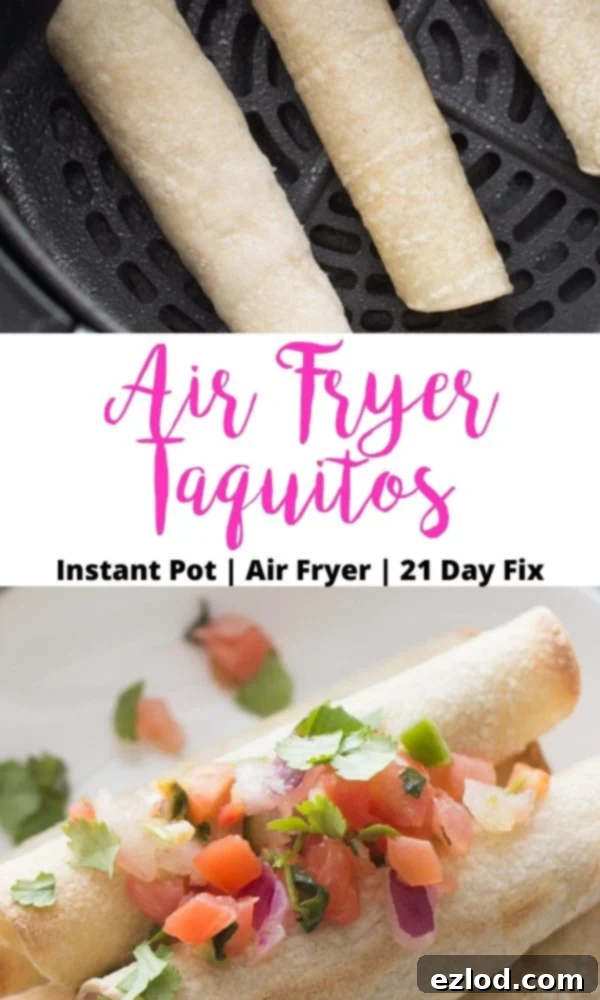
Spray shells with olive oil spray and sprinkle with salt. Air fry in batches of 2-4 at a time on 390 (400 for Mealthy Crisp Lid) for a few minutes or until your taquito is crisp.
-
Repeat steps with remaining corn tortillas.
-
To make the Taquitos in the oven, just follow the instructions above, but instead of Air Frying, line a baking sheet with parchment paper and bake your Taquitos for 12-14 minutes at 400 degrees.
Cheese Sauce:
-
In your instant pot or in your skillet, melt butter over medium heat. Sprinkle in the flour and whisk together.
-
Slowly whisk in 1 1/2 cups of almond milk, and continue to whisk until the mixture comes to a boil and begins to thicken. Once thickened, remove sauce from heat and stir in cheddar cheese until fully melted, adding salt to taste. If you need to thin it out, add in some additional milk in 1/4 cup increments.
-
Add chopped jalapeños and chili powder to the cheese sauce to taste.
-
Dip taquitos in cheese sauce and enjoy!
Video
Notes
For 2 Flour tortillas + 1/3 cup of cheese sauce (2.5 Tbsp): 1 RED, 1/2 GREEN, 2 YELLOW, 1 BLUE, 1 TSP (per serving)
WW: 13 points (per 2 taquitos) [Calculated using 95% lean ground beef, butter, and reduced fat cheese]
Nutrition
